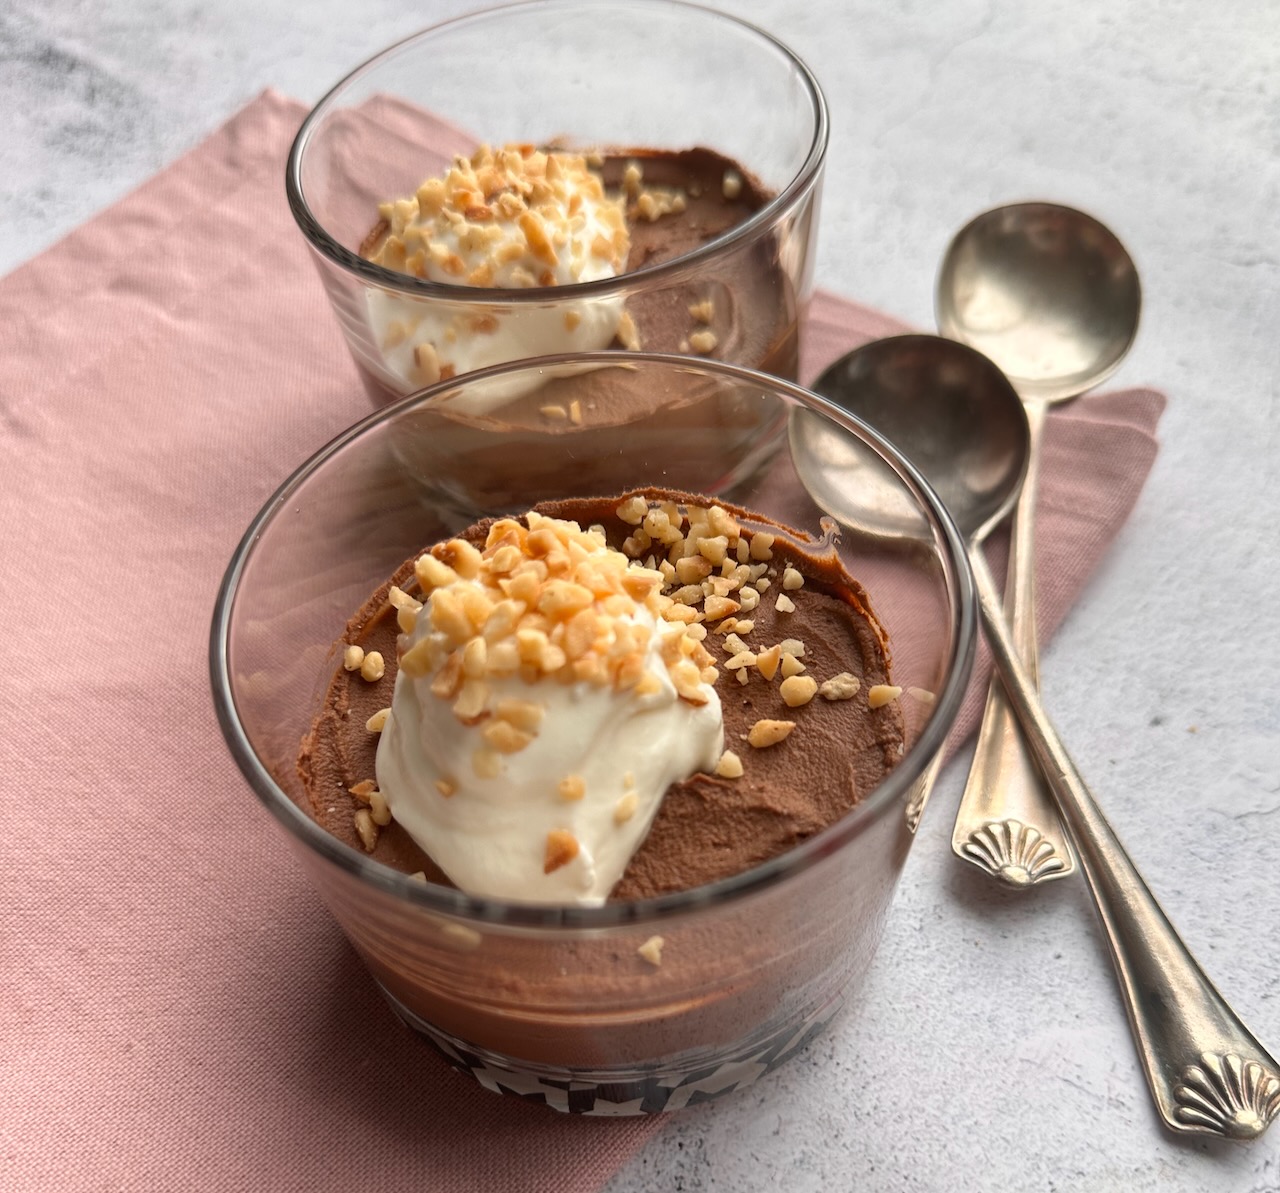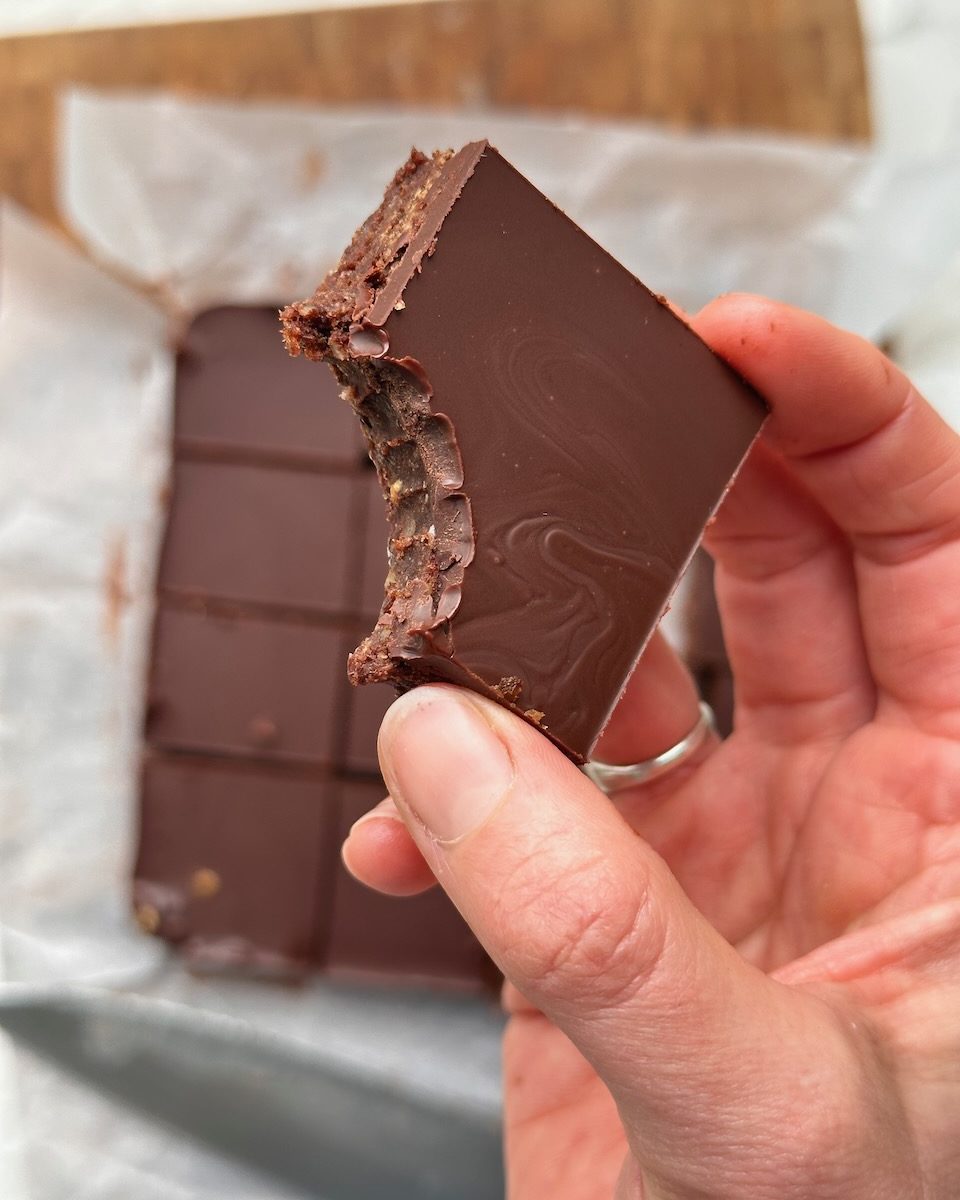
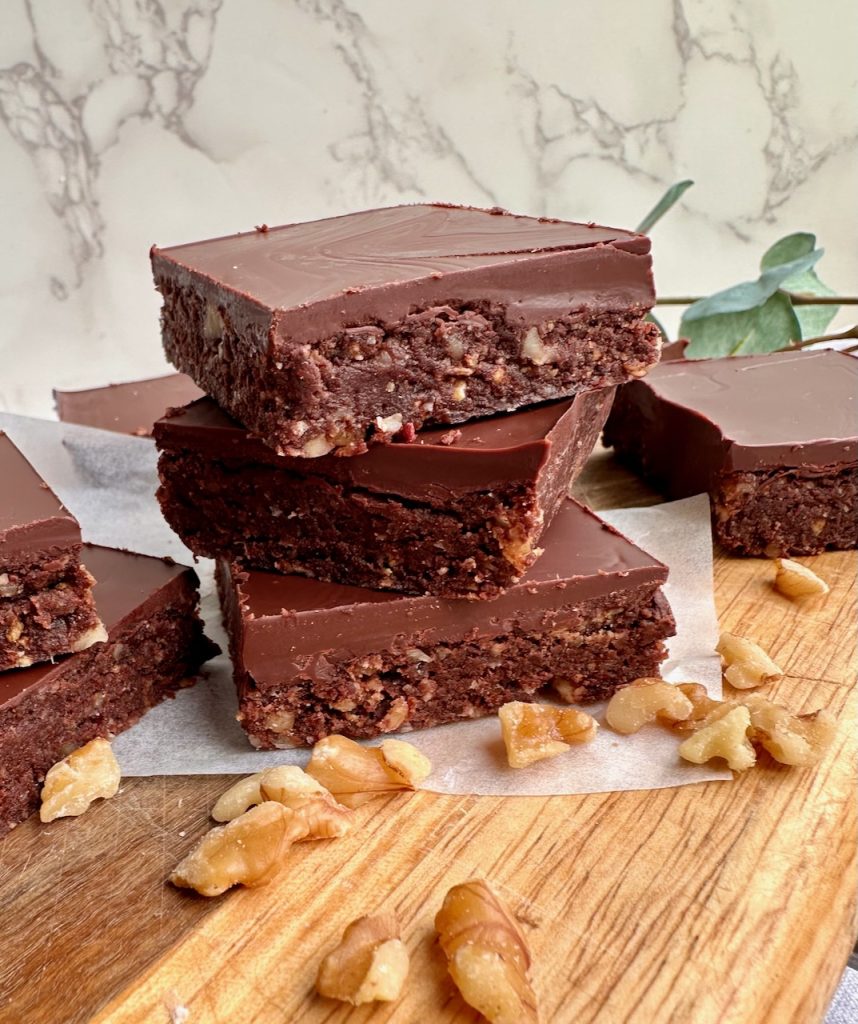
Homemade chocolate treats that are made with lots of good organic stuff.. .yes please! These are rich and decadent and give a great boost of energy. I ordered some lovely organic medjool dates and walnuts and organic dark chocolate to make these. Perfect with that mid morning coffee.
They are a no bake treat so no ovens needed just a bit of time to set in the fridge. Grab all you need for these tasty snacks in our online shop.
We hope you try them.
Lou X

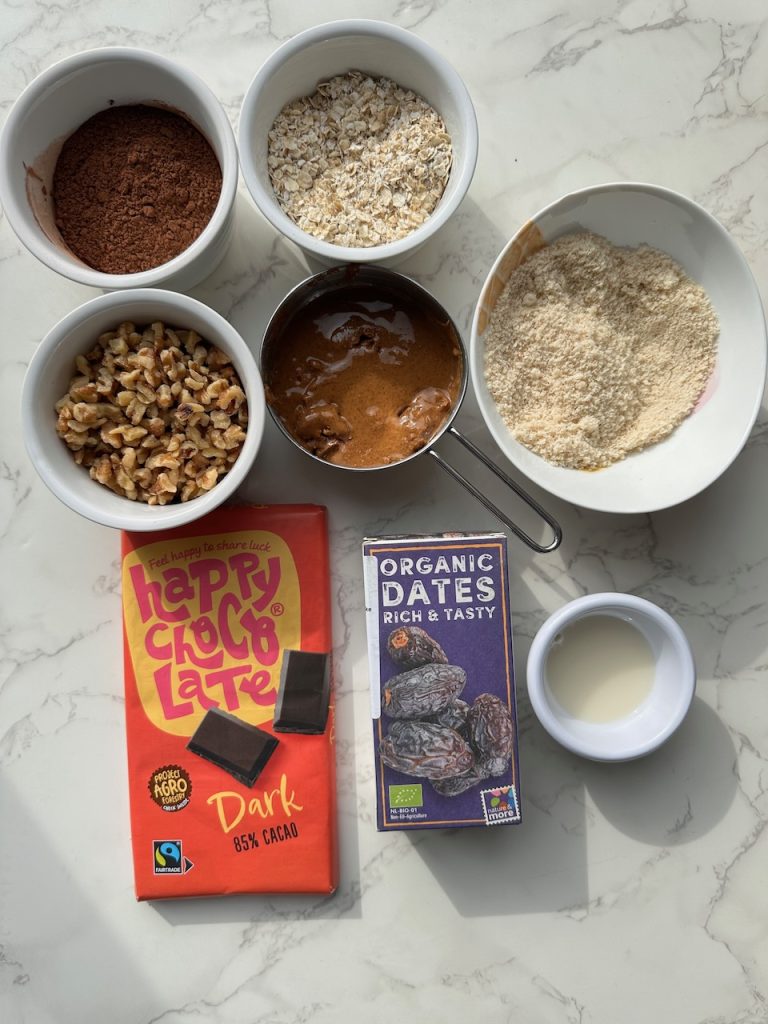
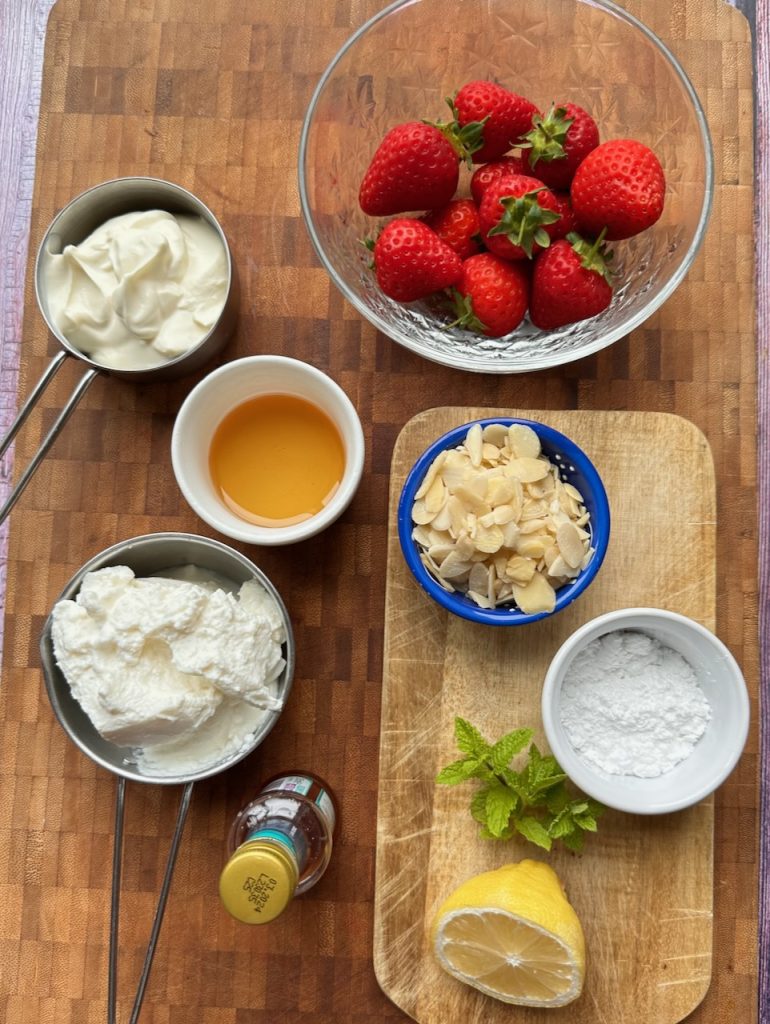
Ingredients: makes 16 squares
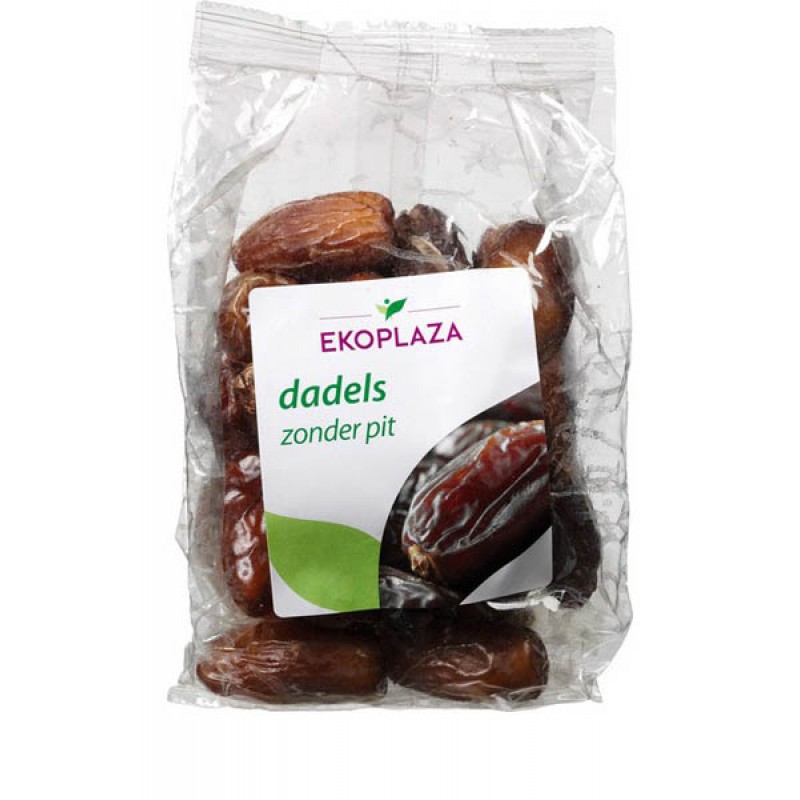
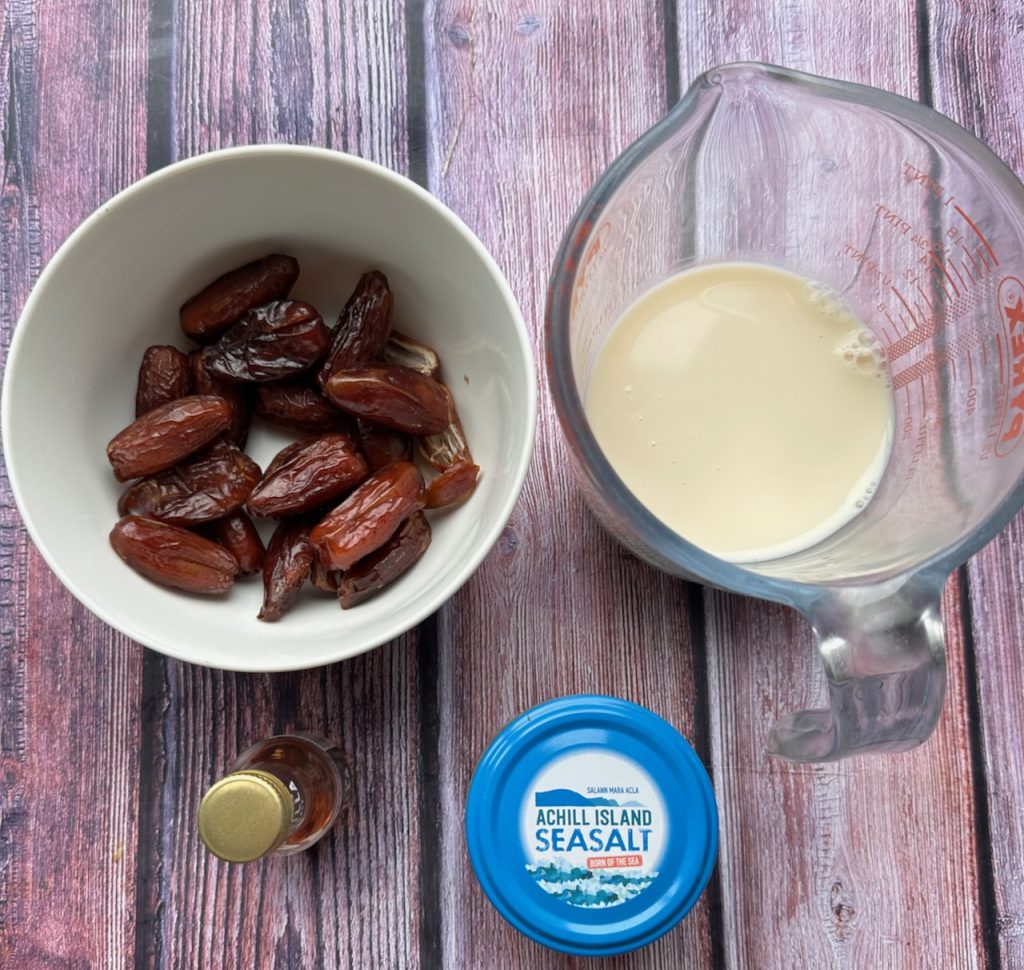
-150g – 1 cup medjool dates, stone removed
– 60g – 1/3 cup walnuts, chopped
– 40g- 1/3 cup ground almonds
– 40g – 1/3 cup cocoa powder
– 40g – 1/2 cup oats
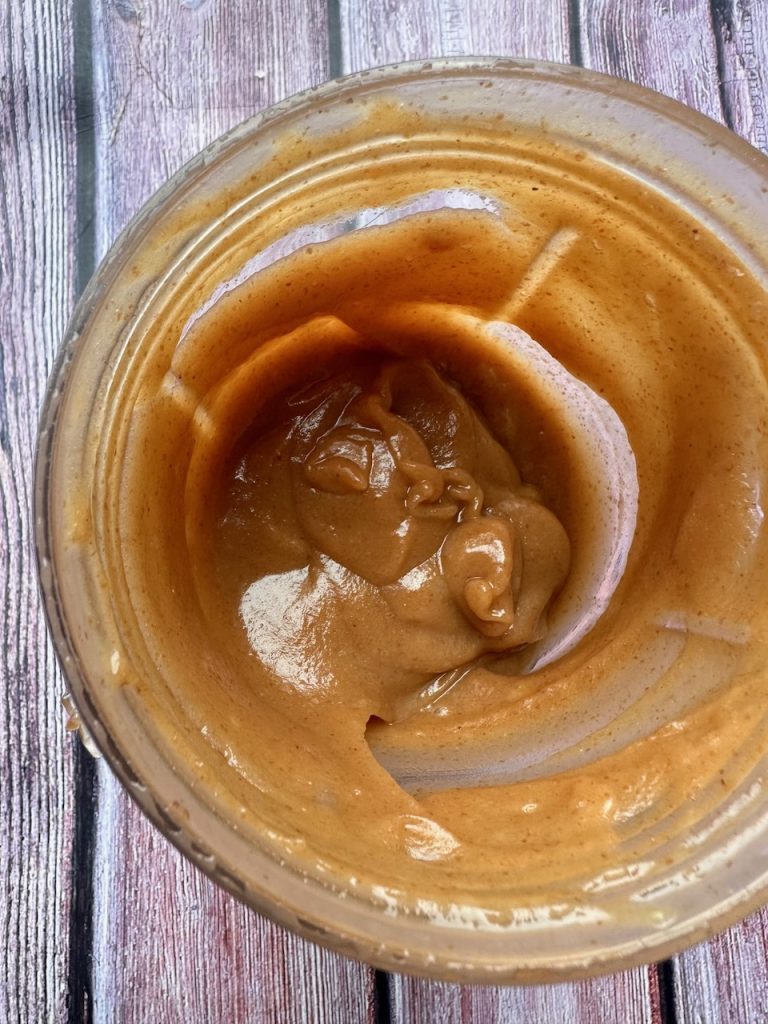
– 110g – 1/3 cup smooth peanut butter
– 2-4 tbsp boiled water
– 150g Dark chocolate bar plus 1 tablespoon coconut oil
**Taste the mix -feel free to add a dash of maple syrup or honey if it tastes bitter.
Method:
Step 1: Line a 8inch square tin with parchment paper.
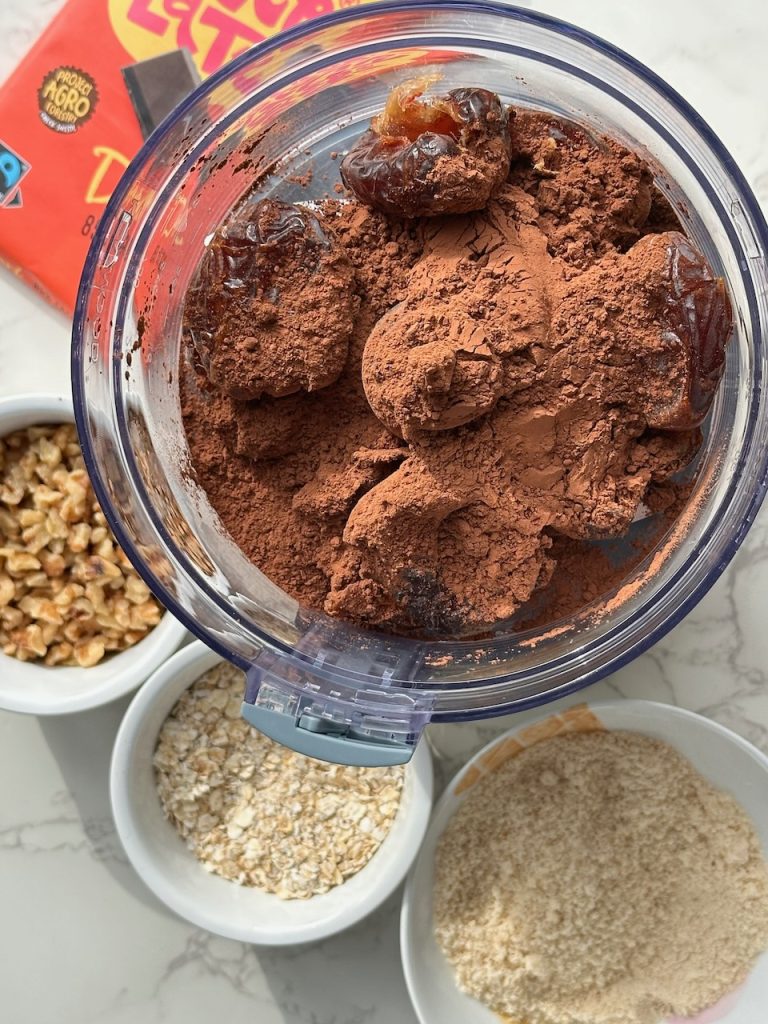
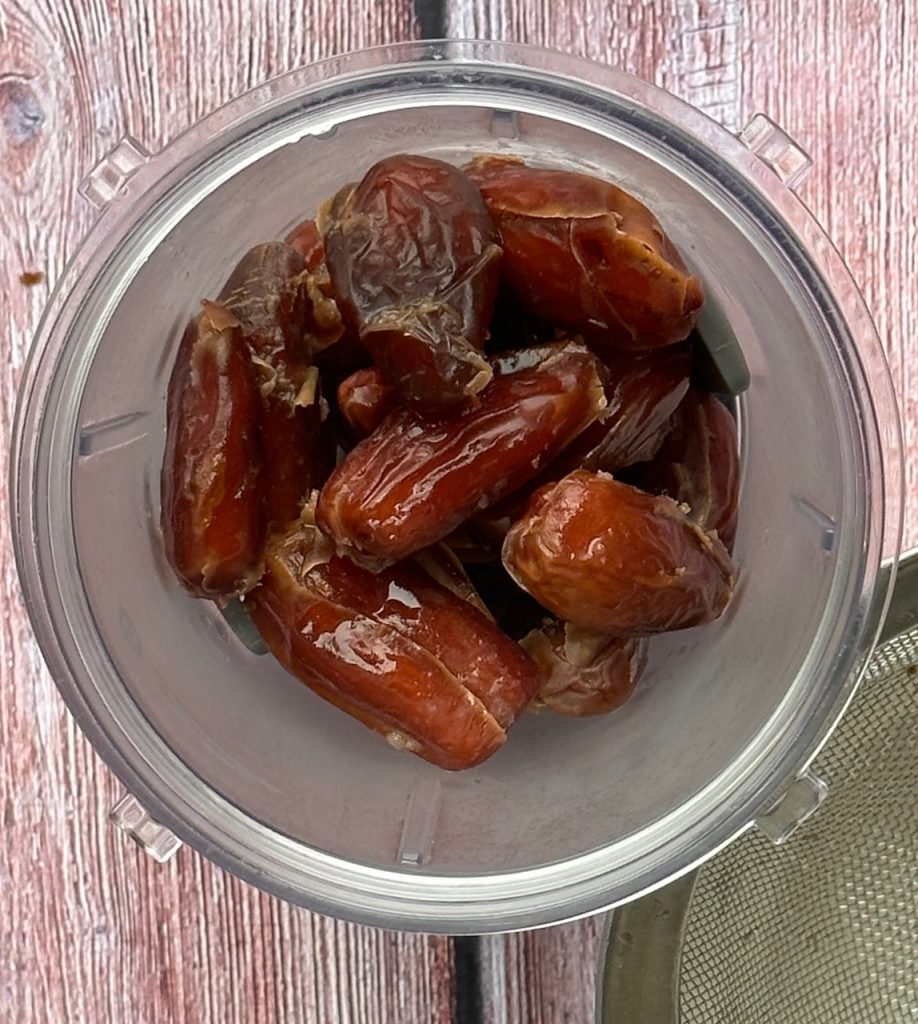
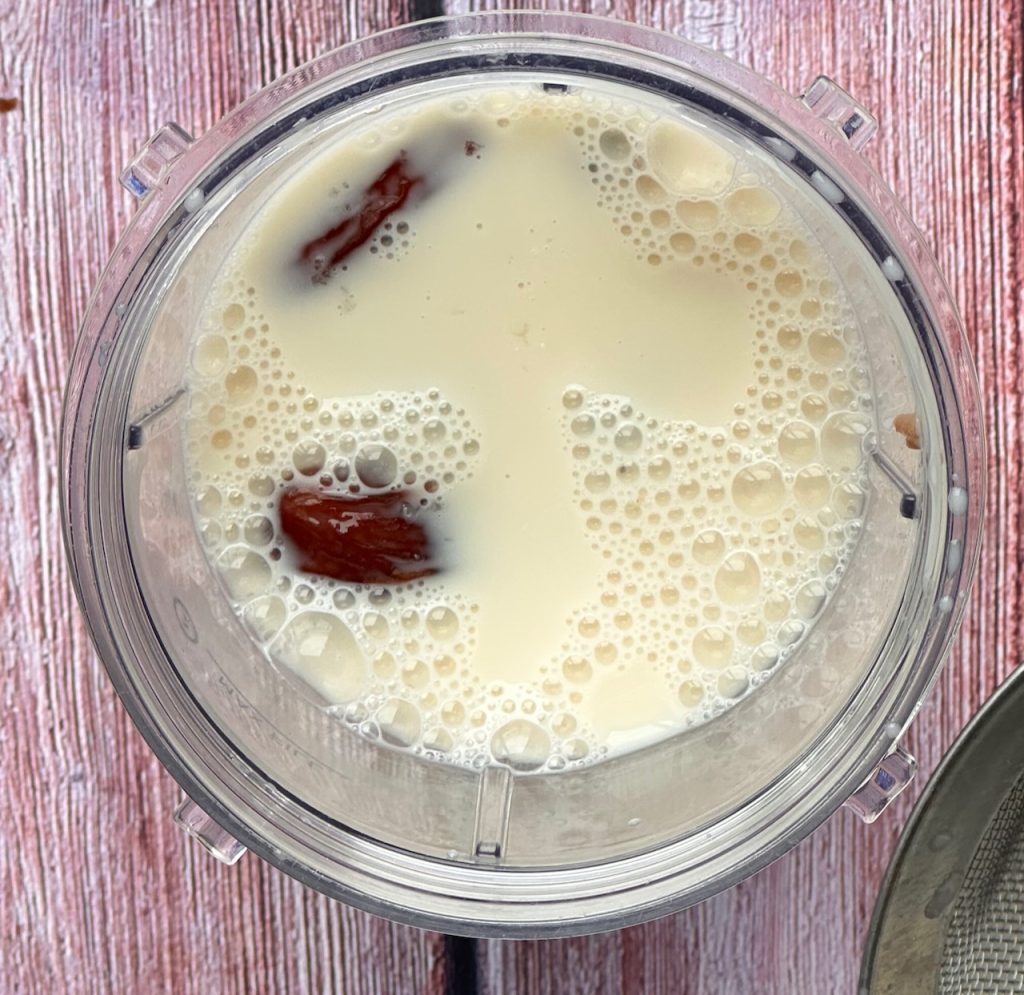
Step 2: If using medjool dates, remove the stone and add them straight to the blender. If using regular dried dates, soak in boiling water for 5 minutes, then discard the water.
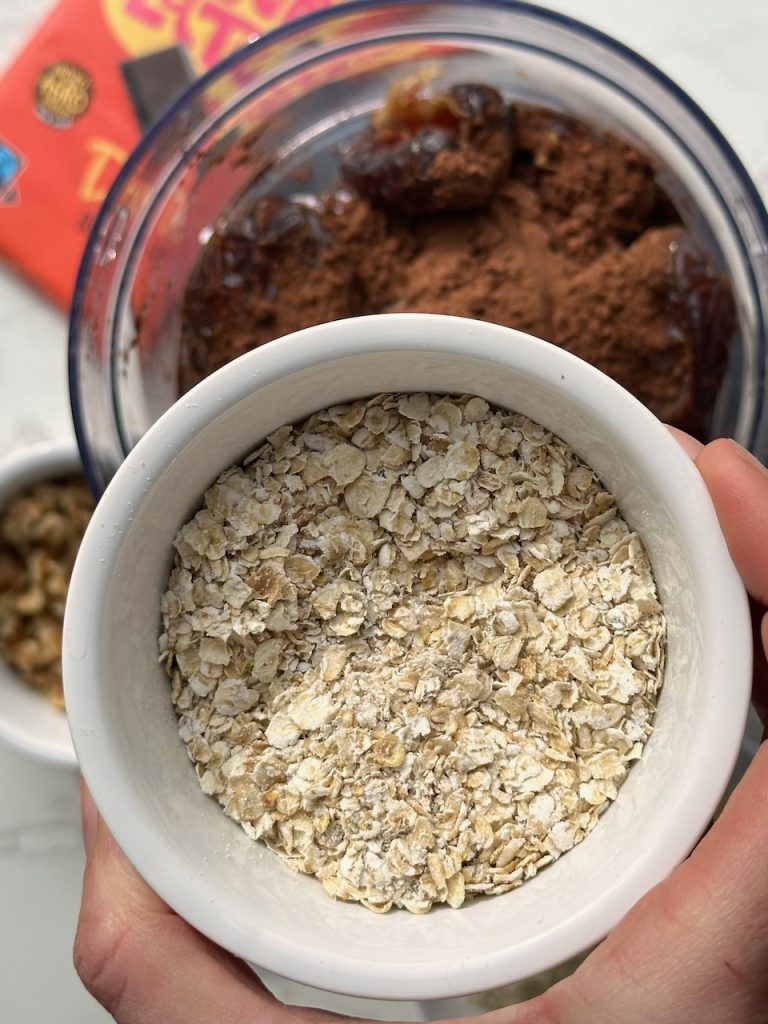
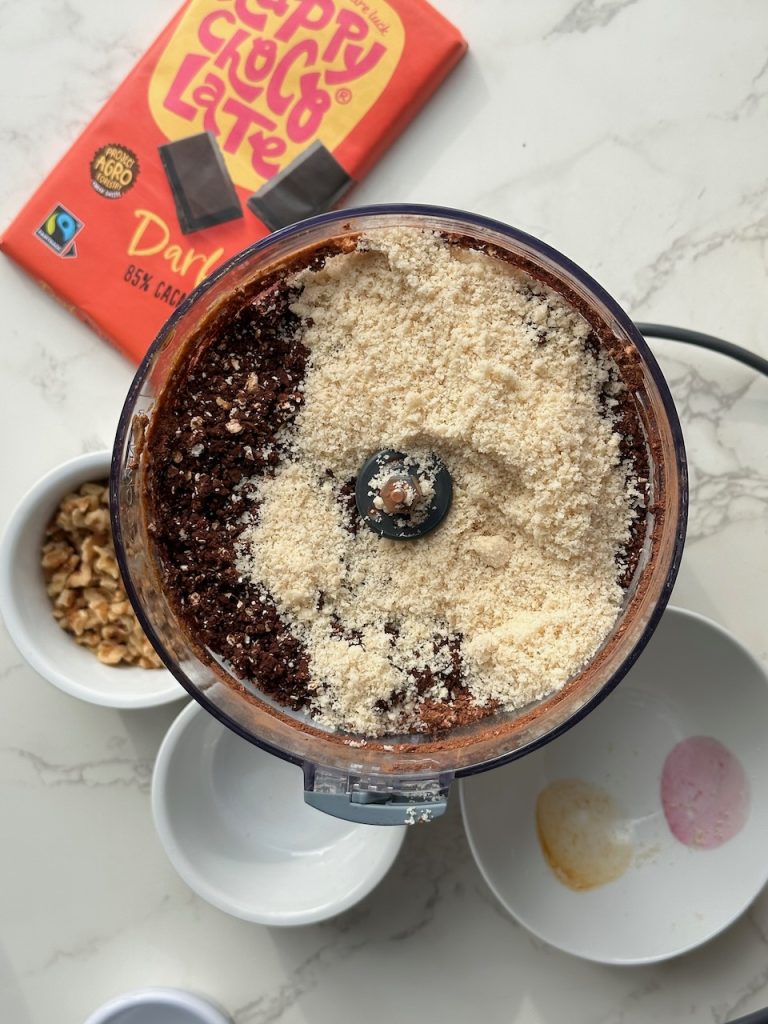
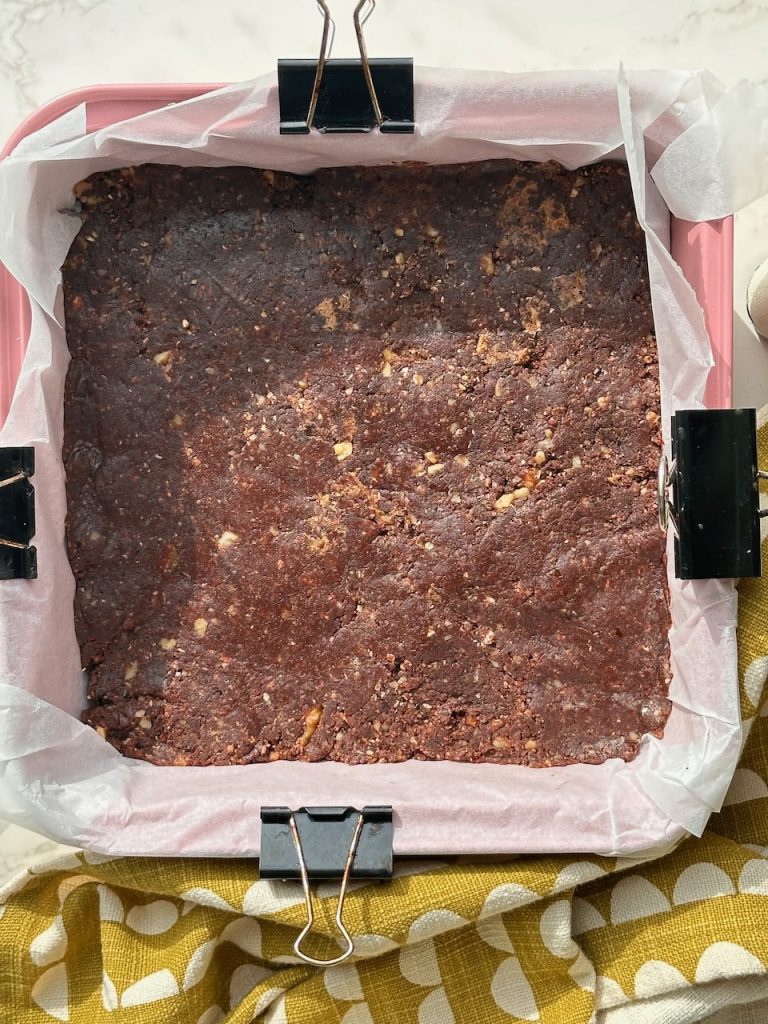
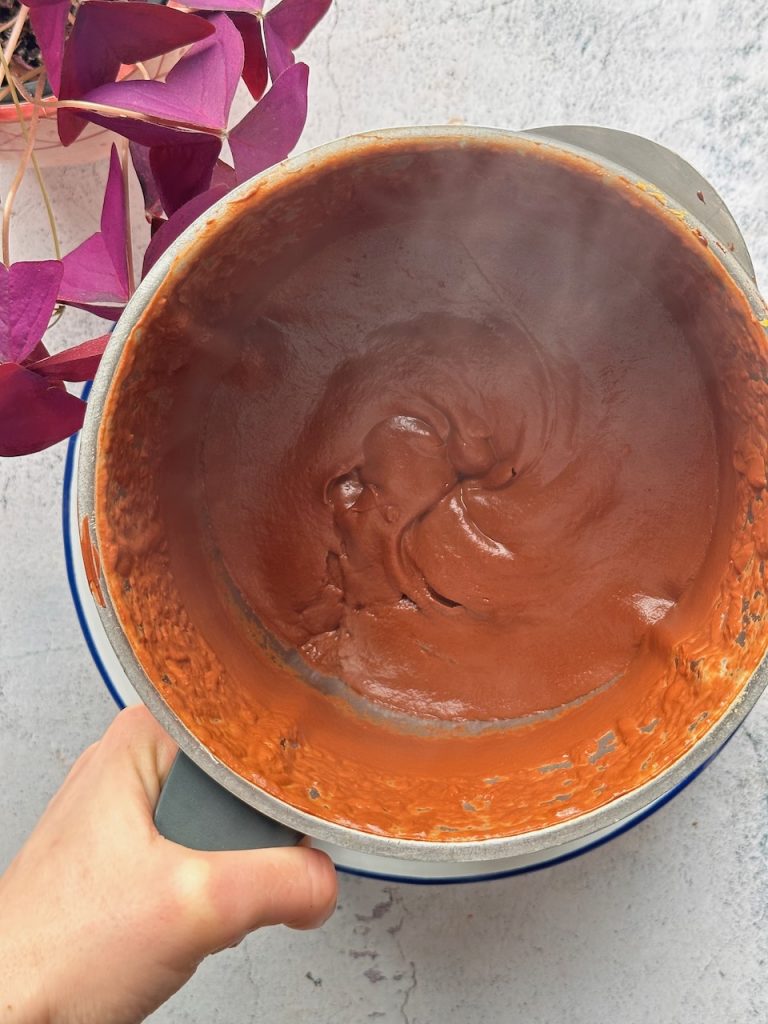
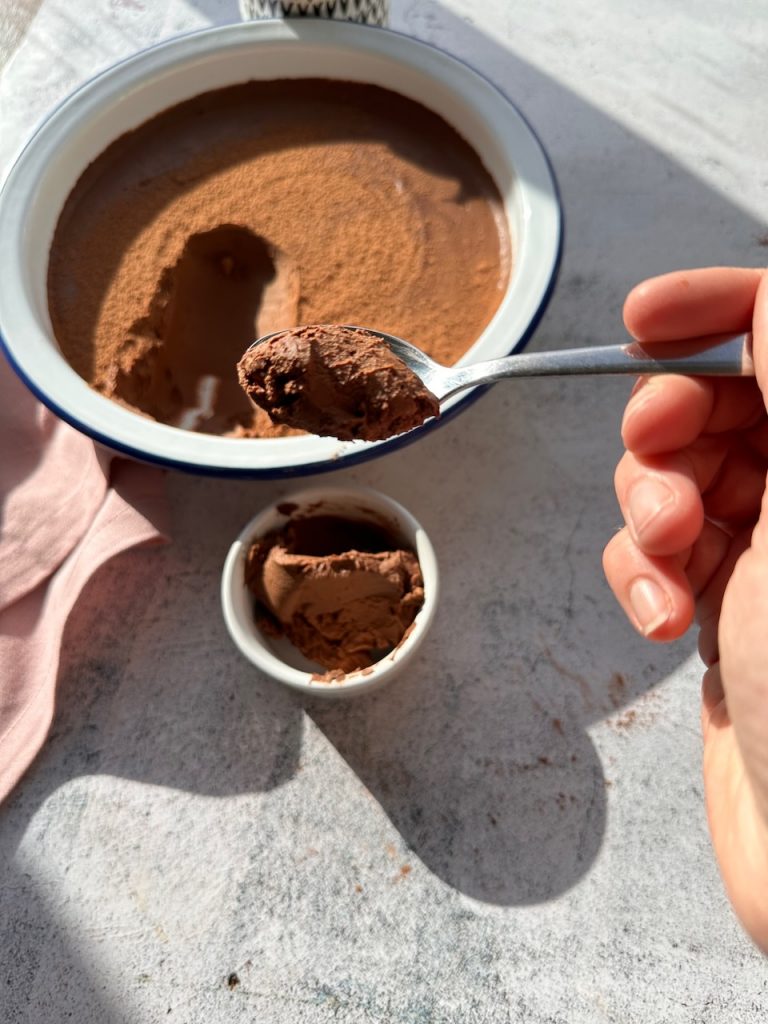
Step 3: Add the dates, ground almonds, cocoa powder, oats and peanut butter to a blender. Blend until smooth. Add a tablespoon or 2 of boiled water if the mix is dry. Then add the walnuts and pulse. Check the texture with a spoon, if it sticks its ready, if its dry add a bit more water.
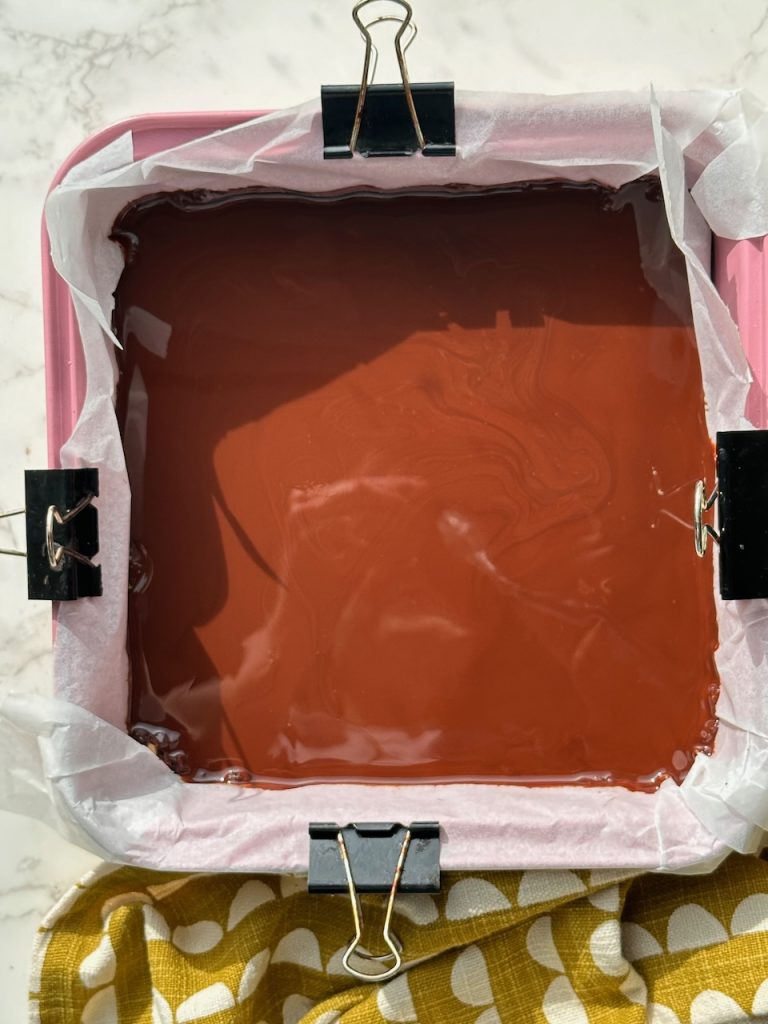
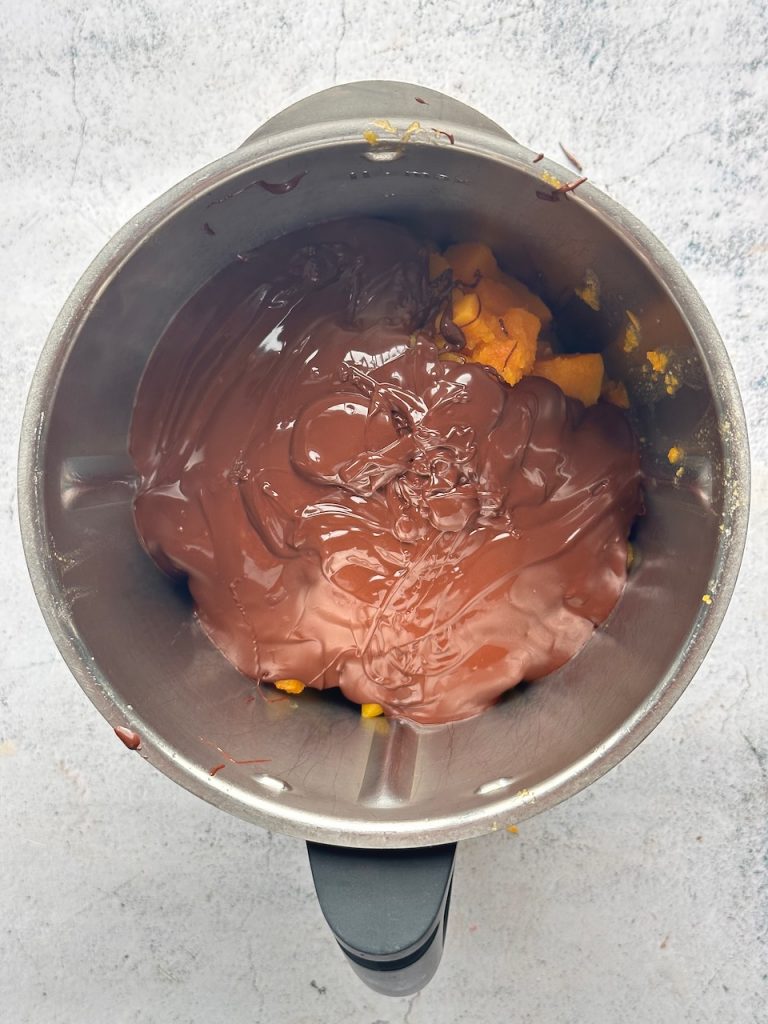
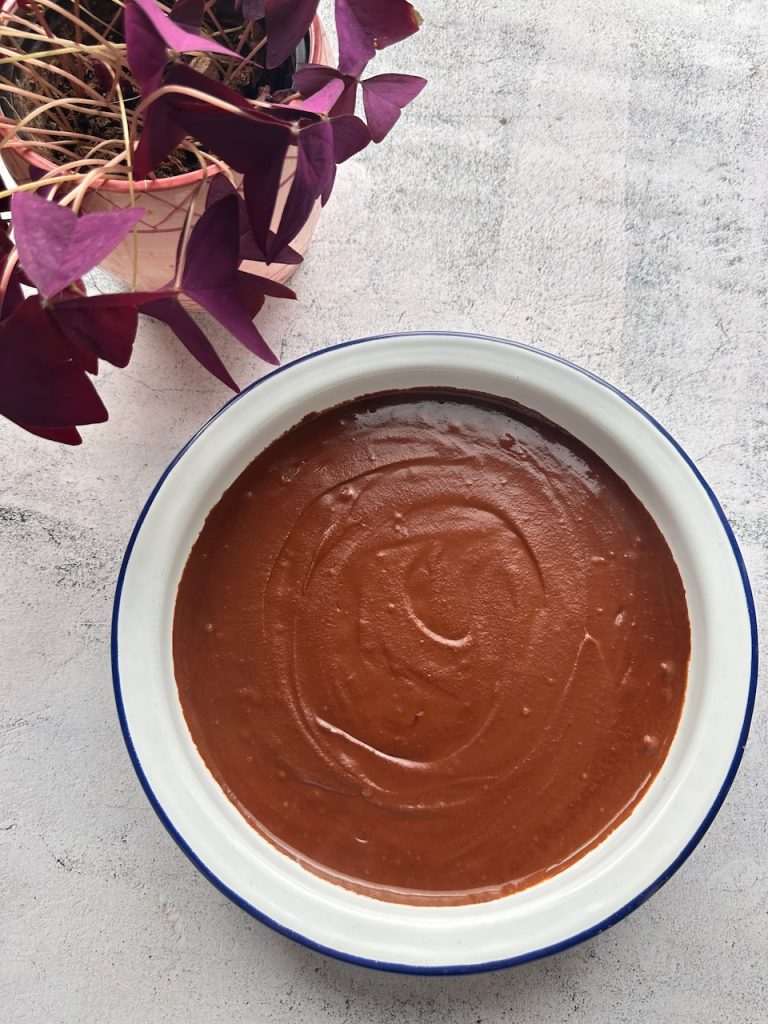
Step 4: Pour the brownie mix into the tin and press down with the back of a spoon. Try smooth it as best you can. Melt the chocolate and coconut oil in the microwave in short bursts (or in a pot over simmering water), then pour over the base and transfer to the fridge to set for an hour.
Take from the fridge and slice into squares.
This will keep in the fridge for 1 week or in the freezer for 3 months.
Enjoy