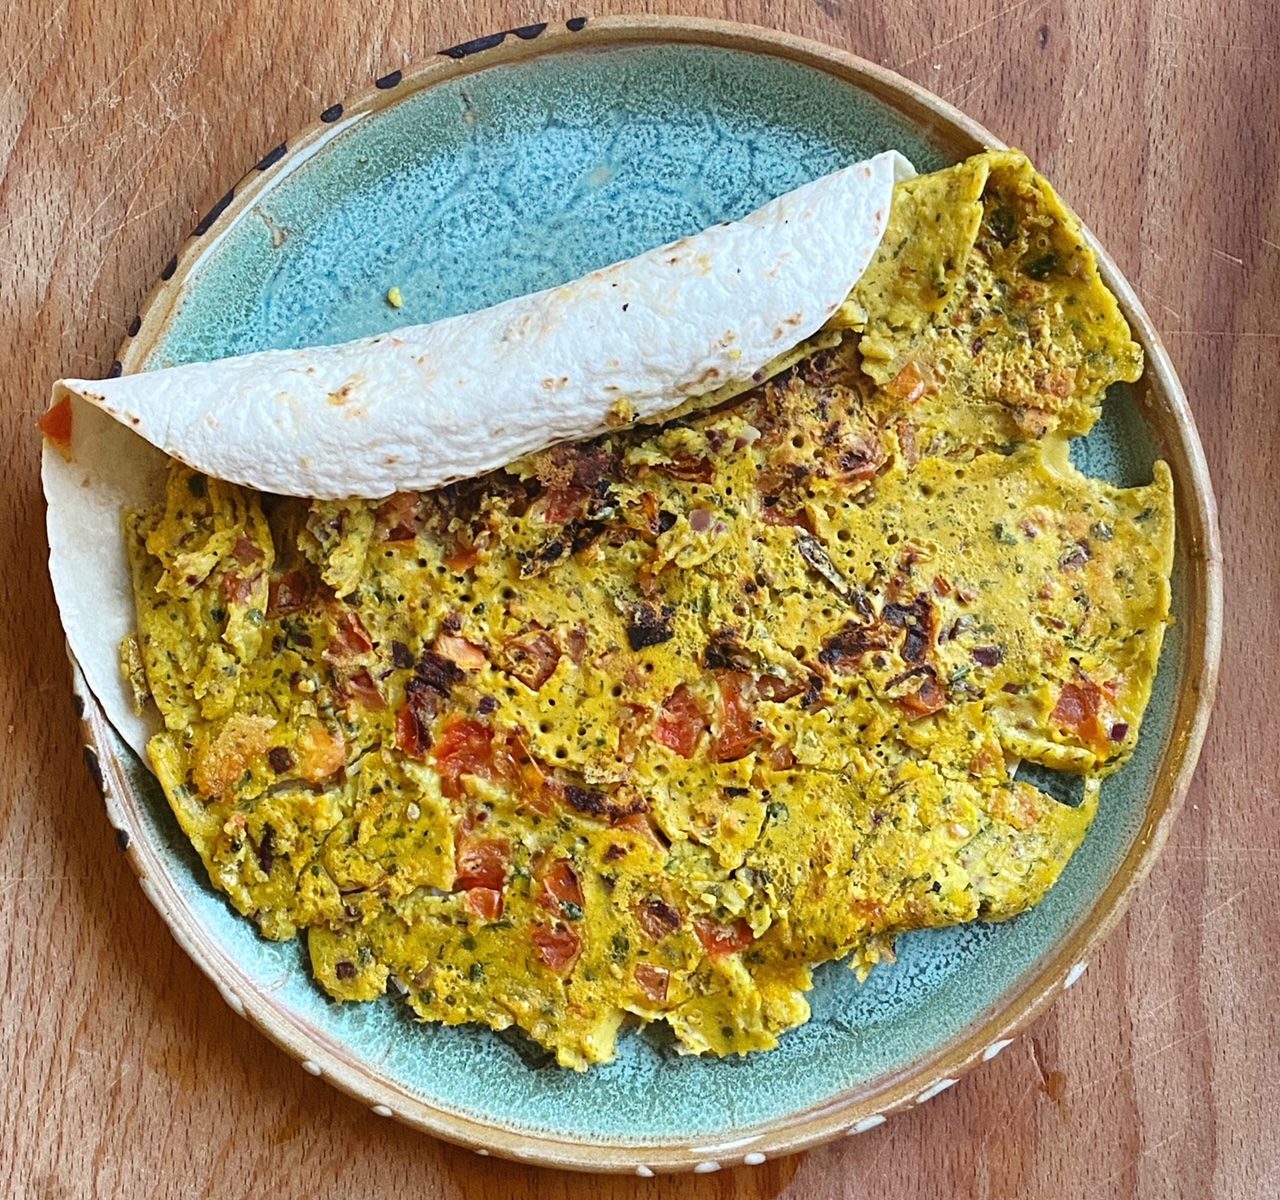
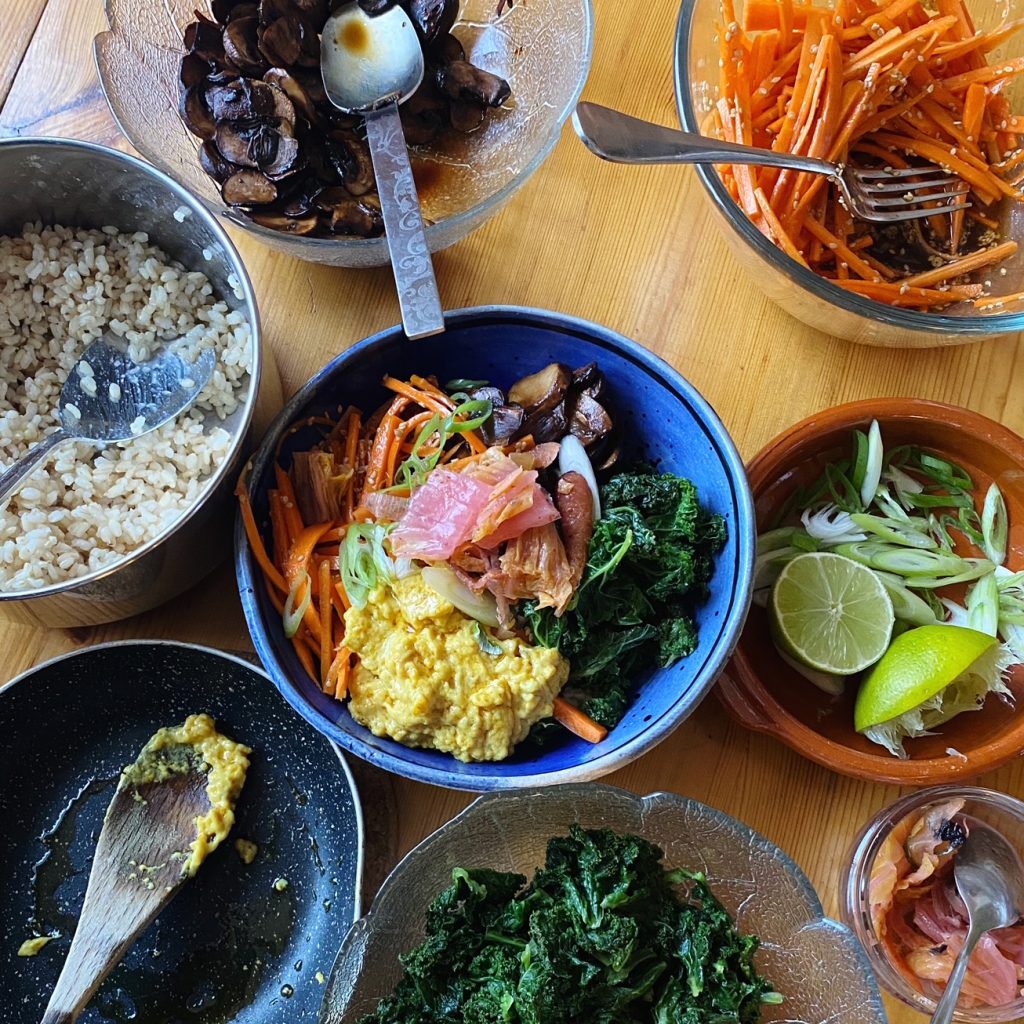
A simple mixture of chickpea flour, water and seasoning makes a really delicious batter that can be used to make egg free omelettes. Have you tried it yet? Delicious and so nutritious! Chickpea flour is high in protein, fibre and lots of vitamins and minerals. Stuff it with sautéed veggies and fresh herbs and you’ll be in brunch-heaven. Really you can make this recipe by eye and stuff it with whatever veg you like, but as a guide, here’s what I did to make two.
Liz x
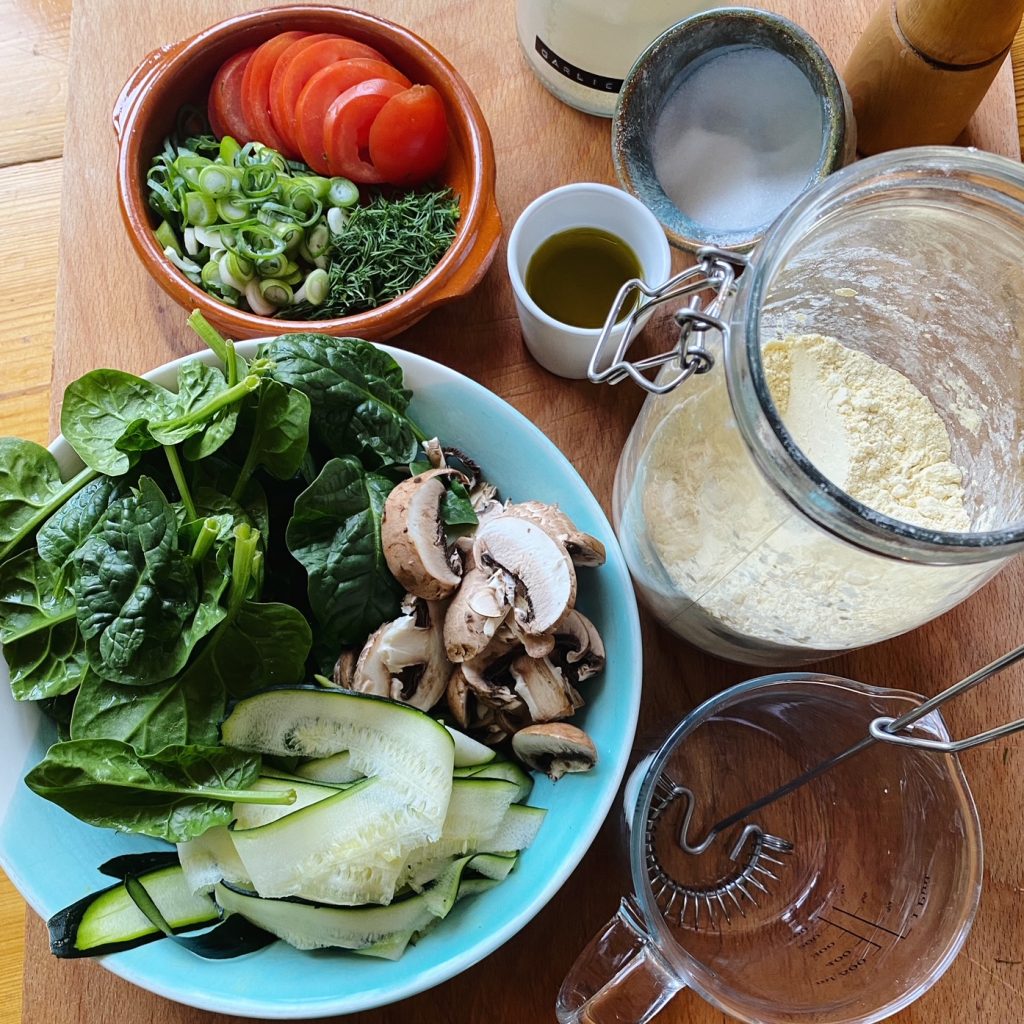
Ingredients (makes 2)
- 70g chickpea flour
- 100ml water
- 2 tbsp olive oil
- a handful of chopped dill
- 1 chopped scallion
- salt and pepper to taste
- 6 chestnut mushrooms, sliced
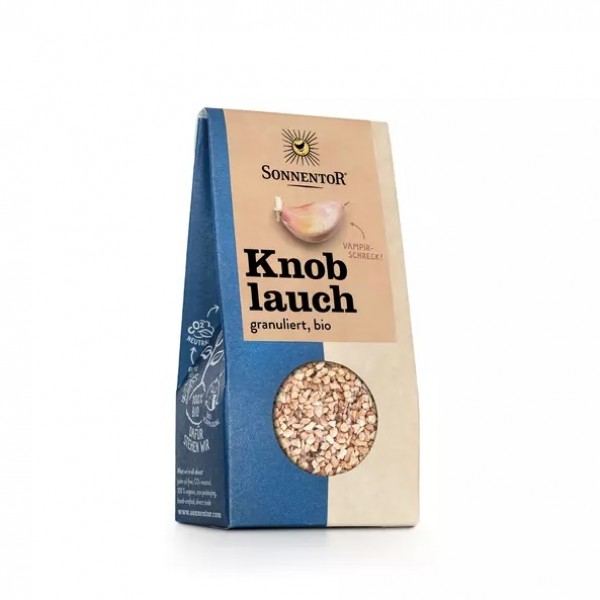
- 1/2 tsp garlic powder
- 1/2 a courgette, sliced into ribbons with a peeler
- 2 large handfuls of spinach
- 1 tomato, sliced
- 2 tsp butter for cooking the omelette
Method
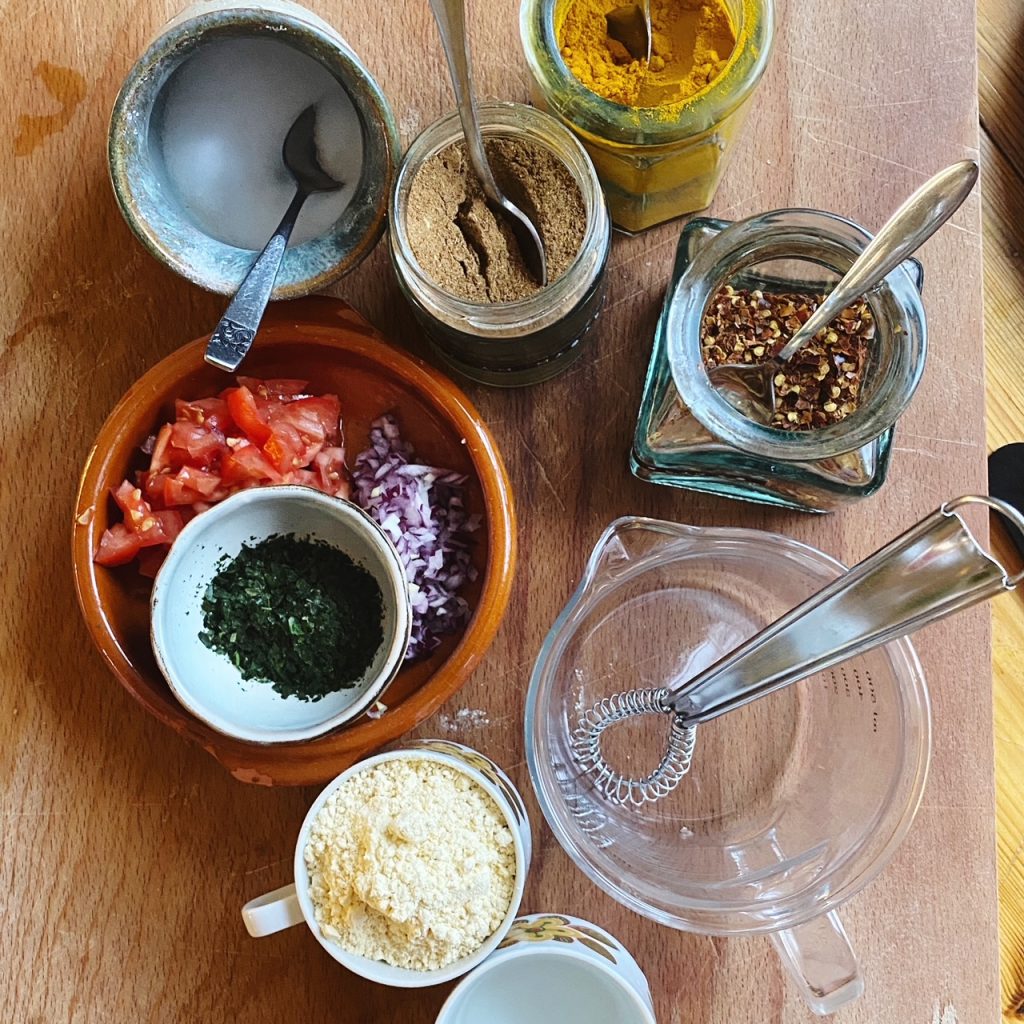
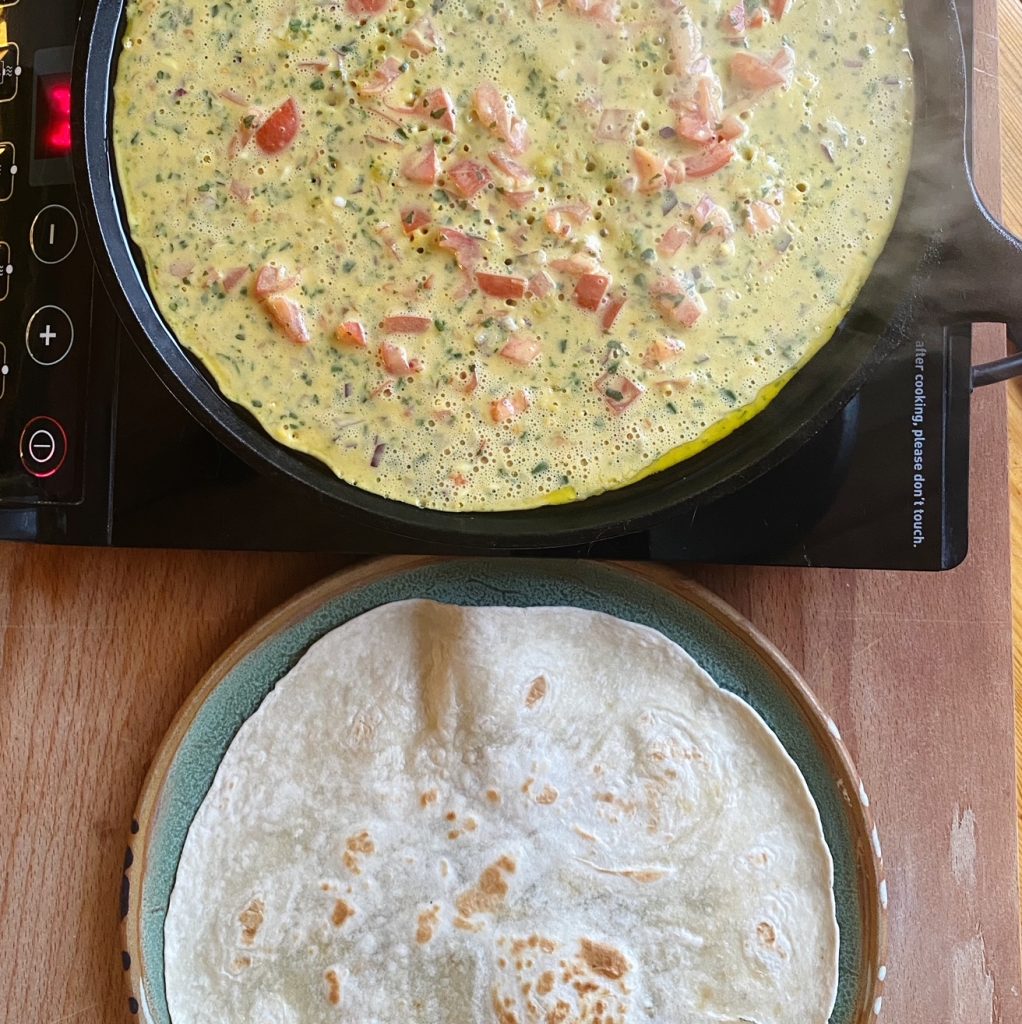
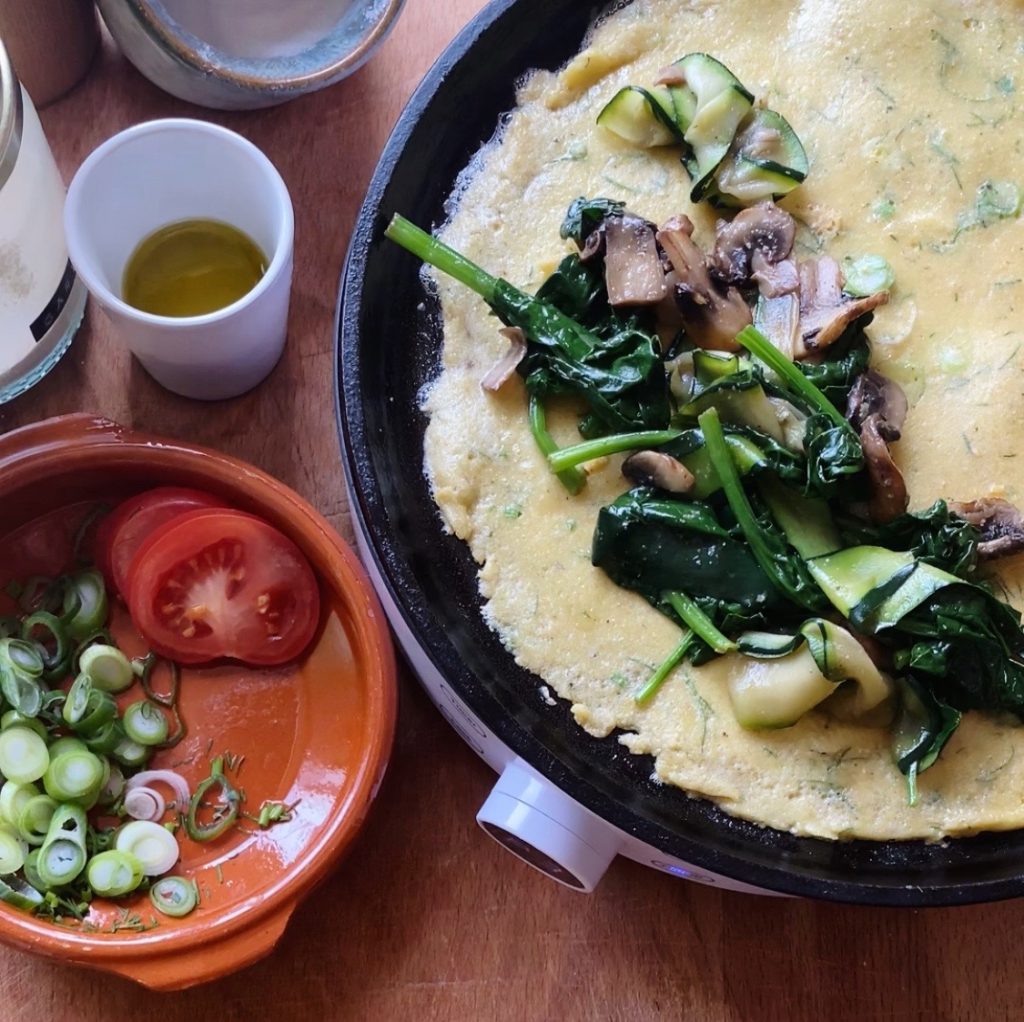
- Start by whisking the chickpea flour with the water into a smooth batter. Season with a pinch of salt, a grind of pepper and a handful of chopped herbs and half the chopped scallion. Stir in 1 tbsp of good olive oil to enrich the batter. Set to one side while you prepare the filling.
- In a non-stick pancake pan, sauté the mushrooms with the other tbsp of oil and a pinch of salt and pepper. Add the garlic powder to the pan once the mushrooms start to sweat. Add the courgette strips and spinach and stir fry for a couple of minutes until the spinach has wilted. Move the filling off the pan into a bowl and put the pan back over a medium heat.
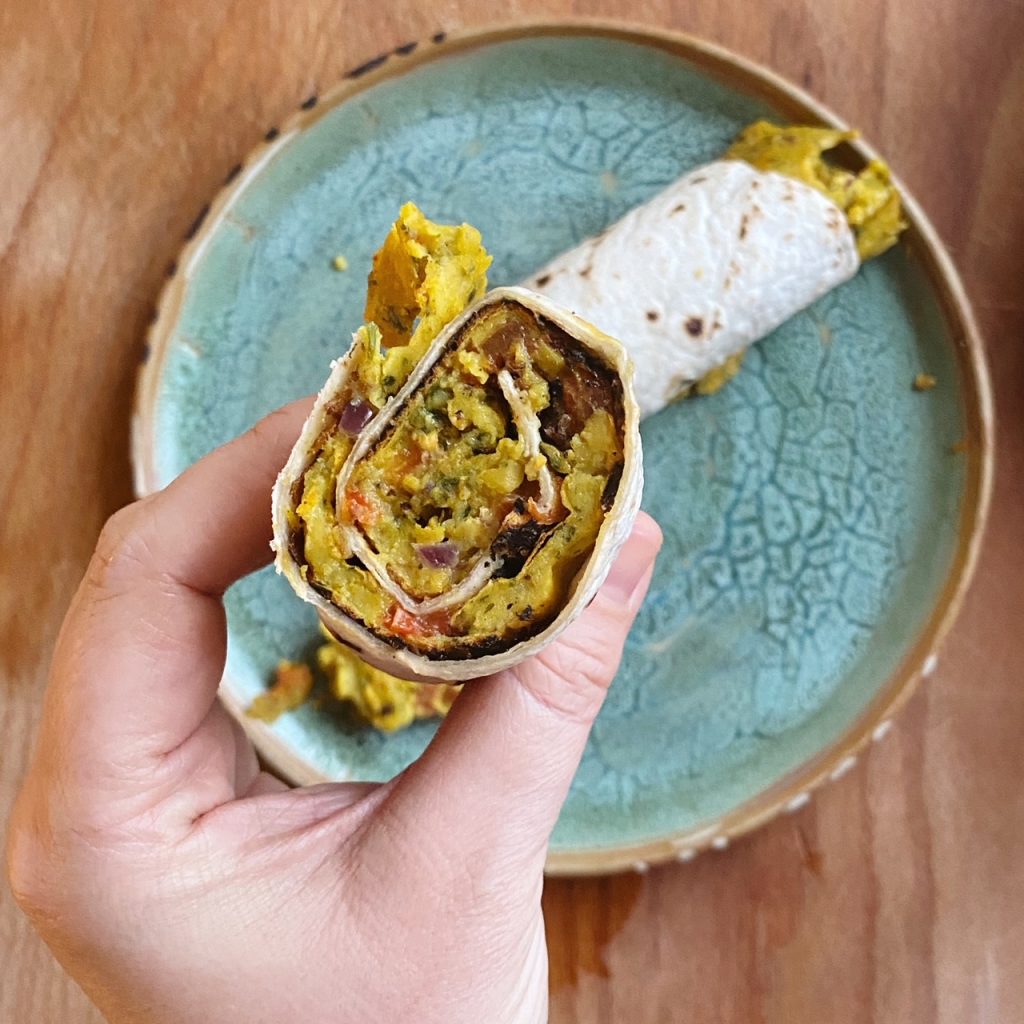
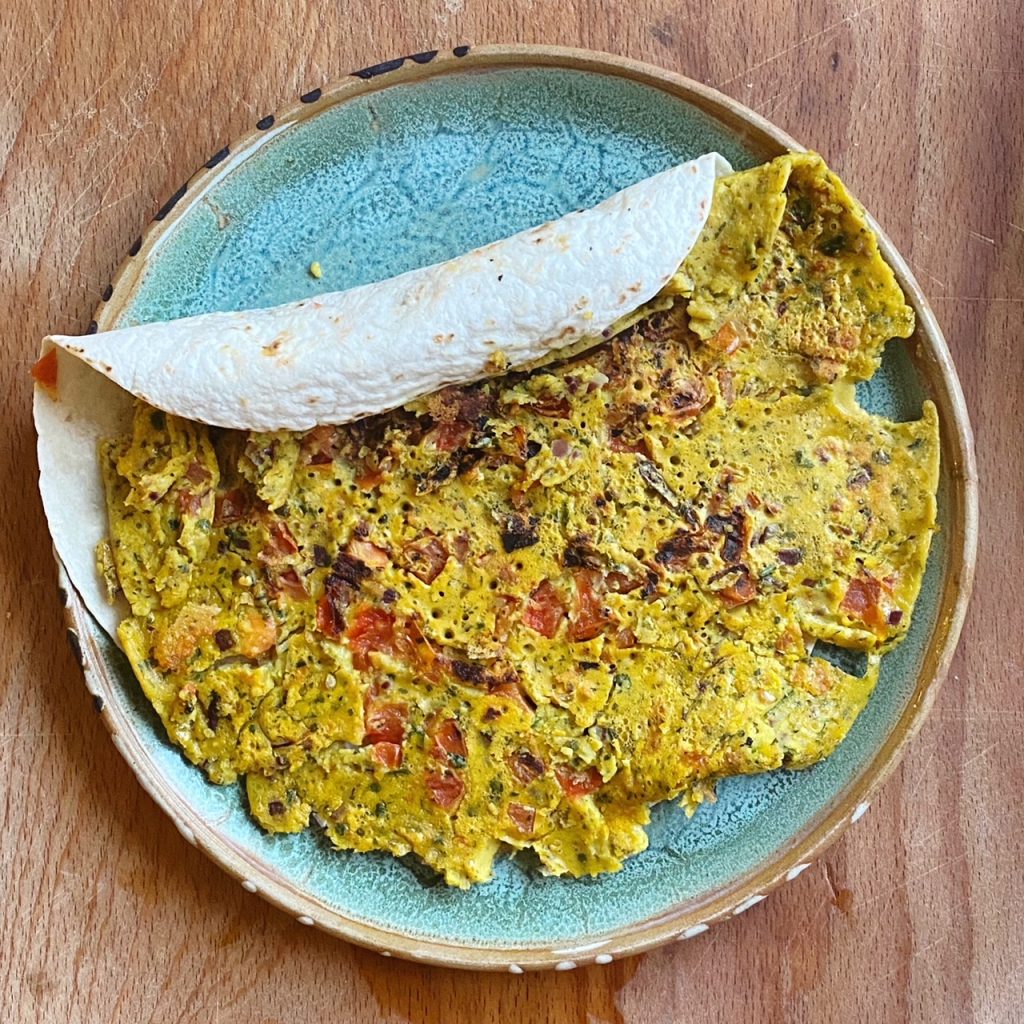
- Now melt a tsp of butter in the pan and pour in half the batter. Swirl and cook the omelette slowly until it is set. Then put half the filling on half the omelette and arrange half the tomato slices on top. Fold the omelette and serve with a sprinkle of scallions.
- Repeat with the other half of the batter and fillings and enjoy!