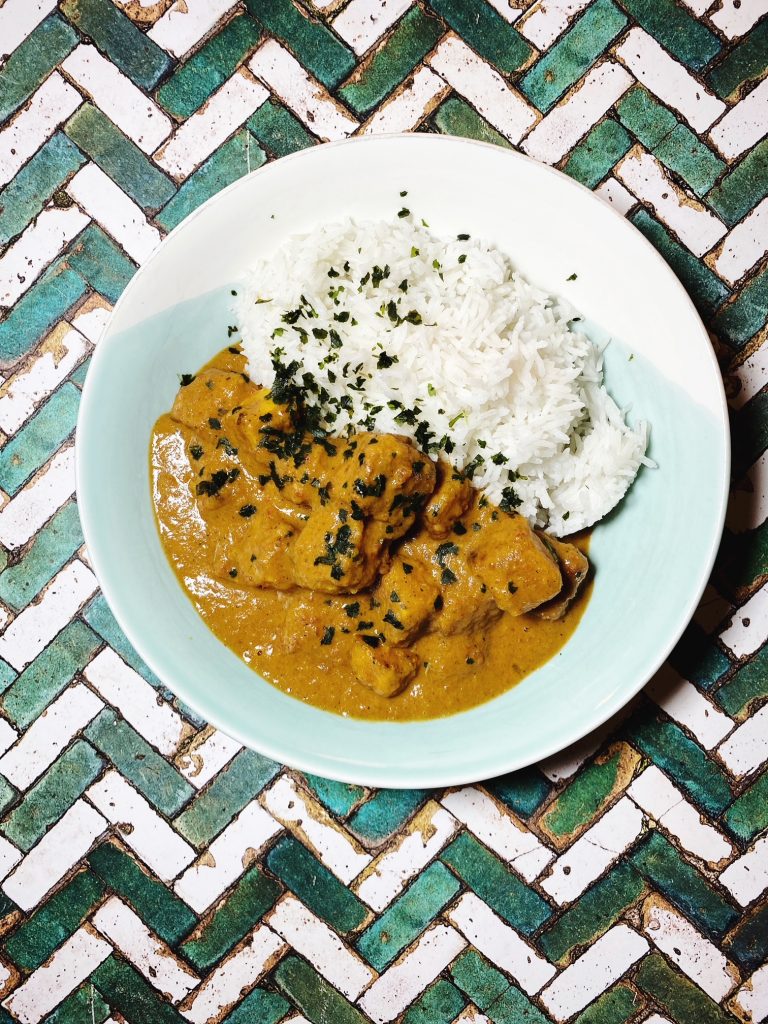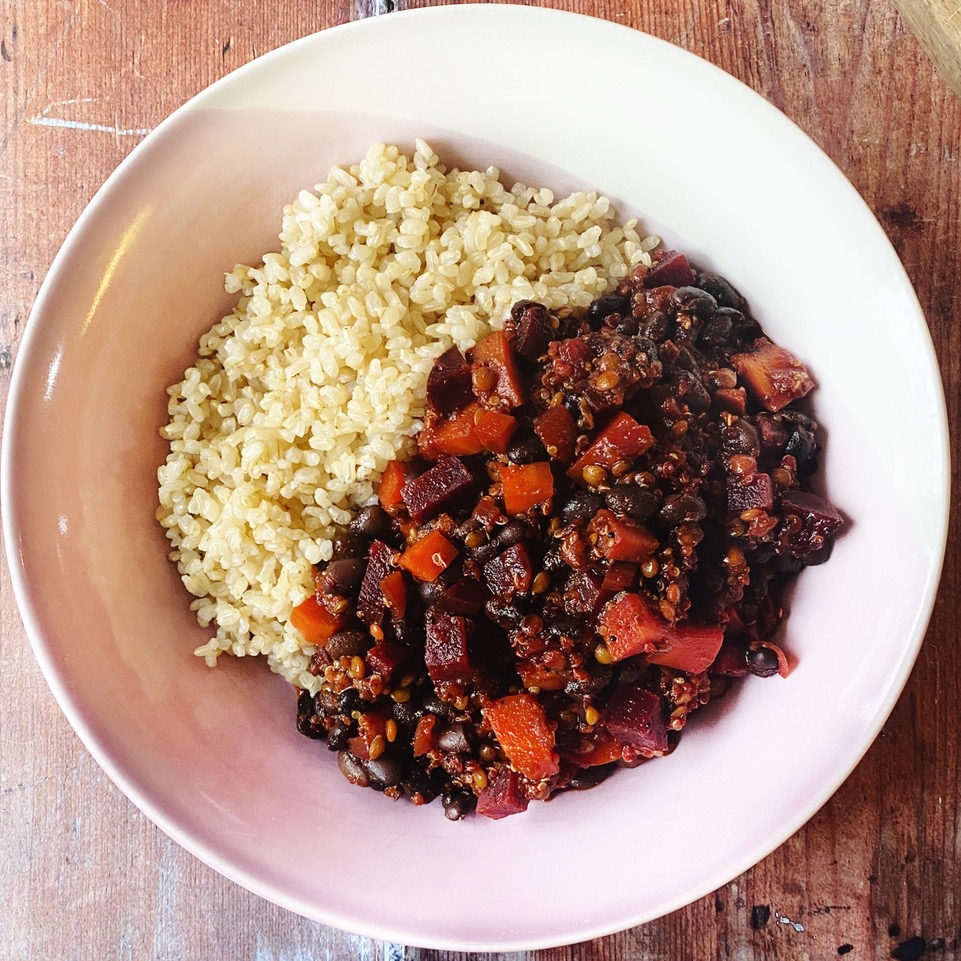

This is one of our favourite twists on an Indian takeaway. The traditional North Indian dish is ‘butter chicken’ and it’s all about that rich, creamy and buttery tomato gravy. It’s mildly spicy and savoury, popular with the whole family. This is the perfect store-cupboard supper too, just the thing for those days when you’re running low on fresh ingredients.
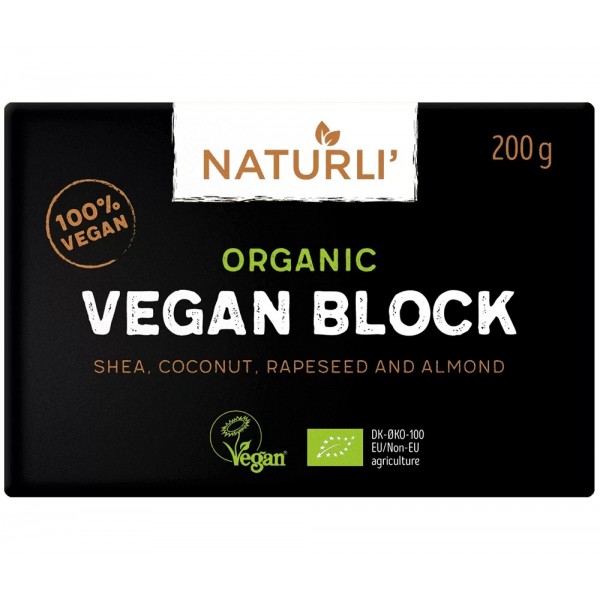
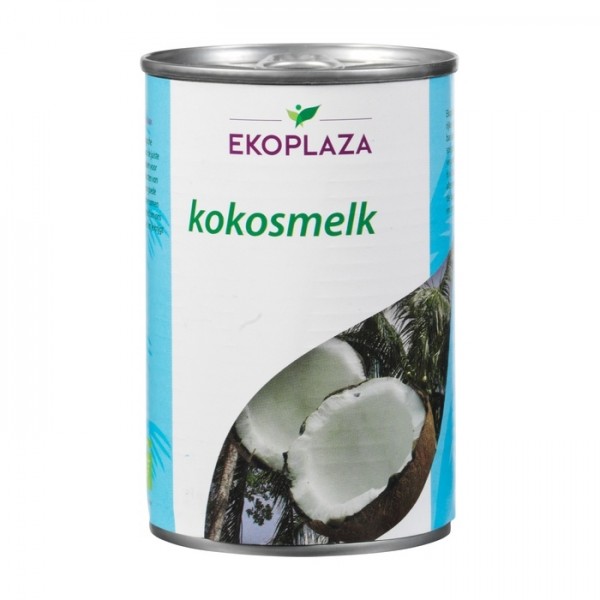
We have replaced the dairy in the traditional recipe with Naturli butter and creamy coconut milk. And in place of chicken, our extra firm blocks of organic tofu. We also love this recipe with cauliflower, chickpeas or chunks of aubergine or mushrooms in place of the tofu. Whatever you decide to cook and fold through this mouthwatering sauce, you are guaranteed to lick your plate clean. It’s that good!
Liz x


Ingredients (serves 4-6)
Sauce
- 50g butter
- 2 onions, quartered
- 5 cloves of garlic, peeled
- 1 tsp ground ginger (or a thumb of fresh)
- 1 tbsp curry powder
- 2 tbsp garam masala
- 1 tsp salt
- 1/2 tsp ground black pepper
- 2 tins chopped tomatoes
- 1 tin coconut milk
Tofu
- 6 heaped tbsp cornstarch
- 1 tbsp turmeric
- 1 tsp salt
- 1/2 tsp black pepper
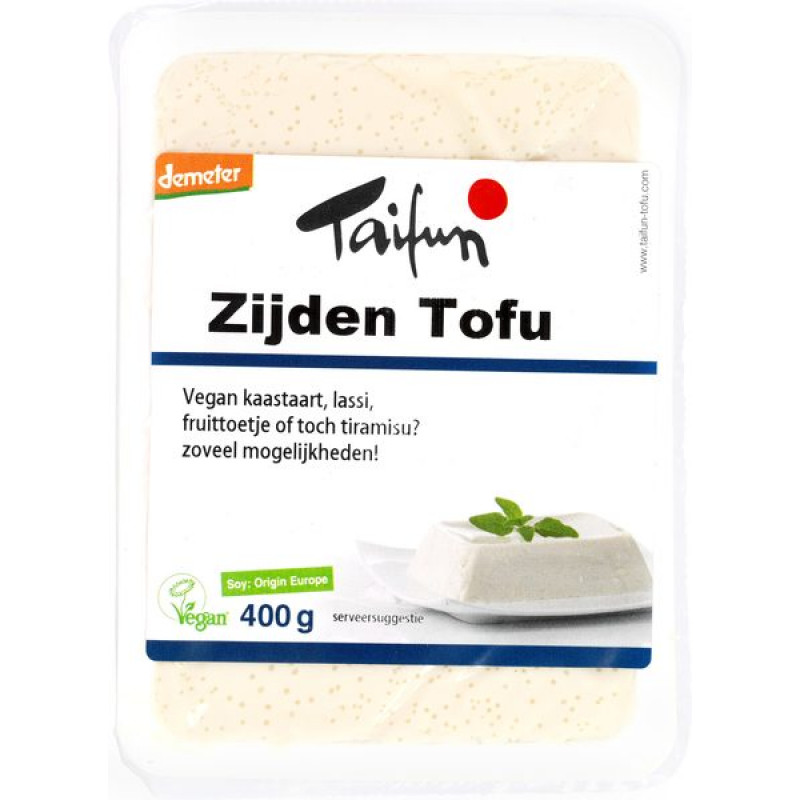
- 600g extra firm tofu, drained and cubed (or sub with cooked chickpeas, cauliflower florets or cubed aubergine or mushrooms)
- 50g butter
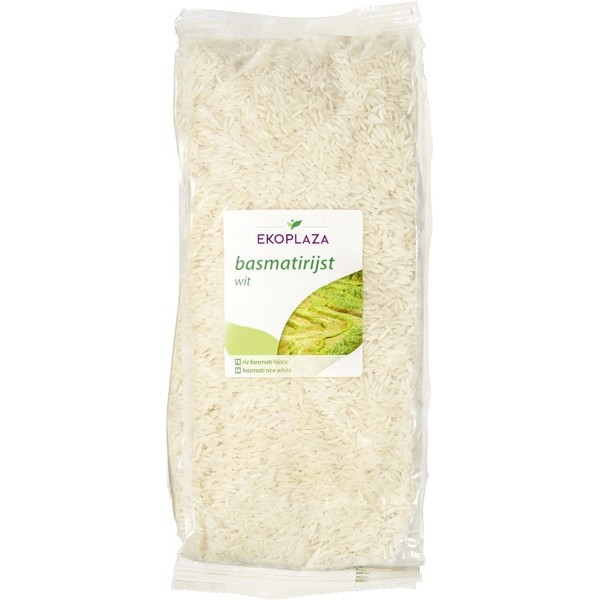
- Basmati rice and fresh coriander to serve

Method
- Start with the sauce. Put the onion, garlic, spices and seasoning into a blender and blend into a thick paste. Fry the paste in a heavy bottomed, deep saucepan with the butter for 10 minutes or until dark brown and very fragrant.
- Empty the two tins of tomatoes into the blender and blend them until smooth too. Add to the curry paste and simmer and stir for a further 10 minutes until the sauce is rich and slightly reduced.
- Add the tin of coconut milk, stir and taste for seasoning. Keep the sauce warm while you cook the rice and tofu.
- Drain your blocks of extra firm tofu and cut into bite sized cubes. If you are subbing with vegetables, cut into bite sized pieces and dunk in milk. In a wide bowl, mix the cornstarch, turmeric, salt and pepper. Tumble the tofu into the bowl and use your hands to mix well and ensure each piece is coated in the seasoning. (If you are using vegetables, dunk the veg in the milk first then roll in the seasoned cornstarch).
- Heat up a large frying pan (or two) and add the butter. When it starts to melt, add the coated tofu (or vegetables) and cook on a medium-high heat until crispy and golden on the bottom. Then carefully turn the pieces to cook on the other side. Keep turning and cooking until the tofu (or vegetables) is golden brown, hot and crispy.
- Fold the cooked tofu (or vegetables) through the warm curry sauce and serve with basmati rice and chopped coriander.