Easter Dates

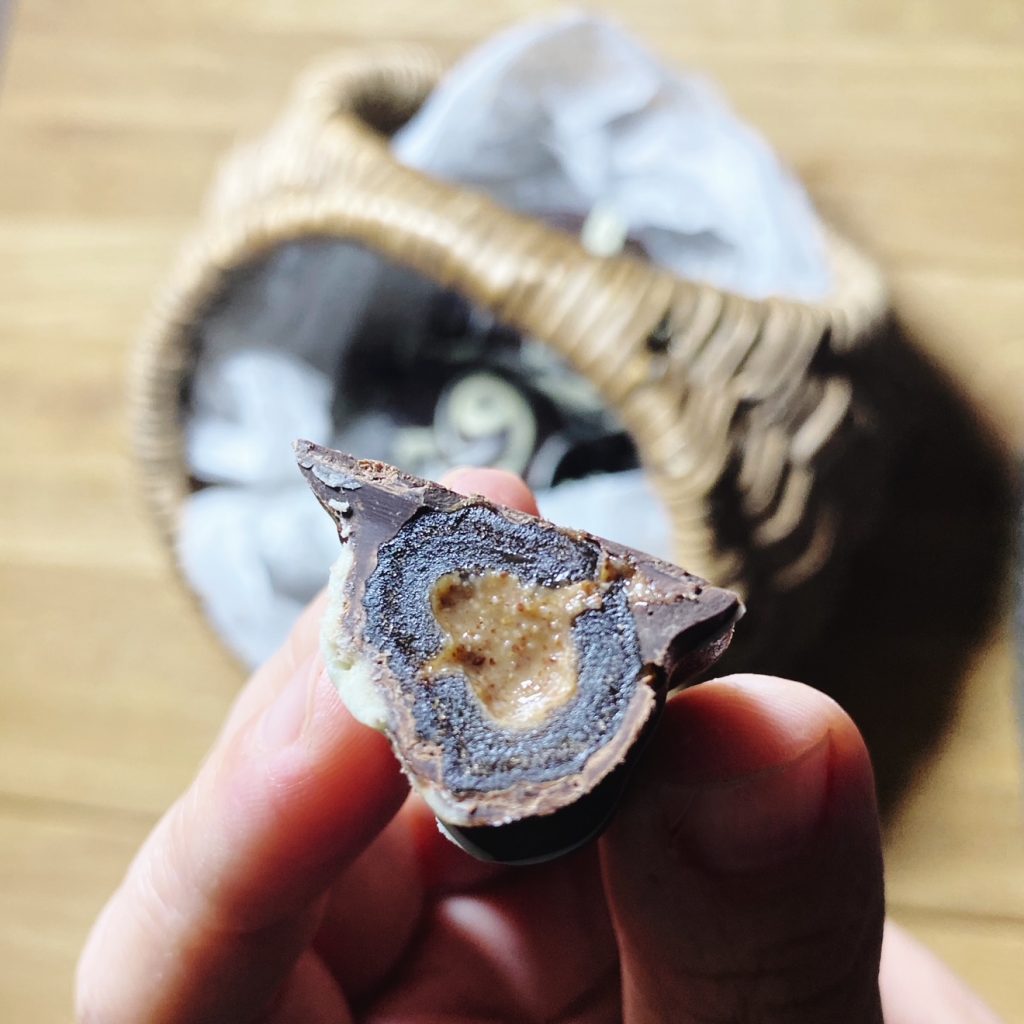
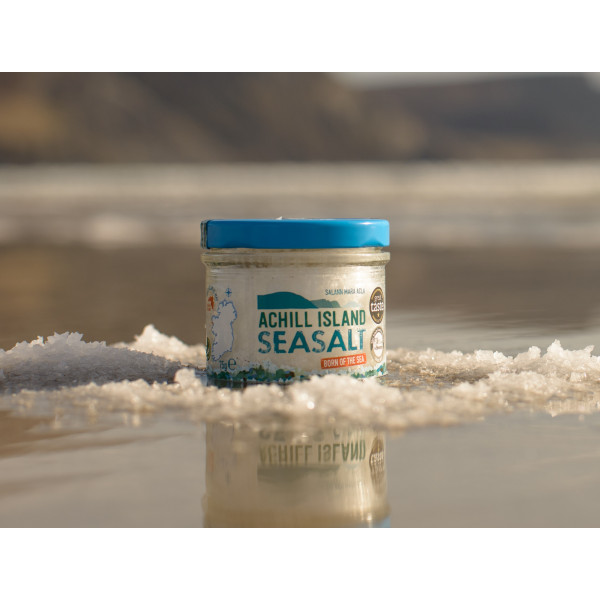
These sweet treats are so easy and fun to make. A delicious chocolate layer around a sticky date (which tastes just like caramel), stuffed with nut butter – this treat is reminiscent of a snickers bar, but the quality ingredients make it so much better! You can customise them to your taste using your favourite chocolate, nut butter and decorations. I’ve gone for a white chocolate drizzle here, but crushed hazelnuts or desiccated coconut make delicious decorations. Or try some Achill Island flakey sea salt to offset the sweetness of the dates? I’d love to see your re-creations. Tag us on social media or share in the comments below.

Liz x

Ingredients

  • Pitted dates
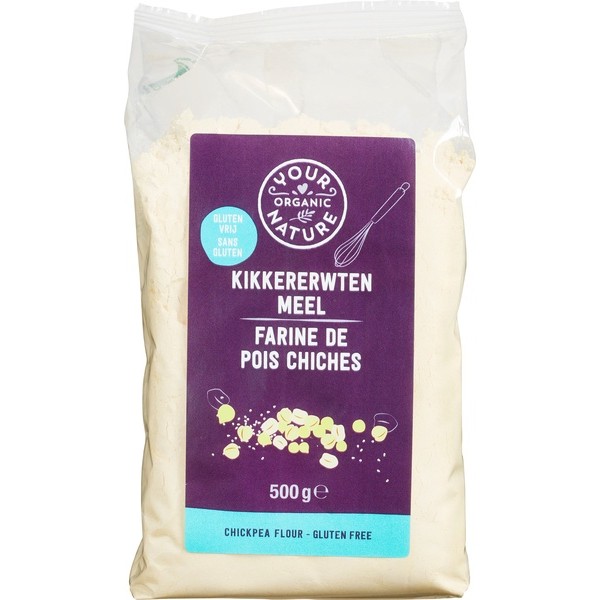
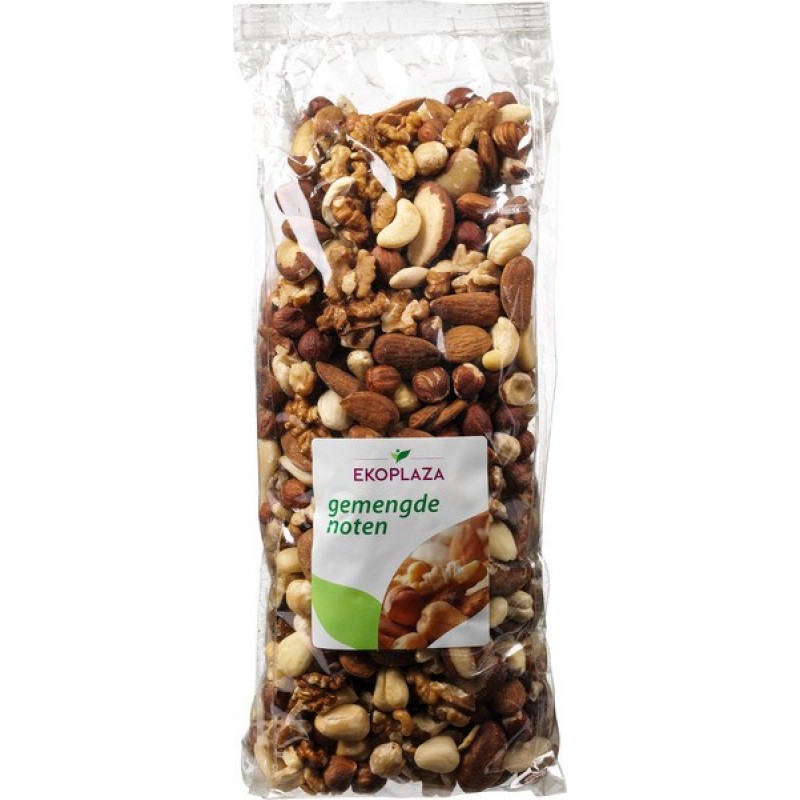
  • Your choice of nut or seed butter (we stock peanut, almond, hazelnut and tahini works well here too – or you can make your own nut butter, it’s easy! Simply blend roasted nuts or seeds into butter with a pinch of salt. We sell organic nuts and seeds in compostable bags here.)
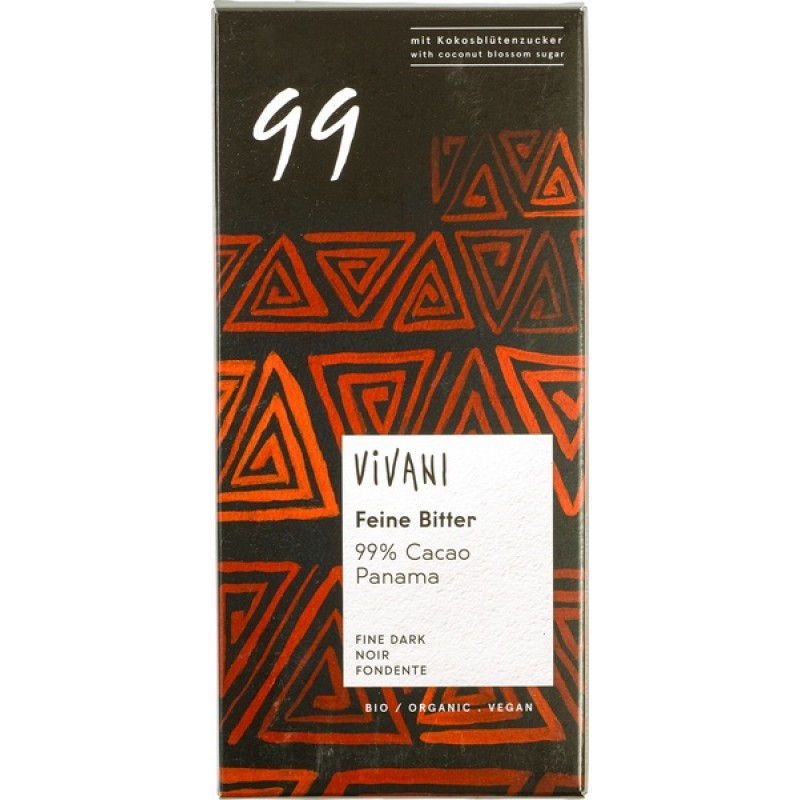
  • Your choice of chocolate (we stock a really good range of ethically sourced, organic chocolates here.)
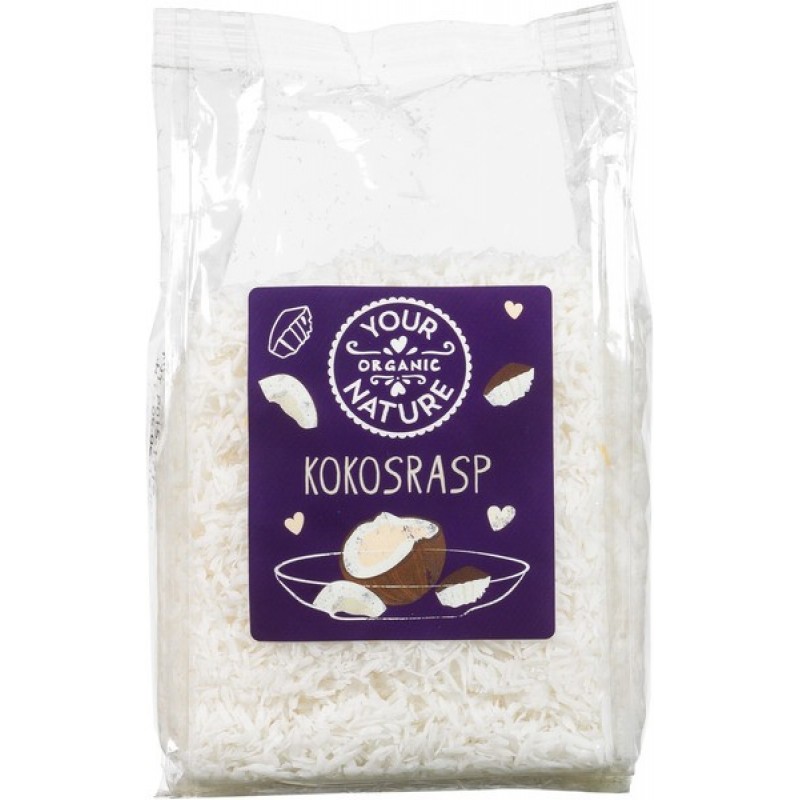
  • Your choice of toppings or decorations eg white chocolate, crushed nuts, desiccated coconut, sea salt flakes

Method

  1. Gently melt chocolate in a bowl over a simmering pot of water. Place a sheet of baking parchment on a tray or chopping board.
  2. Open up a date and stuff it with a 1/2 tsp or so of nut butter. Close the date up again.
  3. Dunk the stuffed date in the bowl of melted chocolate. Use two small forks to turn the date over a few times to get it completely coated in chocolate. Then remove the date with a fork and place on the baking parchment.
  4. Repeat until you have made as many Easter dates as you like. Now, while the chocolate is still wet, you can quickly decorate the dates with some sprinkles of salt/nuts/coconut or a drizzle of white chocolate.
  5. Allow the chocolate to completely set in a cool place. Then enjoy! Pack into little Easter baskets to share with friends or bring along to a coffee date. They should stay fresh in an airtight container in the fridge for 4 days.

Okonomiyaki (Japanese style cabbage pancakes)

This plant-based twist on the ’anyway you like it’ Japanese street food might be my new favourite way to eat cabbage! Instead of an egg and wheat batter (and several impossible-to-find specialist Japanese ingredients) I’ve used a simple chickpea flour batter. This simple dish doesn’t take long to put together and is perfect for any meal! Breakfast, brunch, lunch or even a quick dinner. Top with mayonnaise (I like a bit of sriracha too), kimchi (find my recipe here) and sesame seeds. Delicious!

Liz x

Ingredients (serves 2)

  • 1 small mug of chickpea flour
  • 1 tsp salt
  • 1 small mug of water
  • 1/4 of a cabbage, chopped
  • 1 nori seaweed sheet, snipped into strips
  • vegetable oil for frying
  • kimchi, mayonnaise, sriracha and sesame seeds to serve

Method

  1. Whisk the chickpea flour, salt and water together into a smooth batter.
  2. Add the cabbage and nori and mix well to coat them in the batter.
  3. Heat a frying pan over a medium heat and add a generous drizzle of vegetable oil.
  4. Add half the mixture to the pan and spread out. When golden brown underneath, carefully loosen and flip the pancake over and cook on the other side until golden brown.
  5. Cook the other half of the mixture in the same way then serve with toppings as you like.

Kimchi

We are very excited about the first harvest of radishes this year. Have you ever grown them yourselves? They’re what we recommend for beginners (or kids!) as they are so satisfying to grow and only take a few weeks to turn from tiny seed to plump, ruby bulbs. They are so refreshing and peppery, of course brilliant in a salad, but our favourite way to eat them is fermented in a kimchi along with their leaves. Zero waste! Kimchi is a really delicious fermented cabbage, Korean side/topping, like a spicy version of sauerkraut. If you’ve never tried it before, it’s like a pickle – tangy, salty and spicy. So good with rice or noodles, in sandwiches (you HAVE to try a kimcheese toastie!) …we love filling dumplings with tofu and kimchi and pilling it up on savoury cabbage pancakes. Here’s the very flexible recipe.

Liz x

Ingredients (these are suggestions and amounts can be flexible)

  • 1 cabbage (Chinese Napa cabbages are traditional but you can use any loose, leafy cabbage – Savoy or January King work really well here)
  • 4 carrots
  • 2 bunches of radishes (including their leaves)
  • 1 leek or a bundle of scallions
  • Optional extra veg like a kohlrabi or a turnip…
  • 6 cloves garlic, 1 large thumb of ginger and 3 red chillies to make a paste
  • salt (2% of the weight of all the above)

Method

  1. You will need clean equipment (large bowls, jars, chopping board, knife, blender, serving spoon and rolling pin) but it does not have to be sterilised. Apart from the superior taste and beneficial bacteria, fermenting rather than pickling is also easier in this way.
  2. Rinse your vegetables and start chopping. Save a few outer leaves of the cabbage but cut the rest into bite sized pieces. Weigh it and add to a large bowl. Thinly slice the other vegetables, leave the radish leaves whole, weigh them and add to the bowl.
  3. Weigh the garlic, ginger and chilli then blend into a paste. Add up the weights of all the different veg to find the total weight and work out what 2% is.
  4. Measure the salt and mix it through the chopped vegetables. Give them a light massage to encourage brine to form. Then stir the spice paste through using a serving spoon.
  5. Pack the mixture very tightly into jars. Use the spoon or a clean rolling pin to really pack the vegetables into the jar ensuring no air-pockets have formed. Leave a couple of inches of head room in the jar if you can. Then break a reserved cabbage leaf to size and press it down on top of the cut vegetables and tuck it in under the shoulders of the jar to keep the small bits of sliced vegetables submerged in brine. If they get exposed to air then they are likely to go mouldy. Your cabbage leaf may be enough to keep the kimchi submerged in brine, if not, use a weight. Something brine-proof like a glass, small jar or ramekin.
  6. Place the lid on the jar loosely to allow gases to escape during fermentation (be aware your kitchen is going to smell a bit funky this week!) and put the jar on a plate in a room temperature place in your kitchen, not too exposed to light as the extreme changes in temperature are not ideal. Allow the kimchi to ferment at room temperature for one week then refrigerate.
  7. TOP TIPS: – no double dipping! This could introduce new, unwanted bacteria from your mouth. – Remember the mantra, “Submerge in brine, all will be fine”. Check the jar every day whilst fermenting. Have the gases pushed the vegetables up above the brine? If so push them back under with a clean spoon.

Beetroot & Tofu-Ricotta Ravioli

Wouldn’t this pretty pasta be perfect for Mother’s Day? It takes a little more effort than our usual recipes but the ingredients are few, simple and affordable (using our ingredients at the time of writing this blog, this cost €5.64 to make 30 pieces).

Liz x

Ingredients (makes around 30)


~ pasta
• 300g fine flour
• 1 tbsp olive oil
• 1 tsp salt
• 150ml water
• parsley leaves

~ beetroot tofu-ricotta
• 200g extra firm tofu
• 1 small cooked beetroot
• 1 clove of garlic
• the juice of 1/2 a lemon
• 1 tsp salt
• 5 tbsp olive oil

~ 1/2 jar of pesto to serve

Method

  1. Mix the pasta ingredients (except the parsley) into a shaggy, quite dry dough then knead it very well into a firm, smooth dough. This should take around 10 minutes of kneading. If your dough is too dry, wet your hands occasionally whilst kneading to incorporate just a little extra water. Rest the ball of dough in a bowl covered tightly with a damp tea towel.
  2. Blend all the beetroot ricotta ingredients until smooth. Taste and adjust the seasoning if needed with more salt or lemon.
  3. Roll your pasta dough out on a lightly floured surface. Once you have a large oval/rectangle, arrange some parsley leaves on one half and fold the pasta over. Now roll again into a very long strip, just over double the width of the size you want your ravioli. Get it as thin as you can – you should be able to read a paper through it.
  4. Space teaspoons of the pink ricotta along one side, wet the other side to help it stick, then carefully fold the pasta over the ricotta blobs and use your fingers to seal around each one. Use a knife or pasta wheel to cut the ravioli and save any off-cuts, they are just as delicious!
  5. Drop the fresh ravioli and off-cuts into boiling water, cook until soft but still with bite (around 3 minutes or so – test an off-cut) then scoop out with a slotted spoon, dress with pesto and serve!

Colcannon

This St Patrick’s Day favourite combines the two best vegetables of all time – potatoes and kale. Don’t let anyone tell you these humble vegetables are nothing less than extraordinary!

Potatoes (especially when you leave the skin on) are a delicious source of fibre, energy giving carbohydrates, antioxidants, potassium (more than a banana!) and magnesium. They also contain vitamin C, calcium, folate and vitamin B6.

Kale is well known for being a superfood. The humble kale, grown right here on our farm in Galway, is one of the most nutrient dense foods on the planet and contains well over 100% of your daily needs for Vitamins A, C and K as well as a whole host of other vitamins, minerals, antioxidants, fibre and even an omega 3 fatty acid!

So we say this dish is not just for St Patrick’s Day, make colcannon regularly as a side dish or as a topping for your pies.

Liz x

Ingredients (per person)

  • 1 large or a couple of smaller potatoes, scrubbed and chopped into even chunks
  • 3 kale leaves, rinsed, tough stems removed (save the stems, they are delicious finely chopped and added to stir fries, stews, soups etc)
  • 1 scallion, sliced
  • 1 tbsp butter
  • salt and pepper to taste

Method

  1. Get your potatoes boiling in a large pot of water. Meanwhile tear up your kale leaves into small pieces and place them in a steaming basket or metal colander.
  2. When the potatoes are nearly cooked through, place the steaming basket/colander of kale over the pot and put the lid on. Let the kale steam until wilted and soft – this only takes around 3 minutes so keep an eye on it.
  3. Remove the kale and drain the soft potatoes, then tumble them back into the warm pot. Mash the potatoes with the butter and season with salt and pepper to your taste. Then stir through the wilted kale and chopped scallions.
  4. Serve with an extra dollop of butter as a side dish. It’s also delicious as a shepherd’s pie topping, baked in the oven to crisp up – see pic below.

Parsnip Tarte Tatin

A tarte tatin is traditionally made with apples as a dessert, but we love making savoury versions too. It’s a great way to showcase a seasonal vegetable and make it the star of your meal. The result looks fancy and tastes amazing, but the secret is it is sooo easy to do. Serve with some fresh salad and a zingy dressing, with some cheese, nuts, seeds or beans scattered on top for a little protein and you’ve got a wonderful, balanced, plant based meal ready to share with friends or family.

Liz x

Ingredients (serves 6 -8 depending on sides)

  • 50g butter (we love our new Naturli vegan butter) – chopped into small pieces
  • 2 tbsp olive oil
  • 1 tsp sugar
  • 1 tsp salt (or to taste)
  • 2 tsp thyme leaves (fresh or dried)
  • black pepper to taste
  • 2 large parsnips sliced into finger sized wedges (enough to tightly cover the base of your dish)
  • a sheet of puff pastry (check the ingredients, many are made dairy free now – or make your own)

Method

  1. Pre-heat the oven to 200C and find a large, round oven proof dish. Or you can use a square/rectangular dish too of course, anything that your sheet of pastry will fit in comfortably.
  2. Dot half the butter around in the base of your dish. Drizzle over half the olive oil and then evenly sprinkle the sugar, half the salt, half the thyme and a good grind of black pepper.
  3. Arrange the slices of parsnips over the butter and seasoning. Aim for complete coverage and one tight layer.
  4. Dot over the remaining butter and drizzle the oil, sprinkle the rest of the salt, thyme and another grind of pepper.
  5. Place the dish in the oven until the parsnips are soft and starting to caramelise. This should take around 30 minutes but keep an eye on them as ovens vary.
  6. Remove from the oven then quickly and carefully place the sheet of pastry over the hot parsnips and put the dish back in the oven right away.
  7. After 15 minutes or so, the pastry should be risen and golden brown. Remove the dish from the oven and place a large, heat proof plate or chopping board over the dish.
  8. Then use oven gloves to carefully, but very quickly, flip the plate/board and dish over. Still using gloves, pick the now upside down dish up off the plate/board and you should be left with a beautiful parsnip tarte tatin!
  9. Slice and serve whilst still warm with salads. It’s delicious cold too, so if you have any leftovers, eat for lunch the next day.

Vegan Pancakes

Is pancake day is the best day of the year? How do you like yours? The classic lemon and sugar? Rolled up with chocolate spread? Or filled with something savoury like wilted spinach and cheese. We love this simple crepe recipe that happens to be egg and dairy free.

Liz x

Ingredients (serves 4)

  • 1 mug of flour
  • 1 tsp sugar
  • 1 tsp baking powder
  • a pinch of salt
  • 2 tsp olive oil
  • 1 & 1/2 mugs oat milk
  • dairy free butter for frying
  • fillings of your choice

Method

  1. Measure the flour, salt, sugar, baking powder and olive oil into a mixing bowl.
  2. Whisk whilst slowly pouring in the milk until you have a smooth batter. Let the batter rest for 20 minutes before frying or you can even make it the night before and keep it in the fridge overnight.
  3. Use a cast iron or non stick pancake pan for best results. Heat the pan to medium-high and add a tsp of butter. Let the butter melt and tilt the pan back and forth to spread the butter evenly around the base. Add a ladle of the batter to the pan and tilt it again to swirl the batter into a thin, even layer.
  4. Cook on the first side for a couple of minutes or until golden brown underneath. Then carefully flip the pancake and cook on the second side for another minute.
  5. Repeat until you have used all the batter and enjoy with your choice of fillings. Our favourite? A squeeze of fresh, organic lemon or blood orange and a small sprinkle of raw cane sugar.

Banana Bread Muffins

These muffins are so quick and easy to put together, completely delicious and a great way to use up over-ripe bananas. Despite being the most popular fruit in Ireland, with around 70 million being sold each year, about 25% of the bananas shipped to Ireland get thrown away!

Supermarkets are big culprits, as soon as bananas start getting brown spots on their skin, they are replaced with fresher green ones. But we are guilty at home too, us consumers routinely waste around 30% of the food we buy, imagine saving 30% on your food bill each week! As well as wasting our hard earned cash, think of the waste of resources it took to grow, harvest and transport our fresh produce. Wasted food also emits methane as it rots, a powerful greenhouse gas.

So next time you are looking at a bunch of brown, slightly squished bananas, why not make a quick batch of these muffins or pop them in the freezer (peeled and in chunks) to be used another day. Frozen bananas make the creamiest, sweetest smoothies and bananas pack a mighty nutritional punch. Full of potassium which lowers your blood pressure and starchy fibre to fill you up, moderate your blood sugar and feed your all-important gut microbes. Let’s go bananas for bananas!

Liz x

Ingredients (makes 12 muffins)

  • 3 large, over-ripe bananas (or 4 smaller)
  • 125ml olive oil (or any oil you prefer)
  • 250ml oat milk (or any milk)
  • 100g sugar (brown/white both work fine)
  • 400g flour (we like a mix of white and whole meal)
  • 3 tsp bicarbonate of soda
  • 1 tbsp lemon juice or vinegar (to help activate the soda)
  • 1 tsp salt
  • 1 tbsp cinnamon
  • optional extras like chocolate chips, nuts, seeds, raisins, coconut flakes, crunchy sugar etc for topping the muffins or folding through the batter – this is where you can have fun and make them your own

Method

  1. Pre-heat the oven to 175C and line a muffin try with 12 large muffin cases.
  2. Peel 2 of the bananas and mash them in a large mixing bowl. Did you know you can eat the peels too? Reserve them for another recipe or pop them in the compost bin.
  3. Add the oil, milk, sugar, lemon/vinegar and mix well to combine.
  4. In a separate bowl, whisk together the dry ingredients – the flour, bicarbonate of soda, salt, cinnamon and any optional extras like nuts/seeds/chocolate/coconut/raisins etc.
  5. Now tip the mixed dry ingredients into the bowl of wet ingredients. Fold together until just combined. It’s very important here to not over mix and to work quickly. It doesn’t matter if there are a few dry lumps in the batter, just briefly mix together and then get on and get the muffins in the oven as soon as possible. This will ensure you get the lightest, fluffiest muffins. Over-mixing will activate the gluten in the flour and make them dense and chewy. Letting the mixture sit for too long will stop them from rising so much in the oven. So work quickly now.
  6. Divide the batter into the 12 muffin cases and top with slices of the 3rd banana. Add additional extra toppings if you like. Some crunchy sugar is traditional or go for crushed walnuts, seeds or a square of chocolate.
  7. Get the muffins into the centre of the oven and bake for 20-25 minutes or until beautifully risen and golden. This amount of batter should ensure you get those classic tasty muffin tops spilling over the muffin cases – arguably the best bit about a muffin. You’ll know they are done when a skewer inserted into the centre of a muffin comes out clean.
  8. Let the muffins cool slightly in the tin for 5 minutes then carefully take them out onto a cooling rack. Enjoy warm or cold – they should be light, fluffy and moist. Once completely cool, store in an airtight container and eat within 3 days or freeze to keep them fresh.

Vegan Sources of Umami

Good cooks will all instinctively know about balancing the tastes; sweet, sour, salty and bitter, but there’s a very important 5th taste, umami, that is trickier to describe. The Japanese translation of ‘umami’ is a delicious savouriness – but how is that different from salty?

I would describe it as a sort of humming background flavour, rich and rounded, associated with broths and meat, but it is also very prevalent in plants. Umami is found in foods that contain a high level of glutamate, a naturally occurring amino acid. Although many of these foods are animal products, it does occur in plant based foods too, so no one needs to miss out on the 5th taste. Here are some plant based ways to get more umami in your life.

Seasoning, Spices & Herbs

Use spices like smoked paprika, cumin and coriander seeds to impart a smokey, meaty umami to many dishes. Toast the spices before adding them to your dish to release the oils and make the most of all that flavour.

Green tea (and black tea) is umami rich, add it as a secret ingredient in your brothy soups and stews for an extra layer of flavour. Try brewing an umami rich broth of green tea, dried mushrooms and dried seaweed. Drain, stir in some miso paste and enjoy with vegetables, silken tofu and noodles.

Nutritional yeast brings umami in a cheesy form, it’s a great replacement for parmesan cheese. Use it to sprinkle over popcorn, risotto, soups or pasta, or whisk it into a vegan cheese sauce.

Mustard, miso, soy sauce, toasted sesame oil…all make brilliant seasonings or marinades to add umami to your vegetables.

Vegetables

Mushrooms, seaweed, tomatoes, onions, garlic, broccoli, beetroot, cabbage, celery and more are all naturally high in delicious glutamates.

Dried vegetables have an even more concentrated supply so think about adding dried mushrooms, tomatoes and seaweed into your dishes for an extra layer of flavour. Tomato puree is another way to get a concentrated dose of umami.

Fermenting or cooking your vegetables in certain ways adds even more umami deliciousness! Read more about that below.

Fermented Foods

Fermented vegetables go far beyond sauerkraut and kimchi. Think about adding miso, soy sauce, wine, dark vinegars, beer, kombucha, mustard, olives, chocolate, coffee, capers…to your cooking. All these mouthwatering fermented foods are mouthwatering for a reason.

Cooking Techniques

The way you prepare a vegetable can markedly affect its flavour. Think about the difference between a boiled Brussels sprout and a roasted one. Roasting, grilling, pan frying, charring, smoking, barbecuing, caramelising…all these techniques will increase that essential umami flavour in your dish.

Toasted or caramelised flavours are so good! Add toasted sesame oil and toasted seeds to your meals for an instant savoury hit.

Cauliflower Noodle Soup

This is THE soup to make when you’re feeling under the weather. It’s a plant based take on that classic chicken noodle soup which brings so much comfort. It’s brothy and light, bursting with vitamins, but at the same time hearty and satisfying. I used bay leaves, lemon and thyme to flavour the broth with lots of garlic and a little turmeric for it’s sunny colour and medicinal properties. You’ll feel like a whole new human after a bowl of this. Happy slurping!

Liz x

Ingredients (serves 6)

  • 3 tbsp olive oil
  • 1 leek, sliced
  • 4 sticks of celery, diced
  • 3 carrots, diced
  • 6 cloves of garlic, sliced
  • 3 bay leaves
  • 1 tbsp dried thyme
  • 1 tsp turmeric
  • 2 tsp salt
  • 1 tsp ground pepper
  • 100g quinoa, rinsed
  • 1/2 a head of cauliflower, diced
  • 120g noodles (I prefer quick cooking ramen or Thai rice noodles here but you can also use Italian style pasta in any shape you like. Just adjust the cooking times as explained below.)
  • 1 lemon, juiced

Method

  1. In a large, heavy bottomed pot, sauté the leek, garlic, carrots and celery with the olive oil. After 5 minutes the vegetables should be starting to soften.
  2. Then add the bay leaves, thyme, turmeric and quinoa. Top up with a couple of litres of water, season with the salt and pepper then simmer. After 10 minutes, the vegetables should be soft and the quinoa just starting to release it’s tails.
  3. Add the cauliflower and simmer for another 5 minutes. Taste the broth for seasoning and add more salt if necessary.
  4. Then add the noodles* and give the soup a stir to ensure they’re not clumping together. If they are the quick cooking type, turn the heat off, put the lid on and let them cook and soften in the residual heat. If they are Italian style pasta noodles and need longer cooking then you should add them with the cauliflower during step 3.
  5. Brighten the soup with the lemon juice and serve in large bowls. Enjoy!

TOP TIP – *only add the noodles/pasta if you’ll be eating this soup immediately. If you are making this in advance, add the noodles when you reheat it, otherwise they’ll get too soggy. You can even cook the noodles/pasta separately and put them into bowls, then ladle the soup over each portion.