Tom Hunt is an award-winning chef, food educator, writer, climate change activist and author. This recipe was first published in his book Eating for Pleasure, People & Planet. https://www.tomsfeast.com
We all know how good fermented foods are for us. Bursting with beneficial bacteria and so so good for our gut microbiome. But did you know that by making this stunning farm fresh vegan kale kimchi you’re not only supporting your health, but also supporting biodiversity? Organic farms boast up to 50% more biodiversity compared to conventional farming setups. And by supporting small farmers who do their part in protecting our environment such as not using pesticides, growing hedgerows and leaving the kale to flower in the spring, your gut-healing kimchi is much more than the sum of it’s parts.
Ingredients
300g mixed colourful kale and greens
65g carrot, cut into thin batons
50g spring onions, cut into thin batons
30g cloves garlic, peeled
50g onion, peeled, roughly chopped
150g apple
6 tablespoons Korean chilli powder or other to taste
Pinch hijiki seaweed
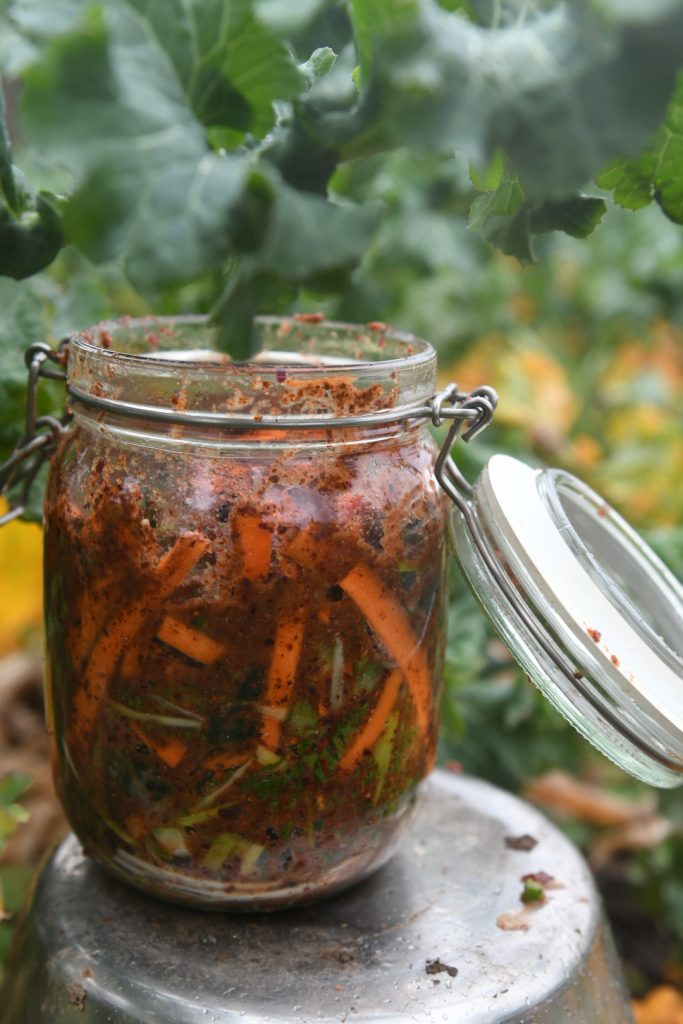
Method
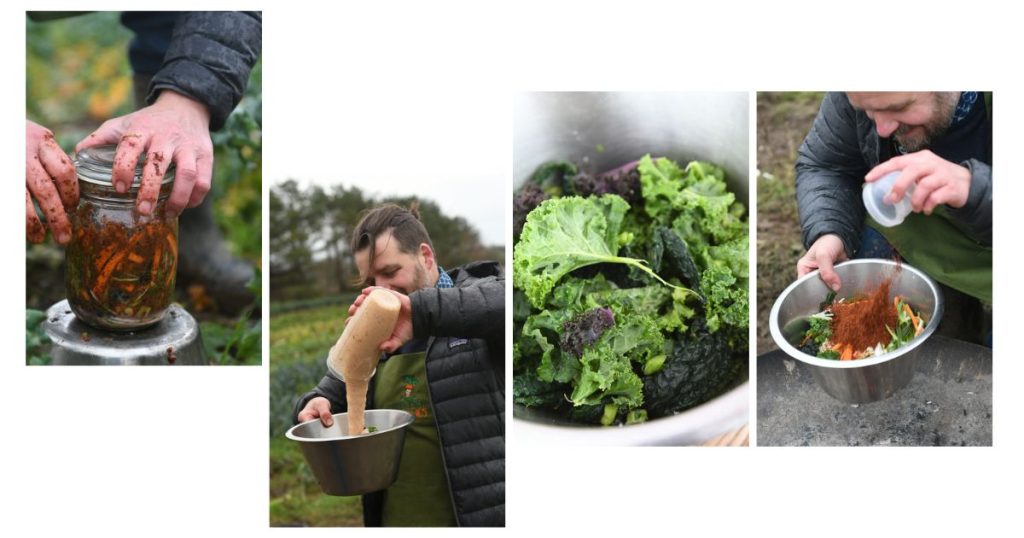
Gather 250g of raw vegetables, the majority of which should be leafy greens.
Cut hard vegetables, leafy green stalks and brassica stalks into matchsticks, cut brassica florets into bite sized pieces and rip leafy greens into large pieces.
Wash everything well and drain in a colander.
Massage one teaspoon of sea salt into the mixture.
Leave for 30 minutes then pour off any excess liquid.
Blend the garlic, onion, apple, pear and chilli powder to a puree with 120ml of water.
Pour the garlic mixture over the greens, add the hijiki seaweed and mix thoroughly.
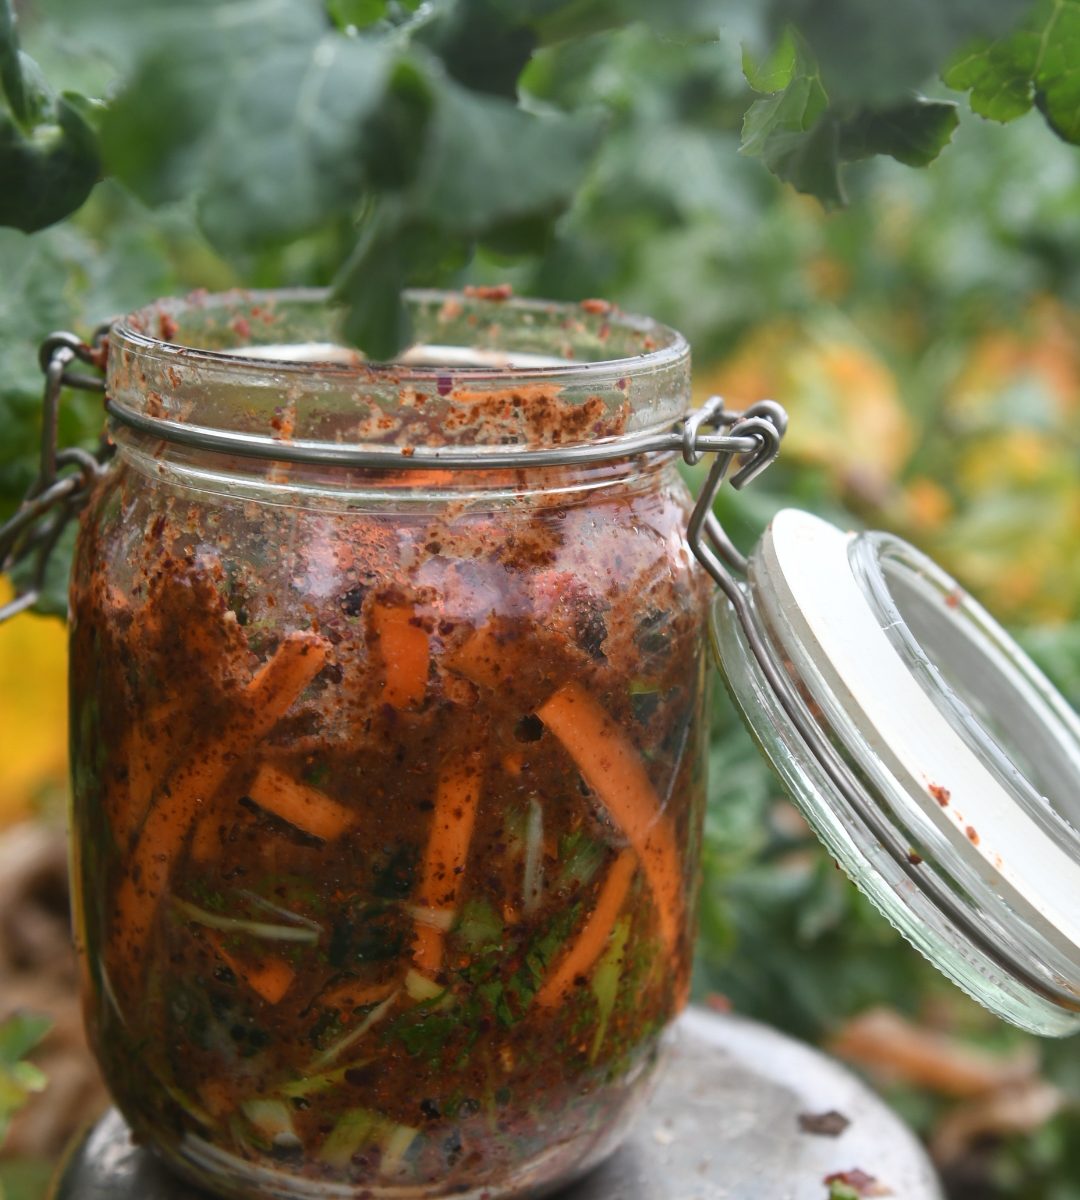
Pour into a clean jar and press down, packing it in tightly.