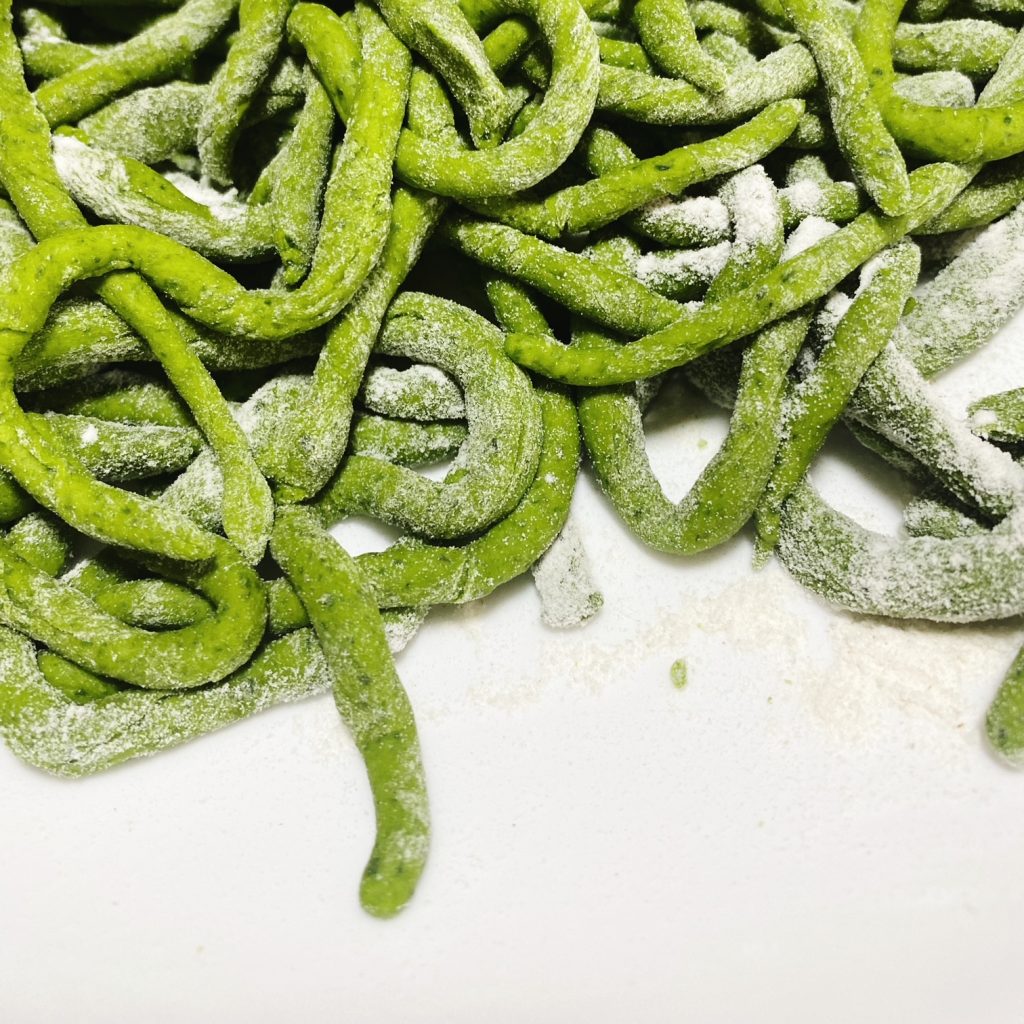
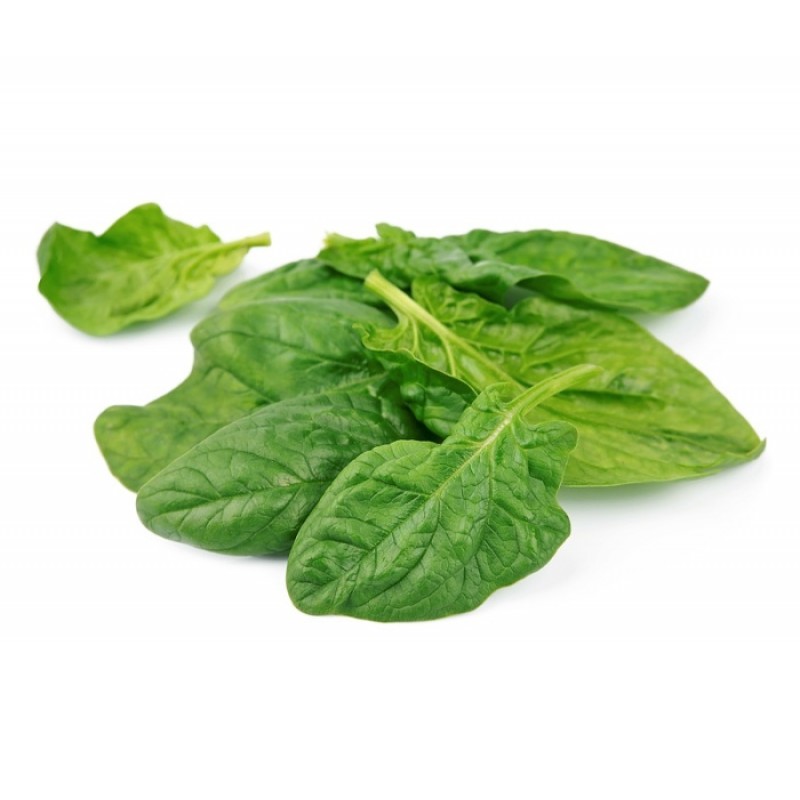
This is our new favourite way to eat spinach. Spinach is coming thick and fast out of our polytunnels now and we can’t get enough of this spring leafy green. Make your own easy pasta dough and marvel at the verdant green wriggly worms. It’s a fun recipe to make with kids over the Easter holidays too and if you have a fussy eater on your hands, this is a great way to get some greens into them. Serve with any pasta sauce you like – we love this with a simple buttery black pepper sauce, details below.
Liz x
Ingredients (serves 4)
for the sauce:
- 3 tbsp butter (we love our new vegan Naturli blocks)
- 3 tbsp olive oil
- the juice of half a lemon
- a handful of grated cheese
- lots of freshly ground black pepper

Method
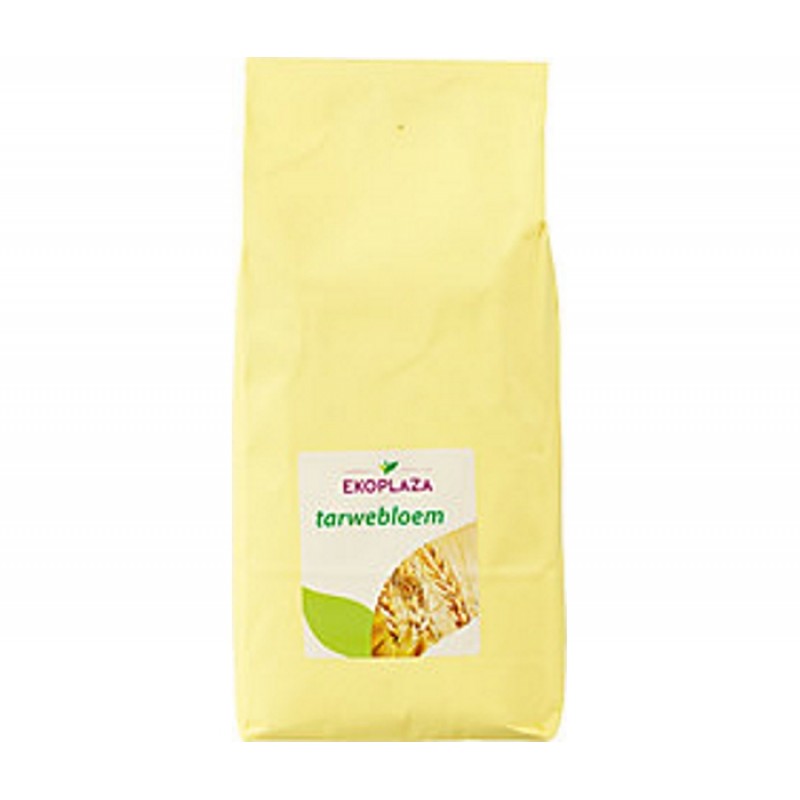
- Put the flour, salt and spinach in a food processor with the S blade attachment. Blend into a green powder. Once it is evenly blended, keep the machine running and drizzle in the olive oil then a small splash of water. After a minute of blending the dough should form into a ball, if it is too dry and doesn’t ball up, add another small splash of water and keep blending.
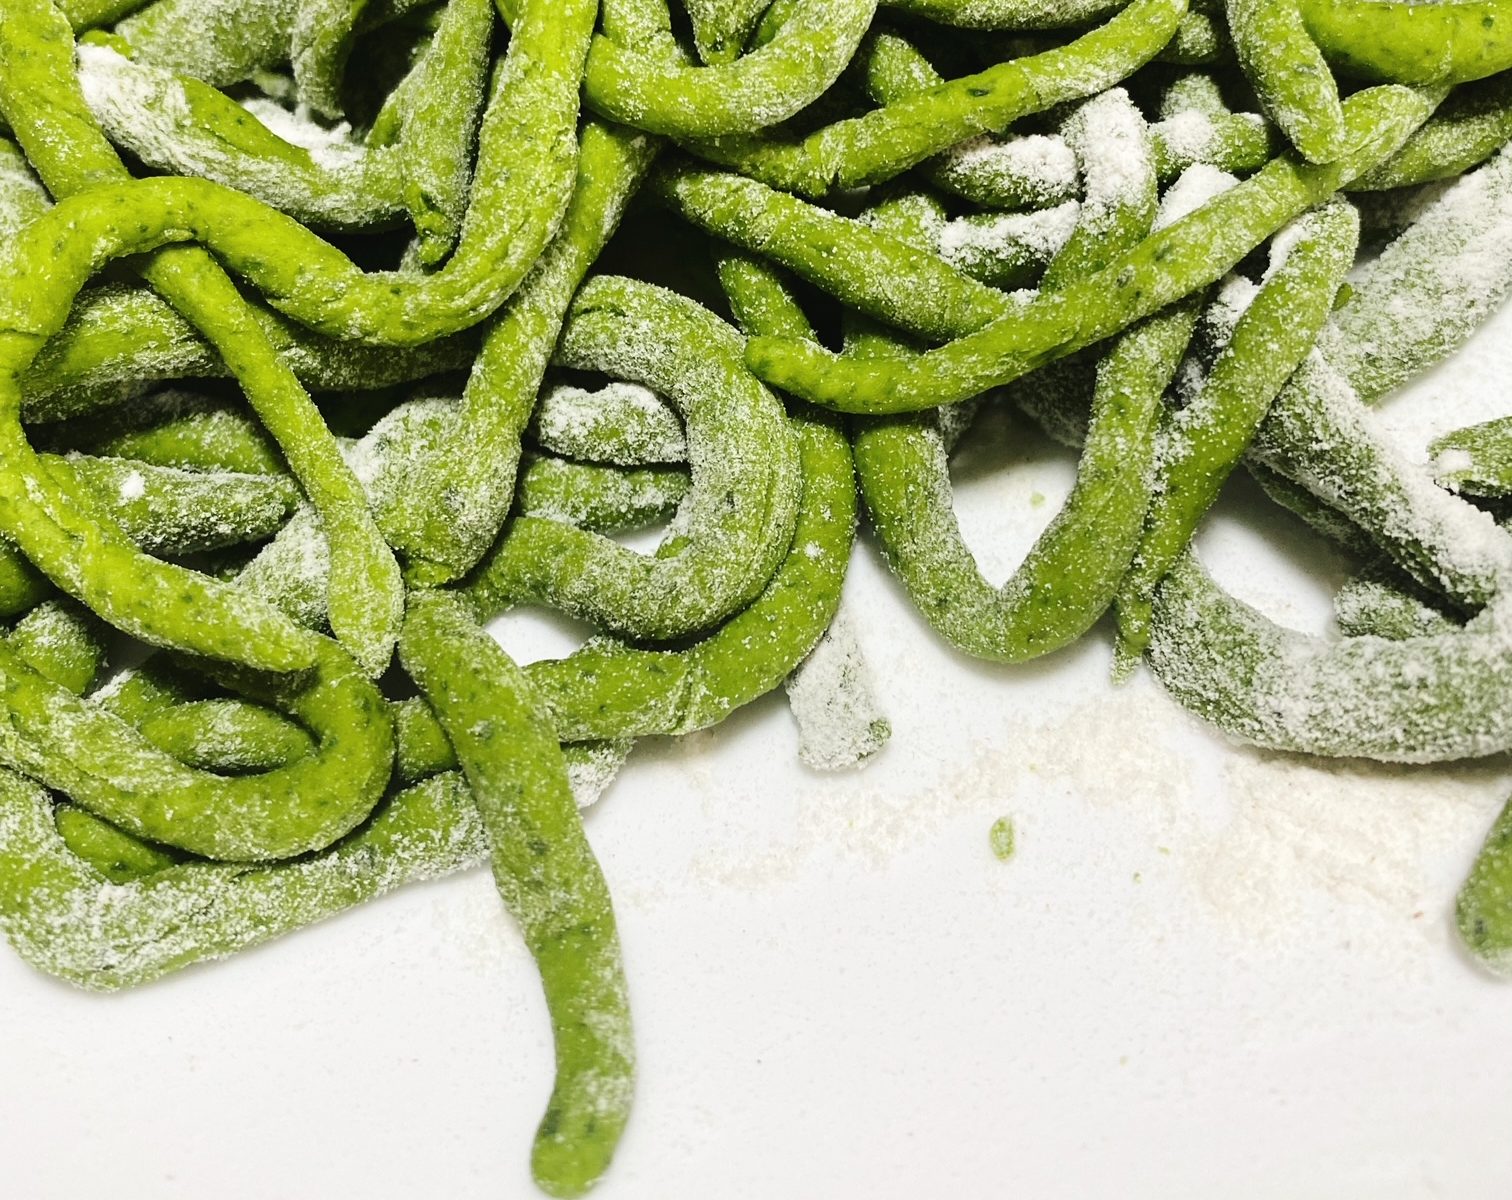
- Tip the ball of bright, green dough out onto a floured work surface and knead for a few minutes. If your dough is accidentally too wet, add another sprinkle of flour and keep kneading until you have a smooth, soft green dough.
- Cut the dough in half and roll out to around 4mm or so thick. Cut the dough into thin strips then roll each strip into wriggly worms. You can cut them to whatever size you prefer. As you go, place them on a floured plate or tray and lightly dust with more flour to prevent them from clumping.
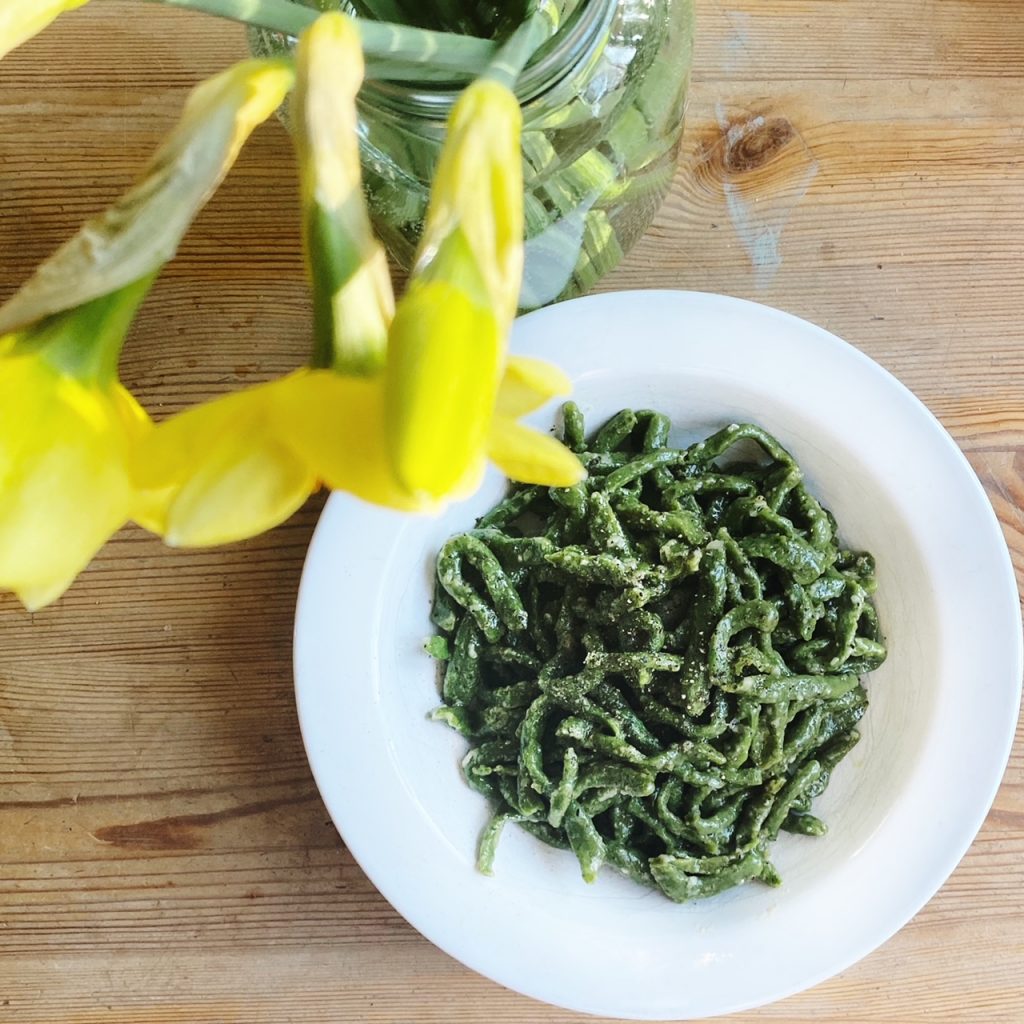
- Get a large pot of salted water on to boil then drop into the pici pasta and boil for just 4 minutes or so until tender. Drain through a colander then make the sauce in the pot.
- Place the butter, oil, cheese, lemon juice and black pepper in the pot and allow it to melt over a medium heat. Then give it a quick stir and tip the pasta back into the pot. Stir to coat the pasta in the sauce and serve with extra black pepper and whatever sides you like eg protein, salads etc.