

Biryani is a very special Indian dish, traditionally reserved for big celebrations like weddings and festivals. The elaborate layering of marinated meats, par cooked rice, whole and ground spices, nuts, fruit and caramelised onions take a long time to prepare and would feed a big gathering from one large pot. My version is not exactly authentic, being plant based, and I’ve simplified the method to suit my relaxed style of cooking. But, it doesn’t hold back on the flavours and textures. It’s a crowd pleaser in my house and I love it because I can assemble it fairly quickly in one pot on the stove top, then let it bake in the oven while I get on with something else. It always gets some ‘oohs’ and ‘ahhs’ when it emerges from the oven, good enough for dinner parties but also quick enough to rustle up mid-week.

You’ll need an oven and hob safe pot with a lid. If you don’t have one, you can always use a baking dish and cover it with foil (or to avoid single use foil, try use a baking sheet weighed down with an oven safe bowl as a lid). I hope you give it a try. Let me know in the comments or on our Facebook group or Instagram if you do. We love to see what you’re up to in the kitchen with the wonderful produce from the farm.
Liz
If you like this recipe, you’ll love my book. Add it to your regular order from the farm here. As always, thank you for your support, we really appreciate it.
Ingredients (serves 4)
- 2 tbsp vegetable oil
- 2 white onions– peeled and diced
- 4 cloves of garlic – peeled and sliced
- 15 or so chestnut mushrooms (or try a diced aubergine, chopped green pepper or some chunks of squash – whatever you like that is in season)
- 1 drained tin of chickpeas (reserve the aquafaba for another recipe like this clafoutis)
- 1 tbsp freshly grated ginger (or 1tsp ground ginger)
- 2 tbsp curry powder or garam masala
- 1 tin chopped tomatoes (or for a creamier curry, a tin of coconut milk)
- salt and pepper to taste
- 1 mug basmati rice
- a pinch of saffron (optional)
- 5 whole star anise (or half a tsp of ground star anise)
- a handful of dried fruit (optional)
- 1 cauliflower (optional)
- 1 tsp ground turmeric
- a handful of flaked almonds (or chopped nuts/seeds of your choice)
Method
Pre-heat the oven to 200C. In an oven and hob safe pot, sauté the diced onions and chopped garlic in the vegetable oil until they start to colour.
Roughly chop the mushrooms then add them to the pot with a little salt and the ginger and curry powder. Sauté until fragrant.
Add the chickpeas and the tin of chopped tomatoes. Swirl the juices out of the tin, into the pot by filling it 3/4s with water. Season the curry with salt and pepper and taste. The curry should be slightly on the too salty side as this will permeate and flavour the rice too.
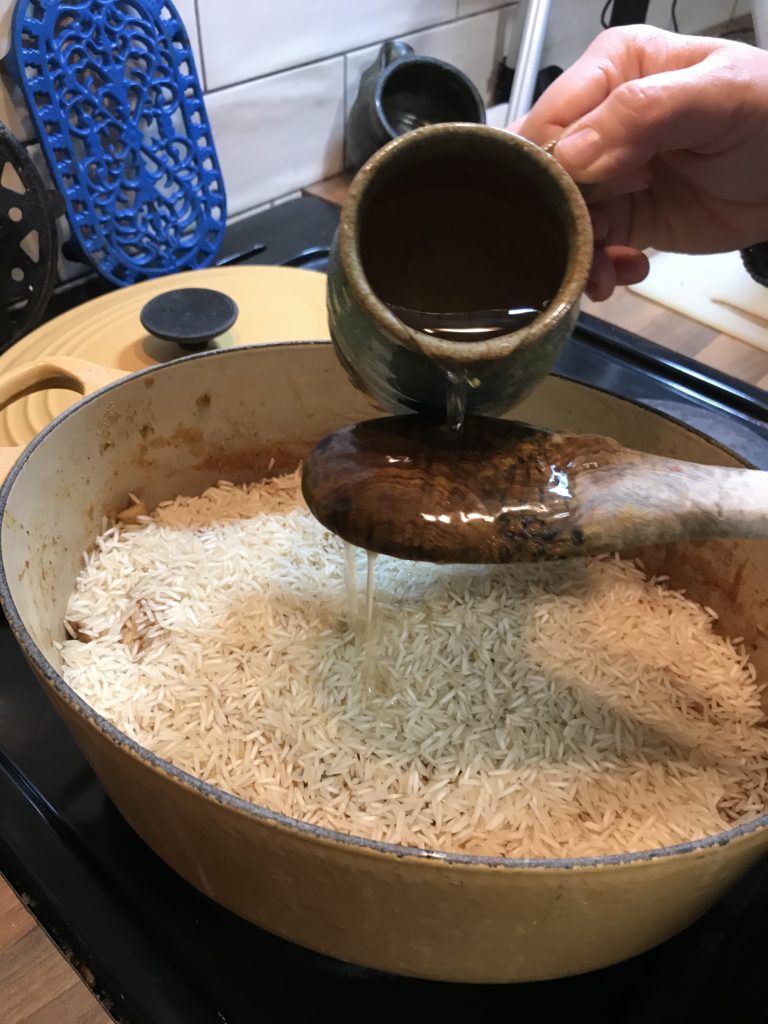
Turn the heat off and then evenly sprinkle over a mug of basmati rice to cover the whole top of the curry. Don’t stir it in! Let it sit on top of the curry in an even, separate layer. Then carefully add two mugs of water to the pot without disturbing the rice. I do this by pouring the water in slowly over the back of a wooden spoon.
Flavour the water which the rice will cook in with some whole star anise or saffron strands, or both! You can also add other aromatics like cardamom pods or cinnamon sticks if you like. I used ground star anise this time as I didn’t have any whole. At this stage you can also add a handful of sultanas or other chopped dried fruit to the rice if you like. It will rehydrate as the rice cooks and add little sweet pops of flavour to the dish.
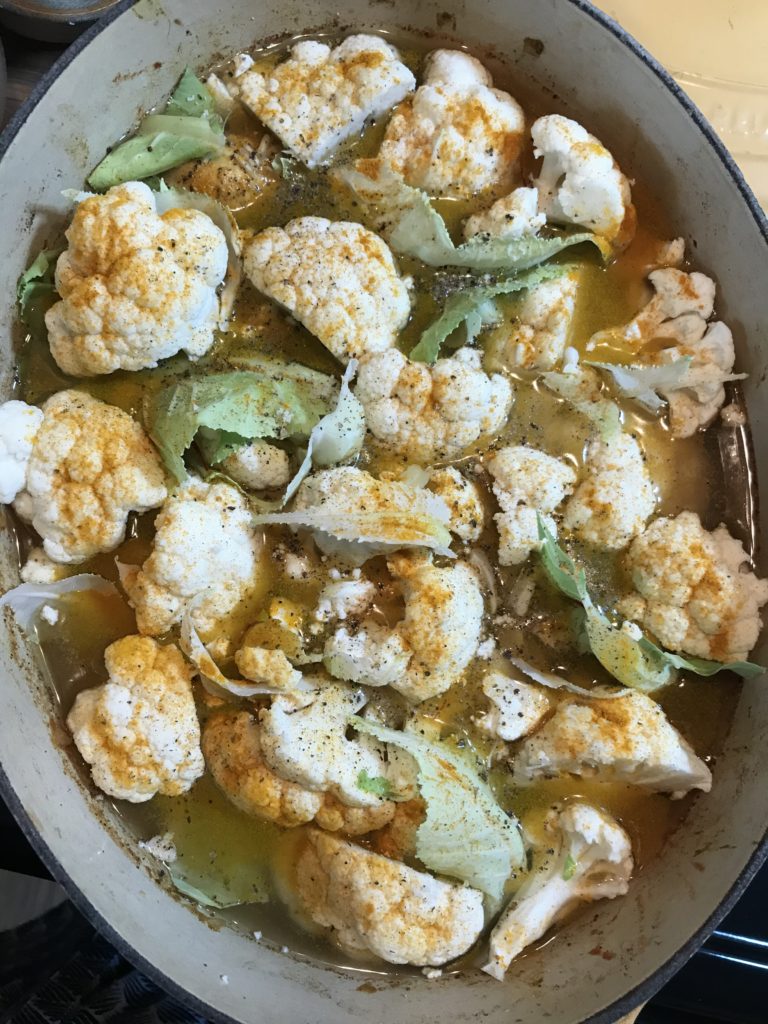
I like to add an extra layer on top of the rice here by carefully placing cauliflower florets into the pot, then sprinkling them with turmeric and black pepper. But if you like, you can stop short of that and just add a little turmeric and black pepper to the rice layer. Then put the lid on the dish and pop it in the oven to bake until the rice has absorbed all the liquid. This normally takes around 20-30 minutes.
Once the rice has absorbed the water it should be perfectly cooked through and fluffy. You can then sprinkle over the flaked almonds or other chopped nuts or seeds of your choice – cashew nuts are a good choice. Return the pot to the oven with the lid off for just 4 or 5 minutes to gently toast the nuts. Serve with spicy Indian chutneys or a cooling natural yogurt.

Why not try seasonal variations of this dish? I love a roast squash biryani with a tin of coconut milk instead of the tin of tomatoes. Or in summer, a silky aubergine biryani topped with tomato and red onion slices in place of the cauliflower is so delicious. What combinations will you try? Let me know in the comments. Enjoy!