
This St Patrick’s Day favourite combines the two best vegetables of all time – potatoes and kale. Don’t let anyone tell you these humble vegetables are nothing less than extraordinary!
Potatoes (especially when you leave the skin on) are a delicious source of fibre, energy giving carbohydrates, antioxidants, potassium (more than a banana!) and magnesium. They also contain vitamin C, calcium, folate and vitamin B6.
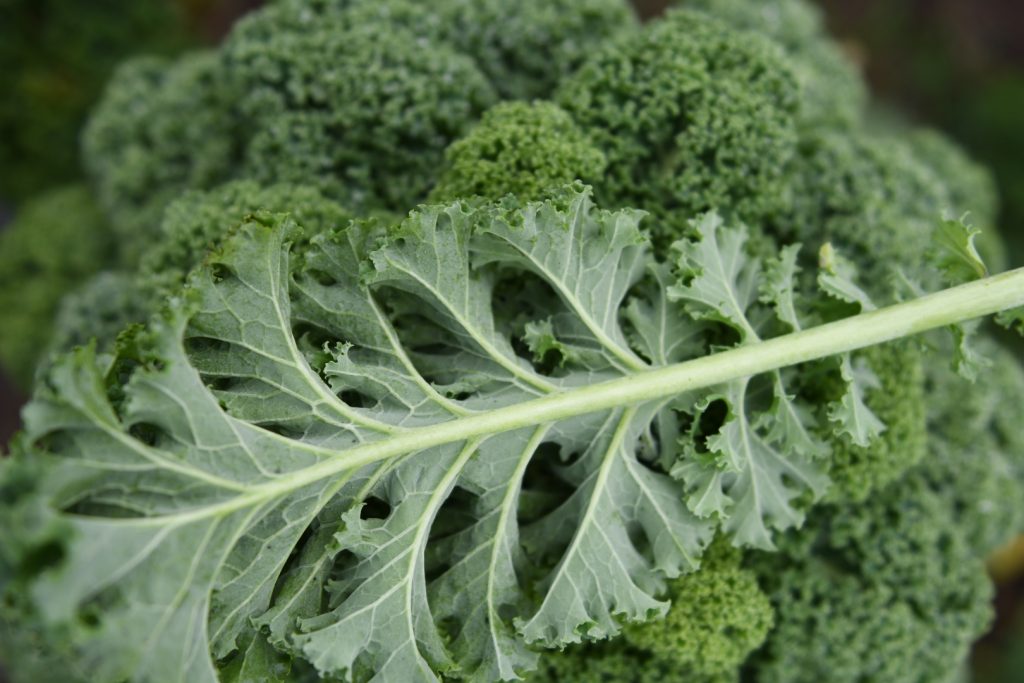
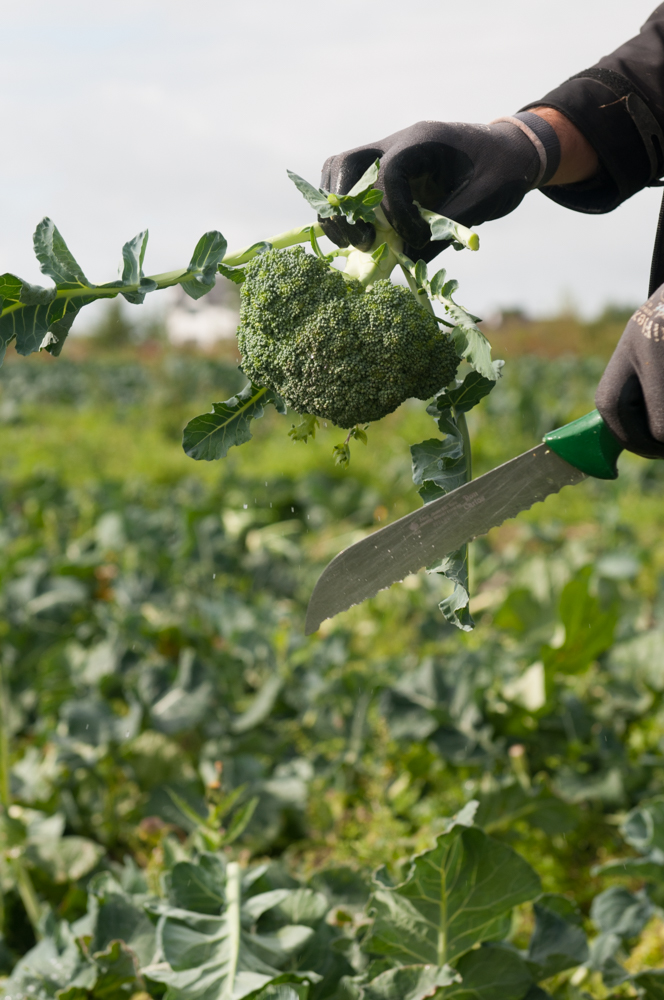
Kale is well known for being a superfood. The humble kale, grown right here on our farm in Galway, is one of the most nutrient dense foods on the planet and contains well over 100% of your daily needs for Vitamins A, C and K as well as a whole host of other vitamins, minerals, antioxidants, fibre and even an omega 3 fatty acid!
So we say this dish is not just for St Patrick’s Day, make colcannon regularly as a side dish or as a topping for your pies.
Liz x
Ingredients (per person)
- 1 large or a couple of smaller potatoes, scrubbed and chopped into even chunks
- 3 kale leaves, rinsed, tough stems removed (save the stems, they are delicious finely chopped and added to stir fries, stews, soups etc)
- 1 scallion, sliced
- 1 tbsp butter
- salt and pepper to taste
Method
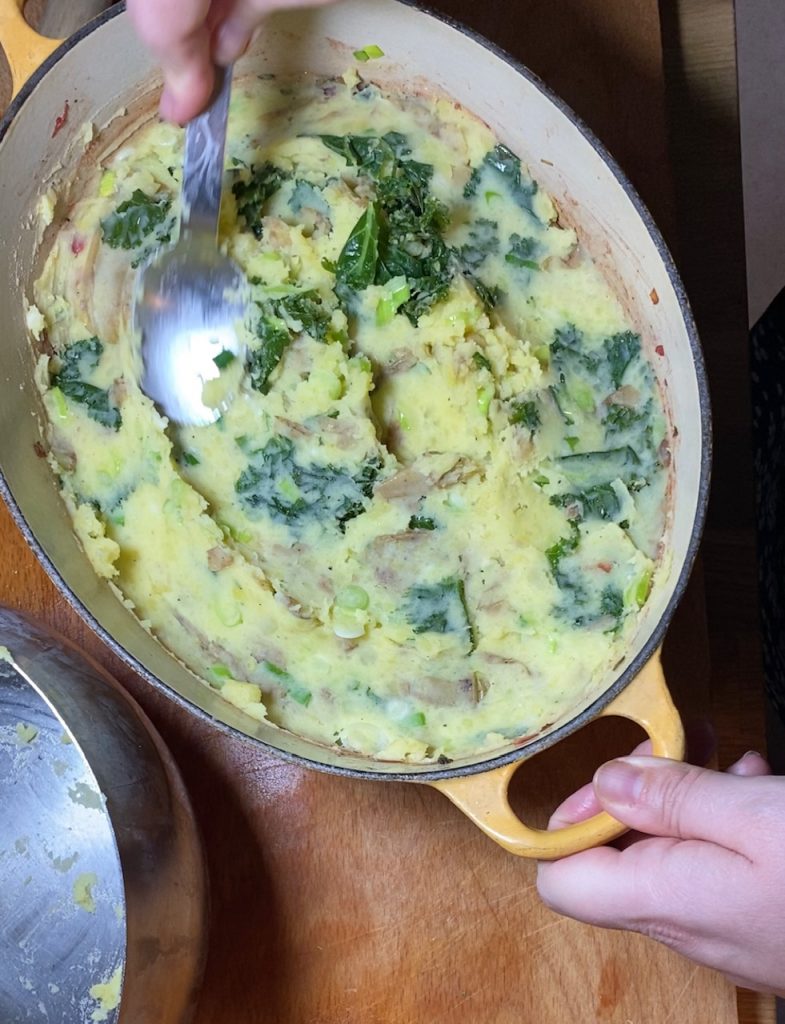
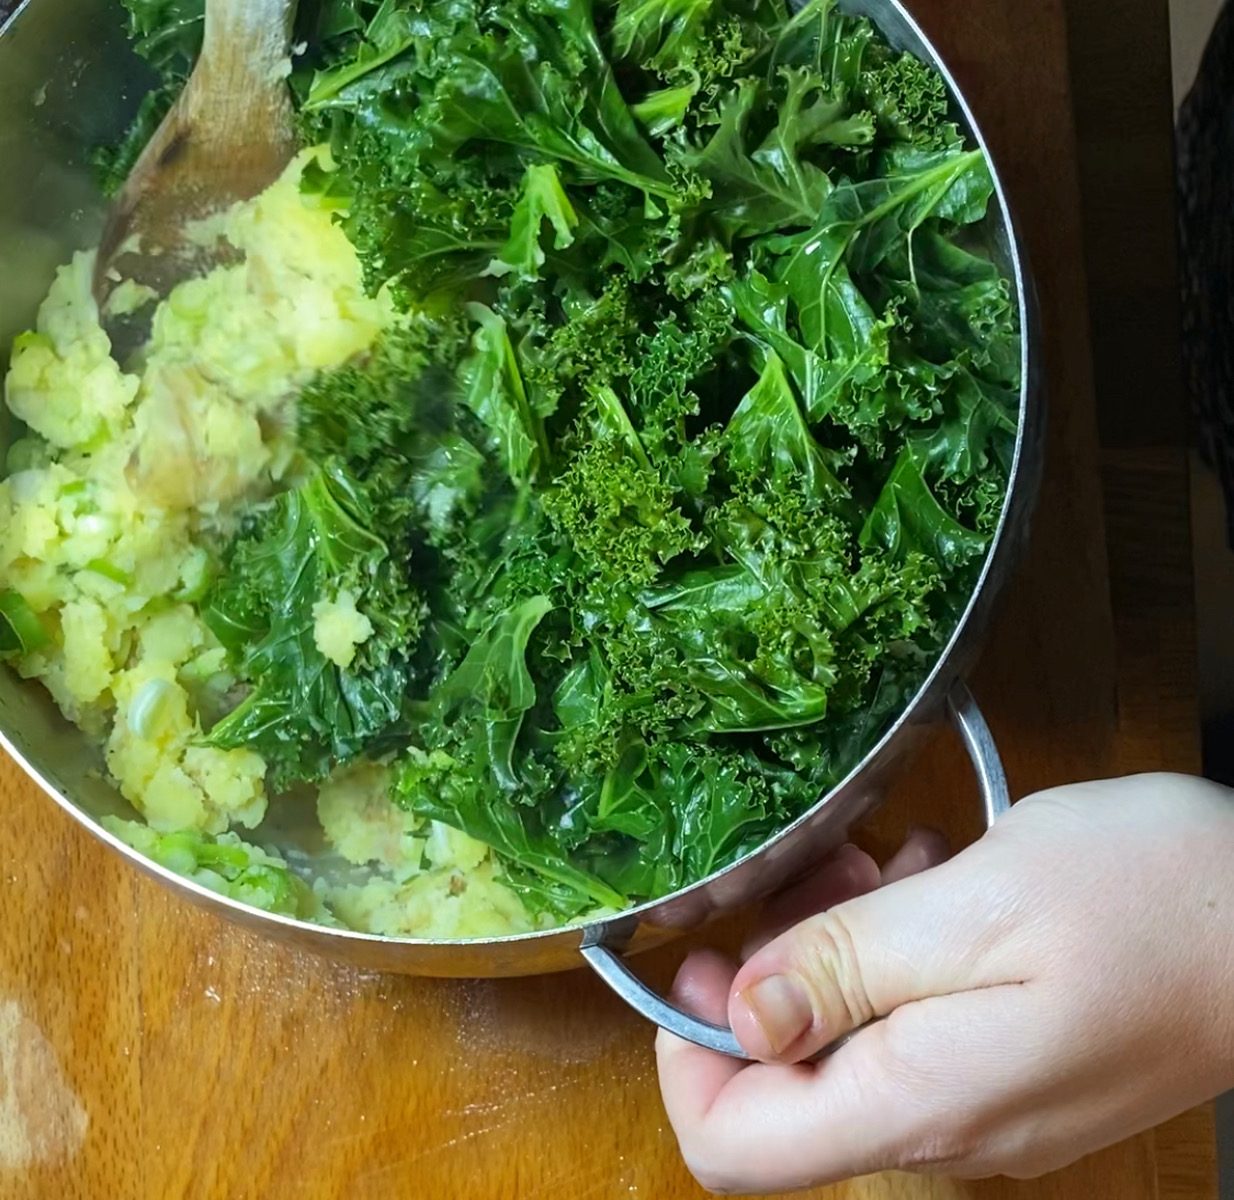
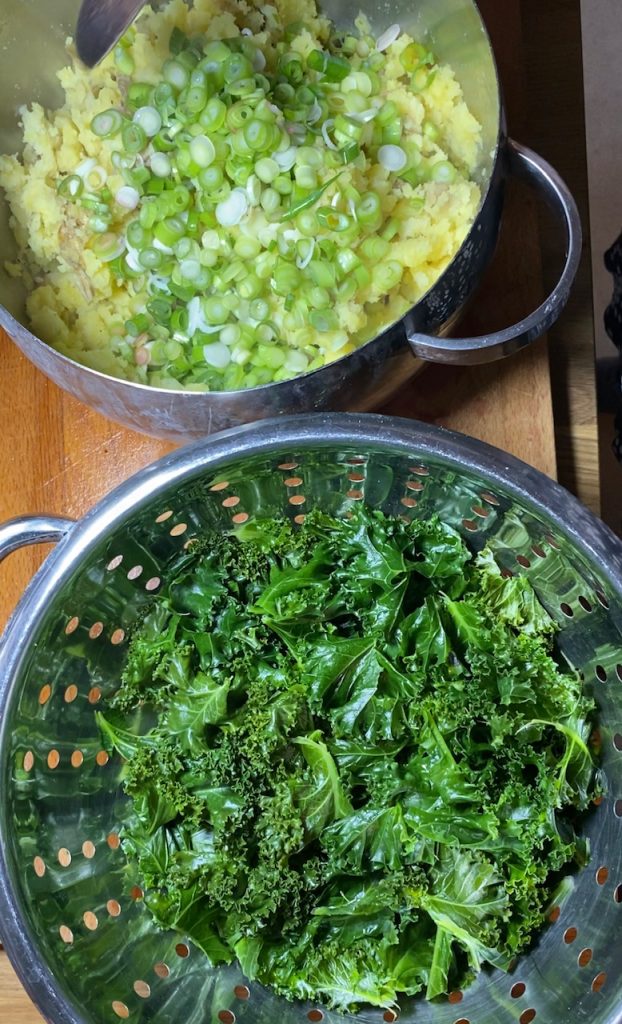
- Get your potatoes boiling in a large pot of water. Meanwhile tear up your kale leaves into small pieces and place them in a steaming basket or metal colander.
- When the potatoes are nearly cooked through, place the steaming basket/colander of kale over the pot and put the lid on. Let the kale steam until wilted and soft – this only takes around 3 minutes so keep an eye on it.
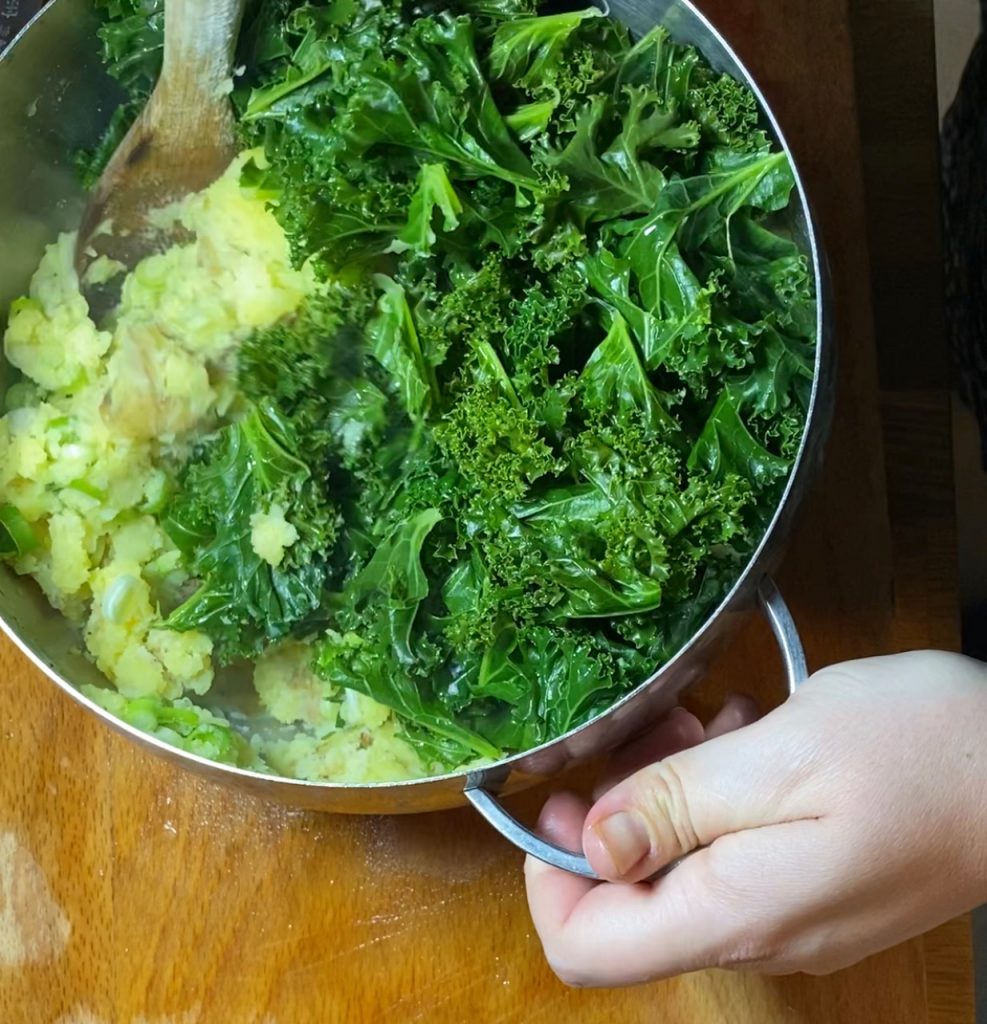
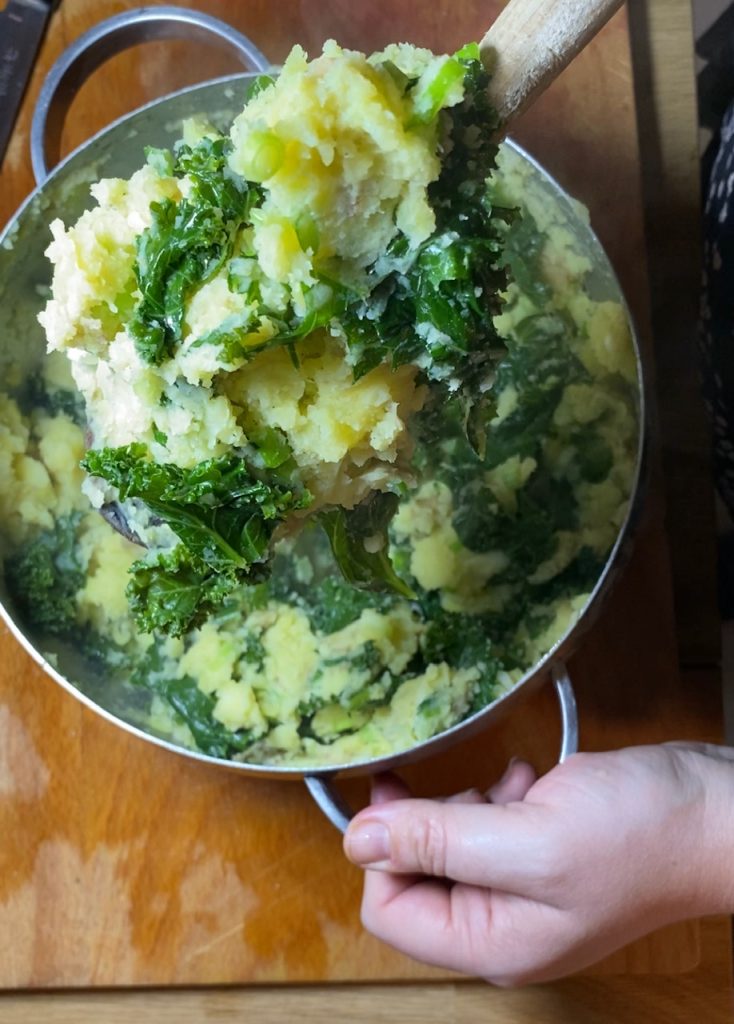
- Remove the kale and drain the soft potatoes, then tumble them back into the warm pot. Mash the potatoes with the butter and season with salt and pepper to your taste. Then stir through the wilted kale and chopped scallions.
- Serve with an extra dollop of butter as a side dish. It’s also delicious as a shepherd’s pie topping, baked in the oven to crisp up – see pic below.