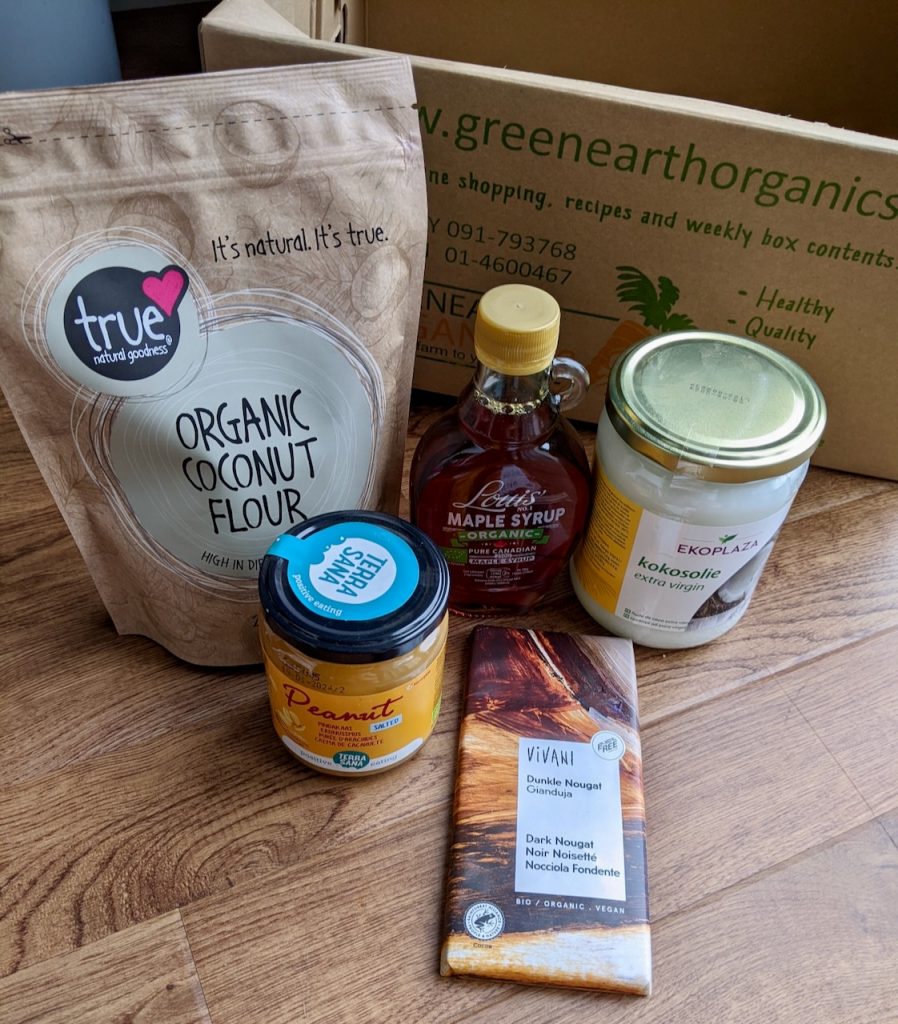
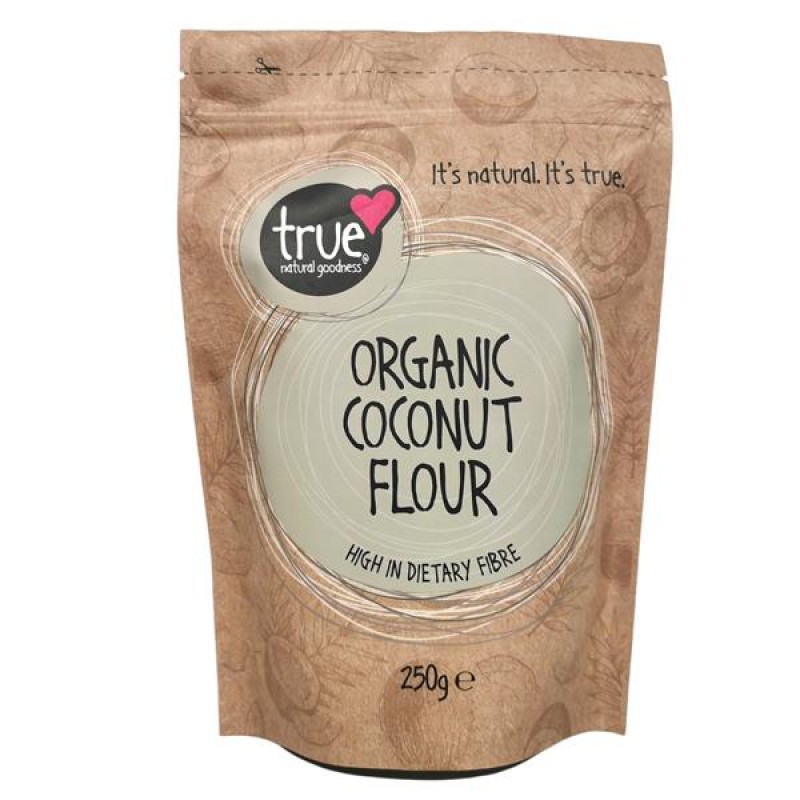
Here at Green Earth Organics we are always adding new products to the online store. When the coconut flour came in this month this recipe had to be made!
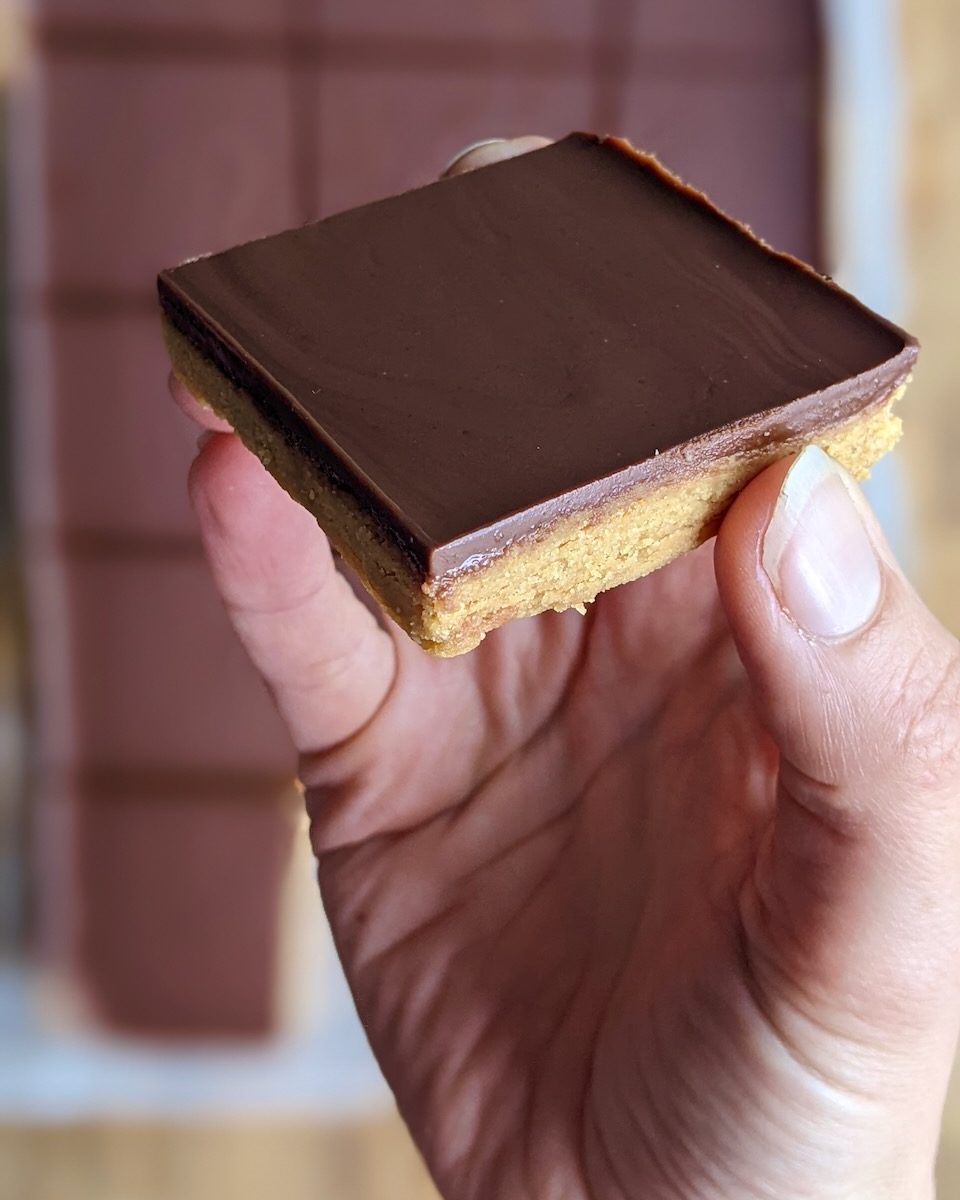
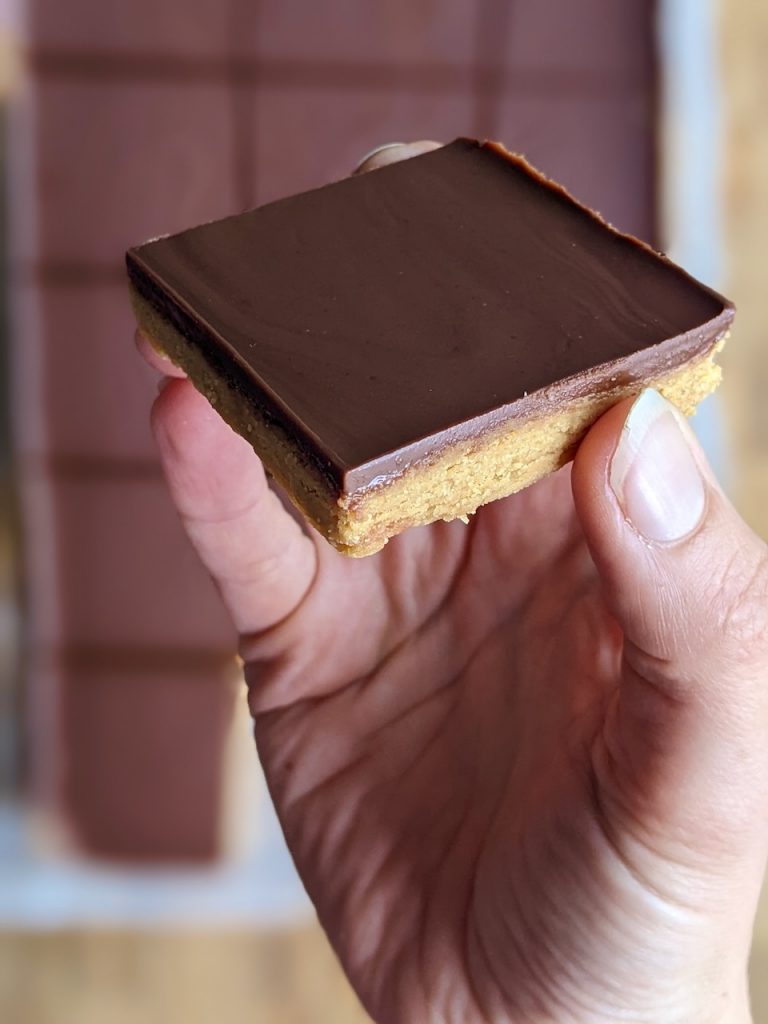
These peanut butter squares are a real treat! Not only are they unbelievably good they might even be good for you as they are made with these gorgeous natural organic ingredients!
They are quite filling so a small square is enough to satisfy- but go back for seconds if you must!!
Leave the plastic wrapped supermarket treats on the shelf and give them a go and let us know what you think.
Lou 🙂

- 230g smooth peanut butter
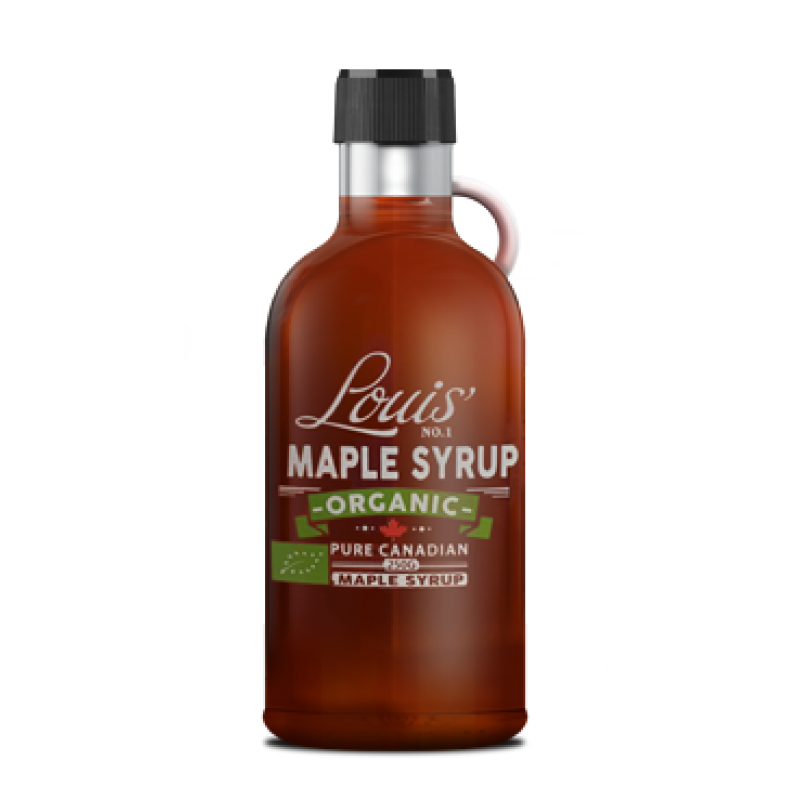
- 80ml maple syrup
- 100g coconut flour
- 100g dark choc
- 2 tbsp coconut oil
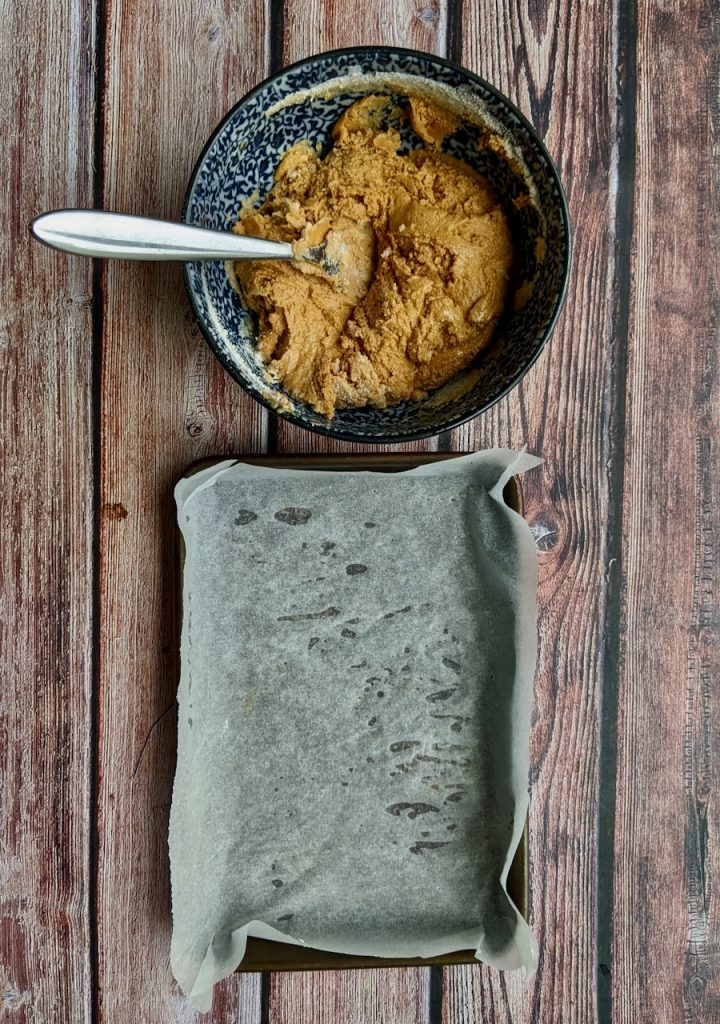
- Line a small baking tray (8×5 inc approx) with parchment paper and cut out a spare piece of paper the same size as the tray.
- Measure the peanut butter into a bowl and warm in the microwave for a minute or until it mixes easily with a spoon. (you can do this step in a small pot on the hob if you prefer)
- Add the coconut flour and maple syrup and mix to form a thick paste.
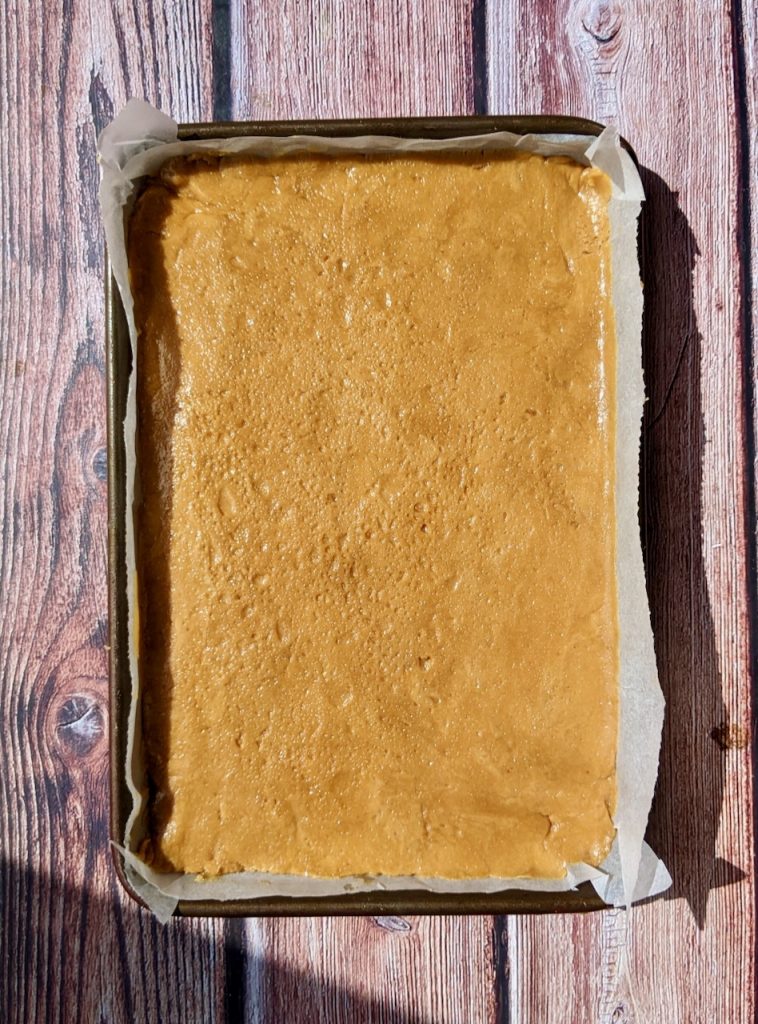
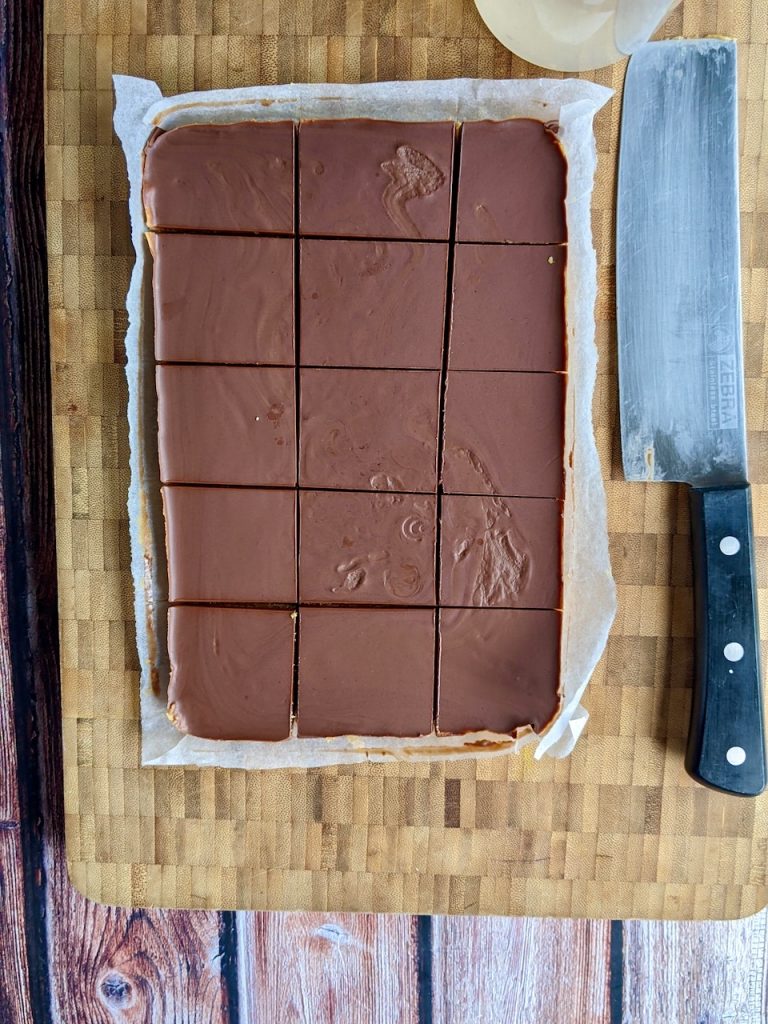
- Tip the paste onto the baking tray and push down with the back of a spoon.
- Use the spare piece of parchment paper and your hands to smooth the paste evenly into the corners of the tray, then discard the paper.
- Put the tray into the fridge to firm up for 10 minutes.
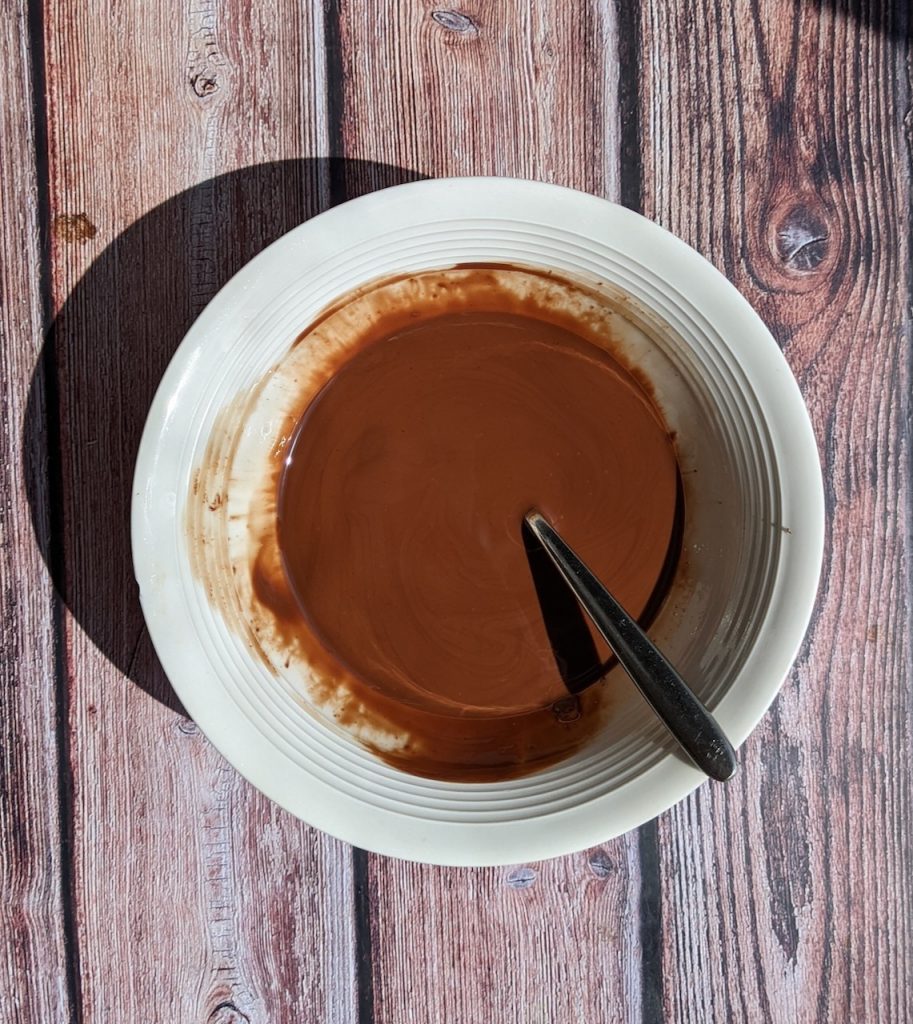
- Add the chocolate to a bowl with the coconut oil and melt in the microwave until melted. Check the chocolate at 20second intervals so it does not burn. Mix well.
- Take the tray from the fridge and pour over the melted chocolate, gently agitate to cover evenly.
- Chill in the fridge again to set. Cut into squares and enjoy.