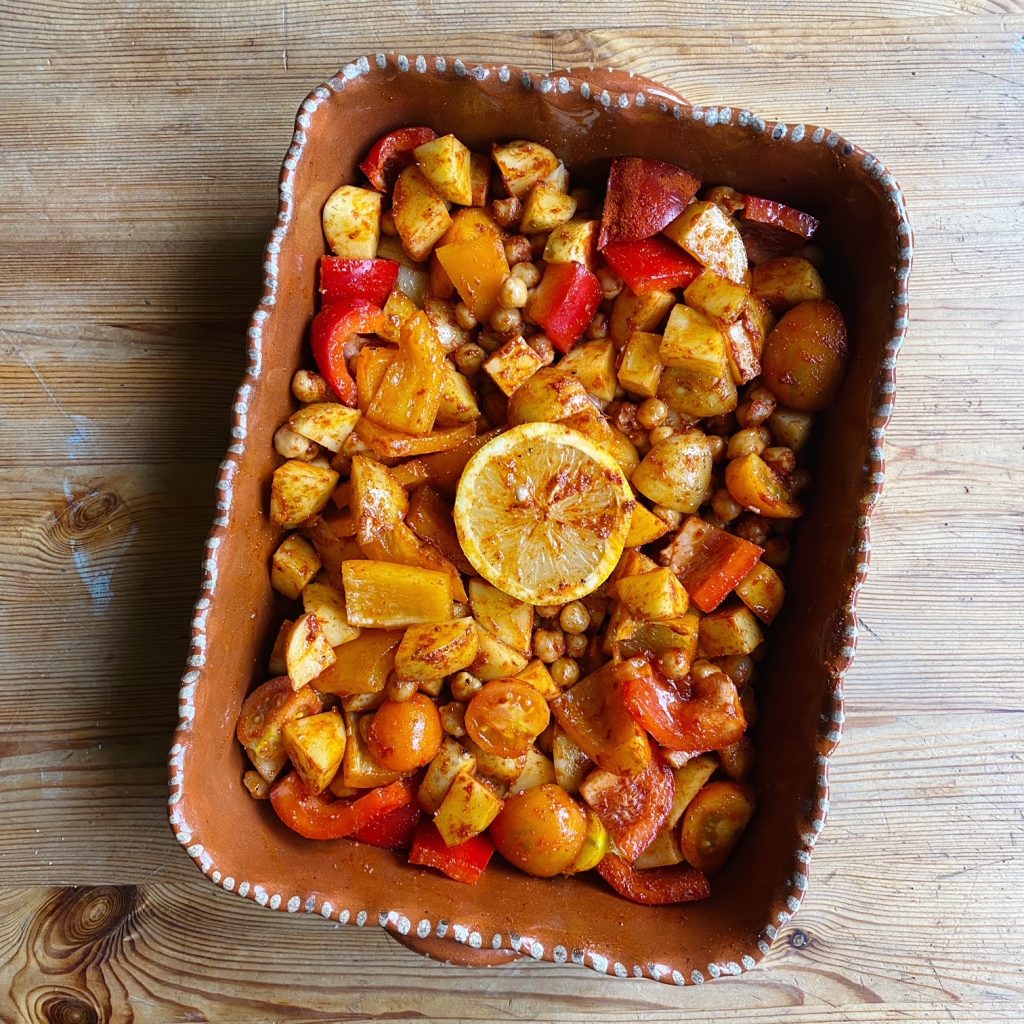

This chilli is like a big hug…it’s warm and spicy and tingly, filling and comforting. Most of the ingredients came off the shelf of the Green Earth Organic store room. Tins of beans and tomatoes, spices and brown rice that comes in compostable packaging and some Galway grown squash and onions, to make it an organic bowl of tastiness!
Using a slow cooker is very convenient for time-poor/busy people. Stick it on in the morning and head out the door and when you get home in the evening dinner is ready!
Slow cooking brings out the best in some foods. It allows the flavours to mingle for hours and to permeate the ingredients, like the beans in this recipe. Any extra chilli can be used in a burrito the next day or frozen for dinner next week.
Lovely for the cooler weather.
Lou 🙂
**If you don’t have a slow cooker you can of course make this in a casserole pot on the hob or on the oven, cooking time approximately an hour on a medium heat on the hob or 180C in the oven.


Ingredients: Serves 6
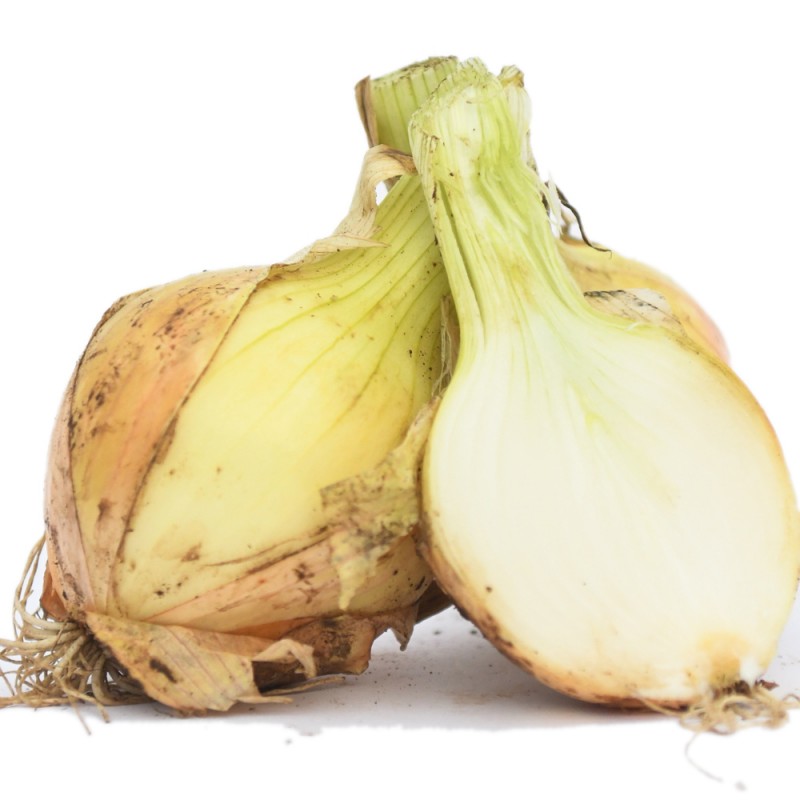
- 2 onions
- 4 cloves garlic
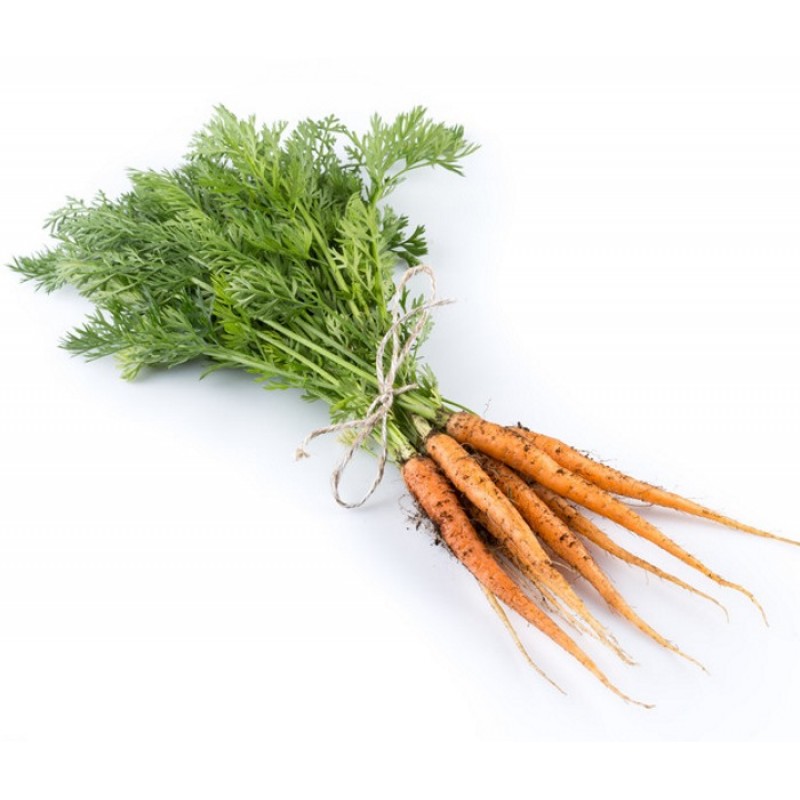
- 1/2 butternut squash
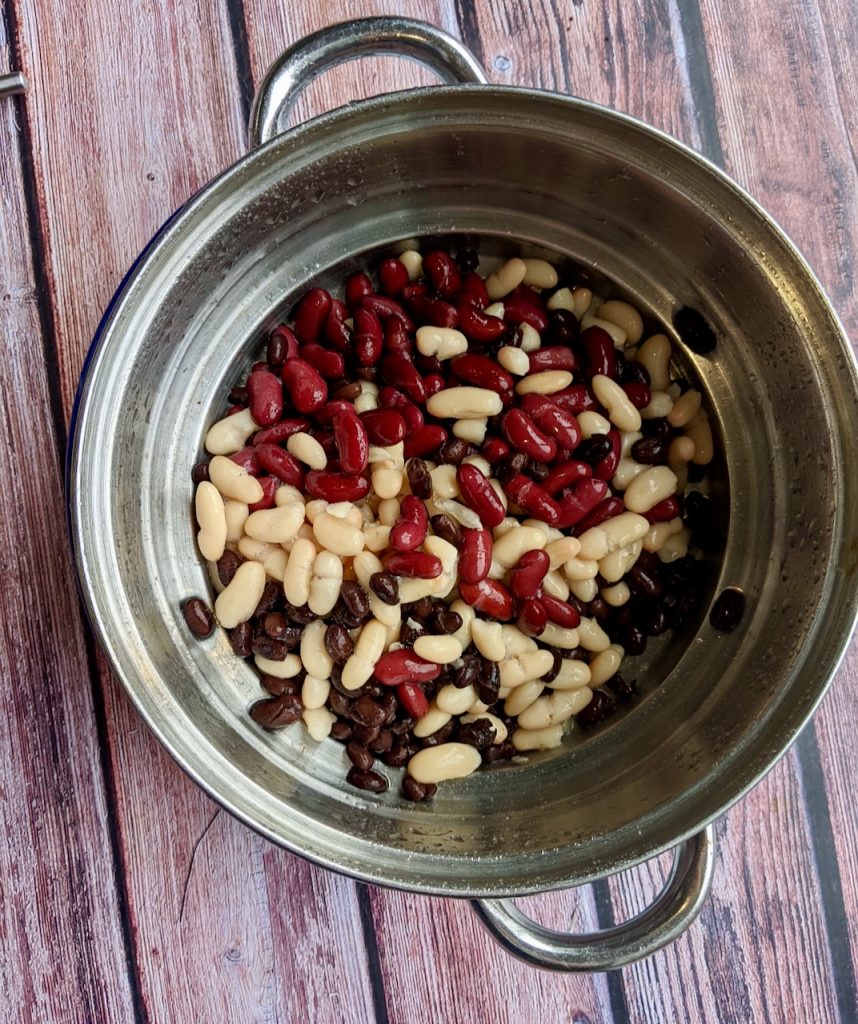
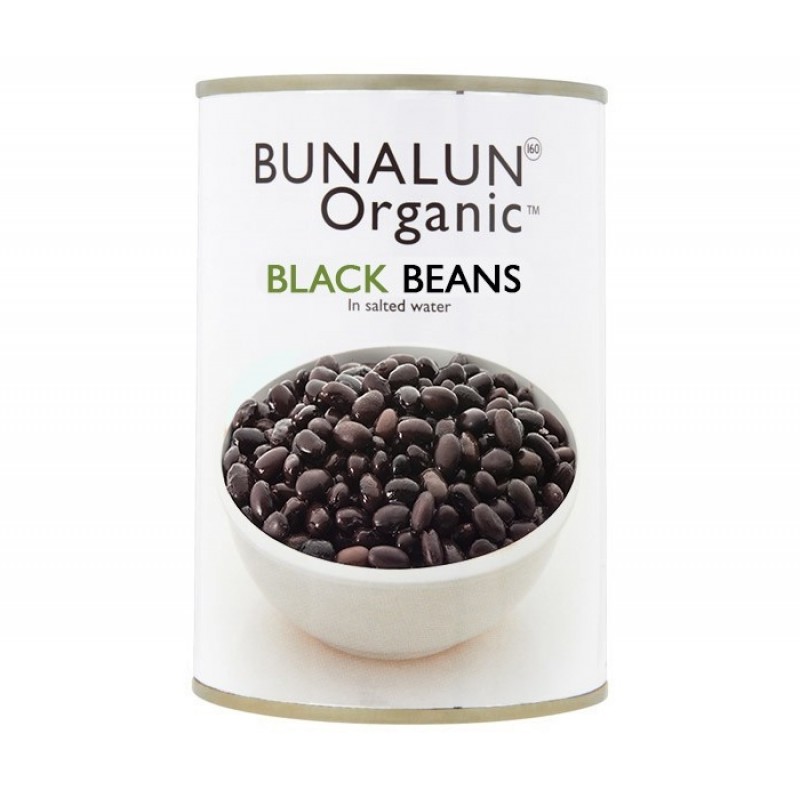
- 1 tin black beans
- 1 tin kidney beans
- 1 tin cannellini beans
- 2 tin chopped tomatoes
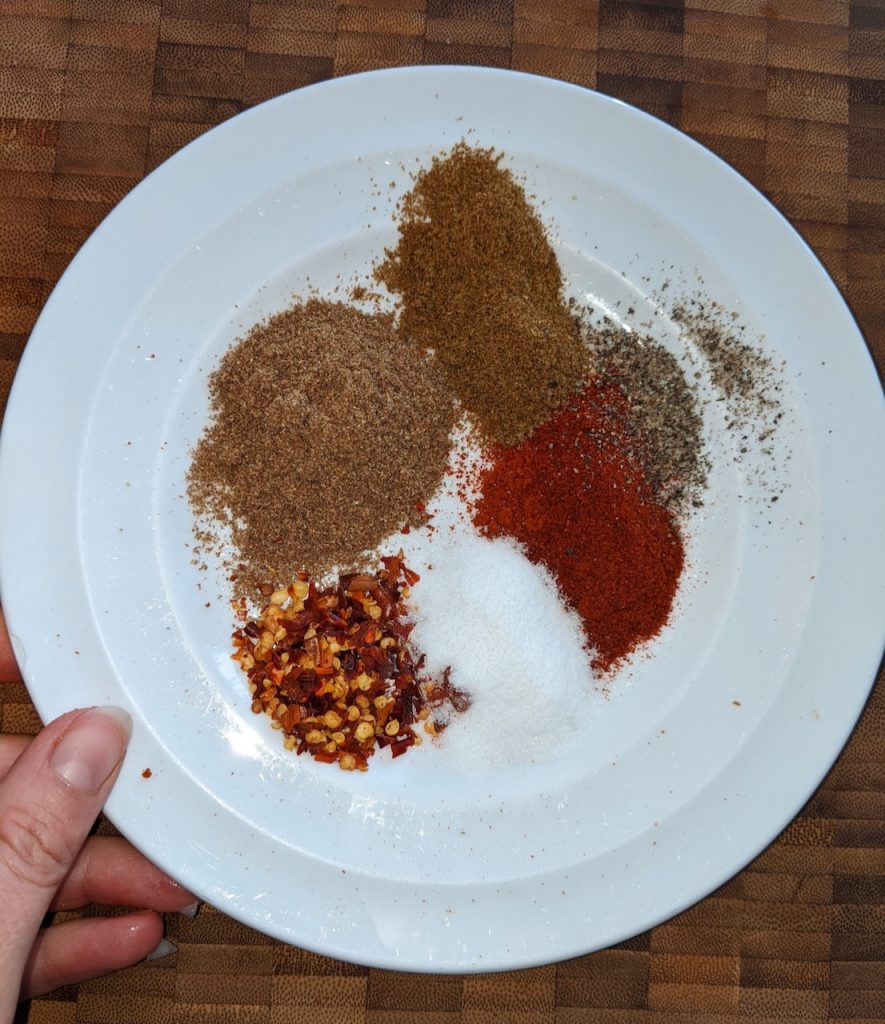
- 1 tablespoon paprika
- 1 tablespoon ground coriander
- 1 tablespoon ground cumin
- 2 teaspoons chilli flakes (or adjust to suit your spicy taste)
- 2 teaspoons brown sugar
- Salt and pepper to taste (I add about 2 teaspoons of salt and 1 teaspoon pepper)
- 2 bay leaves
- Serve with
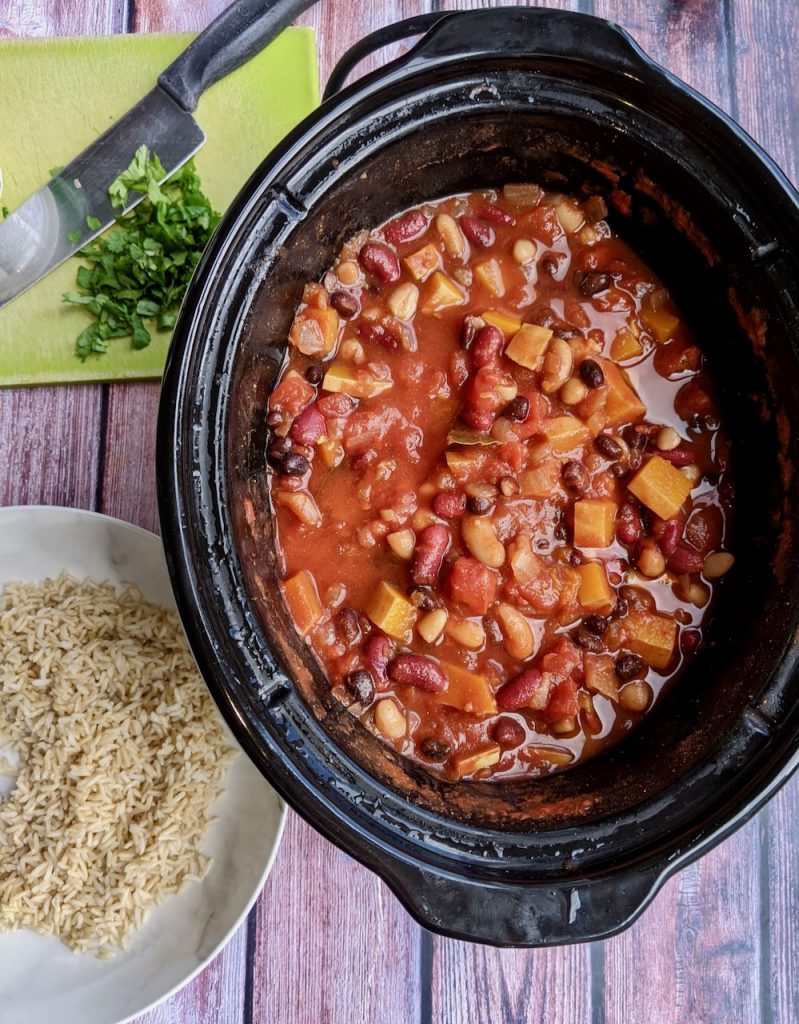
- Cooked brown rice, sour cream & fresh coriander
Method:
This recipe is suitable for a 3.5 litre slow cooker.
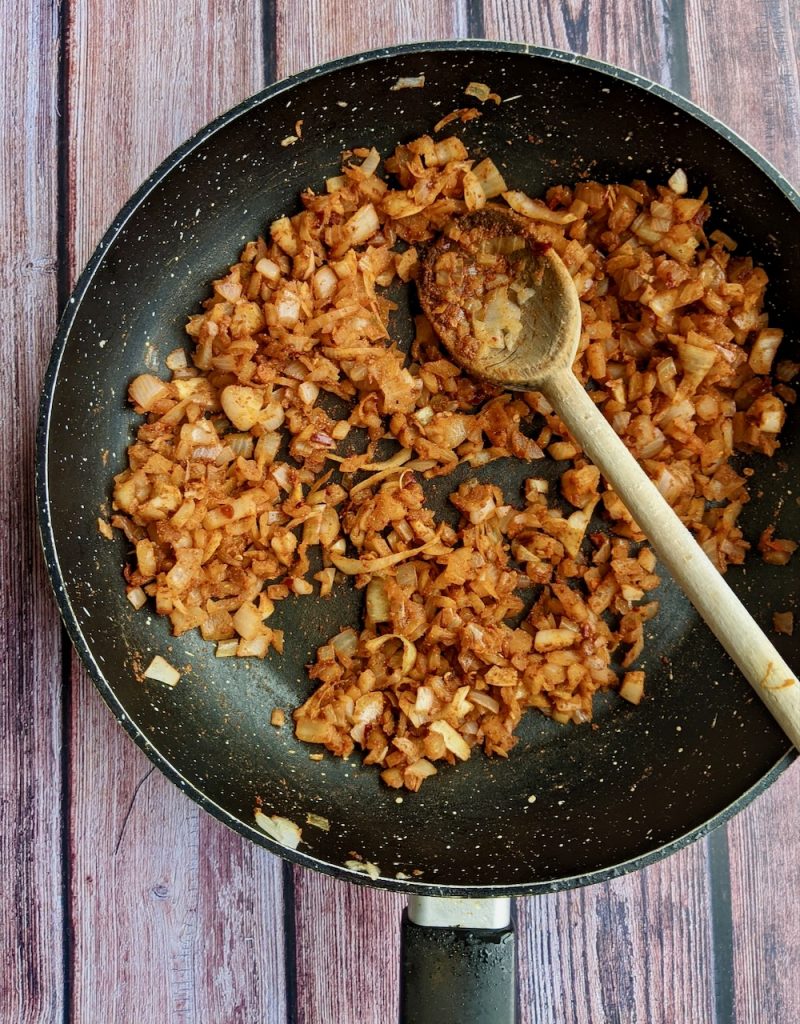
To get more flavour from the base flavours, I recommend cooking the onions, garlic and spices on the hob first.
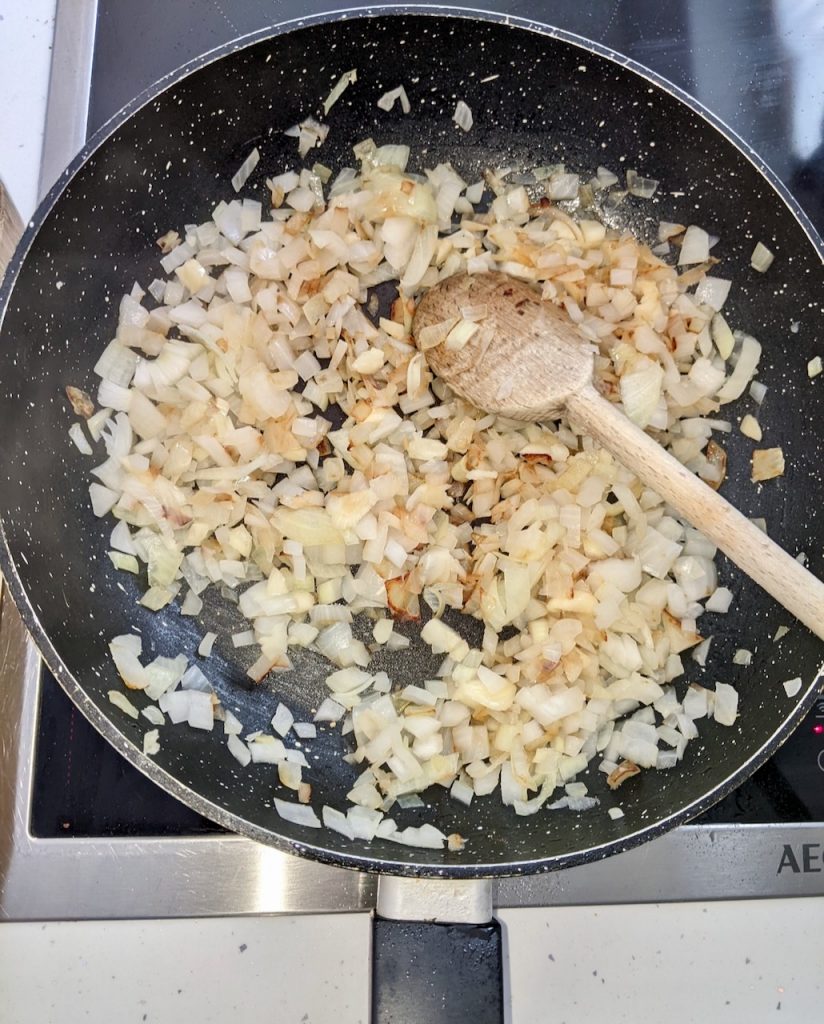
- Finely dice the onions and chop the garlic.
- Put a frying pan on medium heat. Add a tablespoon of oil and add the onions.
- Cook gently to soften for 5-10 minutes. Add the chopped garlic, paprika, coriander, cumin, chilli, brown sugar, salt and pepper and cook out on low for another 5 minutes. Take them off the heat when they are soft and cooked.
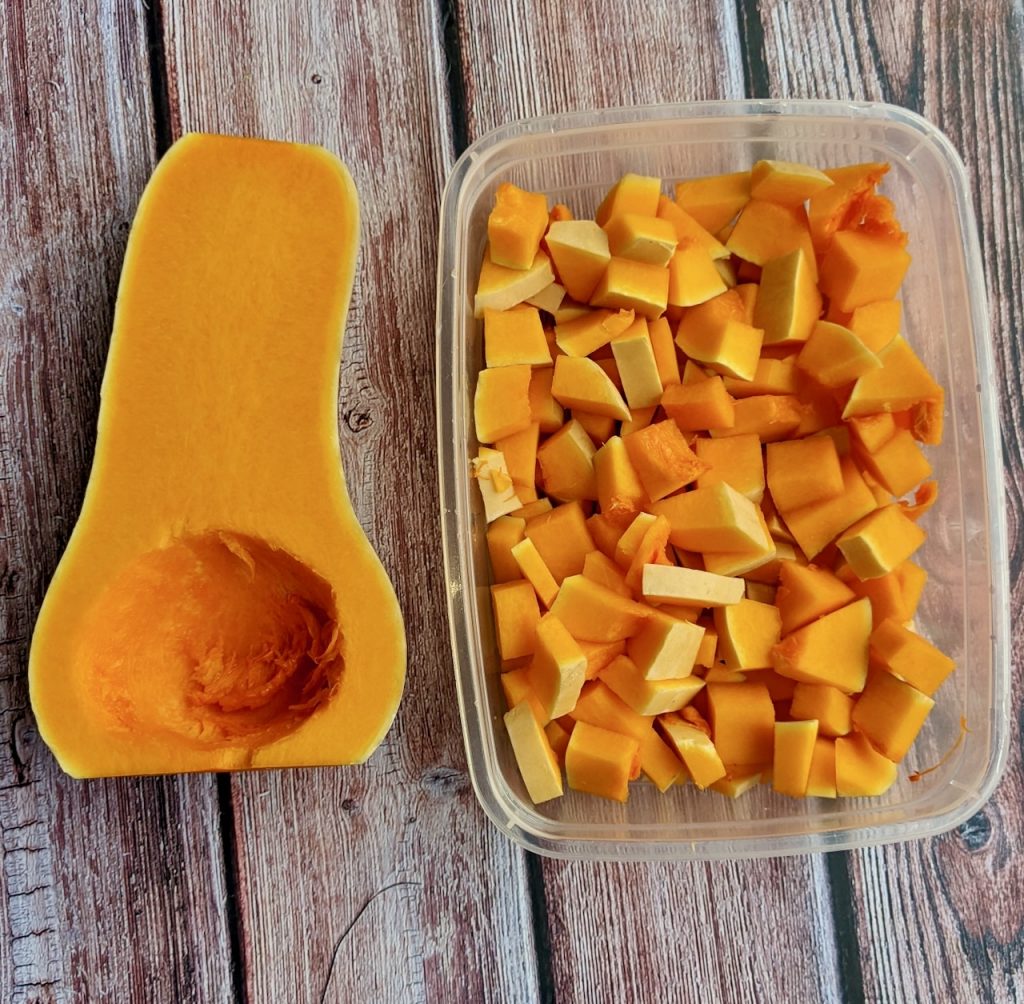
- While the onions are cooking prepare the butternut squash. You can peel it if you wish, but you can also cook the diced squash skin and all, it makes it quicker to prepare and more nutritious, especially because it’s organic. It’s also less wasteful.
- Wash it and chop it into two. Scoop out the seeds. (You can roast the seeds in the oven with salt and pepper later)
- Take one half of the squash and slice and dice it small.
- Open all the tins, the black, kidney, cannellini beans add them all together to a colander to drain and rinse under cold water.
- Set up your slow cooker, add the cooked onions, the squash, all the beans, then add the chopped tomatoes, fill the tomato tins with water and add both to the pot.
- Toss in the bay leaves, add another pinch of salt and pepper and pop the lid on.
- Cook it on low for 8 hours.
- Serving suggestion: Cook up some brown rice and serve with sour cream and fresh coriander.