New Potato, Chard & Kale Saag Aloo

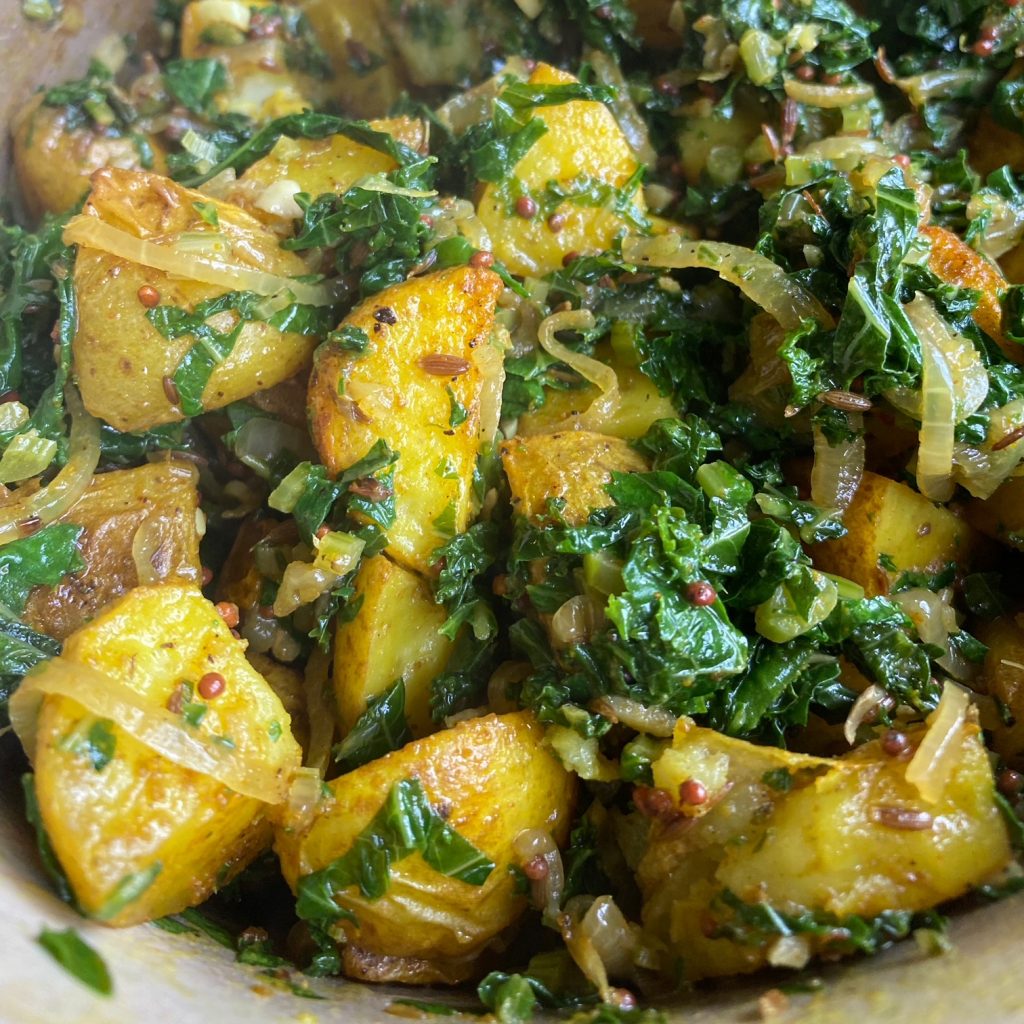
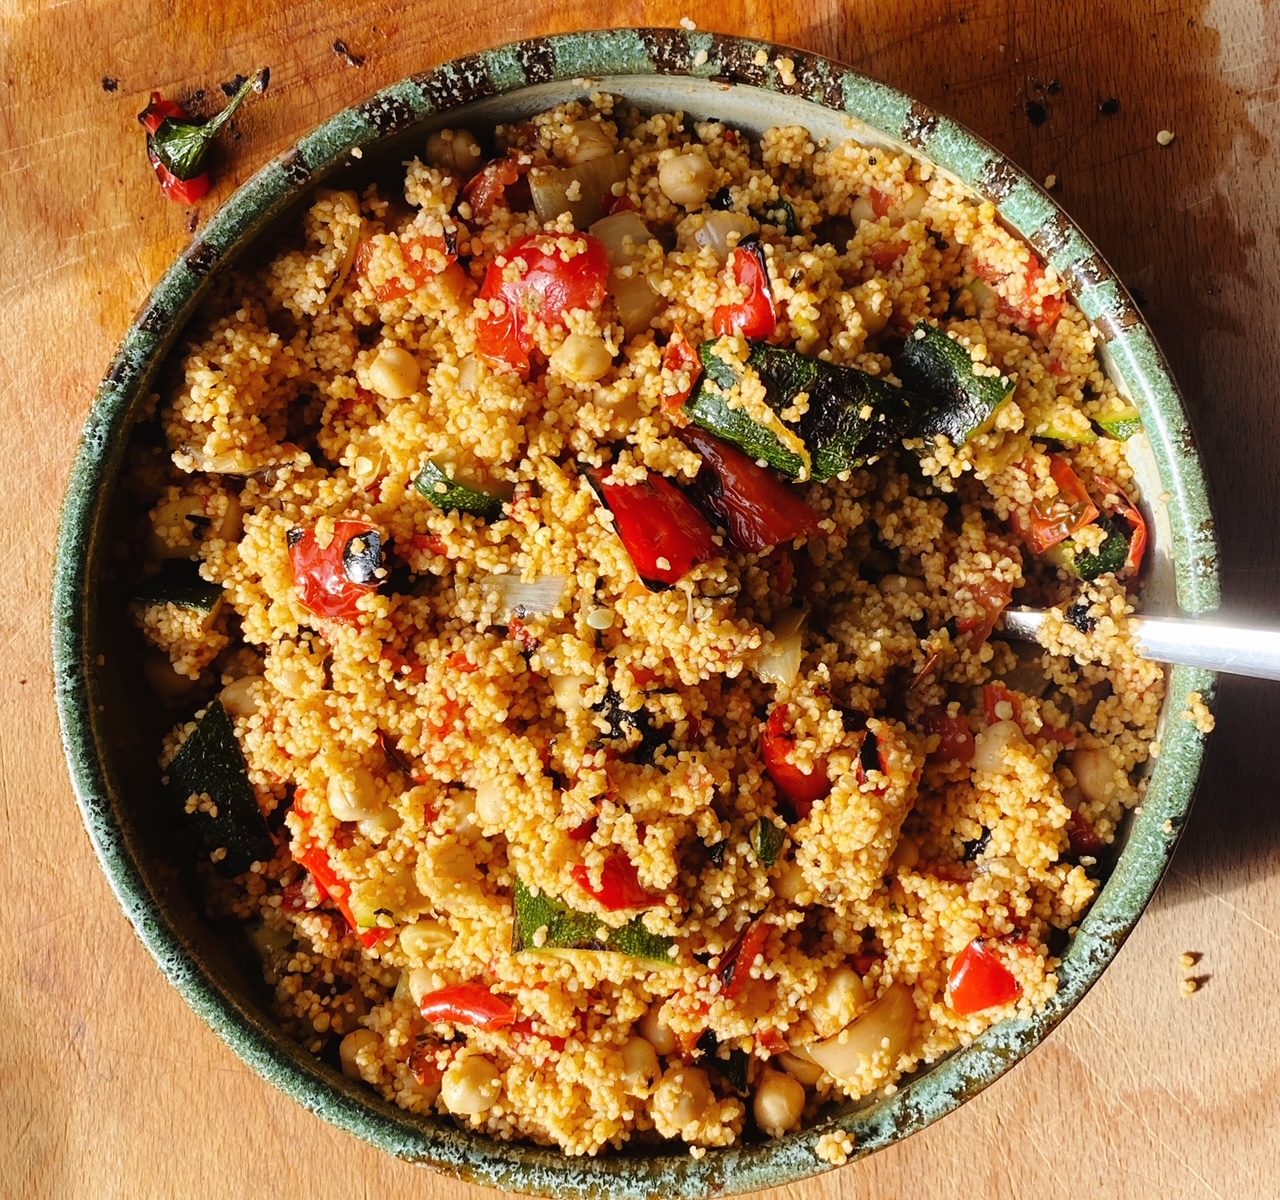
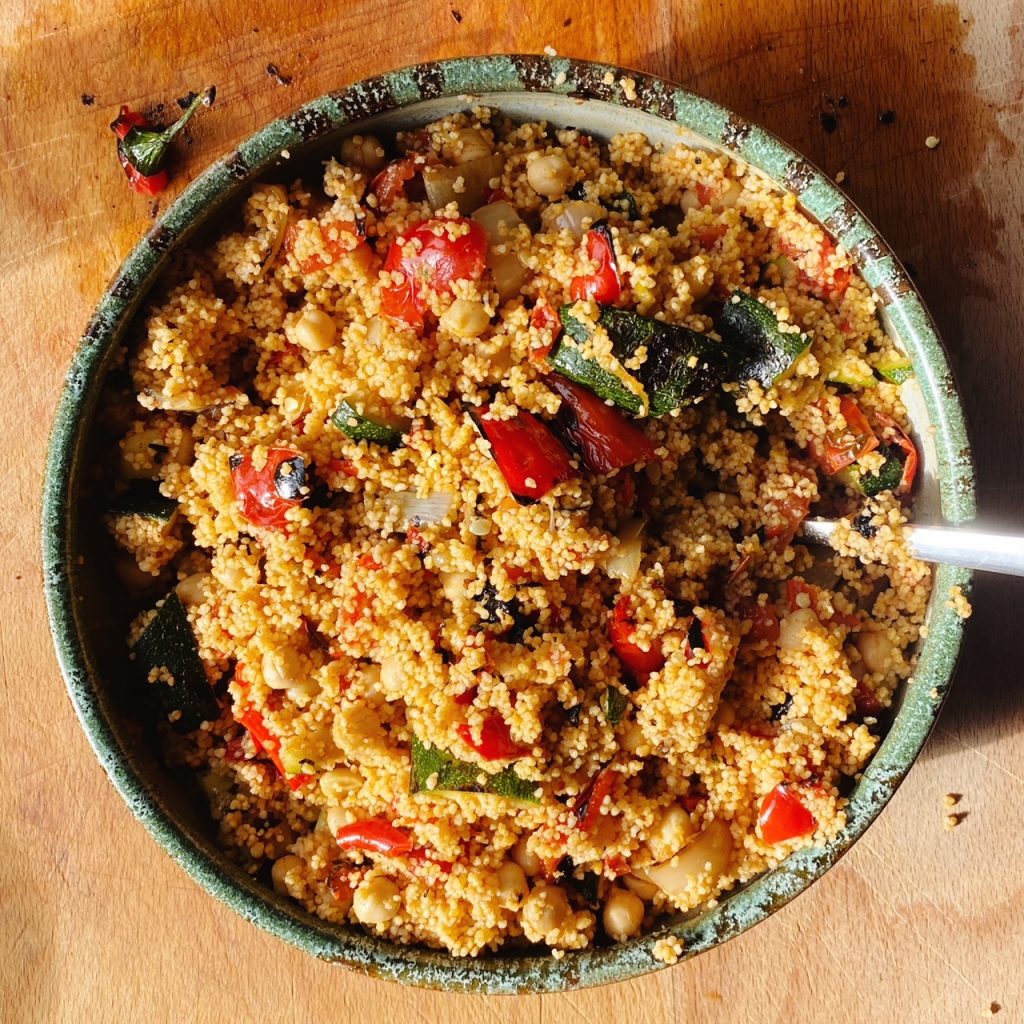
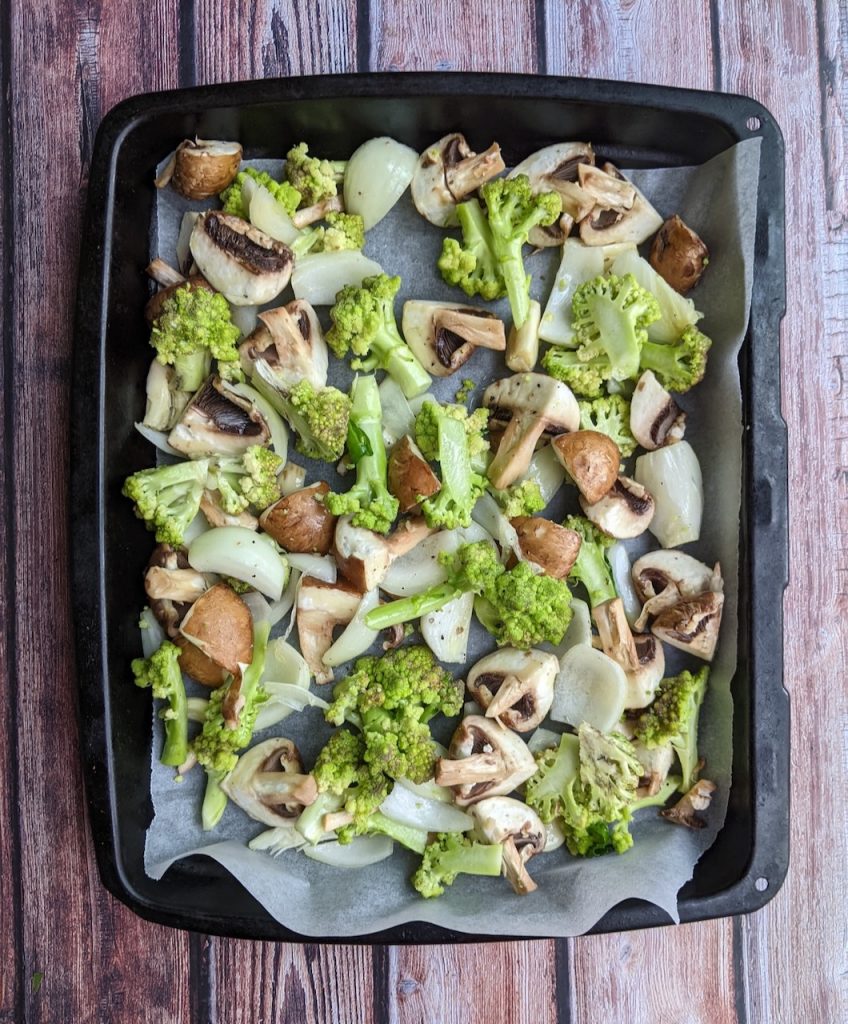
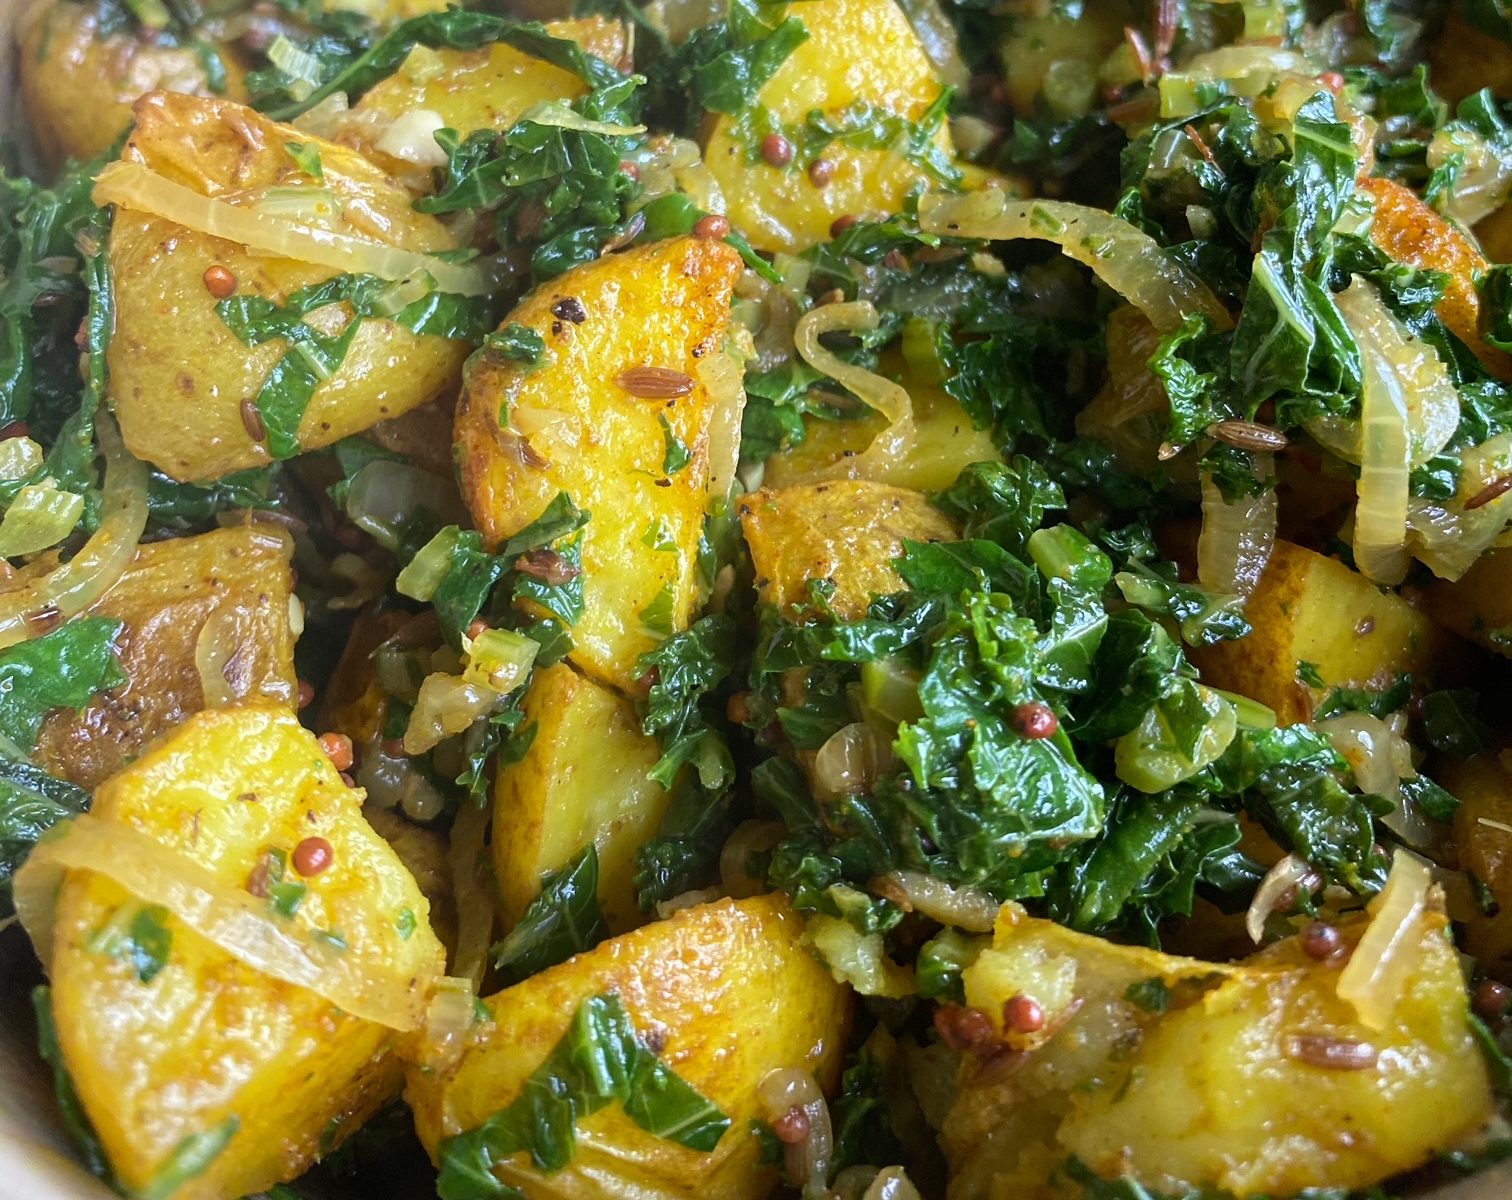
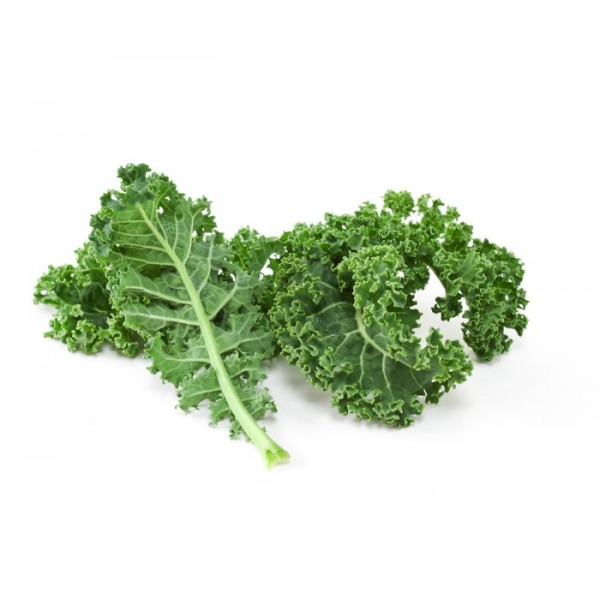
Saag aloo is one of our favourite Indian side dishes. Make it a meal and serve it with rice, dal and a chickpea curry. Maybe a raita too using our Galway grown cucumbers and some natural yoghurt? Irish new potatoes are the best and in season now. Combined with our farm chard and/or kale in place of the traditional spinach, this recipe is a great way to make the most of our local, seasonal produce. The method is simple and the results are so delicious!

Liz x

Ingredients (serves 4)

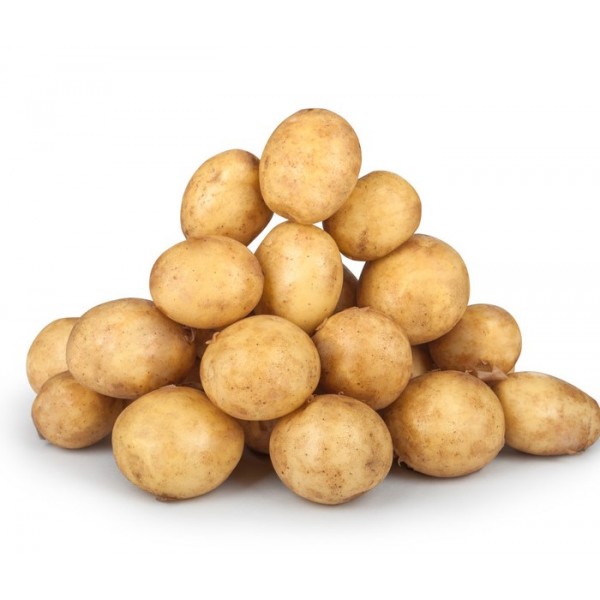
  • 500g new potatoes, cut into bite sized pieces
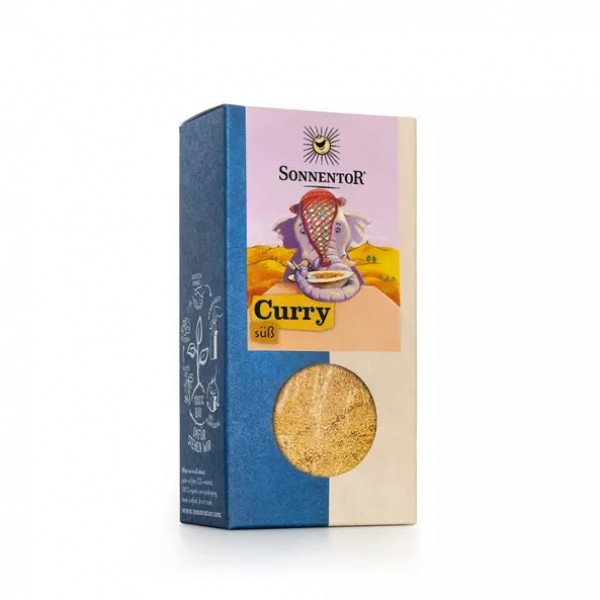
  • 1 tbsp curry powder
  • 3 tbsp vegetable oil
  • 1 onion, finely sliced
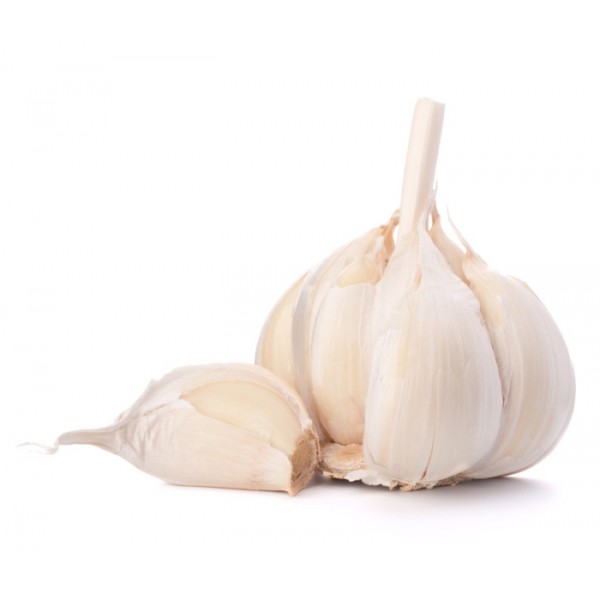
  • 4 cloves of garlic, diced
  • 1 thumb of fresh ginger, diced
  • 1 tbsp brown mustard seeds
  • 1 tbsp cumin seeds
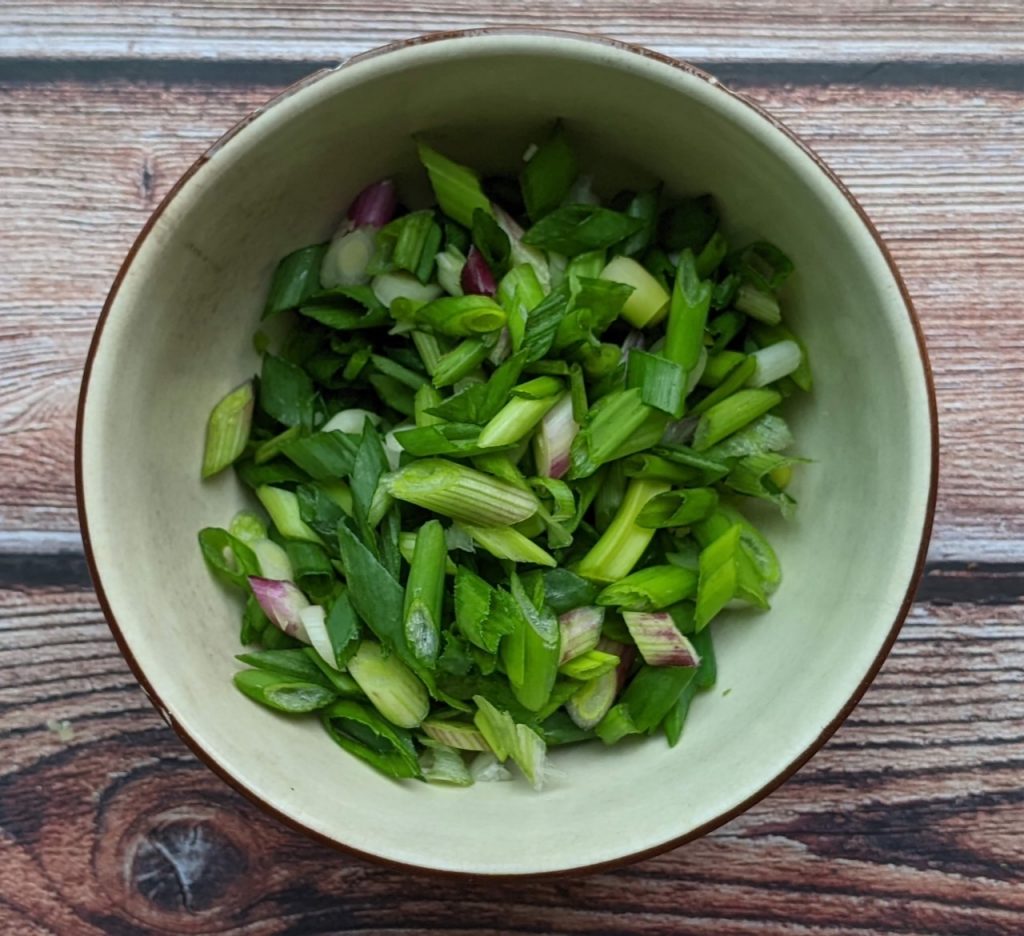
  • a large bunch of kale or chard (or a combination), stalks separated and finely chopped, leaves finely chopped
  • salt and pepper to taste

Method

  1. Turn the oven on to 200C. Place the potatoes in a roasting dish and drizzle with 2 tbsp oil, season with salt and pepper and sprinkle over the curry powder. Stir to evenly coat the potatoes in the oil and seasoning and roast until the potatoes are soft.
  2. Meanwhile wash and prepare the greens. Separate the tougher (but perfectly edible) stalks from your chard/kale. Finely slice the stalks and put in a bowl. Finely slice the tender greens and put in another bowl.
  3. Slice the onion and sauté with the remaining tbsp of oil in a large pot with the whole spices, salt and pepper. Cook until the onion is golden and soft and the whole spices are fragrant and toasted.
  4. Then add the sliced stalks, garlic and ginger and sauté for 3 minutes or until softened. Then add the tender greens and wilt down stirring constantly until dark green and soft. You may need to add a small splash of water to help wilt the greens.
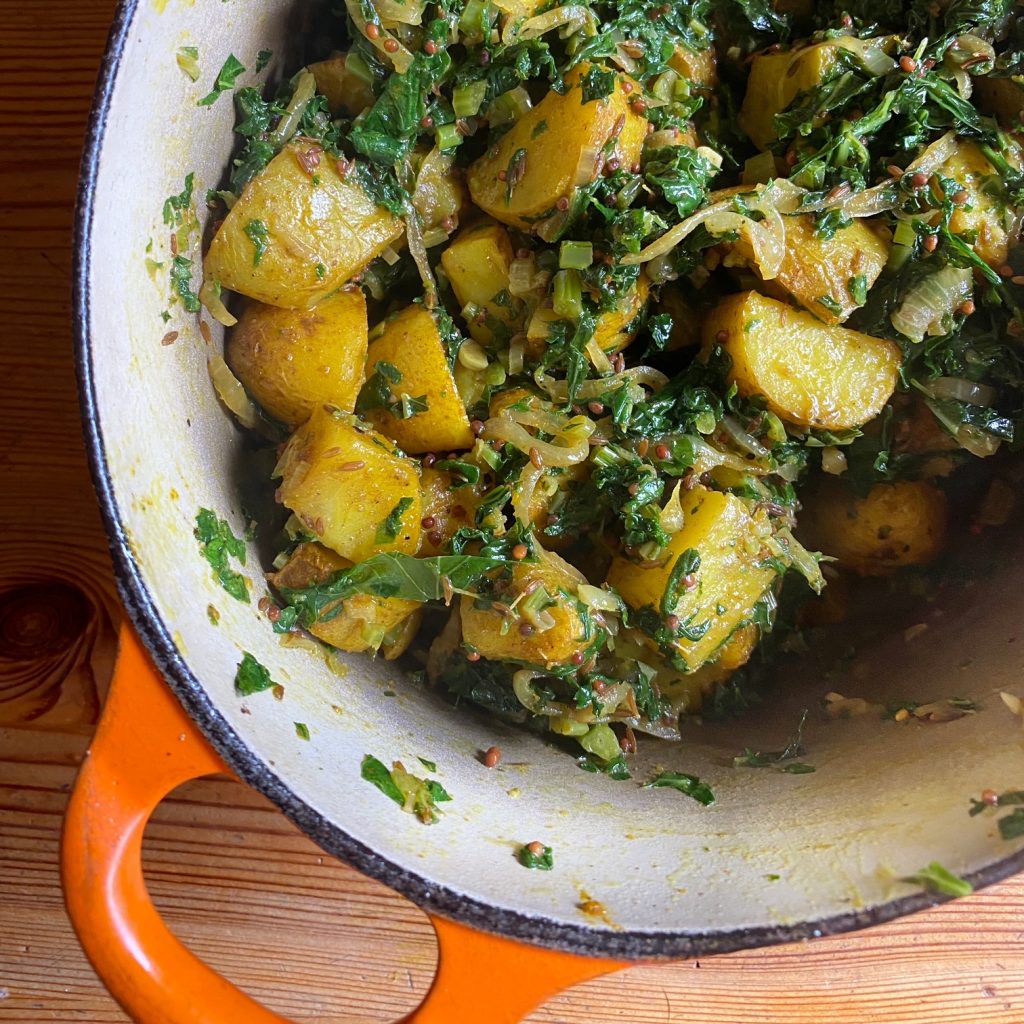
  5. When the potatoes are cooked through, stir through the wilted greens and serve.

Salmorejo with Spiced Chickpeas

If you like gazpacho, you’ll love this simpler version of chilled tomato soup. It is so quick and easy to make and perfectly balanced with a creamy texture and refreshing sweet and tangy tomato flavour. Traditionally it is served topped with chopped boiled egg and jamón slices but we love it with cumin and smoked paprika chickpeas. This soup is only as good as the quality of the ingredients, so use ripe tomatoes, really good olive oil and for the best flavour, sourdough bread.

Liz x

Ingredients (serves 4)

For the soup:

  • 500g tomatoes (any fresh, ripe tomatoes)
  • 1 tbsp red wine or sherry vinegar
  • 1 clove of garlic
  • 4 tbsp extra virgin olive oil
  • 2 slices of stale sourdough bread
  • salt and pepper to taste

For the chickpeas:

  • 1/2 a tin of chickpeas, drained & rinsed
  • 1 tsp olive oil
  • 1 tsp ground cumin
  • 1 tsp smoked paprika
  • salt & pepper to taste

Method

  1. Put the soup ingredients into a strong blender and blend until smooth.
  2. Taste and adjust the seasoning if needed with more salt, pepper or vinegar.
  3. Pour into a jar or jug and chill in the fridge for at least 3 hours.
  4. Meanwhile fry the chickpeas in a hot frying pan with the oil and spices until they start to pop. Tumble into a bowl and keep in the fridge to serve with the soup later.
  5. Divide into 4 bowls and top with the spiced chickpeas. The soup will keep fresh in the fridge for 3 days.

2 Homemade Ice Lollies

Phew it’s been hot! Anyone else overdosing on ice cream? We have started making our own, healthier ice lollies as we are getting through so many and we are trying to avoid the packaging and intense sugar levels of shop bought ones. Here are our two currant favourite flavours. We would love you to share your favourite flavours in the comments please. Always looking for inspiration. Apart from simply freezing our favourite smoothies, we are thinking of doing some more ’grown up’ ones too involving coffee… and maybe a gin, tonic, cucumber & mint one?

We invested in a silicon ice lolly mould this year, but in the past have used saved yoghurt tubs and water cups. You can buy lolly sticks in craft shops or use wooden takeaway cutlery. Any other ice lolly hacks are very welcome! Don’t forget to stock up on our wide range of organic fruits, they’re the perfect healthy sweet and refreshing treat.

Liz x

Watermelon Ice Lollies

  • watermelon
  • kiwi

Method:

  1. Slice a mini watermelon and remove the pips and rind. Blend then pour into ice lolly moulds leaving a couple of cm space. Freeze for 30 minutes then insert a stick.
  2. Halve kiwis and scoop out the flesh with a spoon. Blend then carefully top the watermelon moulds to imitate the green part of the watermelon and freeze until solid (at least 4 hours).
  3. Remove the lollies from their moulds and store in the freezer in a large plastic box. For best flavour, eat within a couple of weeks.

Yoghurt, Maple & Blueberry Ice Lollies

  • natural yoghurt, any one you like
  • maple syrup to taste
  • blueberries – fresh or frozen

Method:

  1. Mix maple syrup into yoghurt to sweeten to your taste. Then pour into ice lolly moulds halfway up.
  2. Add a tbsp or so of blueberries then top up with more sweetened yoghurt.
  3. Insert the lolly sticks and freeze until solid. Enjoy!

Our Children & The Planet

Thank you so much to everybody who responded last week to our plea it made a tremendous difference and whilst we won’t ask again, every order you make during the summer makes a massive difference and keeps us going!

I will never forget when myself Jenny and my dad put up our first polytunnel back in 2005. It was a milestone and like a dream come though, I will never forget it. 

We were so proud of ourselves, that was our first season growing food and we tried it all. We were so enthusiastic, we wanted all the plants in that little tunnel, aubergines, tomatoes, peppers, cucumbers. If truth be known there was very little harvest from that tunnel in the first year. We had plants but little enough of the fruits of our labour! Nevertheless, this did not discourage us in any way.

We were on a journey we had closed the door on a different chapter of our lives, lives lived far from the land and with little connection with our food. Certainly, there was always a burning deep desire to do the right thing by the environment and this our mad chance to embrace that vision. 

It was two years later in 2007 that our first child was born and that was a momentous occasion. I do remember many things from that day, but one that I am sure most people do not experience on the birth of their first child was the doorbell ringing (We had a home birth) and a guy that was fixing a fridge on our van wondering if he could talk to me about a problem he was having. I think the noise in the back round ended that conversation swiftly.

Then we watched Hannah grow and at the age of two she was able to go and pick her own tomatoes and cucumbers from the polytunnel. When Ella came along it was clear she was going to be our earth child and she spent more time in those polytunnels than anybody else, I am surprised we had any tomatoes left to harvest for you, our customers. 

In hindsight remembering those moments and appreciating them seems like it was a perfect and ideal life. There was of course plenty of smiles but there was all the other stuff too.  We were guilty of having no time, no money, and no energy, it was truly exhausting, starting a farm, a business and a family at the same time. I would recommend that if you are embarking on this journey that you spread those events out a little!

But we got through. The days when we have had schools on our farm, and you see the amazed face of a child when they pull a carrot from the ground it makes you remember what is important

The journey has certainly left its scars, but it has also allowed a deeper appreciation of what we have, how lucky we are. If nothing else seeing the respect Ella, Joe and Hannah have for the environment is something that I am proud of.  If we achieve nothing else on this journey, we will have achieved something positive.

Our job here is to spread a message that nature and our land are beautiful and precious, and all living things are to be respected. We as a business, a farm and individuals really do have an obligation to take care with our actions.

It is on us all, of course we can all point the finger but what good does that do? We need to take responsibility for our actions and do the right thing, is that easy? Absolutely not. Is it necessary? Completely. Therein I believe lies our greatest hope for our children and all that we share this land with.

Have a fantastic and amazing week and thank you for your continued support.

Kenneth

Barbecued Veg Cous Cous

This is our new favourite way to serve barbecued vegetables right now. It’s quick and simple but so so delicious! Serve as a meal in it’s own right or as a side to your usual barbecued things and salads.

Did you know that we stock organic cous cous (and many more dry goods) in clever compostable bags? When you empty your cous cous into a storage jar, pop the bag into your home compost or your council compost bin and it will break down in 12 weeks. We have loads more than just fruit and vegetables on our website for you, and we deliver to every address in Ireland and Northern Ireland. Don’t forget to stay hydrated and find shade over this heatwave lovely people!

Liz x

Ingredients (serves 6)

For the cous cous:

  • 1 mug of cous cous
  • 1 tin chickpeas, drained
  • 1 tsp each: salt, pepper, ground cumin, smoked paprika, garlic granules (or season to your own taste)
  • the juice of 1/2 a lemon
  • 2 tbsp olive oil
  • 1 & 1/4 mugs boiling water

For the barbecued vegetables:

  • 1 courgette
  • 2 red peppers
  • 2 onions
  • 1 fresh chilli
  • 10 cherry tomatoes
  • 2 tbsp olive oil
  • salt and pepper to taste

Method

  1. Light the barbecue and prepare the vegetables for grilling. Cut the courgette into large chunks and the peppers in half and remove stems and seeds. Cut the onions in half and remove the skin. Keep the tomatoes and chilli whole. Place the vegetables in a bowl, drizzle with the oil and sprinkle with salt and pepper. Keep aside in the bowl until the barbecue coals are ready.
  2. Meanwhile prepare the cous cous. Measure the cous cous into a large, heat proof salad bowl. Add the chickpeas, seasoning, lemon juice and olive oil. Add the just-boiled water and stir to combine then place a large plate over the bowl and let the cous cous absorb the water for 5 minutes.
  3. Remove the plate and fluff up the cous cous with a fork. The barbecue coals should be ready to get grilling now.
  4. Cook the vegetables on the barbecue until they are beautifully blackened and soft. As they become ready, use tongs and place them back into the bowl. When they are all cooked through, smokey and delicious, tip onto a large chopping board and chop into bite sized pieces. Scrape the barbecued vegetables, along with all their juices into the bowl of cous cous and stir.
  5. Serve with salad and sauces or with your other usual barbecue items. Enjoy!

Potato Hash w/ Roast Romanesco & Crispy Fried Eggs (serves 4)

A brunch dish bursting with goodness and flavour! Roasting veg is very satisfying. A potato hash with added veg made this way is very simple and uncomplicated, any left over veg can be use for dinner the next day #zerofoodwaste. Roasting veg brings out the natural flavour of the vegetable adding sweet and charred notes, made with gorgeous organic Irish grown veg…..well there is nothing better.

This dish was inspired by the Irish Farm Box. Its packed full of seasonal locally grown veg! You can make a version of this all through the seasons adding squash, broccoli, kale, courgettes, beets, carrots or parsnips too……just keep your hot sauce handy!

Lou 🙂

  1. Preheat your oven 180℃.
  2. Prepare 2 large roasting tins with parchment paper or silicone liners. 
  3. Wash the potatoes, give them a scrub until they are clean. 
  4. Chop into cubes roughly the same size, add to a mixing bowl. Sprinkle generously with salt and pepper and a good glug of oil, toss to coat. 
  5. Pour onto a large roasting tin and put into the oven to roast for about 1 hour, check and toss the cubes every 20 minutes. 
  6. While the potatoes are cooking, prepare the veg, you can add the veg to the same mixing bowl. 
  7. Chop the romanesco into bite sized florets and chop the mushrooms into quarters. 
  8. Chop the onions into quarters but break up the layers, bash the garlic cloves with the back of a knife and add to the bowl. Sprinkle it with salt and pepper and coat with a tablespoon or two of oil. Toss to coat and add to the second roasting tin. 
  9. Put it in the oven to roast for about 30 – 40 minutes. Check halfway and give it a toss. 
  10. Finley slice the scallions and keep in a serving bowl. 
  11. Wash the spinach and roughly chop. Keep in a container with damp kitchen paper on top until later. 
  12. The cubed potatoes are ready when they pierce easily with a sharp knife and they look golden brown. The veg will be soft and slightly charred in places. Squeeze out the garlic cloves and serve or discard if you find the flavour too strong, they will have done their job to flavour the veg. 
  13. Fry the eggs to your liking (2 per person) on a frying pan, cook on a medium to high heat for crispy fried eggs. 
  14. Reheat the potatoes on a frying pan along with the veg and at the last minute toss through the chopped spinach. (You could reheat in the oven also and stir through the spinach)
  15. To serve, add the potatoes and veg to a plate or wide bowl, top with 2 fried eggs, sprinkle on the chopped scallions and add your favourite hot sauce. 

This is a delicious dish for breakfast, lunch or dinner! 

This is a Plea

It is always with a great sense of irony that we head into July. It is the official end of the hungry gap.  We are catapulted from a frenzy of farming activity and a dearth of harvest in early June to a level of activity bordering on the insane and an overflowing harvest basket. 

July is the time when we have a plentiful harvest, and it is the very same time that many of you our customers break your routine with cooking.  Especially this year it seems that many people are going away on holidays and are taking a well-earned break. 

It is hard to assess our harvest need a year in advance and the last two years we have seen so much volatility, we are not sure what way is up anymore. But plans were made back in November and now we are harvesting the fruits of our labour. 

This summer is proving to be a big challenge; We have so much of our own freshly harvested food right now and we have developed relationships with other local organic farms and now when the time of Irish plenty arrives we find that you our customers are taking a break for all the usual reasons, holidays, not cooking, routines out the window and we understand completely. 

The downturn this summer for us is leaving us with much surplus harvest with nowhere to go but back into the ground. 

This time of every year we also see a large increase in labour costs on the farm. It is a double downturn for us, as our costs go up and our sales go down. Anybody will tell you this is not a good way to run a business.

The initial start of this growing season on our organic farm, seeds, plants, fertiliser (organic), compost, contractors and labour are very high, before you harvest even one bean. All of this is necessary to make the food in the fields happen.

Growing food at the best of times is not a money-making enterprise, far from it, we only ever expect the farm to break even and most years this is a stretch to achieve. We grow the food, because we love to do it, because sustainable agriculture is something we strongly believe in, and it is the right thing to do. 

We have PV cells generating our electricity, we have invested in our first zero emission electric van, we collect our rainwater, we plant trees, and hedgerows, we use only plastic free packaging.   We educate people on how important biodiversity is, and to get everybody involved in thinking about the planet and the environment, where our food comes and how it is produced is our critical philosophy.

All of this takes time and energy, it all costs money and at the end of the day although everybody wants to enjoy their job and although nearly everybody that works with us believes in our values and our mission, they still need to get paid.

So, this is a plea, a plea to ask you to order next week, to find a way (if you can at all) to continue supporting us over the summer, to tell your friends and family to order from us, or let us deliver to you if you are on holidays in Ireland, (we have just reduced our courier charge).

The boxes next week are loaded with the most amazing fresh local Irish organic produce, including, spinach, salad, lettuce, Romanesco, cucumbers, kale, scallions, tomatoes and new IRISH organic potatoes.  (The value of the boxes has also increased to give you more for your money!)

So please if you can at all do order.

Your support as always is very much appreciated.

Thanks

Kenneth

Jammy Crumble Slice

These are wonderful treats. A beautiful, buttery shortbread base, a layer of jam (we used our rhubarb and rose jam from last week) and an oaty crumble top. So delicious! Pack up slices to take out on a picnic or over to a friend for tea. You’ll be amazed at how simple the recipe is too. Once you have the 1,2,3 method in your head (100g sugar, 200g butter, 300g flour), perfect biscuits are never far away.

Liz x

Ingredients (makes 18 slices)

  • 100g sugar
  • 200g butter, chopped
  • 300g flour (plain with no raising agents!)
  • a large handful of porridge oats
  • 3 or 4 heaped tbsp jam

Method

  1. Pre-heat the oven to 175C and line a medium baking dish with baking parchment.
  2. Measure the sugar, butter and flour into a food processor or mixing bowl. If using a food processor, blend until the mixture resembles wet, crumbly sand. If you are using a mixing bowl, use the tips of your fingers and rub the ingredients together into an even, crumbly texture.
  3. Take out a large handful or so of the mixture and move it to another bowl to reserve for the crumble topping. With the rest of the mixture, bring it together into a ball either with your hands (in the mixing bowl) or by blending a little longer until it comes together into a ball (in the food processor).
  4. Press the ball into the lined baking dish into an even layer. Use a fork to prick holes over the base then bake in the oven for around 8 minutes or until just starting to take on some golden colour.
  5. Meanwhile add a large handful or so of porridge oats to the reserved crumbly dough and mix together with your hands into the crumble topping.
  6. Remove the shortbread base from the oven and spread with jam then sprinkle with the crumble topping and bake again until golden on top. This should only take another 8 minutes or so but ovens vary so keep a close eye on yours.
  7. Remove from the oven and allow it to cool completely (I like to let it cool and set overnight) before pulling out onto a chopping board and slicing. This keeps fresh in an airtight container in a cool place for 4 days.

Creamy Cashew & Courgette Spaghetti

This simple pasta is very fast, very easy and very delicious. The perfect weekday supper. Courgettes are coming in thick and fast now so do enjoy them and use the search bar in the blog to find lots more courgette inspiration. You can substitute the cashew nuts in this recipe for sunflower seeds or any nut/seed you prefer. No need to be too exact with the ingredients, this pasta recipe is very easy-going, as all weekday dinners should be. Enjoy!

Liz x

Ingredients (serves 4)

  • 200g cashews covered in just boiled water
  • 1 heaped tsp Dijon mustard
  • 1 tsp garlic granules
  • 2 heaped tbsp nutritional yeast
  • the juice of 1/2 a lemon
  • salt & pepper to taste
  • 1 tbsp olive oil
  • 1 or 2 courgettes, thinly sliced
  • 4 portions of spaghetti, cooked in salted, boiling water
  • 1 large mug of the starchy water that the pasta was boiled in
  • a large handful of chopped herbs eg dill, parsley and mint

Method

  1. Soak your cashews and get a large pot of water on to boil. Thinly slice the courgette and find a wide pan.
  2. When the water is boiling, generously salt it and tip in your spaghetti. While it cooks make the creamy courgette sauce.
  3. Put a large pan onto a medium heat and add the olive oil and sliced courgettes. Season well with salt and pepper then sauté gently to soften and wilt the courgettes.
  4. Blend the soaked cashews in their soaking water with the mustard, garlic granules, nutritional yeast, lemon juice and season to taste with salt and pepper. Scrape the cashew cream into the pan of courgettes and steal a mug of starchy pasta water from the pot. Add it to the courgettes and cashew cream to loosen and simmer into a gently bubbling sauce.
  5. Drain the pasta and toss it through the sauce. Serve with extra black pepper and a sprinkle of fresh herbs.

Zero Waste Radish Kimchi

Did you know that radish leaves are edible? Get more bang for your buck (and save food waste) by eating them up! They are delicious and peppery, a little like rocket. Many people are not fans of their slightly bristly texture so, even though they are delicious fresh in a salad, you can also cook them in a soup or stew or as greens in a quiche or as a side dish with garlic. You can also blitz them up with nuts or seeds into a peppery pesto or ferment them as I have done here.

We are a little obsessed with kimchi in our house. We eat a lot of rice (or other grain) bowls and kimchi is just the thing to finish it off. If you’ve not had kimchi before, it is a tangy, spicy fermented condiment – a pickle of sorts – from Korea. Once you get a taste for it, you’ll be hooked, so it’s definitely worth learning to make your own. The health benefits of fermented foods are incredible too. Full of live, gut friendly bacteria to aid your digestion, nutrient absorption, mood and more! We do stock an organic kimchi here if you want to see how it is supposed to taste before you give making your own a go.

Liz x

Ingredients

  • radishes with leaves – washed and separated
  • salt to taste (or you can weigh your radishes and leaves, work out 2% of the weight and use that amount of salt if you prefer being precise)
  • garlic, ginger and chillies to taste
  • a couple of cabbage leaves to use as ‘followers’ which help keep the radishes submerged in brine

You will also need clean jars, a clean chopping board and knife and a large, clean mixing bowl.

Method

  1. Chop the leaves and stems into 3 or 4 cm chunks. Place them in a large bowl and sprinkle with salt – enough to make them taste pleasantly salty. Mix gently with your hands to tumble the salt around and coat each leaf. You will soon notice that the volume of the leaves decreases and they start to look wet as the salt draws the liquid from the leaves and creates a delicious brine.
  2. Thinly slice the radishes – you can leave on their cute tails which are also perfectly edible. Add them to the bowl and mix them in too. Taste a leaf, does it need more salt?
  3. Now make a paste with fresh garlic, ginger and fresh or dried chillies. I use a small smoothie maker and add a good thumb of fresh ginger – sliced but not peeled – the cloves of half a bulb of garlic, peeled, and a good tbsp or two of chilli flakes or a couple of fresh red chillies. Do it to your taste, for example, make it extra garlicky and not so spicy if you like.
  4. Stir the paste through the salted radish and then firmly stuff the mixture into clean jars. Push the mixture in very tightly, you want to avoid any air pockets in the jar. Pour in any brine that has collected in the bottom of the mixing bowl too. Ideally leave a couple of centimetres of head room in the jars. When you push down on the vegetables, brine should cover them.
  5. Now tear a cabbage leaf to be slightly bigger than the surface area of the jar. Push it in over the kimchi mixture and tuck the chopped veg neatly under the brine. Then clean up the jars with a paper towel and loosely replace the lid to allow gases to escape during fermentation.
  6. Place the jars on a plate or in a plastic box somewhere in your kitchen that doesn’t get direct sunlight. Allow the kimchi to ferment at room temperature for a week. Keep an eye on it, If the vegetables rise up above the brine, use a clean spoon to push them back down. Bubbling is normal, as is some of the brine escaping through the loose lids – hence the instruction to place the jars on a plate or in a box. You will undoubtedly notice a tangy, spicy aroma near the jars too – again this is normal and a good sign that things are fermenting as they should be.
  7. Taste the kimchi. It should be tangy and spicy and salty and delicious. Now clean the jars up again and put the lids on tightly. Store in the fridge and enjoy!