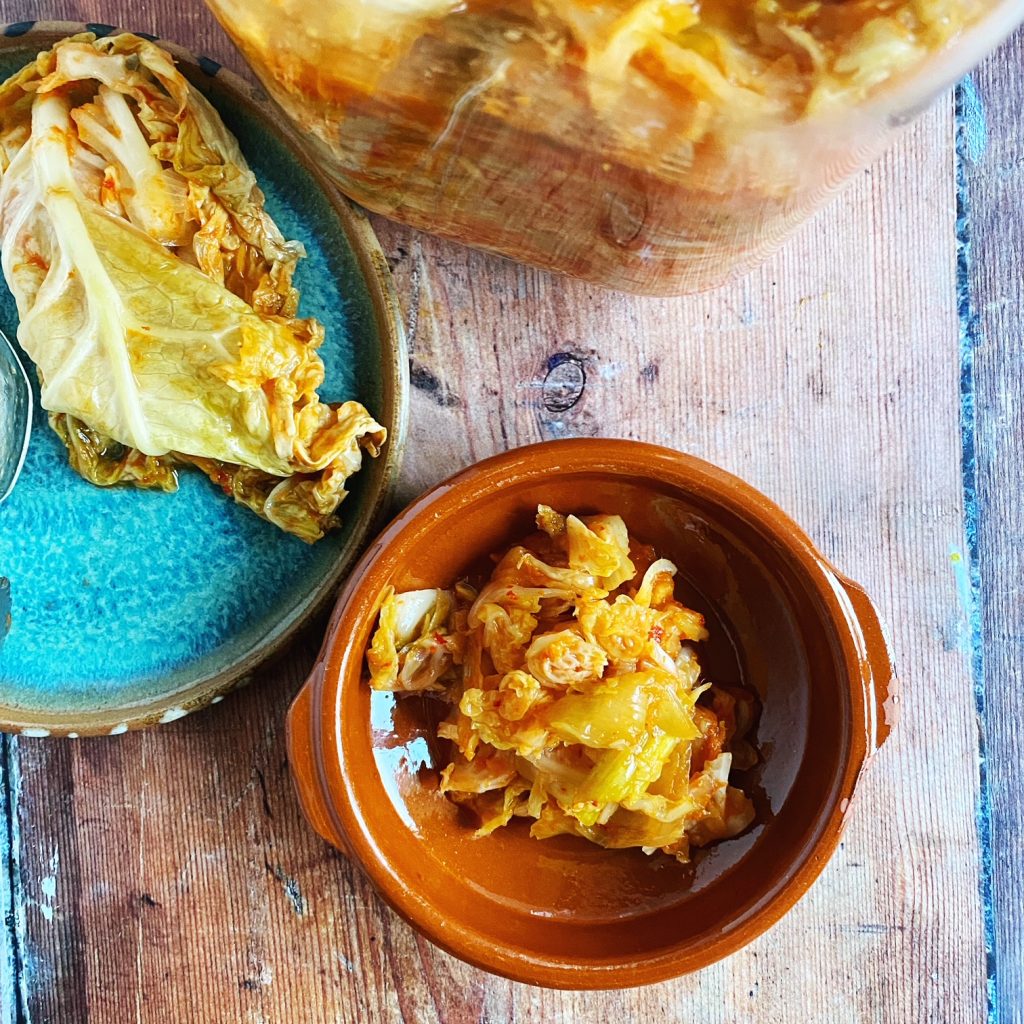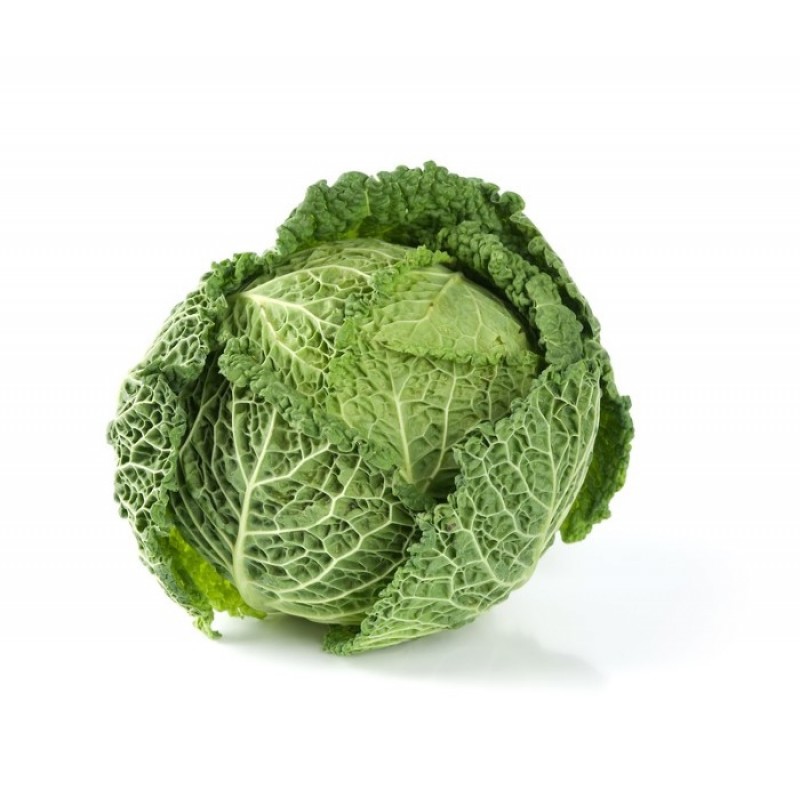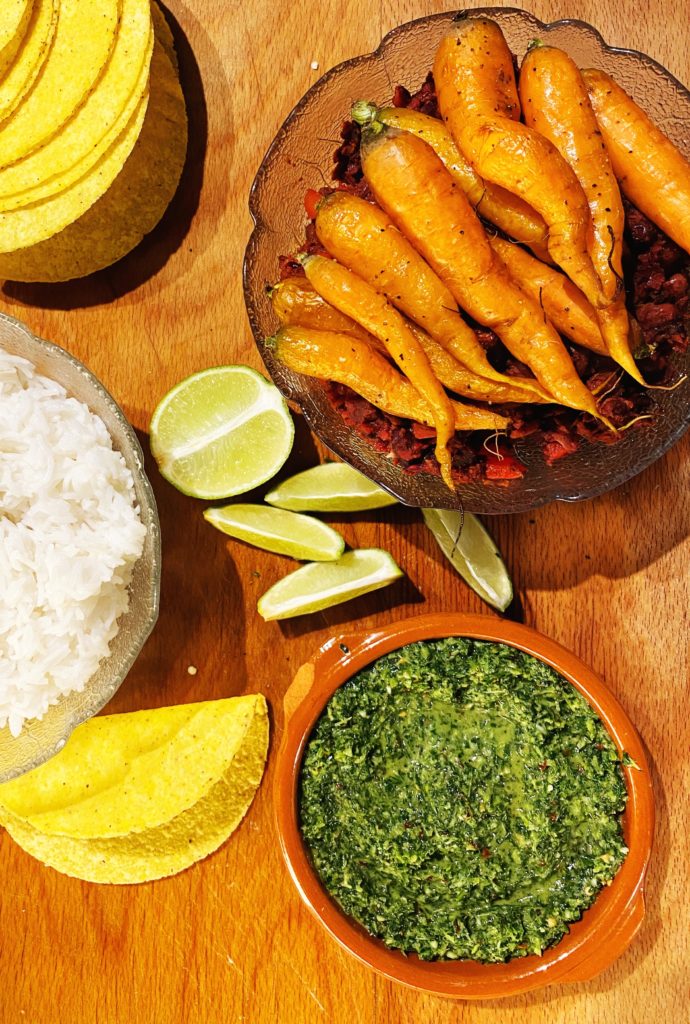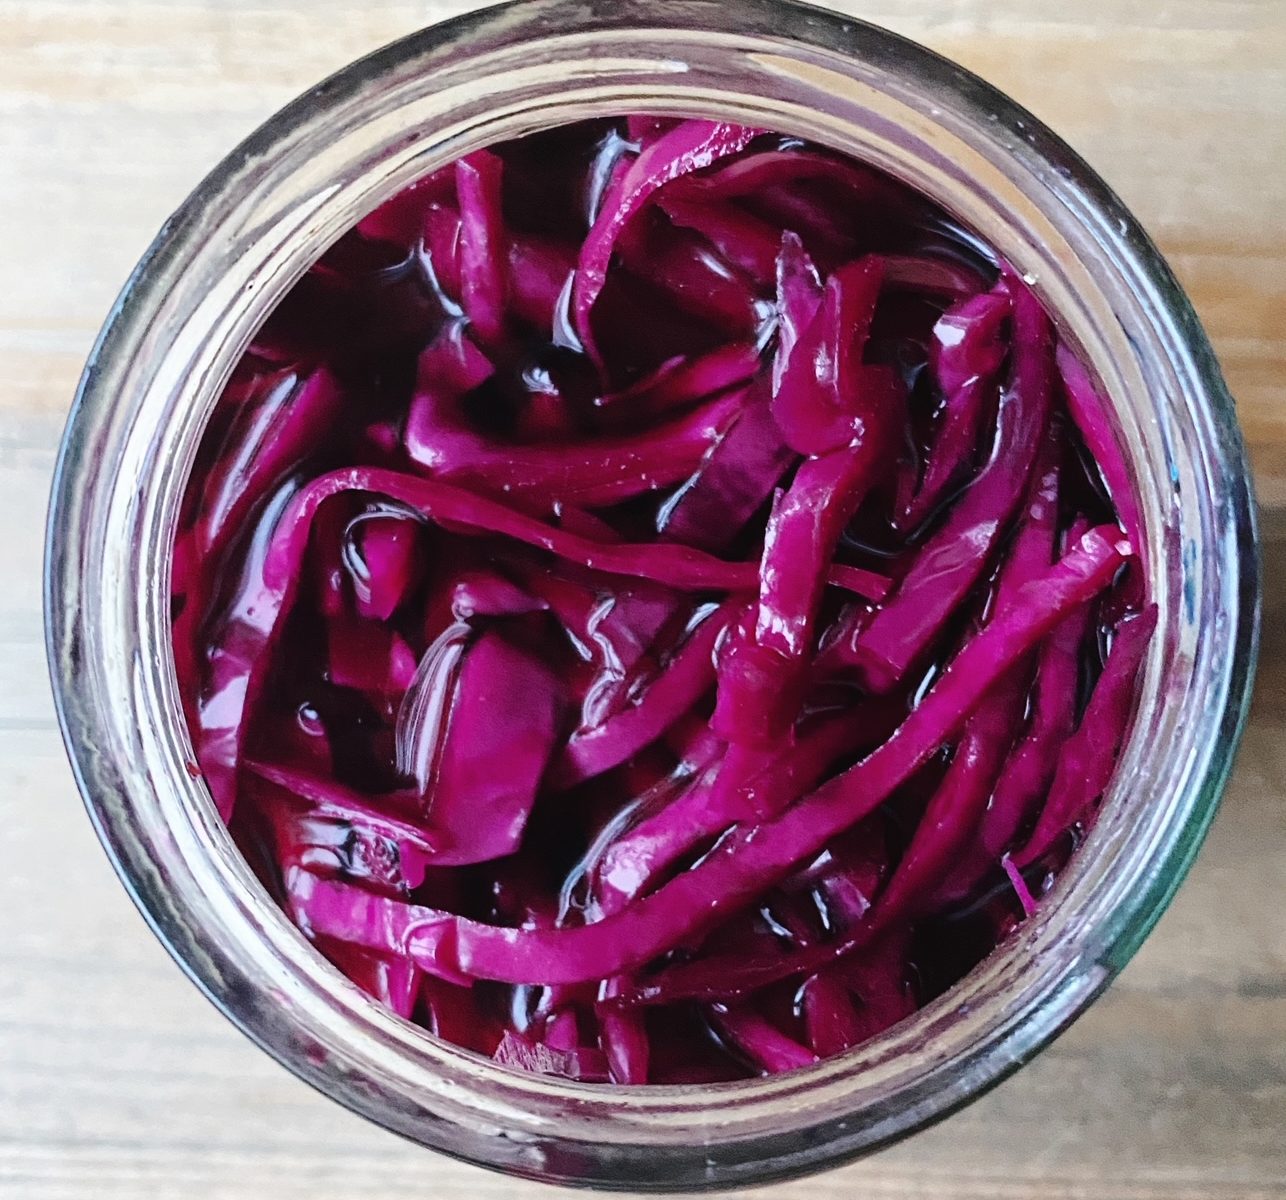
Red cabbages are one of those festive vegetables that often get wasted. Food waste is a big environmental problem which is exacerbated over Christmas. Instead of braising the whole cabbage for your Christmas dinner, why not pickle some of it? It makes it last a lot longer and tangy, crunchy, pickled red cabbage is the perfect festive accompaniment to cheese boards, leftovers sandwiches, and to even top currys, chillis, tacos etc. It’s quick and easy to do. All you need is vinegar, salt and sugar, a clean jar or two and some optional spices.
Liz x

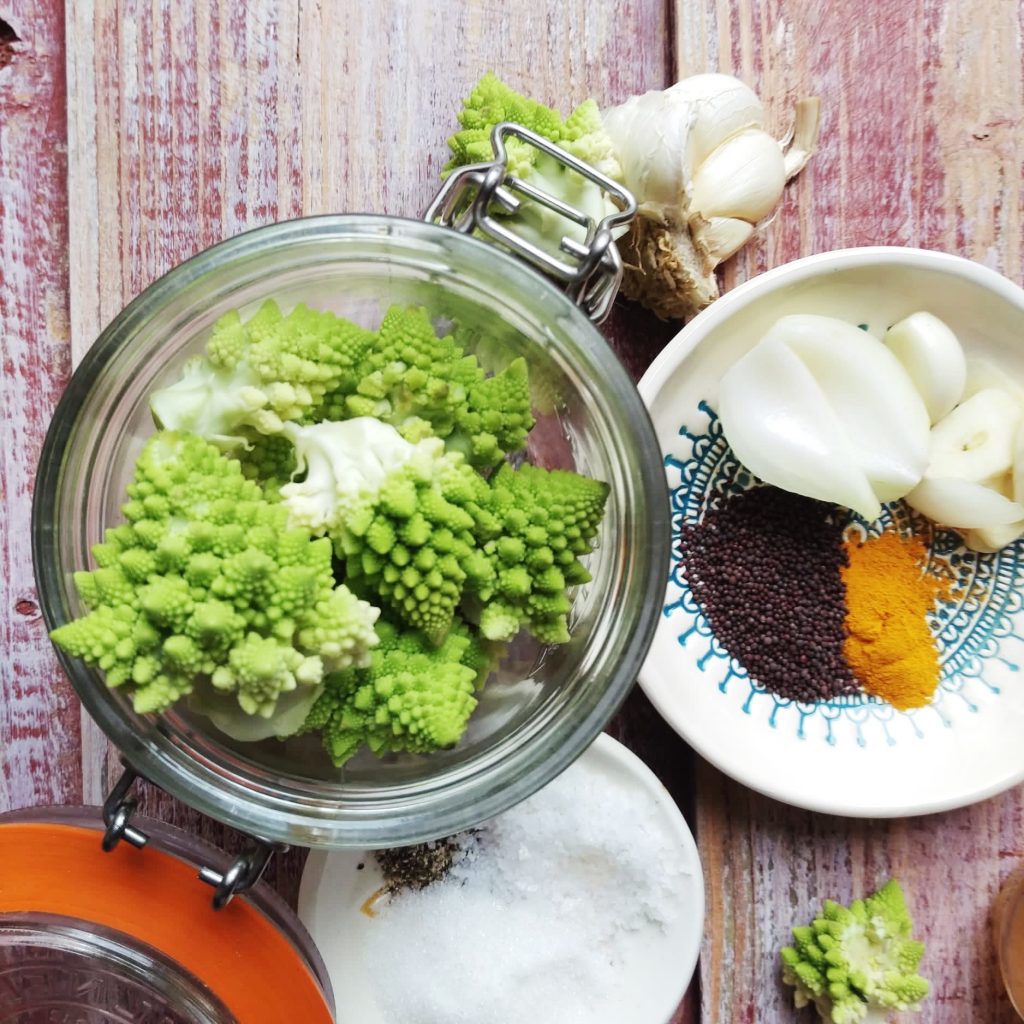
Ingredients
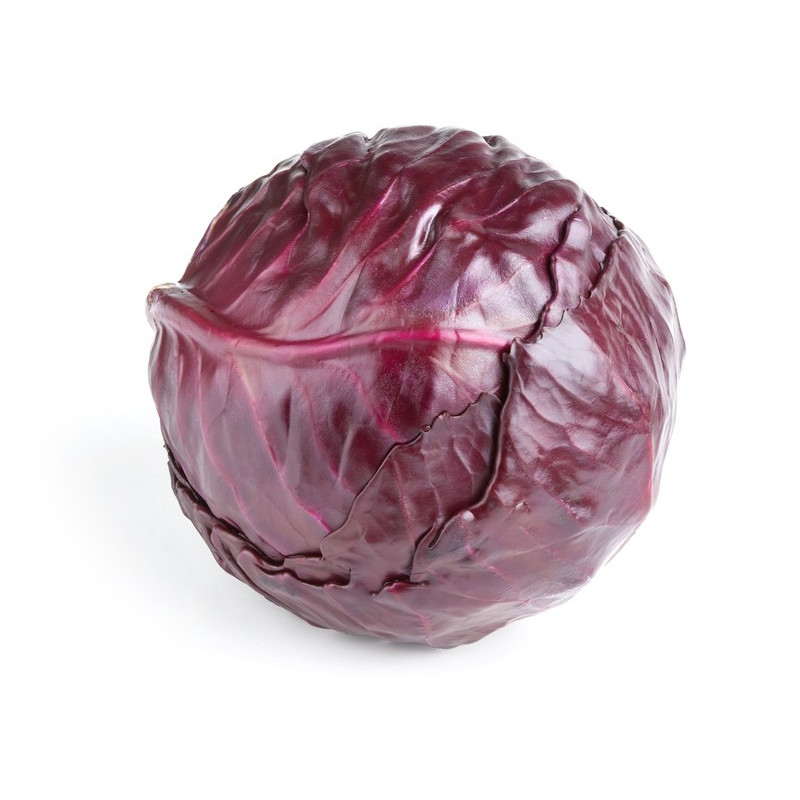
- 1/4 of a red cabbage
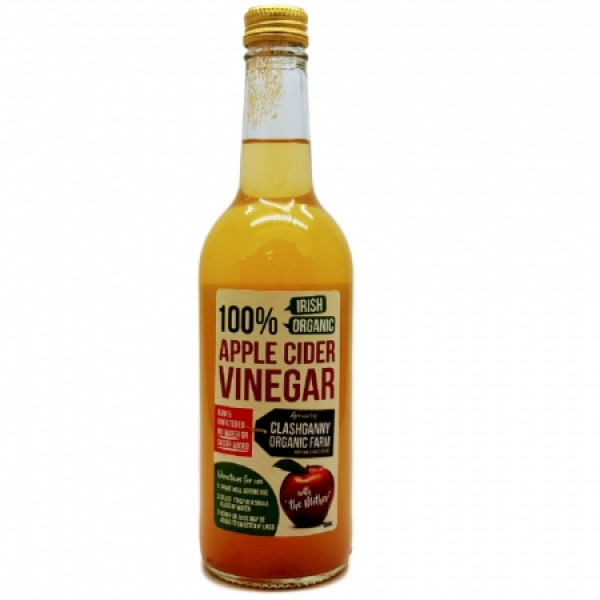
- 300ml apple cider vinegar (we LOVE Clashganny Farm’s organic ACV)
- 300ml water
- 2 tbsp salt
- 2 tbsp sugar (optional but really nice)
- optional flavourings of your choice eg juniper berries or pickling spices


Method
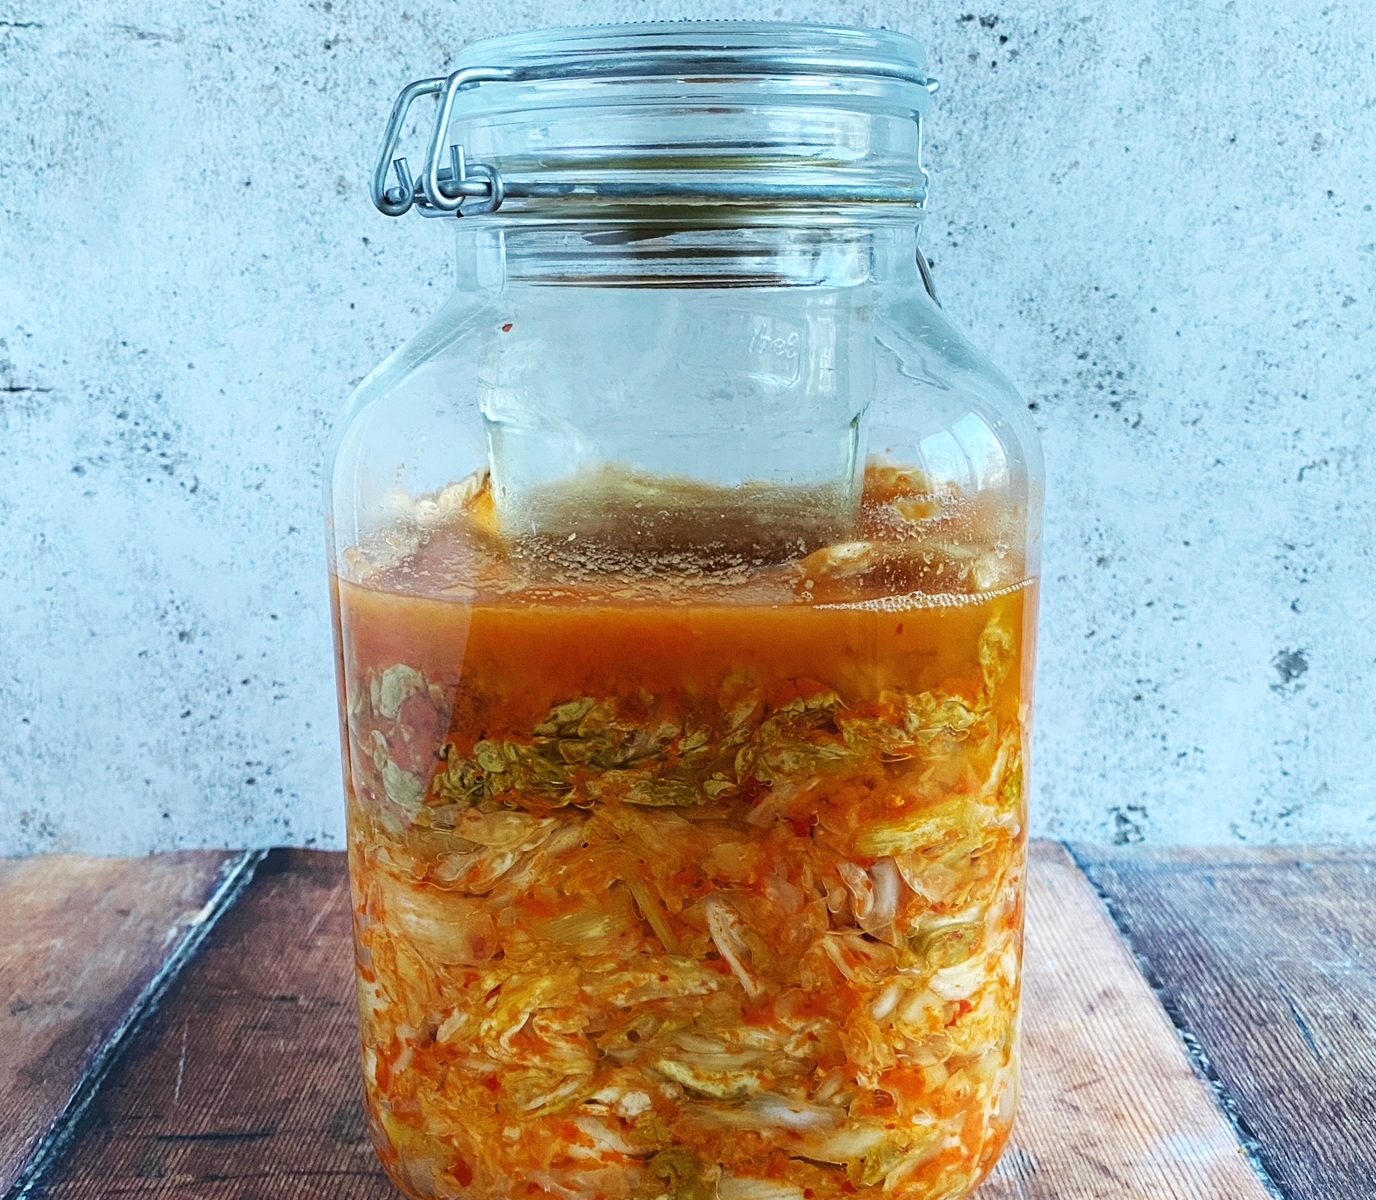
- Start by finding a big jar or a few small ones, enough to fit in the cabbage. Give the jars a really good clean and hot rinse. Or you can sterilise them to be extra safe. Put the washed and rinsed jars in a clean sink then fill them with freshly boiled water from the kettle. Wait a minute then carefully empty the jars (use oven gloves or a folded tea towel so you don’t burn your hands). Let them air dry while you get on with chopping the cabbage and heating up your vinegar solution.
- Measure the vinegar, water, salt and sugar into a small pan, add the optional juniper berries or pickling spices to the jars and slice the cabbage.
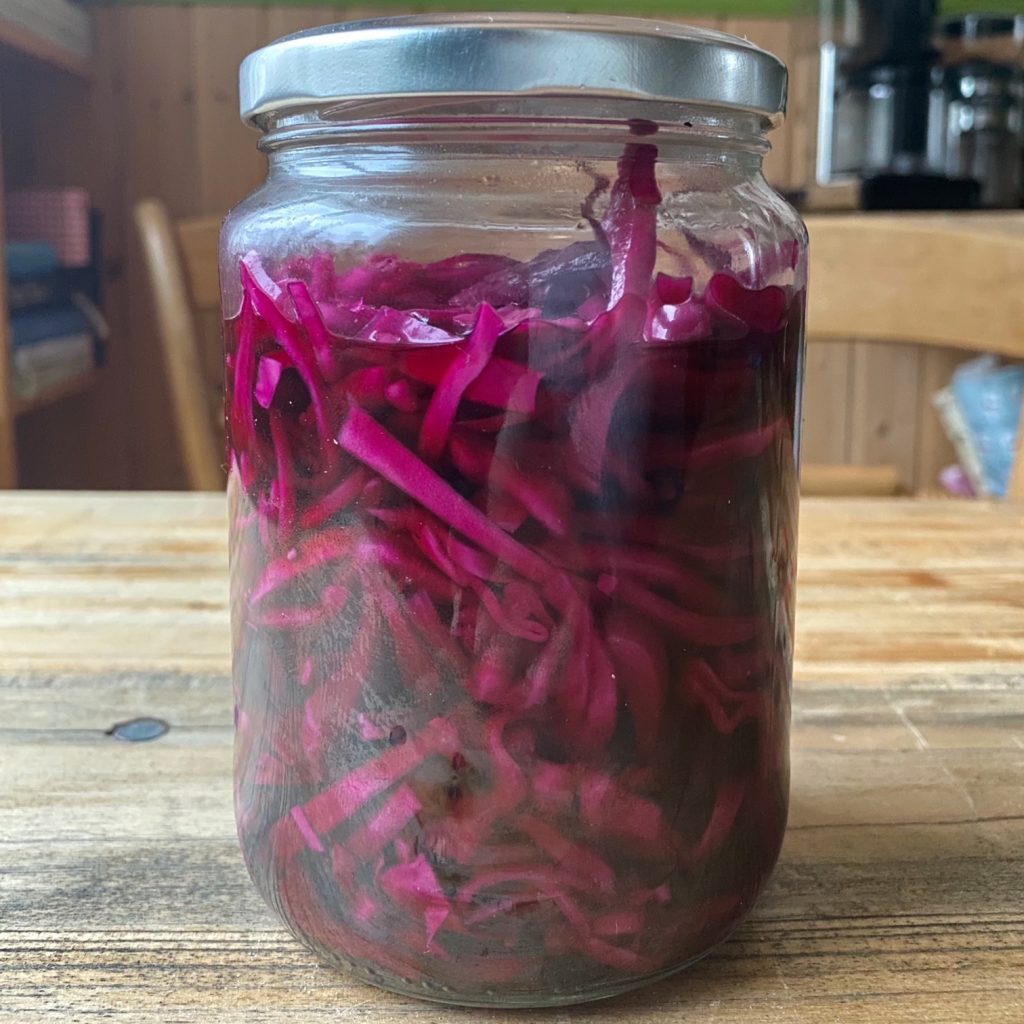
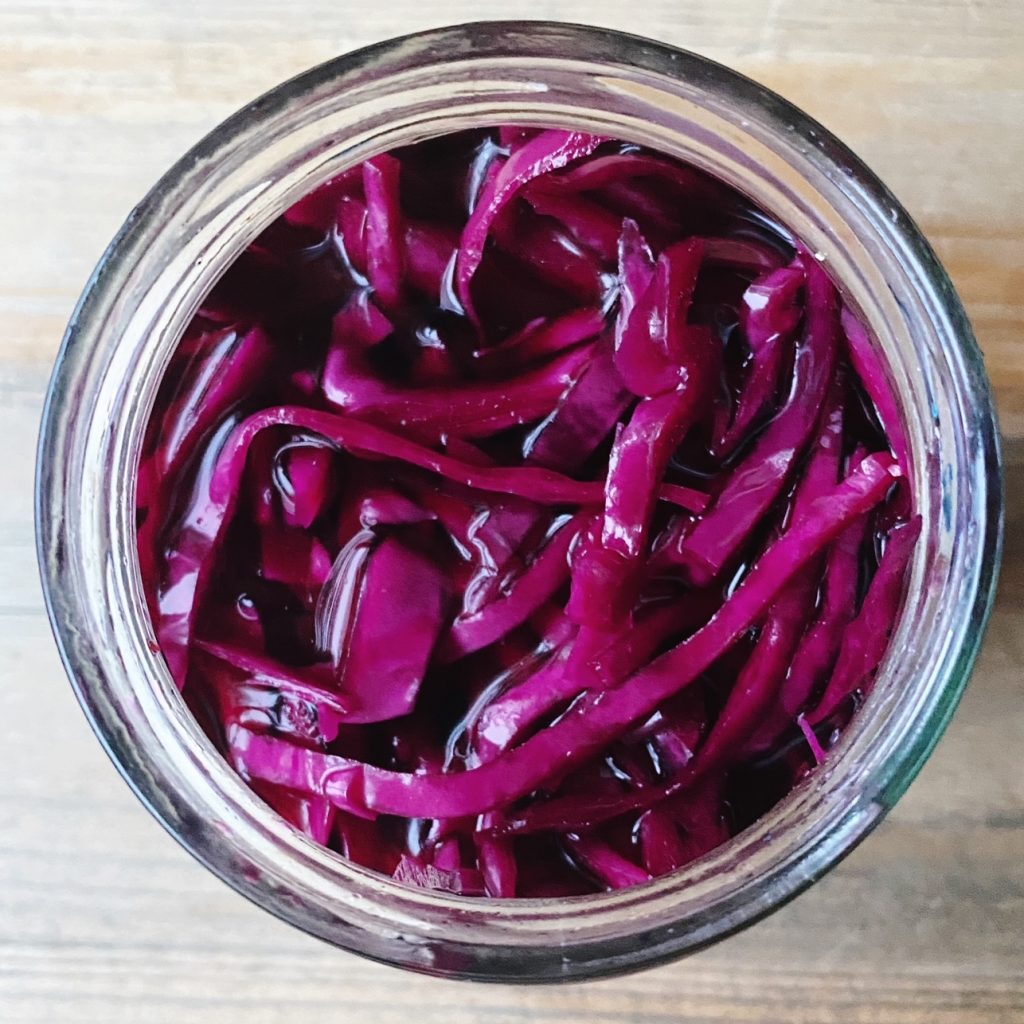
- Then thinly slice the cabbage and stuff into the jars. Lightly press the cabbage down into the jars to pack them in neatly. You should leave a cm of room in the jar.
- Heat up the vinegar solution and as soon as it comes to the boil, take it off the heat and pour it into the jars. The solution should cover the vegetables, if you need to make more vinegar solution, then do so. You can halve or quarter the recipe of course if you only need a little more. Give the jars a light tap on the work surface to remove any air bubbles that may be trapped between the layers of cabbage. Then screw on the lids whilst the jars are still hot.
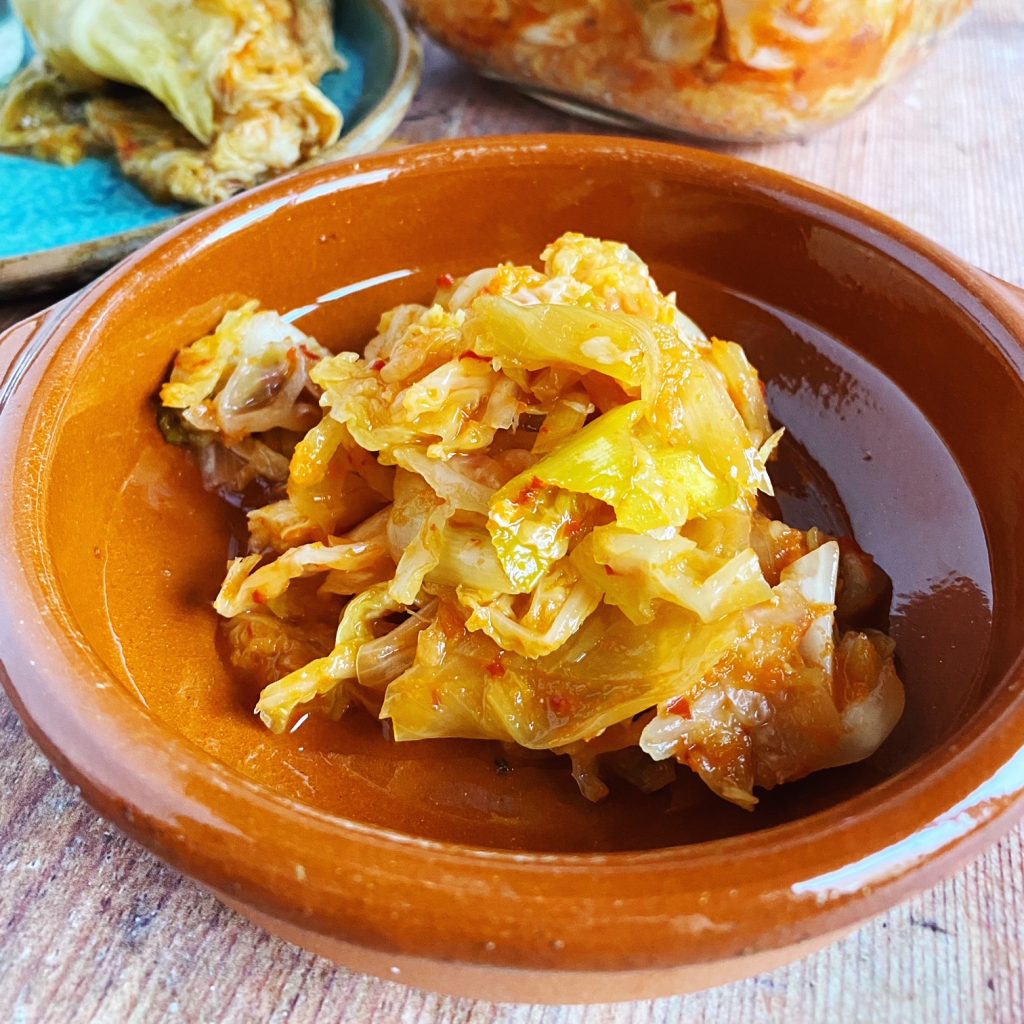
- Allow them to cool on your kitchen work surface, then refrigerate. The pickled cabbage will be ready to eat in two days and will last in the fridge for 2 months.