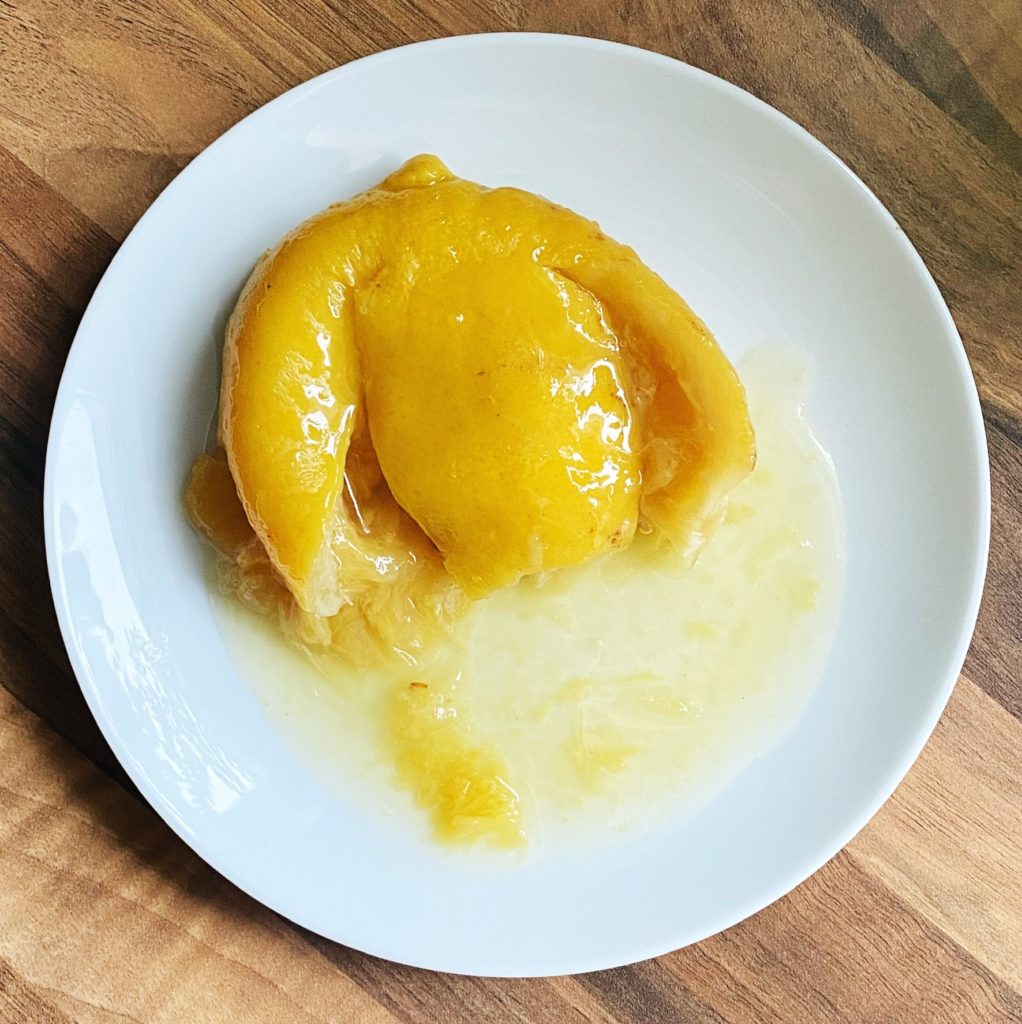
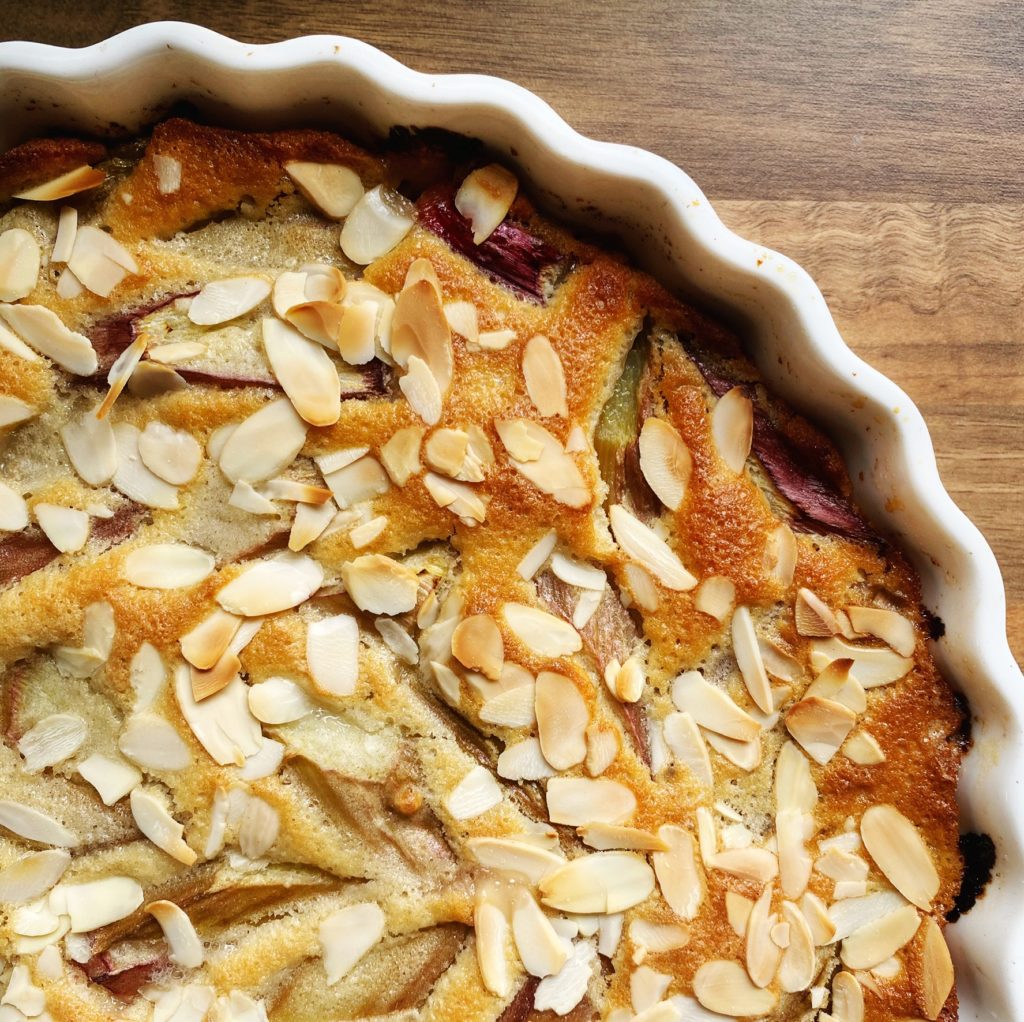
A clafoutis is a classic French dessert, somewhere between a cake and a pudding. It’s normally made with cherries but here’s my seasonal twist with gorgeous, tangy rhubarb and flaked almonds. The other twist? This recipe is plant based and low food waste, the eggs are replaced with aquafaba which is the liquid from a can of chickpeas or white beans which is normally discarded. I love it served warm, scooped out of the dish into bowls with yoghurt or custard but it’s also delicious chilled and served in slices. Give it a try and let me know how you like it? And of course, switch the fruit for whatever you fancy. I even make a savoury version with asparagus or cherry tomatoes…the possibilities are endless!
Apart from the taste, the whole joy of this recipe is that it is very forgiving, hence the super-simple mug measurements. Some of my cakes require exact weights to work but this little beauty is a chilled out affair. Just grab a regular sized mug to weigh out your sugar and flour (not American style ‘cup’ measurements) and if you don’t have a measuring tbsp, just use a dessert spoon for the oil/milk. A few grams amiss here and there won’t affect the bake as it’s more of a pudding than a cake, so just trust your instincts and go for it. If you have a really big roasting dish or flan dish, use a big mug and enough rhubarb to cover the base in a single layer. And enjoy the easy, relaxed method!
Liz x
Ingredients
- 1 tbsp butter/margarine
- 1 handful sugar
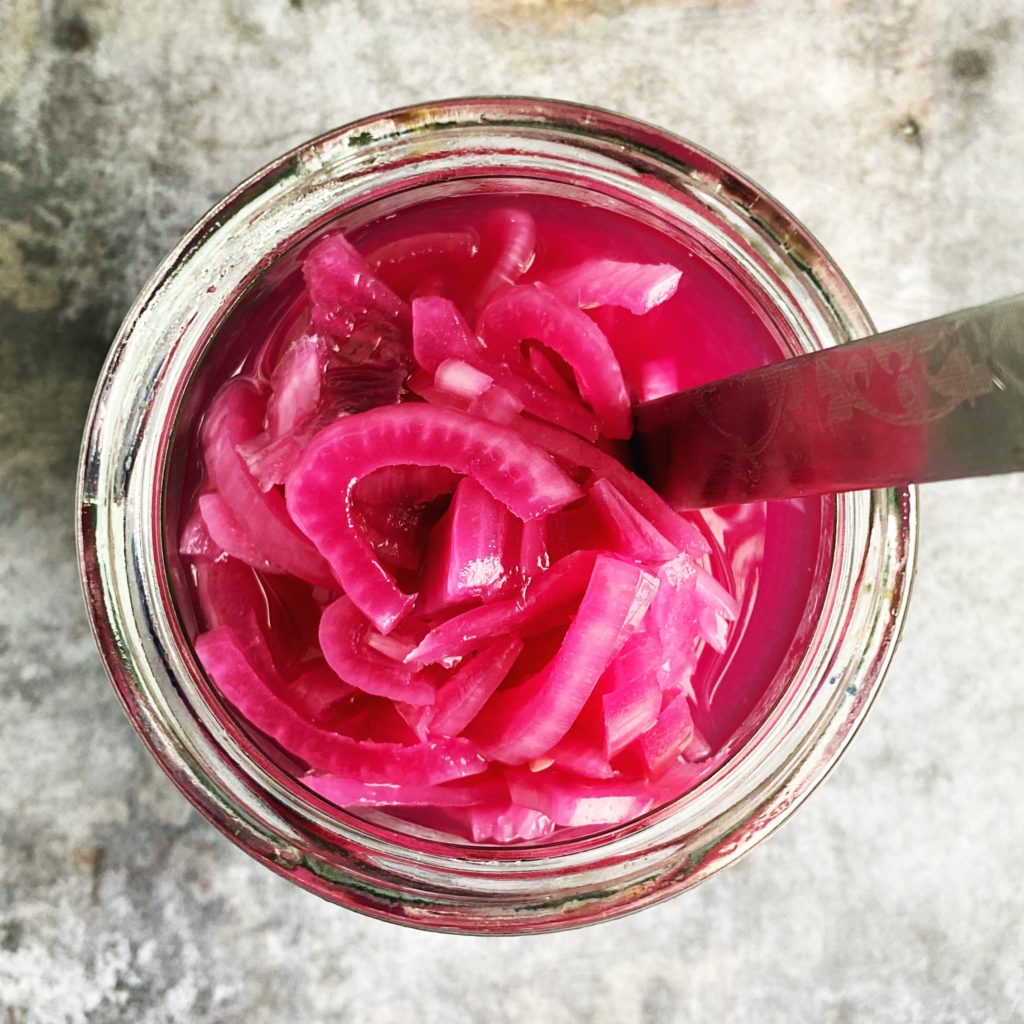
- 5 or so stalks of rhubarb
- the liquid from a 400g can of chickpeas or white beans
- 1/2 mug sugar
- 1 mug plain flour
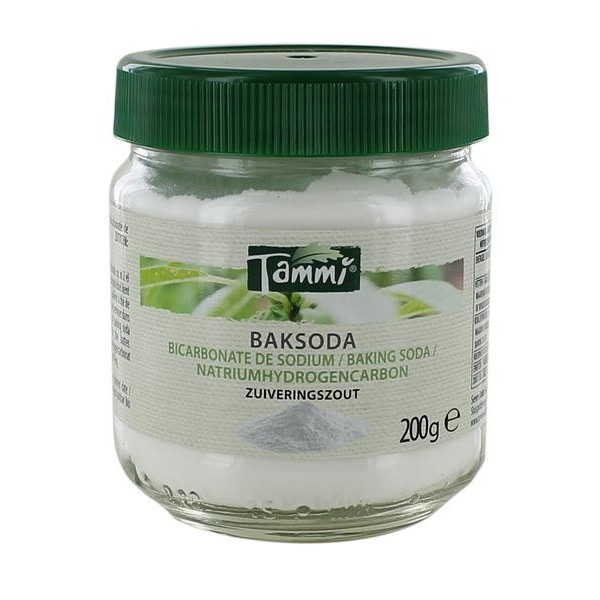
- 2 tsp baking powder (or 1 tsp baking soda & 1 tsp vinegar)
- a pinch of salt (omit if your aquafaba came from a salted tin)
- 3 tbsp oat milk (or more if needed)
- 4 tbsp olive oil
- 1 tsp vanilla
- 1 handful flaked almonds (optional)
- yoghurt or custard to serve
Method
- Preheat your oven to 175C. Find a large flan dish or medium roasting dish.
- Butter the base of the dish then scatter over a handful of sugar.
- Rinse and cut your rhubarb into bite sized chunks then arrange them in the dish.
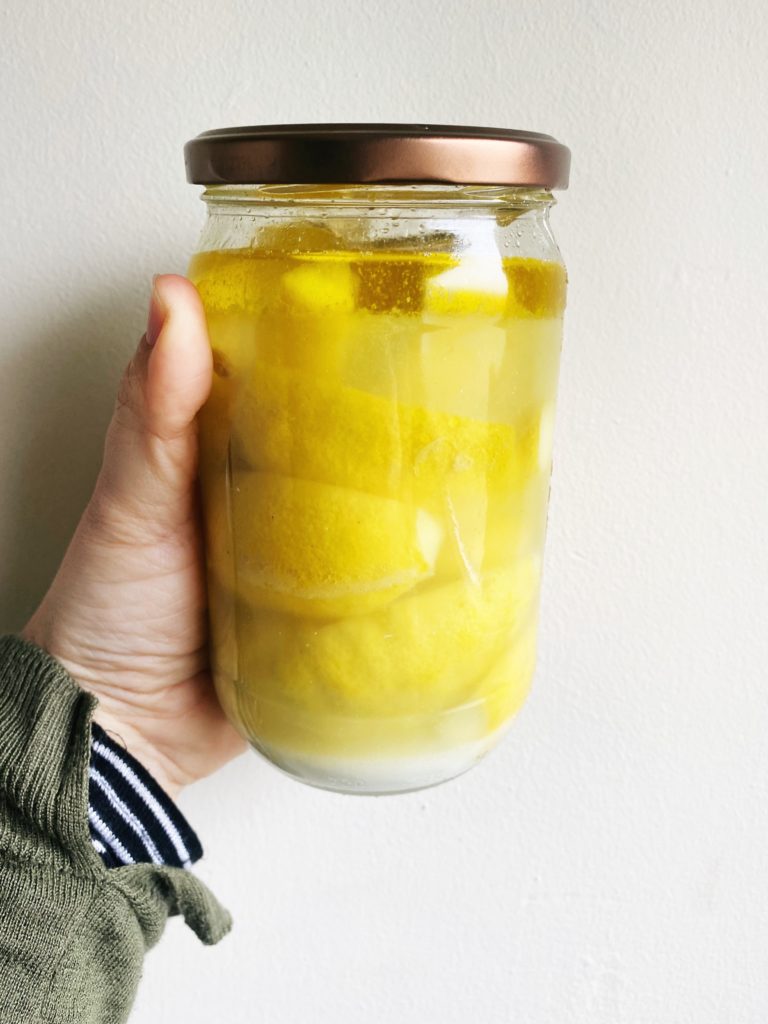
- Pour the aquafaba from a can of chickpeas or white beans into a large mixing bowl. Keep the beans/chickpeas in a box in the fridge to use later today or tomorrow.
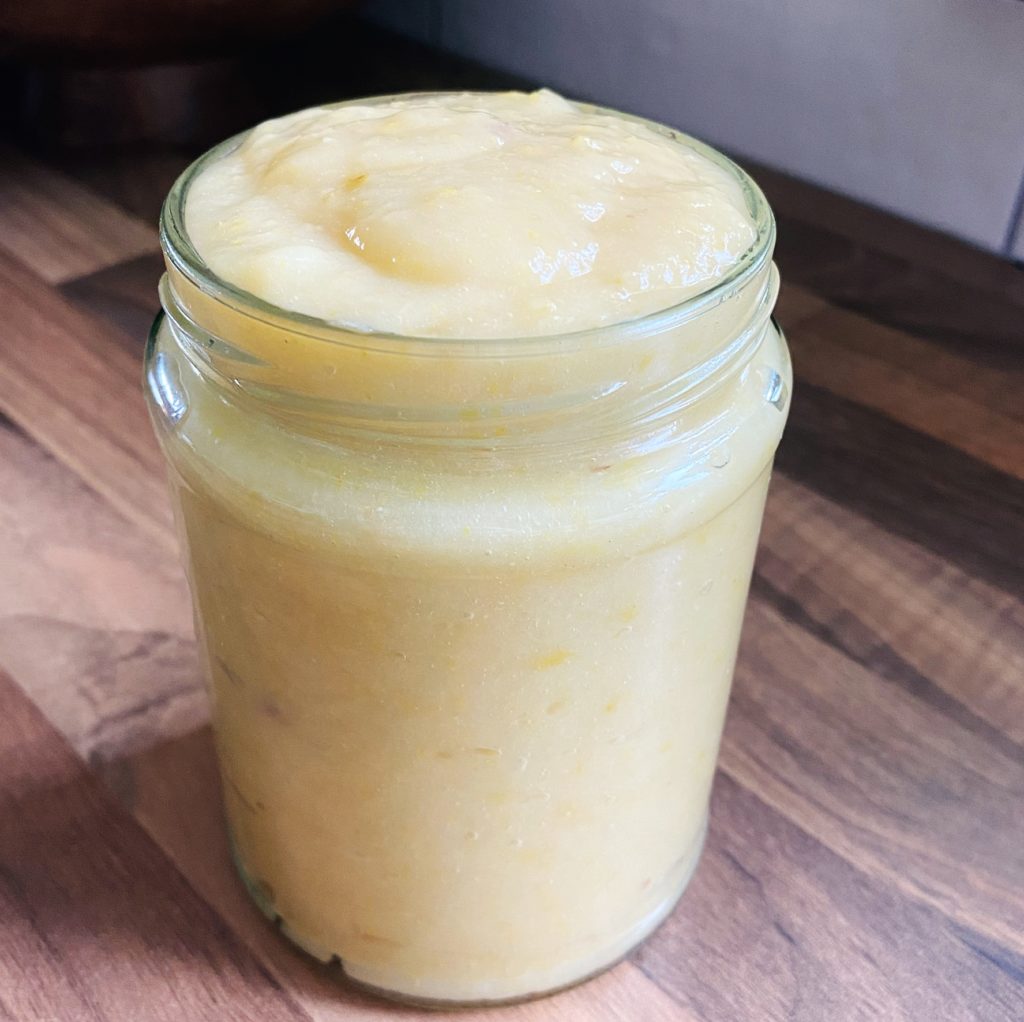
- Whisk the aquafaba until frothy, then add the 1/2 mug of caster sugar and whisk until creamy.
- Fold in the plain flour and baking powder (if your aquafaba came from an unsalted tin, add a pinch of salt now too).
- Stir in the milk, oil and vanilla. You should have a thick, creamy batter. If it’s too thick, add a splash more milk and stir again.
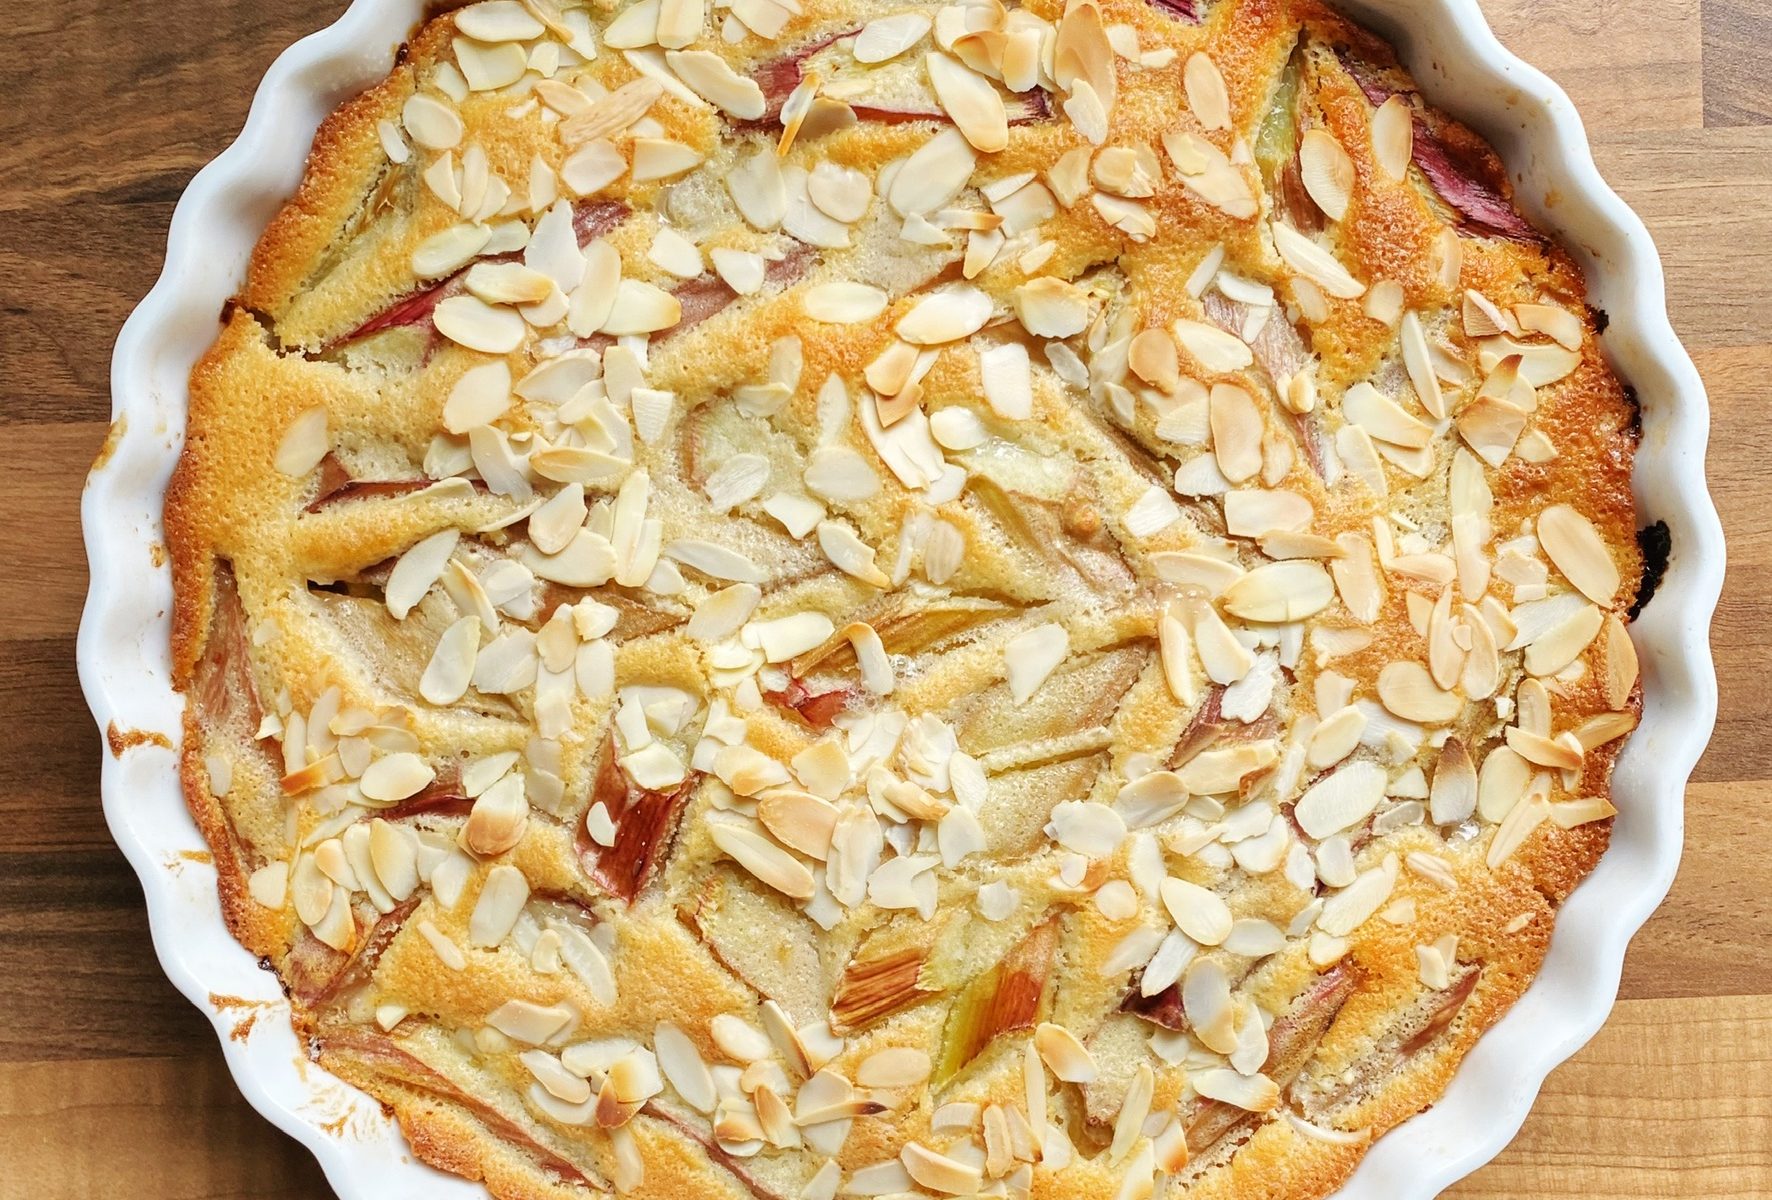
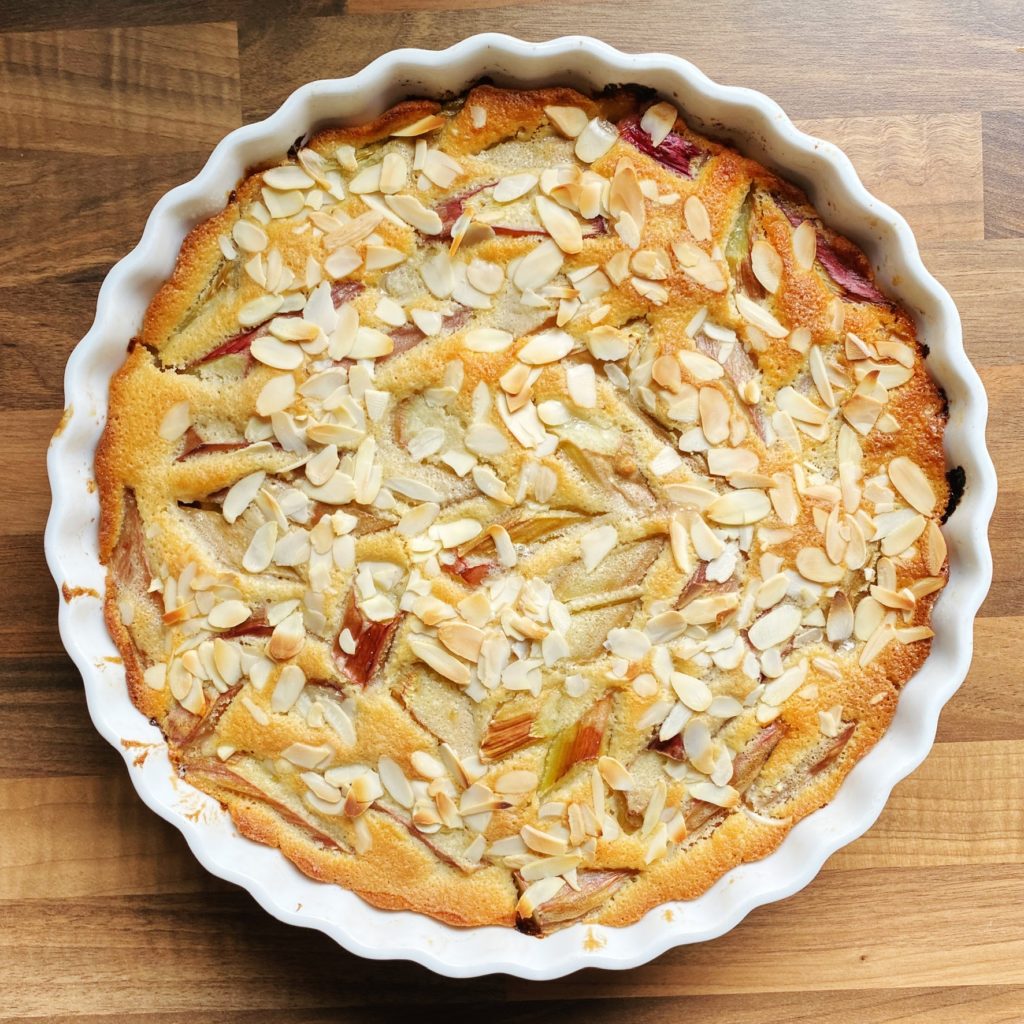
- Pour the batter over the rhubarb and spread it evenly. Scatter over the handful of flaked almonds if using.
- Bake in the oven until golden brown and just set. This should take approximately 20-30 minutes. The cake should still have some wobble and the rhubarb should be just cooked through and tender.
- If you find it’s browning too much on top before being cooked through, move it to a lower part of your oven and cover the dish with a baking sheet or some baking parchment.
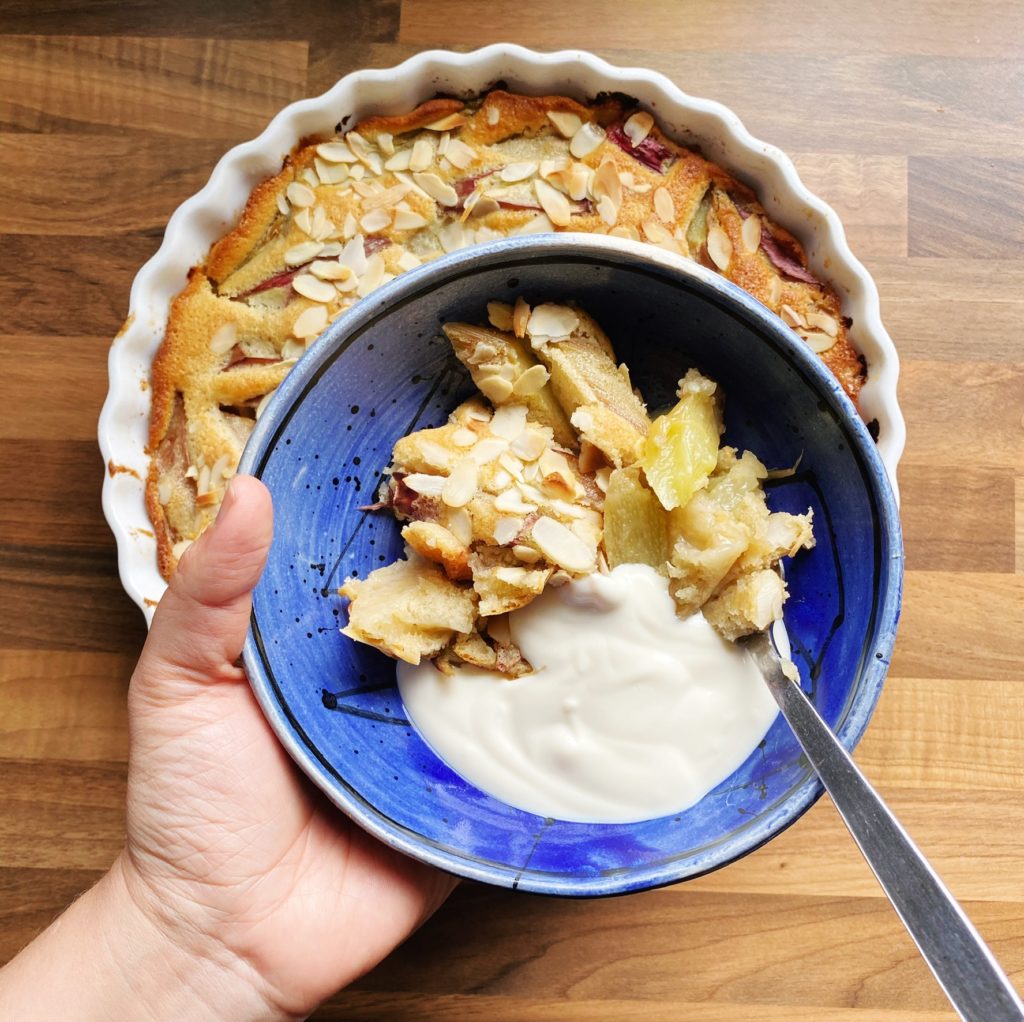
- Serve warm in large scoops with a dollop of yoghurt or custard. Or allow it to chill and set – the texture will become less pudding-like and more cake-like as it cools. You can then slice it and serve it in wedges like a regular cake.
- Feel free to play around with the recipe substituting seasonal fruit or frozen berries as you like. I even make a savoury version with asparagus or cherry tomatoes, fresh herbs and feta. Simply substitute the sugar for more flour and seasoning.