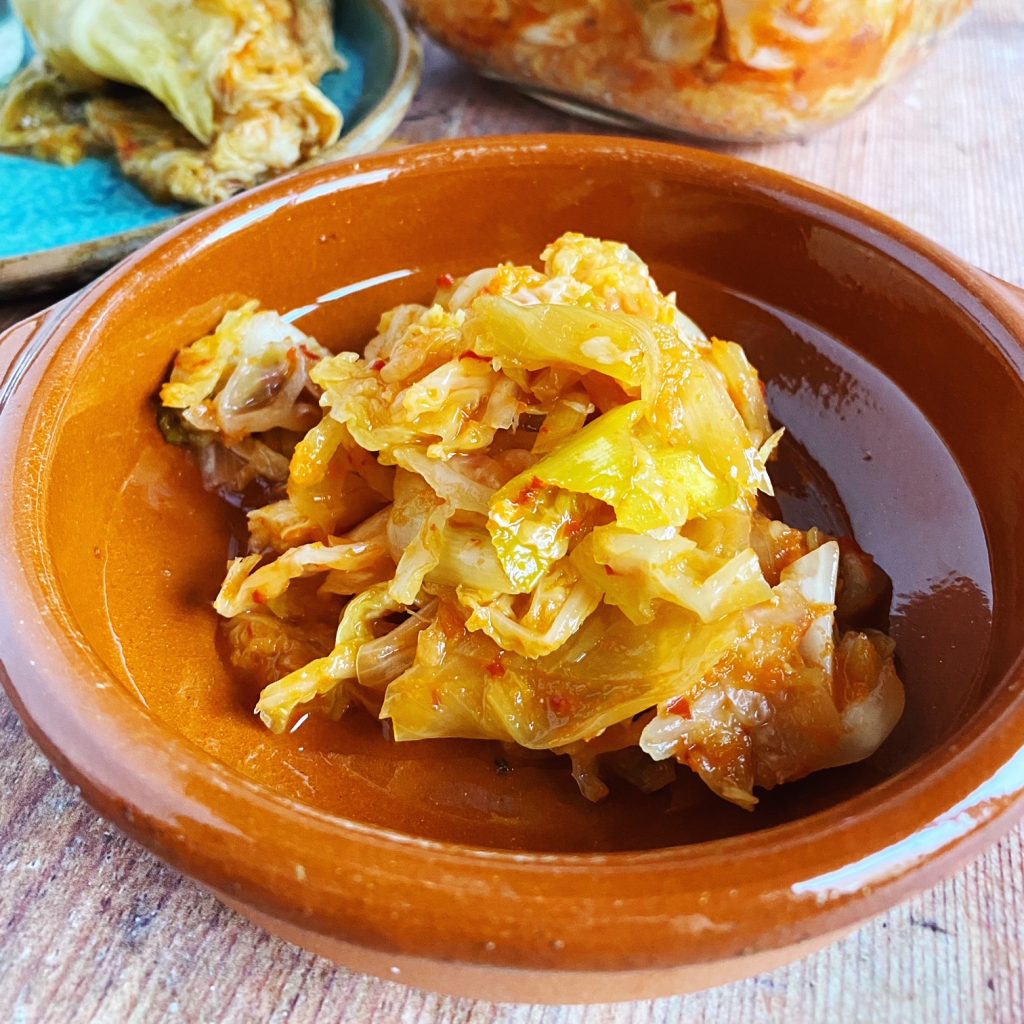
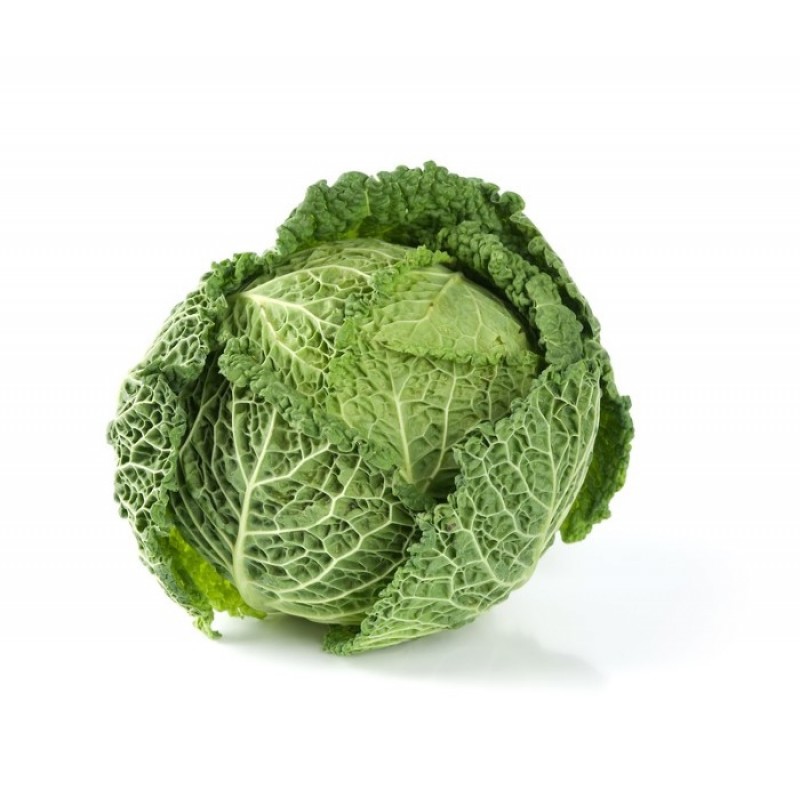
This is an Irish take on the traditional, spicy, fermented side dish from Korea, kimchi. The most common kimchi is traditionally made with Chinese leaf (or Napa) cabbages, but we love to make seasonal versions all year round with our incredible range of Irish cabbages. This recipe would work with any cabbage but my favourite cabbage for kimchi has got to be the beautiful Savoy. With its beautiful ruffled edged, crinkly leaves and deep ridges, it is the perfect vessel to hold the spice paste and it is hardy enough to keep its shape even after fermentation. We have a wonderful harvest of savoys this year, why not add some extras to your next order and give fermenting a go!
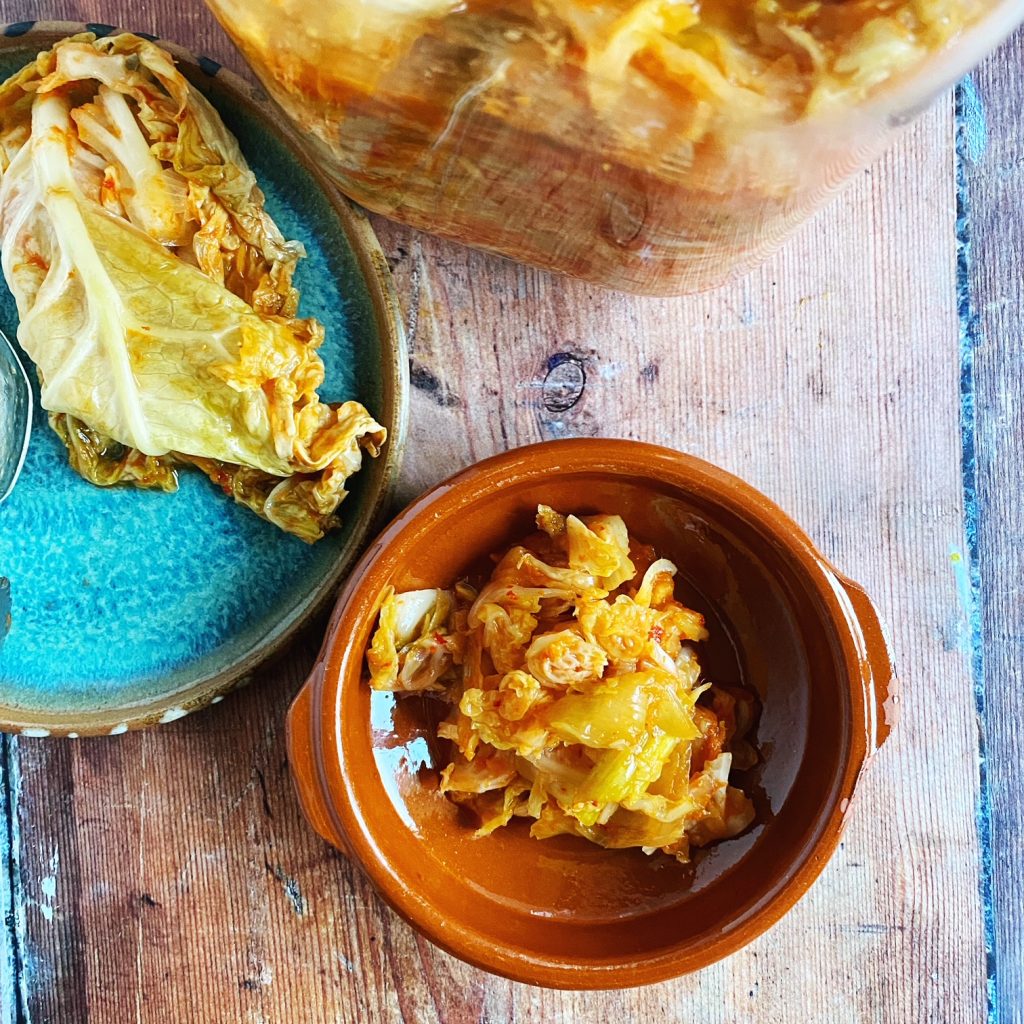
Fermenting vegetables can sound a little strange and like a lot of work. But it is actually a very simple way to preserve excess vegetables (just a case of salting or submerging vegetables in brine and leaving them to do their thing at room temperature for a week or so) and it is incredibly beneficial to our health. Fermented vegetables contain trillions of live beneficial bacteria which enhance our gut health. This has a positive knock-on effect to our entire wellbeing. As well as being easy and super-healthy, fermented vegetables are completely delicious! They have a complex flavour and cut through rich foods, think ‘salty pickles’. Just the thing for finishing off a dish or popping into a salad or sandwich. We have jars of ferments on the table for pretty much every meal. Kimchi, of course, goes particularly well with rice bowls and ramens or rolled into sushi, but we are a bit addicted to ‘kimcheese’ toasties. Kimchi is also amazing on peanut butter toast or as a side with macaroni cheese. How do you eat kimchi?
Liz x
Ingredients
- 1 savoy cabbage
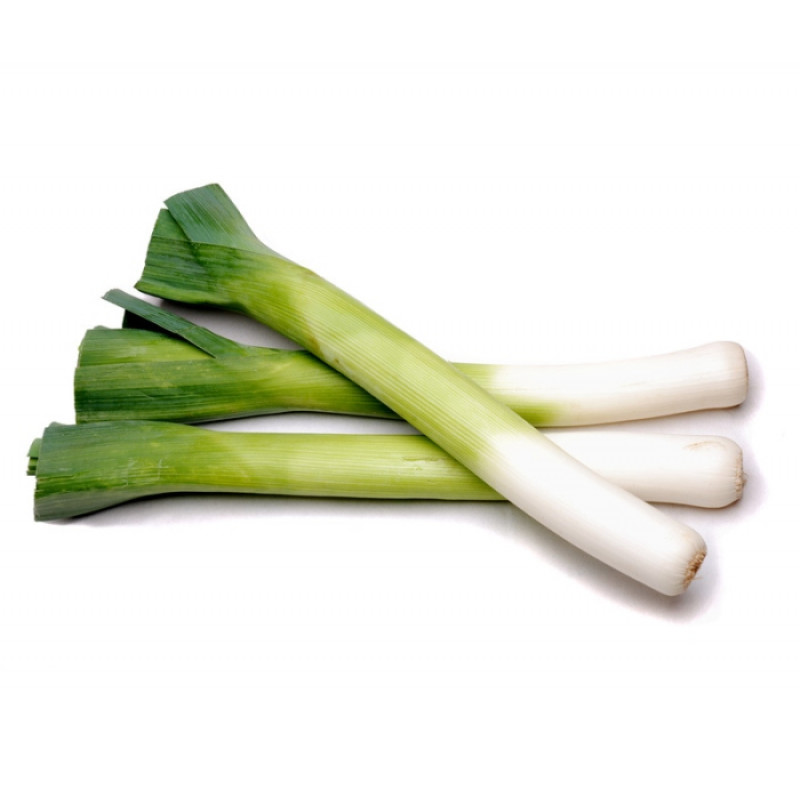
- 1 leek
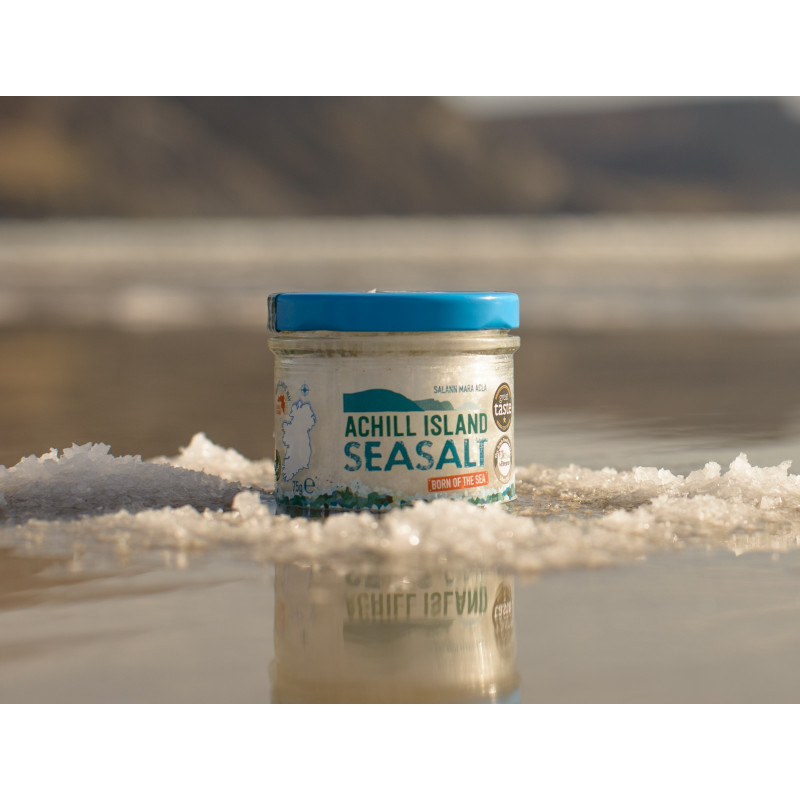
- natural sea salt
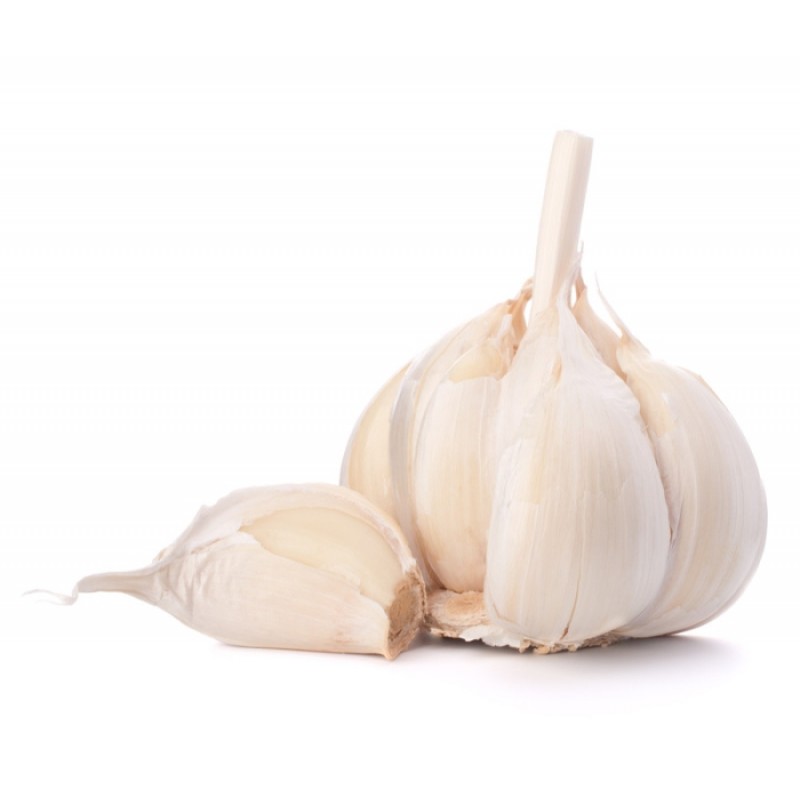
- 1/2 bulb garlic
- 4 red chillies (or to taste)
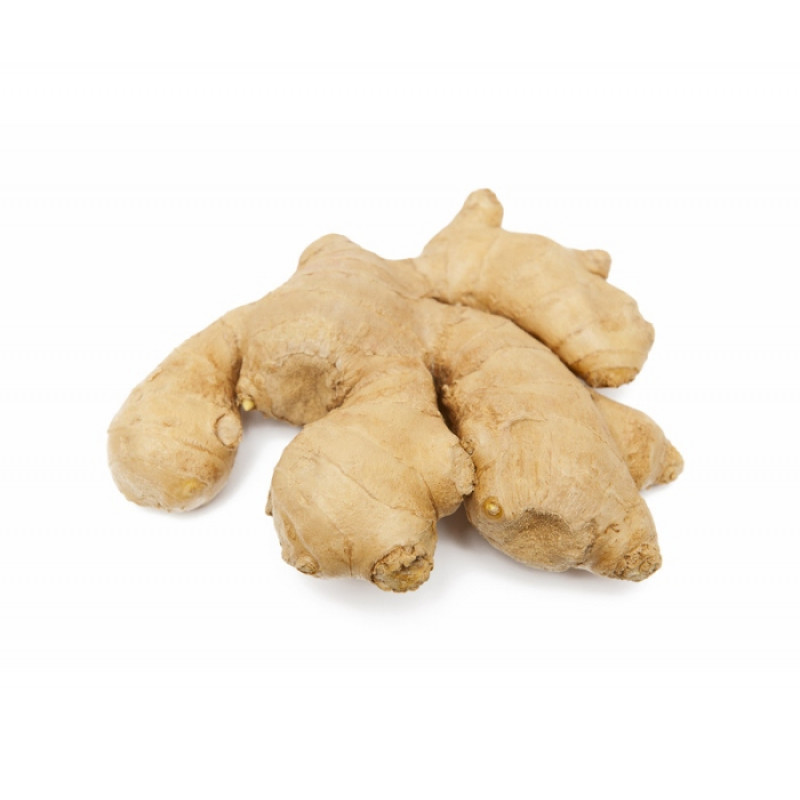
- 1 large ‘thumb’ of fresh ginger (or to taste)

Method
- First clean your work surface and the tools you will need – Find a large jar or several smaller jars and wash them and their lids well with dish soap. Rinse throughly with very hot water. Leave to air dry on a clean tea towel. Find your largest mixing bowl, or if you don’t have a very big one, use a large stock pot or plastic storage box. Clean it very well as above. Clean a large chopping board and knife and a small blender too. Now you are ready to start.
- Pull a few of the tough, outer leaves off your cabbage, rinse and put to one side for later. These will be your ‘followers’ which will be important later. Rinse the rest of the cabbage, slice the leek in half lengthways, keeping the root end intact, and rinse out all the mud. Rinse your chillies and thumb of ginger too.
- Chop the cabbage into quarters, remove the core from each quarter and thinly slice it and add it to the bowl. Then cut the rest of the cabbage into bite sized chunks and add them to the bowl. Chop up the leek into chunks too and add it to the bowl with the cabbage.
- Now you need to add salt. If you want to be very precise, you can weigh the chopped cabbage and leek, work out what 2% of that weight is and use that amount of salt. Or you can do it by taste. I normally start with a heaped tbsp of salt for a whole cabbage and a leek. Mix it well and give the veg a bit of a squeeze and a massage, then taste. They should just taste pleasantly salty. Add more salt if needed, our cabbages are pretty big at the moment so you may well need to. Then let the salted vegetables sit while you make the spice paste.
- Peel the garlic, slice off the stalks of the chillies and slice the ginger. Add them all to a small blender and blend into a paste. You may need to add a splash of water to help it blend.
- The salt in the cabbage and leek will have started to draw out liquid from the vegetables and create a brine in the bottom of the bowl. You can help this along by giving the vegetables another massage. The vegetables will wilt and decrease in volume and should look quite wet. When you pick up a handful and squeeze, lots of lovely brine should drip down into the bowl. Then you know you are ready to mix in the spice paste and pack your jars.
- Use a wooden spoon or gloved hands to mix the spice paste into the salted vegetables. Be careful not to get any of the spice paste on your skin or in your eyes as it can really sting. Then start packing your jar/s.
- Do a small amount at a time and firmly press it into the jar ensuring there are no air pockets. Use gloved hands or a clean rolling pin or spoon to help you pack it firmly into place. Keep going until you have either used up the mixture or you have a couple of inches of headroom left in your jar. You don’t want to over-fill the jar as during fermentation the brine can bubble over and escape, making a bit of a mess in your kitchen.
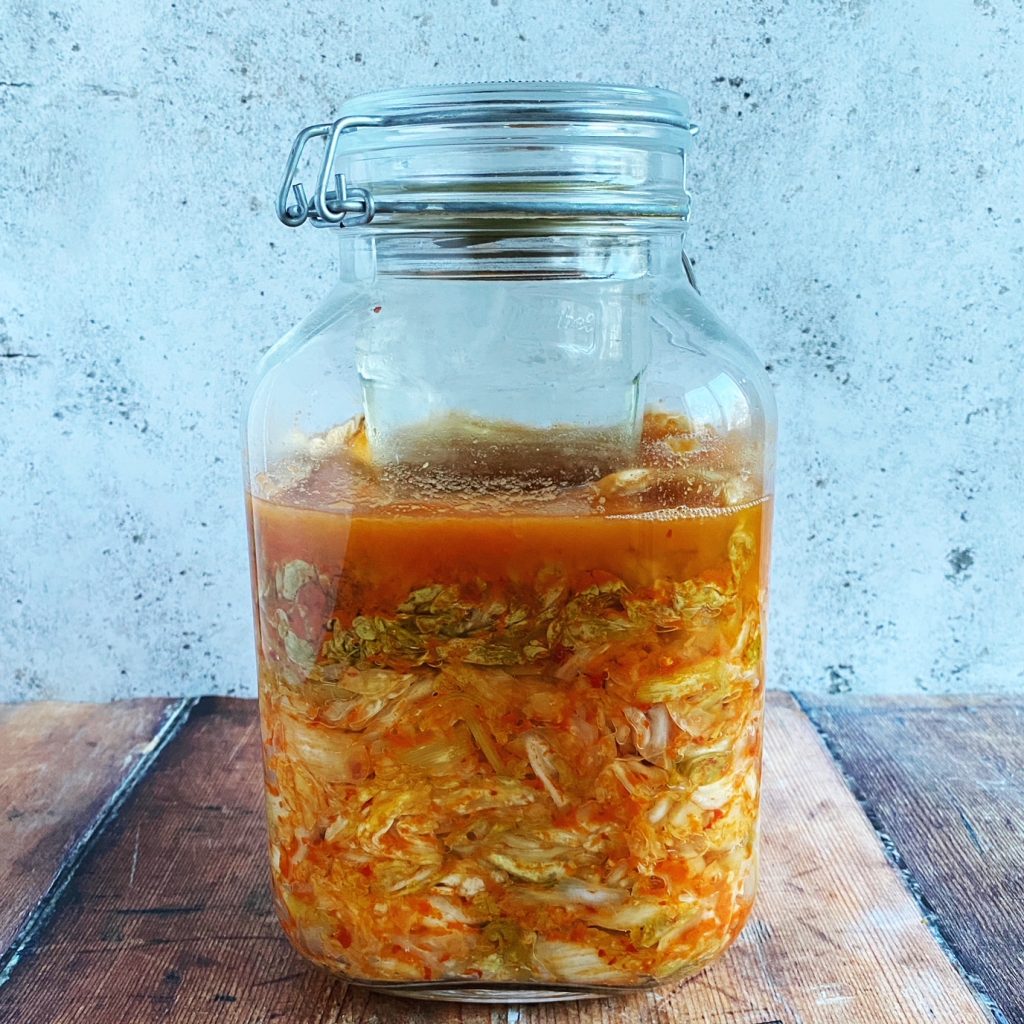
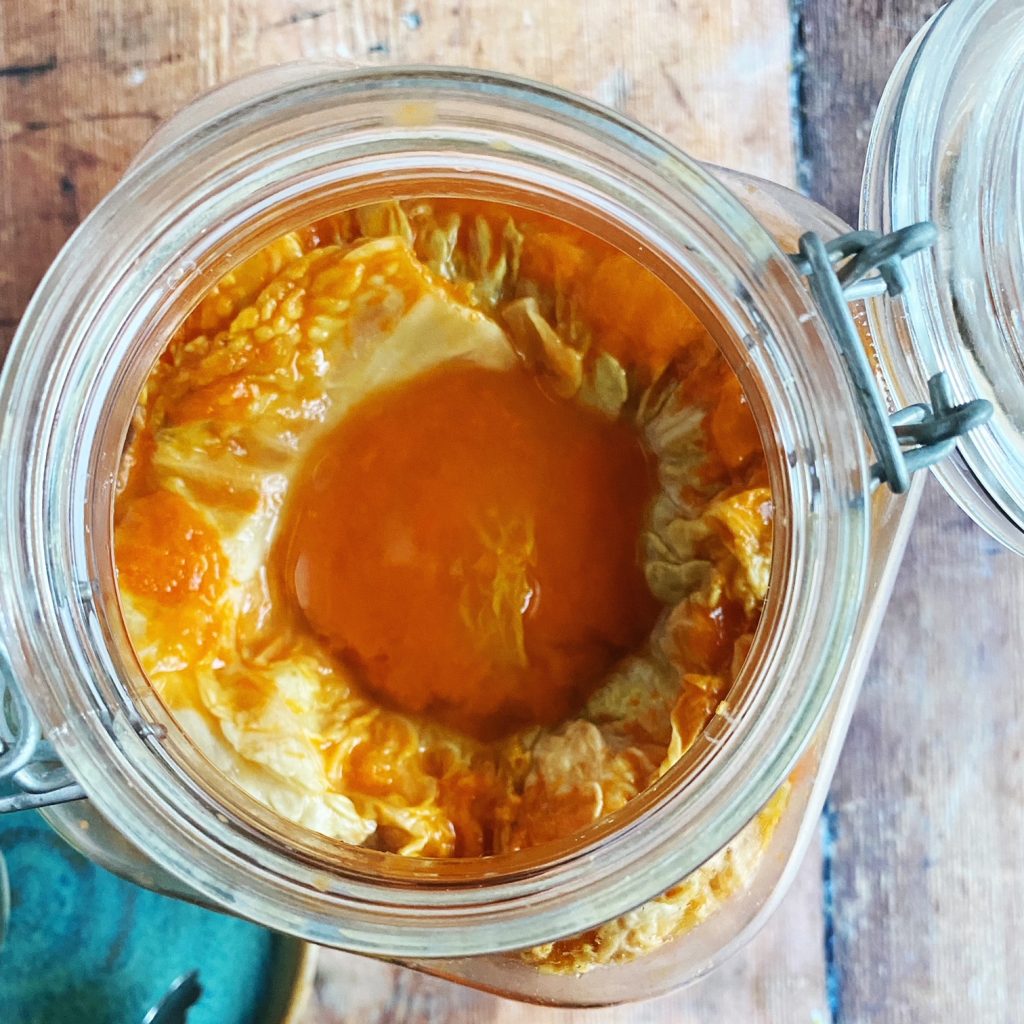
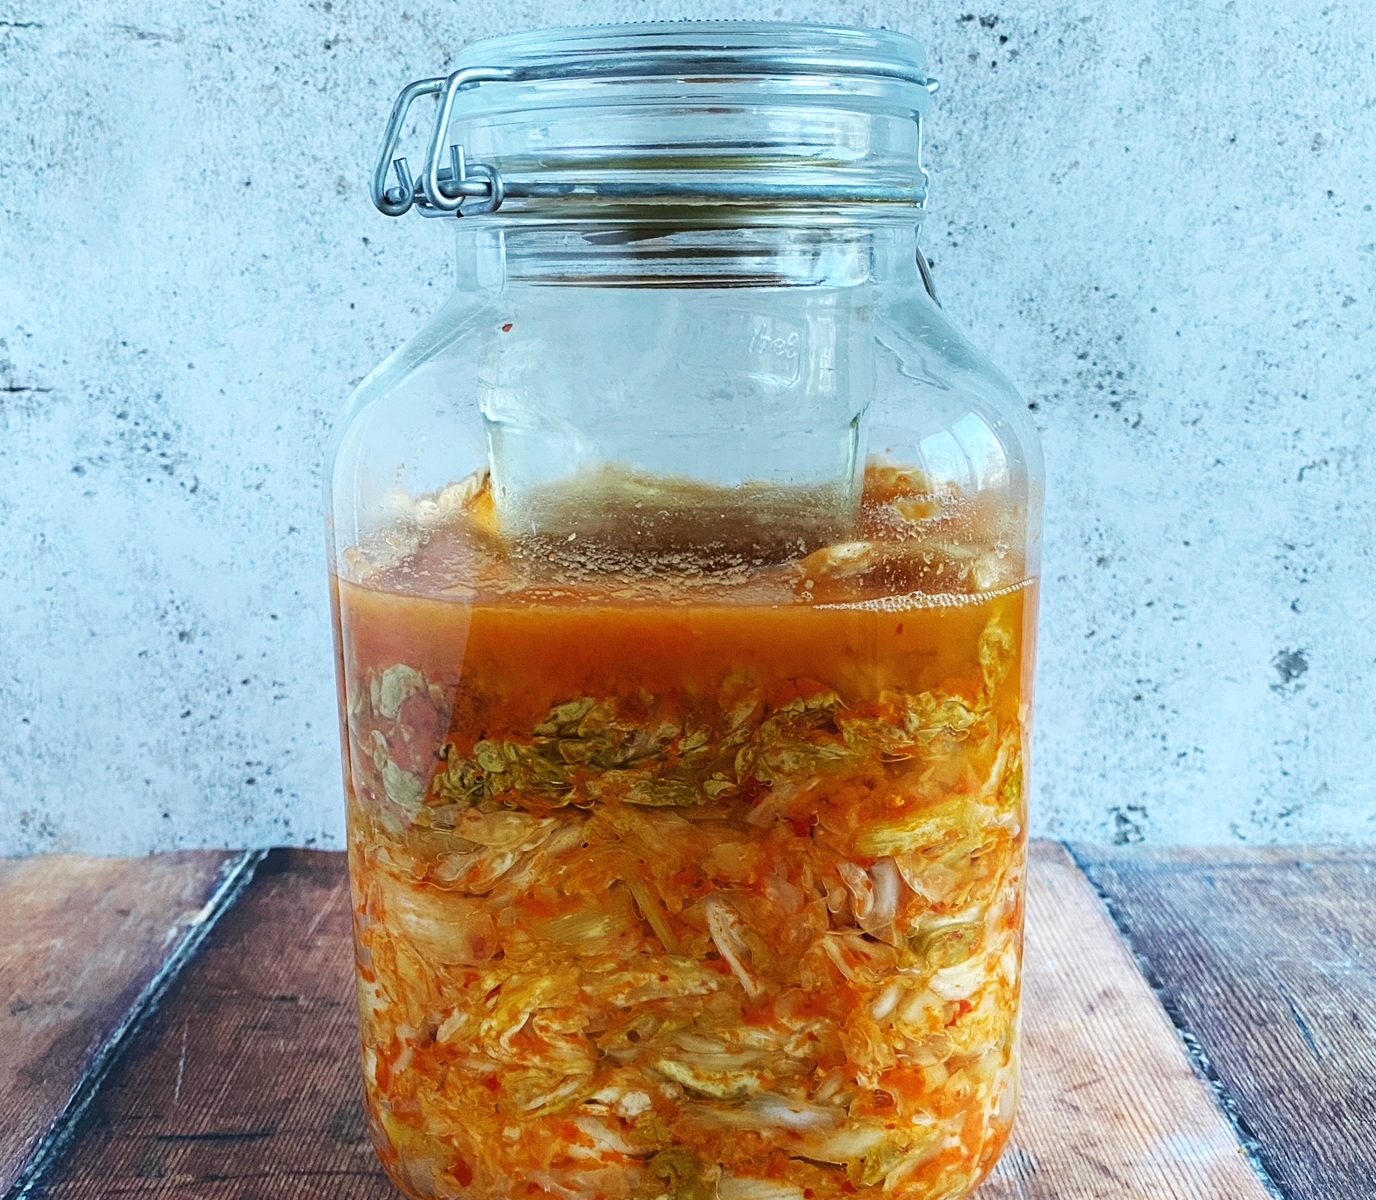
- Now you need to figure out a way to hold the vegetables safely down under the brine. Any veg exposed to air on the surface are likely to catch mould. So first use the outer leaves of the cabbage, that you saved at the beginning, to tuck the vegetables in so they won’t float up during fermentation. Take your time and press the edges of the leaves down around the insides of the jar to ensure there are no gaps for the chopped bits to escape through.
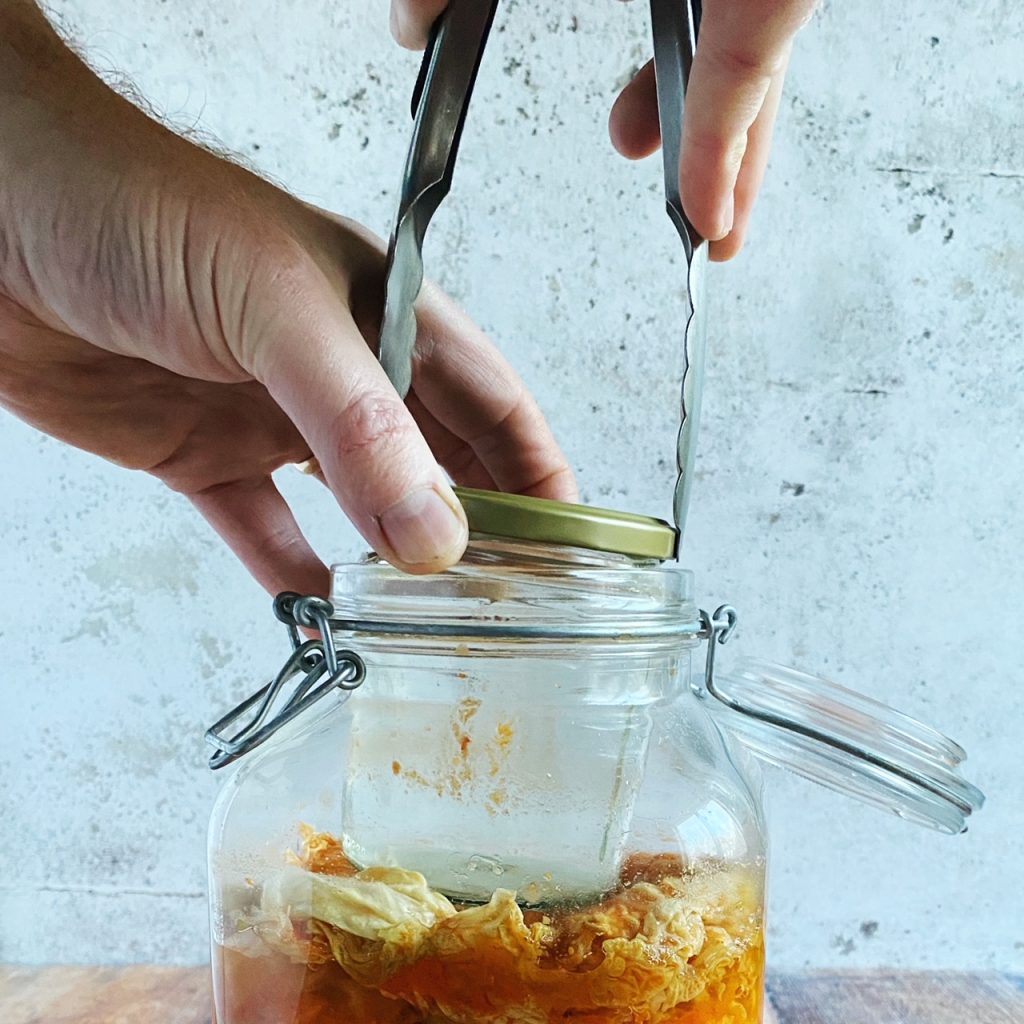
- When you are happy that your ‘follower’ leaf has done its job, you can add a weight to hold everything down under brine. This needs to be something food safe that won’t react with the salt. So glass is best. A small water glass or ramekin which fits inside your jar and can be pinned down with the lid is good. Or fill a clean pesto jar or similar with water, make sure the metal lid isn’t touching brine, and pop that in. Other weight ideas are a large, very clean (boiled) beach pebble (just make sure it is not a limestone/chalk) or a ziplock bag filled with water.
- Place the lid loosely on your jar so that gases can escape during fermentation but no bugs/dust can get in. Or you can put the lid on tight and ‘burp’ your jars every day by opening and closing them to release built up gases. If you have a clip-top jar like mine, you can simply remove the rubber seal during fermentation.
- Put the jar on a tray or plate on your work surface out of direct sunlight. Let it ferment for 1 week then it should have transformed into a tangy, delicious pickle! If you would like to ferment for longer then you can of course, just find a cooler part of your house like a basement so that it ferments slowly. When you are happy with the flavour you can remove the weight and ‘follower’ and pop the jar into the fridge where it will keep for 3-12 months.
- Make your kimchi last well by decanting it into smaller, very clean jars and just eat one jar at a time. This way the pickle will be exposed to less air. Also, never double dip when eating your kimchi as this would introduce new bacteria from your mouth into the jar. Enjoy!