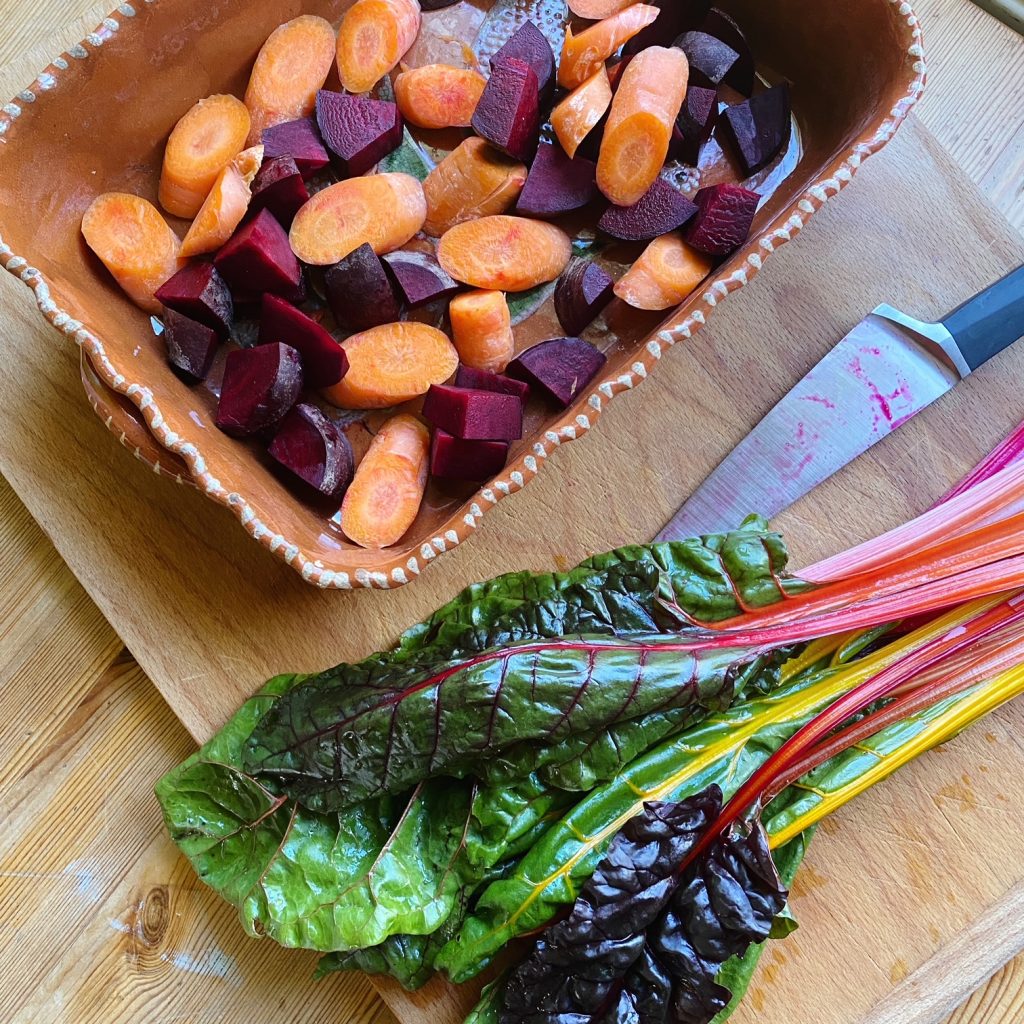
Big beautiful earthy beetroots full of flavour, sweetness and goodness! If you’re not familiar with cooking them from raw then cook them like a potato. Steam, boil or roast and you won’t go too far wrong.

Steaming beetroots is a great way to lock in the nutrients and a gentle way to cook your beetroots. When they pierce easily with a knife they are ready. Cool and store them in the fridge until you’re ready to make this hummus.
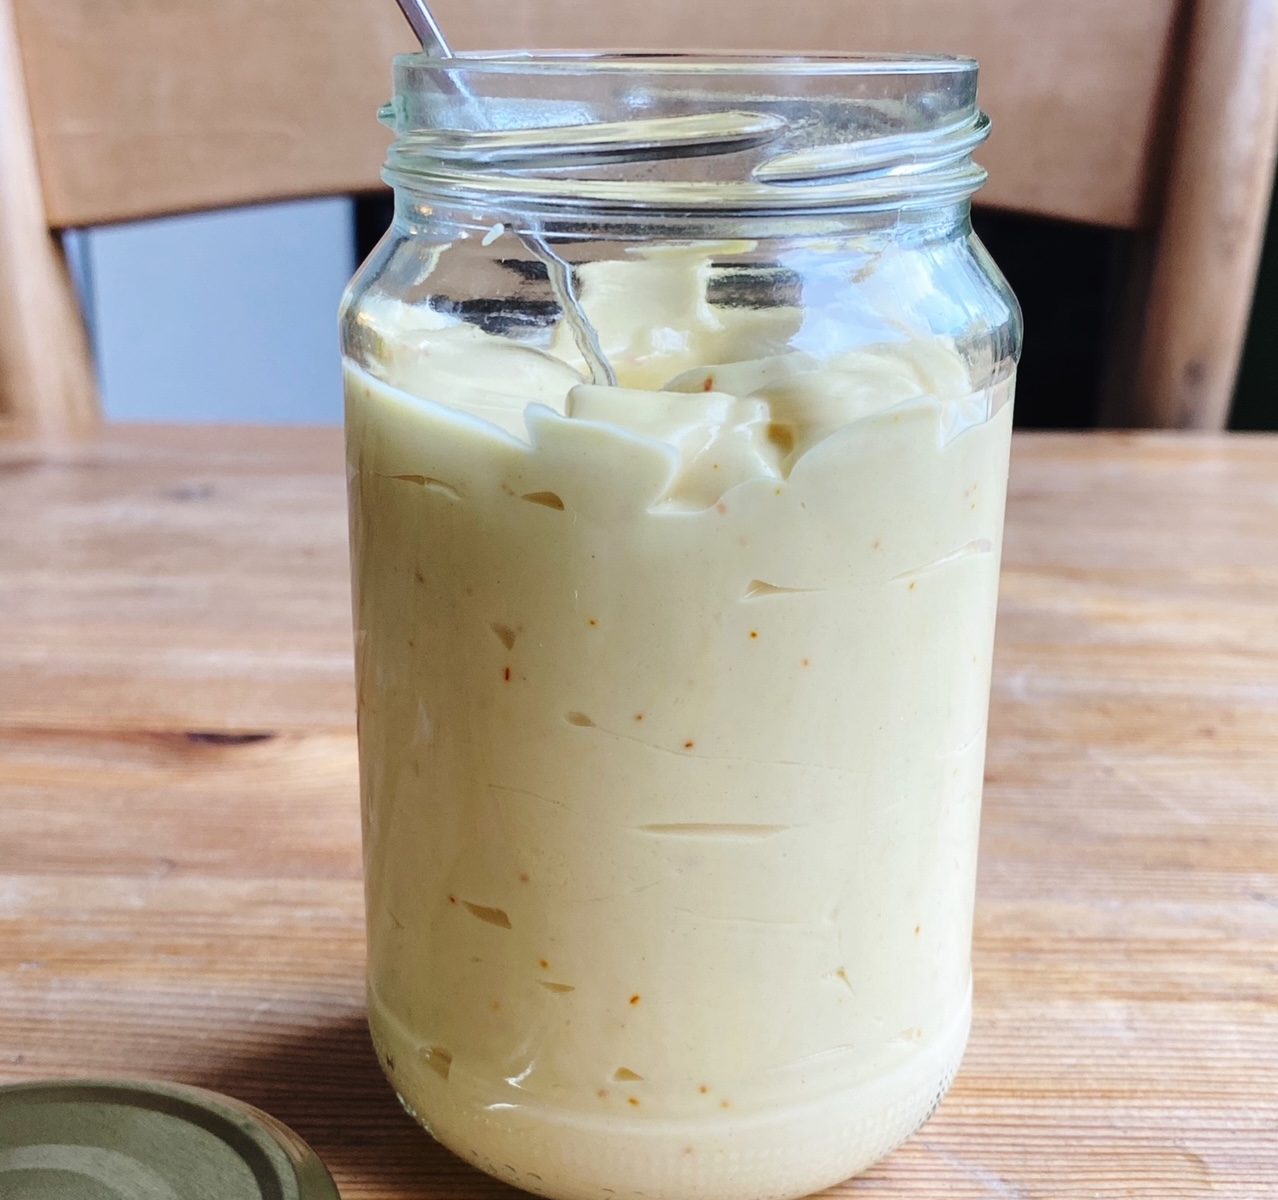
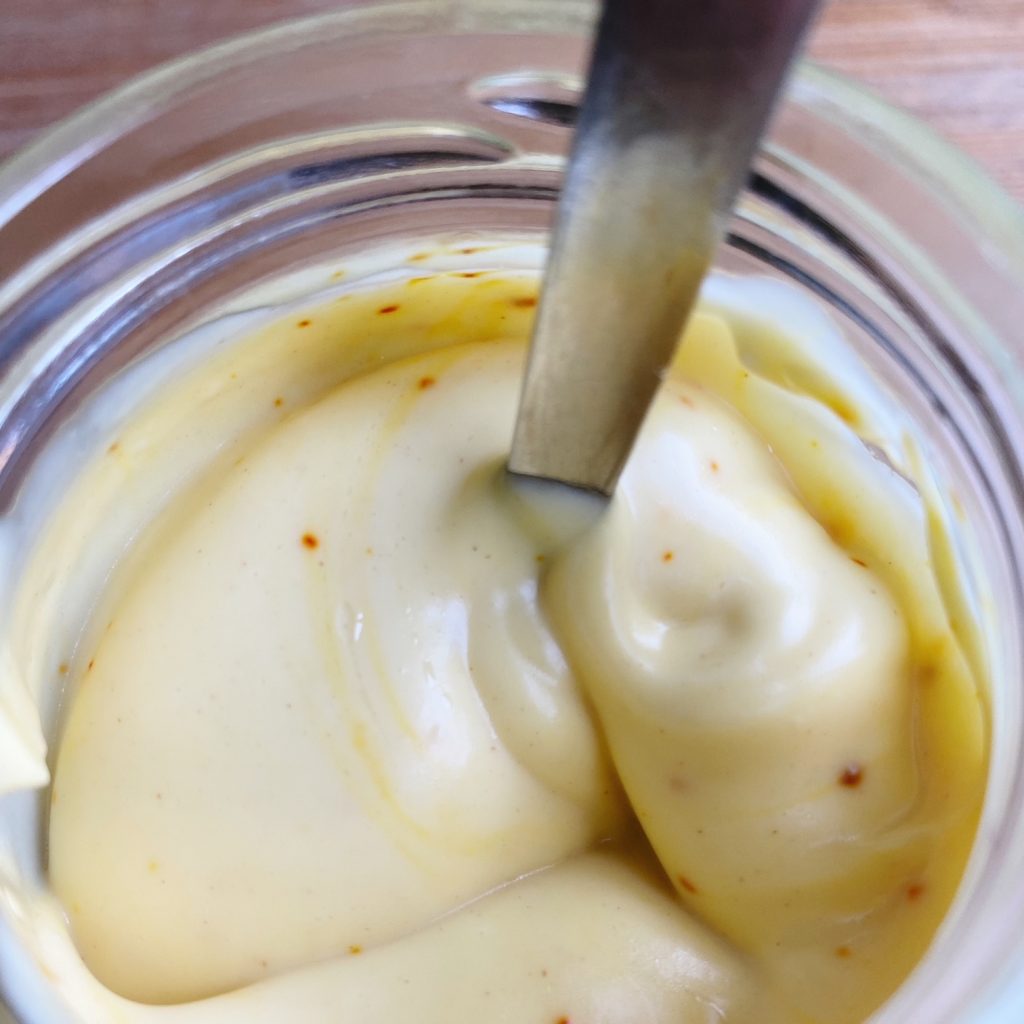
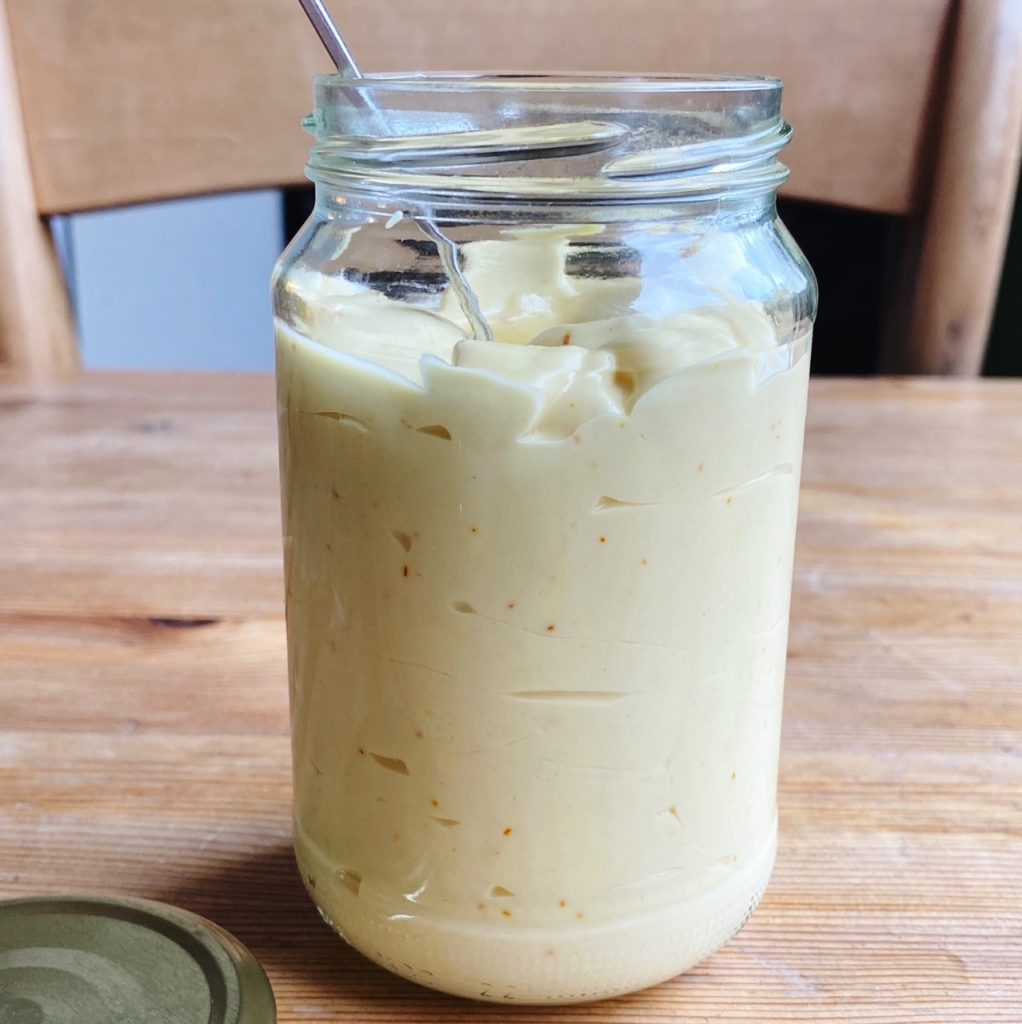
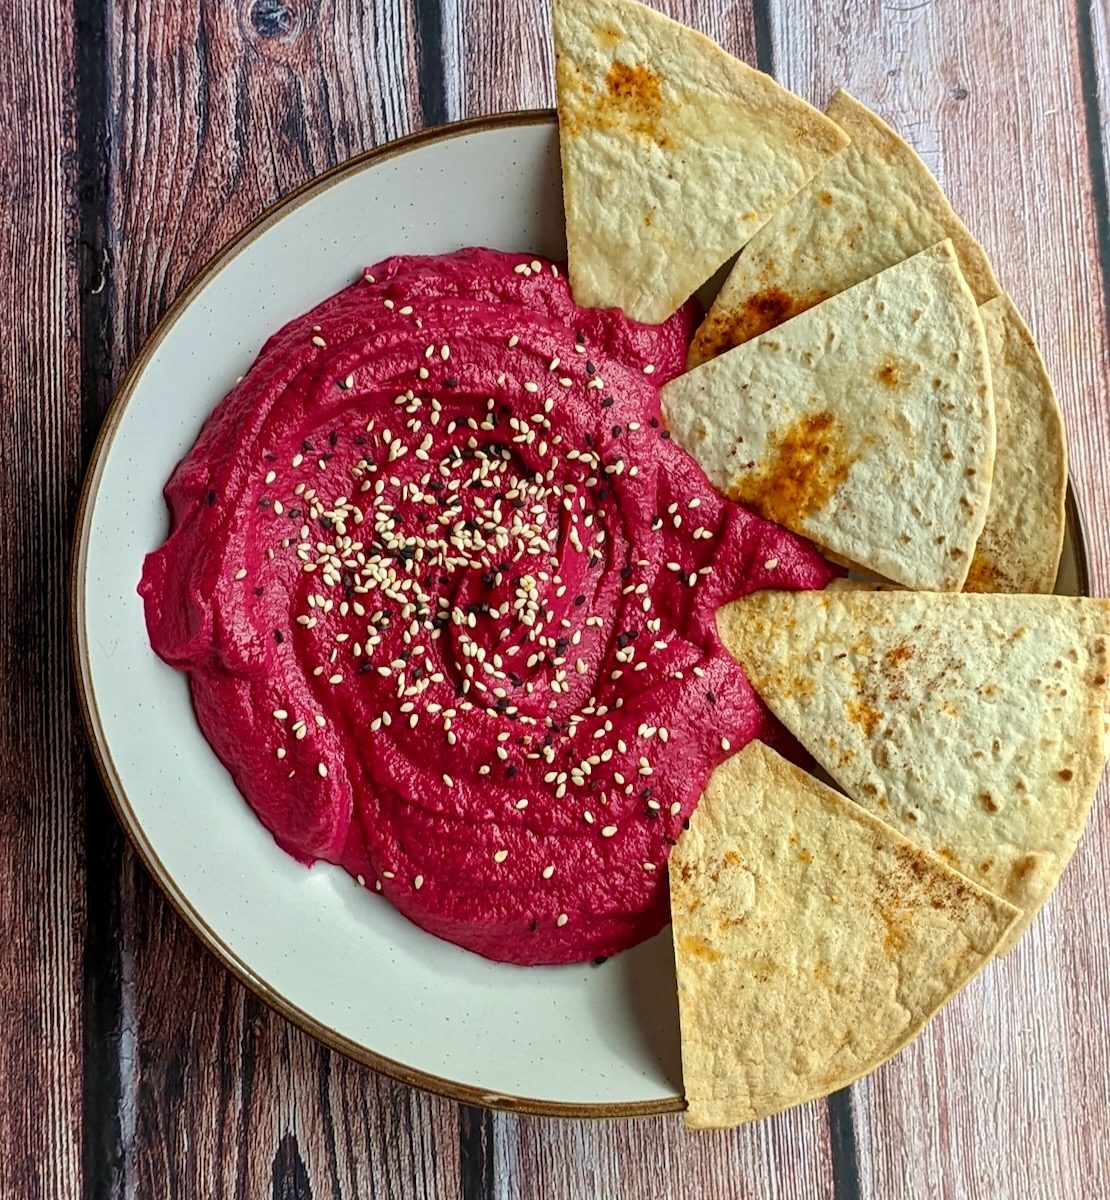
The colour of this hummus was gorgeously pink and vibrant!
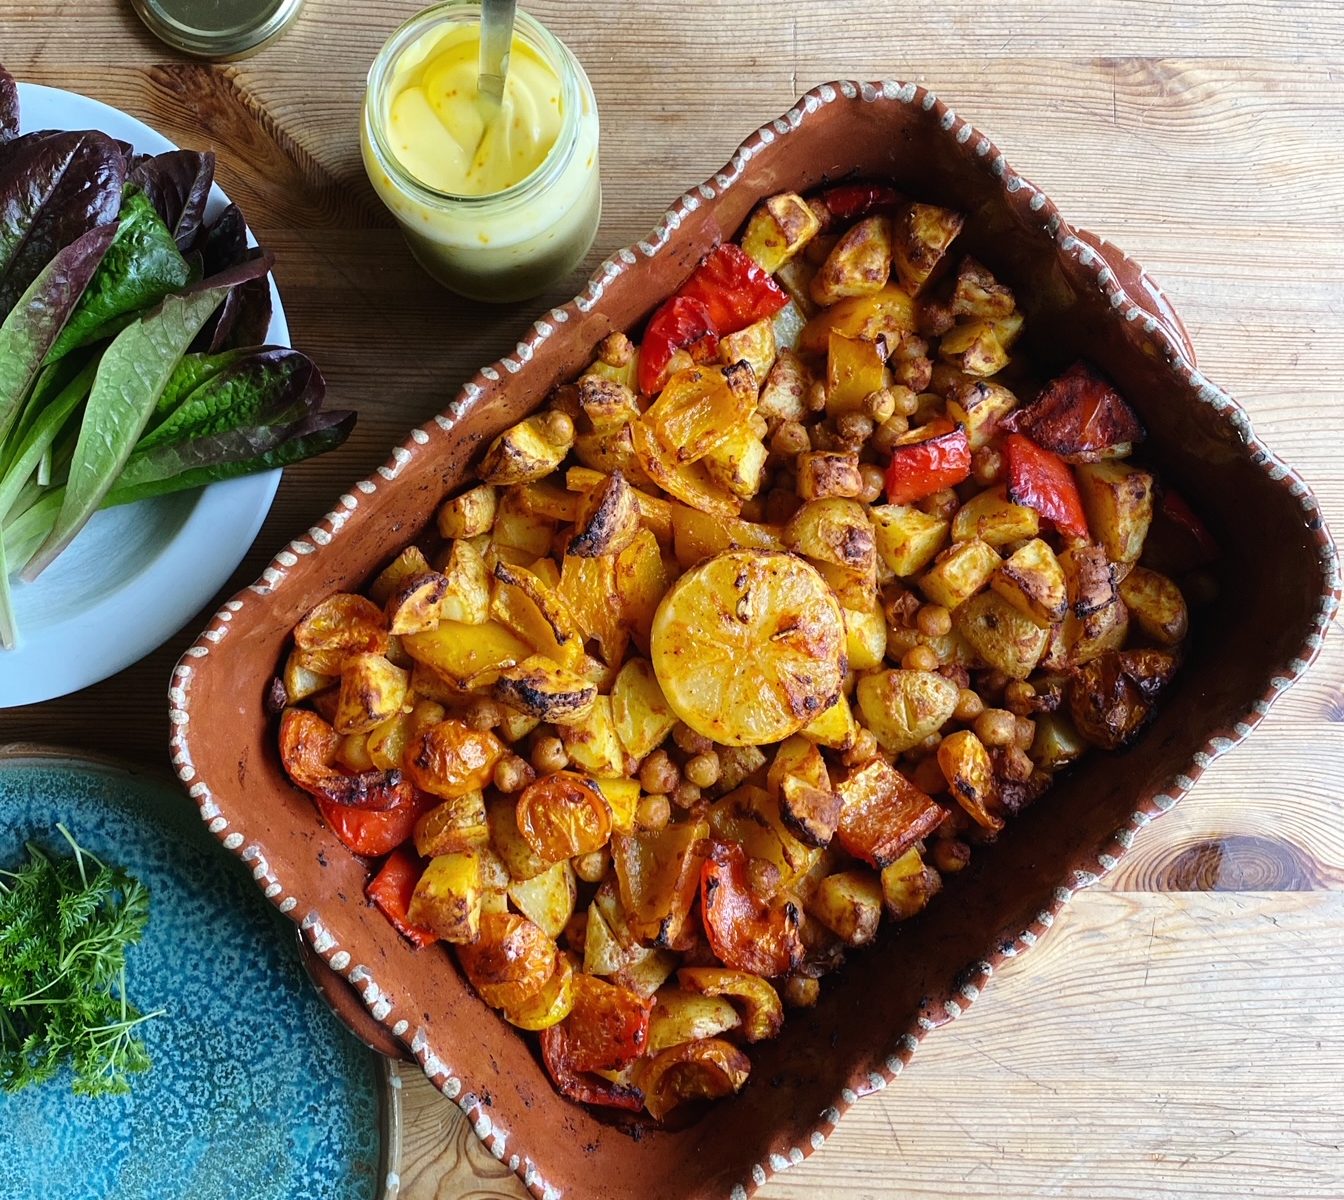
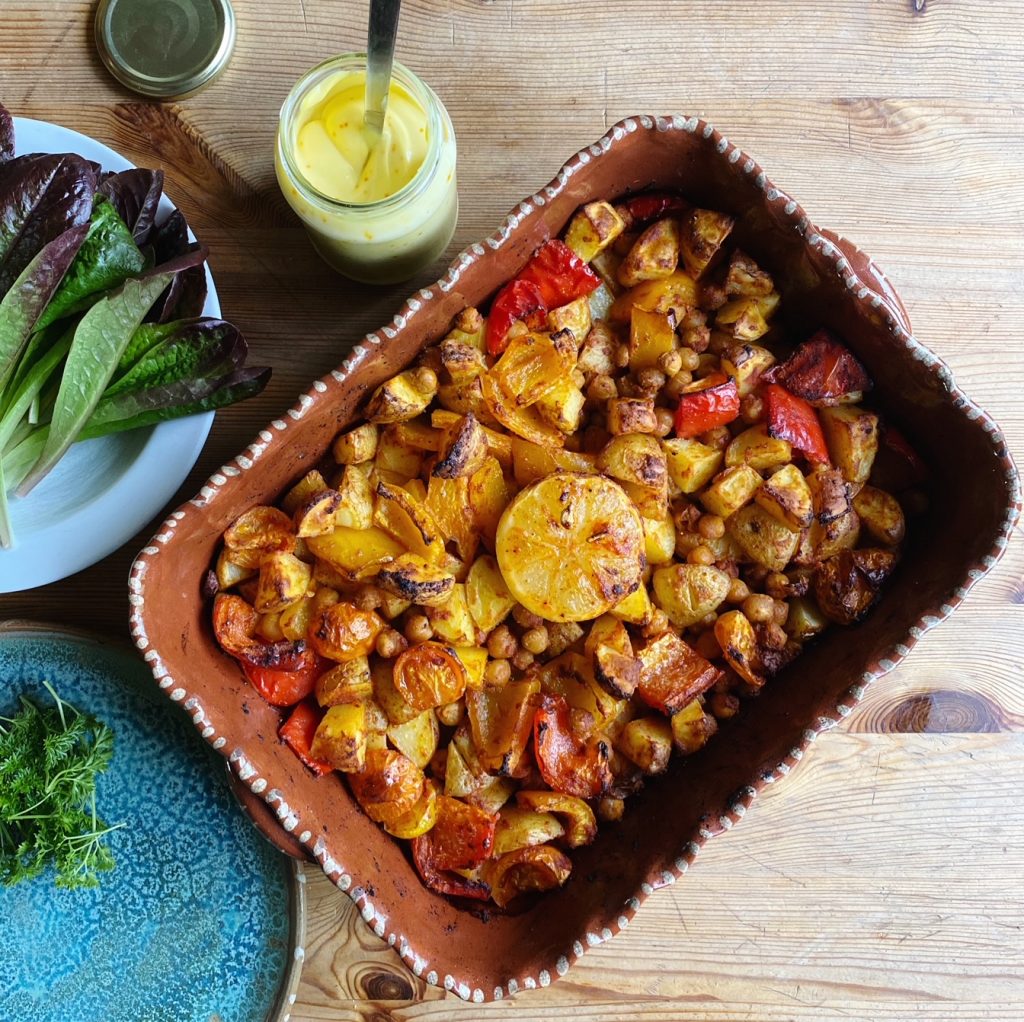
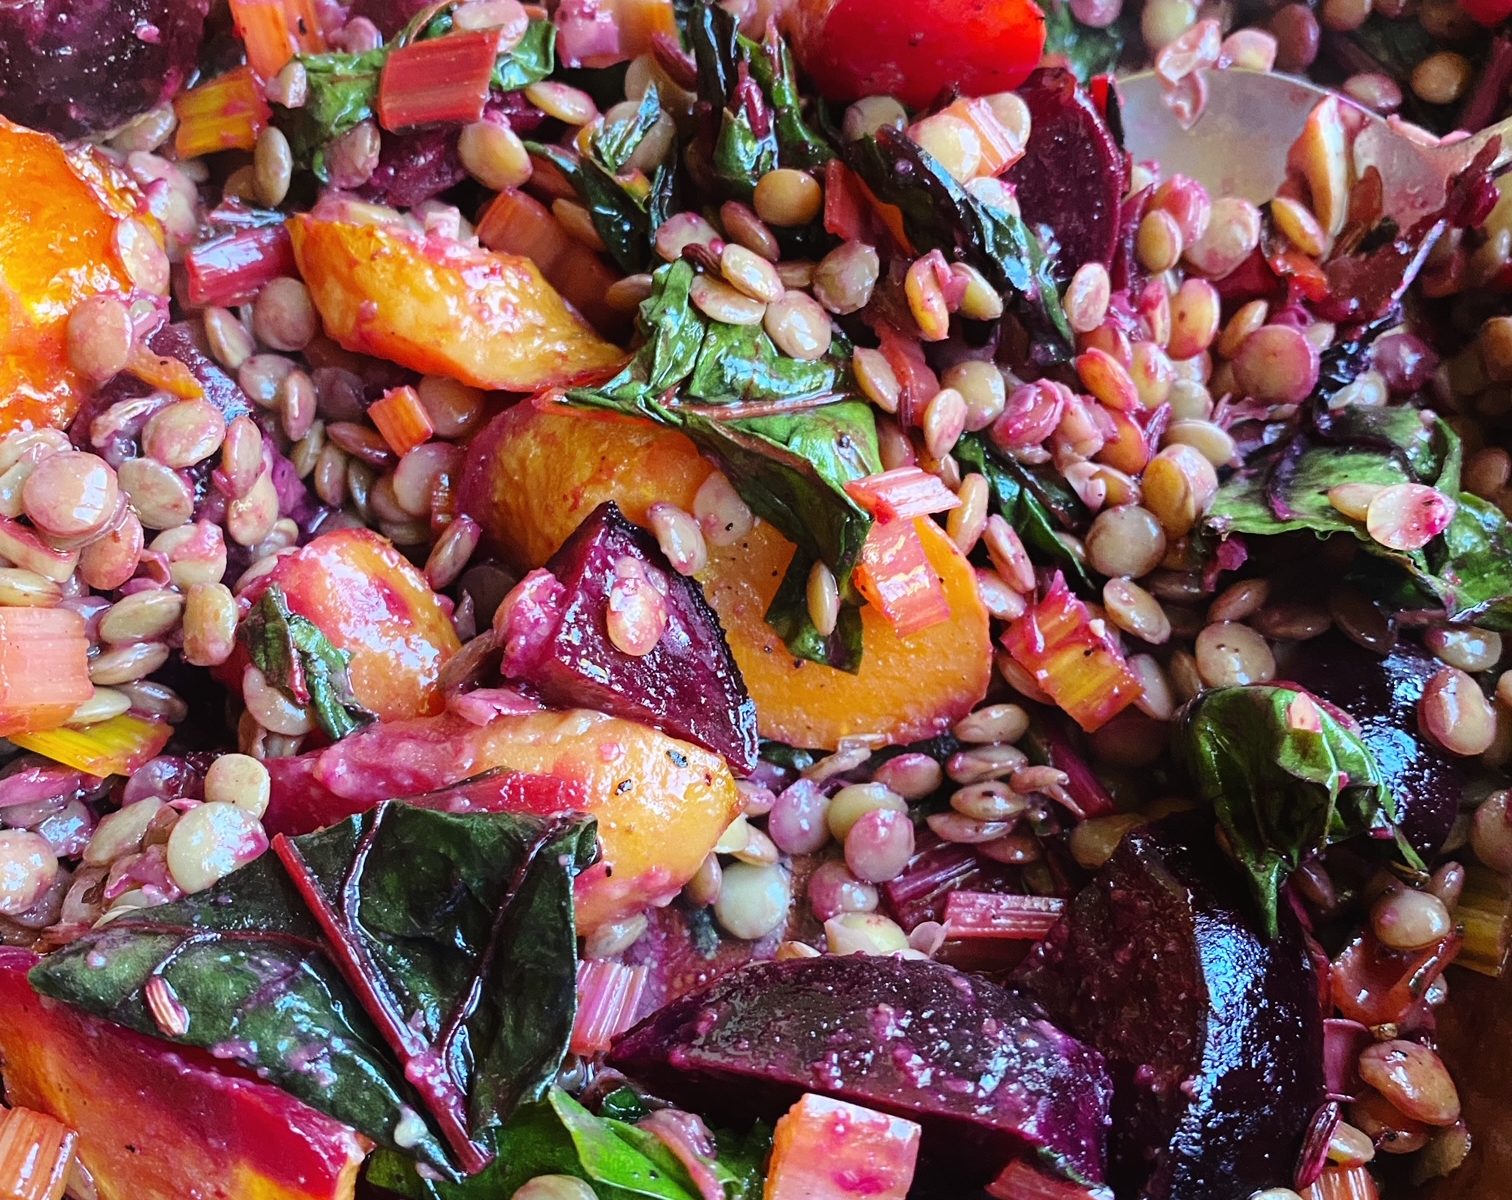
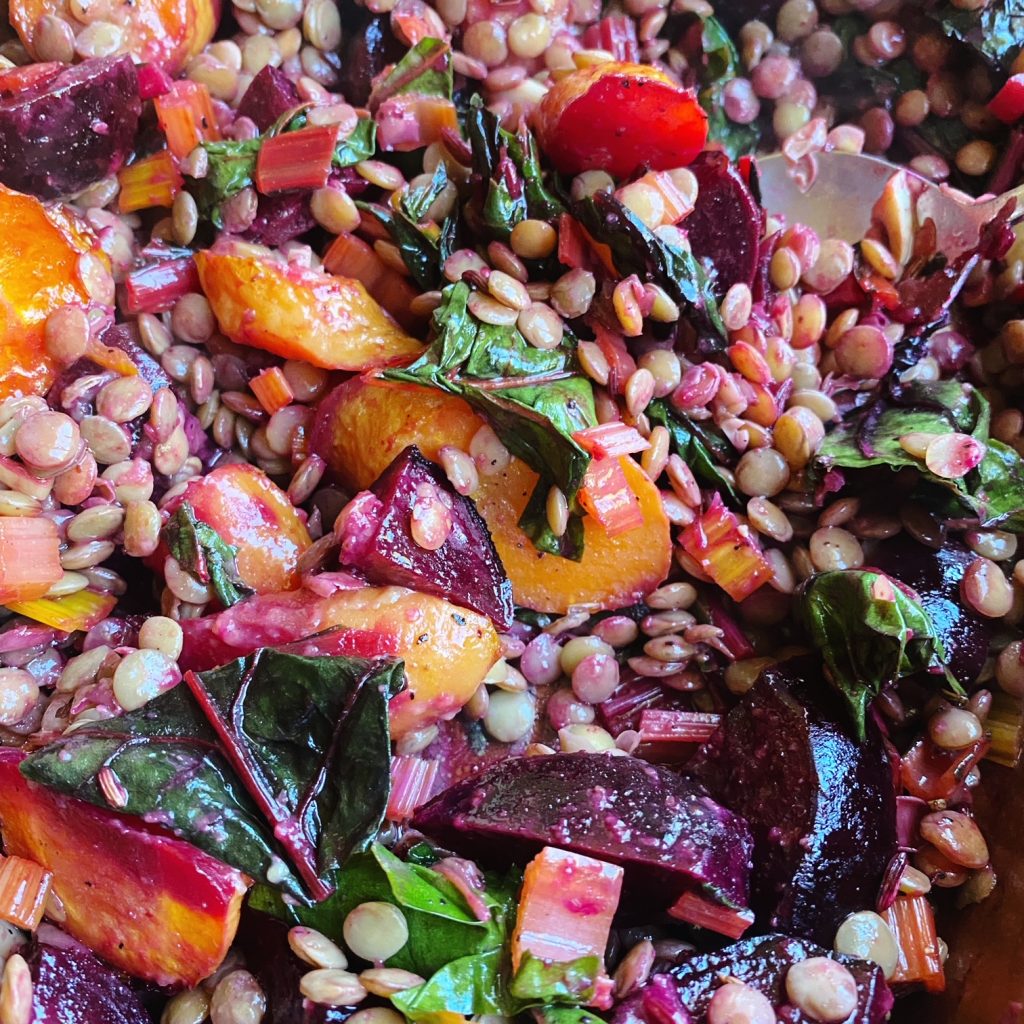
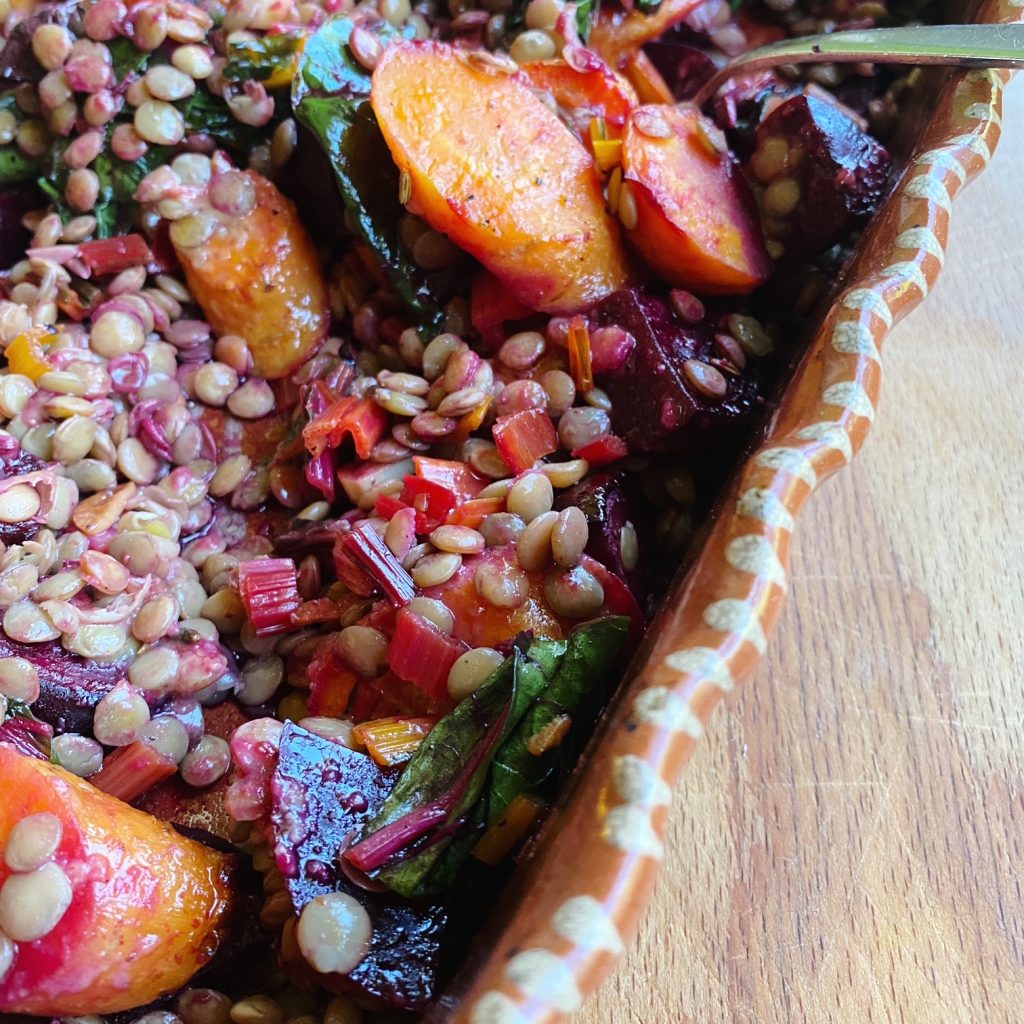
Serve as a dip with tortilla chips, as a side on a mezze plate, as a dressing with a lentil and goat cheese salad or a topping on an open sandwich with roasted veg.
Enjoy,
Lou 🙂
- 300g raw beetroot
- 1 tin of cooked chickpeas drained – (400g)
- 1 clove garlic grated
- 1/2 lemon juice
- 1 tablespoon light tahini
- 2 tablespoon light oil
- salt and pepper to taste
- 2-3 large tortilla wraps
- light oil
- 1 tsp smoked paprika
- 2 tablespoons sesame seeds – optional
To make the hummus
- Begin by cooking the raw beetroots. Wash the beetroot and cut the tops off, keep the skin on if you wish. Quarter and steam in a pot for 40 mins, or until they piece easily with a knife. (I have a powerful blender so I keep the skins on for this recipe, peel if you wish)
- Cool the beets and store in the fridge until you are ready to make the hummus.
- Once cooled add the beetroot to a blender along with the drained chickpeas, grated garlic clove, lemon juice, tahini, oil and add a pinch of salt and pepper.
- Blend the hummus until it’s smooth. Taste and adjust the seasoning if needed.
To make the tortilla chips and toasted sesame seeds.
- Preheat the oven to 180C. Have a couple of large baking trays at hand.
- Simply cut the tortilla wraps into triangles. Do this by cutting the wraps in half. Then quarters then eights.
- Lay the triangles on the trays, space them out so they don’t overlap.
- Spray or drizzle with oil and sprinkle with paprika.
- Toast in the oven for 5-10 minutes, keep a close eye on them. When they are lightly toasted they are ready.
- To toast the sesame seeds put them on a tray and toast for 5-10 minutes until golden.
To serve:
Add the beetroot hummus to a bowl, top with toasted sesame seeds, if you wish and the toasted tortilla chips.