Quick Pickled Courgettes

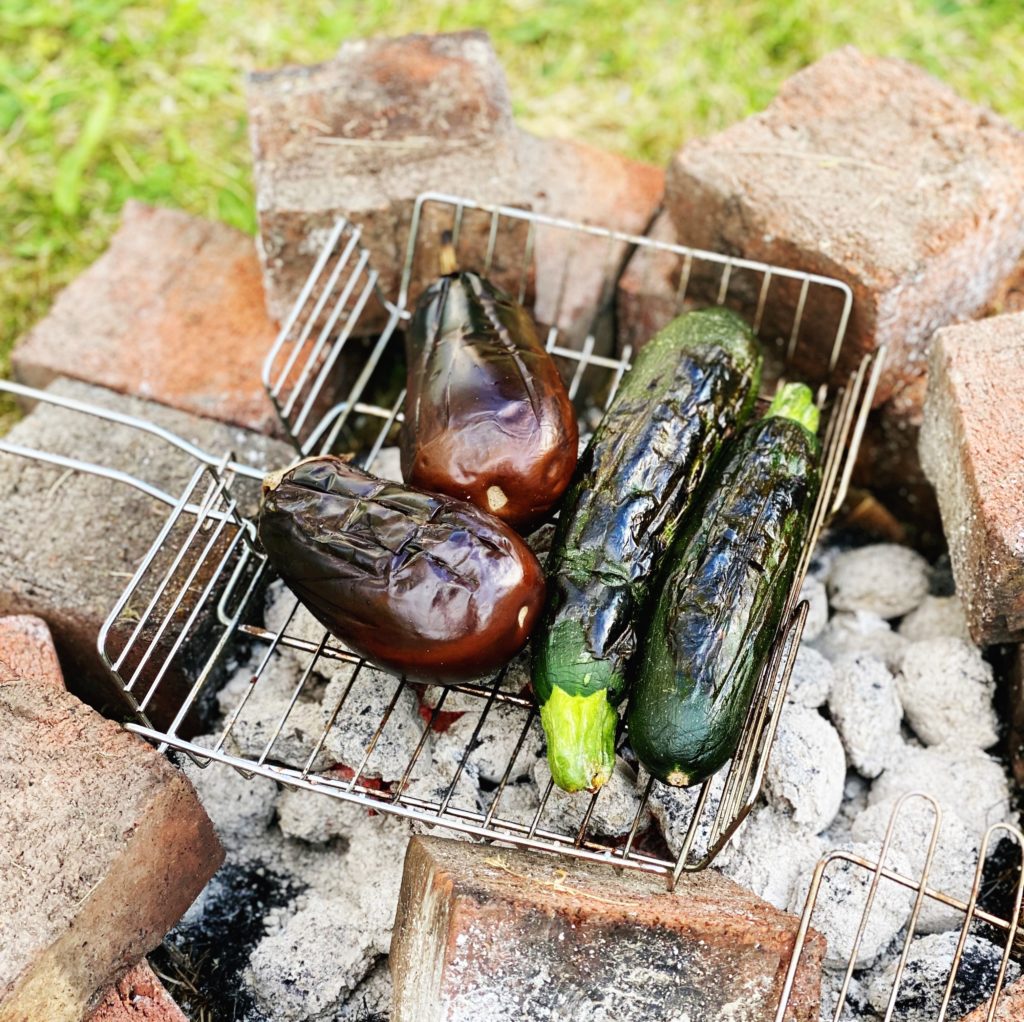
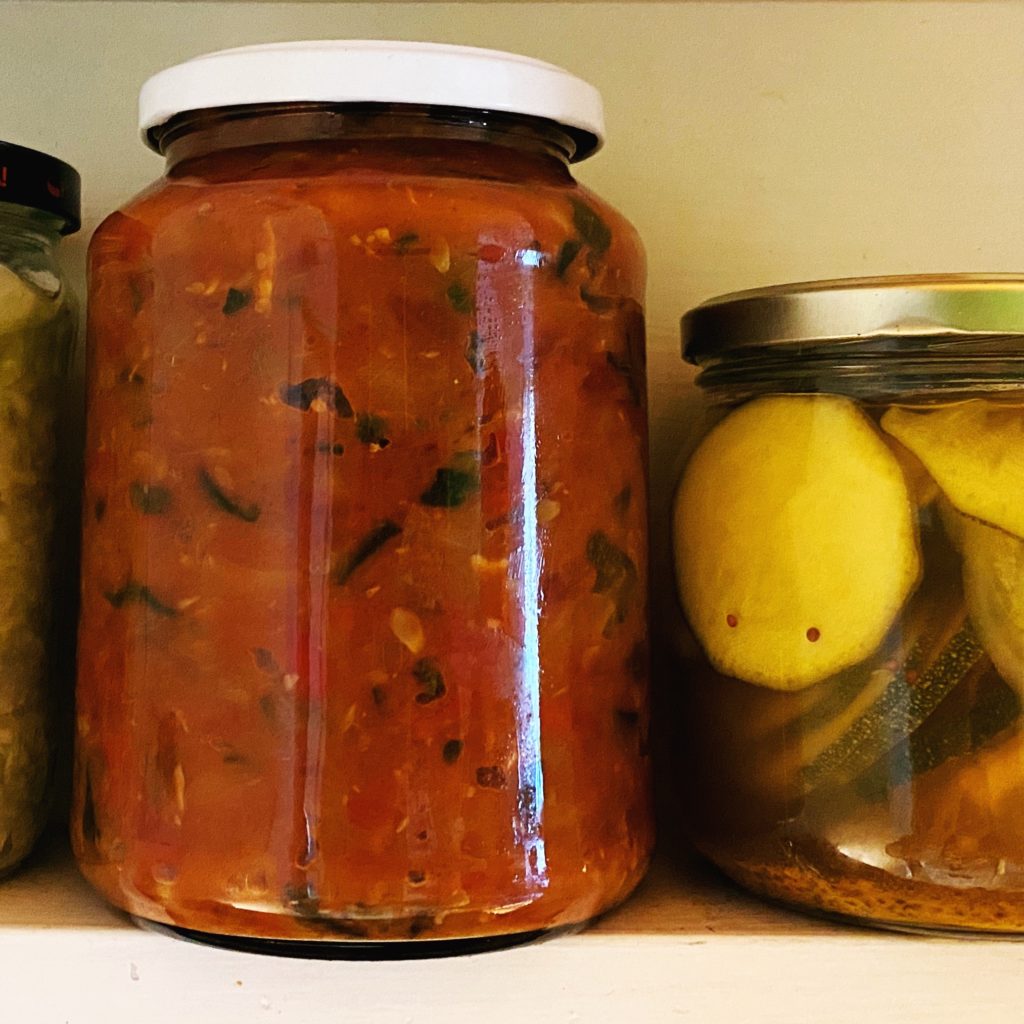
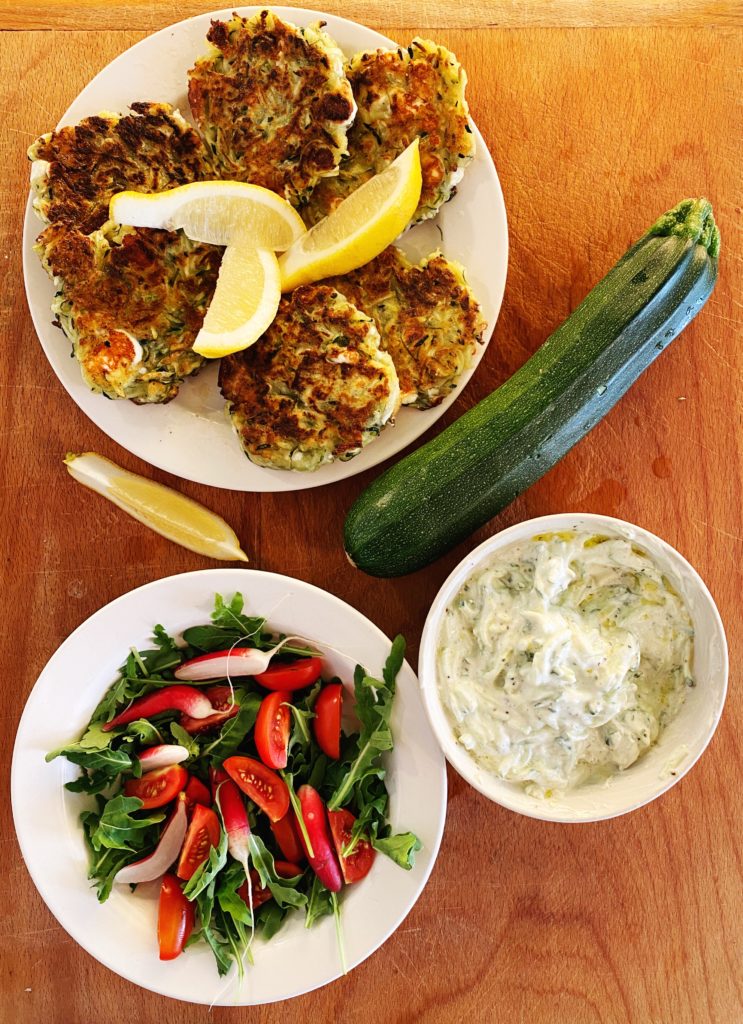
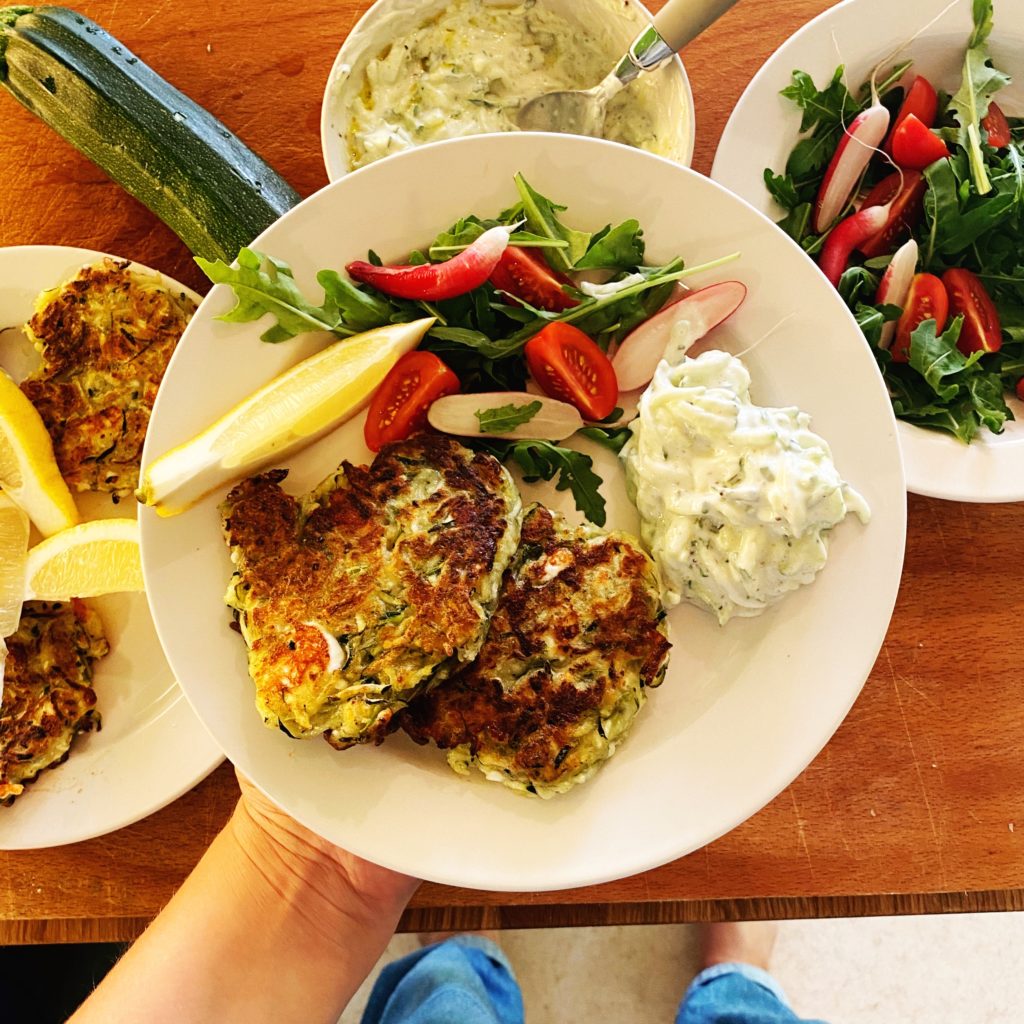
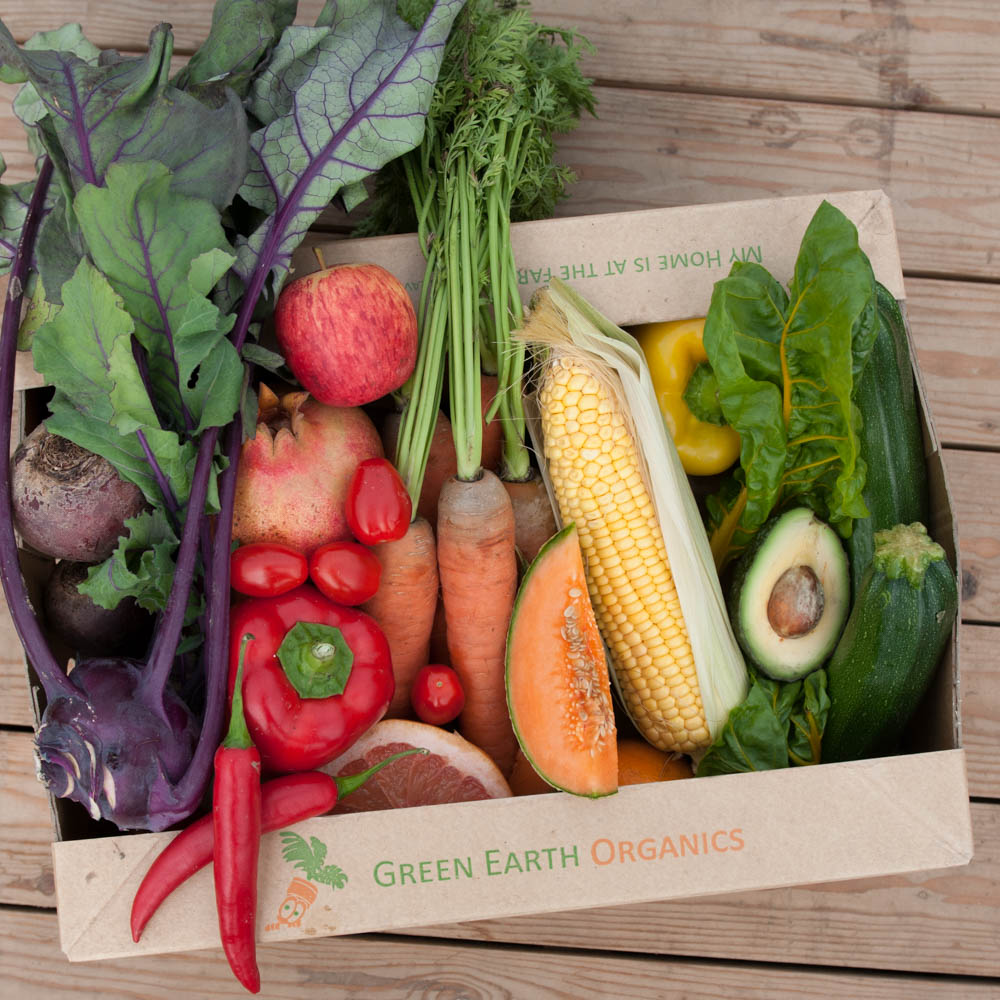
Got a glut of courgettes? We’ve got the recipes. As well as this classic quick pickle, a delicious solution for many excess veg, I’ve shared a fair few other courgette recipes. Just pop ‘courgette’ in the search bar and they’ll come up.

Quick pickles do what they say on the tin. They are quick and simple to put together and they are ready to eat in just a couple of days. You can definitely eat them earlier too, I just think the flavours develop better after a couple of days in the fridge. They last a long time too, especially if you sterilise the jar and close it while the vinegar solution is still hot. Keep the pickles in the fridge and don’t double dip and they should last for 2 months, if you don’t eat them up in that time… don’t store these pickles at room temperature unless you can them, which is a whole other process.

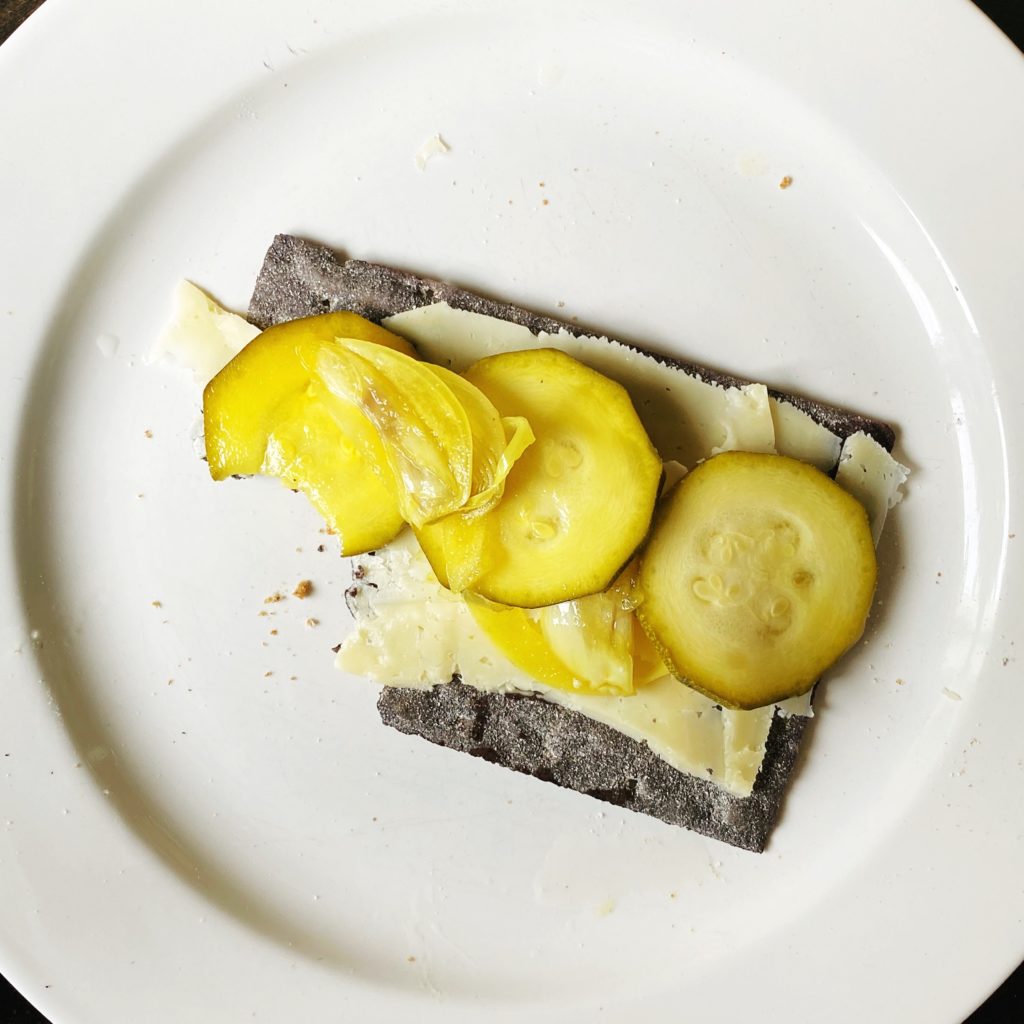
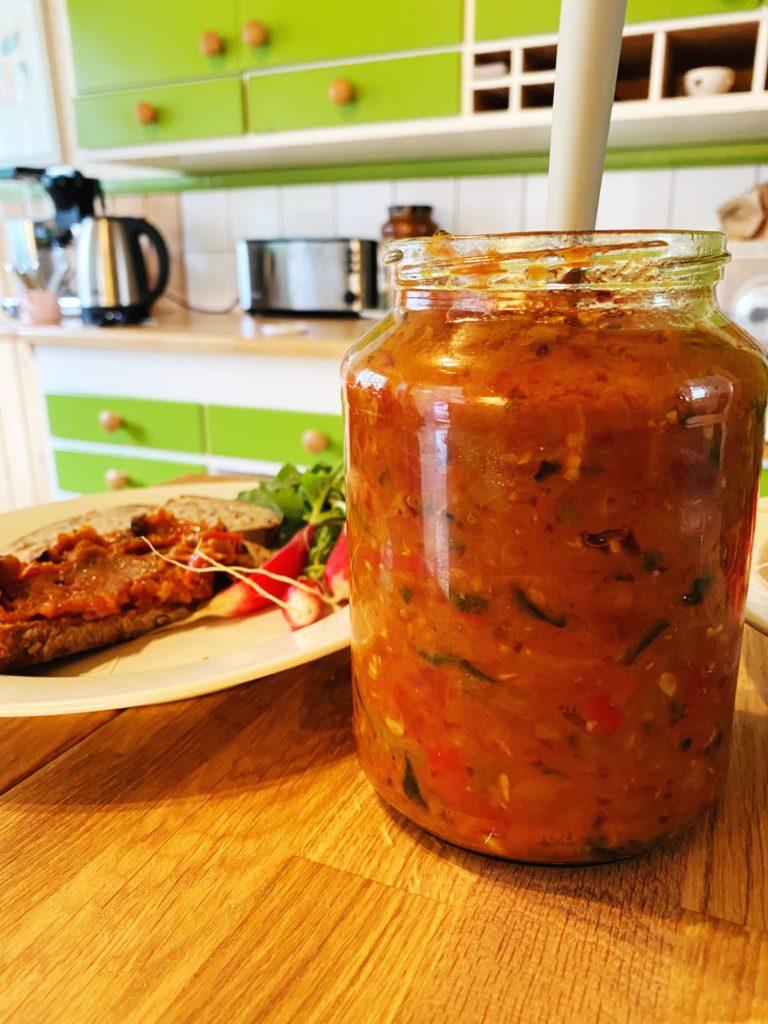
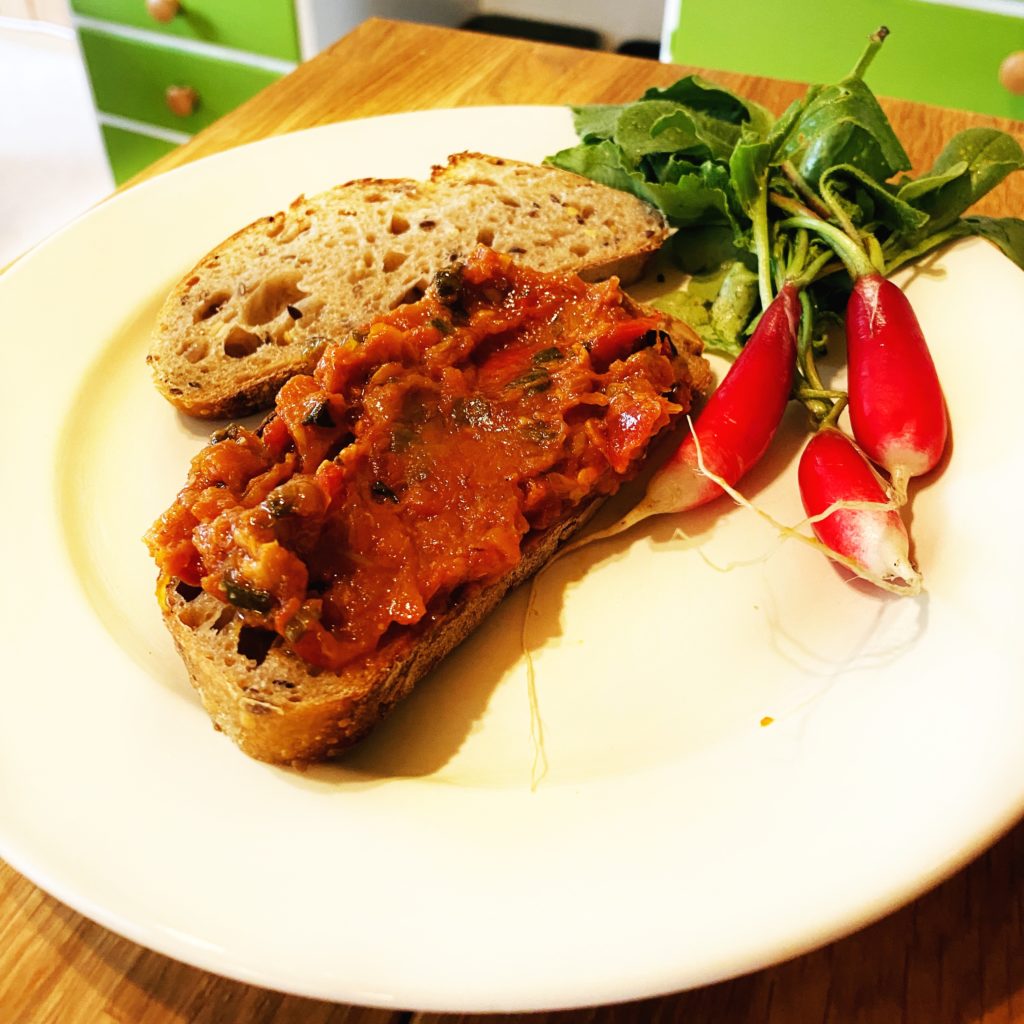
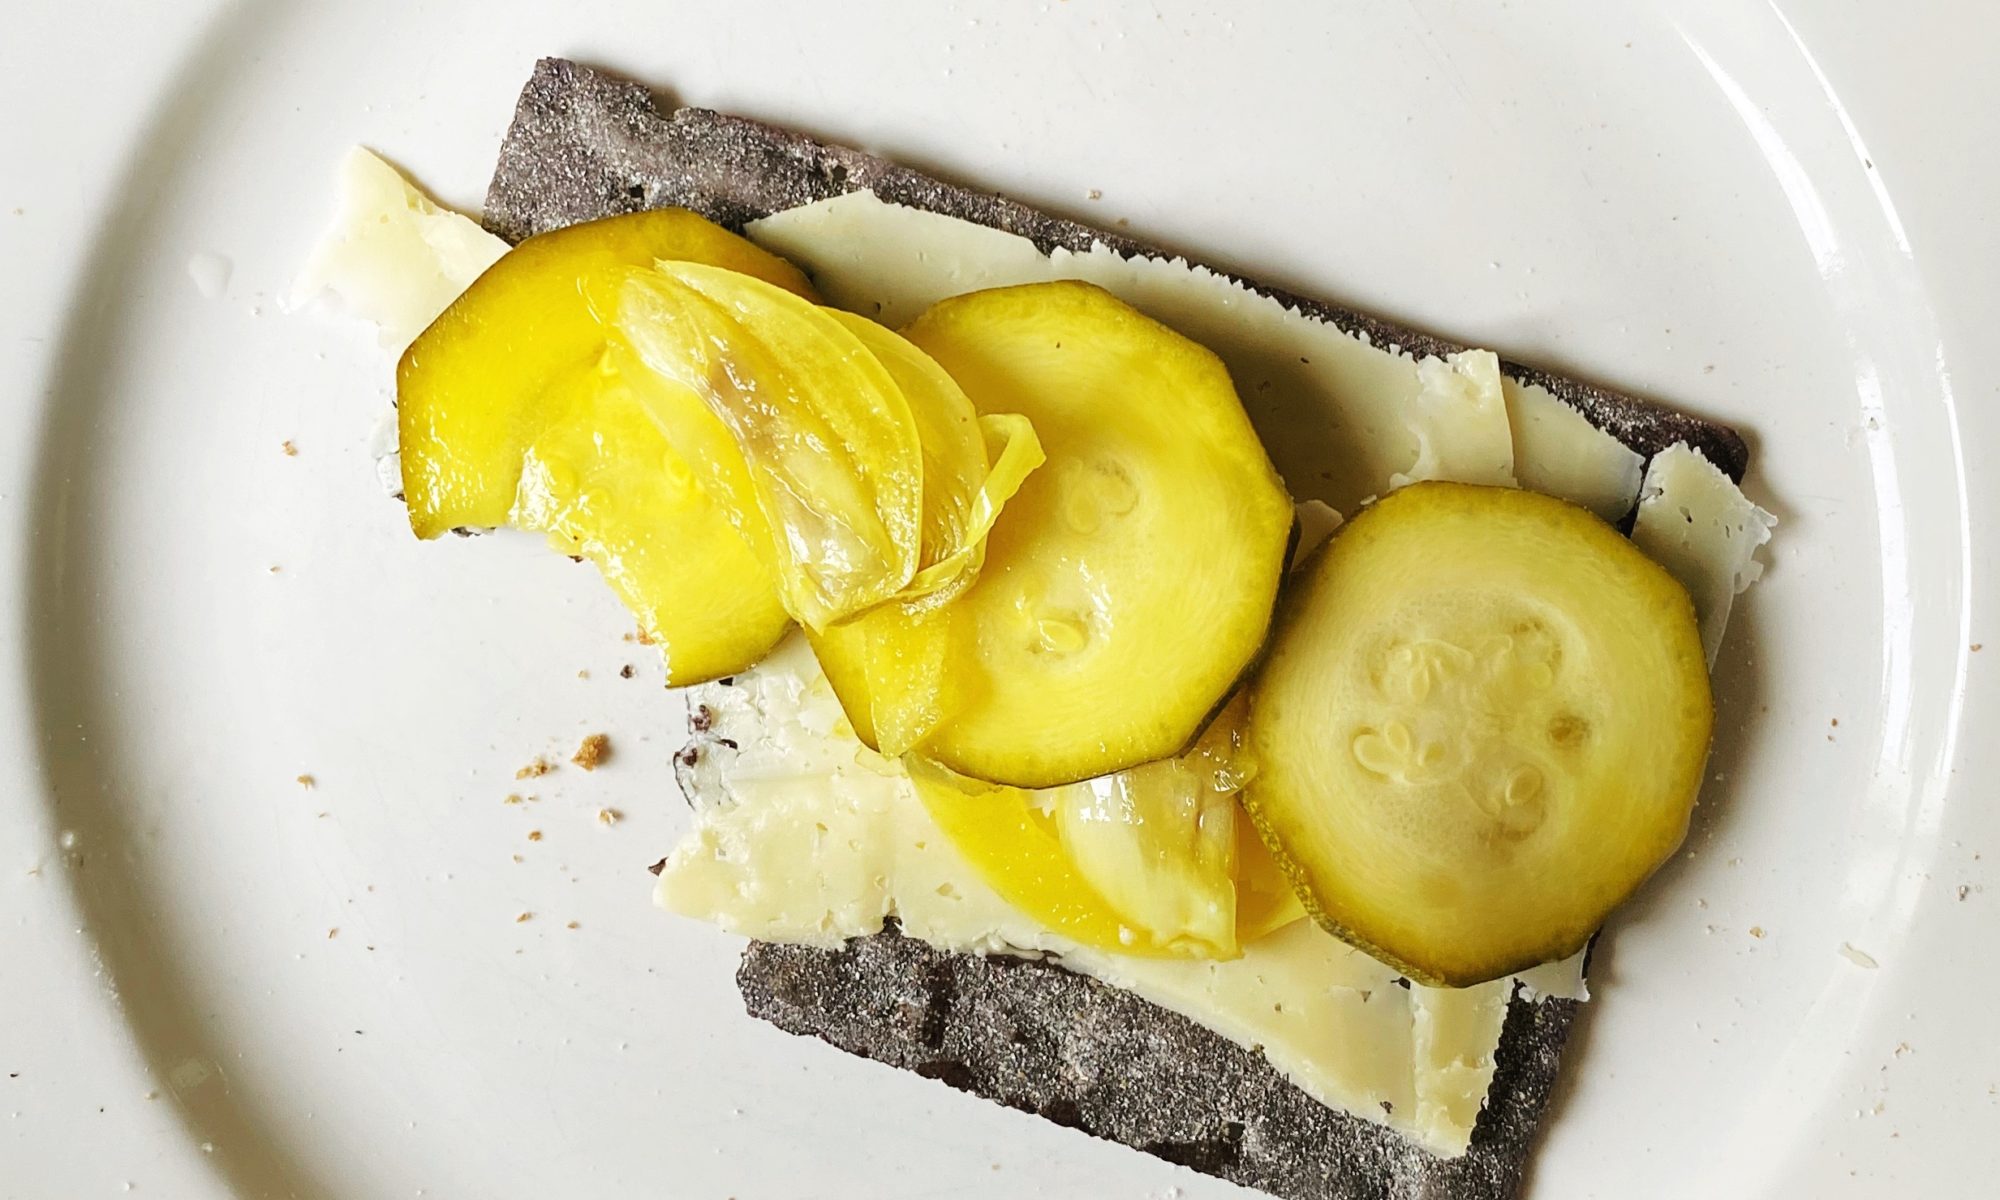
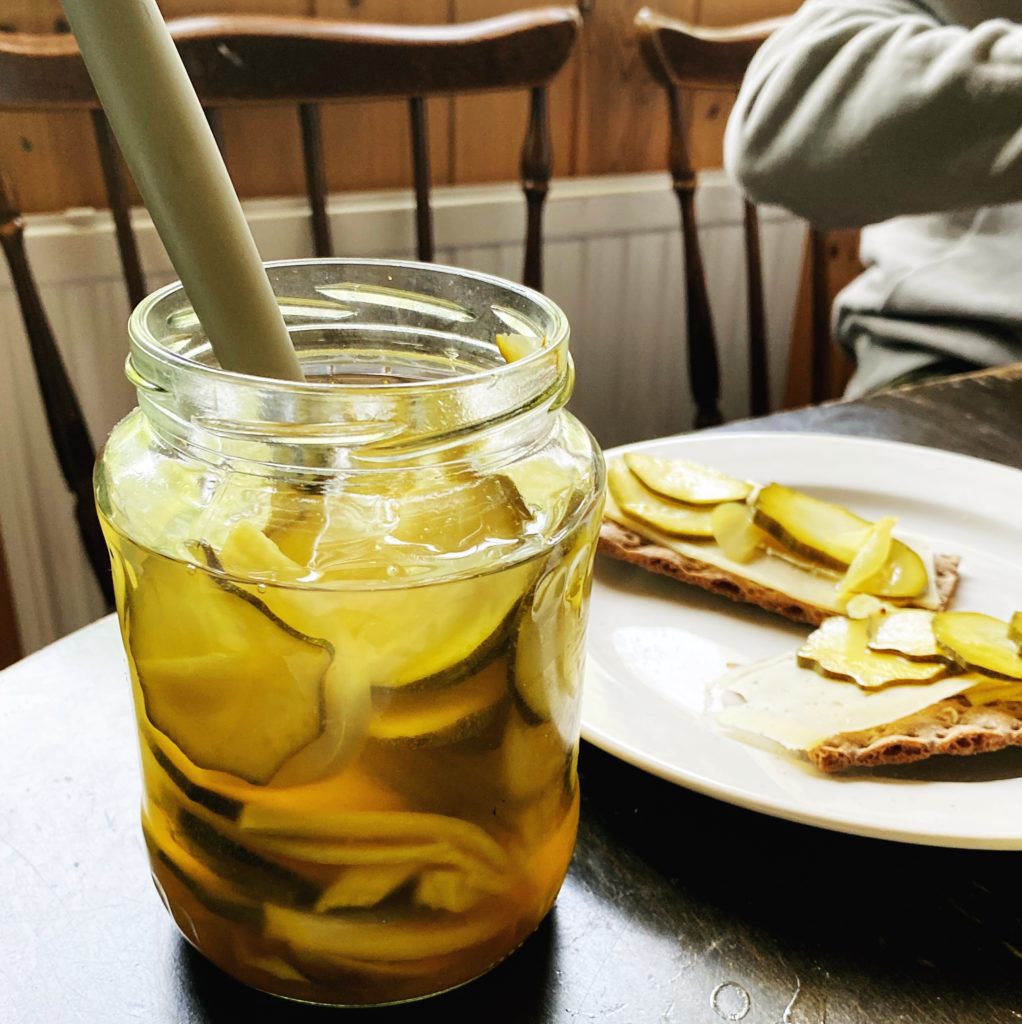
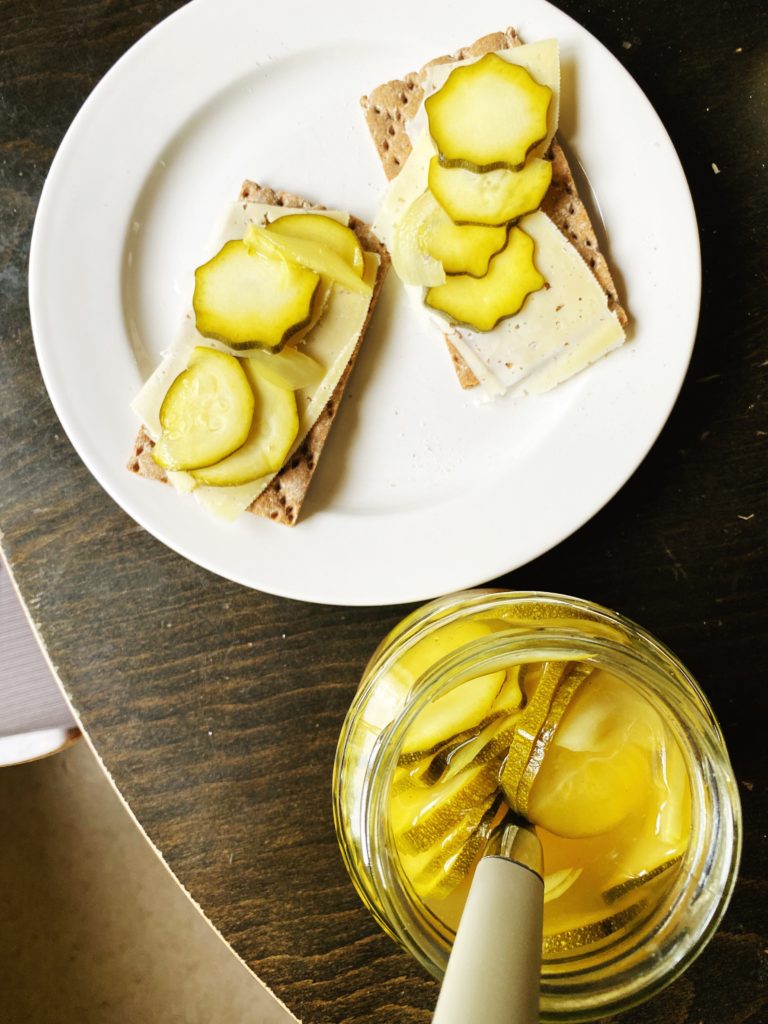
Pickled courgettes are so delicious in a sandwich or burger, with cheese and crackers or as a tangy, crunchy part of a salad. You can also flavour them however you like. Go herby with dill, spicy with chilli, use classic pickling spices, bay leaves, garlic, ginger…whatever you like! Enjoy! Liz x

Ingredients (makes 2 medium jars, around a litre volume)

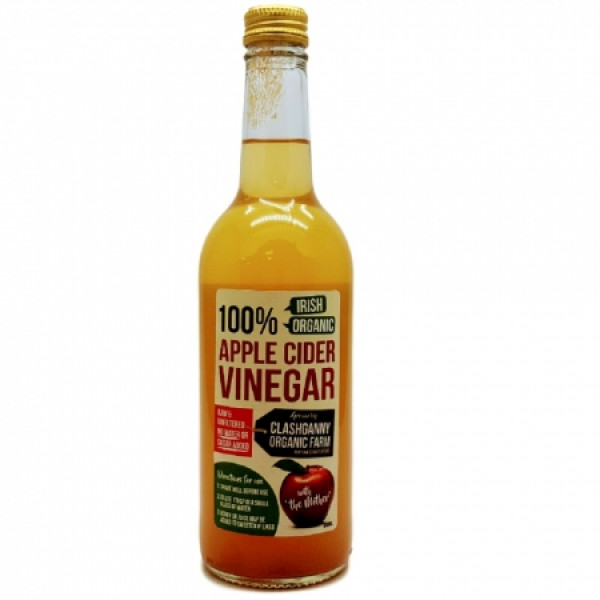
  • 300ml apple cider vinegar (we LOVE Clashganny Farm’s organic ACV)
  • 300ml water
  • 2 tbsp salt
  • 2 tbsp sugar (optional but really nice)
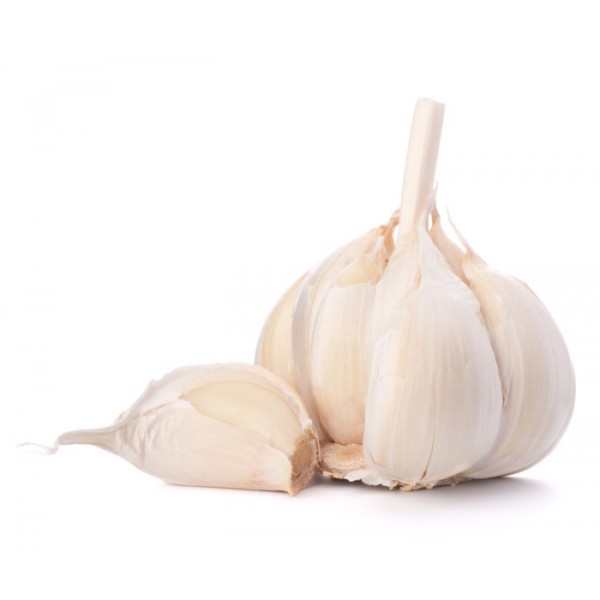
  • flavourings of your choice – I used: 3 sliced cloves of garlic, 1 tsp ground turmeric, 1 tsp mustard seeds, 1/2 tsp black pepper
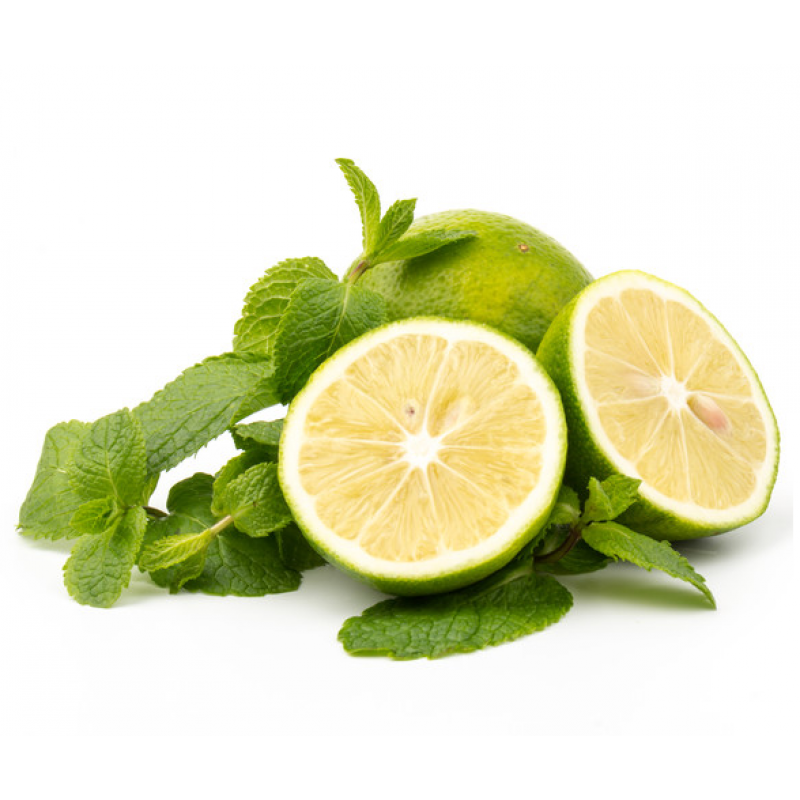
  • 1 courgette
  • 1/2 a white onion

Method

  1. Start by finding 2 small jars (or 1 big one? – it all depends on how much pickle you’re making or the size of your courgettes) and giving them a really good clean and hot rinse. Or you can sterilise them to be extra safe. Put the washed and rinsed jars in a clean sink then fill them with freshly boiled water from the kettle. Wait a minute then carefully empty the jars (use oven gloves or a folded tea towel so you don’t burn your hands). Let them air dry while you get on with chopping and heating up your vinegar solution.
  2. Measure the vinegar, water, salt and sugar into a small pan and heat it up while you quickly add the flavourings to the jars and chop the vegetables.
  3. Divide your flavourings between your jars. Then thinly slice the courgette and onion and divide them between the jars too. Lightly press the vegetables down into the jars to pack them in neatly, but don’t crush them. You should leave a couple of cm of room in the jar.
  4. As the vinegar solution comes to the boil, take it off the heat and pour it into the jars over the vegetables and flavourings. The solution should cover the vegetables. Give the jars a light tap on the work surface to remove any air bubbles that may be trapped between the layers of vegetables. Then screw on the lids whilst the jars are still hot. You may not use all the vinegar solution, or you may need to make a bit more.
  5. Allow them to cool then refrigerate. The pickles will be ready to eat in two days and will last in the fridge for 2 months.

Slow-Cooked Courgette Caviar

Courgette caviar is a Russian/Ukrainian spread made from slowly cooking summer vegetables down into a rustic and delicious purée. The long, slow sauté reduces and caramelises the vegetables together, elevating these humble ingredients into a stunning jar of flavour. This is so much more than a stew. Slow cooked courgettes have the most wonderful texture, you can also use aubergines or a combination of the two. It’s just a brilliant way of using up a glut of courgettes and other summer veggies. If we are having a barbecue, I sometimes chuck a few courgettes and aubergines (also peppers, whole bulbs of garlic, carrots…) on to get smokey and soft then make this purée with those. It’s amazing, the smokiness really comes through. Just peel off any very blackened bits of skin and sauté and crush the vegetables together in the pan until reduced.

Enjoy cold on good bread or with crackers. It’s delicious as part of a picnic spread with cheese, pickles, ferments etc. Or heat it up and loosen it with some pasta water for a quick pasta sauce. It’s an incredible pizza sauce base too! I have never tried making a huge batch and keeping the jars in a cellar, but if you have the know-how and the right equipment, that’s a great way to preserve the fruits of summer. But making the recipe as per the method below, the jar should last well in the fridge for two weeks.

Liz x

Ingredients* (makes a large jar approximately 1 litre)

*don’t worry too much about amounts and the ingredients can vary too! Leave out the pepper, add aubergine, use fresh tomatoes, add more or less garlic… it’s more about the technique of slowly cooking down and caramelising the vegetables together than getting the proportions and ingredients exact. I suppose starchy vegetables like potatoes wouldn’t work here, but most other vegetables will be fine. Use any combination that you like. Here’s what I did this time:

  • 1 onion
  • 6 cloves of garlic
  • a generous slick of olive oil to coat your pot/pan, plus extra to to top the jar
  • 2 carrots
  • 1 red pepper
  • 2 courgettes
  • 1 tin of chopped tomatoes
  • salt to taste
  • optional extras like black pepper, dill or fennel seeds, coriander seeds, chilli…

Method

  1. Start by dicing or grating all your ingredients.
  2. In a large, heavy bottomed saucepan or pot, heat up a generous slick of olive oil and add the diced onion. Keep the pot at medium high and stir fry the onions until they start to soften and colour.
  3. Add the garlic, courgettes, carrots, pepper and a big pinch of salt. Sauté, stirring regularly for at least 30 minutes. You will need to lower the heat as you go. It’s nice if the vegetables caramelise and slightly catch on the bottom of the pan. Just keep scraping the base of the pan with a wooden spoon.
  4. Crush the vegetables together with the back of the wooden spoon, or use a masher to help you along.
  5. When the vegetables are reduced and drying out, add the tomatoes and keep cooking, stirring and reducing. You should end up with a rich, thick purée. You can keep it rustic or blend it smooth.
  6. Pack the mixture while it’s still hot into a large, sterilised jar. Add a layer of olive oil and put the lid on. This should make it last longer.
  7. Keep it in the fridge. It should last well for 2 weeks.

Courgette, Feta & Dill Fritters

Fritters are a fab summer lunch with salads and a great way to use up a glut of vegetables. Courgettes are having their ‘glut moment’ on the farm right now, so here’s a delicious courgette fritter recipe for you to try if you get a lot of courgettes in your box and you’re stuck for ideas.

I usually make a gram flour (chickpea flour) batter of just gram flour, water and seasoning, and then stir in shredded/finely chopped veg to make fritters, but I didn’t have any gram flour so here’s a wheat and corn flour variety which works well too! Fritters are fairly forgiving, just use whatever flour you have in. Courgettes are quite watery vegetables, so I like to grate and salt them, then after the salt has drawn the liquid out, mix in enough flour to make a fairly thick batter. No need to add any other liquid or you’ll end up with soggy rather than crisp fritters!

Liz x

Ingredients (makes 6-8 fritters)

  • 1 large or 2 small courgettes
  • a large pinch of salt (about 1/2 a tsp or to taste)
  • black pepper to taste
  • a big handful of chopped dill or fennel fronds (or any herbs you like – mint or parsley work well)
  • a block of feta, crumbled (or make my tofu feta recipe here)
  • 4 tbsp plain flour (or more/less – see method)
  • 4 tbsp cornflour/cornstarch (or more/less – see method)
  • olive oil for frying
  • lemon wedges, salad & tzatziki to serve

Method

  1. Start by grating your courgettes into a large mixing bowl. Use the course side of the grater.
  2. Sprinkle over the pinch of salt and pepper and mix well. Then taste and decide if you’d like to add more. The courgettes should just taste pleasantly seasoned.
  3. Give the salt time to draw the liquid out of the courgettes and use this time to prepare some salads and make a tzatziki (simply mix grated cucumber through thick yoghurt, season with salt, pepper and a little crushed garlic, stir well and add a drizzle of extra virgin olive oil and fresh dill or mint).
  4. Once the courgettes are wet, this only takes 10 minutes or less, you can start adding the flour. I like to use an even mix of cornflour and plain flour. The corn flour makes the fritters a little crispier.
  5. Add one heaped tbsp of each flour to the wet courgettes then stir the mixture. Keep adding more of both flours and stirring until you have a thick fritter batter. If your courgette is very watery you’ll need more flour, if it’s drier you’ll need less.
  6. Then stir through the herbs and crumbled feta and warm up a frying pan to medium with a generous slick of olive oil in the bottom of the pan.
  7. Fry spoons of the mixture in small batches in the pan. Turn over after 3-5 minutes, once golden brown and crispy underneath and fry the other side for a further 3-5 minutes.
  8. Keep the heat at medium, don’t be tempted to turn it to high or you may get fritters which are burned on the outside and raw and doughy in the middle.
  9. Serve with salads and tzatziki for a lovely lunch. The fritters are delicious eaten hot with a squeeze of lemon. Or pop the fritters into a burger bun or sandwich as a summery veggie burger or sandwich filler alternative.

Plastic Free July

As plastic free July draws to a close I find myself thinking a good deal about the plastic packaging that the supermarket system of food retailing demands. 

There were some pretty serious promises made by large retailers to appease consumer demand after David Attenborough’s blue planet documentary in 2017. Big business has become tremendously adept at hijacking good causes to improve the bottom line. This green wash, jumping on the band wagon and making promises that all too frequently are not kept is not good enough. It is dishonest and large retailers need to be held accountable.

Single use plastic in our food system,  chemicals in our food chain, animal welfare, and of course the biggest issue of our time, climate change, are not marketing devices to be used to improve profitability. These issues need to be tackled, they need to be taken very seriously and big business could be part of the solution, why would they not be? Ultimately being part of the solution will pay large dividends in the end both for the businesses and the planet. But those involved in green washing need to be taken to task for broken promises. 

I am well aware of the argument that plastic is necessary to reduce food waste and there is some merit in this.  But it is not a statement to hide behind. The statement too that ‘we have tried loose fruit and veg but consumers choose the plastic packs’ is not good enough either. Look at France, the majority of fruit and veg is sold loose or in compostable packs.

Any system takes time to change and rather than making empty promises, these large multiples could be investing in their farmers to help them change and switch to different packaging, paying a fairer price for the produce would obviously help too. Ultimately of course that may mean a little more for your cucumber or pack of carrots but is that really a bad thing? Our compostable bags are four times more expensive than their plastic counterparts. 

Ultimately the plastic clad supermarket aisles are a product of a food system that maximises profit for the end seller: the supermarket and nothing more. 

As far as I can see nothing has changed in the last 5 years. if anything there is more plastic on the shelves now than there was 5 years ago when many of these pledges were made.

I remember looking at compostable bags back in 2006 but back then the materials could not be had. In 2018 we were the first company in Ireland to make all our fixed boxes plastic free and over 95% of all the fresh produce we sell is plastic free and will remain that way. Our plastic free grocery aisle continues to grow. But more than any of that our whole farming model is based around our reusable boxes that we collect and reuse each week. 

Your support has enabled this, thank you!

Kenneth

Here are all our links if you’d like to place an order or enter our competition to win an Irish plastic free box 👉 linktr.ee/greenearthorganics

BBQ’d New Potatoes

This is my simple and adaptable method for BBQing our gorgeous new potatoes! I have fond memories of pricking large jacket potatoes, wrapping them in foil and packing them in with the food for camping trips. Then we would carefully tuck them into the BBQ coals to bake while the rest of the grilling was done, they’d often come out perfect if we remembered to turn them occasionally, but more often than not, half the potato would burn and half would be raw, or the coals would burn out before the potato was done and there’d be some disappointment… So this way of par-boiling, dressing then skewering little salad potatoes provides a much more consistent result.

Start by boiling scrubbed new potatoes until they are nearly cooked through. Test a few larger ones with a sharp knife or skewer. Then drain the potatoes and allow them to cool in the colander while you prepare a tasty marinade or dressing!

I love potatoes with garlic and herbs. This time I mixed olive oil, salt, pepper, crushed garlic, rosemary and lemon zest in a large bowl. Then toss the par cooked new potatoes in the dressing.

Push the potatoes on skewers (or cook in a BBQ basket) and get them onto a plate or tray ready to pop over the coals.

Cook on the BBQ, turning often until soft, smokey and delicious!

Then push them off the skewers, back into the dressing bowl and toss again to get any last bits of dressing and flavour back over the delicious, charred potatoes. Enjoy!

Summer Fruit Crumble Slice

This fruity number is just the thing to pack into a tin and take round to a friends garden to have with a cuppa! Use any summer fruit you like, berries or stone fruit work well, and it’s best to cook the fruit down with a little maple syrup into a rough ‘jam’. Very soft fruit like strawberries, raspberries or plums could just be sliced and sprinkled raw on top of the biscuit layer before adding the crumble mix, but I do find a more jammy fruit layer helps the crumble mix stick to the biscuit a bit better. I tend to cover the dish in the oven with a baking sheet or a layer of baking parchment during the last 15 minutes or so to prevent it from browning too much. 

Liz 

Ingredients

  • 125g caster sugar
  • 250g butter/margarine
  • 375g plain flour
  • 100g porridge oats
  • 150g fruit
  • maple syrup to taste

Method

  1. Start by cooking 150g fruit in a small pan until just soft and starting to collapse. Taste and sweeten with maple syrup or any sweetener you like (if needed). Then put it to one side to cool while you make the biscuit dough.
  2. Pre-heat the oven to 175C and line a deep baking dish with baking parchment. I used a dish approximately 25x35cm but any medium sized baking dish will do. Just bear in mind, if it’s a smaller dish, the biscuit will be deeper so will need longer in the oven.
  3. Weigh out the butter, sugar and flour into a large mixing bowl. Rub it together with the tips of your fingers until you achieve a wet-beach-sand-like texture that comes together into dough when squeezed. A quicker way to do this is to pulse the ingredients together in a food processor with the ‘S’ blade attachment.
  4. Tip roughly 2/3rds of the dough into the lined dish and press it firmly into a neat, even layer. Ensure you get into the corners of the dish.
  5. Add the oats to the remaining 3rd of the dough and mix into a rough crumble.
  6. Spoon the fruit onto the biscuit layer and then sprinkle the crumble over the top. Lightly pat the crumble into the fruit.
  7. Then bake for approximately 30 minutes at 175C fan. The time can vary depending on your dish size. I tend to cover the dish with a baking sheet or extra piece of parchment for the last 15 minutes or so to prevent the crumble from browning too much. Just keep an eye on it and see if it needs it or not. No two ovens are alike in my experience!
  8. Remove from the oven and allow the biscuit to cool in the dish. Then carefully transfer it to a chopping board and cut it as you like. 
  9. You should end up with a melt-in-the-mouth shortbread base, a fruity layer and a        buttery, oaty, crumbly layer. Delicious!
  10. The biscuits keep well in an airtight container in the fridge for a week. Enjoy!

Raw Courgette & Hazelnut Salad

We are in the midst of a classic courgette glut on the farm. Next week we’ll add some free courgettes to all the boxes, we hope you enjoy them. Expect lots of courgette recipes to come your way. We’d love to know your favourite courgette recipes too please! Let us know in the comments or over on our community Facebook group. I’ll start us off with this super simple salad. It’s so easy to make (just a matter of combining raw courgettes with a lemony dressing, then scattering over some toasted hazelnuts) and oh SO delicious! I have this salad often this time of year as a side to pretty much any meal, or it’s brilliant stirred through freshly boiled pasta or bulked out with a drained tin of lentils.

Liz x

Ingredients

  • Courgettes (2 small or 1 large)
  • 2-3 tbsp extra virgin olive oil
  • the juice of half a small lemon (have you tried our new season verdelli lemons?)
  • 1 small garlic clove, crushed
  • salt and pepper to taste
  • a handful or two of hazelnuts, toasted in a dry pan then roughly chopped

Method

  1. Using a potato peeler, slice the courgettes into delicate, thin ribbons. For ease, slice them directly over a serving platter or large salad bowl.
  2. Make the dressing by stirring together the olive oil, lemon juice and crushed garlic with a pinch of salt and pepper.
  3. Drizzle the dressing over the courgette ribbons. You could toss the salad now to evenly coat the ribbons with the dressing, or just leave it drizzly.
  4. Then toast the hazelnuts in a dry frying pan until nicely coloured. Tip them onto a board and carefully chop them up a bit to make them go further through the salad.
  5. Scatter them over the dressed ribbons and finish the salad with a little sprinkle of flakey sea salt. We LOVE Achill Island sea salt for exactly this type of dish.
  6. Enjoy as is as part of a salad buffet or alongside a BBQ. Or make it a light, refreshing meal by tossing through some freshly boiled pasta or a drained tin of cooked green lentils.

Our Children & The Planet

I will never forget when myself Jenny and my dad put up our first polytunnel back in 2005. It was a milestone and like a dream come though, I will never forget it. 

We were so proud of ourselves, that was our first season growing food and we tried it all. We were so enthusiastic, we wanted all the plants in that little tunnel, aubergines, tomatoes, peppers, cucumbers. If truth be known there was very little harvest from that tunnel in the first year. We had plants but little enough of the fruits of our labour! Nevertheless, this did not discourage us in any way.

We were on a journey we had closed the door on a different chapter of our lives, lives lived far from the land and with little connection with our food. Certainly, there was always a burning deep desire to do the right thing by the environmentand this our mad chance to embrace that vision. 

It was two years later in 2007 that our first child was born and that was a momentous occasion. I do remember many things from that day, but one that I am sure most people do not experience on the birth of their first child was the doorbellringing (We had a home birth) and a guy that was fixing a fridge on our van wondering if he could talk to me about a problem he was having. I think the noise in the back round ended that conversation swiftly.

Then we watched Hannah grow and at the age of two she was able to go and pick her own tomatoes and cucumbers from the polytunnel. When Ella came along it was clear she was going to be our earth child and she spent more time in those polytunnels than anybody else, I am surprised we had any tomatoes left to harvest for you, our customers. 

In hindsight remembering those moments and appreciating them seems like it was a perfect and ideal life. There was of course plenty of smiles but there was all the other stuff too. We were guilty of having no time, no money, and no energy, it was truly exhausting, starting a farm, a business and a familyat the same time. I would recommend that if you are embarking on this journey that you spread those events out a little!

But we got through. The days when we have had schools on our farm, and you see the amazed face of a child when they pull a carrot from the ground it makes you remember what is important

The journey has certainly left its scars, but it has also allowed a deeper appreciation of what we have, how lucky we are. If nothing else seeing the respect Ella, Joe and Hannah have for the environment is something that I am proud of. If we achieve nothing else on this journey, we will have achieved something positive.

Our job here is to spread a message that nature and our land are beautiful and precious, and all living things are to be respected. We as a business, a farm and individuals really do have an obligation to take care with our actions. It is on us all, of course we can all point the finger but what good does that do? We need to take responsibility for our actions and do the right thing, is that easy? Absolutely not. Is it necessary?Completely. Therein I believe lies our greatest hope for our children and all that we share this land with.

Have a fantastic week and thank you for sharing our vision and for your continued support.

Kenneth

PS. Have you signed up to our new repeat order system yet? It’s the best way to never forget your order deadline. Head to the website and give it a try, any problems use the Chat button or send us an email and we’ll get back to you in normal office hours. www.greenearthorganics.ie

We Need Your Help

We need your help. We need to survive the summer we have so much local organic harvest from our farm and other small organic farms here in Ireland and we have seen our customer base disappear over the last 5 weeks.

It has been a never-ending rollercoaster and so difficult one week to the next to predict what is around the corner. It is in times like these that we especially need to know why we are doing what we are doing. The irony of course is at these very moments we lose focus and just holding it together is all we can do. At the same time, it can be this singular dedication to a cause greater than ourselves that keeps us going. 

The little idea that a small farm here in the West coast of Ireland could help fix this planet, help fix our food system is our “WHY”. 

It has been a tremendously busy week on our farm. We have planted 70,000 leeks, our final planting of winter brassicas isgoing into the ground today. As I write some 50,000 plants are being transplanted ,that brings to a total brassica count of nearly 150,000 plants. That is a lot of locally grown food, all done of course without chemicals.

Kornel and Patrick have done amazing work in our polytunnels where our 1000+ tomato plants and several hundred cucumber plants are finally bearing fruit. This is one of my favourite moments looking on the well organised tunnels and tasting the amazing tomatoes.

Emmanuel our farm manager and his team of field workers have been working so hard. At this time of the year, it always feels like we are teetering on the edge of losing control, but thankfully that hasn’t happened yet.

Over the last couple of weeks finally we have had the ideal growing conditions and that has meant harvest season has burst upon us.  It also means we have had the perfect mix of too much work, an abundant harvest, planting deadlines slipping away and weeds in hyperdrive, it is frantic and will be for another week or two.

Then there is the backdrop of the week just gone where we have the lowest orders in 18 months right slap bang in the middle of our best harvest season and our highest cost base (covering holiday time, a team of 10 people on the farm from 2 in February, an investment of 6 months and nearly €100k to get to the harvest season)

What we are harvesting right now:

  • Lettuce green and red
  • Rainbow chard and Spinach
  • Courgettes and cucumbers
  • Some tomatoes
  • Cabbage, Broccoli and Romanesco
  • Kale green and black
  • Radish and Salad
  • Beetroot

What we are sourcing from other small organic farms week

  • New season IRISH potatoes
  • Scallions, fennel courgettes and cucumbers
  • Mushrooms
  • Fennel and French beans

It is worth mentioning I think and especially as it is plastic free July that we were the first company in Ireland to make all our boxes plastic free, reuse being the essence of our delivery service.

We need your help, we need to survive the summer we need you if you can at all to place an order, to tell your friends, your family, or your neighbours, tell everybody, bring us with you on holidays or donate a box to charity.

Thank you so much for your support.

Kenneth

Creamy Tagliatelle with Leeks, Greens & Peas

This pasta dish has fresh spring/summer vibes. It’s one of our favourites and a great way to use up all the gorgeous greens coming out of the farm at the moment. We stock a large range of organic pastas, I like tagliatelle for this one, but of course any pasta shape will work well.

Liz x

Ingredients (serves 4-5)

  • 500g tagliatelle
  • 2 tbsp olive oil and 2 tbsp butter
  • 2 leeks, sliced and rinsed
  • 4 garlic cloves, sliced
  • 1 tbsp dijon mustard
  • 3 tbsp plain flour
  • 3 tbsp nutritional yeast (or sub with grated/crumbled cheese of your choice)
  • a splash of white wine
  • oat milk – enough to cook out the flour and make a creamy sauce
  • salt and pepper to taste
  • 200g spinach
  • frozen or freshly shelled peas to taste
  • 3 tbsp pesto – optional (I used my kale and pumpkin seed pesto)

Method

  1. Get a large pot of salted water on to boil, then get on with the sauce.
  2. Sauté the leeks and garlic in the butter and oil until soft.
  3. Add the mustard, flour and nutritional yeast and stir the pan.
  4. Then add the white wine and a splash of oat milk. Stir quickly to avoid any bigger lumps.
  5. Keep adding splashes of oat milk and stirring until you have a thick, creamy sauce.
  6. Get the pasta into the boiling water. Tagliatelle only takes about 8 minutes or so.
  7. Then chop the spinach and add to the sauce. Stir and wilt. Then season with salt and plenty of black pepper.
  8. Add the peas to the sauce just before the pasta needs draining.
  9. Then drain the pasta and stir it into the sauce. Taste and adjust the seasoning if needed. Stir through some green pesto for extra flavour and serve!