

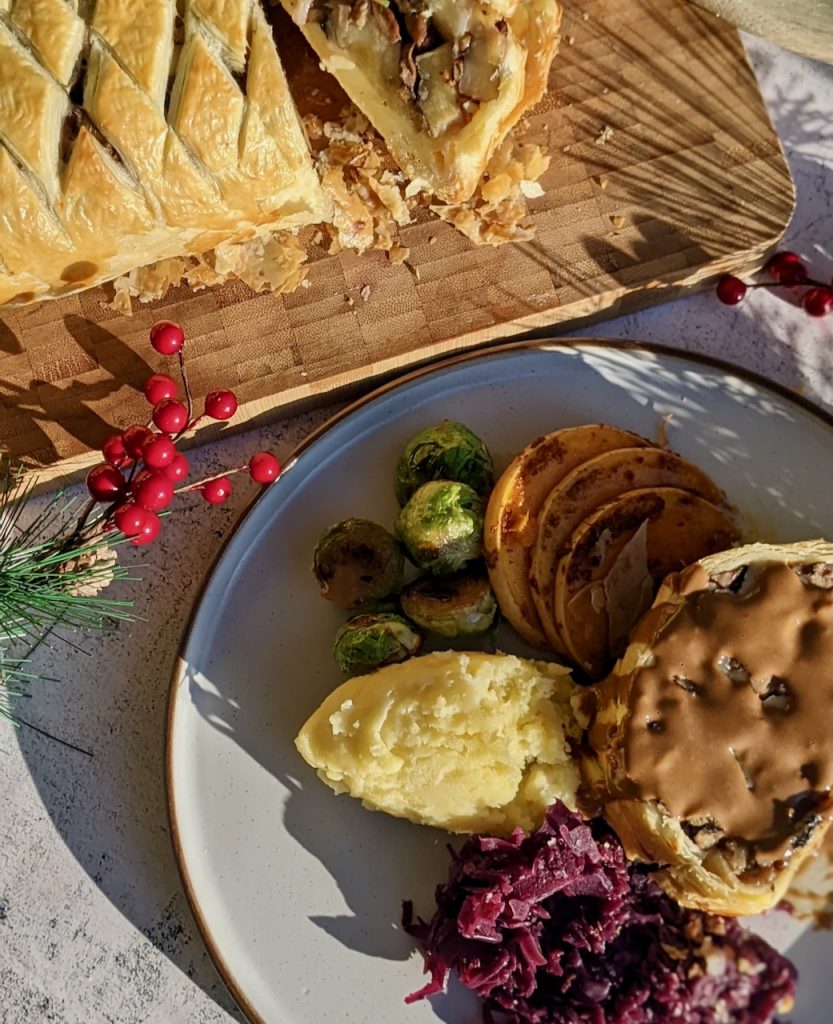
Parsnip and Mushroom Wellington

Every feast needs a centre piece and this bronzed pastry parcel looks the part on a festive table. Stuffed with delicious veggies, nuts and cheese its a real crowd pleaser.

The best part is that this can be made ahead of time, make and wrap the filling and keep it in the fridge until the day of the dinner, then add its pastry coat and bake. Serve with your favourite potatoes, side veg and a delicious gravy.

I hope you enjoy this one.

Lou 🙂
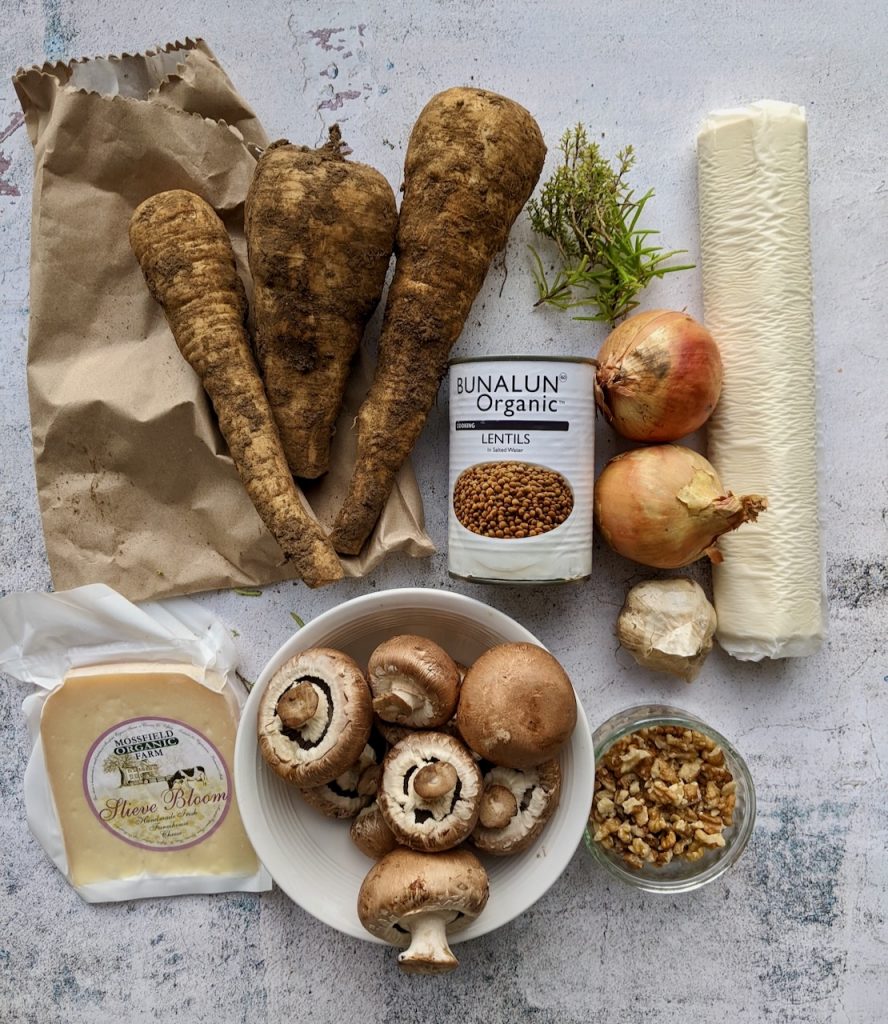
Ingredients- serves 6

  • 500g parsnip, washed and diced
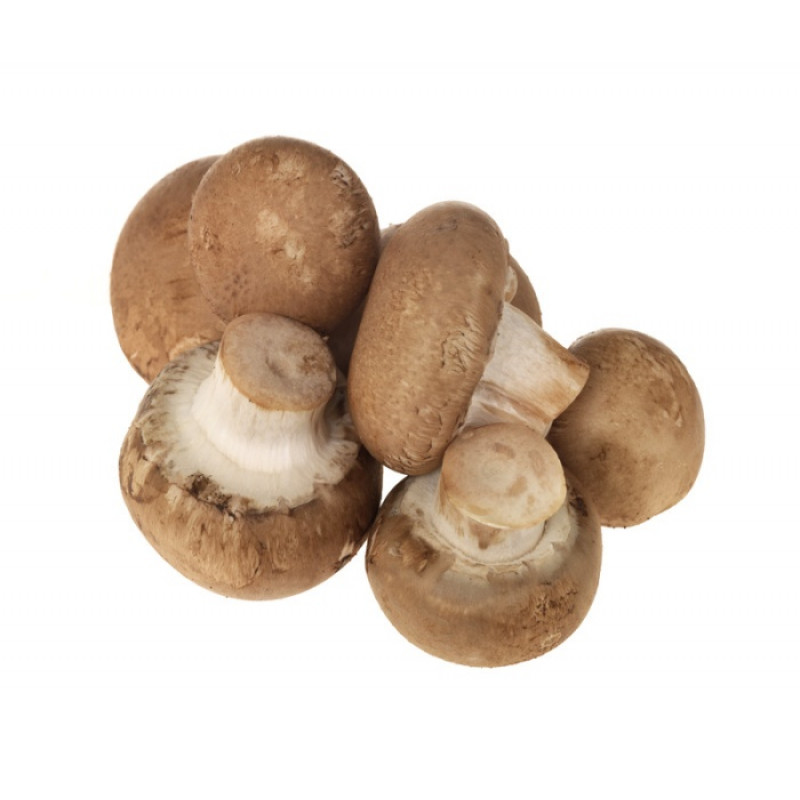
  • 200g mushrooms, diced small
  • 2 onion, finely dice
  • 4 cloves garlic, finely chopped
  • 1 x tin of cooked puy lentils, drained 260g approx
  • 1 tablespoon fresh rosemary chopped 
  • 1 tablespoon fresh thyme or sage chopped
  • 100g chopped walnuts
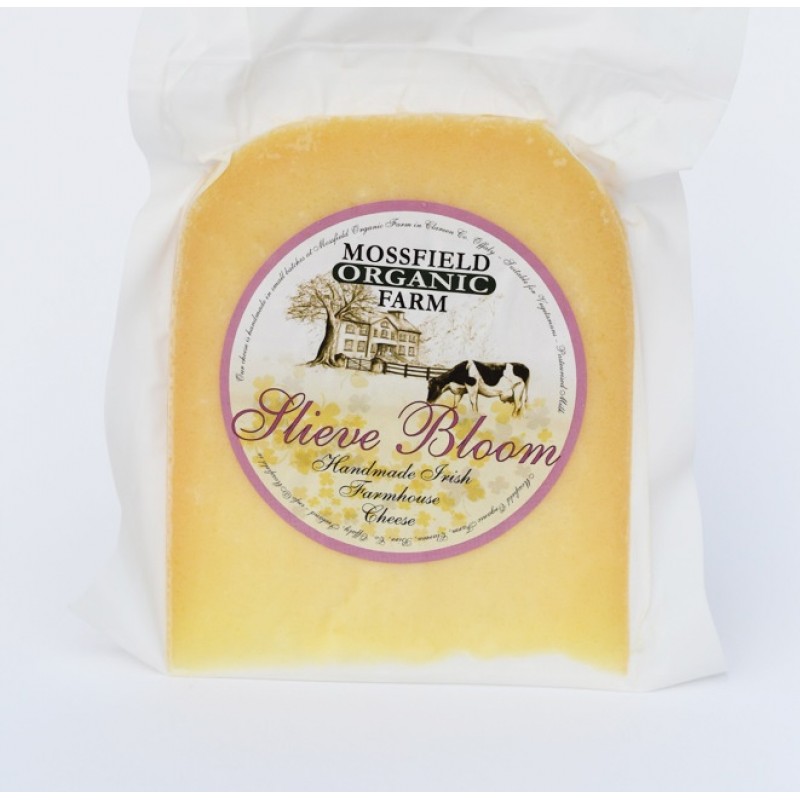
  • 100g cheddar cheese – diced – we love Mossfield
  • Salt and pepper
  • 1 ready rolled puff pastry, 380g
  • 1 egg and splash of milk whisked for egg wash 

Method

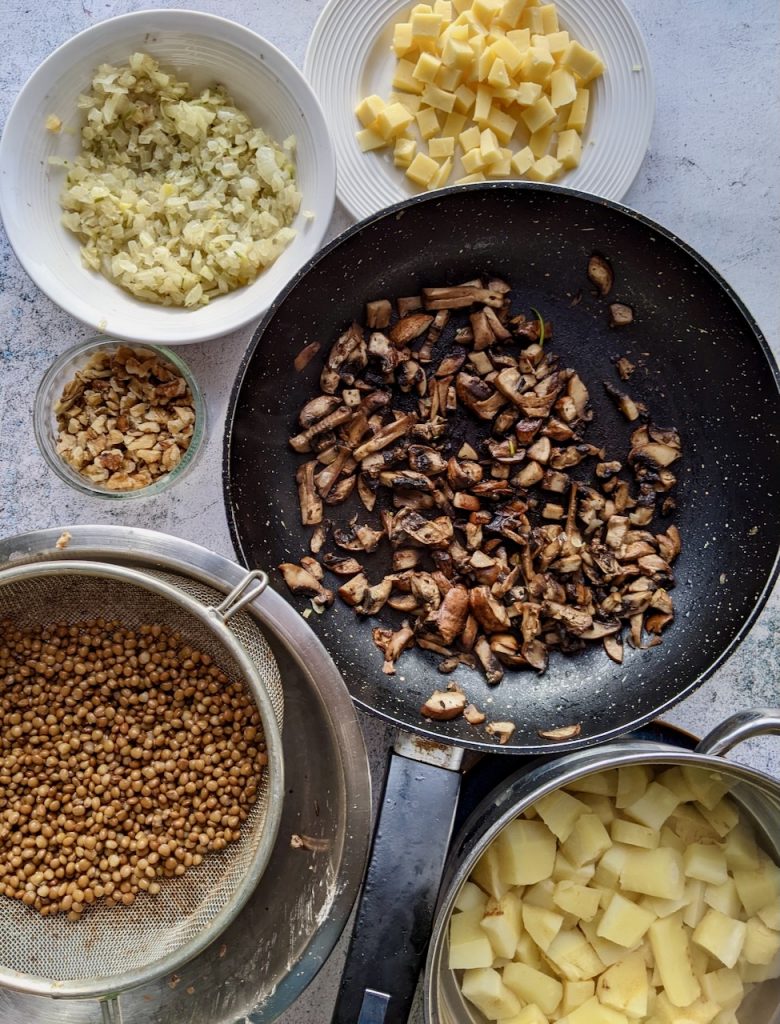
  1. Cook the parsnips, it’s best to steam them, but boiling or roasting will work too. When they’ve cooked, set them aside too cool. 
  2. Cook the onions and garlic together on a low heat, until completely soft and translucent. Add a small pinch of salt and pepper and add the chopped rosemary and thyme. Set aside to cool. 
  3. Warm a frying pan on a medium heat, add a drizzle of oil and cook the mushrooms on low for 10 minutes, add a sprinkle of salt and pepper half way through. 
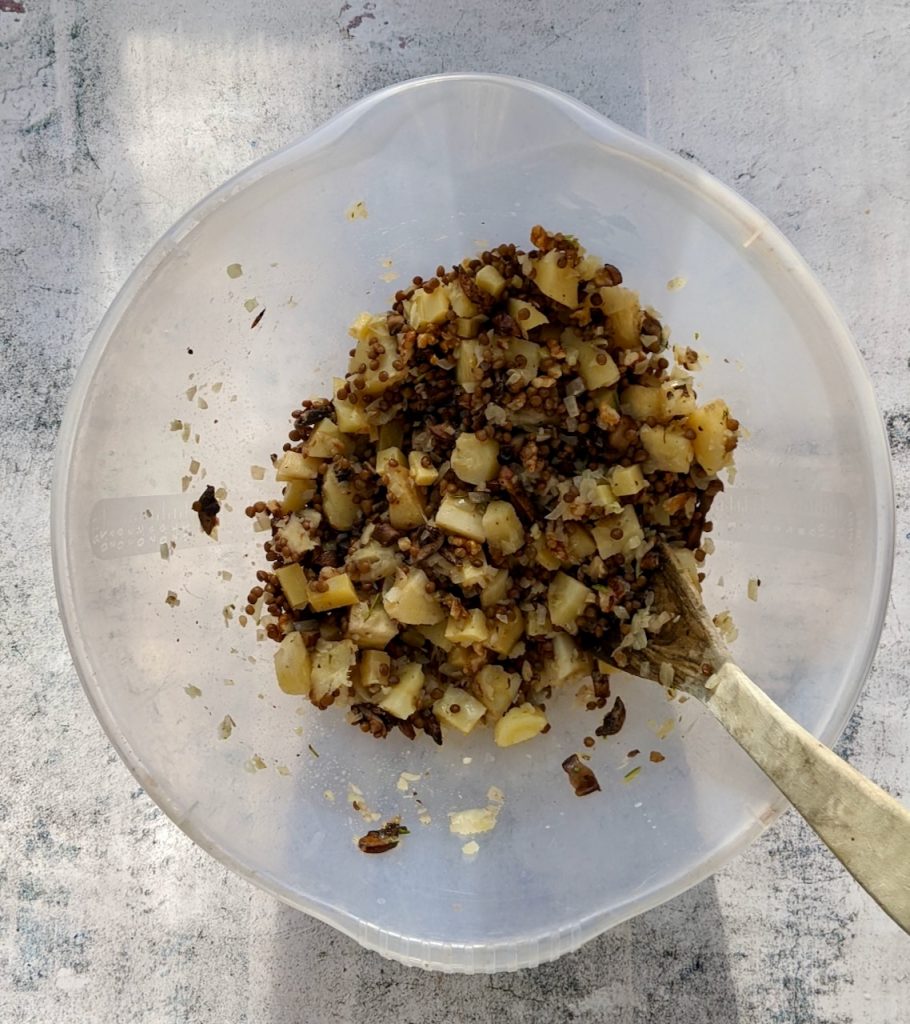
  4. To a mixing bowl add the cooked parsnip, cooked onions and garlic, cooked mushrooms, chopped walnuts, drained lentils, cheddar cheese and salt and pepper to taste. 
  5. Gently mix to combine, taste the mix, add more salt or pepper if needed.
  6. Lay two pieces of clingfilm on a worktop, slightly overlapping on the horizontal. 
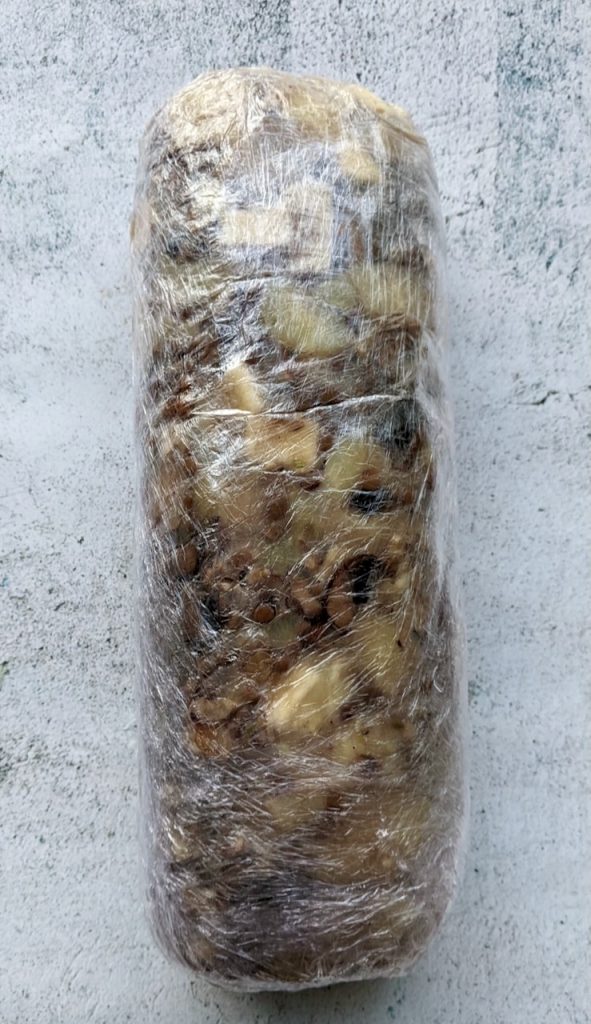
  7. Make a mound like a sausage shape with the mix in the middle of the clingfilm. Fold the clingfilm over and wrap it tightly so there are no pockets of air. 
  8. Place in the fridge or freezer for at least 2 hours to set. Leave in the fridge overnight if you can.
  9. Preheat the oven to 180℃.
  10. Take the puff pastry from the fridge 30 minutes before using, so it’s not too cold to work with. 
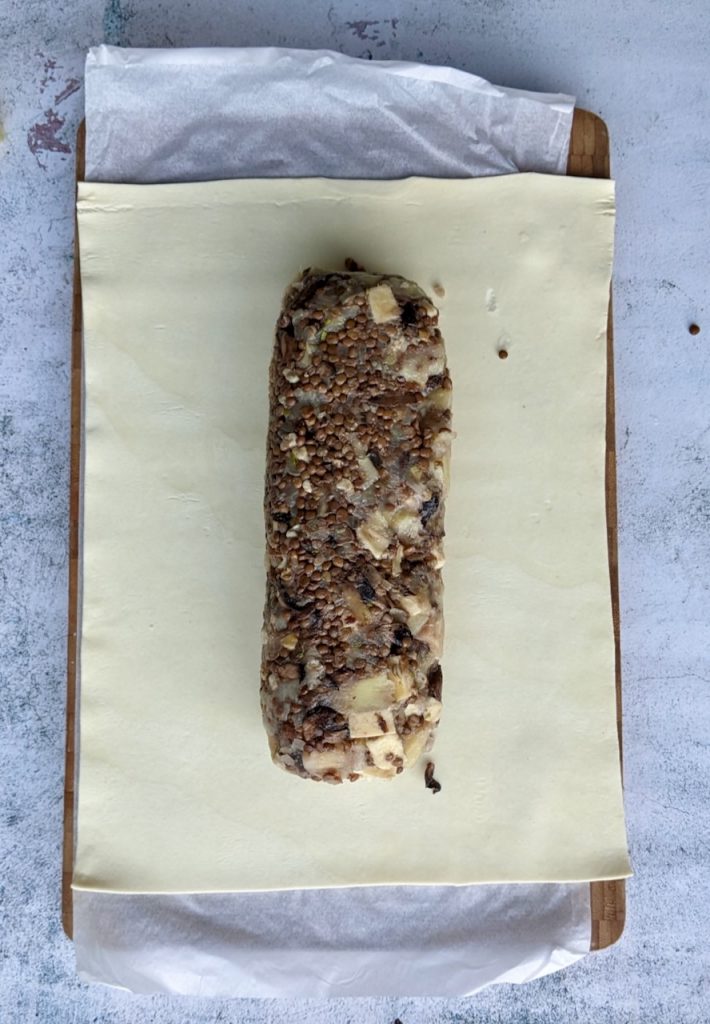
  11. Measure the wrapped mix against the pastry rectangle if it’s a bit short use a rolling pin to make it wider. 
  12. Egg wash around the edge of the pastry.
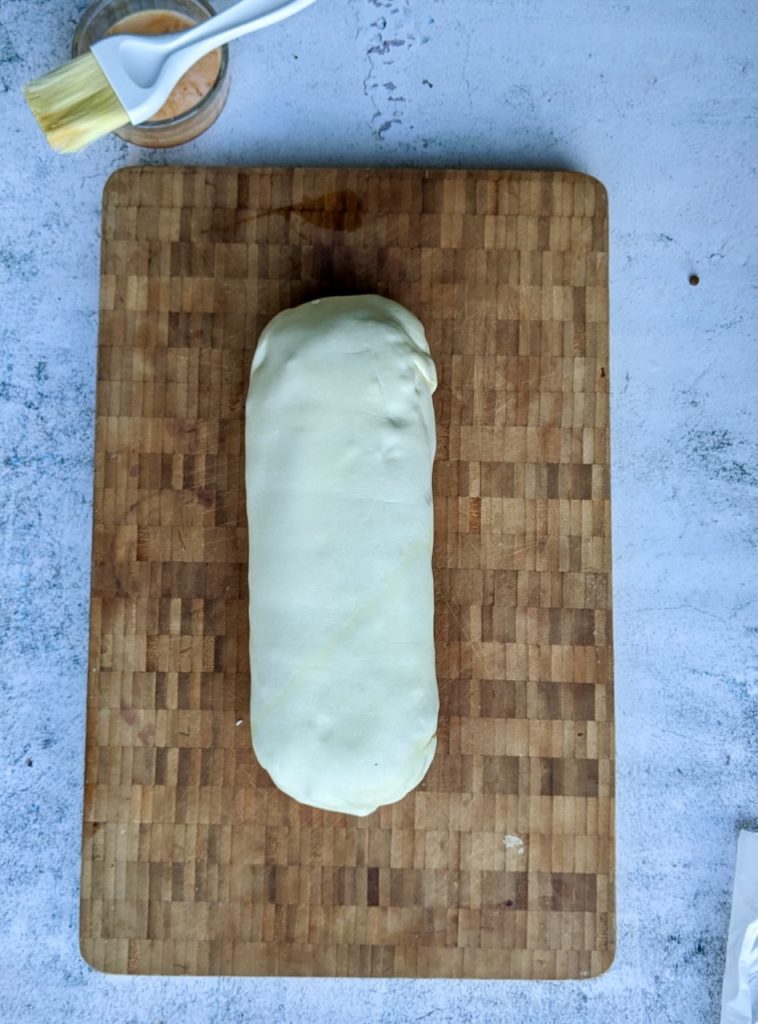
  13. Carefully take the clingfilm off the mix and wrap it neatly in the pastry. Seal the seam using a fork, keep the seal underneath the wellington. 
  14. Using a knife make diamond criss cross shapes on the top of the pastry. Brush all over with egg wash. 
  15. Bake for 50 mins to 1 hour in the oven, until bronzed and golden all over. Cut into nice large slices and serve with your favourite veg and sides.
Spiced Butter (Air Fryer) Hasselback Squash

Cooking methods have evolved over the years. Traditional methods of steaming, boiling and roasting will remain but air frying is a new enough method and a great addition. I decided to hop on the air frying wagon a couple of months ago and have not regretted it one bit.

Air fryers are very economical to run and so efficient! And whats more they are great for cooking vegetables in a speedy tasty manor.

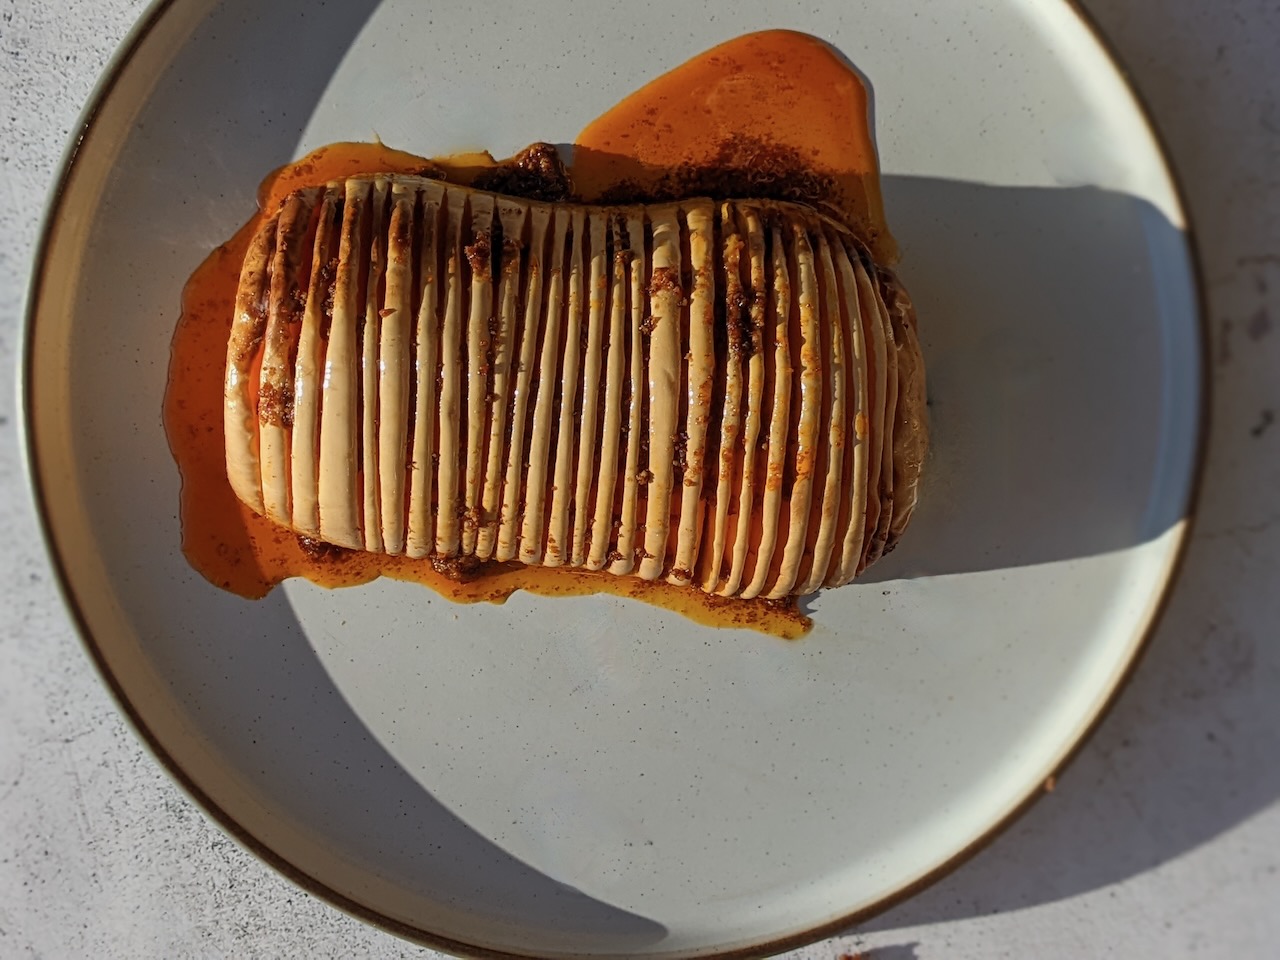
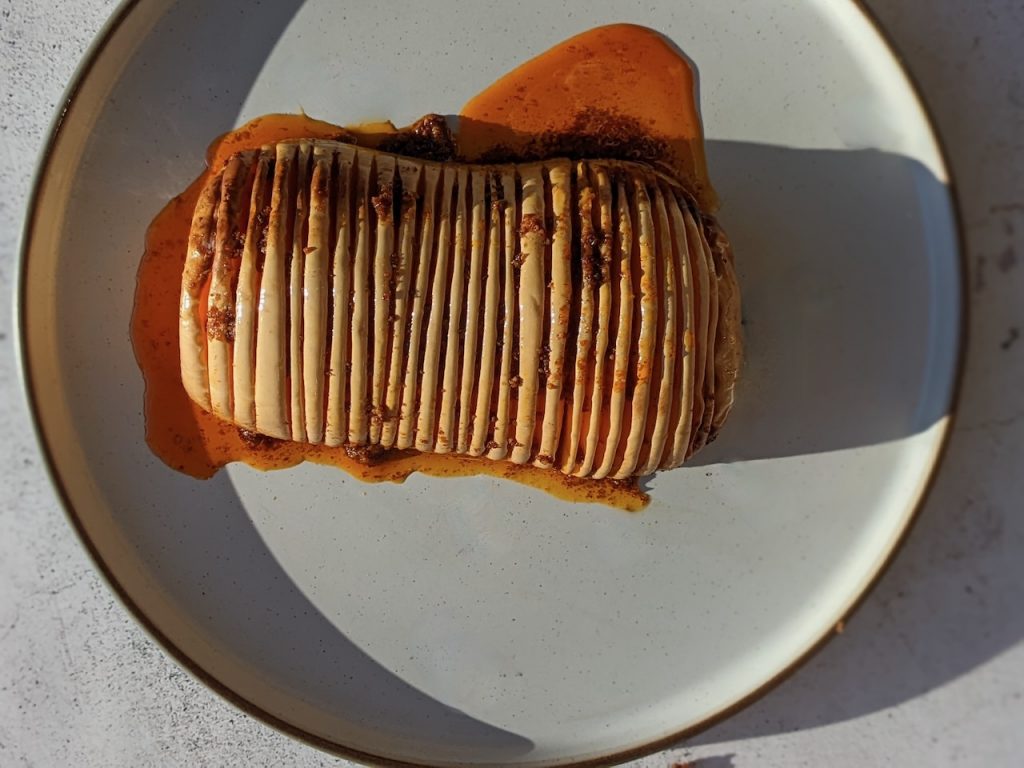
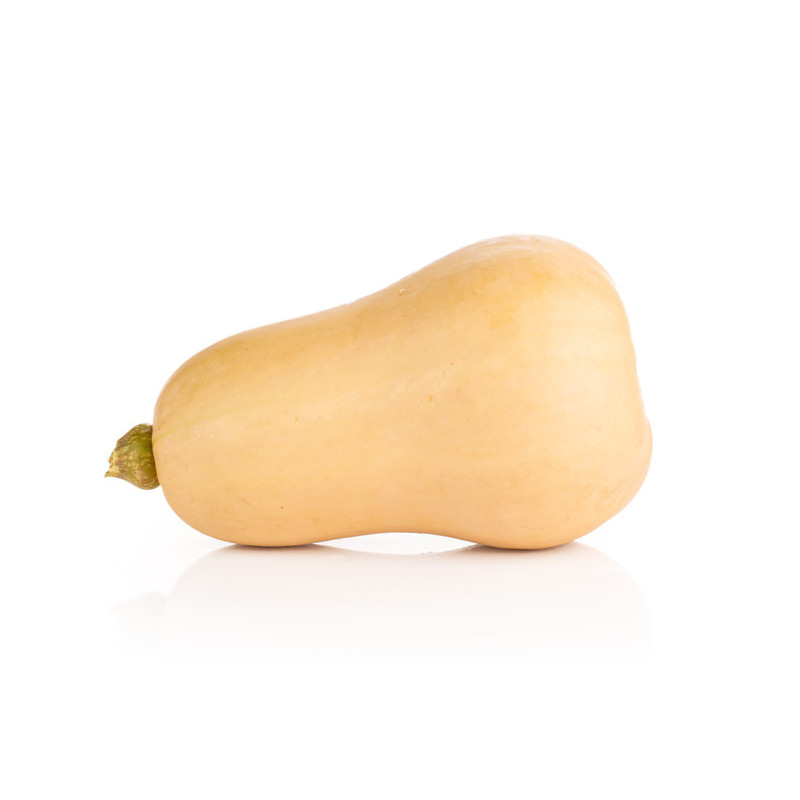
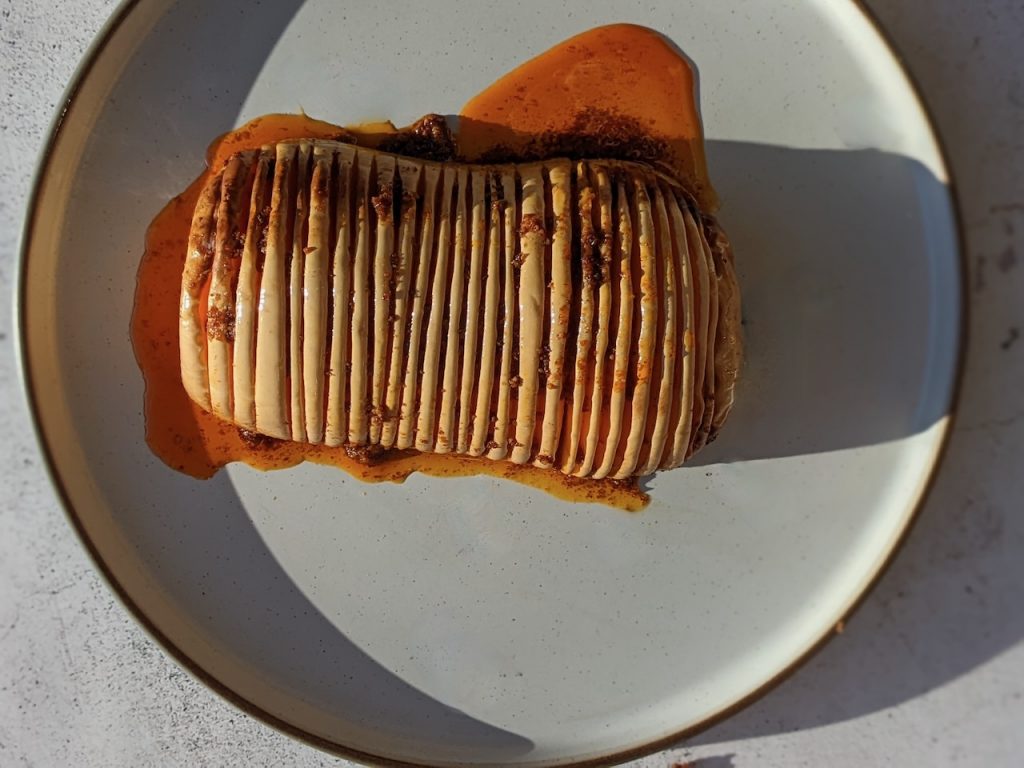
Butternut squash is a great winter veg, I spied the hasselback version and was dying to try it out. Basted in a spiced butter it is a delicious side dish. If you don’t own an air fryer you can make the same dish in a casserole or roasting dish in the oven, it will take about an hour at 180C.

Lou 🙂

Ingredients

Method:

  1. Cut the top off the butternut squash.
  2. Carefully cut the butternut squash in half and scoop out the seeds.
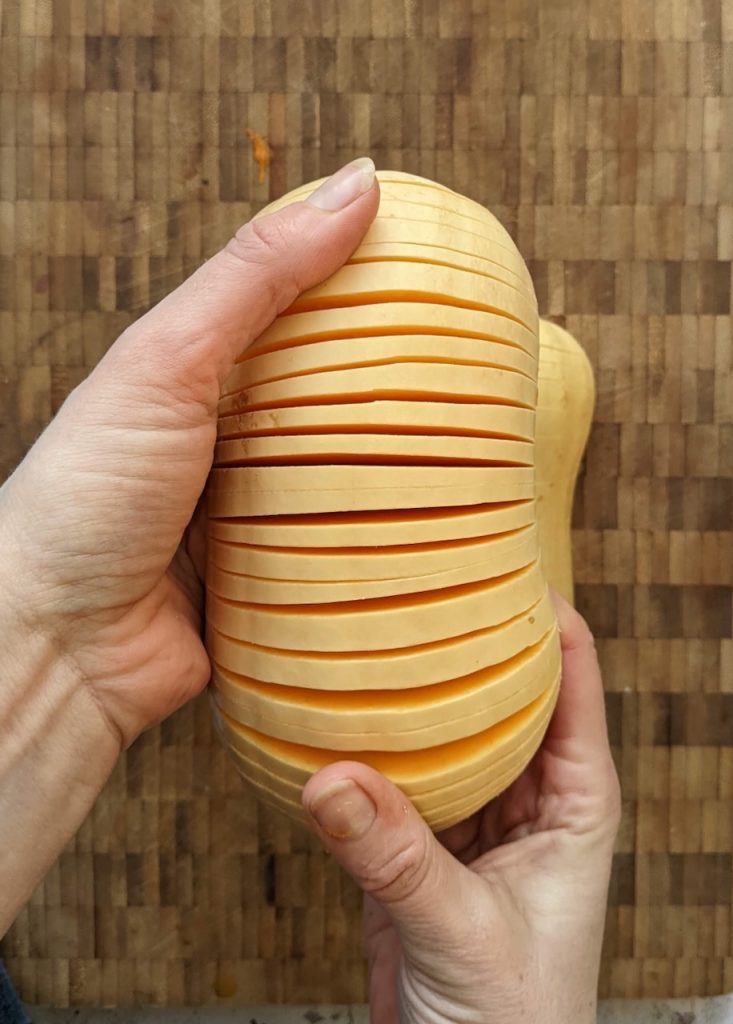
  3. You’ll need 2 chop sticks to make incisions in the squash. Take one half of the squash and place a chop stick on either side. Hold the sticks in place along with the squash with one hand and chop multiple thin slices with a sharp knife down as far as the sticks with the other hand. they should be about 4mm thick. Repeat with the other half of the squash.
  4. Melt the butter in a pot or microwave and add in the paprika, cumin, chilli, salt and pepper, give it a stir.
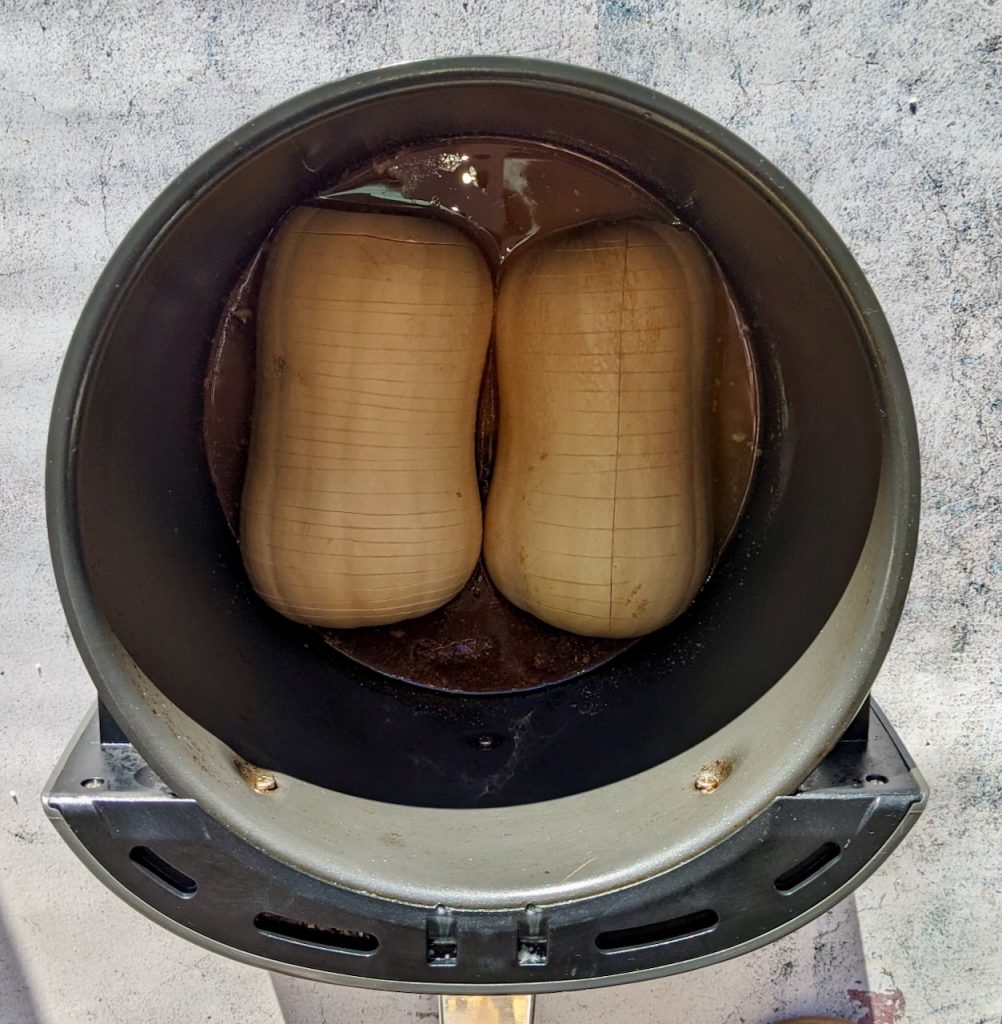
  5. Remove the grill place and pour the spiced butter into the air fryer basket
  6. Place both of the pieces of squash in the basket, flat side down in the spiced butter.
  7. Air fry for 25 minutes, basting with the butter half way through.
  8. Check the squash is fully cooked by piercing with the tip of a sharp knife.
  9. When its fully cooked remove carefully from the basket, baste again with the spiced butter and serve.

Glazed Tofu

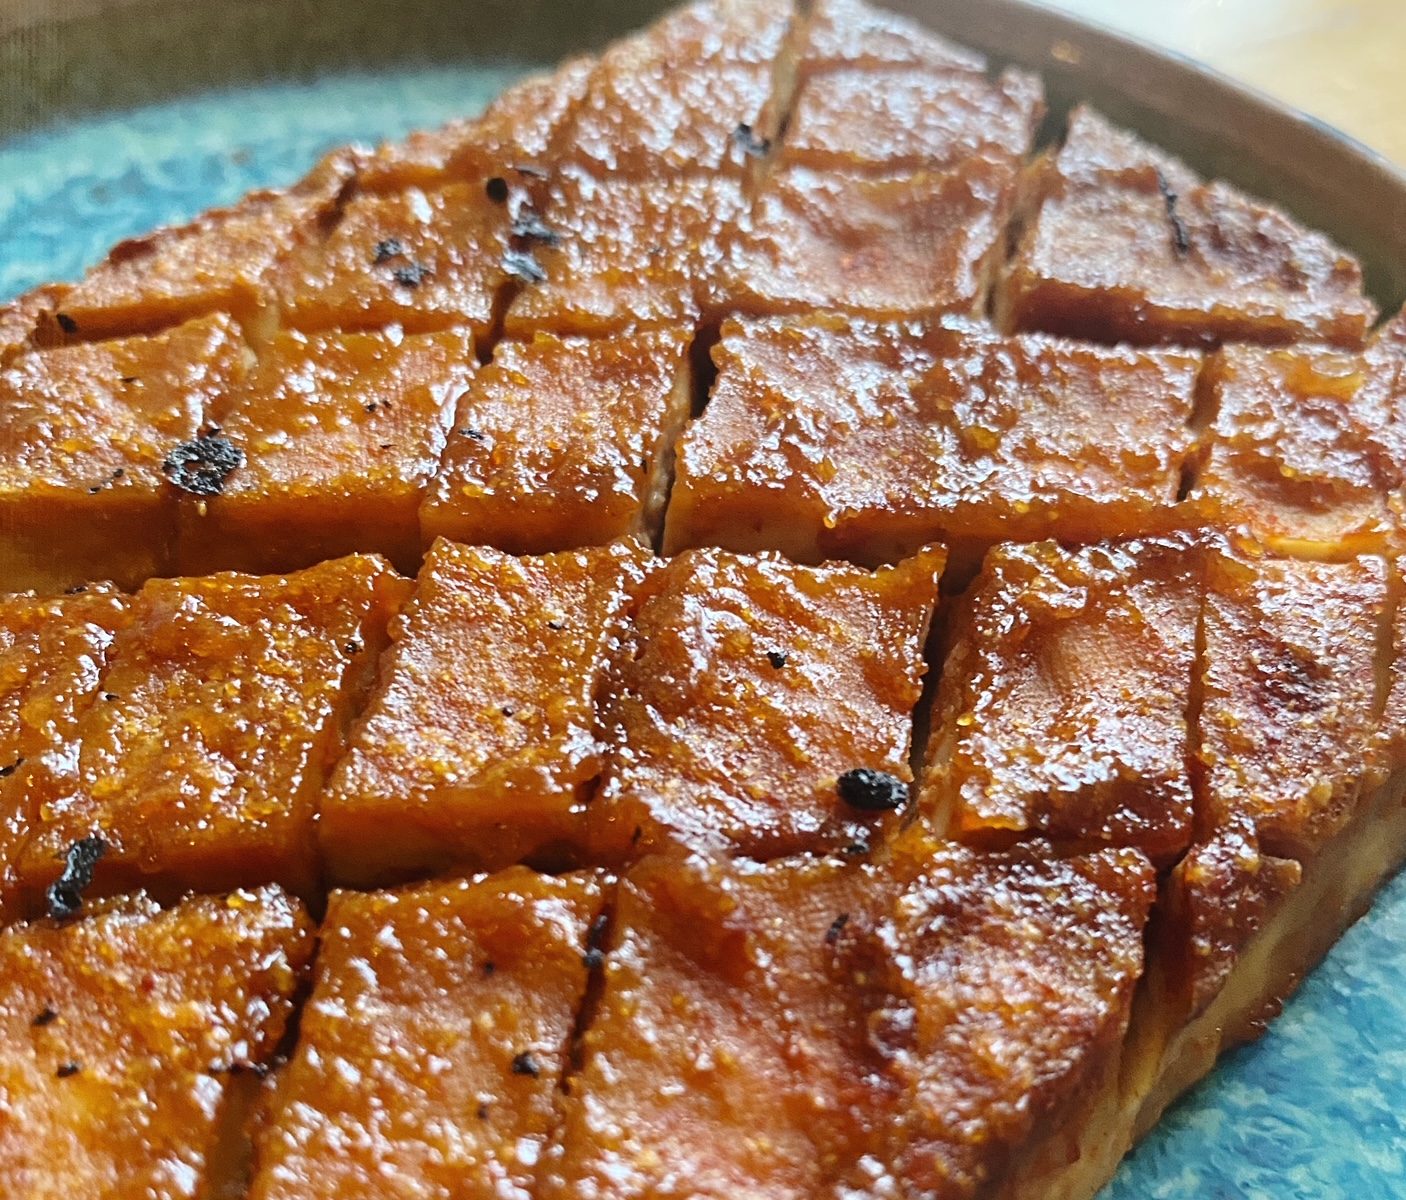
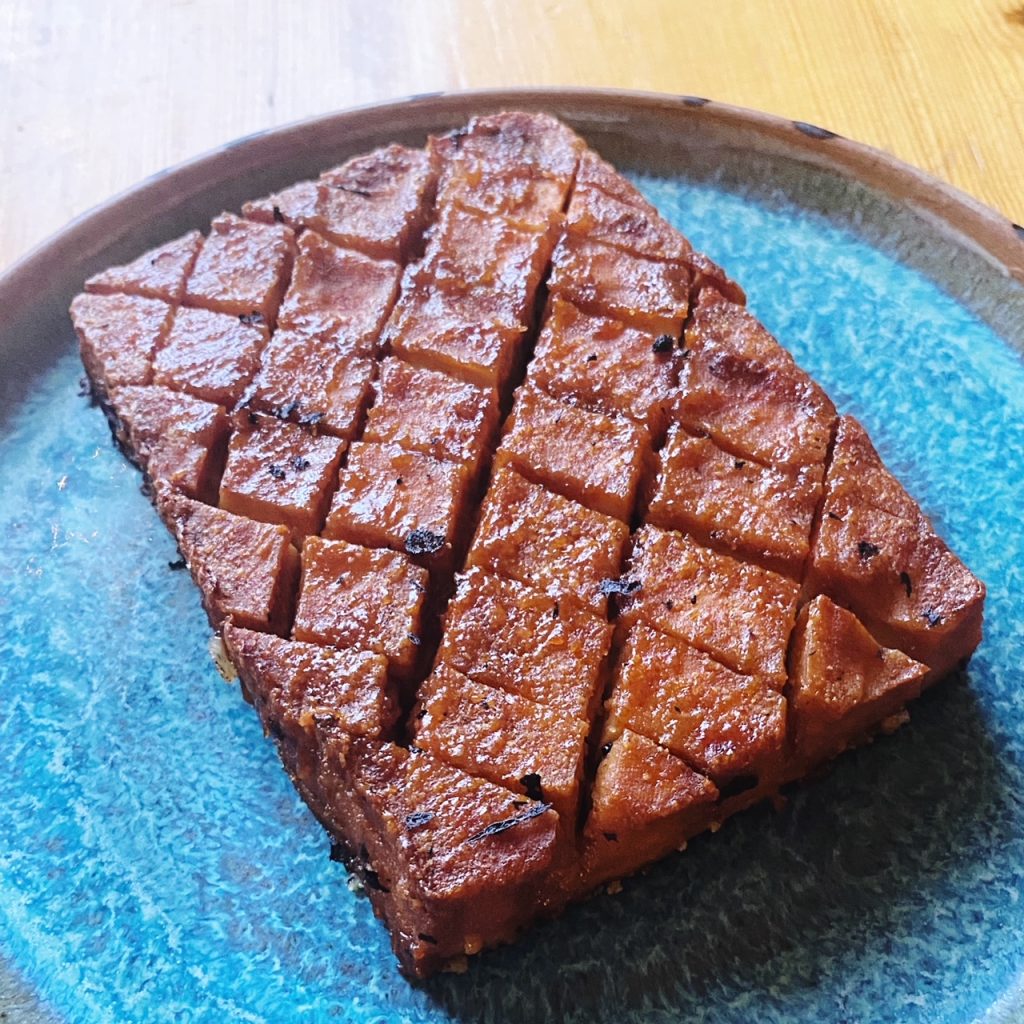
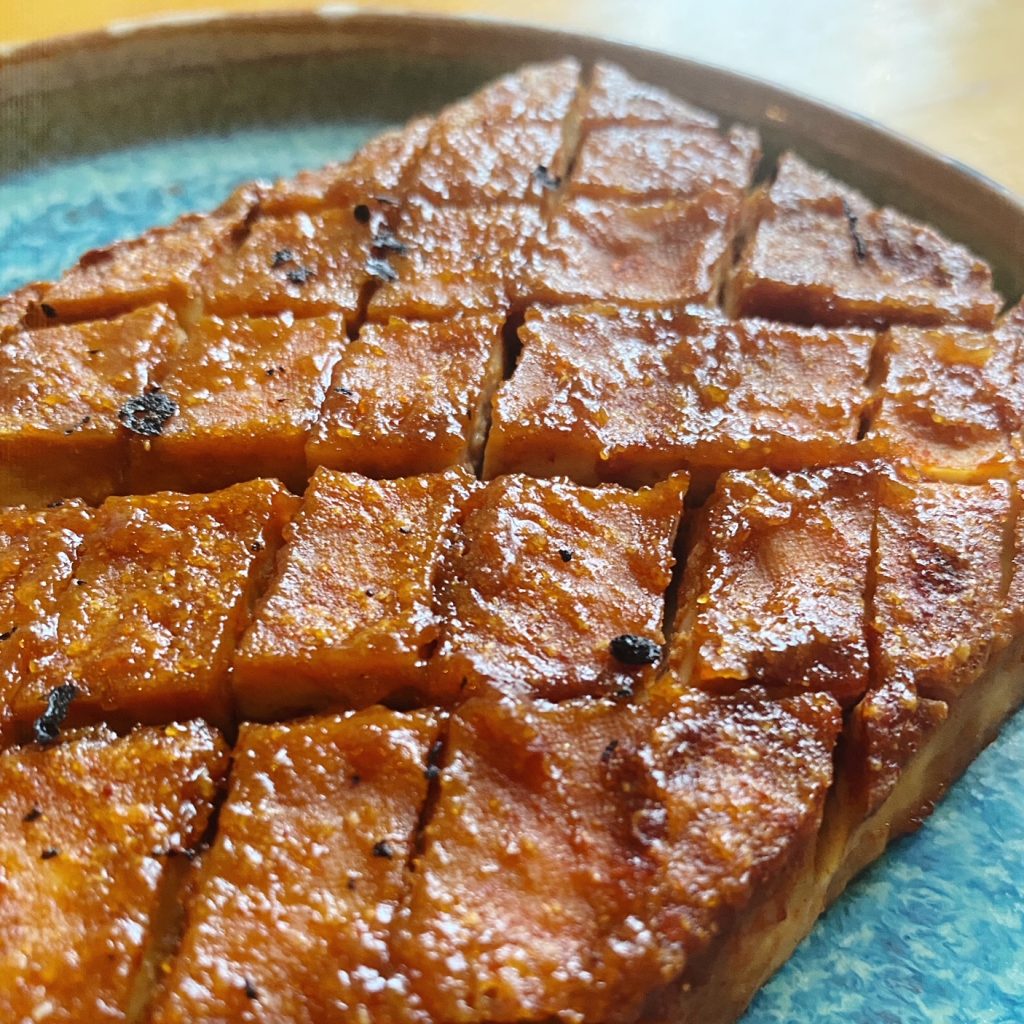
Looking for a quick and simple, yet utterly delicious, centerpiece for your veggie/vegan guests this Christmas? This glazed tofu is the answer. It is gorgeously caramelised on the outside and beautifully tender inside. Firm tofu is a wholesome, healthy and satisfying protein, but definitely a blank canvas that needs a good marinade to shine. This sweet glaze is spiked with mustard and garlic and is honestly, so moreish. Enjoy!

Liz x

Ingredients (serves 2-4 depending on sides and appetite)

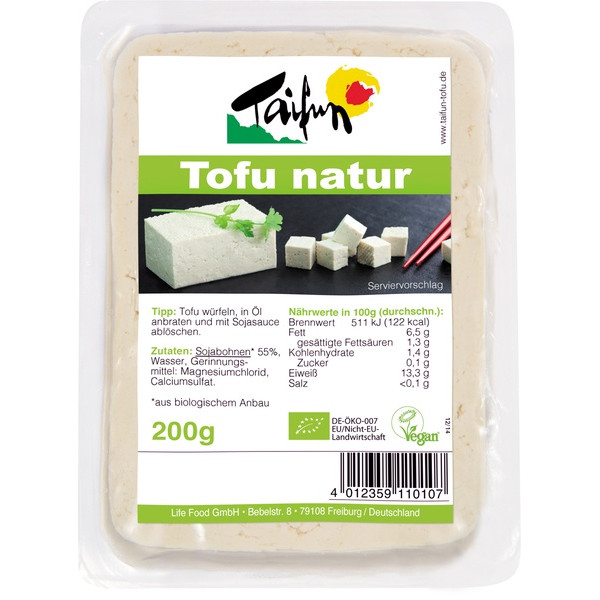
  • 400g extra firm tofu (2 of our blocks)
  • 4 tsp smoked paprika
  • 4 tbsp soy sauce
  • 2 tbsp brown sugar
  • 1 heaped tsp garlic granules
  • 1 heaped tsp dijon mustard
  • a splash of just-boiled water
  • salt to taste

Method

  1. Place your blocks of tofu into a small, lined roasting dish. Sprinkle the first sides with 2 tsp of smoked paprika and 2 tbsp of soy sauce. Turn the blocks over.
  2. Score the tops of the blocks of tofu in shallow, diagonal cuts. Then sprinkle these top sides with the remaining smoked paprika and soy sauce. Pop the dish in a hot oven to roast for 30 minutes.
  3. Meanwhile prepare the glaze by whisking together the sugar, mustard, garlic granules, salt and hot water into a smooth sauce.
  4. Remove the tofu from the oven and brush liberally with the glaze. Return to the oven for another 15 minutes or so until dark brown, sticky and delicious! You can check on the tofu every 5 minutes and baste with any glaze that has pooled around the bottom of the dish. Enjoy alongside all your usual Christmas roast trimmings.
Cauliflower Schnitzel Tray Bake

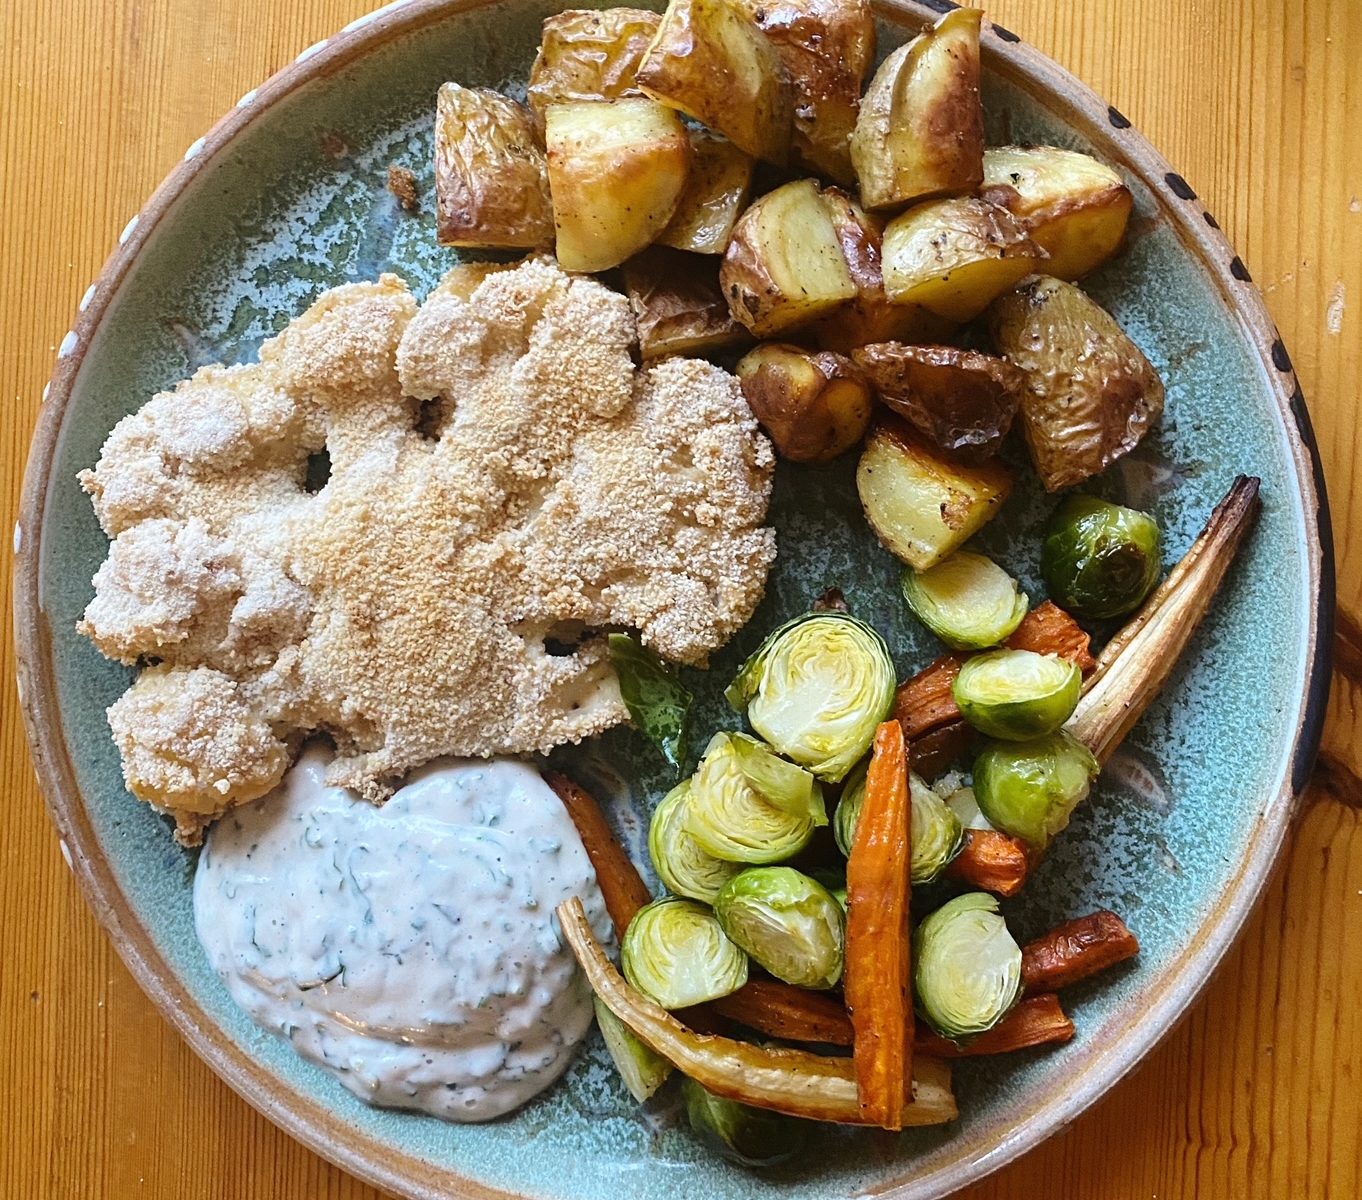
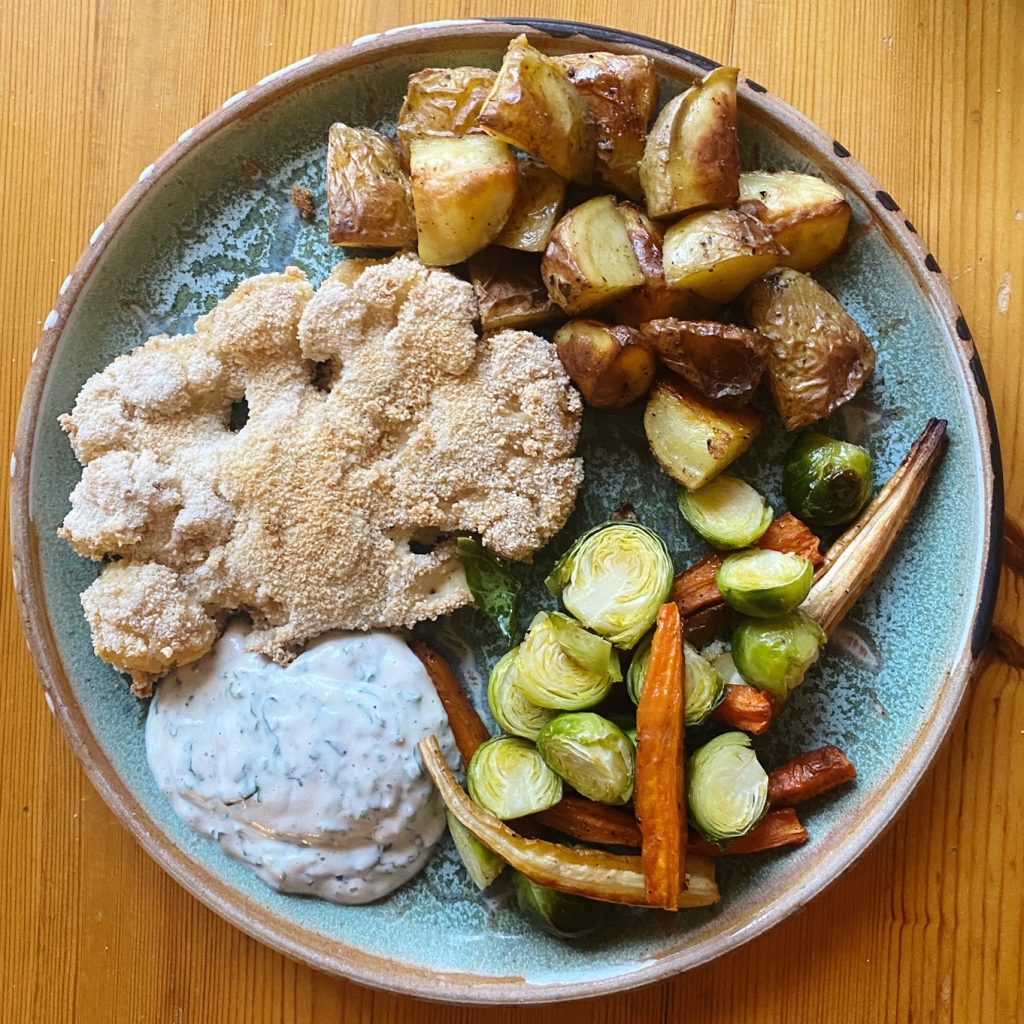
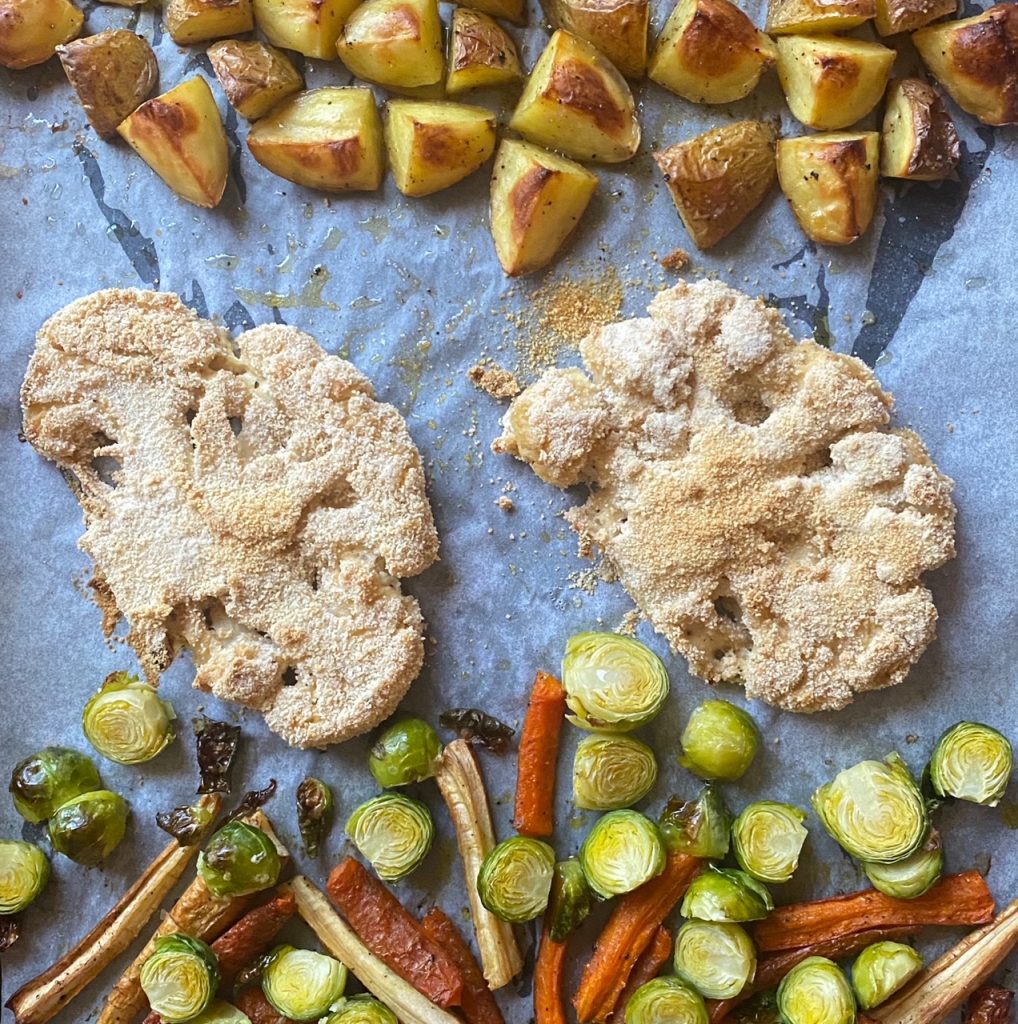
There is nothing more satisfying and healthy than a big plate of local, seasonal vegetables. This dish is so simple to put together, and it’s faff-free, all being baked on one tray. So perfect for a mid-week meal. The crunchy, breaded cauliflower brings delicious texture to the plate (we recommend doing the same technique with butternut squash slices too) and the creamy garlic and herb dip makes every mouthful delectable! Hope you enjoy it!
Liz x

Ingredients (serves 2)

For the cauliflower schnitzel:

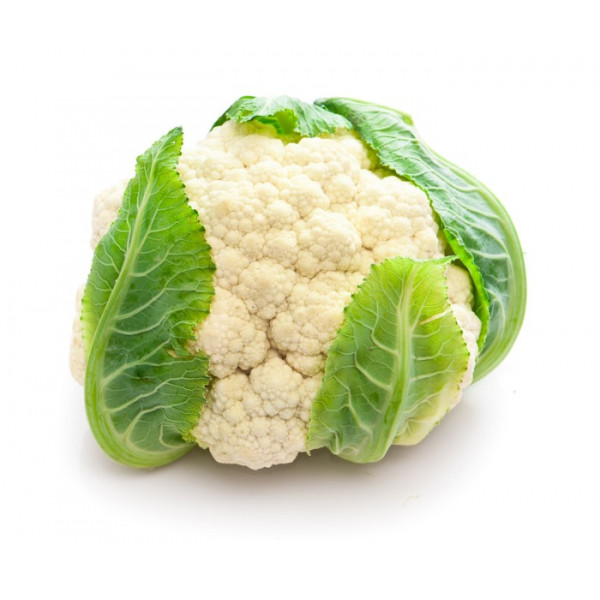
  • 2 large slices from the middle of a cauliflower (pop the rest of the cauliflower back in the fridge to use in another recipe)
  • around 8 tbsp natural yoghurt
  • salt & pepper to taste
  • around 8 tbsp bread crumbs

Vegetables for the tray:

  • 4 medium potatoes
  • 2 parsnips
  • 2 carrots
  • 10 brussels sprouts
  • olive oil, salt & pepper to taste

For the garlic & herb dip:

  • 100g cashew nuts
  • 100ml water
  • 2 tsp vinegar
  • 1 clove of garlic
  • a large handful of chopped herbs eg chives, parsley, sage, rosemary
  • salt & pepper to taste

Method

  1. Turn your oven on to 200C and get your steamer set up. Line a large baking tray with baking parchment. Cut your cauliflower into two thick steaks and pop them into the steamer for 8 minutes or until just tender.
  2. Meanwhile prepare two wide bowls, one with the natural yoghurt and one with the breadcumbs. Season the yoghurt with salt and pepper and mix well. When your cauliflower steaks are tender, drench them first in the yoghurt, then in the breadcrumbs, turning over a few times until nicely coated. Place the breaded cauliflower steaks on the baking tray.
  3. Cut your potatoes, parsnips and carrots and arrange on the tray alongside the cauliflower schnitzels. Drizzle with olive oil and sprinkle with salt and pepper then place in the oven to bake for around 30 minutes. You can carefully turn everything after 15 minutes to ensure an even bake.
  4. Prepare the brussels sprouts by cutting off the base and slicing them in half. Toss in a small bowl with a little oil and seasoning, these can be added to the tray for the last 10 minutes of cooking.
  5. Prepare the garlic and herb dipping sauce. In a strong, small blender, blend the cashews, water, garlic & vinegar until completely smooth. Taste and season with salt and pepper, then stir into a bowl with the chopped herbs.
  6. When the schnitzels and vegetables are cooked through and golden brown, divide between two plates and add a generous side of the dipping sauce. Enjoy!

Veggie Sausage Stuffing

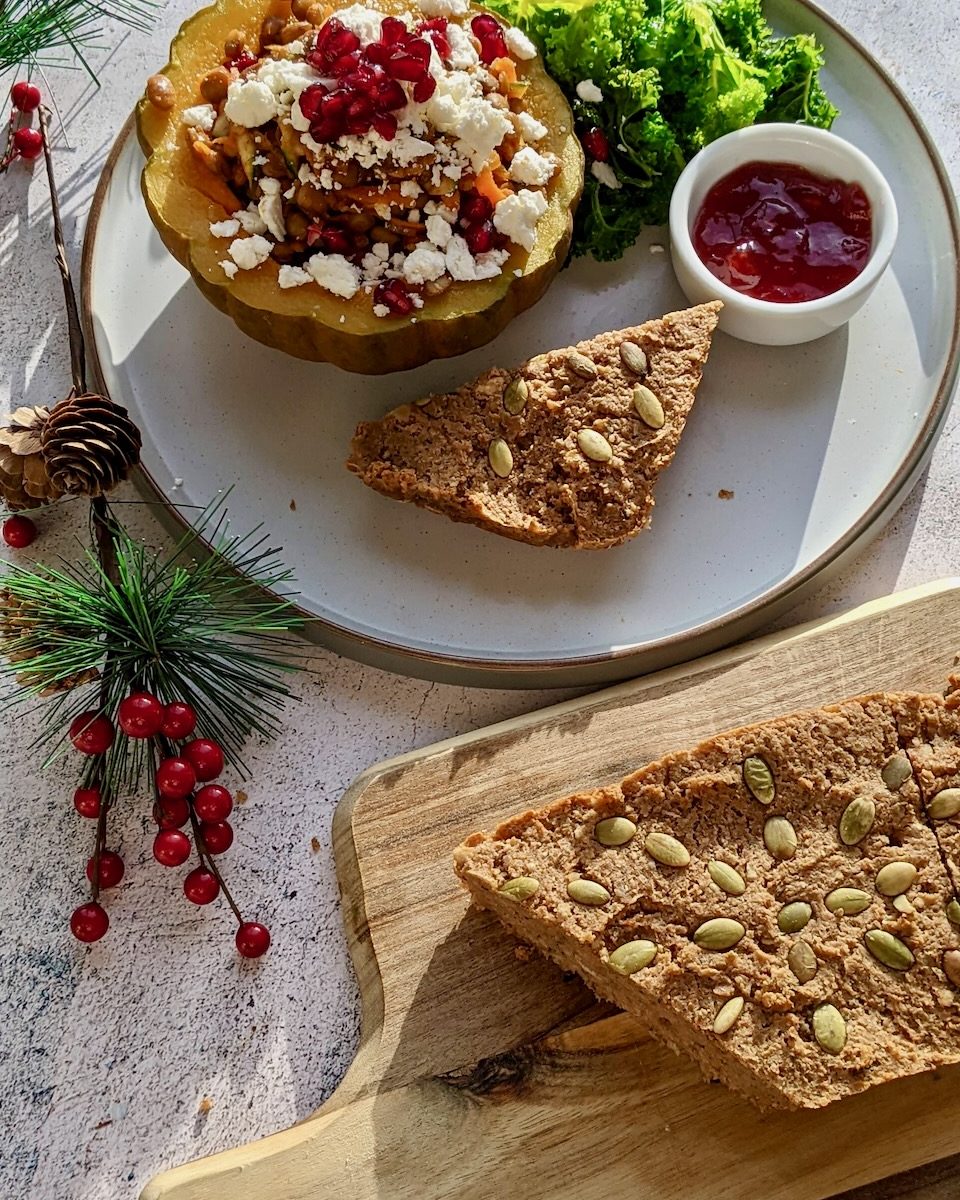
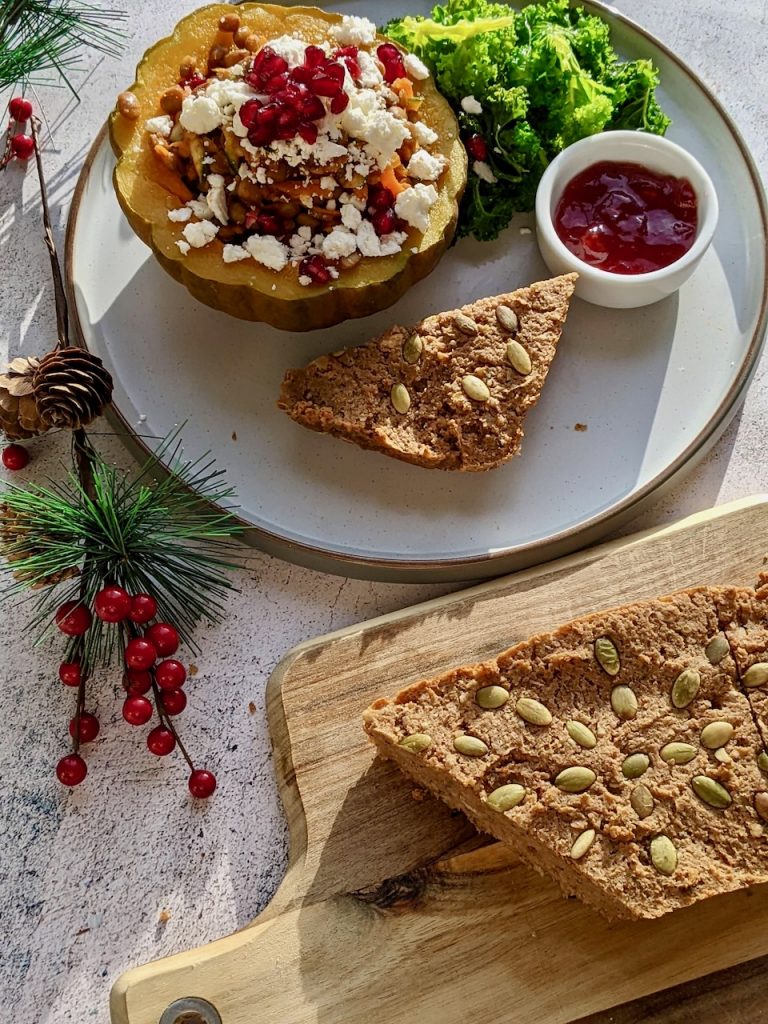
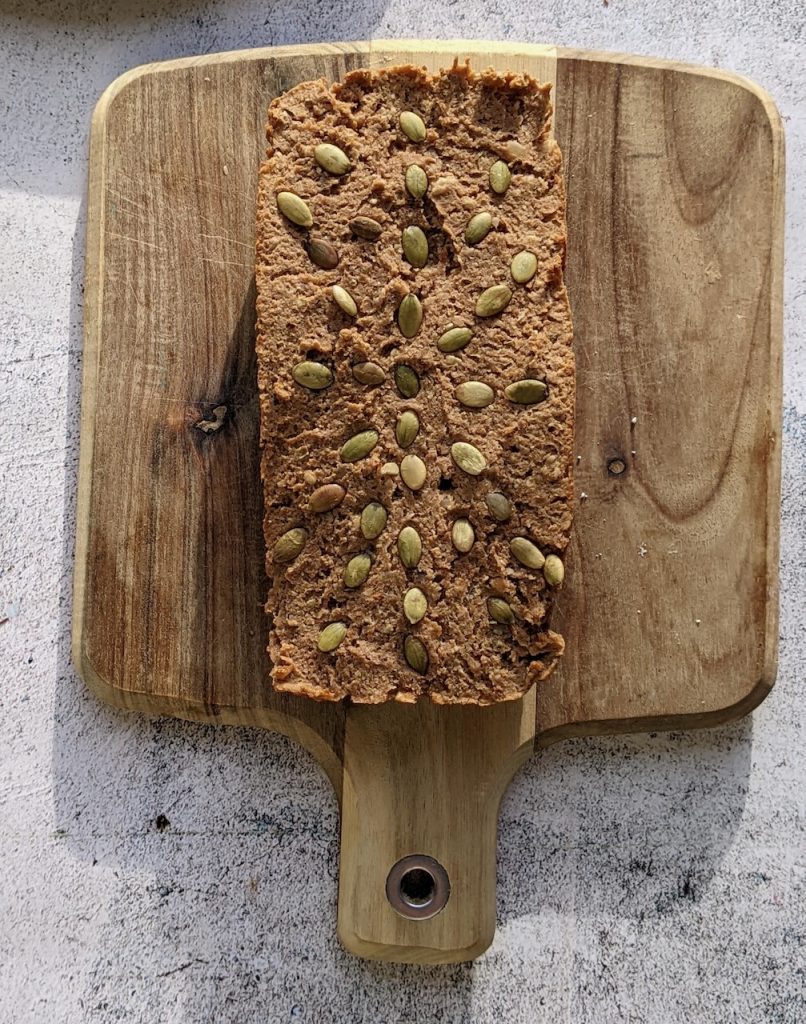
The festive meal at this time of year is all about the added extras!! Bread stuffing is a traditional side and a great one to experiment with. Veggie sausages are packed full of flavour and work perfectly in a bread stuffing. It’s easy to add in some seasonal ingredients like chestnuts and nuts to give it that Christmasy feel.

Tip don’t over mix the ingredients, its nice to have the texture of the nuts and seeds in the stuffing. Bake as a loaf or roll into balls.

Serve with your favourite veggie main meal. Here we have a spiced lentil stuffed squash with feta and pomegranate and a side of cranberry sauce, yum.

We hope you give it a try this festive season.

Lou 🙂

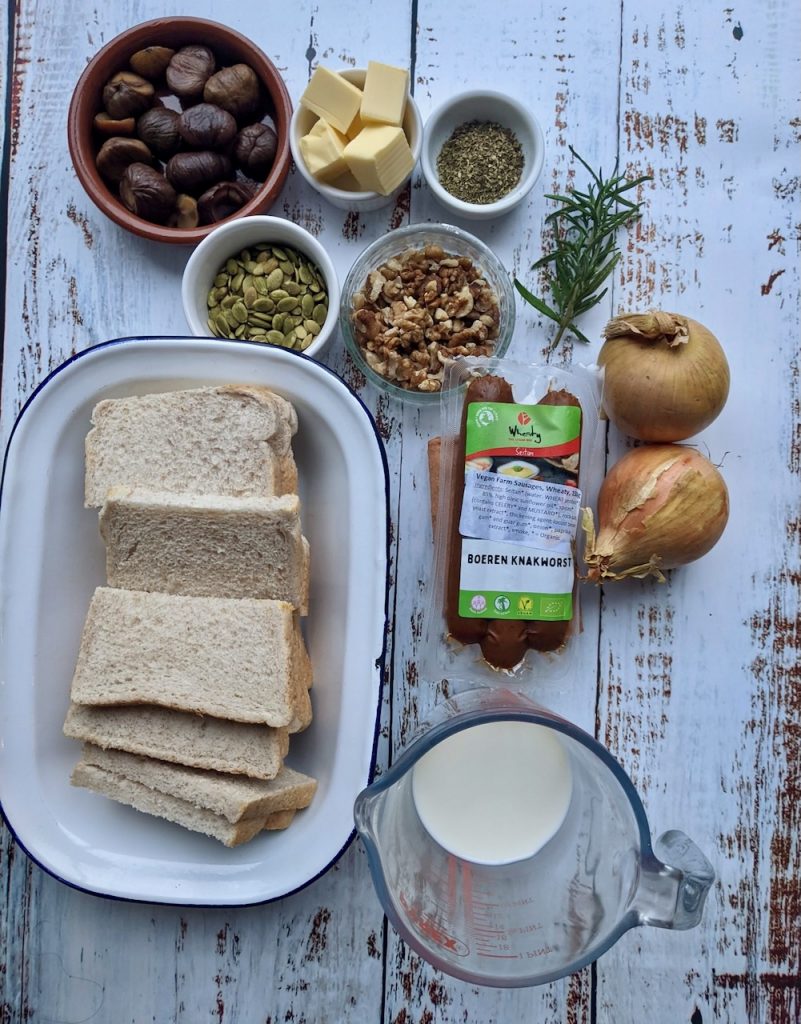
Ingredients: makes 10 portions -2 small loaves or make one one big tray

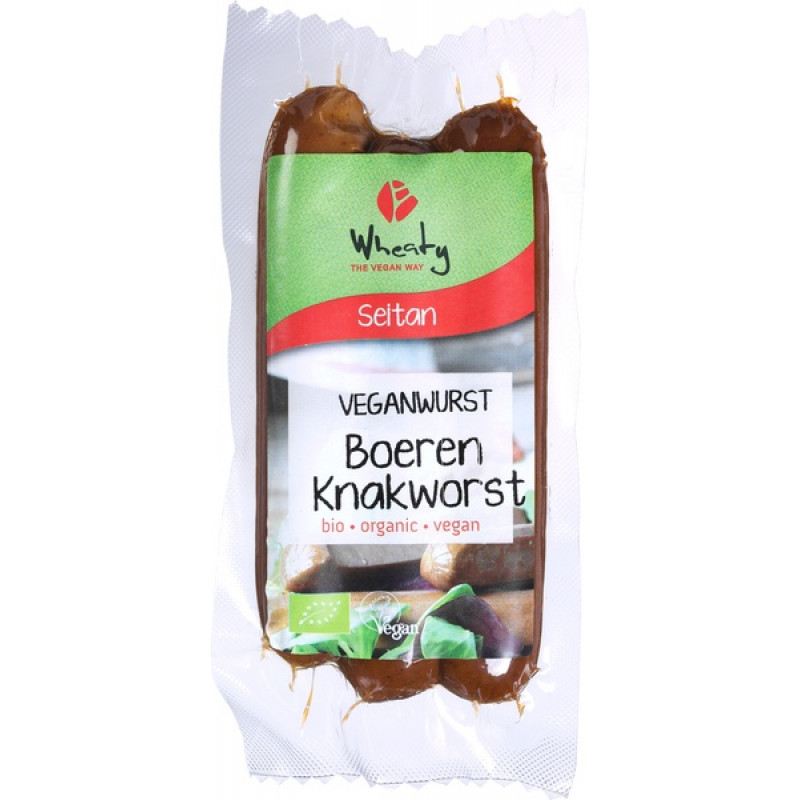
  • 6 good quality veggie sausages– chopped
  • 6 slices of stale bread bread (350g approx)
  • 100ml milk (dairy or non dairy)
  • 2 onions – finely diced
  • 50g butter (dairy or non dairy)
  • 100g cooked chestnuts
  • 50g walnuts
  • 30g pumpkin seeds plus extra to decorate, optional
  • 2 teaspoons dried herbs

Method

  1. Line 2 loaf tins with paper liners. Or bake one big one in an 9in x 9in square tin.
  2. Preheat the oven 180C.
  3. Tear up the bread and place it in a bowl. Pour the milk over it and leave to soak for a few minutes.
  4. Add the butter and finely diced onion to a frying pan. Sauté on low until the onion is soft.
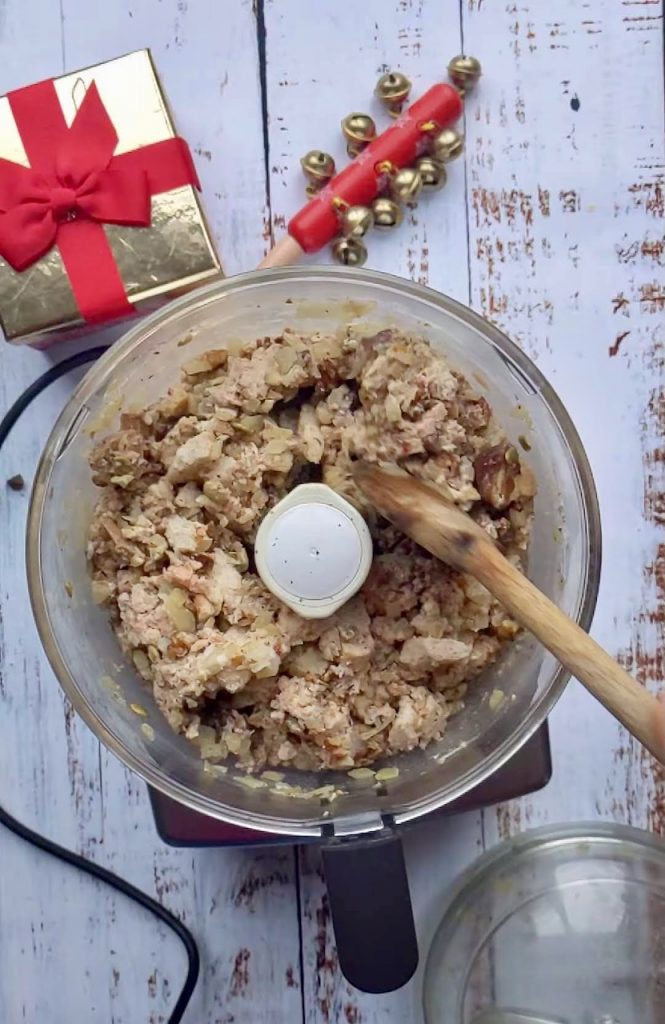
  5. Add the soaked bread, chopped sausages, cooked onion, chestnuts, walnuts, pumpkin seeds and dried herbs to a food processor. Pulse to combine for a few seconds at a time.
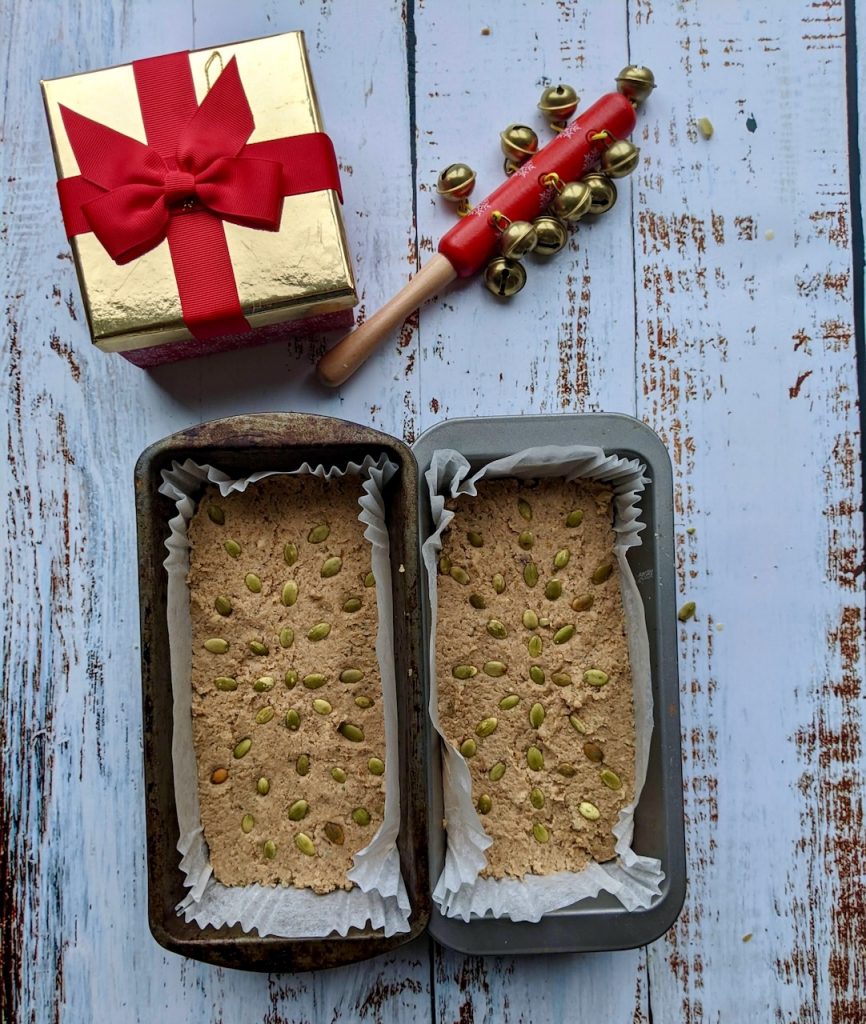
  6. Spoon the mix into the loaf tins. Decorate with pumpkin seeds on top. Wrap, label and freeze one for another time if you wish.
  7. Bake the other one for 20 minutes, check that its piping hot all the way through.
  8. Slice and serve with your veggie main course.

Crushed, Roasted Potatoes & Sprouts

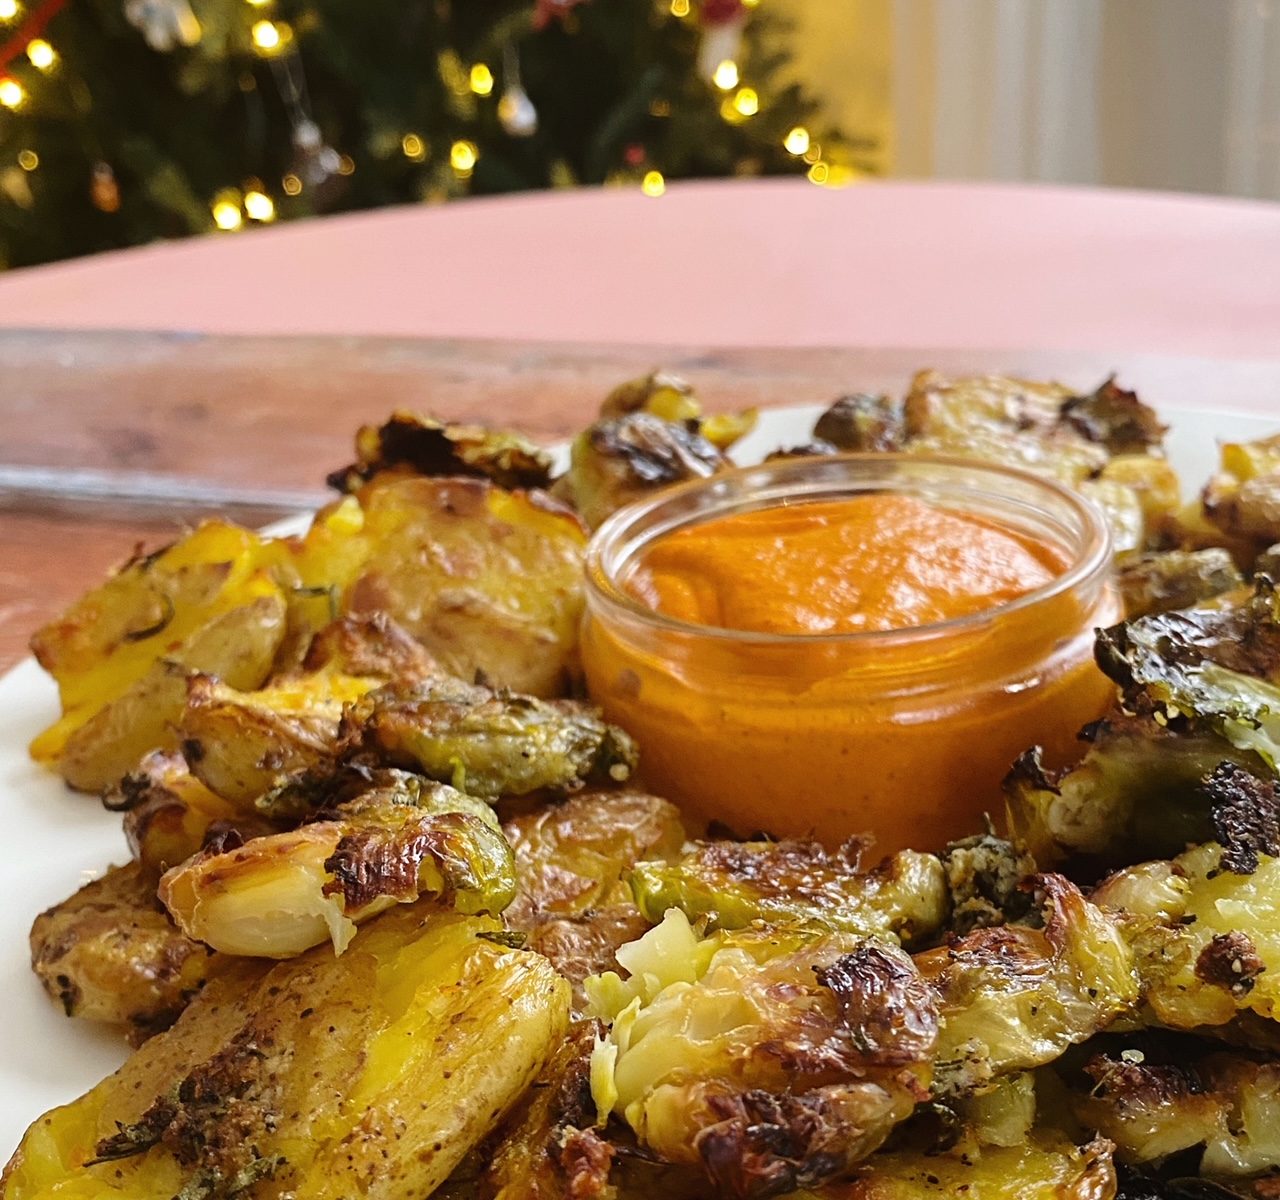
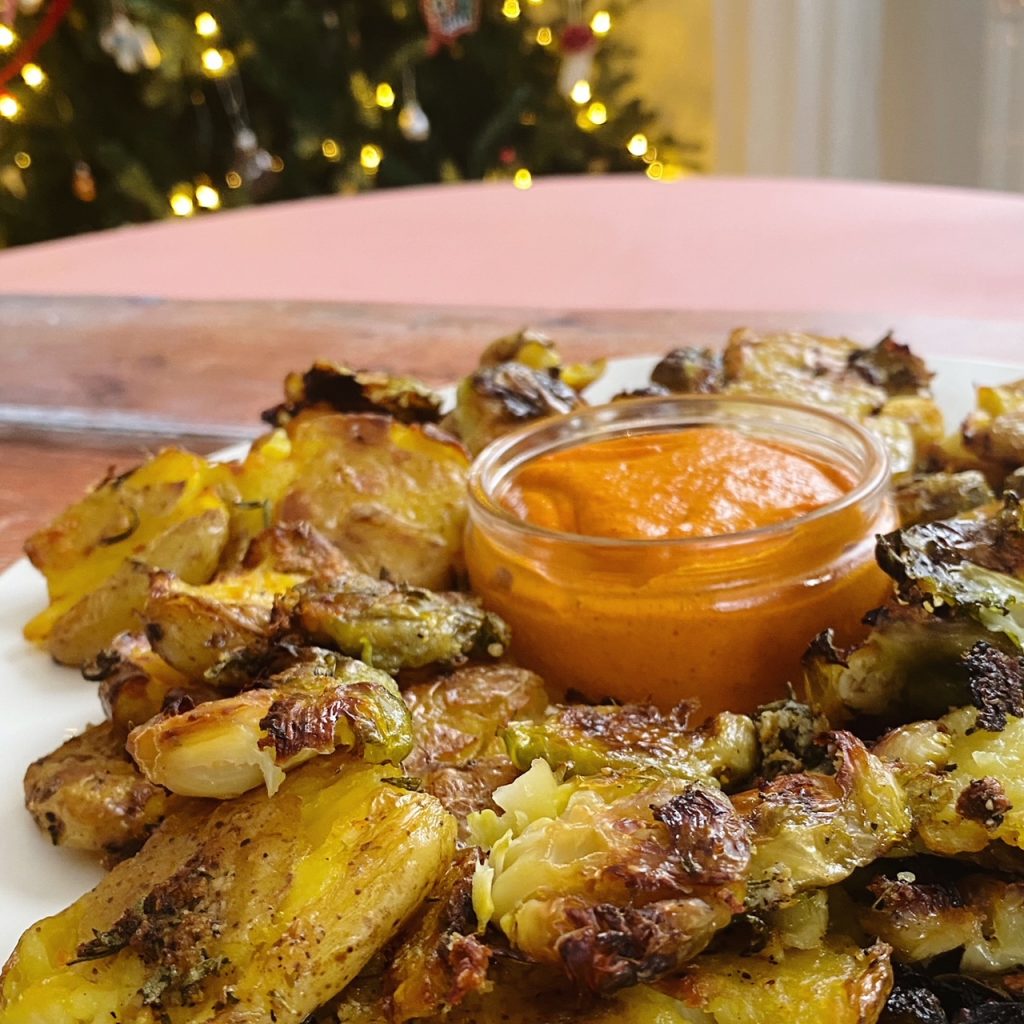
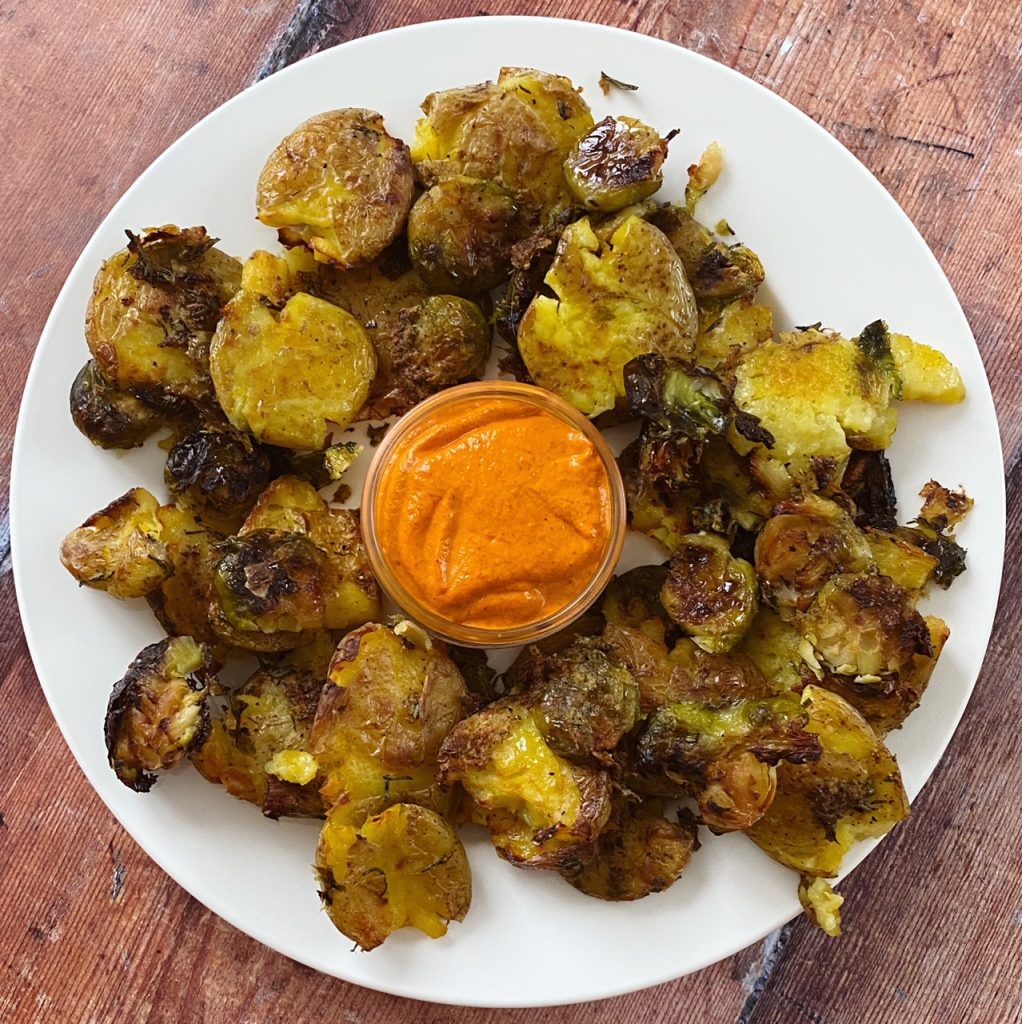
Looking for some fantastic festive nibbles for your next seasonal soirée? These smashed and roasted potatoes and sprouts are incredible! Taking the time to squash, dress and roast your boiled/steamed veg is really worth it. This process creates gorgeous craggy edges which turn into crispy deliciousness in the oven! Perfect with a nutty romesco dipping sauce or any dip you fancy. Enjoy!

Liz x

Ingredients

For the potatoes and sprouts:

  • 1 kg potatoes, steamed/boiled until fork-tender
  • 500g brussels sprouts, steamed/boiled until tender
  • 5 tbsp oil (I used golden rapeseed oil)
  • the zest of an orange
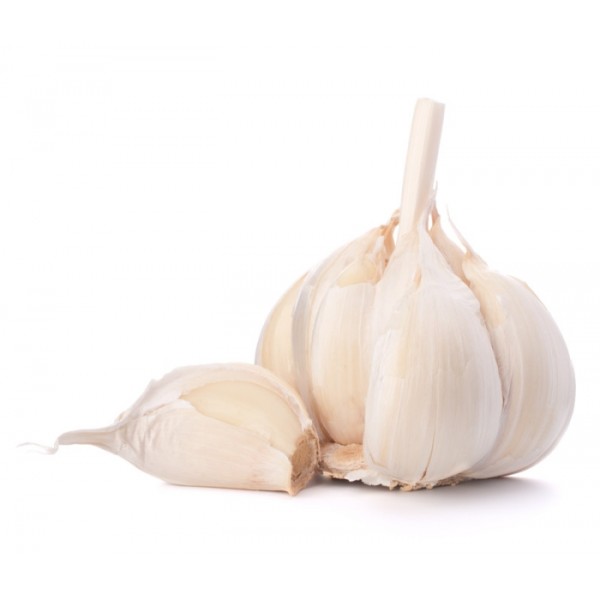
  • 4 crushed cloves of garlic
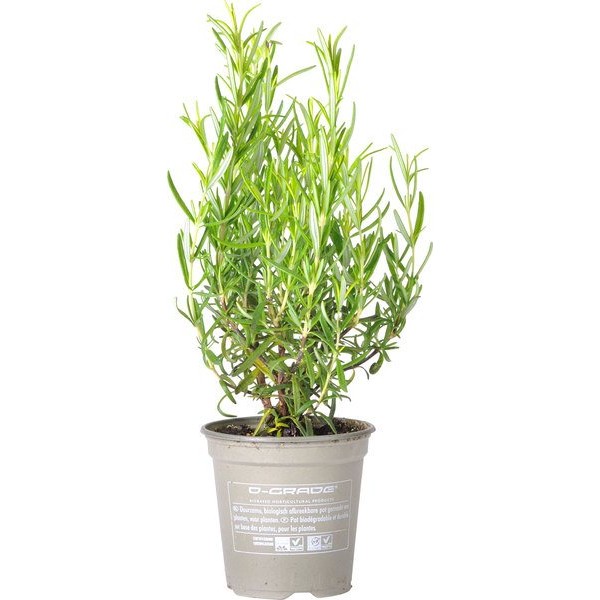
  • 2 tbsp chopped fresh rosemary
  • 1 tsp ground black pepper
  • 1 tsp fine salt

For the romesco dipping sauce:

  • 100g almonds, roasted
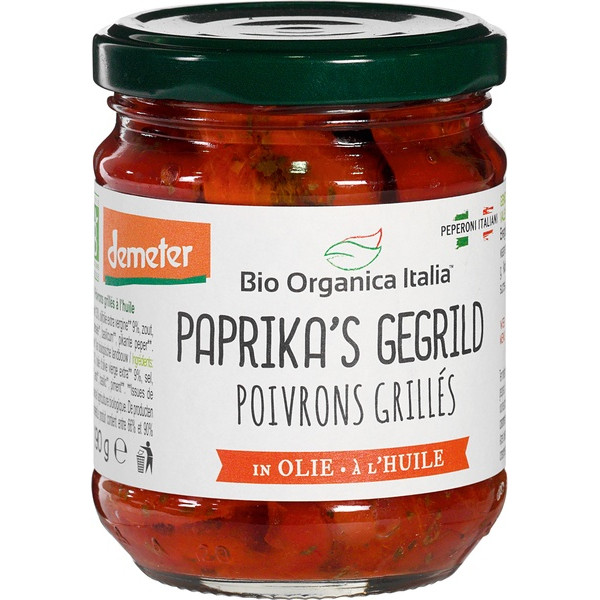
  • 2 roasted and skinned red peppers (from a jar is perfect)
  • 1 tbsp smoked paprika
  • 1/2 tsp fine salt
  • 1 small garlic clove, peeled
  • 1 tbsp vinegar (apple cider, red wine or sherry vinegars all work well here)
  • 2 tbsp olive oil

Method

  1. Preheat the oven to 200C and prepare the vegetables. (Boil or steam the potatoes and sprouts until they are fork soft, roast the almonds in the oven for 5 minutes, roast the peppers or use pre-roasted from a jar, prepare the dressing ingredients…)
  2. Spread the sprouts and potatoes onto a large, lined baking tray and squash them gently with the base of a glass.
  3. Mix the dressing ingredients and drizzle/brush over it all over the squished vegetables. Then place the tray in the oven to bake until golden and crispy (around 30 minutes).
  4. Meanwhile blend the romesco dipping sauce ingredients together until smooth. Serve the crisped up vegetables on a large platter with the sauce in a ramekin – fab festive finger food! Any left over sauce makes a great pasta or pizza sauce or can be frozen to use another time.

Sticky Toffee Pudding

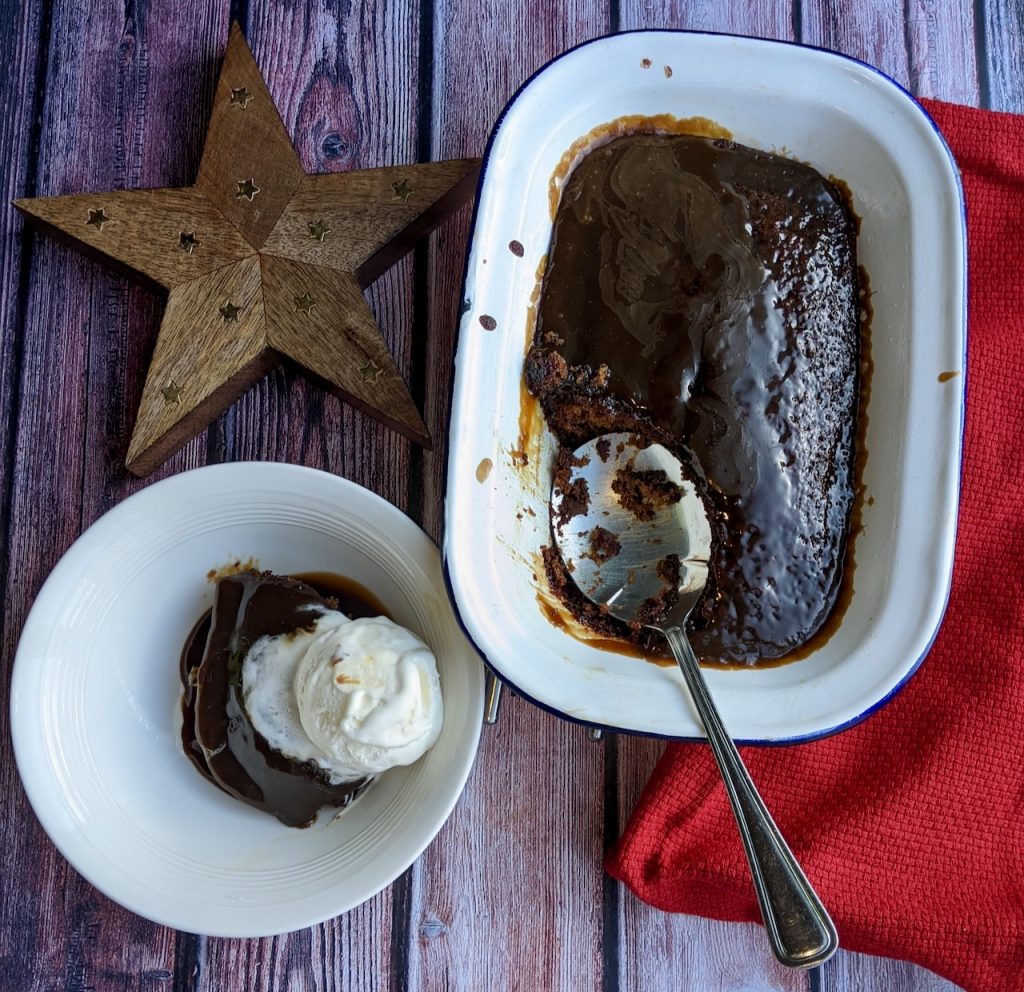
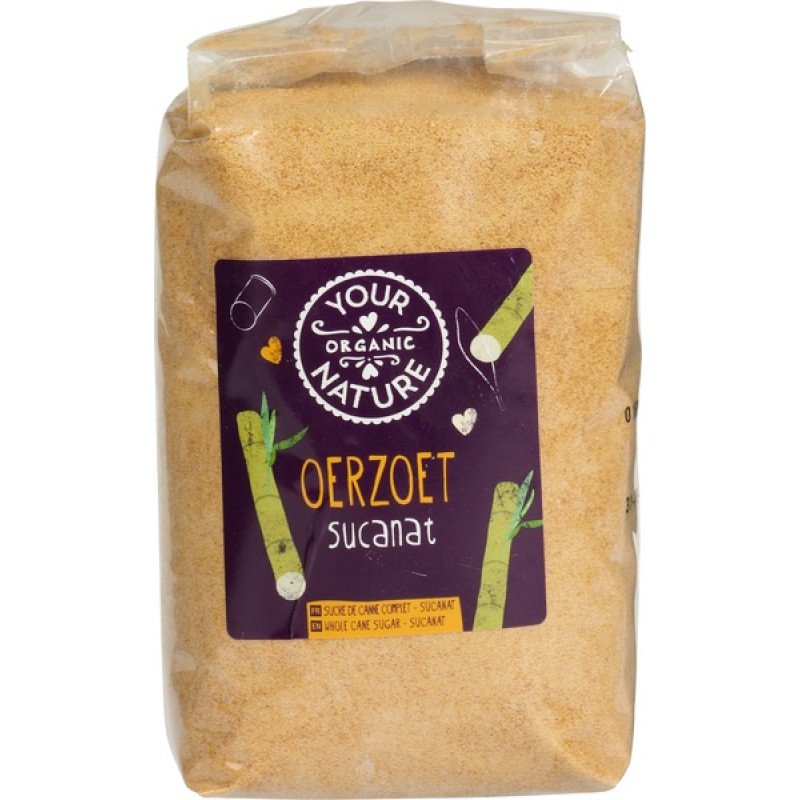
The things we do for the people we love! My husband loves a sticky toffee pudding because it is as it claims with the addition of Super Sweet at the beginning!

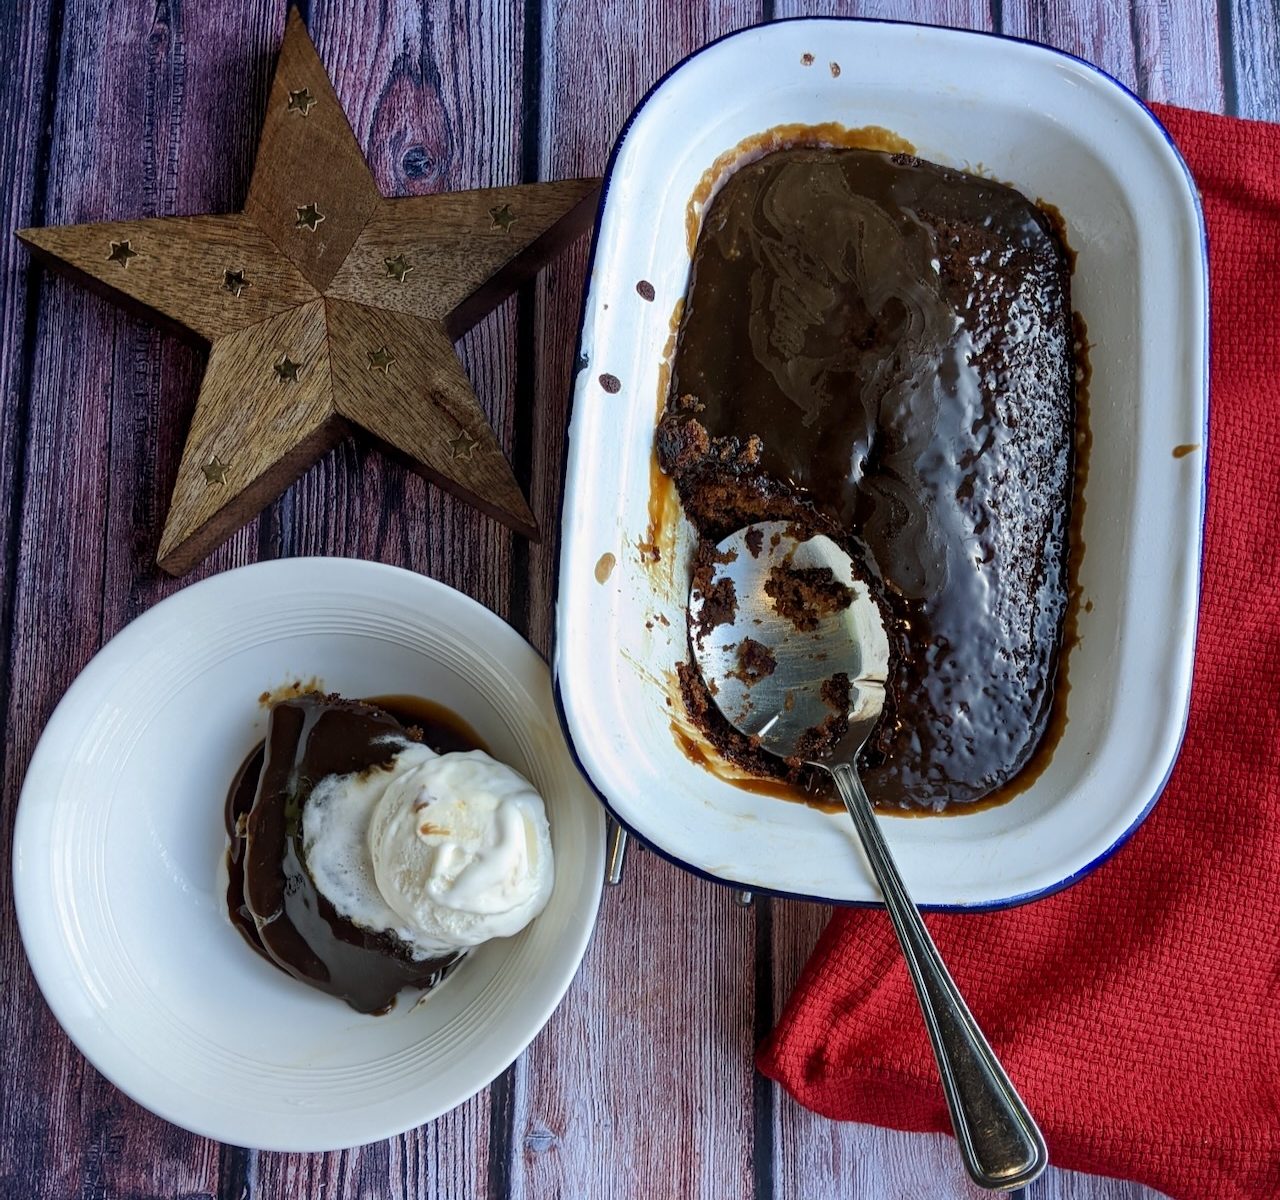
A dip in the temperature has prompted warm comforting food at home. Serve your sticky pudding warm with cold ice cream on top and drizzle over the warm toffee sauce.

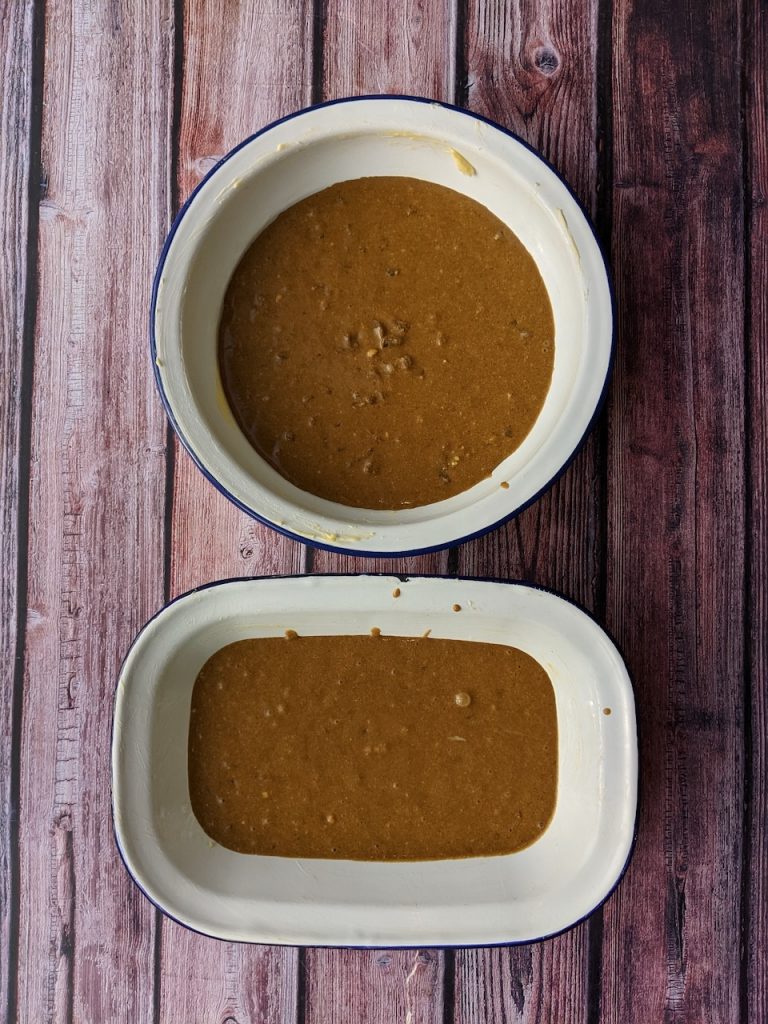
This recipe makes 8 portions so I decided to divide the batter and make 2 puddings. One for November and one for December. Something to look forward to.

Lou 🙂

Ingredients – makes 1 large pudding to serve 8 or 2 smaller puddings serving 4 each

For the toffee sauce

  • 250ml double cream
  • 100g butter
  • 200g light brown sugar
  • 1 tablespoon black treacle

Method:

  1. Preheat the oven 170C. To make one big pudding grease a 1.2 litre ovenproof dish if making 2 puddings grease two 1 litre ovenproof dishes.
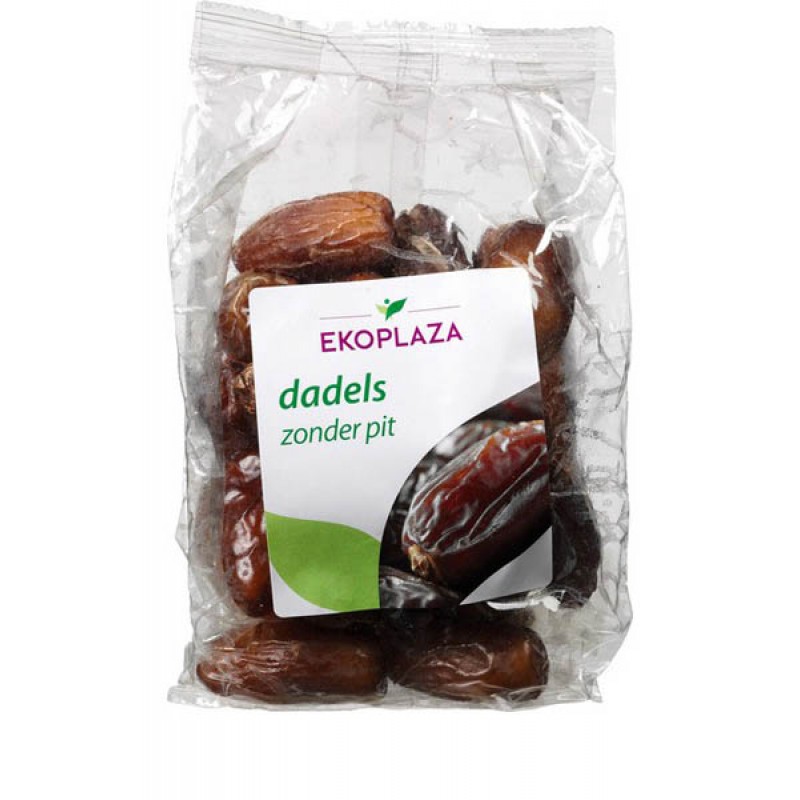
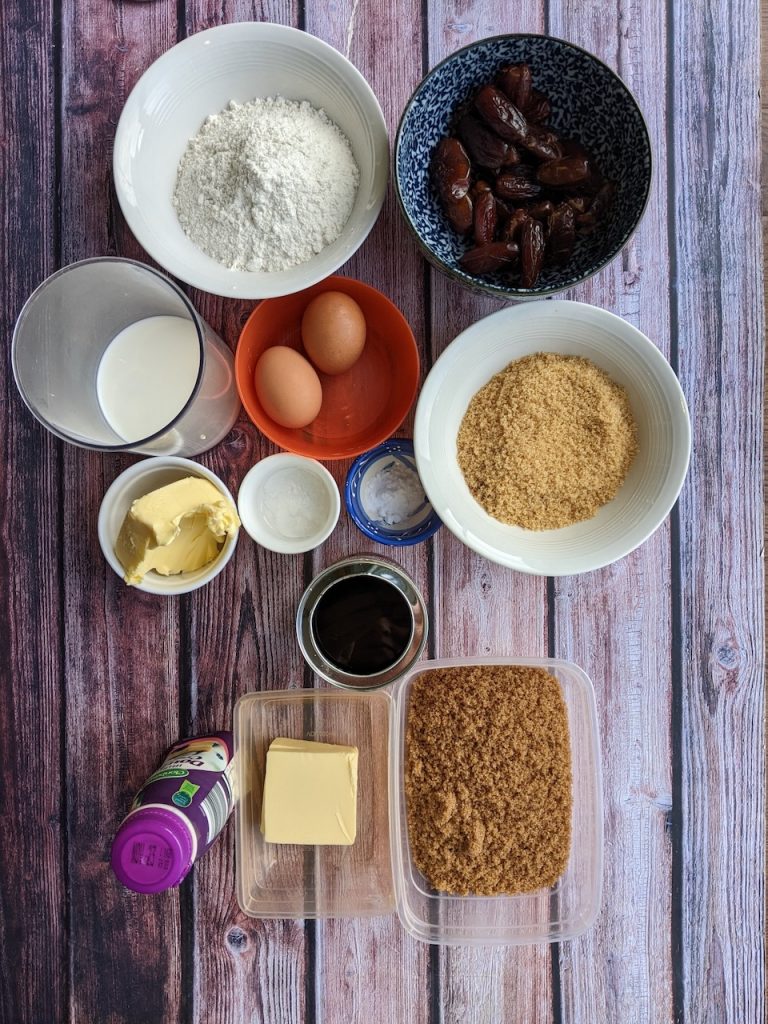
  2. Chop the dates and put them into a mixing bowl with the bicarbonate of soda and cover with the boiling water. Set to one side for 15 minutes while you make the batter.
  3. In a separate mixing bowl add the butter and sugar, use an electric mixer or wooden spoon to mix until light and creamy. Beat in the eggs one at a time, then beat in the black treacle.
  4. Sieve in the flour and baking powder and gently fold into the batter. Then mix through the milk.
  5. Check on the dates, mash them with a fork then pour the dates and liquid into the cake batter, stir in to combine. Spoon into the prepared dish or dishes.
  6. The big pudding will cook for approximately 45-50 minutes. The smaller puddings will cook in 25-30 minutes.
  7. While the pudding cooks make the toffee sauce. Put the sugar, butter and half the cream in on a low heat in a heavy bottom pot. Stir to dissolve the sugar, this will take about 5 minutes.
  8. When the sugar has dissolved add in the black treacle and turn up the heat to a bubble. Let it bubble for 2-3 minutes.
  9. Take off the heat and stir in the rest of the cream. You should have a nice brown toffee sauce. Transfer into a pouring jug.
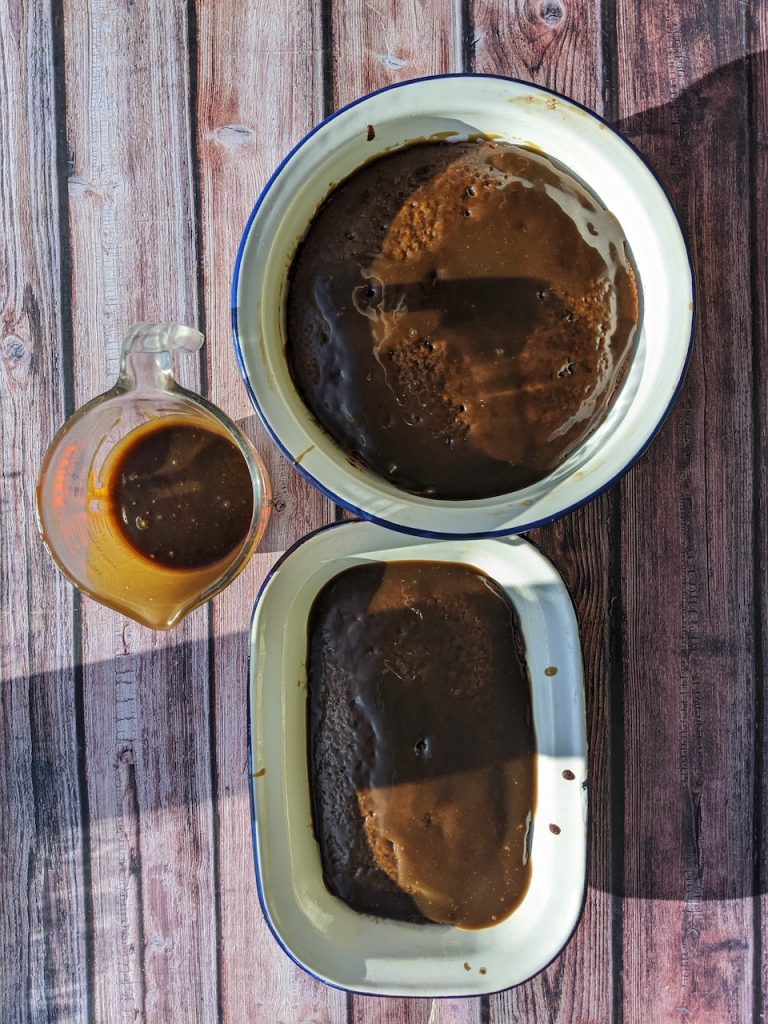
  10. When the pudding comes out of the oven, let it cool for 10 minutes then poke it with a skewer and pour over some of the toffee sauce (half the sauce if making a big pudding and quarter each if making 2 smaller puddings)
  11. Serve the pudding warm with ice cream and warm toffee sauce.
  12. You can cover and freeze the second pudding. Just defrost in the fridge overnight, warm through in the oven and serve as above.

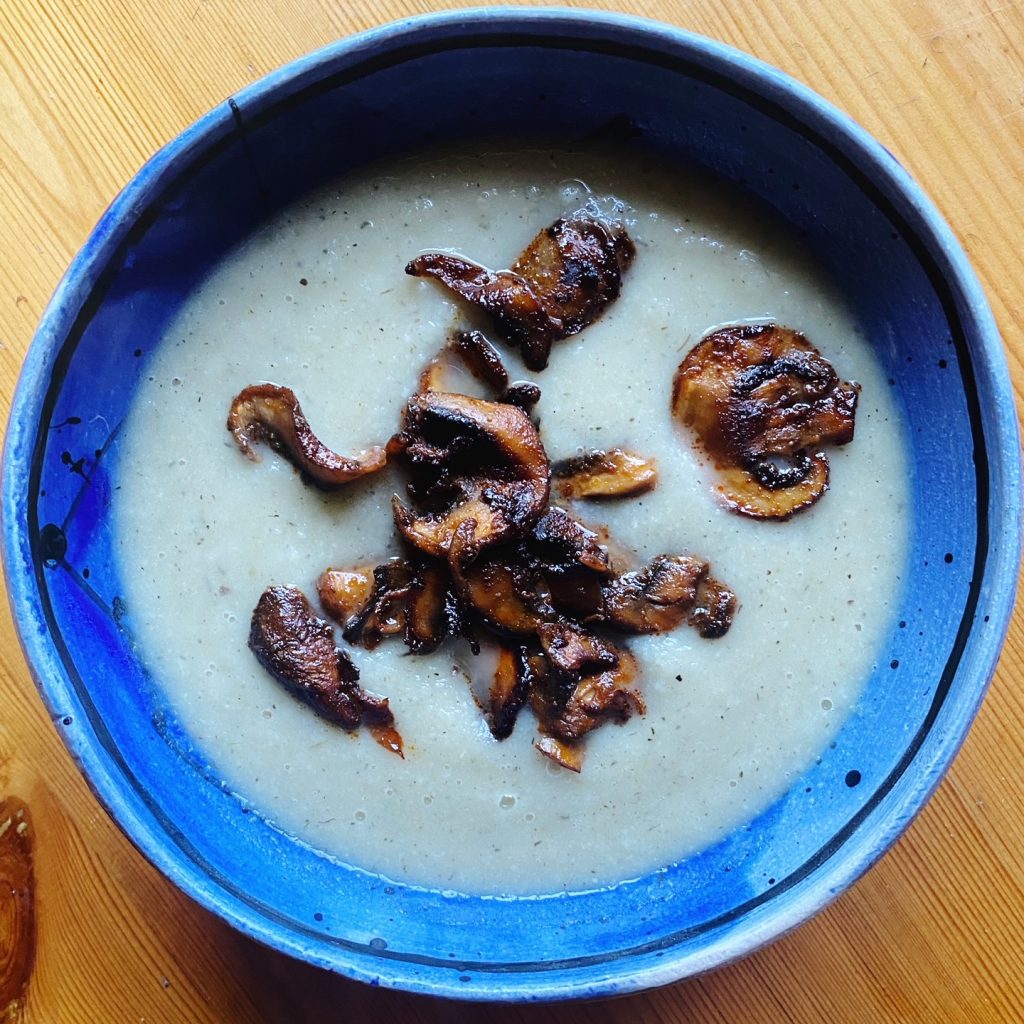
Celeriac Soup with Smokey Mushrooms

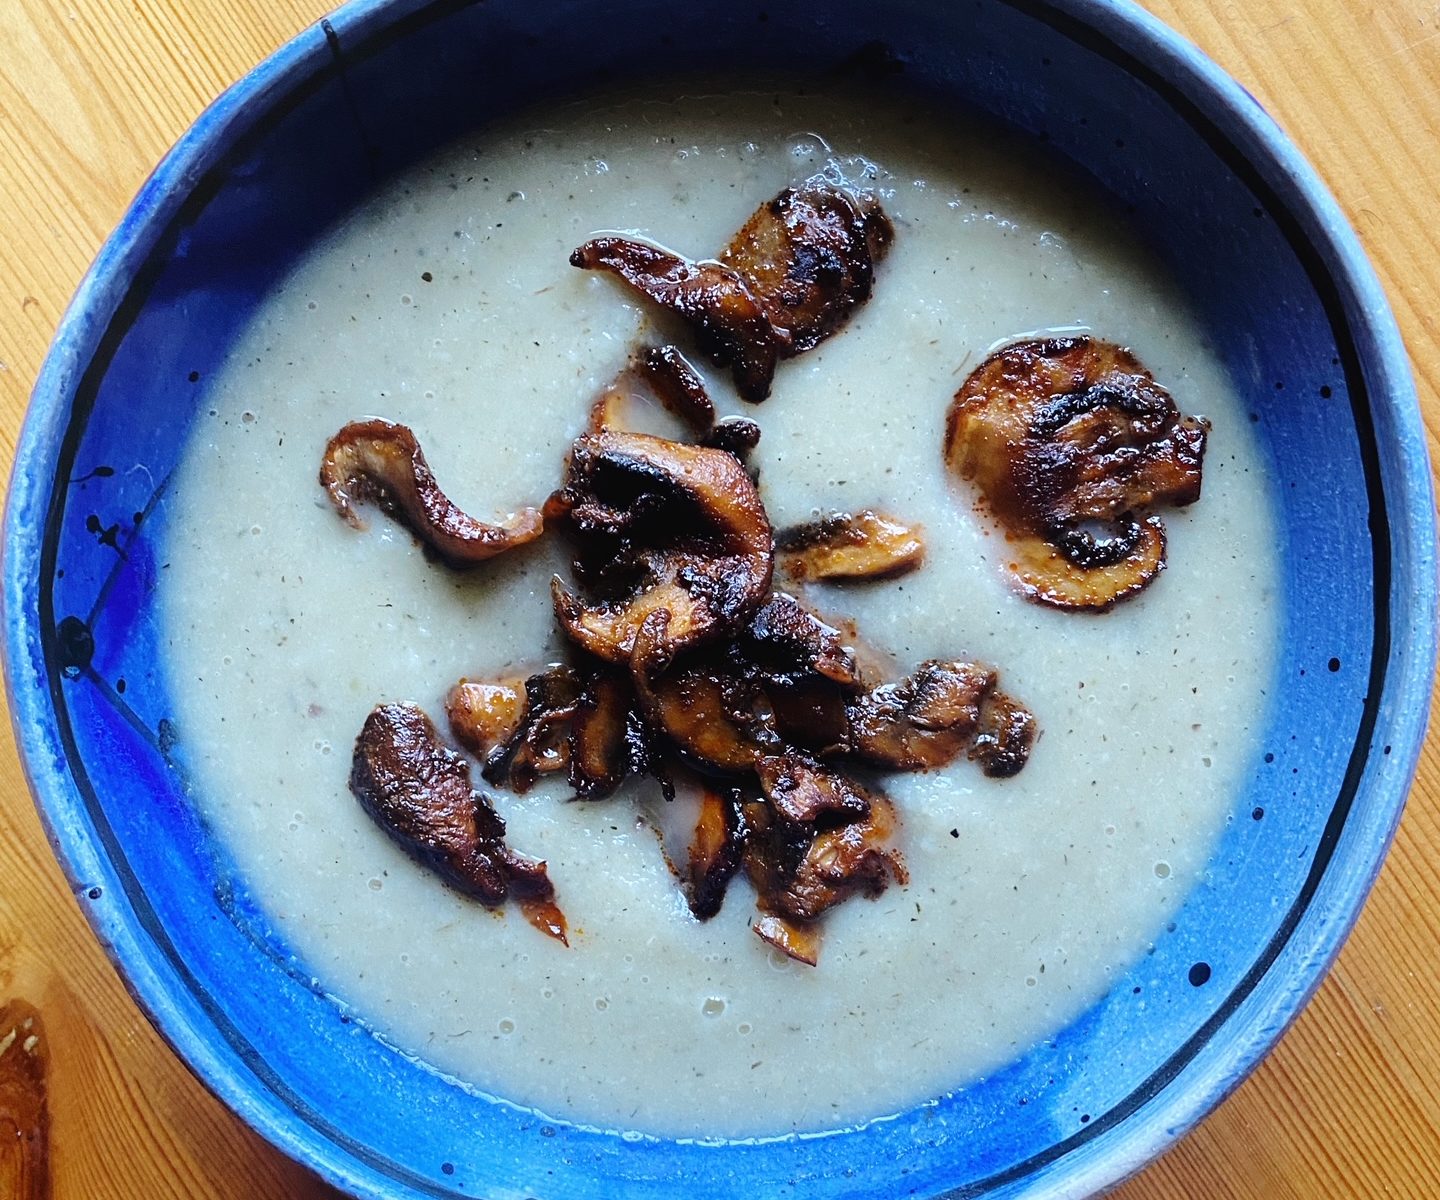
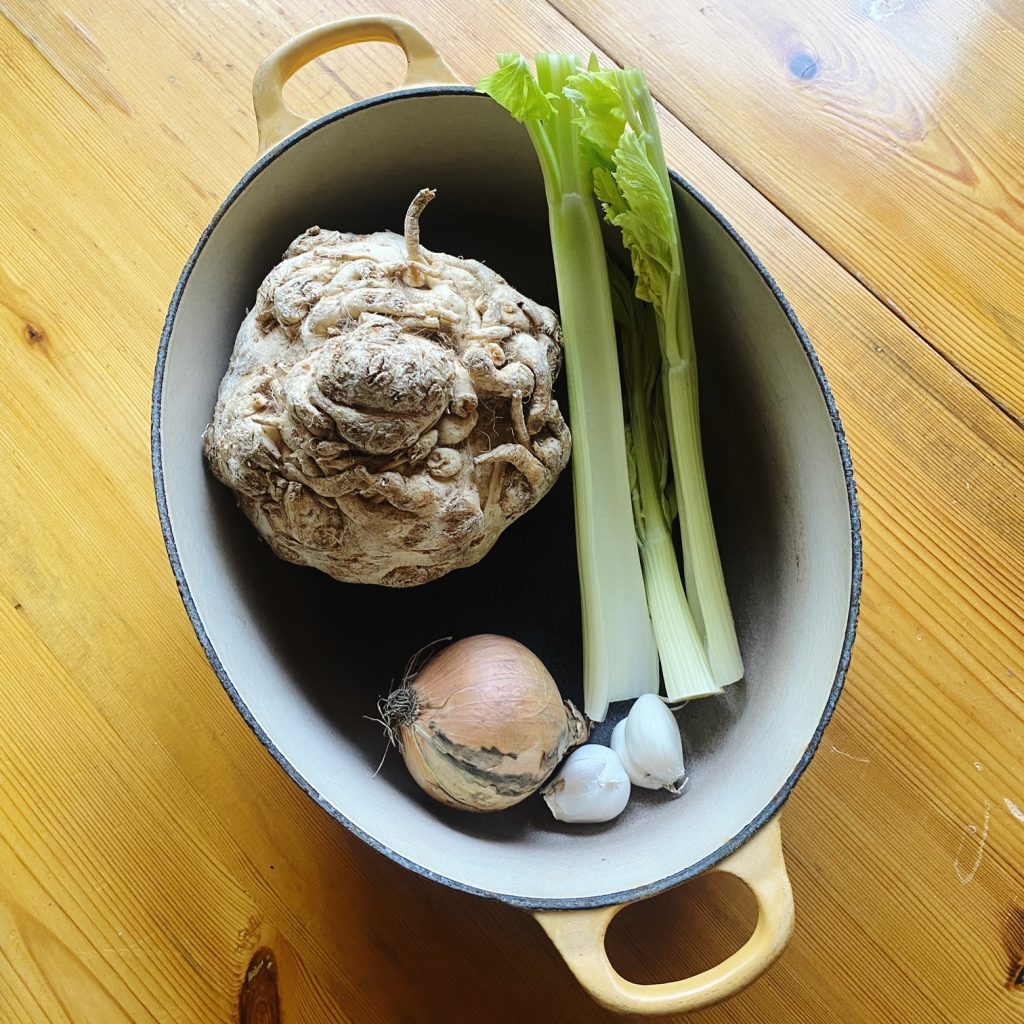
Our large, knobbly celeriac are finally back in season, perfect for all your winter soups and stews. If you haven’t tried celeriac before, it is a delicious and versatile vegetable which tastes like a cross between celery, parsnip and potato. As well and soups and stews, it is stunning raw in creamy salads like remoulade. You can also roast it or bake it in a gratin. We love pairing it’s sweet, herby, mild flavour with something strong flavoured like capers or these salty, smokey mushrooms. Give it a try and do share your favourite celeriac recipes in the comments, we are always looking for inspiration.

Liz x

Ingredients (serves 6)

For the soup:

  • 1 tbsp oil
  • 1 white onion, peeled & diced
  • 4 cloves of garlic, peeled & sliced
  • 3 sticks of celery, sliced
  • 1 celeriac, peeled & cubed
  • 1 stock cube or 1 tbsp bouillion powder
  • 1 tbsp dried thyme
  • salt and pepper to taste

For the smokey mushrooms:

  • 1 tbsp maple syrup
  • 2 tbsp soy sauce
  • 1 tbsp oil
  • 1/2 tsp ground black pepper
  • 1 tsp garlic powder
  • 2 tsp smoked paprika
  • 300g chestnut mushrooms, thinly sliced

Method

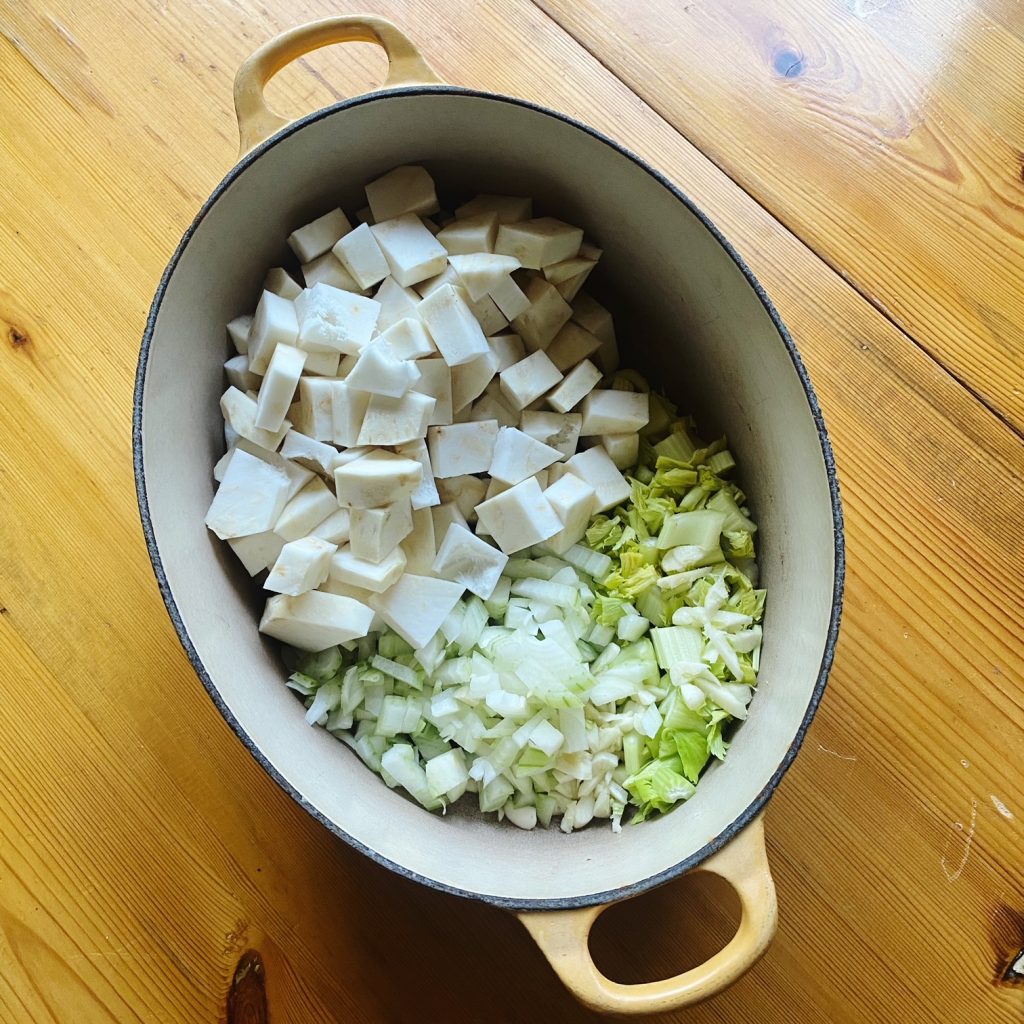
  1. Put a kettle on to boil with 1 liter of water. Then, in a large soup pot, sauté the onion, garlic, celery and celeriac with the oil and a sprinkle of salt and pepper. After 5 minutes the vegetables should be slightly softened.
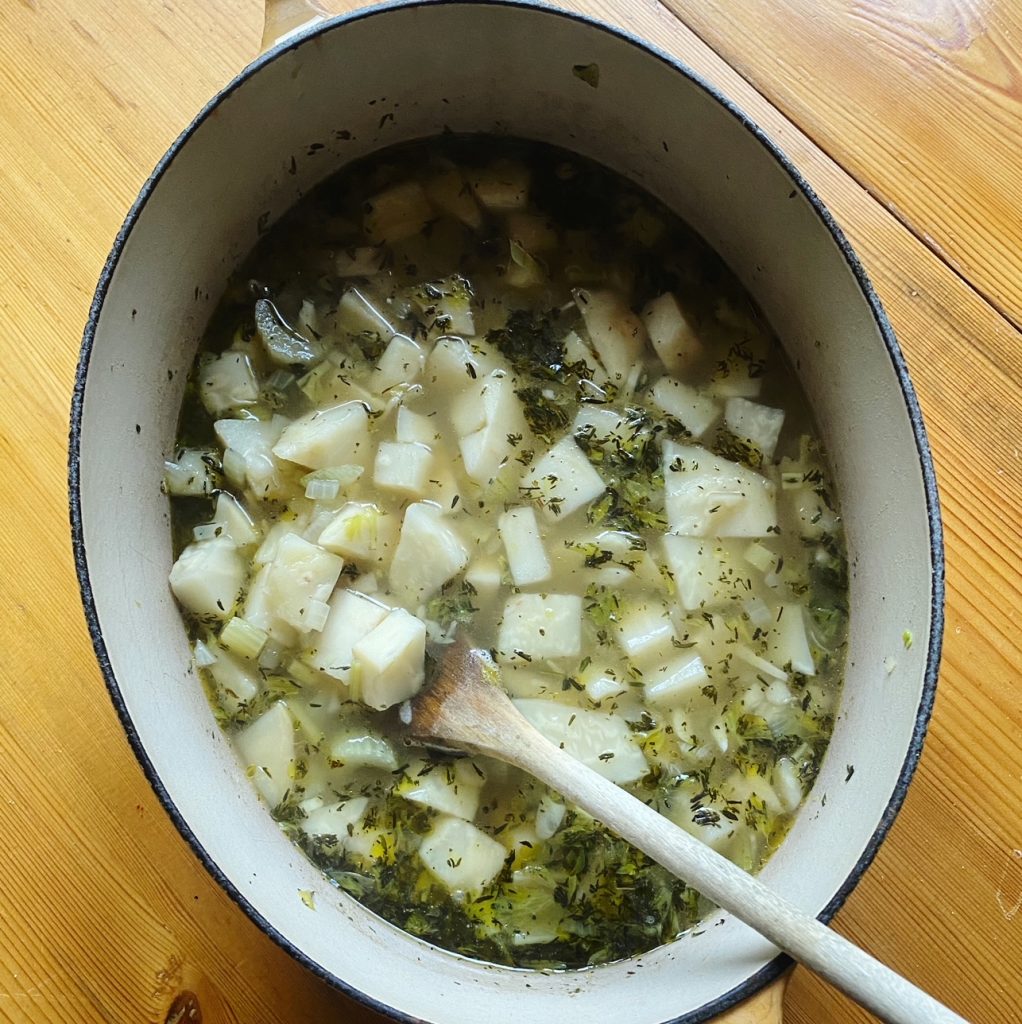
  2. Add the thyme, crumble in the stock cube and pour in the freshly boiled water. Give the pot a stir then get the lid on and simmer the soup for 15 minutes or so until the celeriac is soft enough to blend.
  3. Meanwhile, mix together the maple, soy, oil, garlic, pepper and smoked paprika in a bowl. Tumble in the sliced mushrooms and mix well to coat each slice in the marinade. Scrape the mushrooms into a large frying pan and stir fry until hot and beautifully browned.
  4. Blend the soup and taste for seasoning. Add more salt or pepper as needed then serve in bowls topped with the smokey mushrooms. Enjoy.

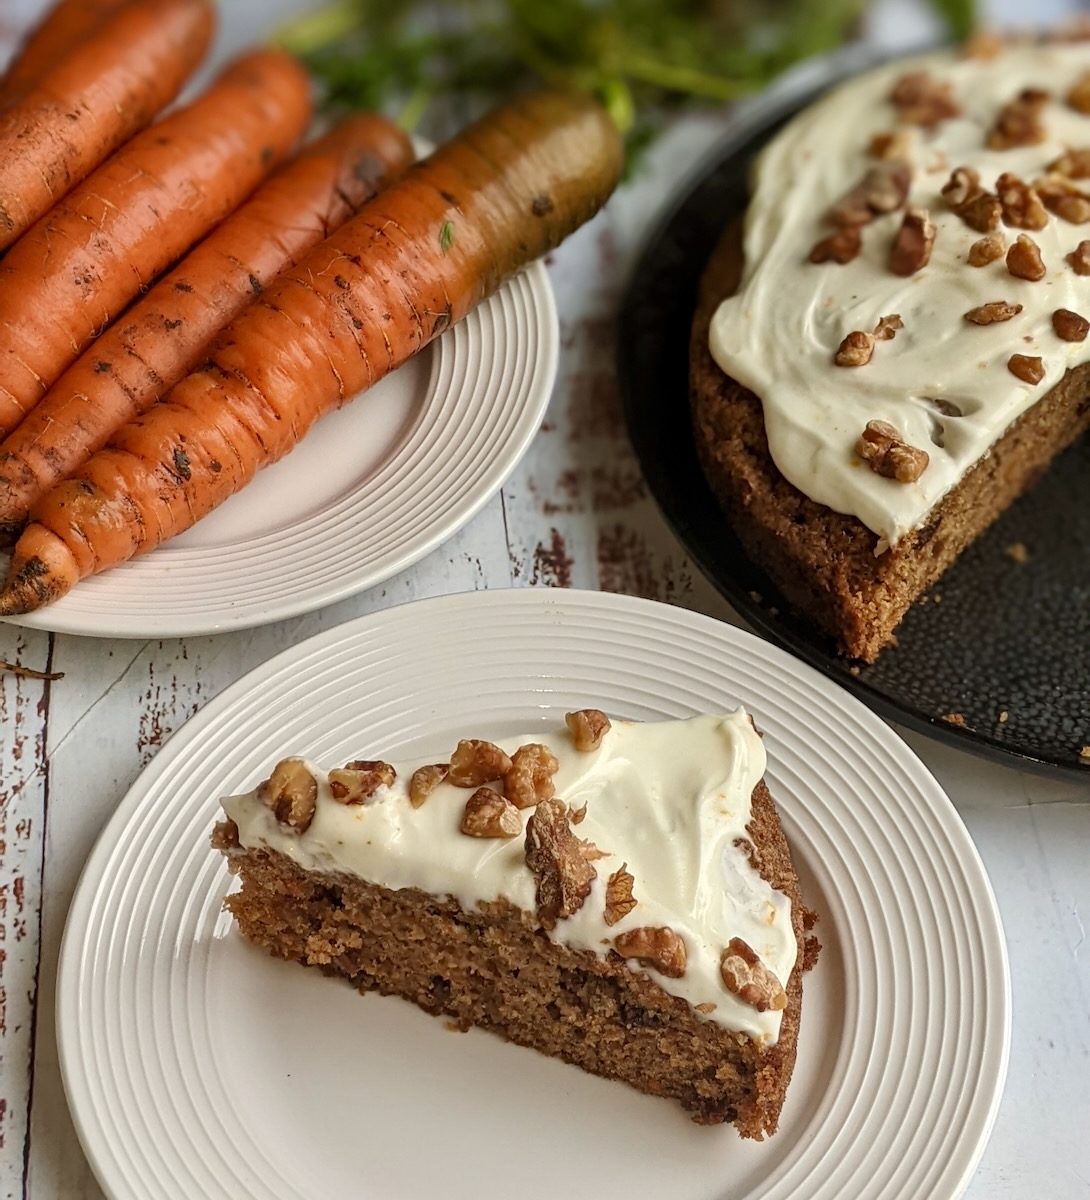
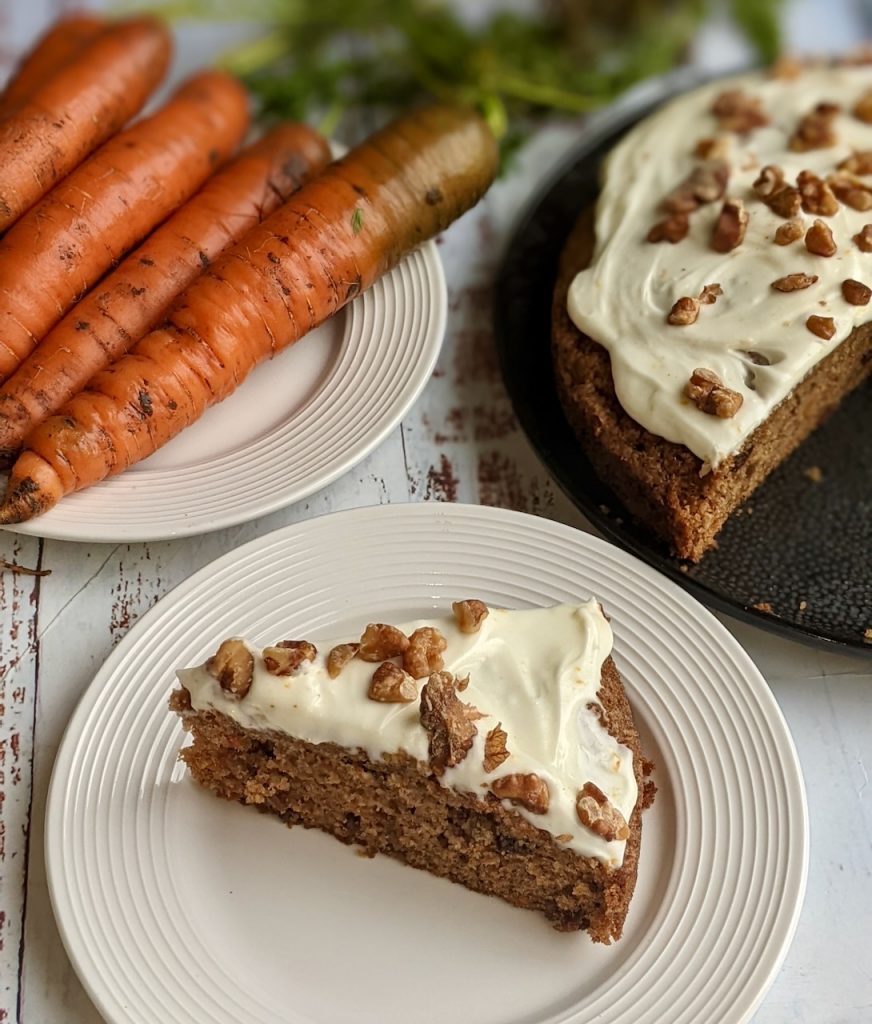
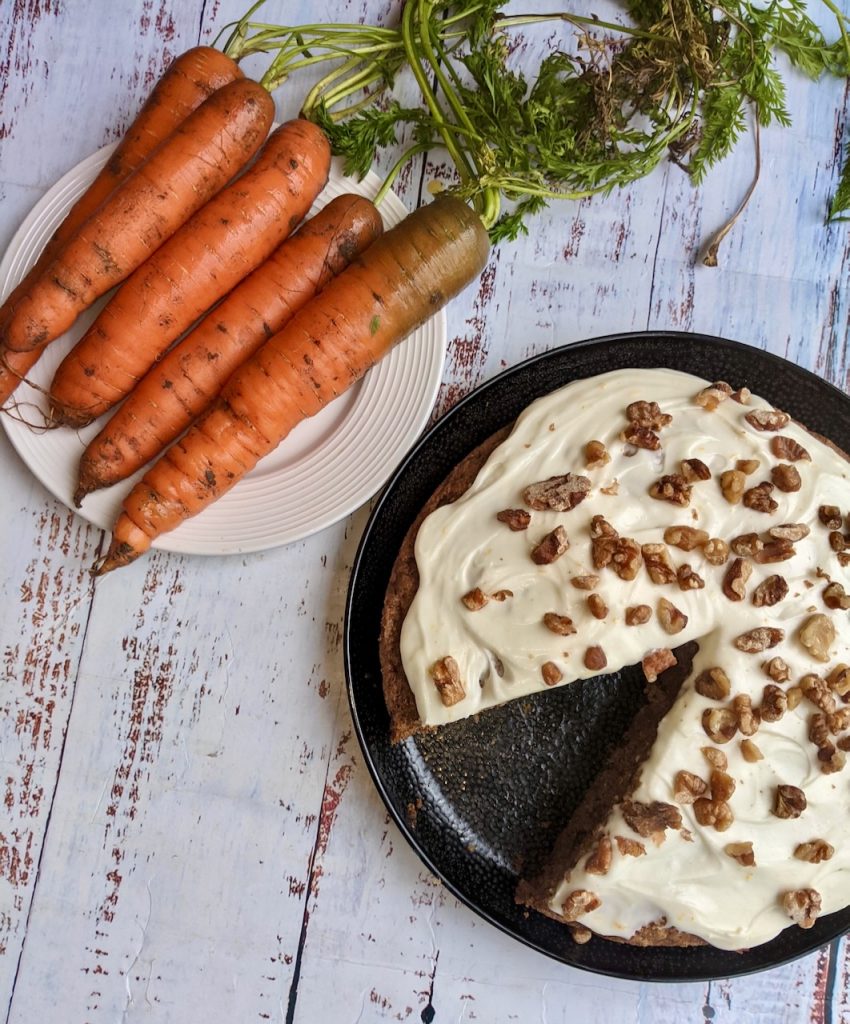
Carrot Cake with Orange Frosting

Classic carrot cake is hard to beat. Its spiced and moist and works so well with the cream cheese frosting. No one minds that theres a couple of carrots in there. It’s the acceptable vegetable cake.

Set a few carrots aside this week to make this cake the perfect partner with a pot of tea and a good old chat.

Tip: I like to soak the raisins in tea first to plump them up, it really makes a difference to the finished cake.

Lou 🙂

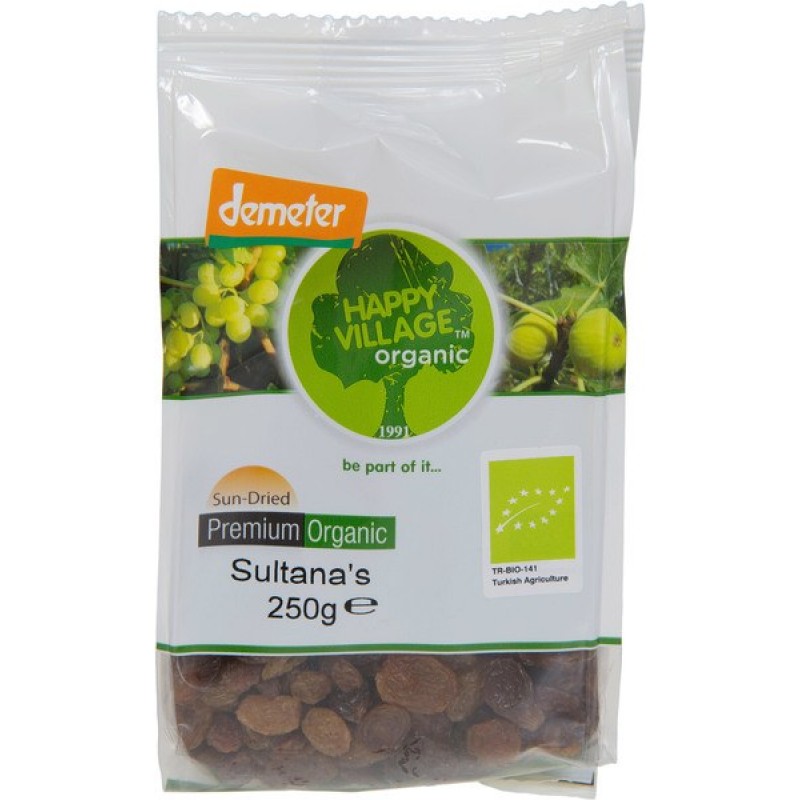
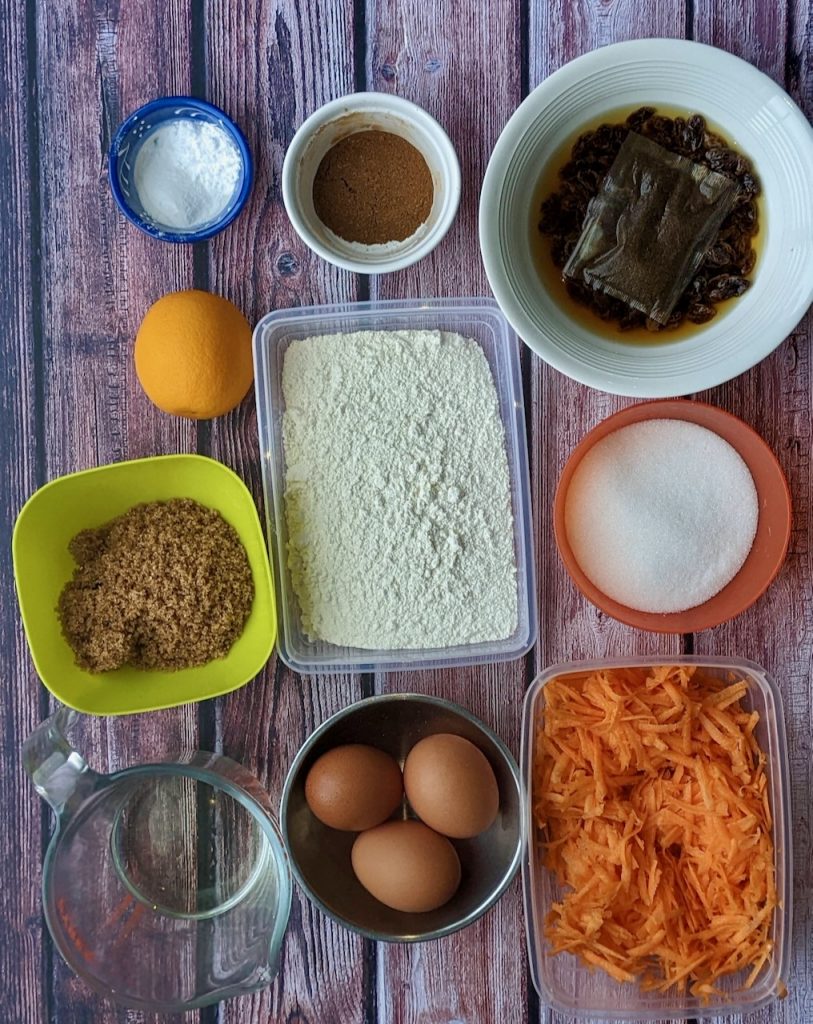
  • 75g raisins and 1 teabag
  • 225g plain flour
  • 125g castor sugar
  • 115g dark brown sugar
  • 1 teaspoon baking powder
  • 1 teaspoon bicarbonate of soda
  • 1/2 teaspoon mixed spice or ground nutmeg/ground ginger
  • 1 teaspoon ground cinnamon
  • 200g grated carrot
  • 1 orange – zest only
  • 3 eggs
  • 100ml light flavoured oil (sunflower or vegetable)
  • (I have chosen not to add walnuts to my cake but add 75g of chopped walnuts if you wish)
  • For the frosting:
  • 225g icing sugar
  • 75g cream cheese – chilled
  • 1 orange- zest and 2 teaspoons of juice
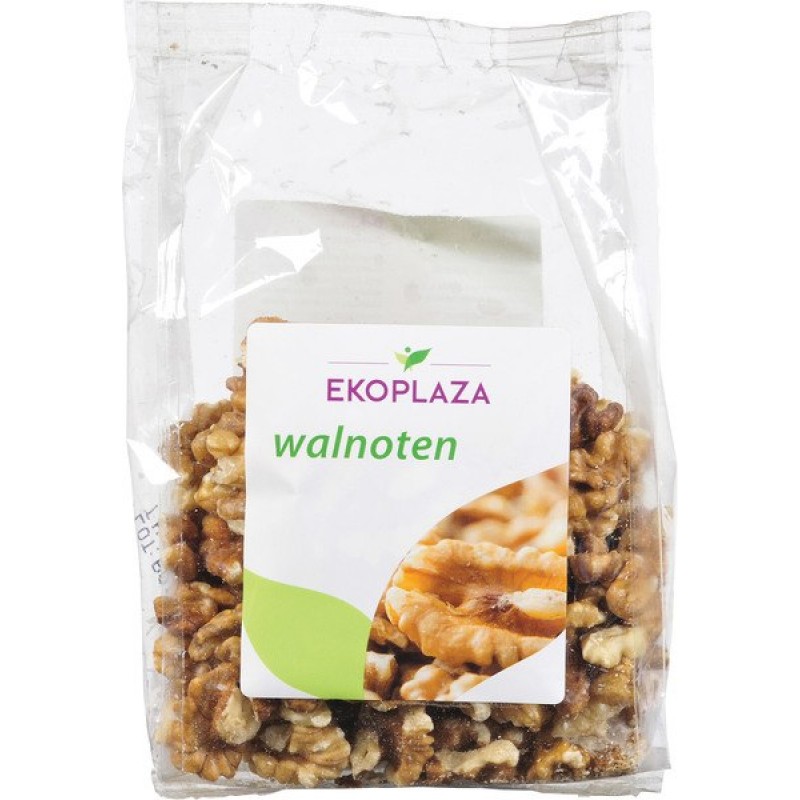
  • 100g walnuts

Method:

  1. Preheat the oven 160C.
  2. Prepare a 9inch loose bottomed cake tin with a light coating of oil and line with parchment paper.
  3. Add the raisins to a bowl with the teabag, cover with boiling water and infuse for 30 minutes then strain and discard the teabag.
  4. To a mixing bowl sieve in the flour, baking powder, bicarbonate of soda, both spices, white sugar.
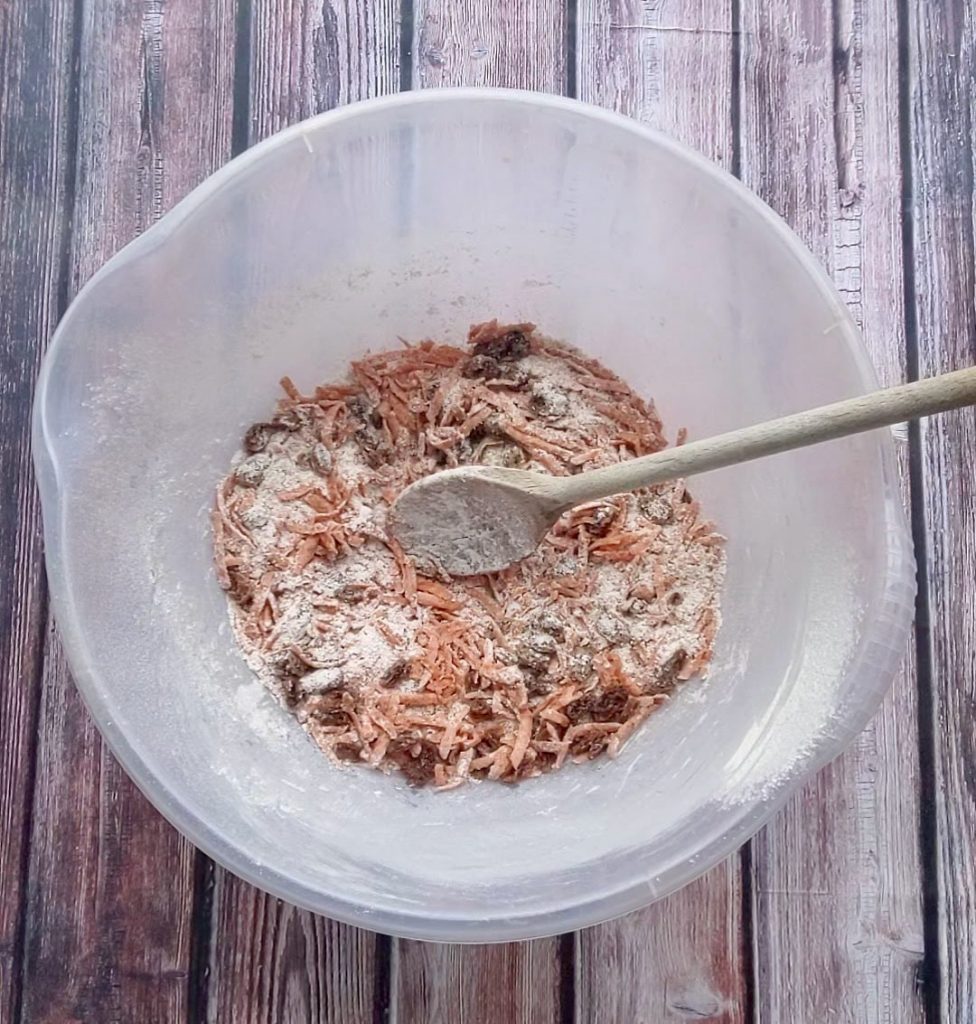
  5. Mix in the brown sugar, grated carrot, raisins and orange zest (and chopped walnuts if using) give everything a really good mix.
  6. Measure the oil and eggs into a jug, whisk well.
  7. Add the oil and eggs into the mixing bowl, and stir until combined.
  8. Pour the cake mix into the prepared cake tin and bake in the oven for about 40 minutes.
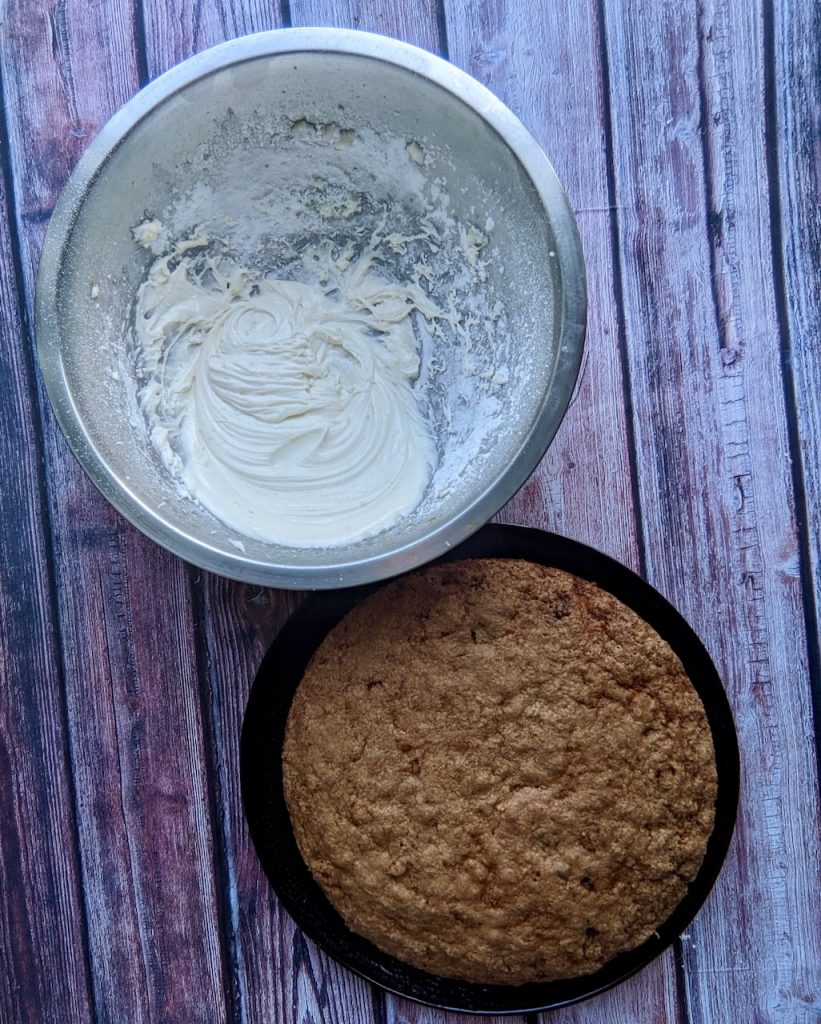
  9. Cool completely before adding the frosting.
  10. For the frosting: Toast the walnuts in the oven for 10 minutes at 160C, keep a close eye on them, cool completely.
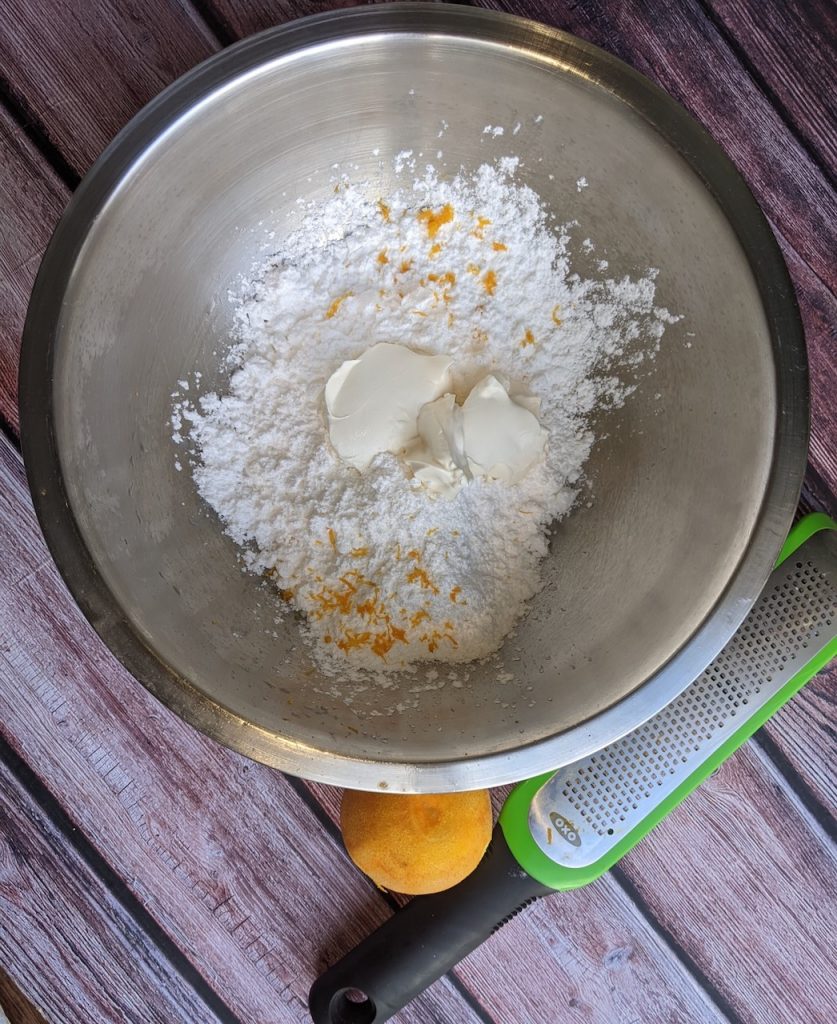
  11. Add the icing sugar and cream cheese to a bowl. Use an electric hand beater to blend until really smooth. Fold in the orange zest and orange juice.
  12. Smooth onto the top of the cake. Scatter walnuts on top and serve with tea.

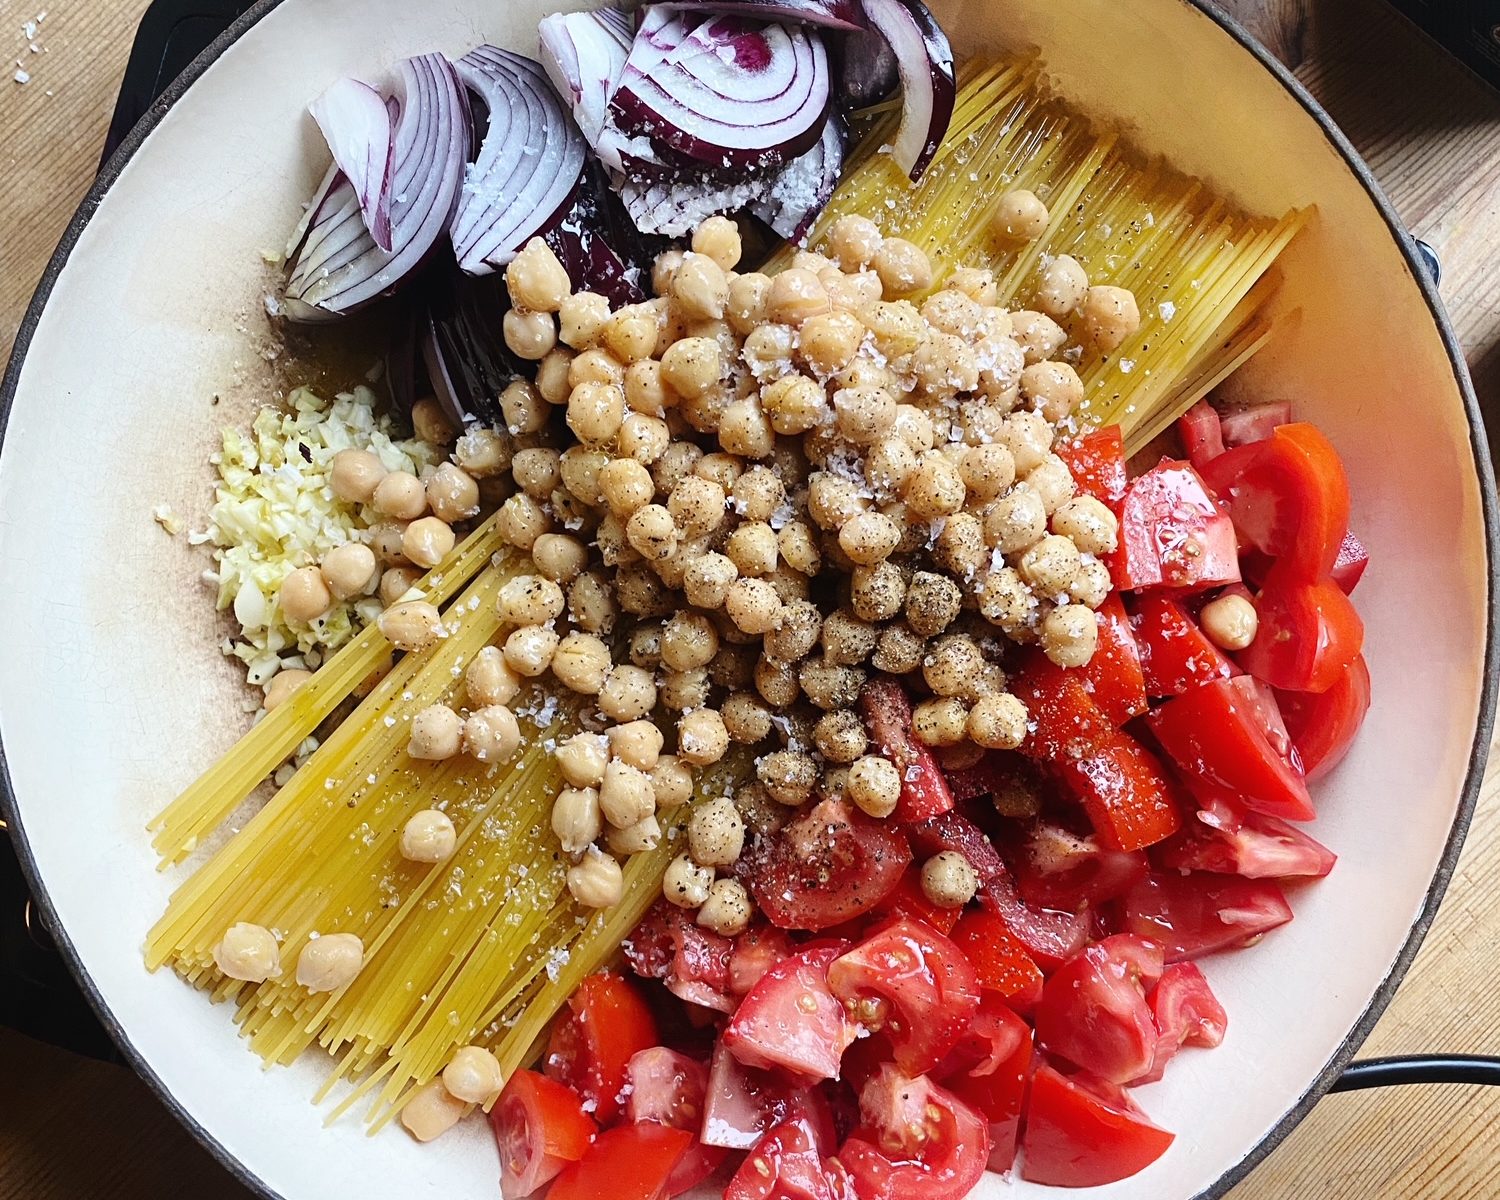
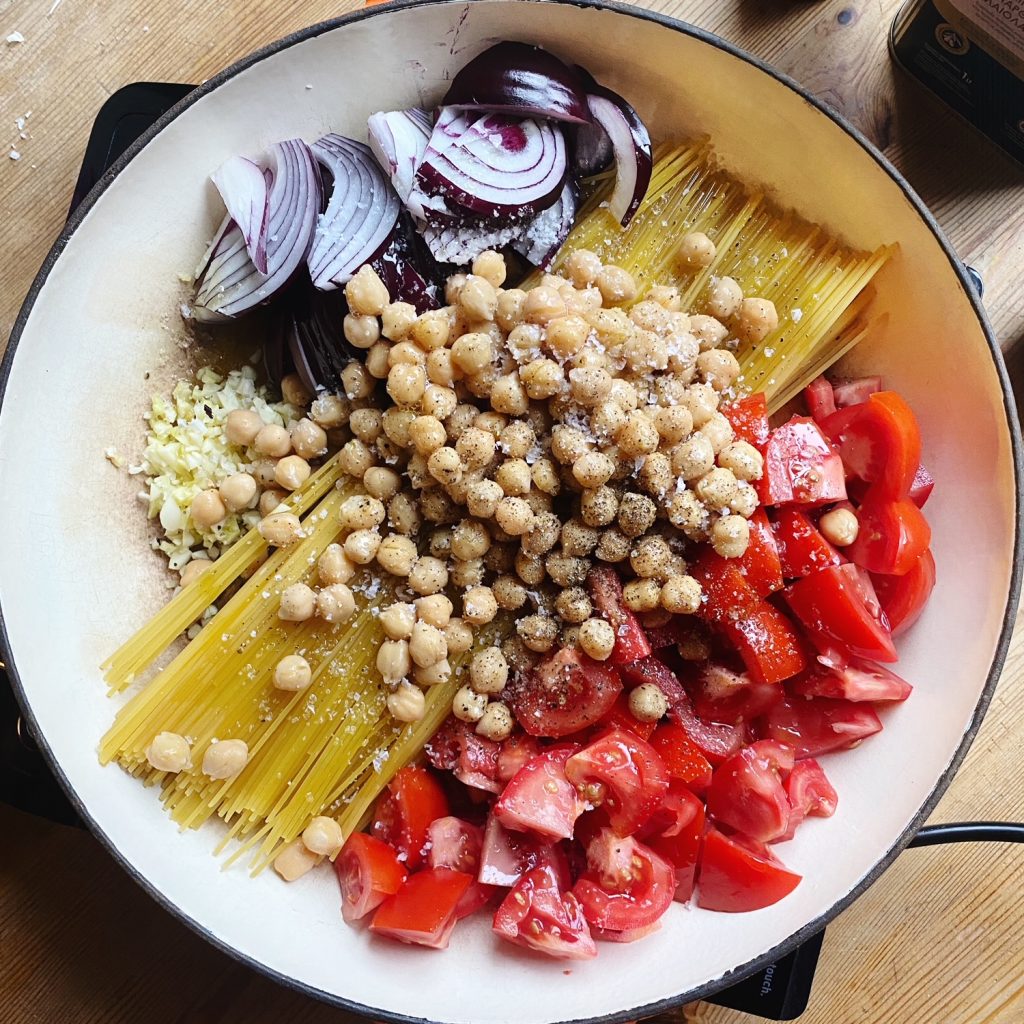
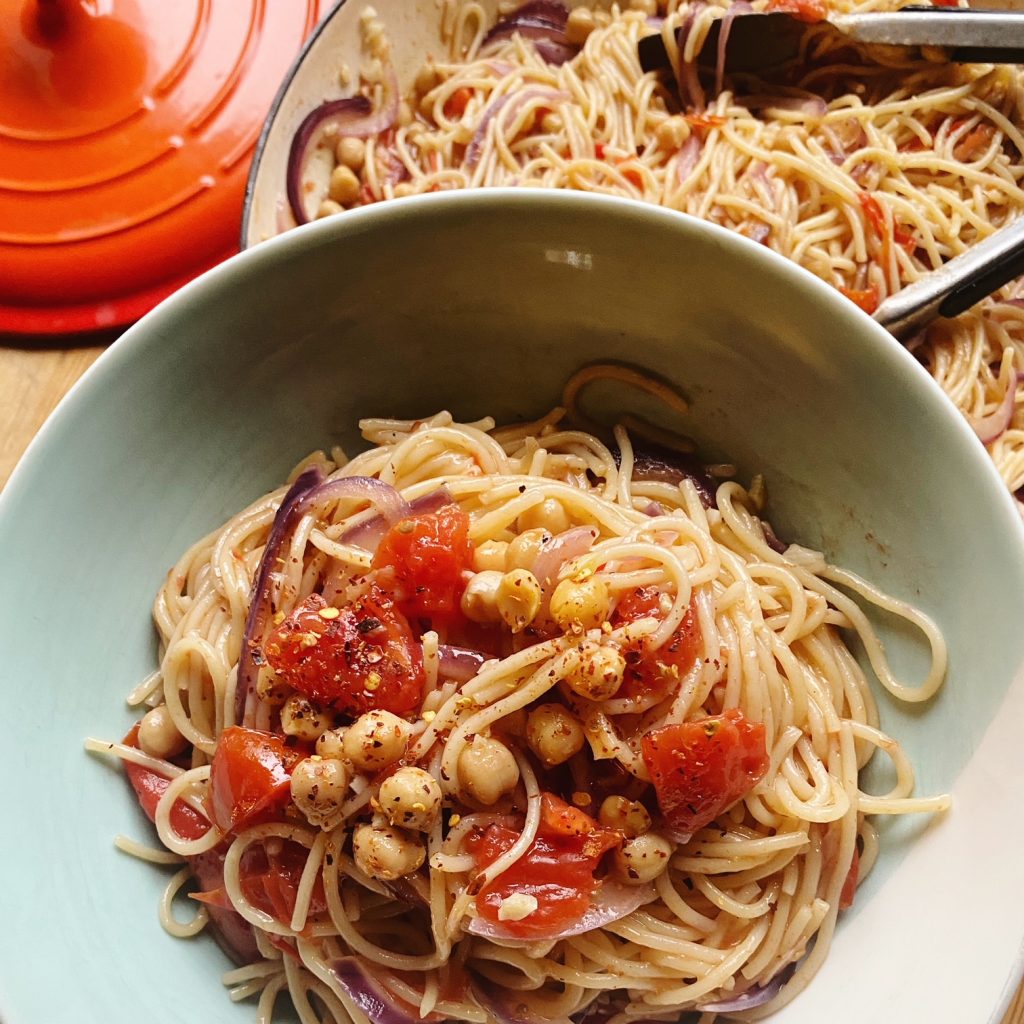
One Pot Tomato & Chickpea Spaghetti


This beautiful budget meal saves you time, money, water and washing up! It’s a regular weeknight supper for us and is popular with the whole family. As the pasta cooks with all the ingredients and absorbs most of the water, it releases starch and creates a gorgeous, silky sauce. This recipe is fuss free too, all you need to do is give it stir every few minutes to ensure it doesn’t stick, it’s so simple and honestly, so delicious! We have a really nice delivery of organic tomatoes from Holland in at the moment as our Irish ones are out of season.

You’ll need a wide, deep pan with a lid. A big stock pot would work too or even a wok. Something that your pasta can lay flat in.

Liz x

Ingredients (serves 4)

  • 400g spaghetti
  • 4 medium/large tomatoes, roughly chopped
  • 4 cloves of garlic, peeled and minced
  • 1 red onion, peeled and thinly sliced
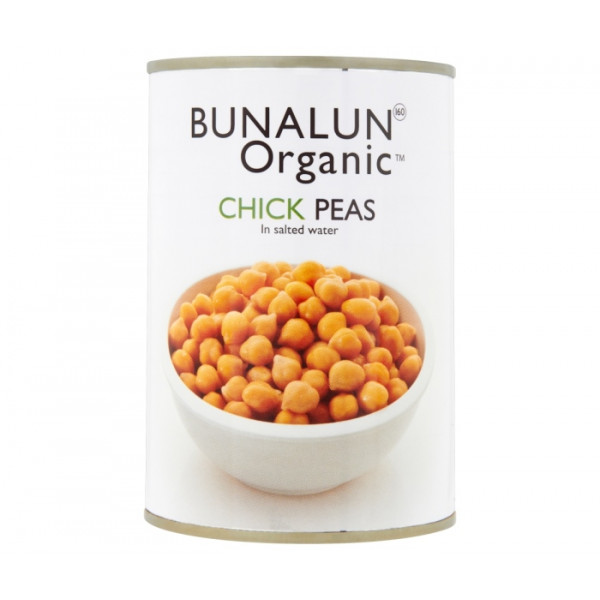
  • 1 tin of chickpeas, drained
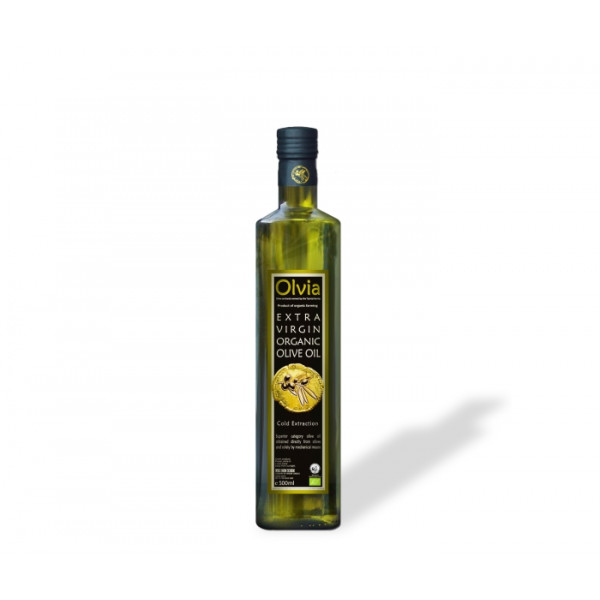
  • 4 tbsp extra virgin olive oil
  • 2 tsp salt
  • 1 tsp ground black pepper
  • 1 liter freshly boiled water
  • optional chilli flakes, cheese or capers to serve

Method

  1. Gather and prepare all your ingredients and put a kettle on to boil with 1 liter of water.
  2. Place all the ingredients into the pan and pour over the freshly boiled water. Give the pan a stir with some tongs, then put the lid on and turn the heat up to high.
  3. As soon as the water comes back to boiling, remove the lid and stir again to loosen any bits of pasta trying to stick to the bottom.
  4. Replace the lid and after 2 minutes, stir again and replace the lid.
  5. Repeat step 4, twice. Now you should have cooked your pasta for around 7 to 8 minutes. Turn the heat off but leave the lid on for 5 minutes to allow it to finish cooking in the residual heat and the sauce to thicken up.
  6. Taste and add more salt or pepper if you need, I also like another drizzle of good olive oil. Serve in bowls with the topping of your choice. A sprinkle of chilli flakes, some salty capers or a generous grating of hard cheese perhaps? Enjoy!