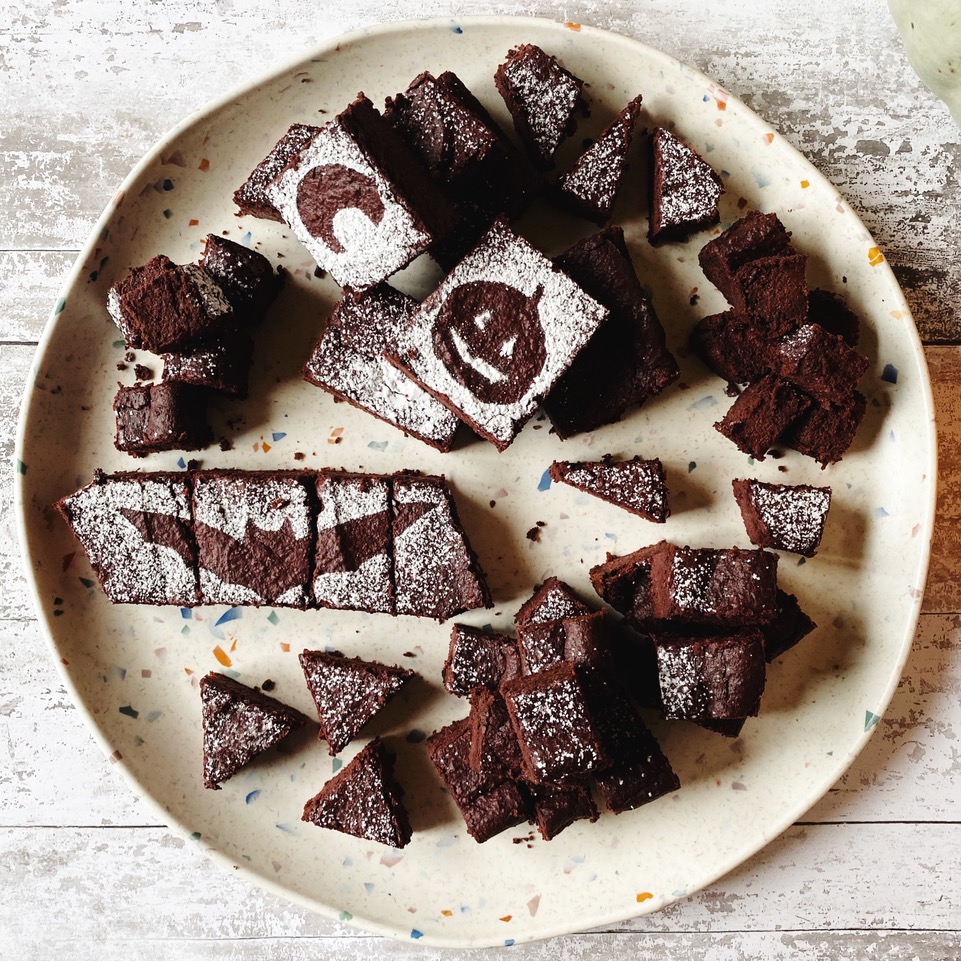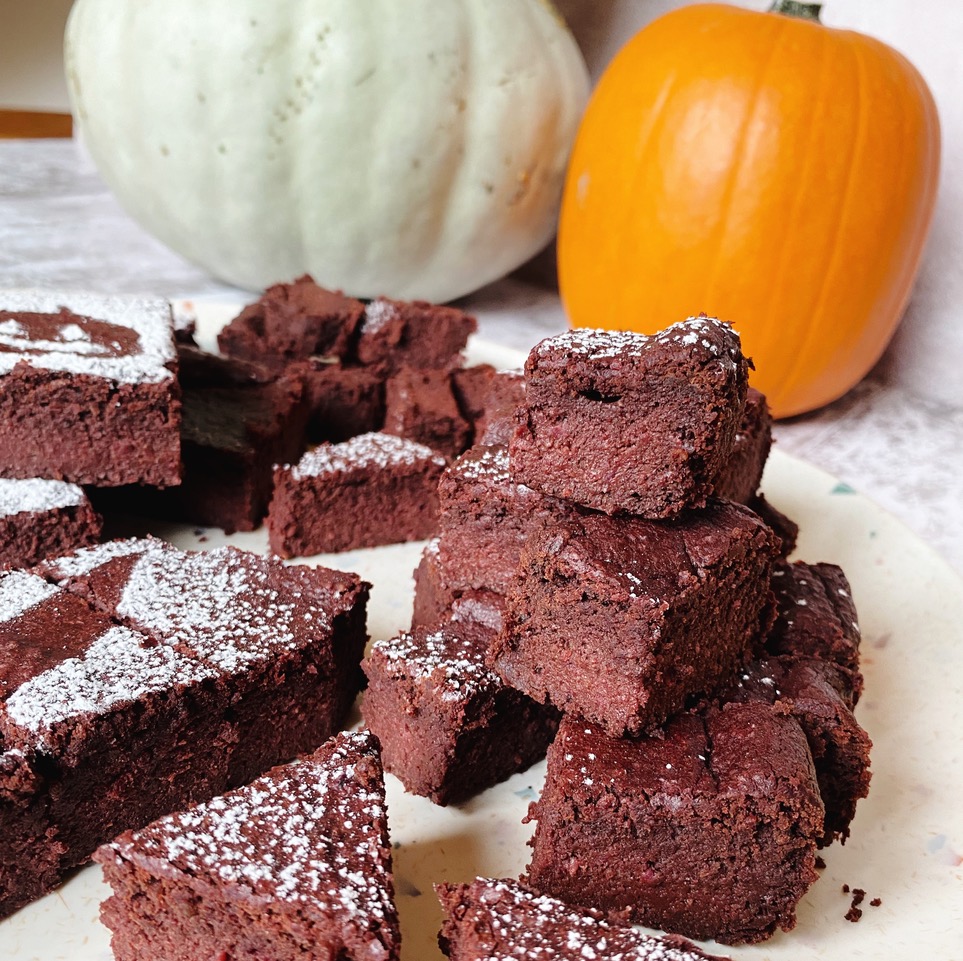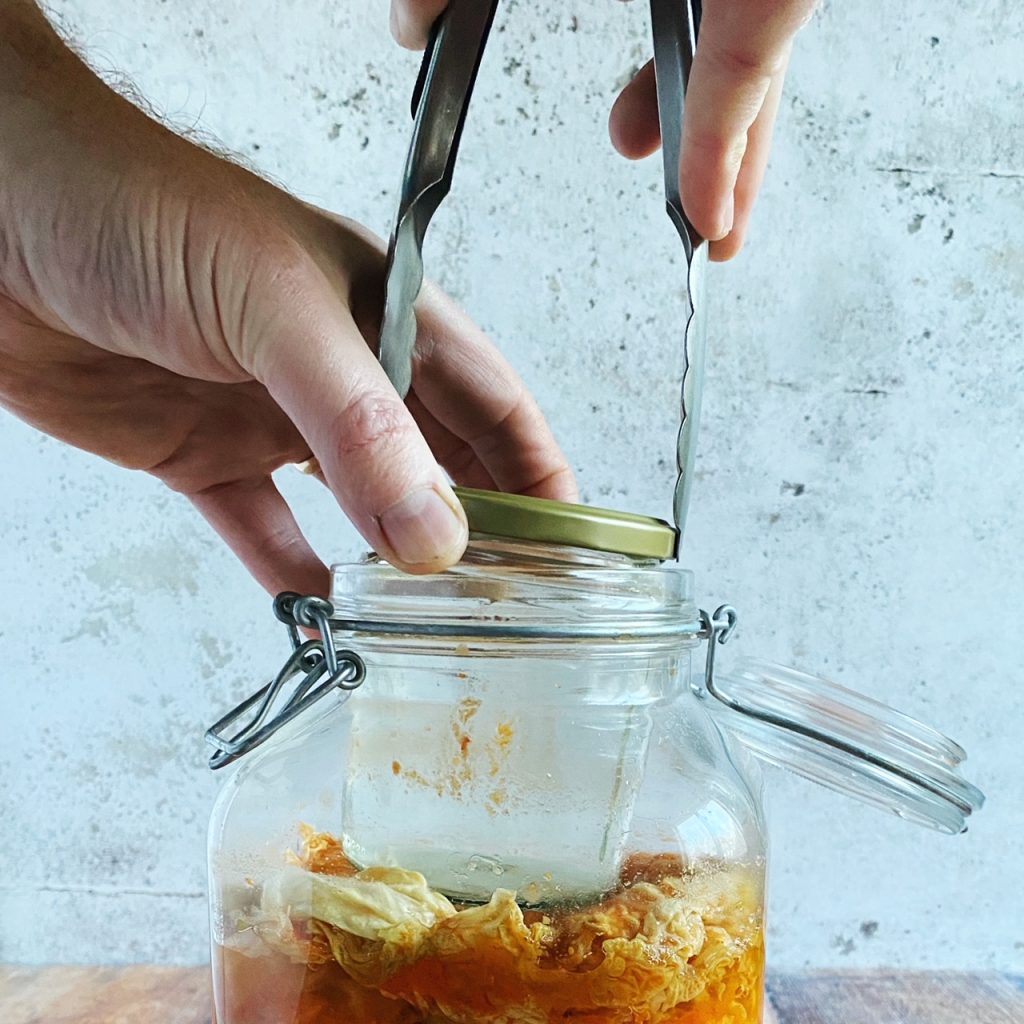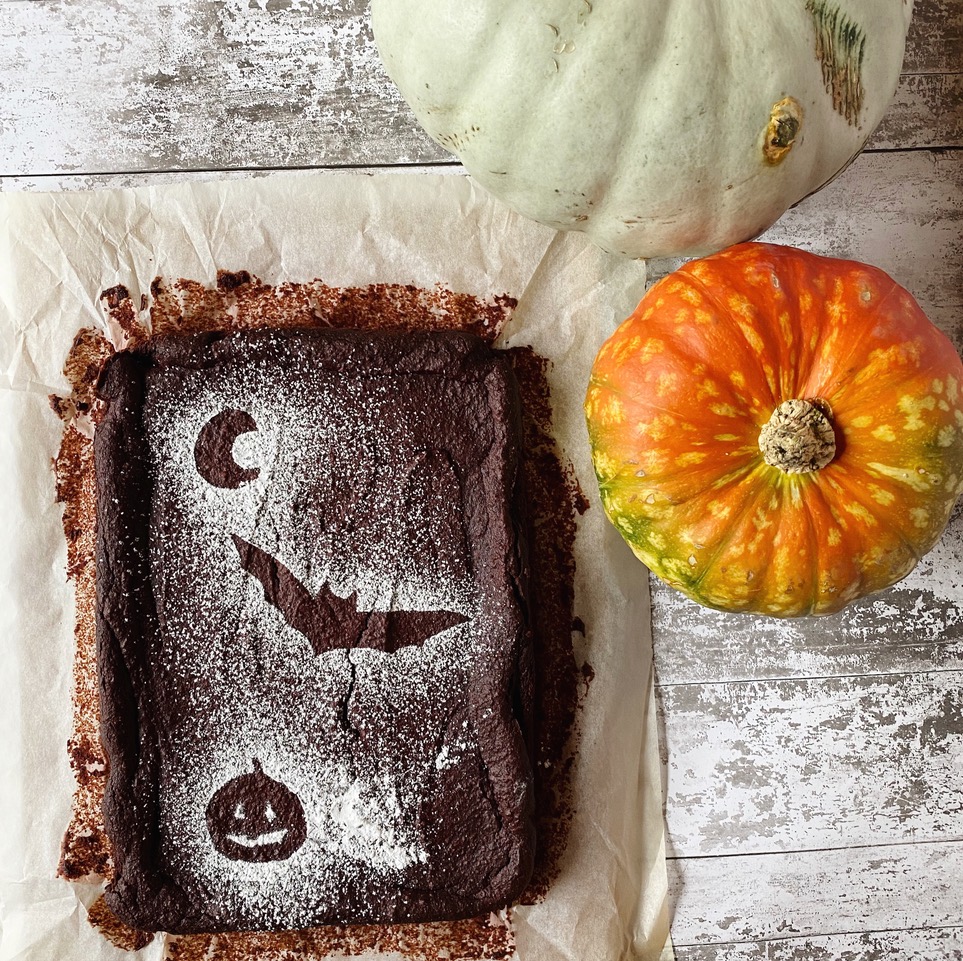
These deliciously dark, squidgy brownies are an absolute treat (and shhh! contain a few tricks too). Make these for the little monsters in your life and trick them into eating beetroot, sunflower seeds and black beans. Hahahahahaaaaaaa! *evil laugh*
This tricky treat is packed full of plant protein and fibre. It is gluten, nut, dairy and egg free, but most definitely not flavour free! So it’s perfect for everyone to enjoy at your Halloween party. These are seriously good, let us know if you make them. All the ingredients can be added to your next order. Did you know we have compostable bags of nuts, seeds, oats etc in the grocery section of our shop? We deliver to every address in Ireland. Happy Halloween!
Liz x

Ingredients
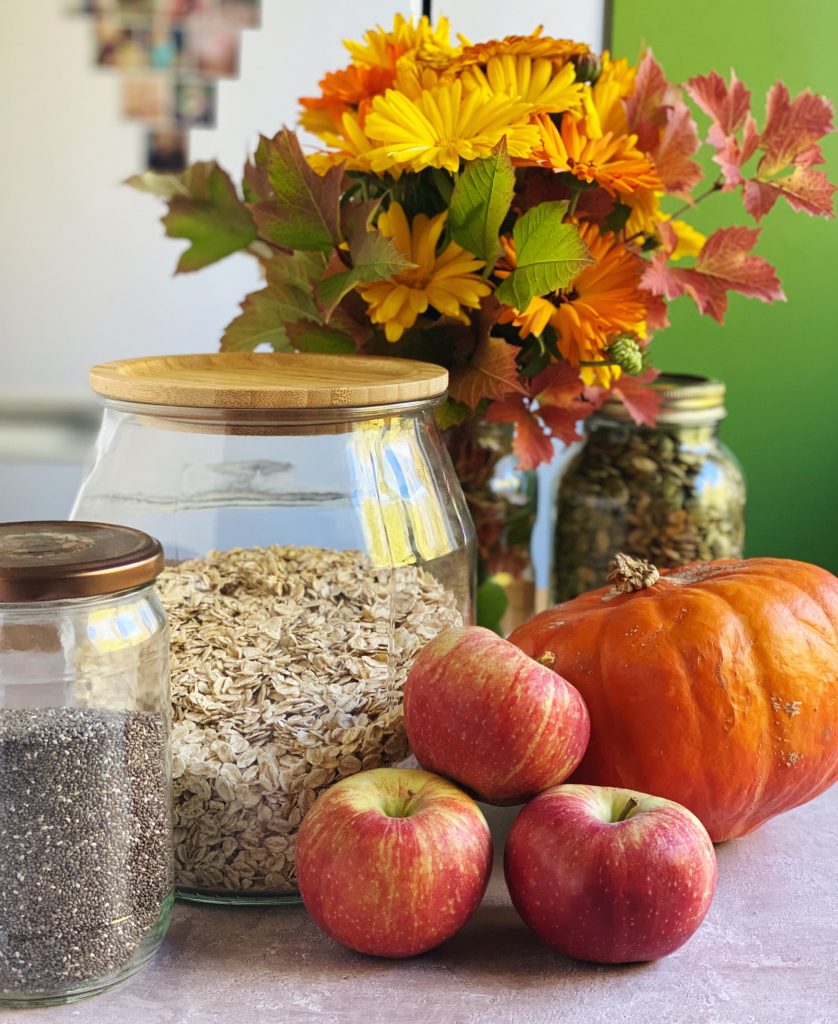
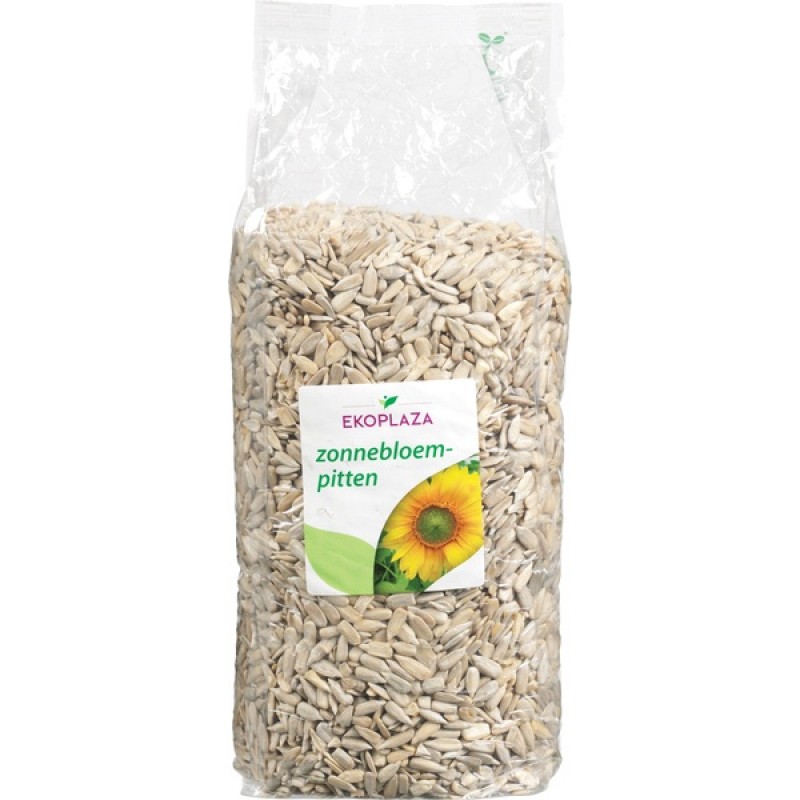
- 100g sunflower or pumpkin seeds
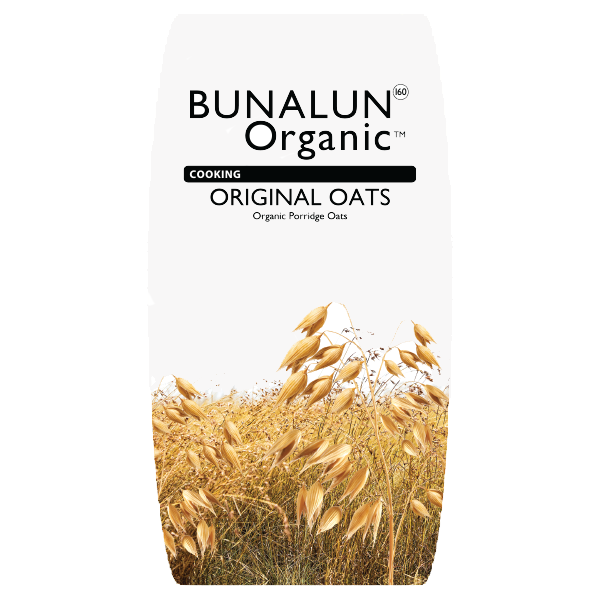
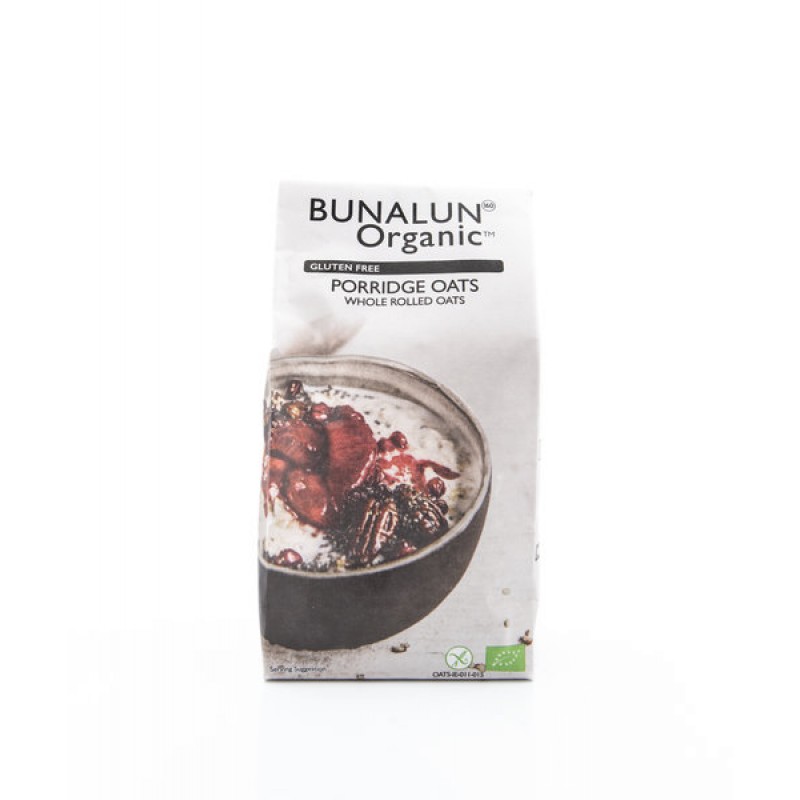
- 100g porridge oats (gluten free if needed)
- 100g sugar (or your choice of sweetener)
- 100ml oat milk (or any dairy free milk)
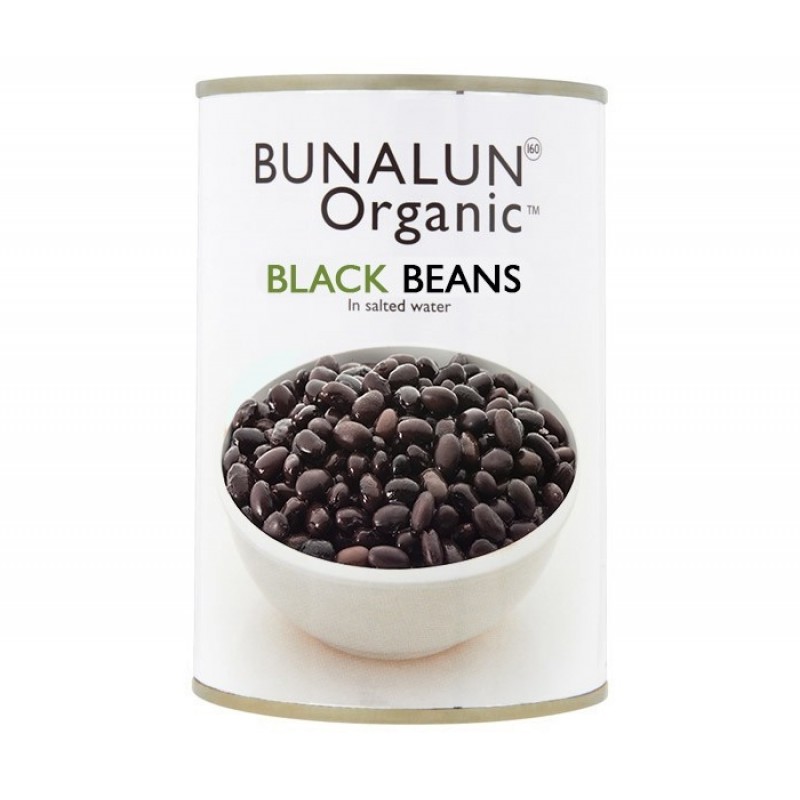
- 1 tin of black beans (including the liquid)
- 5 tbsp oil or butter
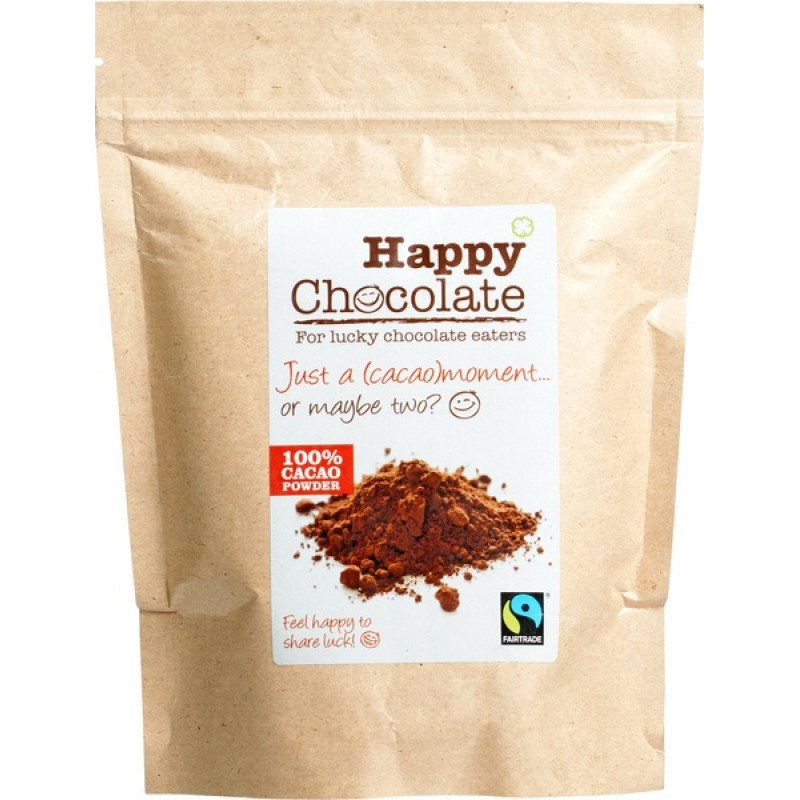
- 6 tbsp cacao powder
- 2 tsp baking powder
- a pinch of salt
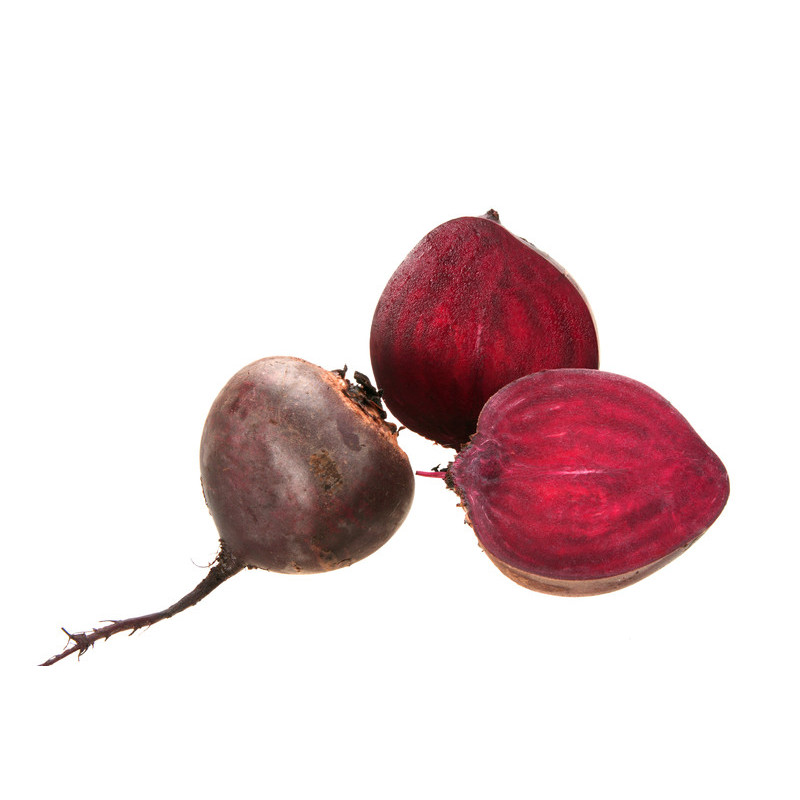
- 250g cooked beetroot
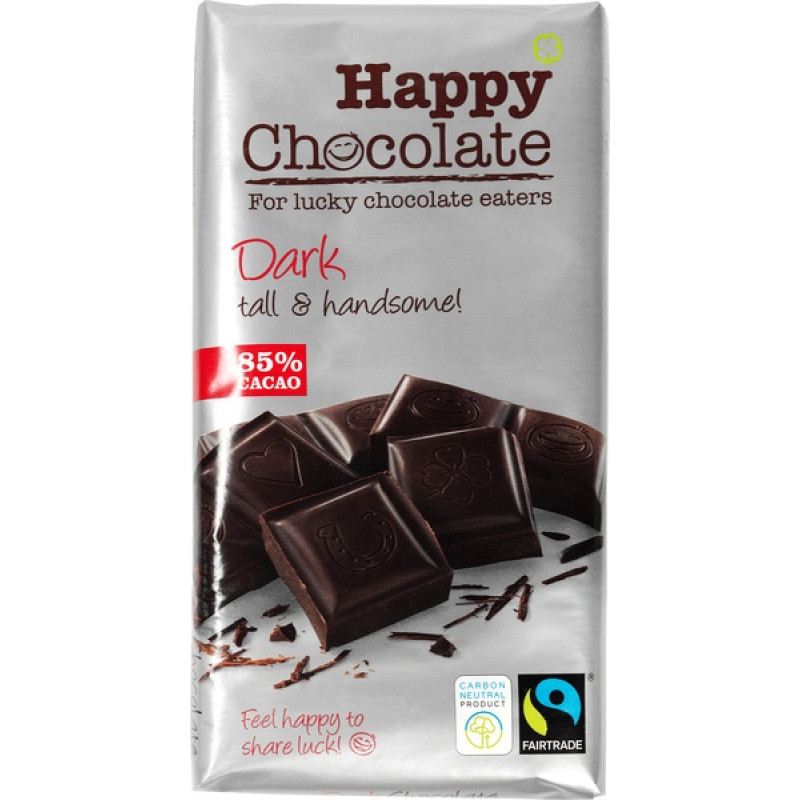
- 250g melted dark chocolate
Method
- Preheat your oven to 180C and line a baking dish (I used a 20x28cm one) with baking parchment.
- In a food processor, blend the sunflower seeds and oats into flour.
- Then add the rest of the ingredients except the melted chocolate. Blend until smooth.
- Mix in the melted chocolate then pour the batter into the dish. Even it out, getting into the corners, then bake for 40 minutes or until cracked on top and still a little wobbly.
- Allow the brownie to completely cool in the dish. Then remove onto a chopping board to decorate and slice as you like.