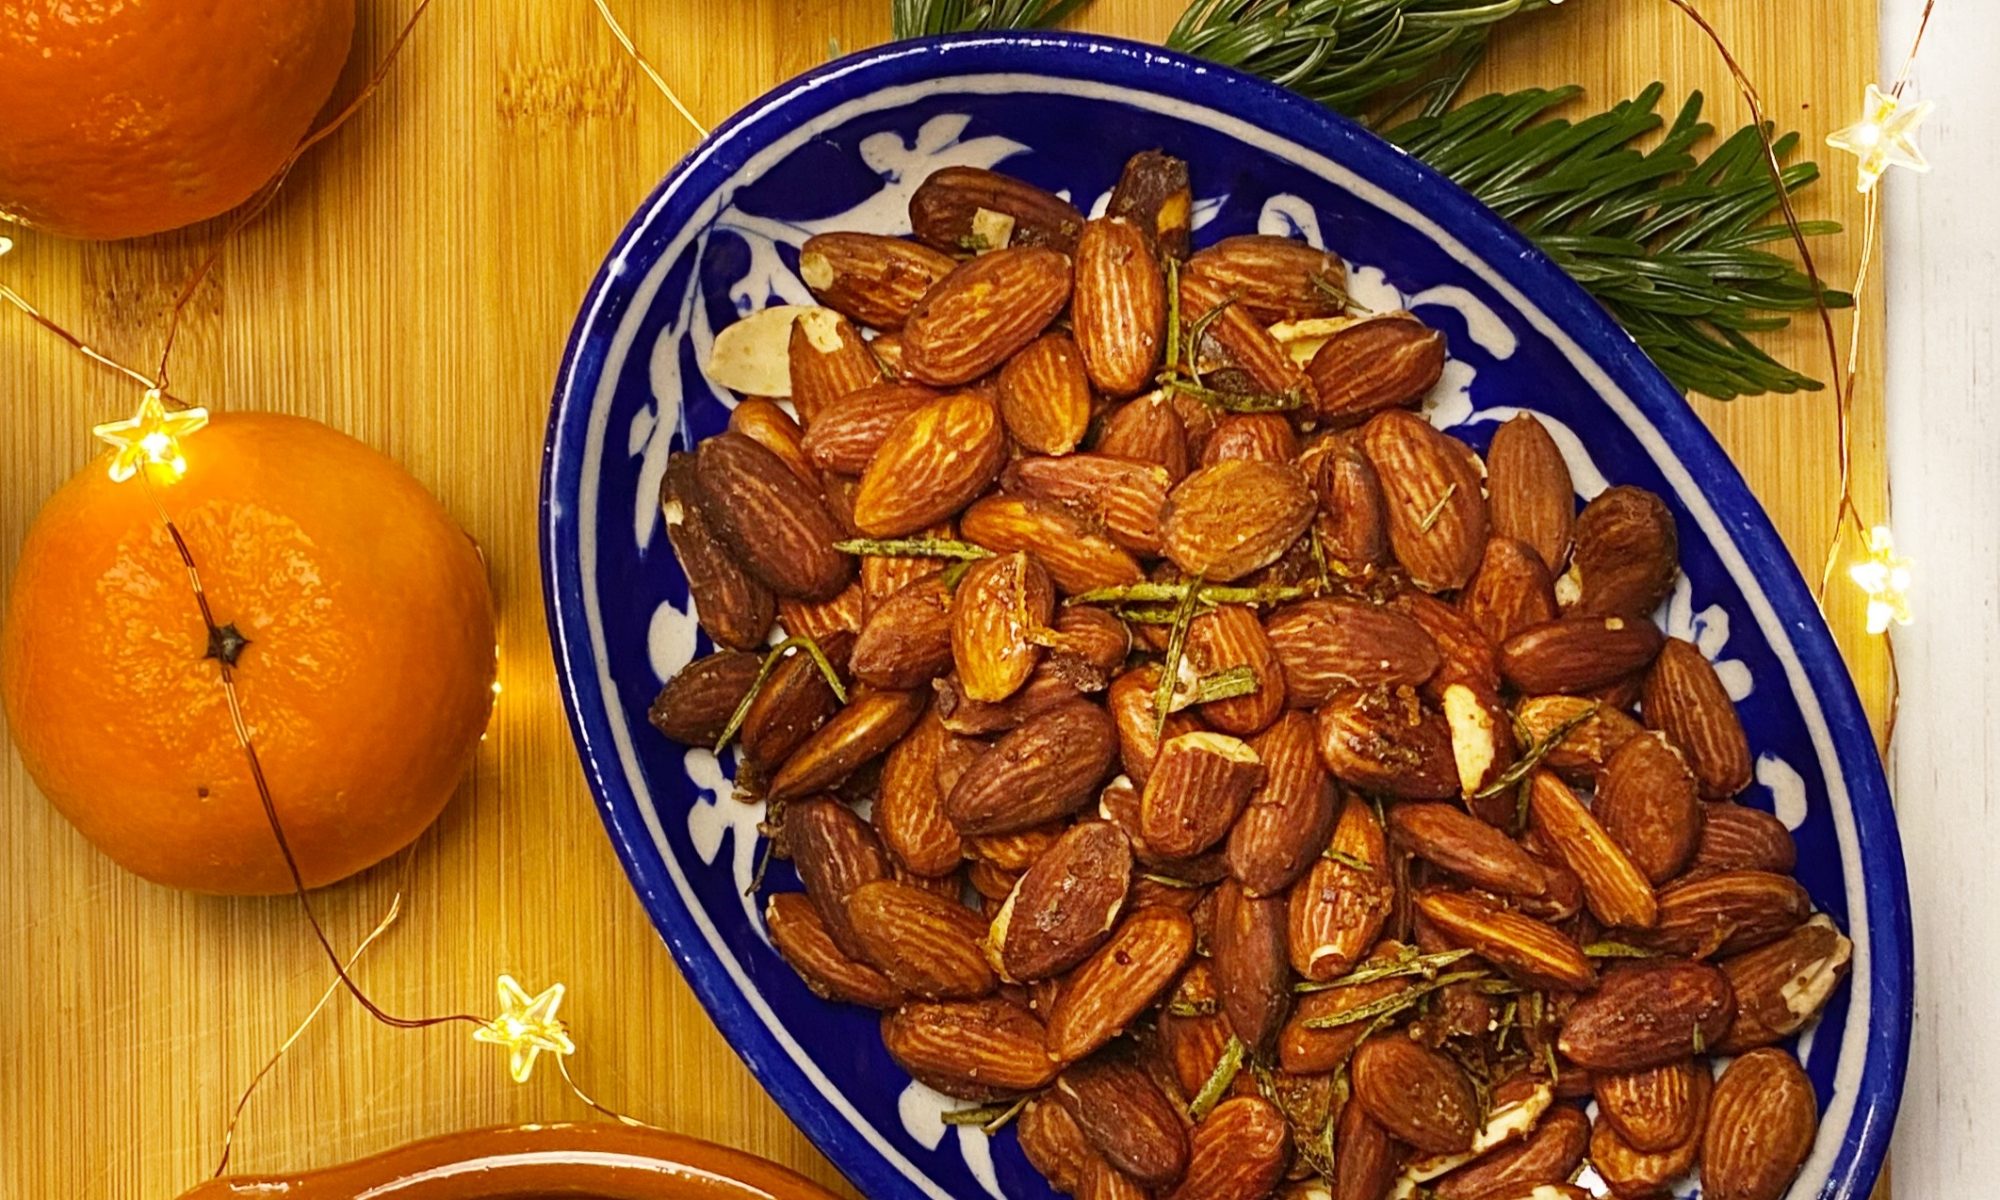
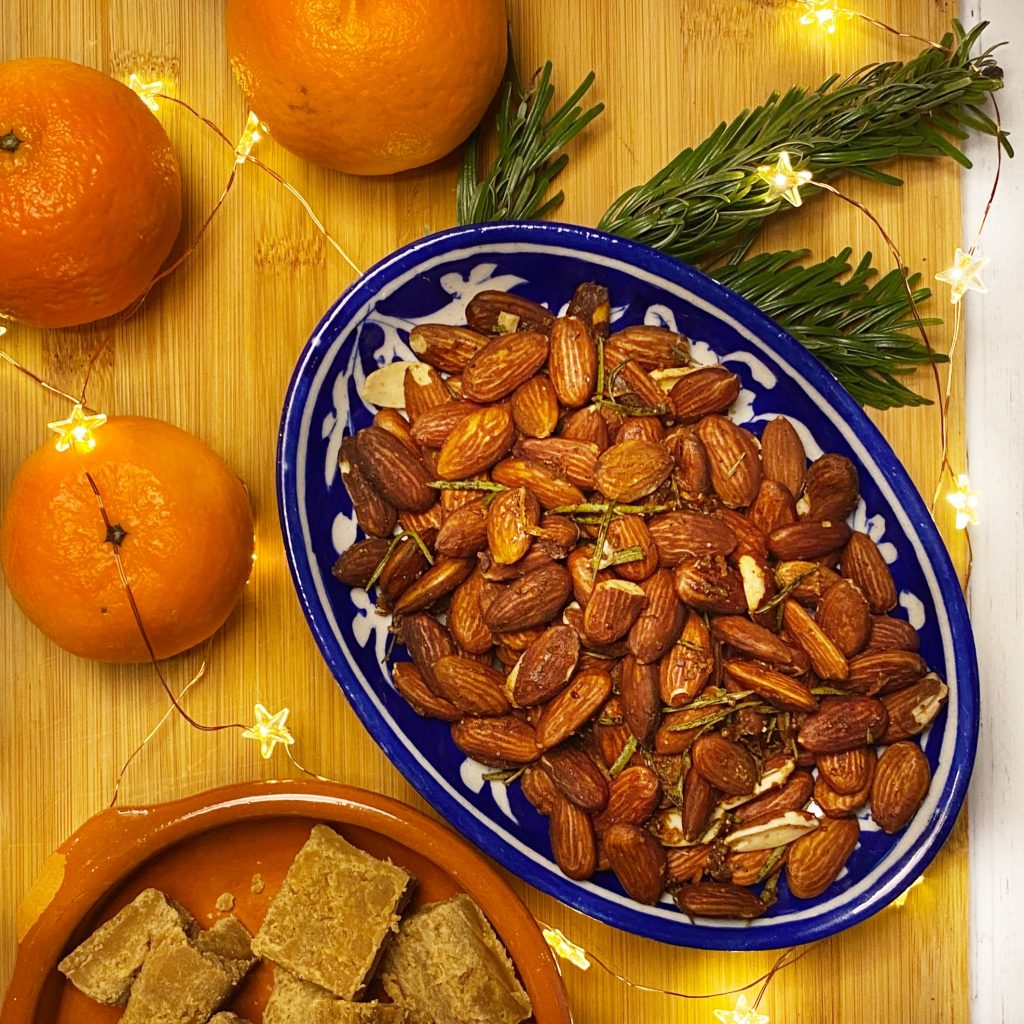
This aromatic, sweet and salty snack is the perfect nibble alongside a glass of wine or whilst watching a Christmas film. We stock organic almonds in compostable bags if you’d like to make your own. It’s easy to do and the flavour combination is just perfect! You might want to double or triple the batch and give some jars away as festive gifts.
Liz x
Ingredients
500g whole almonds
the zest of a large orange (or use a few clementines)
4 tbsp rosemary leaves
2 tsp salt
2 tsp coarsely ground black pepper
2 tbsp olive oil
4 tbsp maple syrup or honey
Method
Preheat the oven to 175C and line your largest roasting tray with baking parchment.
In a large mixing bowl, combine all the ingredients. Taste an almond and add more of any ingredient if you like, perhaps you’d like it extra peppery?
Spread the almonds onto the lined baking tray in a single layer. Bake for 15 minutes or so until the nuts are beautifully toasted. Remove the tray from the oven every 5 minutes to stir the nuts and ensure they are not burning. Keep a close eye on them, once they start to toast they go very quickly!
Allow the nuts to cool completely on the tray before storing them in an airtight container. They should stay fresh for a couple of weeks. Enjoy with a glass of wine and other delicious nibbly bits or gift wrap and share with your loved ones.
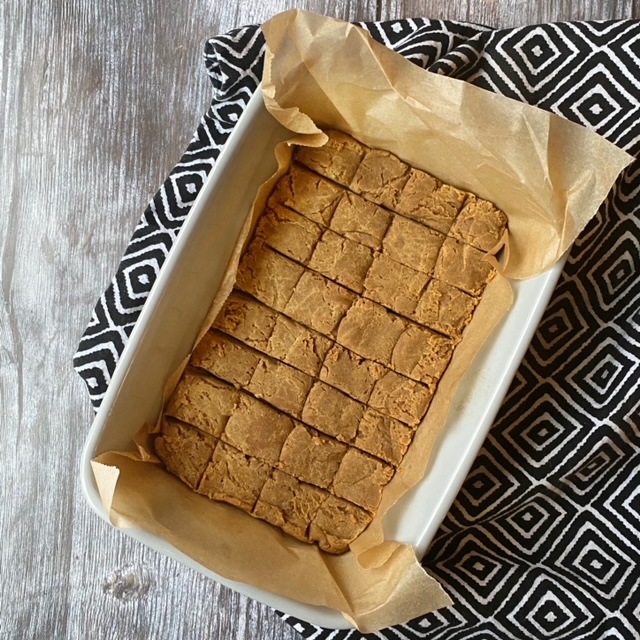
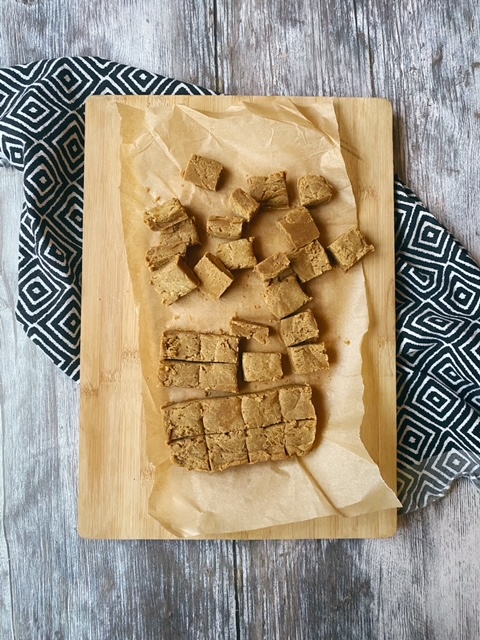
I have a childhood memory of the best homemade fudge. Every shop-bought fudge I’ve ever purchased has never lived up to that memory. It’s usually too close to caramel or toffee, too chewy or sticky. To me, fudge should hold together in blocks, but when you bite into it, it should have a buttery, sweet flavour and a slightly grainy, melt-in-the-mouth texture. It should crumble and be short and snappy rather than chewy and stretchy. I’ve been experimenting in the kitchen and I’m really happy with this recipe.
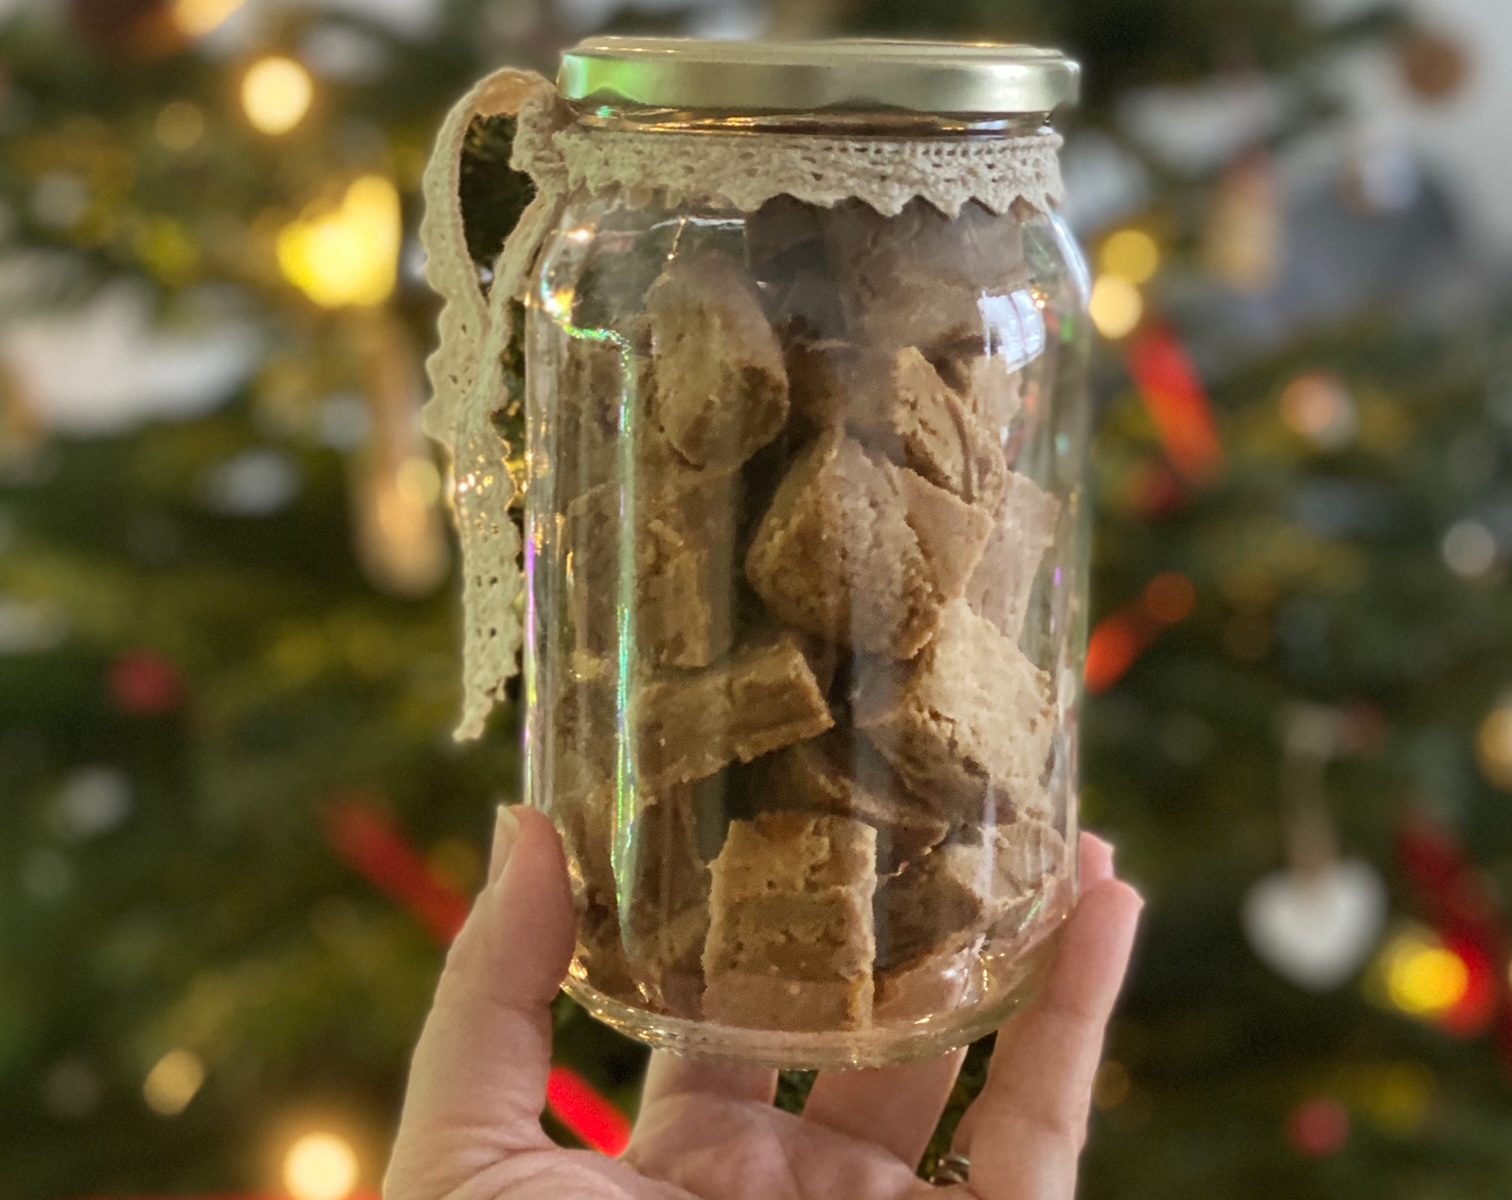
Our new Natruli butter blocks make it easy to recreate a dairy free version. This recipe works just as well with dairy/dairy-free ingredients so you do you. A jar of fudge is definitely going in all my homemade Christmas hampers to friends this year. Do you make homemade Christmas gifts? I’d love to hear about them in the comments.
Liz x
Ingredients
150g butter
300g sugar (our whole cane sugar is perfect for this recipe, otherwise use an even mix of soft brown and white sugar)
250ml milk (I use oat milk but any milk will work)
a large pinch of Achill Island sea salt flakes
1 tsp vanilla essence
Method
Put all the ingredients except the vanilla into a heavy bottomed pot.
Melt them together over a medium-high heat, stirring regularly with a wooden spoon.
Bring the mixture up to a bubbling boil. Stir frequently and let it bubble and thicken for 20 minutes or until it reaches 115C.
Take the pot off the heat, add the vanilla then beat with a whisk for around 8 minutes or until the sugars start to crystallise. You should notice the mixture change from glossy and smooth to thick and grainy.
Scrape the mixture into a small baking tray lined with baking parchment (did you know we sell compostable baking paper?), level it out and score/cut it into 32 squares using a blunt knife or the edge of a spatula.
Cover the tray with a clean tea towel and let it set at room temperature for a few hours.
Once it’s completely cool you can pull it out and snap it into squares. Pack the fudge into an airtight container and enjoy within 2 weeks! It will store well at room temperature in an airtight container. It is prone to dry out in the fridge so it’s best to keep it at room temperature.
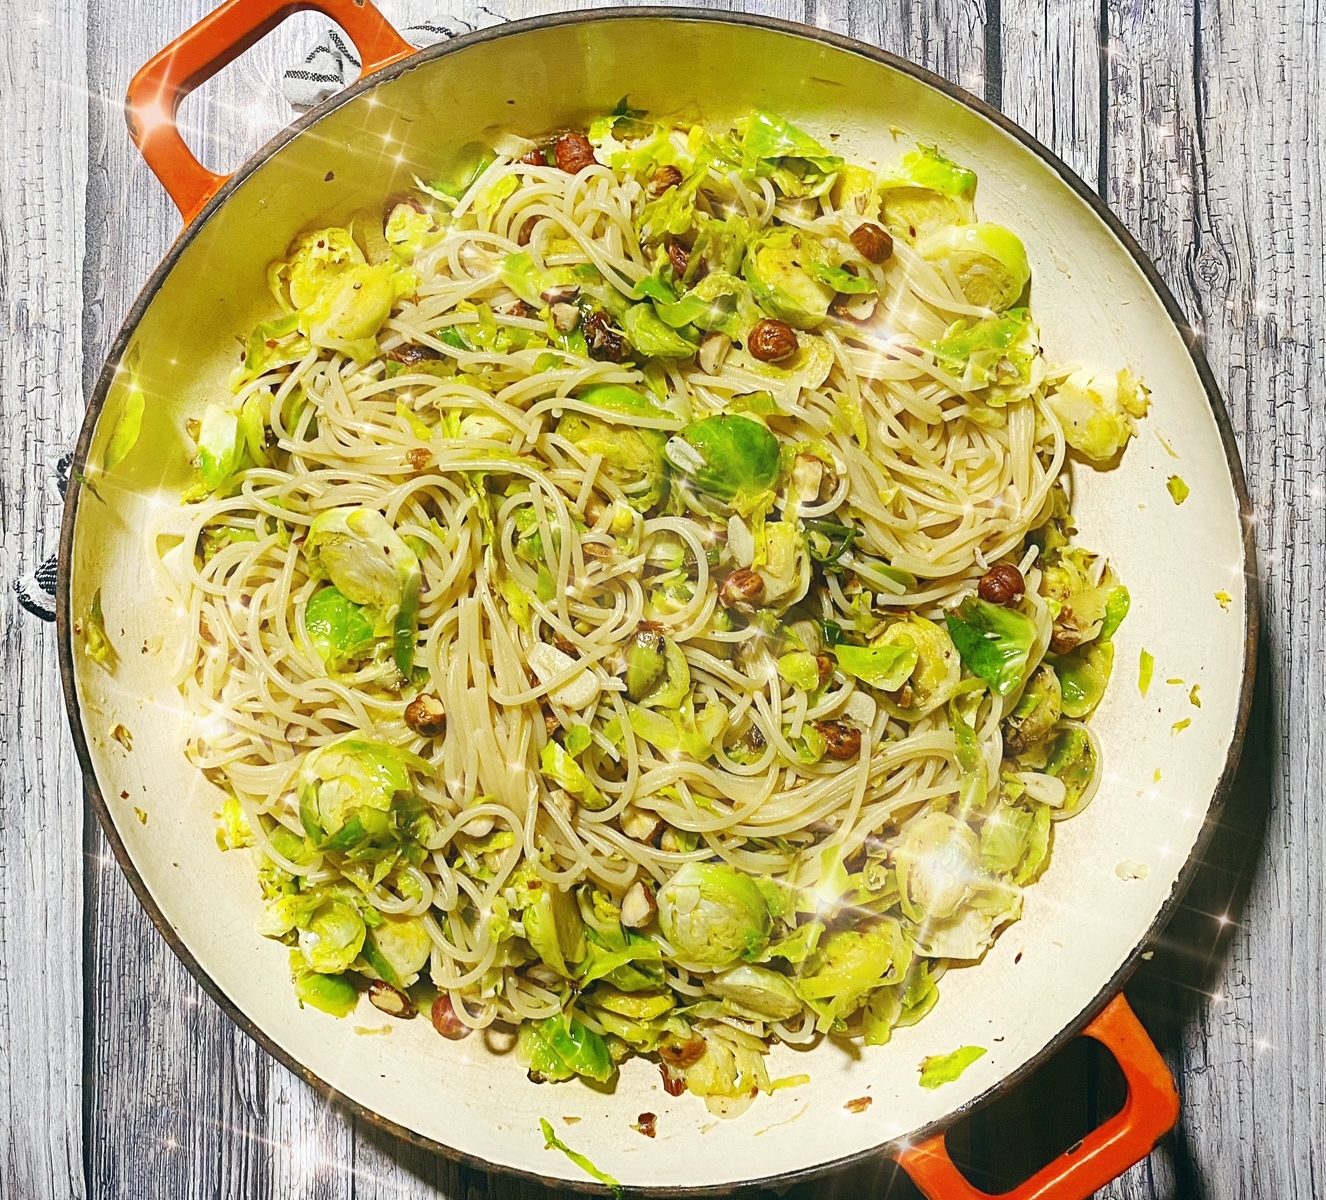
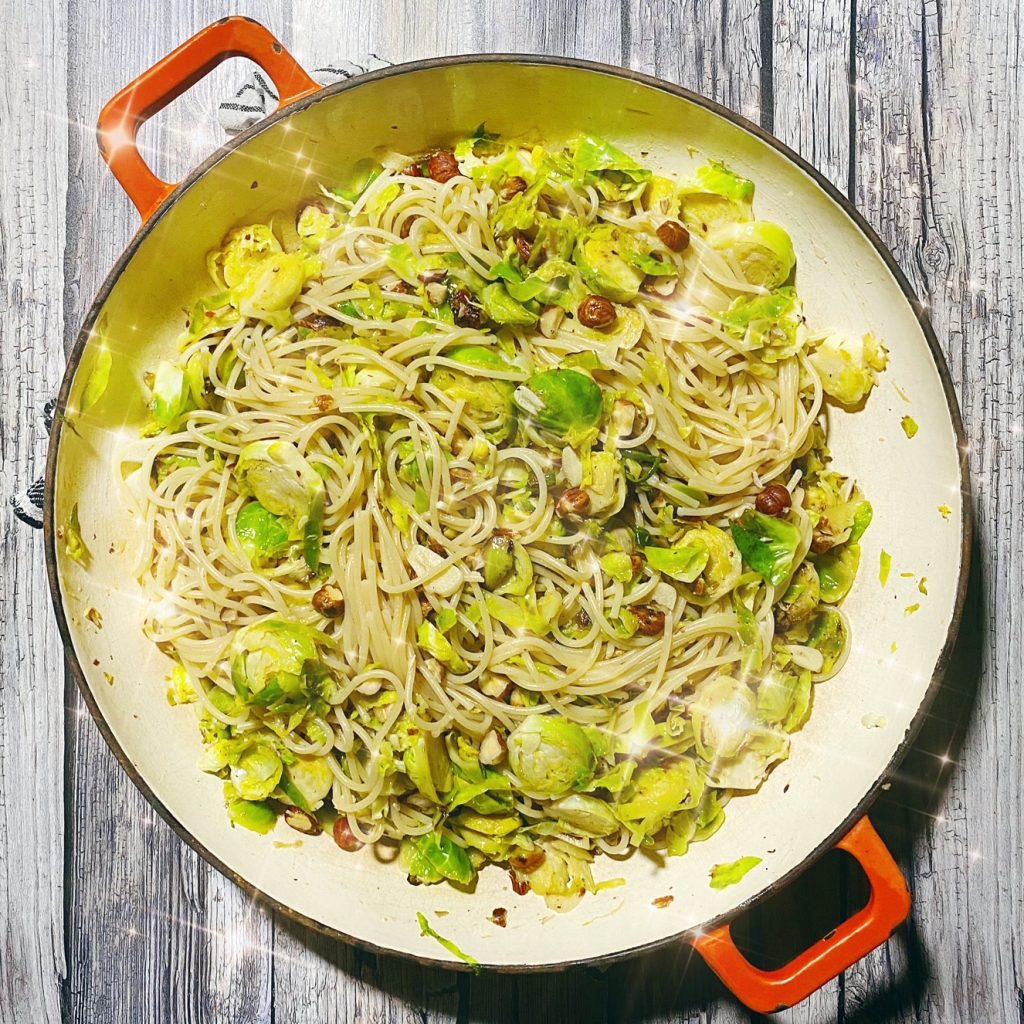
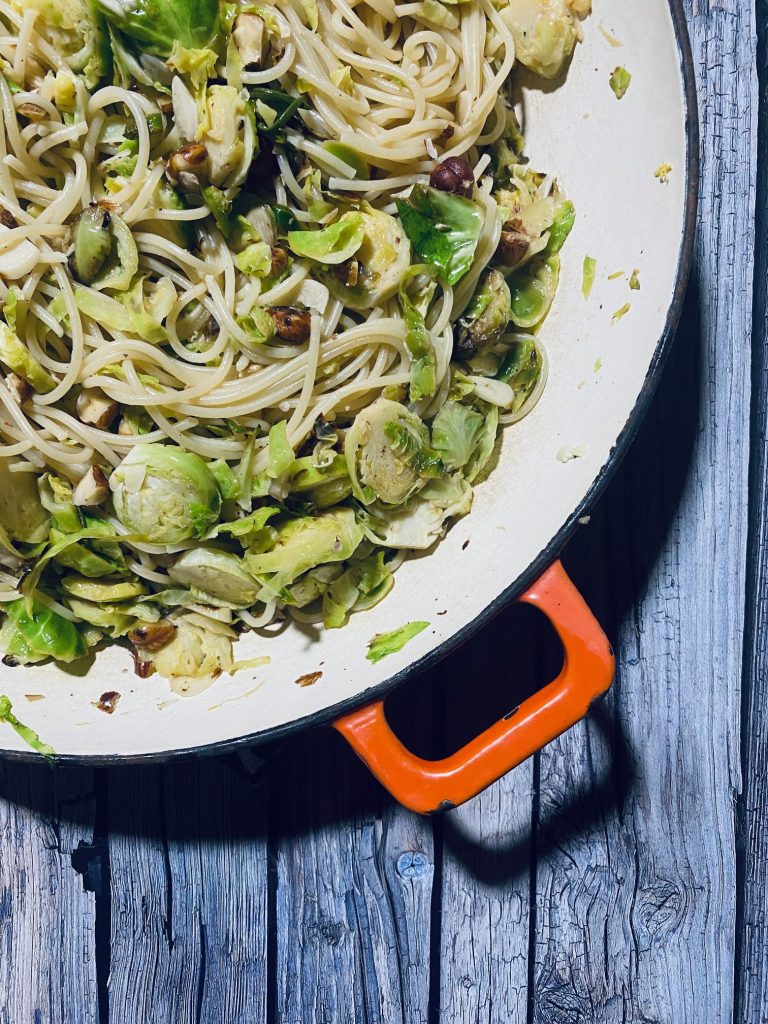
Brussels sprouts are in season and are certainly not just for Christmas Day. Have you been adding them to your boxes? What’s your favourite sprout recipe? I love sautéing them like this with garlic, herbs, nuts and citrus, then folding them through pasta. They’re also brilliant stirred through rice or another cooked grain like barley, quinoa, buckwheat etc for a gorgeous warm salad. Here’s my sprout spaghetti recipe, it makes a stunning mid-week meal and will only take as long as the time to boil your pasta. Quick, festive and delicious!
Liz x
Ingredients (per person)
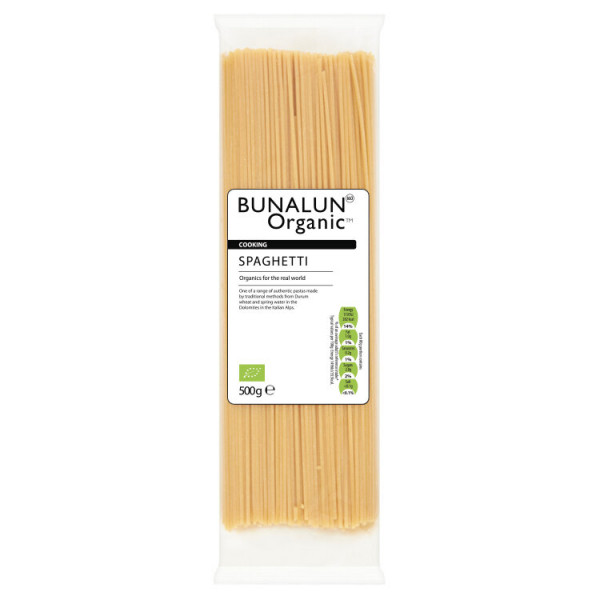
70-100g dry spaghetti (depending on appetite) or other grain/pulse of your choice eg quinoa, rice…
1 heaped tbsp butter (I use our new dairy free Natruli blocks)
2 tbsp extra virgin olive oil
1 clove of garlic
7 Brussels sprouts, thinly sliced
a small handful of hazelnuts, roughly chopped
3 sprigs of rosemary
1/2 tsp lemon zest
2 tbsp lemon juice
salt and pepper to taste (it’s extra good with lots of black pepper!)
Method
Bring a large pot of water to the boil, meanwhile chop your sprouts, garlic and hazelnuts.
Generously salt the boiling water and drop in the pasta. Give it an occasional stir to prevent it from clumping or sticking to the bottom. While the pasta cooks, prepare the rest of the dish.
In a wide pan, melt the butter, add the oil and sprouts, hazelnuts, garlic and rosemary. Stir fry for a few minutes then season well with salt and pepper.
Add the zest and juice of the lemon when the sprouts turn bright green and are mostly cooked through. Stir well, taste and adjust the seasoning if need with more salt, pepper or lemon. Turn off the heat for now.
Drain the pasta but reserve a mug or so of the starchy cooking water. Add the pasta to the sprouts and turn the heat back on. Add a few splashes of the cooking water and mix the pasta and buttery sprouts together. The pasta water and butter should create a delicious, light, lemony sauce. Taste again and you’ll probably want to add more black pepper.
Serve in bowls and top with grated cheese or nutritional yeast flakes if you like. Enjoy!
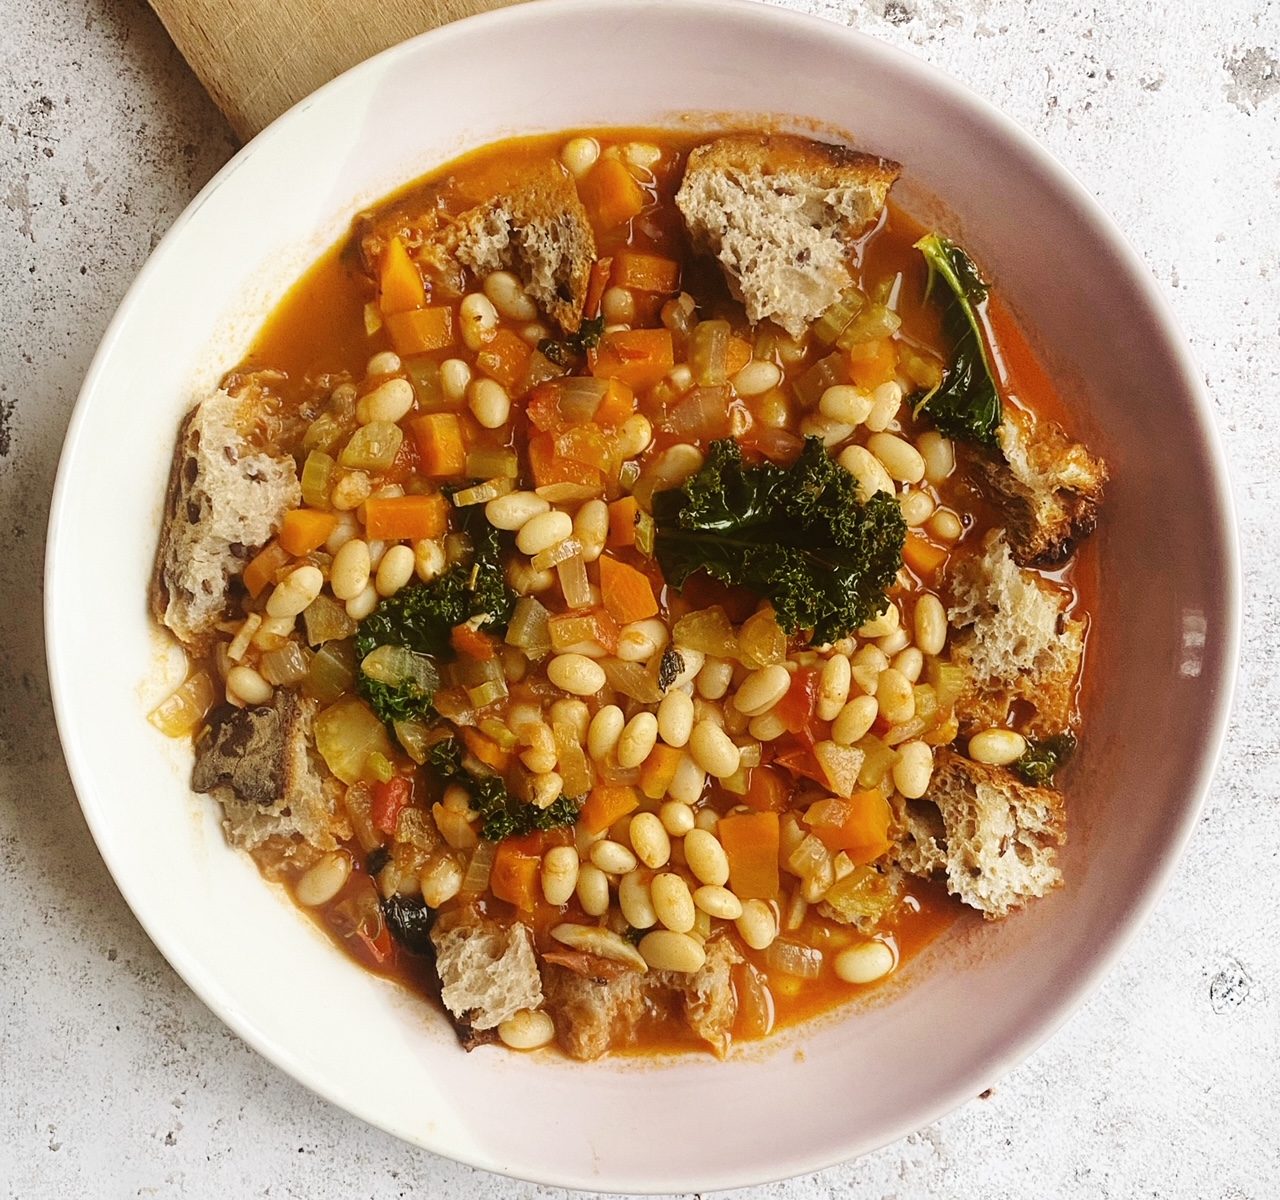
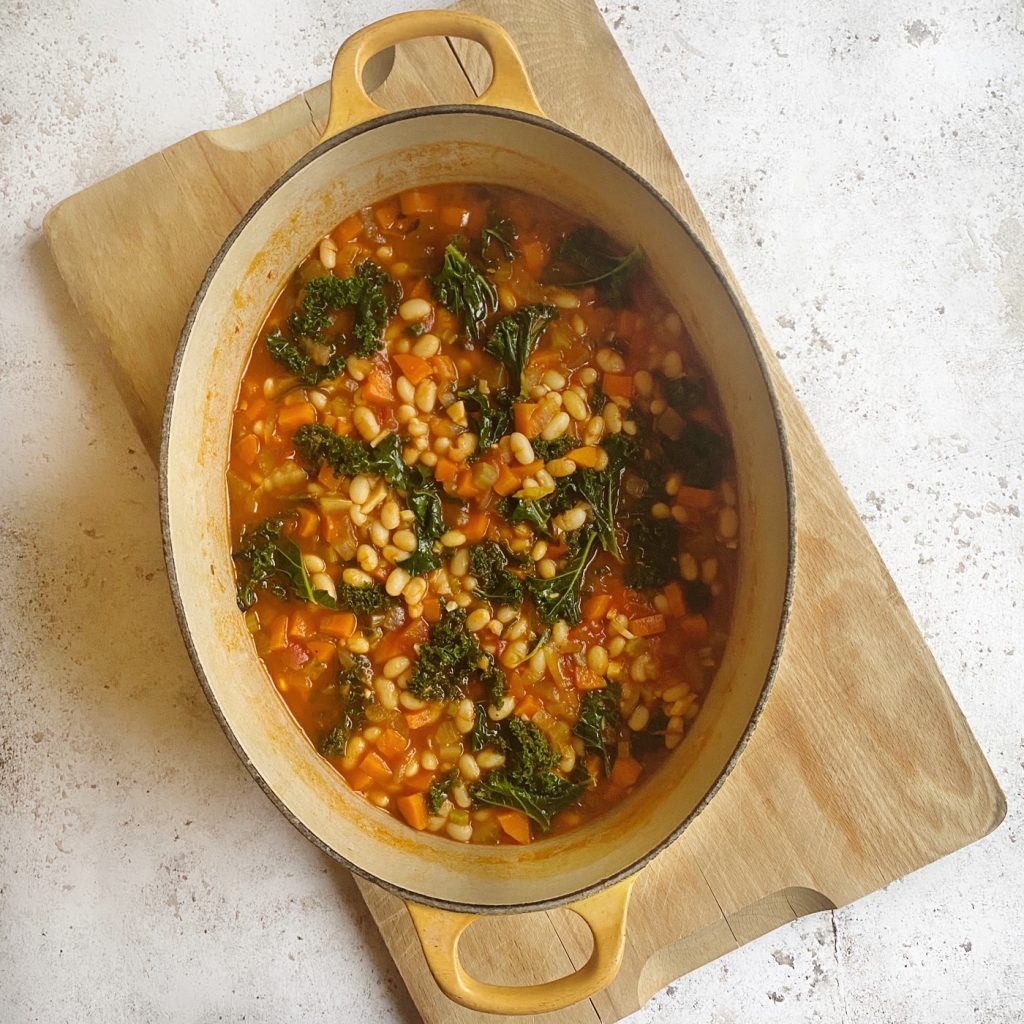
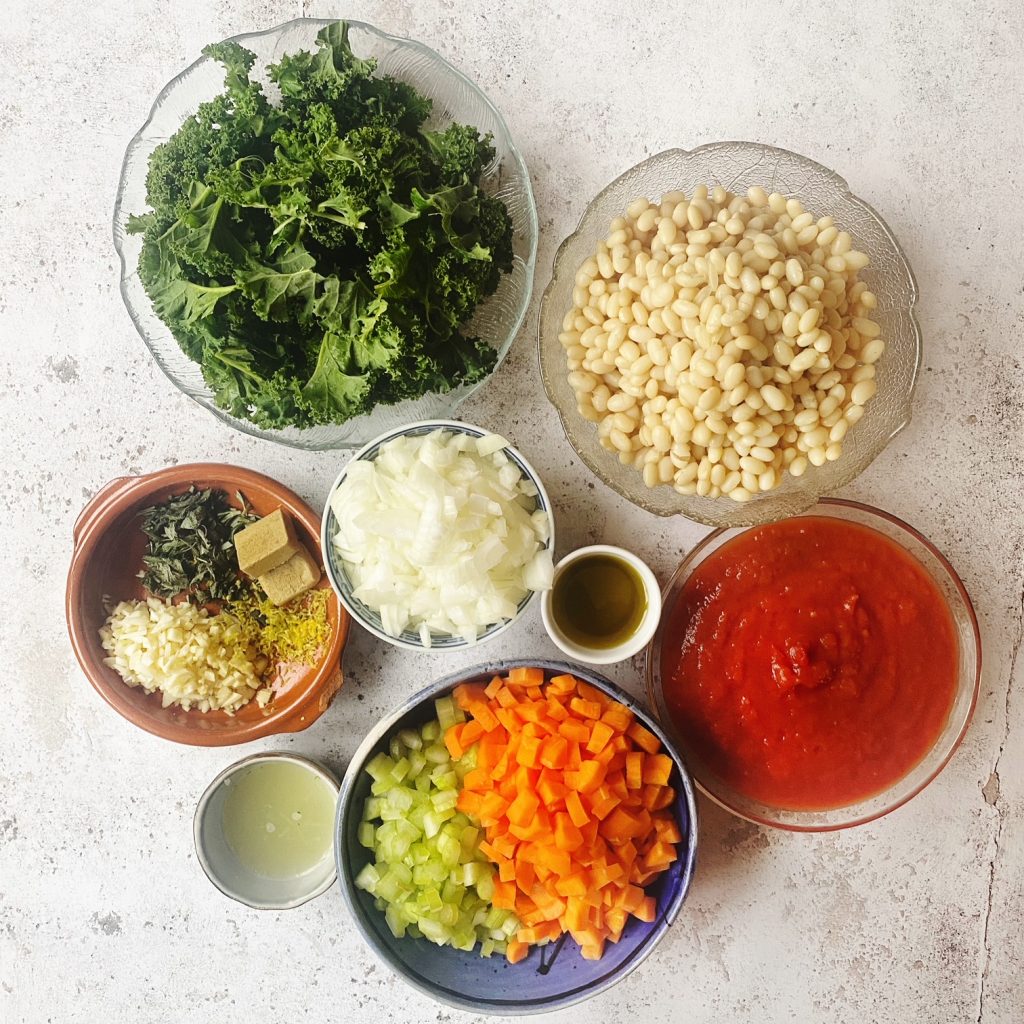
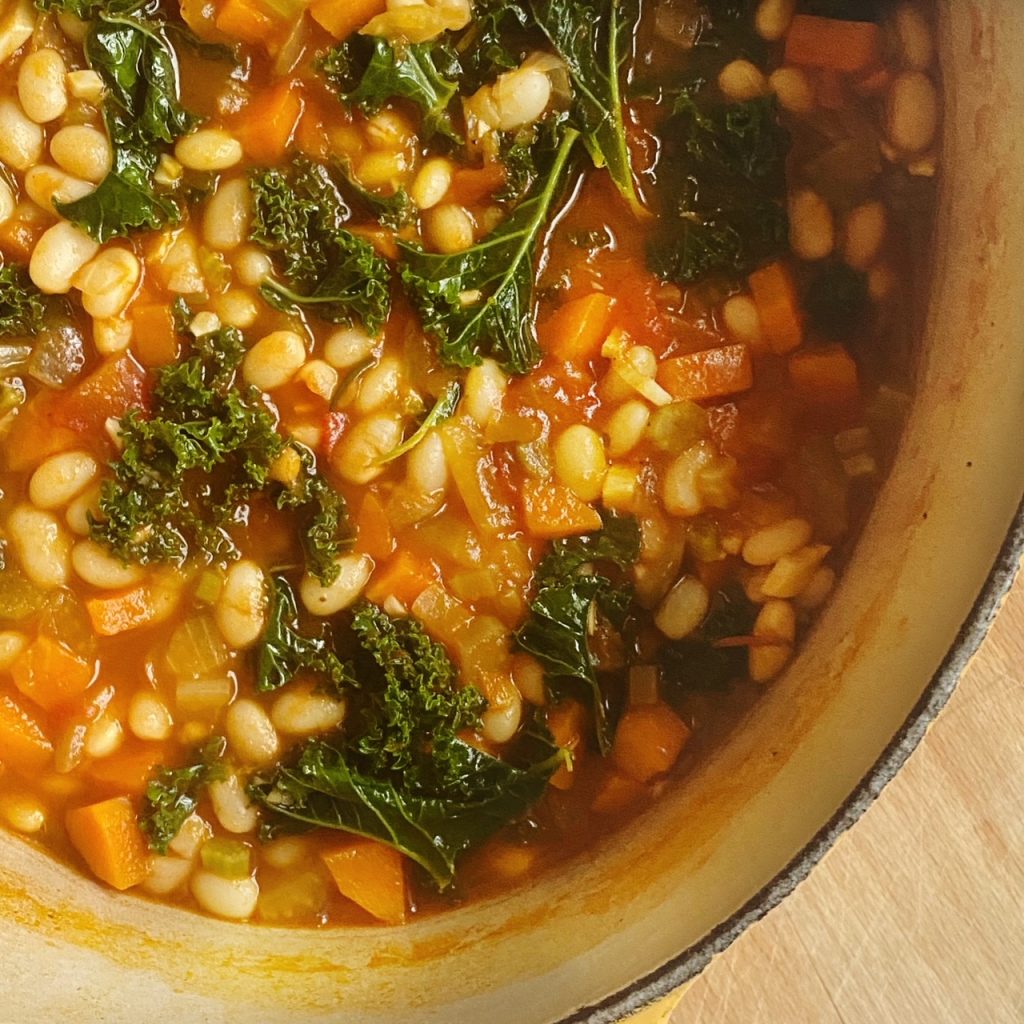
This classic Tuscan soup is just gorgeous. A hearty combination of white beans, tomatoey broth and seasonal vegetables, most notably kale. What makes this soup extra delicious for me is the combination of garlic, lemon zest, really good olive oil and fragrant rosemary and sage. This is one of those stew-like soups that is better the next day. Once you’ve done all the chopping, it’s really simple to make. Leave it brothy if you like or thicken the soup with torn chunks of stale bread or blend a portion of the beans before adding them. I prefer to leave it brothy then serve the soup over torn bread. Let us know your favourite way of eating ribollita.
Liz x
Ingredients (serves 6)
6 tbsp extra virgin olive oil
2 onions, peeled and diced
3 sticks of celery, diced
3 large carrots, diced
6 cloves of garlic, peeled and diced
the zest of a lemon
1 tbsp chopped rosemary
1 tbsp chopped sage
2 stock cubes
1 tin chopped tomatoes
2 tins white beans, drained
8 kale leaves, stems finely chopped, leaves torn
the juice of a lemon
salt and pepper to taste
stale bread to serve, optional
Method
In a large, heavy bottomed pot, sauté the onion with the olive oil on a medium-high heat until soft and starting to colour. This should take at least 5 minutes.
Then add the diced carrot and celery and the thinly sliced kale stems, season with salt and pepper and stir for a couple of minutes.
Add the chopped garlic, lemon zest and chopped herbs. Stir for another minute or two, your kitchen should smell really really good now.
Crumble in the stock cubes and tip in the tin of chopped tomatoes. Fill the tin with water 4 times and pour that water into the pot.
Add the drained beans then bring the soup up to a boil, turn the heat down and simmer for 15 minutes with the lid on.
Then add the torn kale leaves and the lemon juice to the pot, pop the lid back on and let the leaves wilt for just 3-5 minutes. Taste and adjust the seasoning if needed. Add more water if you’d like a brothier soup, blend some of the soup if you’d like it thicker.
Serve in generous bowls, as it is or with torn pieces of stale bread.
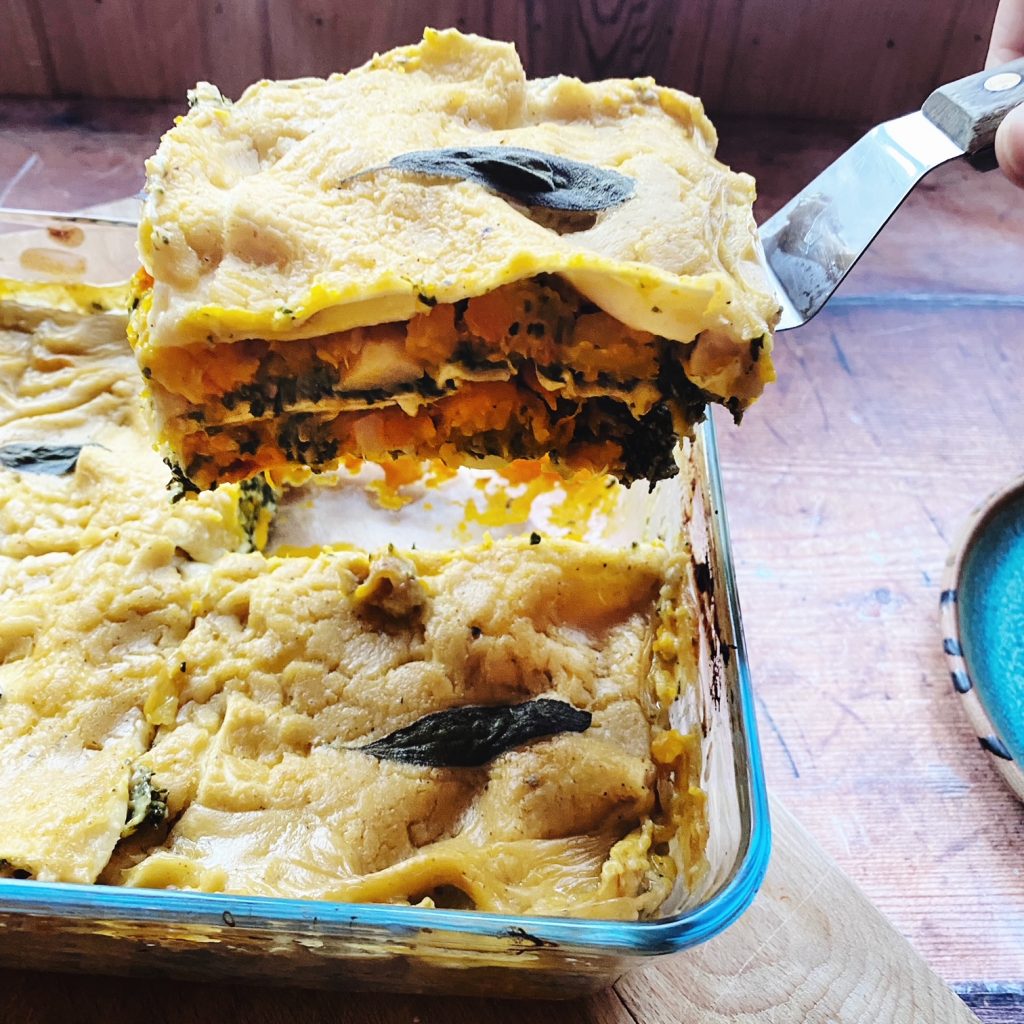
Lasagne is always a good idea for dinner. I always make two while I’m making one, it’s not much extra work and then there’s one in the freezer for a rainy day. This version is an autumn/winter favourite. Layers of roasted squash and garlic, spinach and pumpkin seed pesto, pasta sheets and plant based béchamel. Delicious!
Liz x
Ingredients (serves 6)
Squash Layer:
1 kg squash, cubed
1 bulb of garlic, minus 1 clove
6 sage leaves
olive oil, salt and pepper
Spinach & Pumpkin Seed Pesto Layer:
400g spinach, wilted
150g pumpkin seeds, toasted
1 clove of garlic, saved from the bulb above
the juice of half a lemon
6 tbsp olive oil
10g nutritional yeast
salt and pepper
Plant Based Béchamel Layer:
150g plain flour (gluten free works too)
20g nutritional yeast
4 tbsp olive oil
1 tsp ground nutmeg
2 tbsp Dijon mustard
1 litre oat milk (get a gluten free one if you are avoiding gluten)
salt and pepper
Other Ingredients:
250g lasagne sheets (we stock regular and gluten free)
extra sage leaves to decorate
Method
Turn the oven on to 200C and cut a kg of winter squash (like kuri or butternut) into cubes, tumble them into a large baking tray. Peel a whole bulb of garlic and add the cloves to the dish, but put one aside for the pesto.
Toss the squash and garlic with 6 torn sage leaves and a generous drizzle of olive oil. Season to taste with salt and pepper then pop the dish in the oven to bake until soft. Meanwhile prepare the pesto and béchamel.
Put the spinach in a colander and pour over hot water to wilt the leaves. Squeeze the water out of the wilted spinach and put the bright, green lump in a food processor. Add the pumpkin seeds, nutritional yeast, lemon juice, olive oil and garlic. Blend into a rough sauce, taste and season with salt and pepper. Blend again briefly to bring the pesto together. Then make the béchamel.
In a cold pot, whisk the flour, nutritional yeast, mustard, nutmeg, olive oil and oat milk together. Then put the pot on a medium heat and whisk and cook until the sauce thickens and can coat the back of a spoon. Season well with salt and pepper then put to one side and check on the roasting squash and garlic.
When the squash and garlic is cooked though, mash it roughly, leaving some texture. Taste and adjust the seasoning if needed, then it is time to assemble the lasagne.
In a deep baking dish, add a 1/2 cm layer of the squash purée. Add a layer of pasta sheets, then a couple of ladles of the béchamel. Spread two or three heaped tbsp of spinach pesto over the béchamel, don’t worry if it mixes in. Then repeat until you’ve used all the ingredients. Squash, pasta, béchamel, pesto… Ensure you finish up with a thick layer of béchamel.
Decorate the top of the lasagne with some fresh sage leaves then pop it into the oven to bake until bubbling. After about 20-30 minutes, the pasta should be cooked through and the top should be golden. Test with a small sharp knife. Then cut and serve with a side salad or steamed greens.
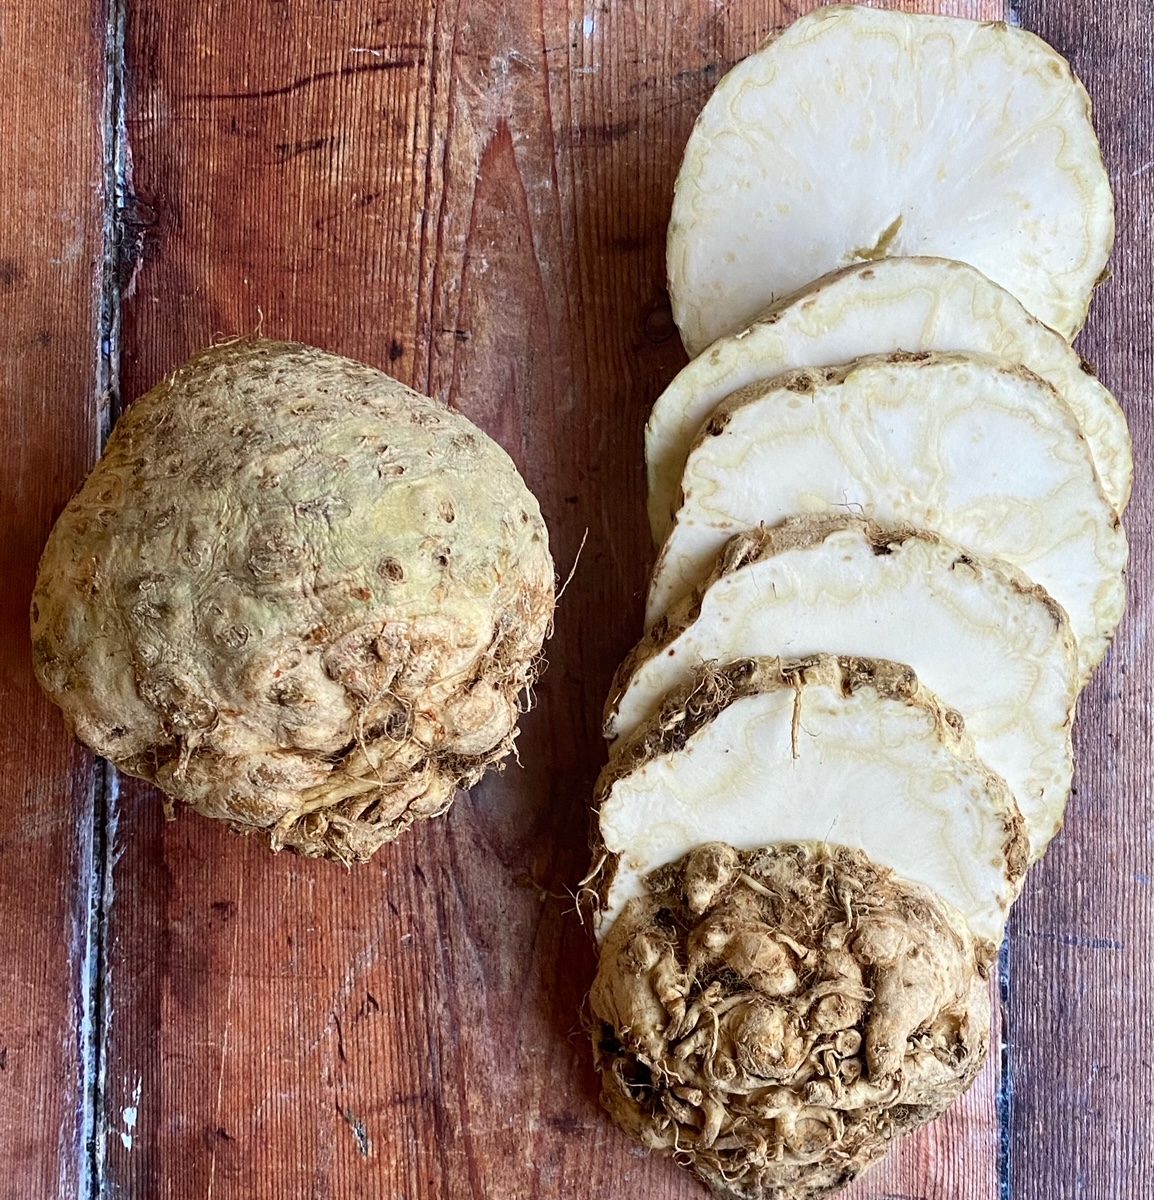
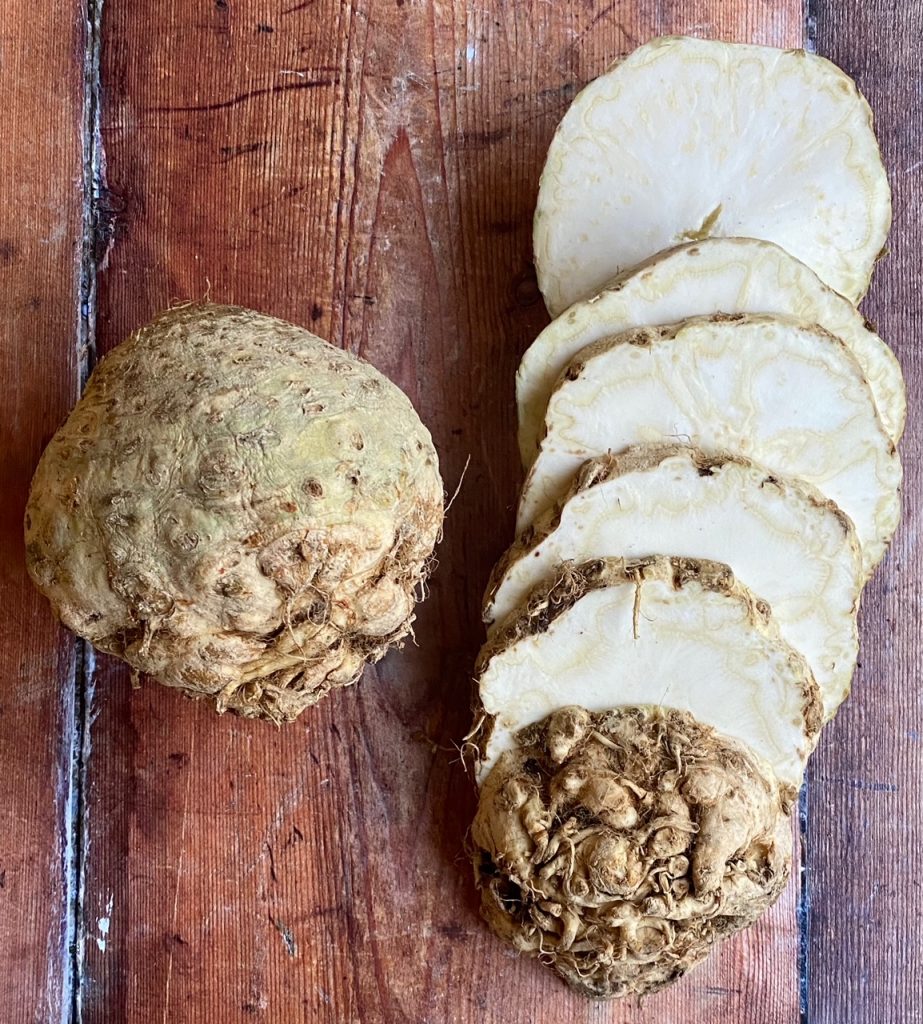
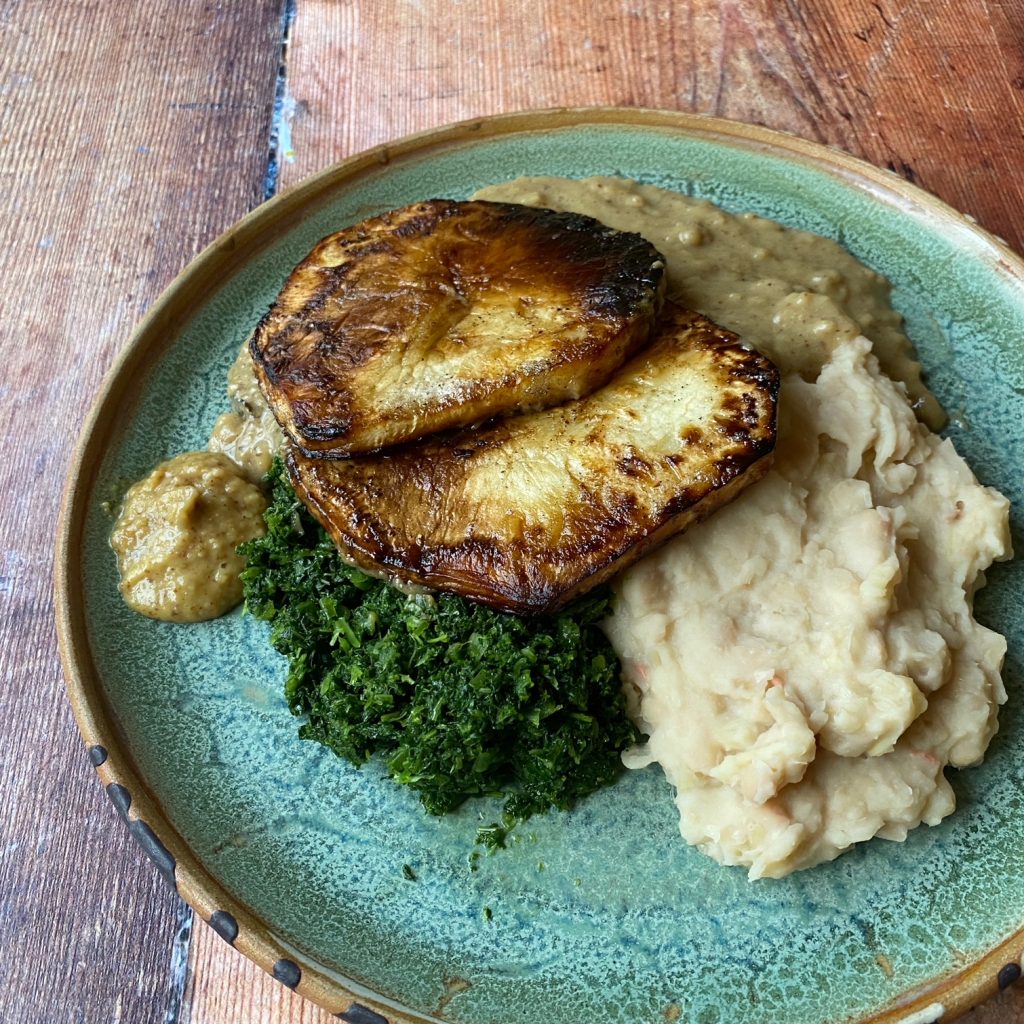
We haven’t grown them for quite a few years so we are delighted to let you know that our celeriac are back! Have you tried one? They’re a gorgeous winter root vegetable. Big and bulbous and full of flavour. Think a hybrid between a potato and a parsnip with a delicate celery flavour. These beasts are stunning in soups and stews, but they also lend themselves nicely to coleslaw, in fact raw, grated celeriac is really gorgeous tossed with a mustardy mayonnaise. I’ll tell you about that another day. But today I am eating celeriac in thick slices, fried like a steak in lots of butter. I LOVE a vegetable steak (cauliflower, portobello, butternut…), it’s a great way to really highlight a vegetable and focus on the flavour. Serve with mashed beans and roasted garlic for lip-smackingly delicious, filling, protein, some wintery greens like kale or cabbage and a creamy wholegrain mustard sauce. Quite a special dish, fit for a date night, but really not very complex to make as you’ll see below. Enjoy!
Liz x
Ingredients (serves 2)
1 celeriac – peel with a small, sharp knife, then cut 4 thick slices out of the middle and save the ends for a soup
1 tin of butterbeans or cannellini beans, any white beans will work
1 whole bulb of garlic
kale or cabbage, as much as you like
1 heaped tbsp wholegrain mustard
1 tbsp corn starch or plain flour
oat milk – enough to loosen the pan juices into a thick sauce
butter, olive oil, salt and pepper to taste
Method
Pre-heat your oven to 200C. Pop a whole bulb of garlic (that’s right, the whole bulb, not just a clove) into a small, oven-proof dish with a drizzle of olive oil. Put it in the oven to bake until soft – around 15-20 minutes.
Meanwhile prepare the celeriac as above, chop and rinse some greens (kale or cabbage go well here) and put them in a pot with a lid, some seasoning and some butter/oil on the hob. Drain some of the liquid from your tin of butterbeans and pop them into another small pan.
Get your widest frying pan (or use two) on to a medium heat and melt a generous knob of butter with a couple of tbsp of olive oil. Add the celeriac steaks and season well with salt and pepper. Cook, turning occasionally until they are softening and turning a gorgeous caramel colour. They should smell amazing!
When the celeriac are nearly cooked through, take the garlic out of the oven to cool slightly, turn the heat on under the pot of beans and the pot of greens. Cook both, stirring often, until piping hot. Then turn off the heat.
Put the celeriac steaks in a small dish in the oven to keep warm (turn the oven down to 150C so they don’t burn) whilst you make the mash and the sauce.
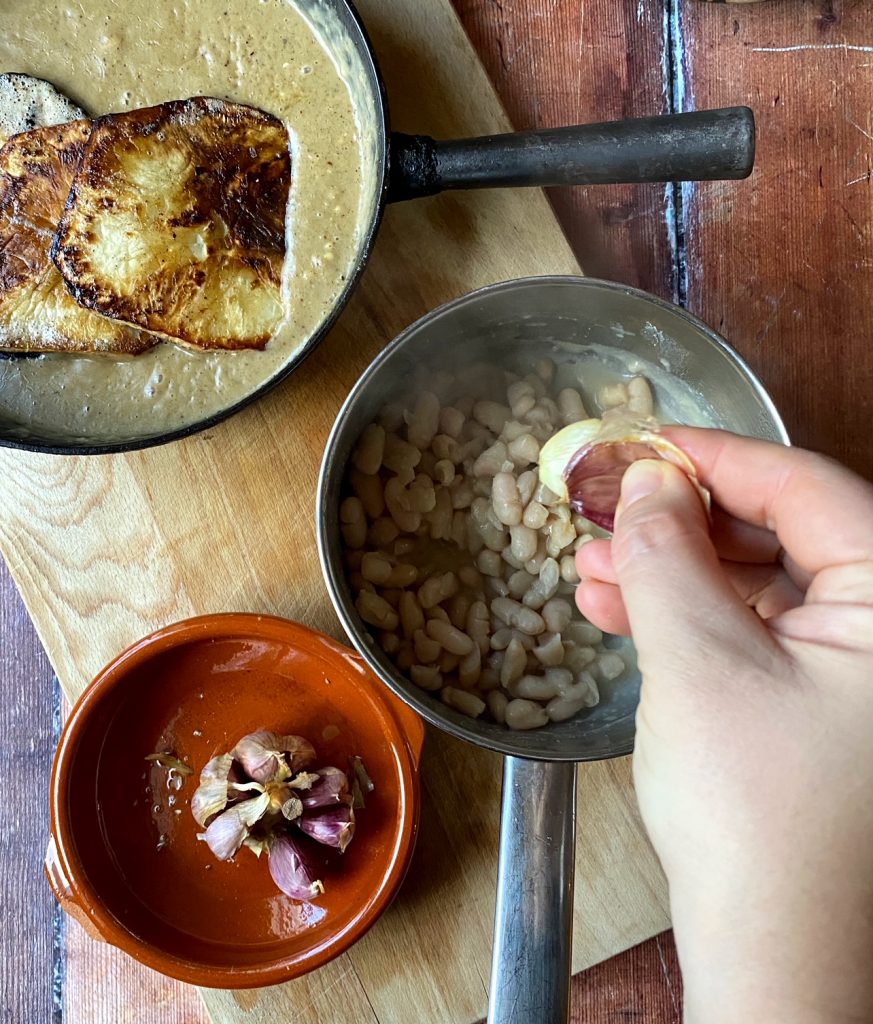
Pull apart the roasted garlic and squeeze the soft, fragrant flesh into the pan with the beans. Season well with salt and pepper, add a drizzle of olive oil or a knob of butter and mash the beans and garlic into a puree. Or use a stick blender if you’d like your mash extra smooth. Taste and adjust the seasoning if needed.
To the frying pan in which the celeriac steaks were cooked, add a tbsp of flour and a tbsp of wholegrain mustard. Whisk into the buttery, caramelised, celeriac juices that are left in the pan and add a splash of oat milk. Turn the heat up and keep whisking and adding milk until you have a silky, creamy sauce. Taste and season with salt and pepper and now you are ready to serve.
Divide the greens and garlicky mash between two plates, add on the steaks then drizzle with the sauce. Have extra wholegrain mustard on the table and enjoy with a glass of wine or a cold beer.
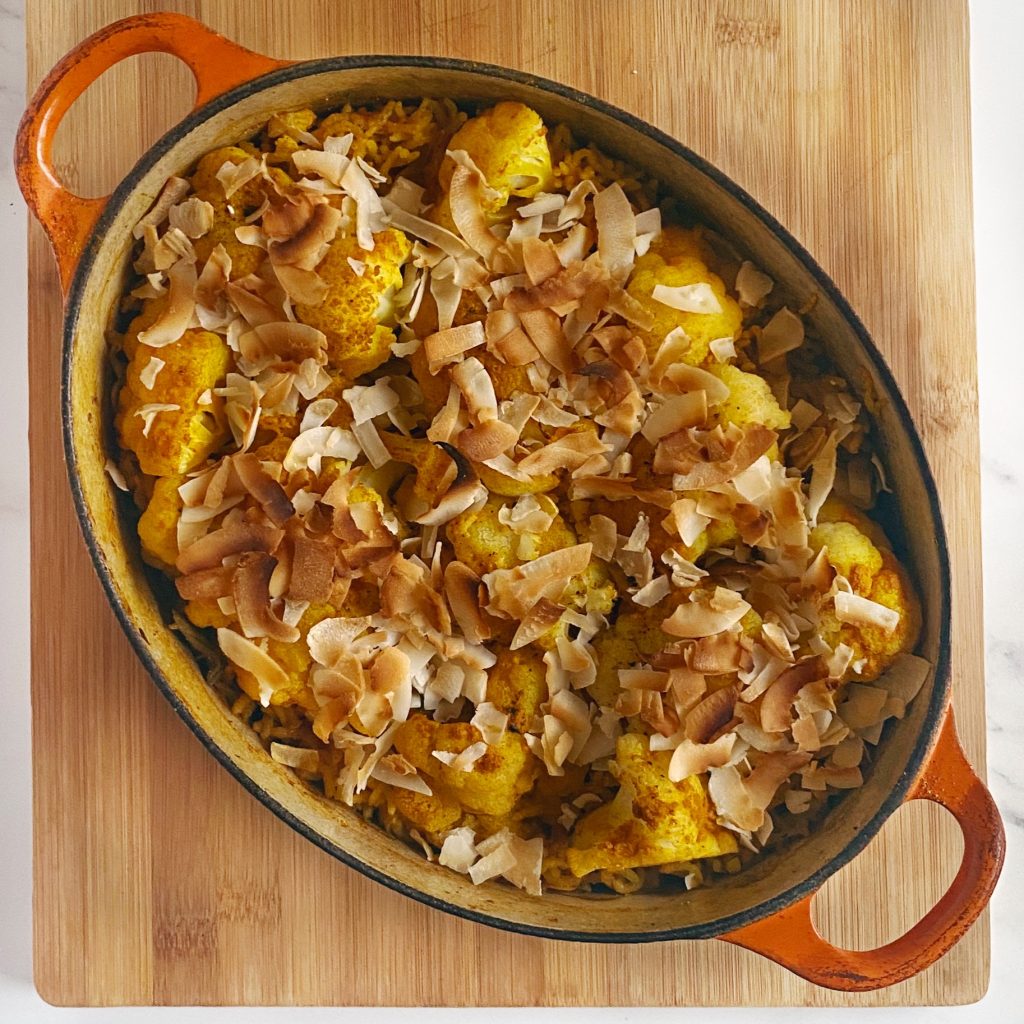
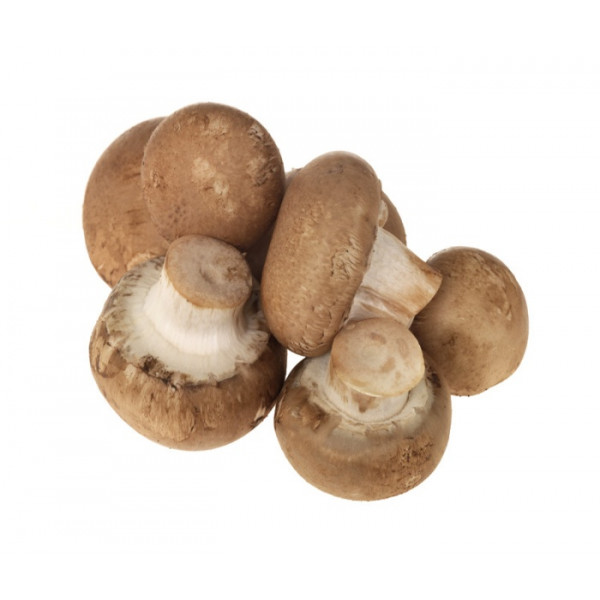
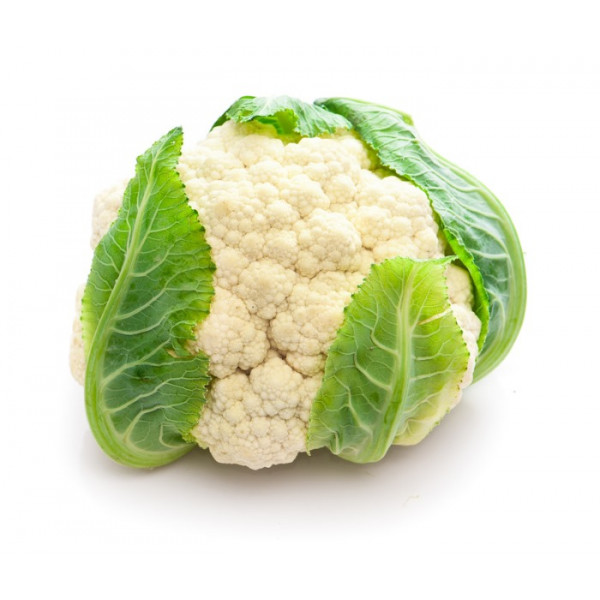
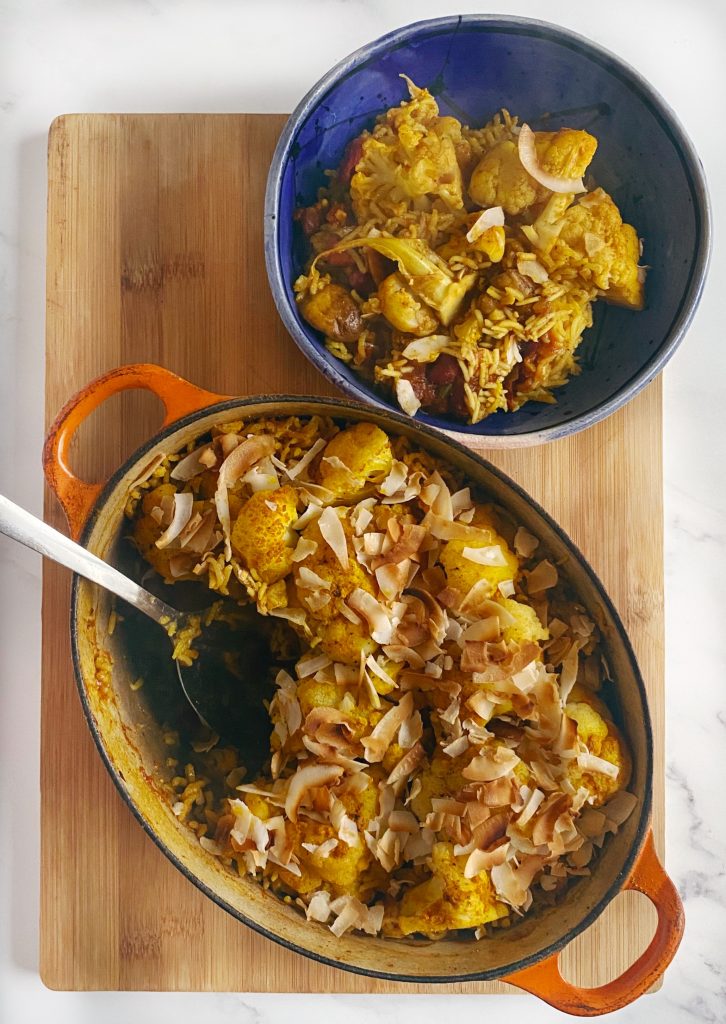
One of our family favourites, this layered, one-pot curry is so so good. A rich layer of mushroom and red bean curry on the bottom, a fragrant layer of perfectly cooked rice in the middle and a succulent layer of cauliflower on top. Sounds complicated but it’s actually very easy. We make this one-pot meal regularly as a mid-week supper. It doesn’t take long to put together, then you just pop it in the oven to bake and you’ve got time to clear up the kitchen and help with homework or whatever else needs doing while it cooks. Then bring the pot to the table and dig in!
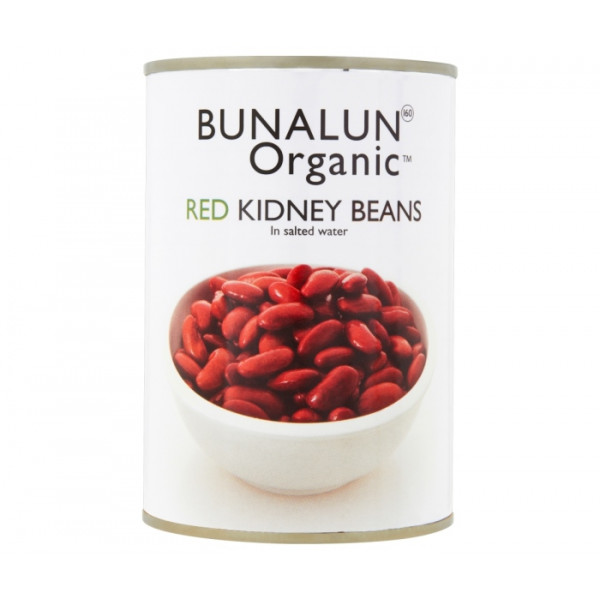
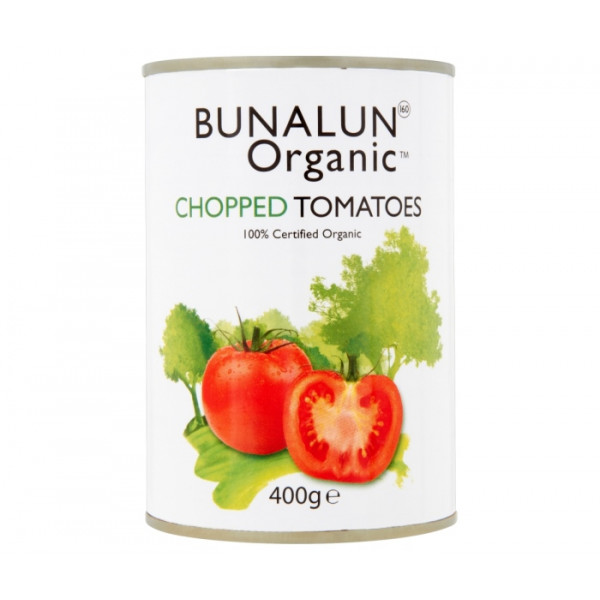
We stock organic rice in compostable bags, have you tried the range yet? White basmati is best for this dish as it cooks quickly, but we also have brown basmati and my personal favourite, short grain brown rice. We also have organic tins of tomatoes, beans and more. We do so much more than just fruit and veg. Add some groceries to your next order and save yourself a trip to the supermarket.
Liz x
Ingredients (serves 4)
3 tbsp vegetable oil
1 onion, peeled and diced
4 cloves of garlic, peeled and diced
1 heaped tbsp curry powder
around 10 chestnut mushrooms, halved
1 tin chopped tomatoes
1 tin kidney beans, drained
salt and pepper to taste
1 small mug of basmati rice (225g)
2 small mugs of water
1/4 tsp each: ground cardamom and star anise
1 tsp rose petals (optional)
1/2 a large cauliflower, cut into florets
1/2 tsp turmeric
coconut flakes
Method
Turn your oven to 200C and find a deep pot or casserole dish with a lid that is safe both on the hob and in the oven.
Start by sautéing the diced onion with the oil on a medium-high heat. Stir frequently with a wooden spoon. After 5 minutes the onion should start to soften and turn golden.
Then add the mushrooms, garlic, curry powder and season well with plenty of salt (about a tsp) and pepper. Stir for a few minutes to coat the mushrooms in the seasoning and allow the spices to toast and get very fragrant.
Empty the tin of chopped tomatoes into the pot along with the drained beans. Stir well, taste and adjust the seasoning if needed, then put the lid on and let the curry simmer for a few minutes while you rinse you rice in a fine sieve.
Turn off the heat then carefully add the rinsed mug of rice to the curry. Don’t stir it in, add it in a careful layer on top of the curry and smooth it out with the back of the wooden spoon. Then slowly pour two mugs of water over the back of the spoon over the rice so that it doesn’t disturb the layer.
Add some aromatics to the rice if you like eg cinnamon sticks, cardamom pods, star anise, rose petals, saffron… I usually use a mix of ground anise and cardamom and a few rose petals.
Then place the cauliflower florets carefully into the rice and water, sprinkle them with turmeric, salt and pepper. Put the lid on the pot and put the pot in the oven to bake.
After 30 minutes, check on the rice. It should be bubbling hot and have absorbed most of the liquid. Taste a grain, if it needs longer put the lid back on and return it to the oven.
If the rice is cooked through then remove the lid, sprinkle the top of the dish with flaked coconut (or flaked almonds) and return it to the oven to toast. Just 3-5 minutes should be enough. Then it’s ready to serve. Scoop out portions ensuring each bowl gets a bit of each layer and enjoy!
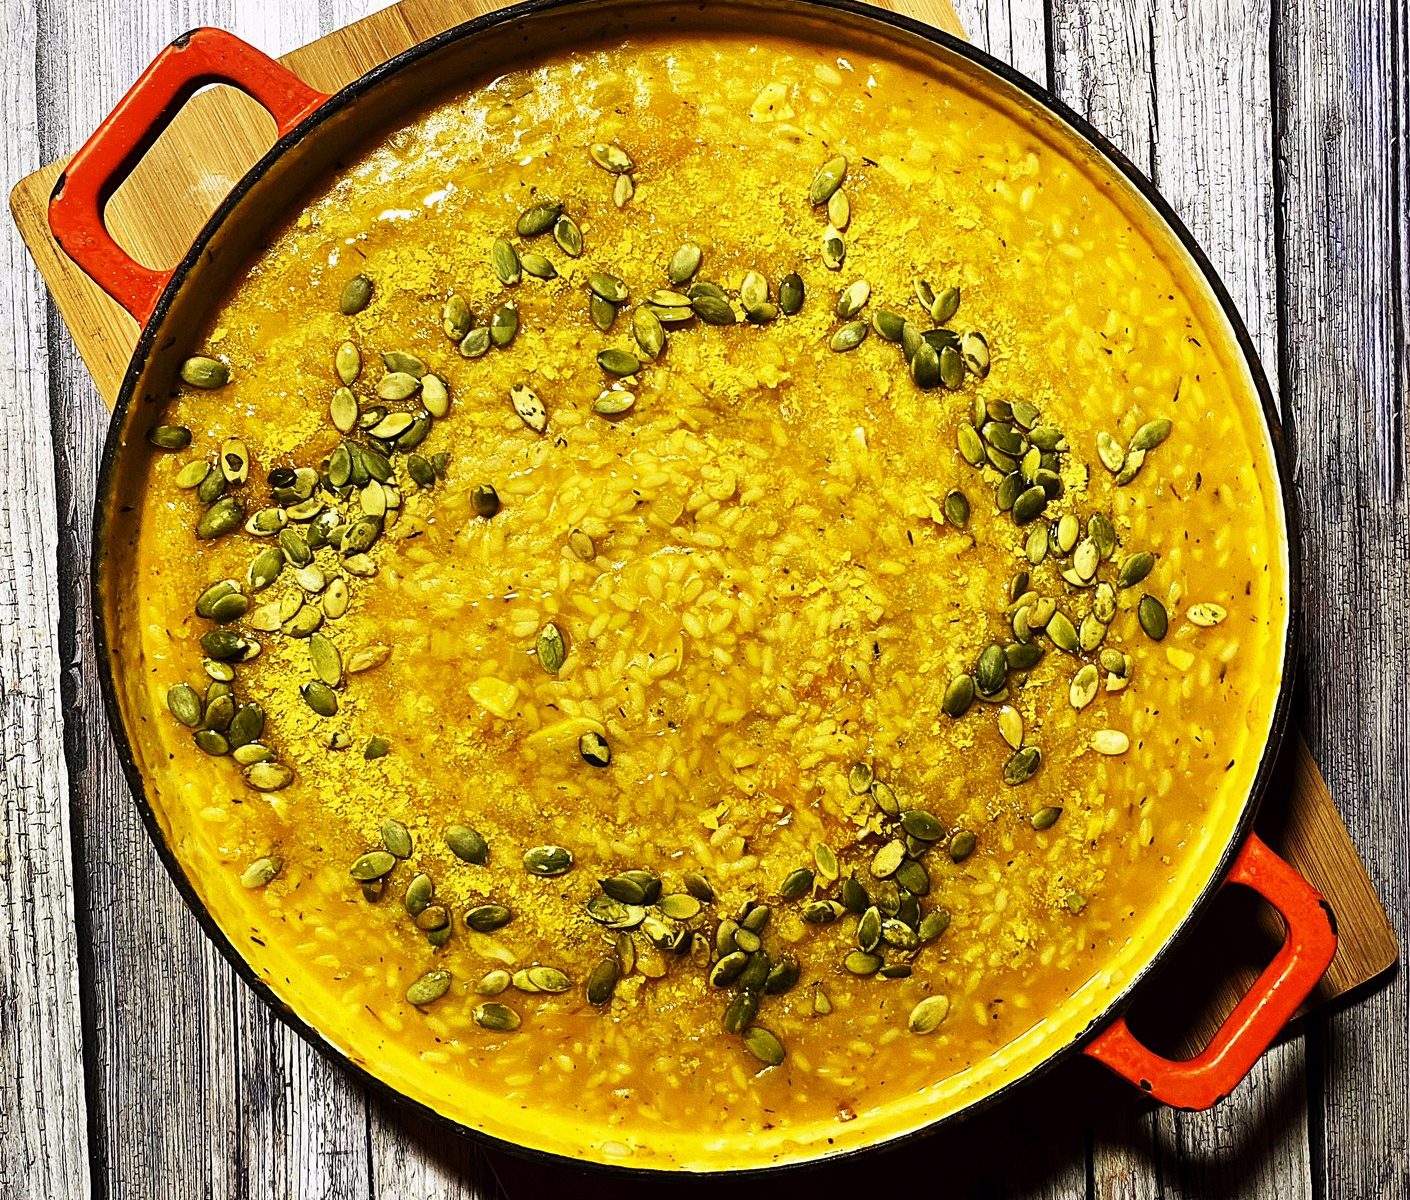
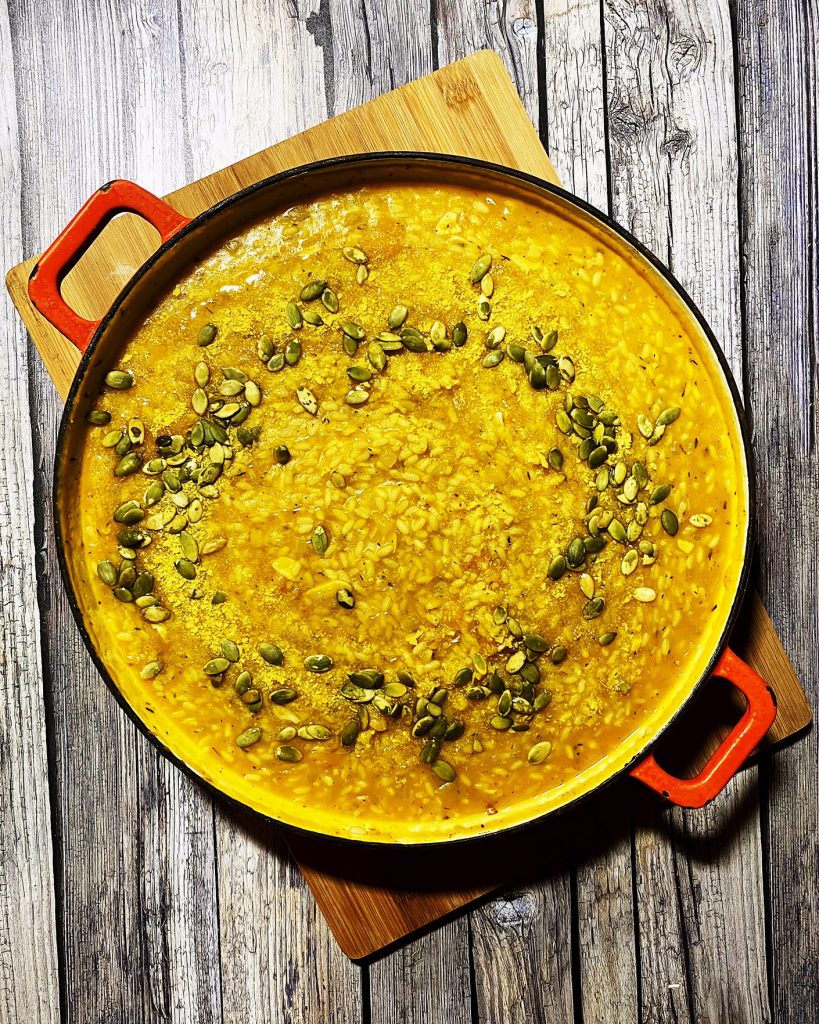
Halloween is long gone but pumpkins are still very much in season. Want some extra-flavoursome pumpkins? Add a few of our kuri squashes to your next order. But, if you’ve got some decorative pumpkins with tough skins that still need eating, cut them in half, scoop out the seeds and roast until soft. Then scoop out the flesh and make this tasty risotto. Risotto is the perfect one-pot, soothing, feed-a-crowd, mid-week-meal don’t you think?
Liz x
Ingredients (serves 6)
3 tbsp olive oil
2 tbsp butter
2 onions, peeled and diced
6 cloves of garlic, peeled and diced
3 bay leaves
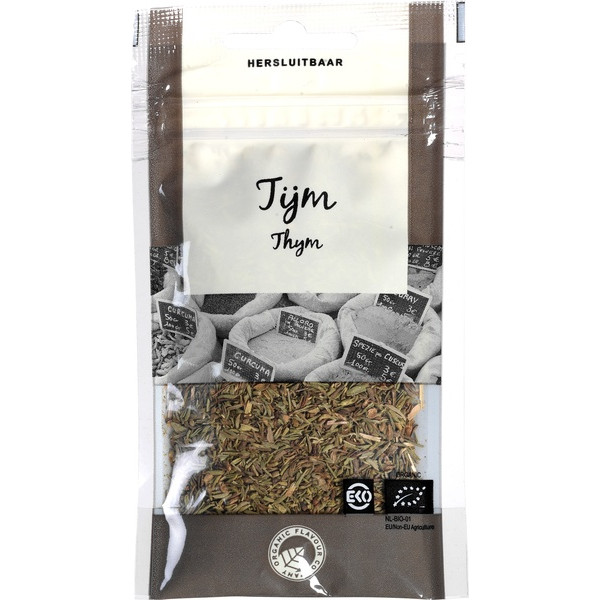
1 tbsp thyme
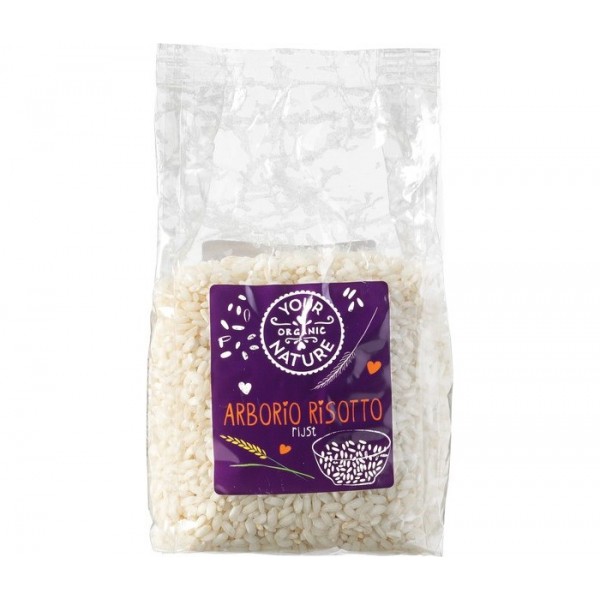
400g risotto rice
the juice of a lemon or a large glass of white wine
700g roasted pumpkin
2 stock cubes dissolved in 1 lite of just-boiled water
salt and pepper to taste
nutritional yeast, pumpkin seeds and more olive oil to serve
Method
Heat the oil and butter in a wide, heavy bottomed pan/pot.
Add the diced onion and cook, stirring often with a wooden spoon until soft and starting to turn golden brown.
Then add the garlic, bay leaves and thyme and stir until fragrant.
Pour the rice into the pan and stir to coat it in the flavours and fat. Then add the lemon juice or white wine. Stir for a minute or so until the pan is nearly dry again.
Start adding the vegetable stock, a ladle at a time, stirring pretty constantly until the stock is nearly all absorbed before adding the next ladle.
Once half the stock is used up, add the roasted pumpkin and stir it in with another ladle of stock. Use the back of the wooden spoon to smoosh the pumpkin into a rough purée as you go. Keep adding stock until the rice is cooked through and creamy. You may run out and need to add water.
Taste the risotto and adjust the seasoning if needed with salt and pepper. Then serve with a sprinkle of nutritional yeast and pumpkin seeds and a drizzle of good, peppery olive oil.
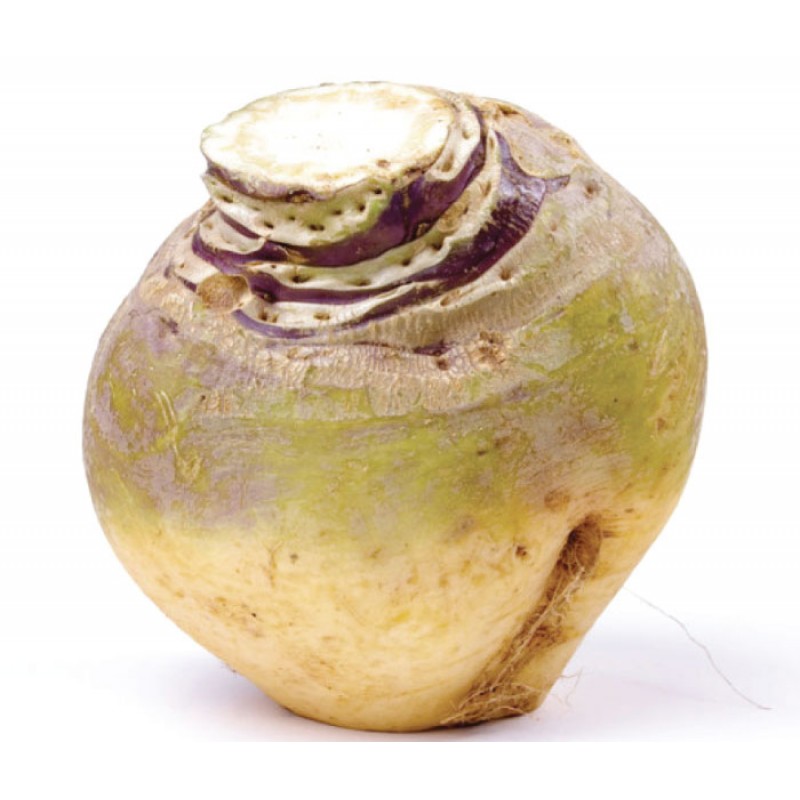
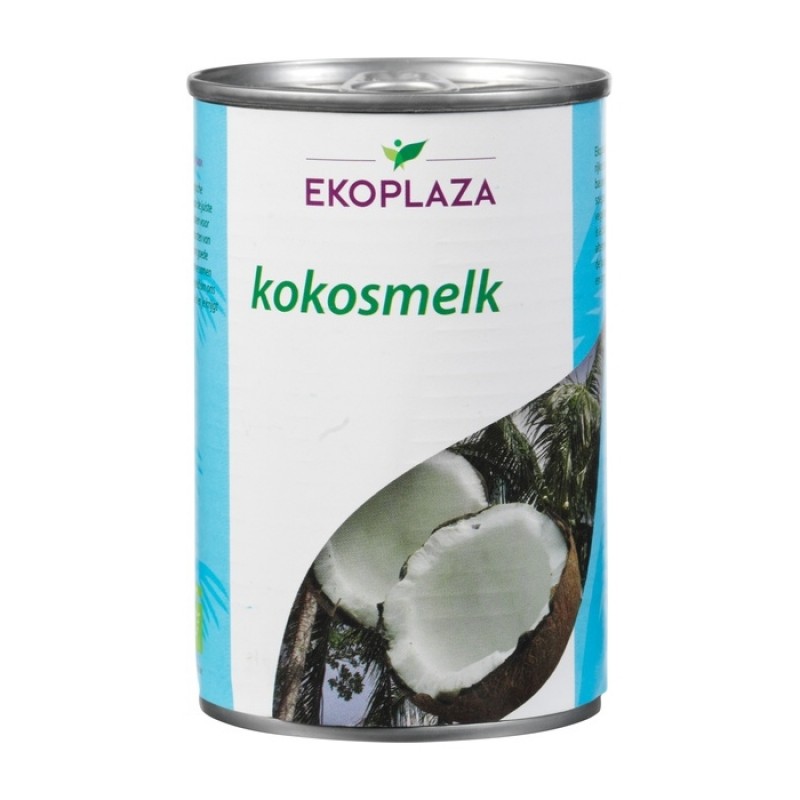
Sometimes in November a bowl of sunshine is just what is needed! Put our stunning root veg to use with this simple soup (or use up your Halloween pumpkins instead). We stock organic red lentils (in a compostable bag🙌) which gives this soup the most beautiful texture and provides protein, iron, potassium, folate, vitamin B1 and prebiotic fibre. Turmeric and black pepper are a delicious anti-inflammatory addition, and we have tins of organic coconut milk for a rich, creamy finish to the soup.
Liz x
Ingredients (serves 6)
2 tbsp oil
1 diced onion
4 chopped garlic cloves
750g diced veg (I used carrot and swede this time but any root veg or pumpkins work well here)
1 tbsp ground turmeric
1 tsp ground black pepper
2 tsp salt
300g rinsed red lentils
1500ml water (approx)
1 tin coconut milk
Method
In a large pot, sauté the onion with the oil until it softens and starts to turn golden brown.
Add the garlic and diced vegetables, season well with salt, pepper and turmeric.
Tip in the rinsed red lentils and cover generously with water. Stir then put the lid on the pot. Bring to a boil then immediately turn the heat down and simmer until the lentils and vegetables are soft (around 15-20 minutes). You should take the lid off and stir every 5 minutes to ensure there is no sticking or burning on the bottom of the pot. You may wish to add more water if the soup is looking a bit thick.
Scrape in the coconut milk then blend until smooth with a hand held stick blender. Taste and adjust the seasoning if necessary. Then enjoy!
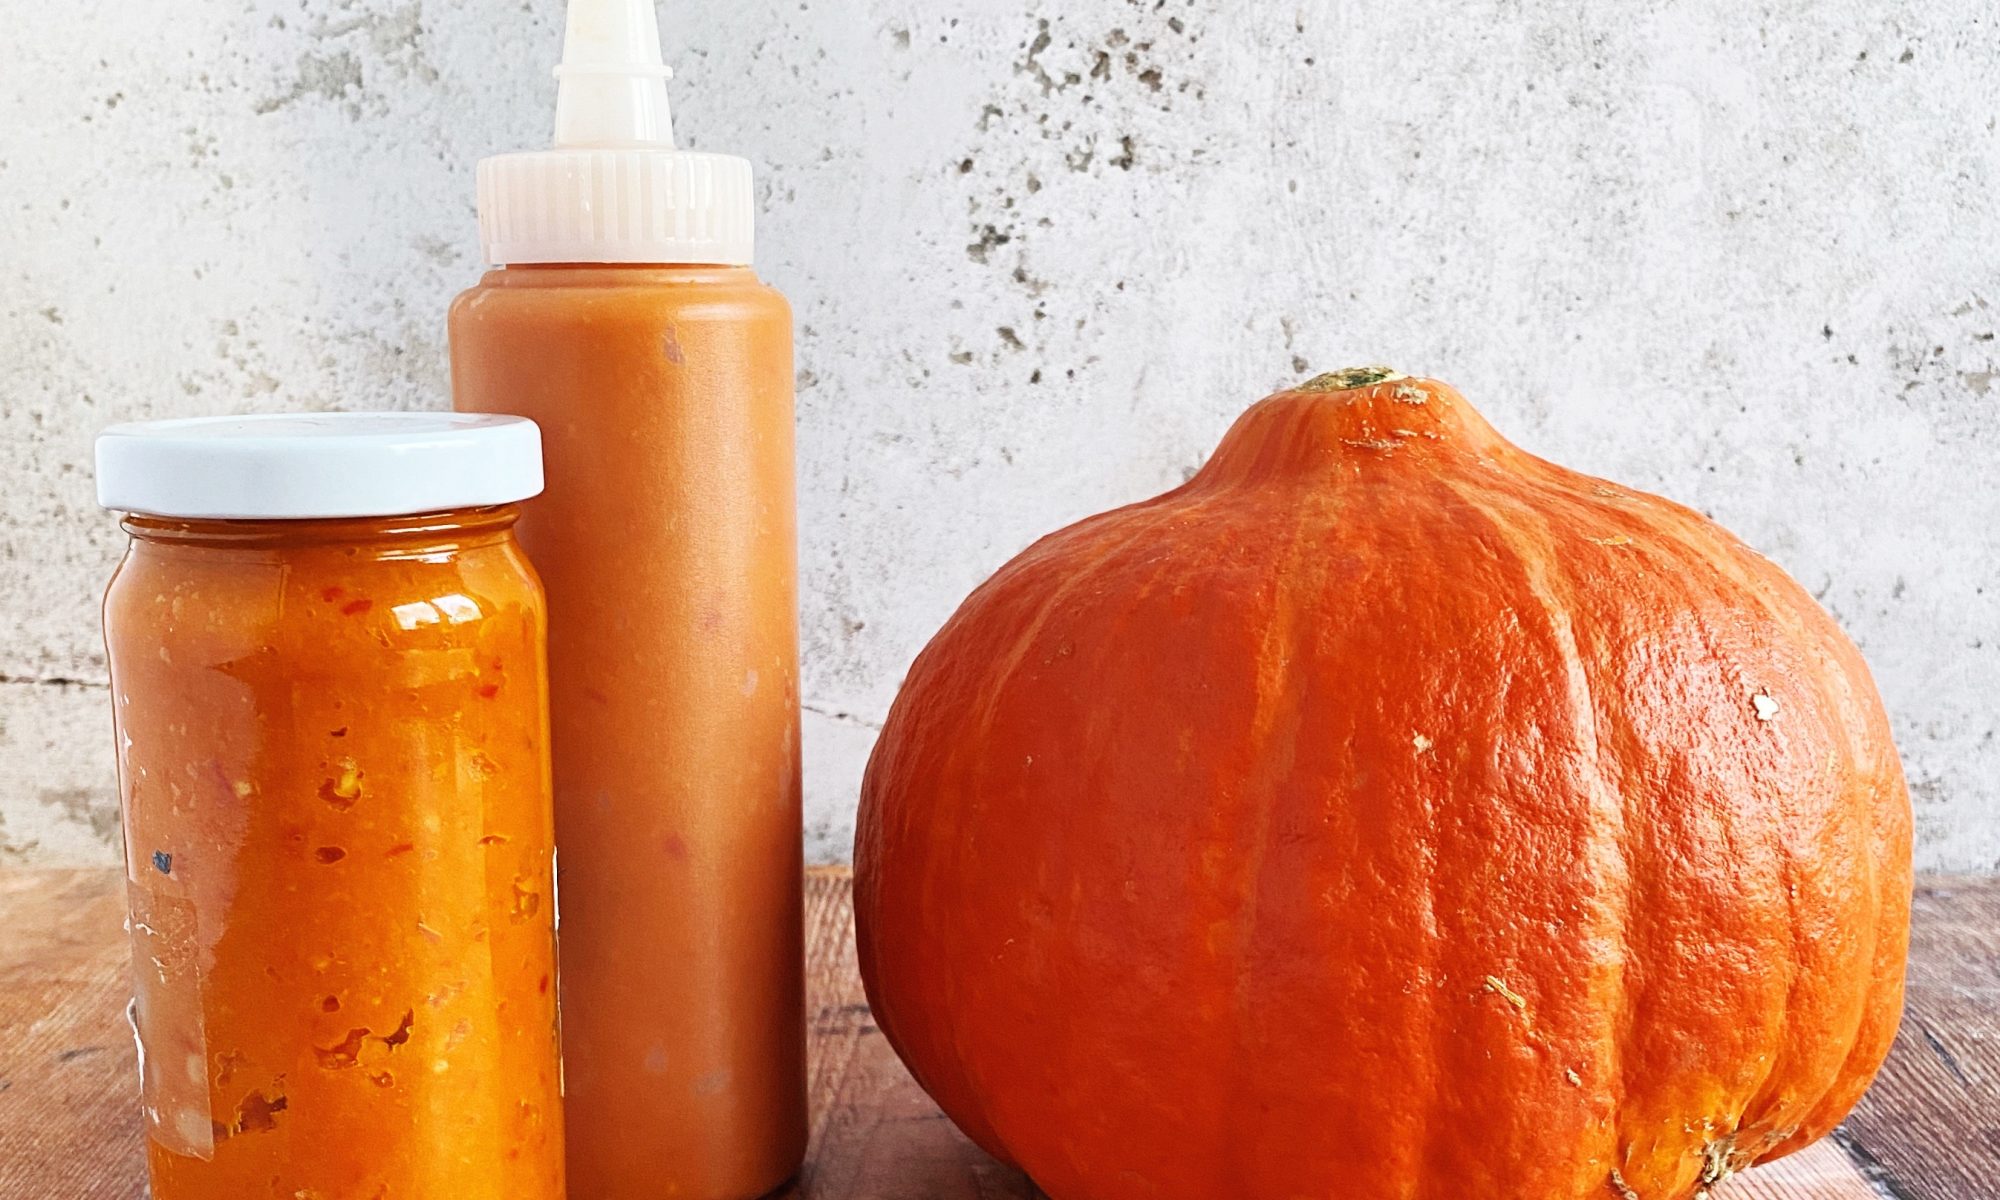
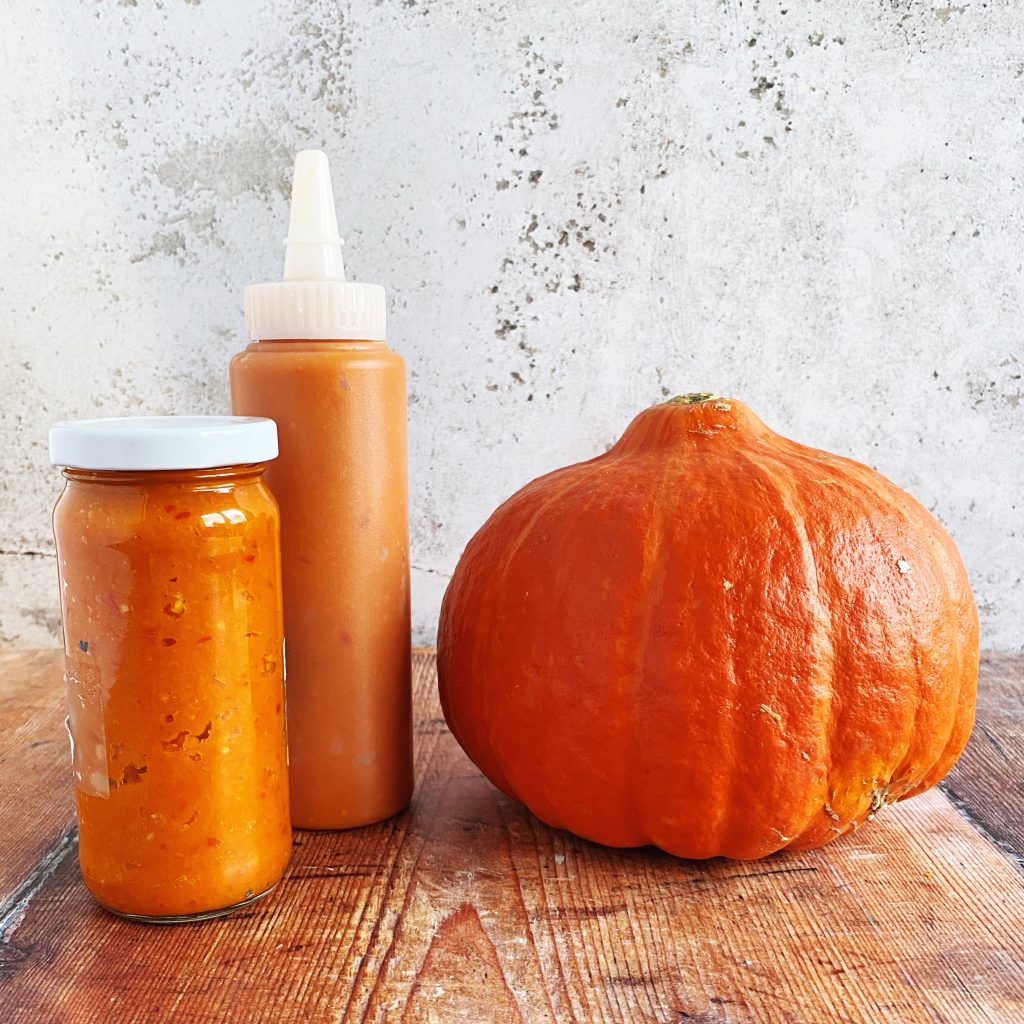
Sriracha is an absolutely addictive hot sauce which originated in Thailand. It’s so good that it has broken in to pretty much all food shops worldwide. If you’ve not squirted it over your noodles or rice or mixed it with mayo to dunk chips in, you are missing out. There are countless recipes online to recreate your own version, but being the ferment-obsessed chef I am, I make it raw and lacto-fermented. Sounds complicated, but it’s actually easier than cooking the sauce and it lasts better too! This seasonal pumpkin version is really really good. A fab way to use up your carved pumpkins shortly after halloween? Or for even more flavour just use any winter squash like butternut or our own grown Kuri Squash.
Liz x
Ingredients
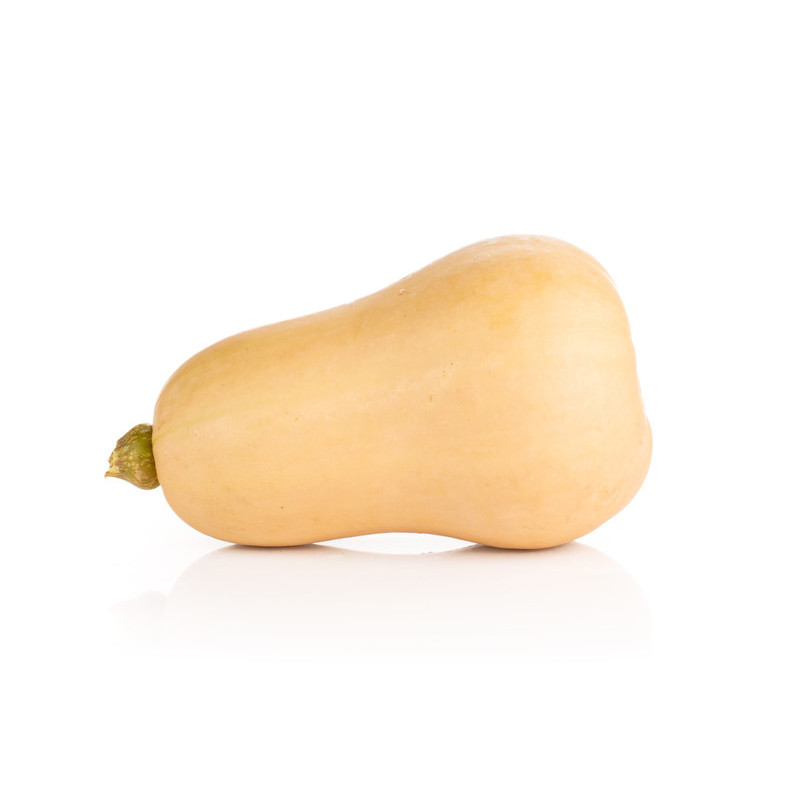
pumpkin or winter squash – roughly 300g
natural salt – 3% of the pumpkin weight so 3g for every 100g pumpkin
chilli – to taste, I used 6 red chillies
garlic – to taste, I used a whole bulb
ginger – optional and to taste, I used a thumbs worth
Method
Ensure you have a clean work surface, large mixing bowl and glass jar. You will also need a clean chopping board, knife, grater and small blender.
Grate the squash into a large bowl. Weigh how much you have grated then work out what 3% of that weight is.
Add the 3% weight of natural salt and mix it well into the grated squash.
Remove the chilli stalks and peel the garlic. Then blend the chilli, garlic and ginger into a paste in a small blender or smoothie maker. You may need to add a splash of water to help it blend.
Using a utensil or gloved hands, mix the chilli paste into the grated, salted pumpkin.
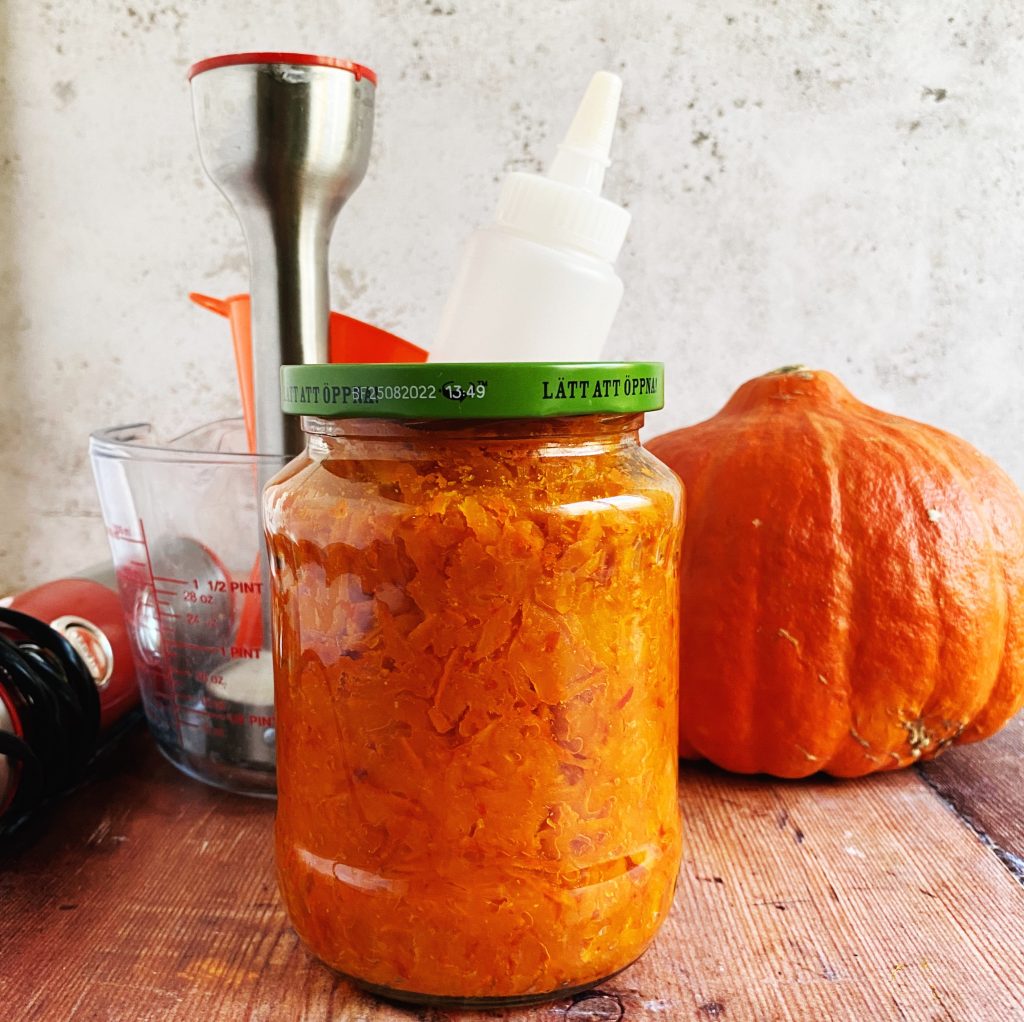
Then tightly pack the mixture into a large jar. You want to avoid creating air pocked in the mix so use a spoon or a rolling pin to ensure everything is squished in nice and tight.
Add a ‘follower’ and a weight to hold the mixture below the brine and prevent exposure to air. A good example of a follower is a cabbage leaf and you can use a glass ramekin or a small water glass to weigh it down.
Put the lid on the jar (or if it doesn’t fir over the weight then cover with a tea towel and secure with an elastic band or piece of string) and allow the mixture to ferment at room temperature for at least 1 week.
If your lid is secure, you will need to ‘burp’ your jar once or twice a day to allow gases to escape. Simply loosen and re-close the jar. If you are using a clip top jar it will self-burp. Remove the rubber ring to help it breath easier.
After a week your sriracha will be tangy and facto-fermented. Scrape it out into a clean blender or a jug and blend into a smooth sauce.
Pour into a squeeze bottle or any vessel you prefer and refrigerate. The sauce should last well in the fridge, at least 3 months.