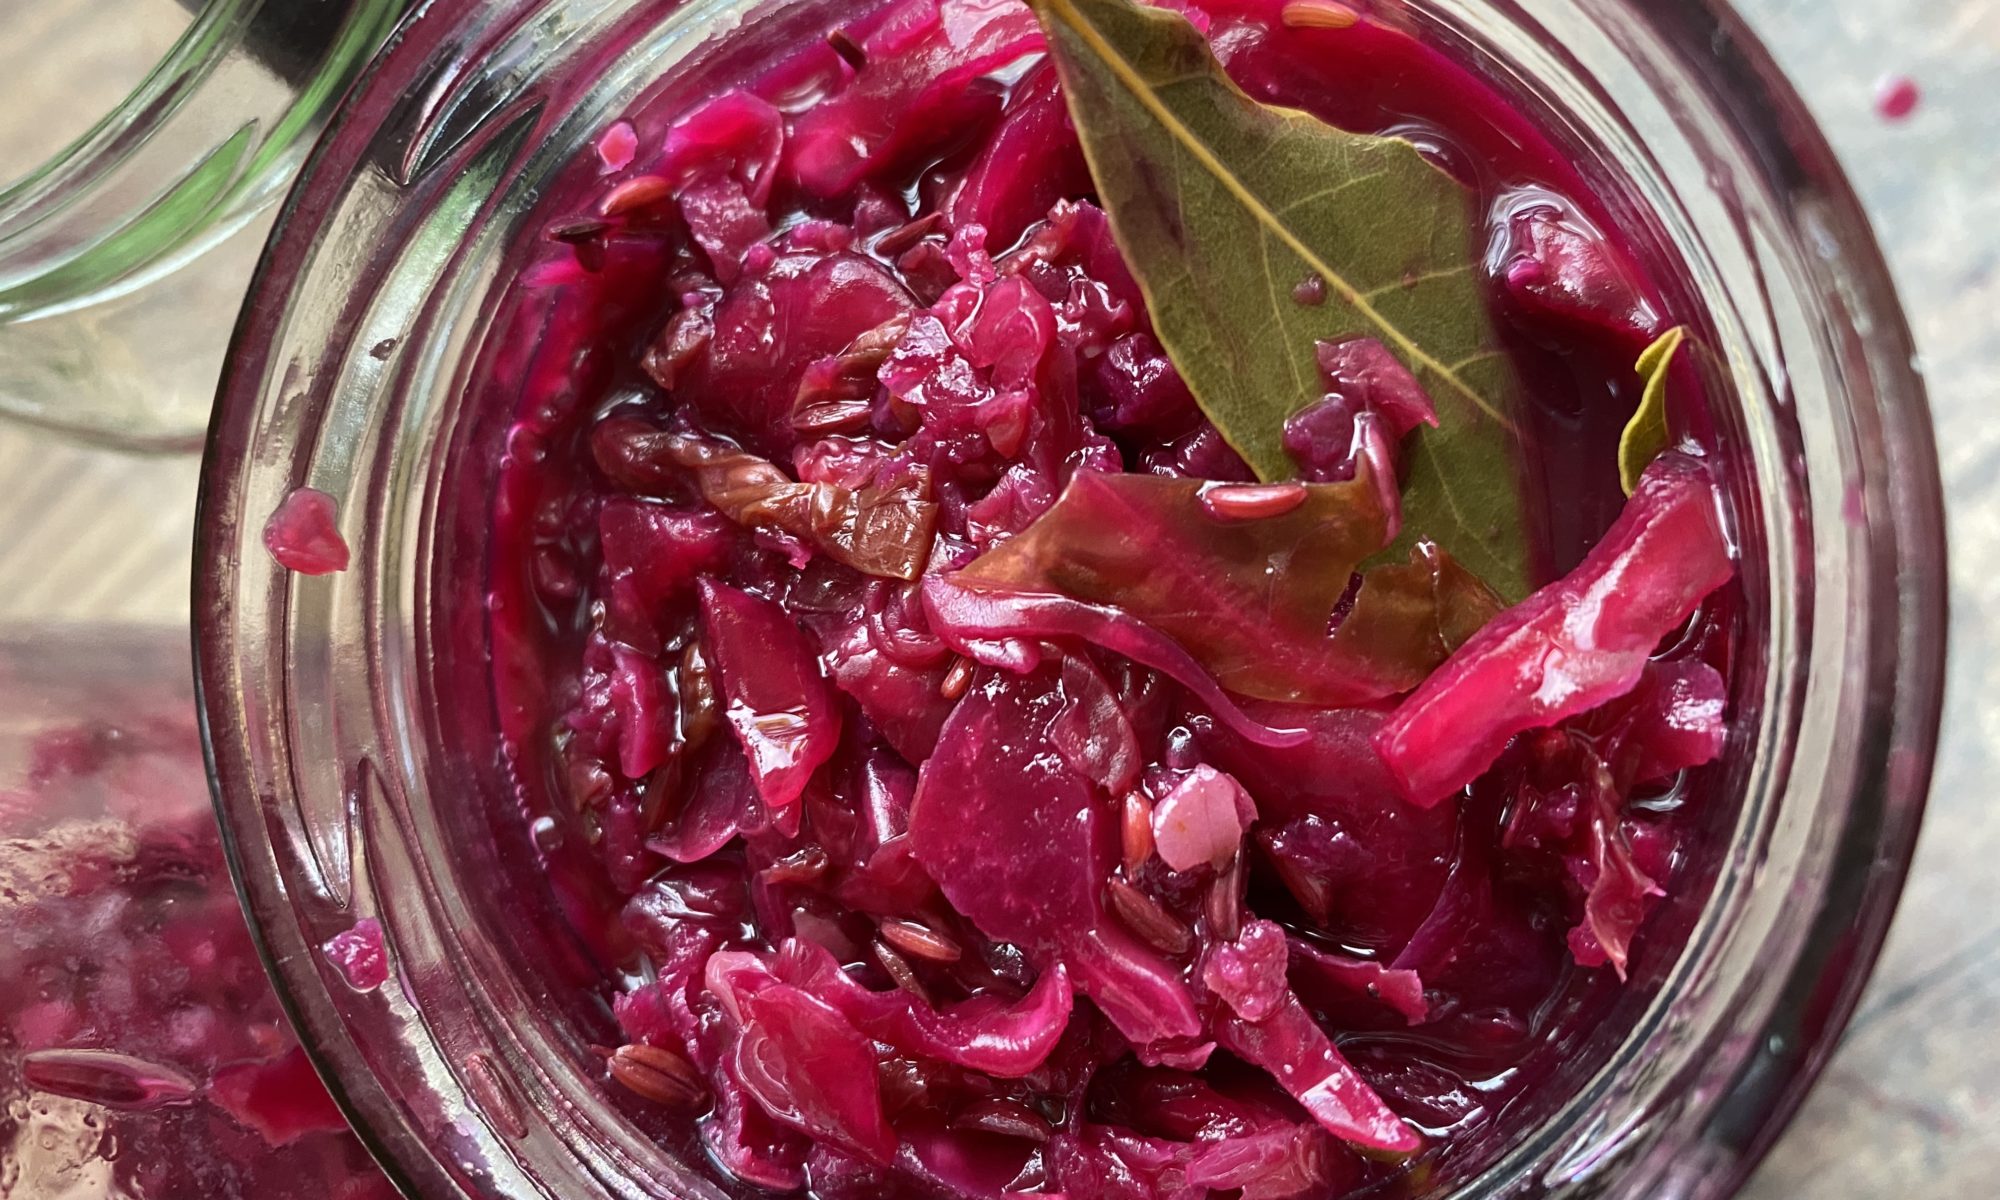
The Perfect Place to Start your Fermentation Journey
Once you have mastered the basics of sauerkraut, and it really is basic, you can apply these principles and techniques to many other ferments and play around with the ingredients. You can use a variety of cabbages, you can add other vegetables like grated carrot or beetroot, you can use different herbs or spices to create different styles of sauerkraut, you can even suspend whole apples into your crock/jar to ferment along with you sauerkraut as a German friend of mine taught me to do.
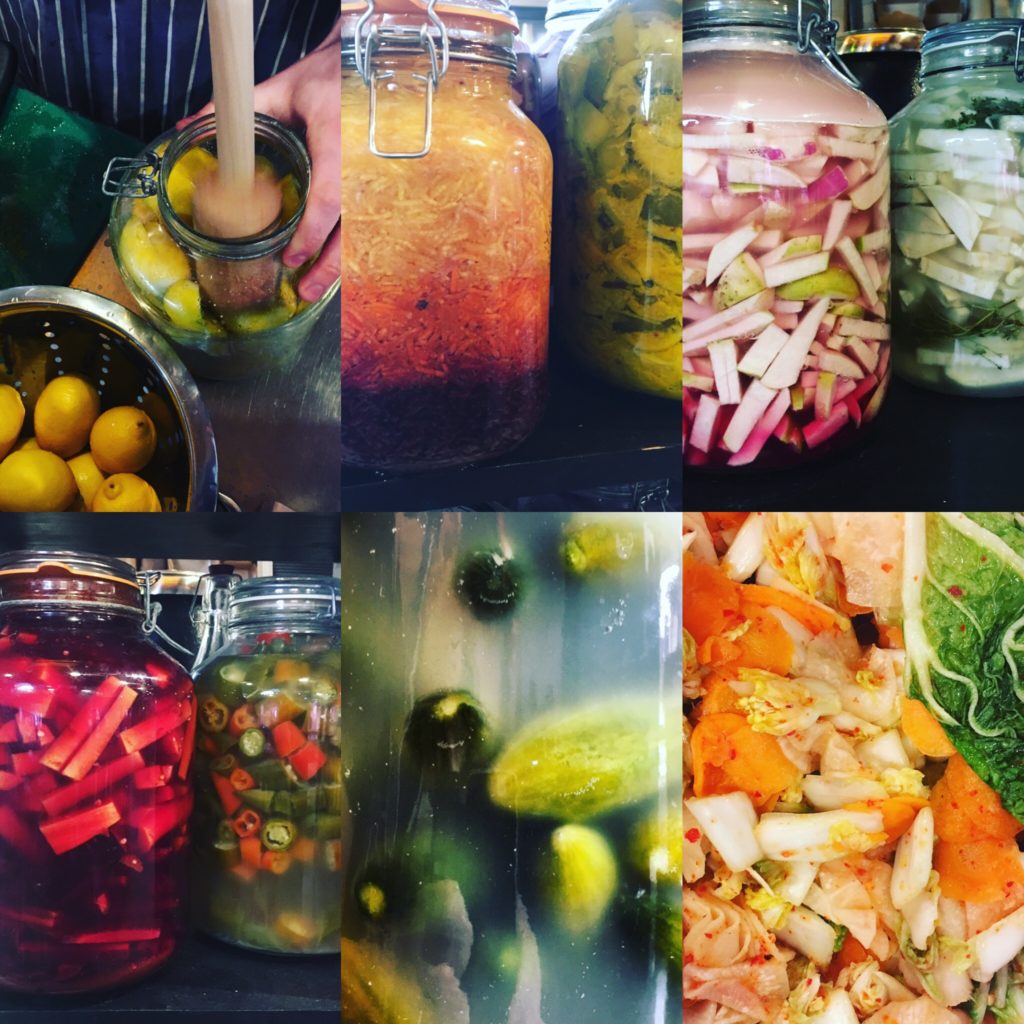
My kimchi recipe, which I will share with you soon, uses the same technique as sauerkraut. The difference being the cut of the vegetables and the all important spice paste. My fermented hot sauce uses the same technique too! Brine fermentation also works through the same simple process of lacto-fermentation to acidify the vegetables. Salt + vegetables + a jar is all you need to produce incredible delicious and nutritious ferments.
Why Ferment?
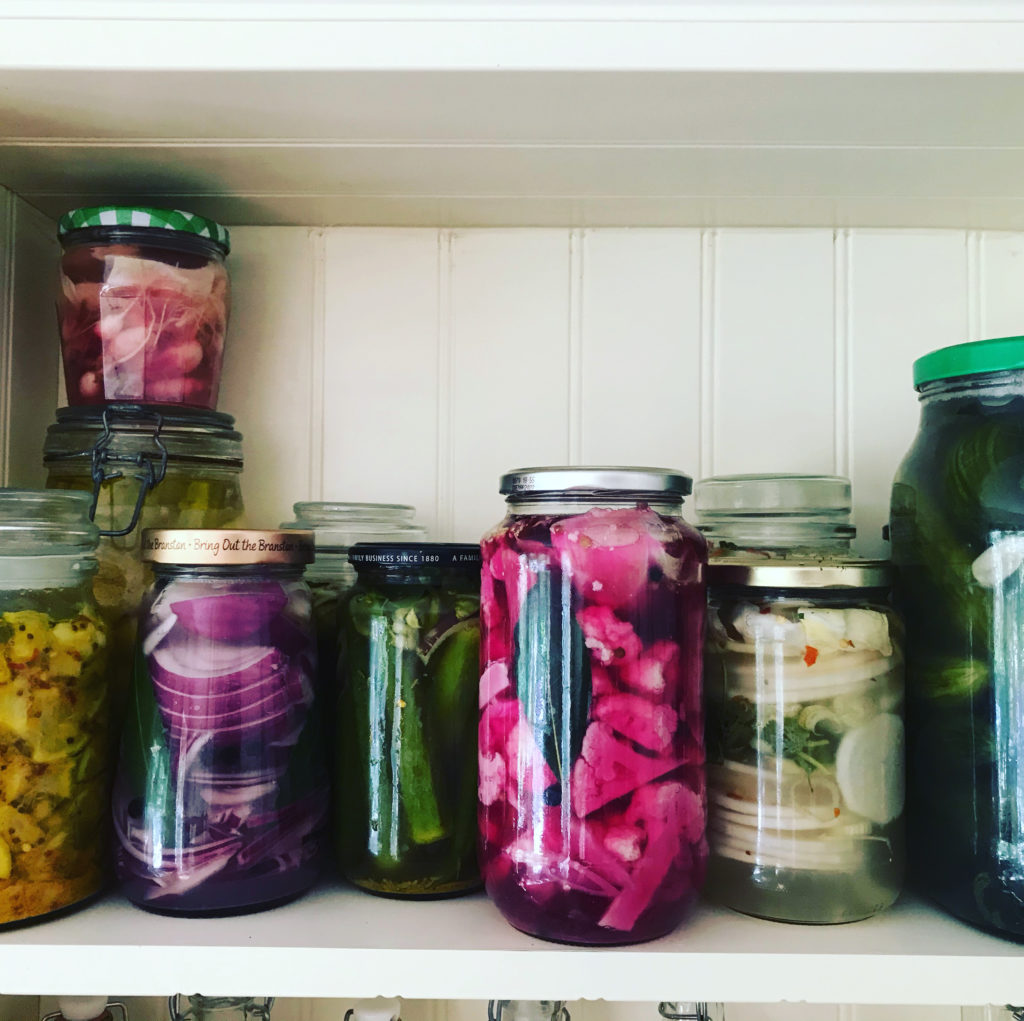
I first got hooked on fermenting many years ago when I had a surplus of cabbages delivered to my old cafe from our local farm. There’s only so much cabbage soup and coleslaw you can sell so we decided to try making sauerkraut as a means to preserve them, stop them from going off and being wasted. It was a revelation! We had no idea then about the health benefits, we were just blown away by the taste. Since that day, I bought lots of books on the subject, incorporated ferments into much of our menu and even started a stall in a farmers market called ‘Fermental’ selling fresh, unpasteurised ferments made with local, organic ingredients.
The science and nutritional benefits behind vegetable fermentation are really interesting to read about. There are so many perks to including ferments into your everyday diet. The importance of encouraging and introducing beneficial bacteria into our digestive system is becoming more well known and rather than taking a pill, this is a delicious way to do that. Fermenting vegetables also makes them easier to digest and makes the nutrients in them more readily available, and the organisms that enable fermentation are themselves beneficial too! All of this is good news for your body and your immune system, but its also great news for your taste buds. Fermented food is delicious! Complex, tangy, crunchy, sour and salty.
Is it Safe?
Lacto fermenation is a very safe way of preserving vegetables and it’s very easy too – no need for fancy equipment, all you need is a knife, board, jars, vegetables and salt. It can sound scary dealing with microbes. We have been trained to try to disinfect all surfaces and food from bacteria, moulds and yeasts so perhaps encouraging bacteria to thrive will feel strange at first. But the importance of our microbiome and the diversity of microbes that we need in our guts to be healthy is now becoming common knowledge. For me, as a chef, the main reason I ferment is for flavour, not medicine. The health benefits are just a bonus. And yes, it is perfectly safe as long as you follow some basic principles.
Submerging vegetables in brine protects them from harmful bacteria and allows ‘good’ bacteria to thrive. Lactobacilli, the good guys, are anaerobic, meaning they don’t need oxygen. So by keeping the vegetables neatly submerged in brine we are protecting them from the ‘bad’ bacteria that need oxygen to thrive, thereby taking out the competition for the ‘good’ lactobacilli. Salt in the brine also inhibits yeasts which would break the sugars down in the fruits/veg into alcohol instead of lactic acid. Salt is the perfect preservative for vegetables, but it’s important to get the right amount. Too much will inhibit fermentation and too little will result in a rotting crock/jar. Thankfully its quite simple, your best guide is your tastebuds! Your salted vegetables should just taste pleasantly salty.
Ingredients
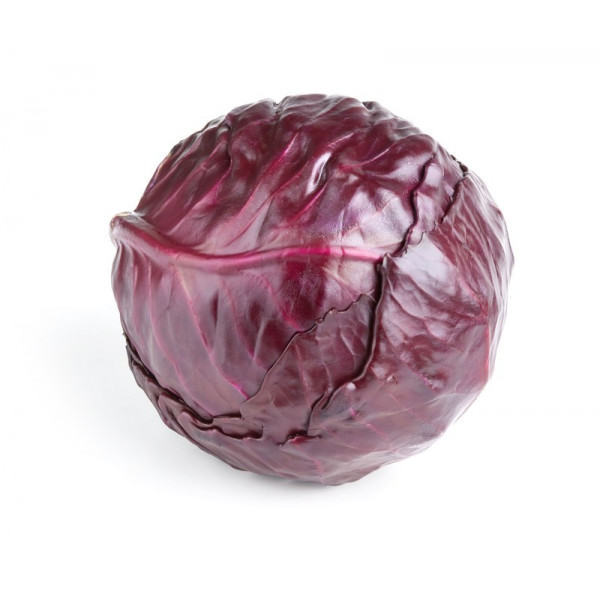
- cabbage
- optional other vegetables/fruit like leek, swede, carrot, beetroot, celeriac, apple…
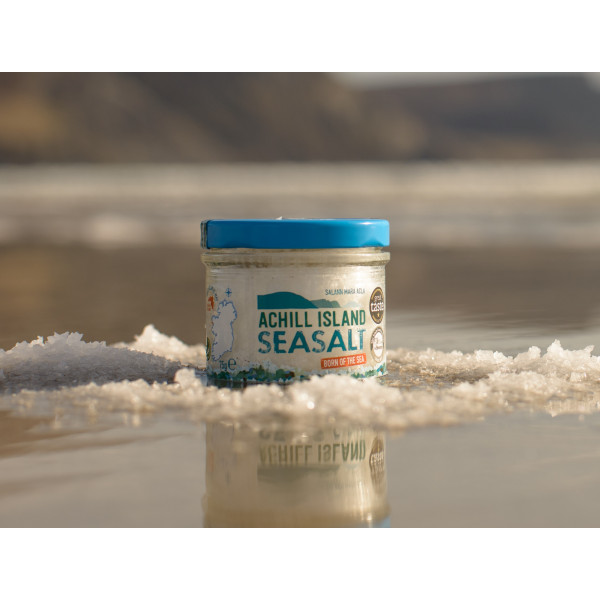
- salt
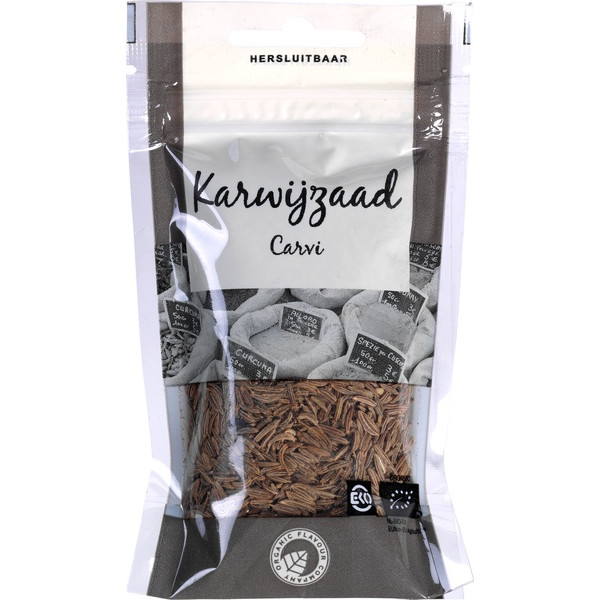
- optional herbs/spices like fennel seeds, dill, juniper, caraway, turmeric, pepper…
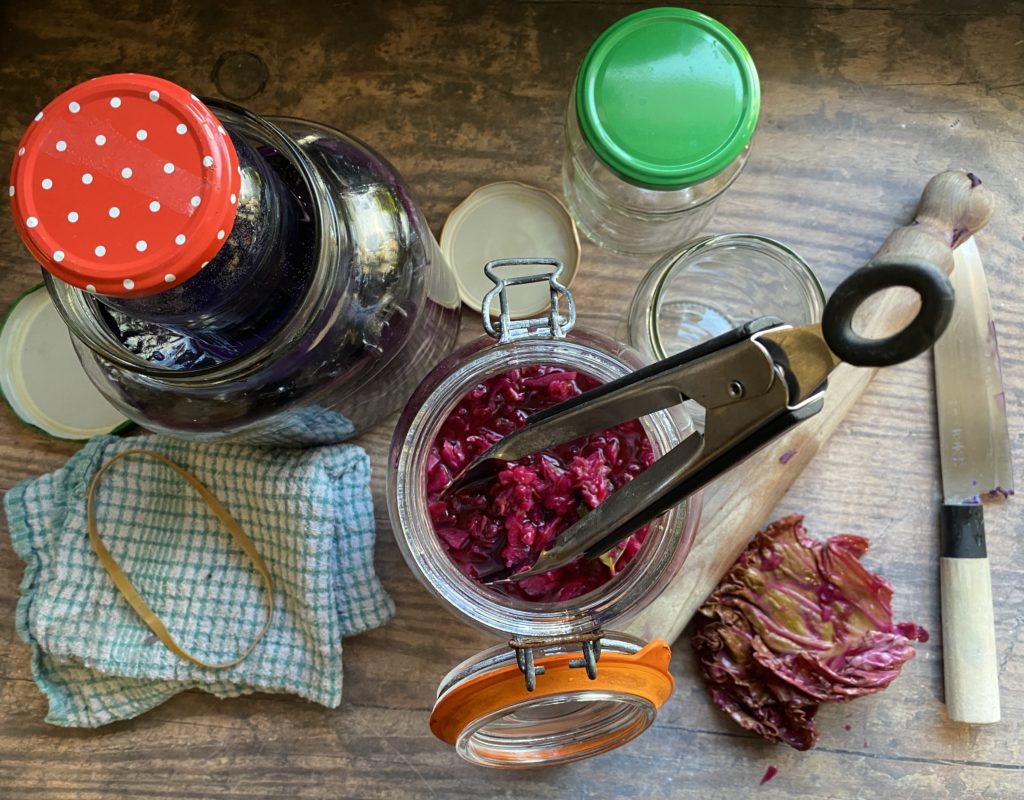
Method
Prepare a large jar to hold your ferment. Just give it a good wash and a rinse, no need to sterilise. Find and wash a smaller jar which fits neatly into your large jar. This will act as a weight.
Rinse your vegetables and pull off some of the outer leaves of the cabbage and put to one side. These will act as ‘followers’. A ‘follower’ is like a cartouche which neatly holds down any bits of chopped veg under the brine which may float up and become exposed to air.
Shred the cabbage (and any other veg if using) into a large bowl or your biggest pot.
Add extra flavourings to your tase if you like. A few juniper berries, some chopped dill, fennel/caraway seeds, turmeric and black pepper etc… just choose one or two flavours at most.
Massage in about 1 tbsp of natural, fine/flakey sea salt per regular sized cabbage volume. If you are unsure about doing this instinctively, you can weigh the shredded vegetables then work out what 2% of that weight is and add that amount of salt. Once the salt is fully incorporated, taste it and see if it is salty enough. It should just taste pleasantly salty. If its too salty add more vegetables, if it’s not salty enough add more salt. Easy!
Cover the bowl and allow the salt to do some of the work for you for about half an hour. Then give the mixture another good massage and you should see a lot of brine forming. There should be no need to add extra brine or water, the salt draws the water from the vegetables and creates its own delicious brine.
Once your veg is nice and briney, when you squeeze a handful lots of brine comes out, you can start packing it into your jar. Do this carefully and thoroughly. Take one or two large handfuls of the mixture at a time and firmly press them into the bottom of your jar ensuring there are no air pockets.
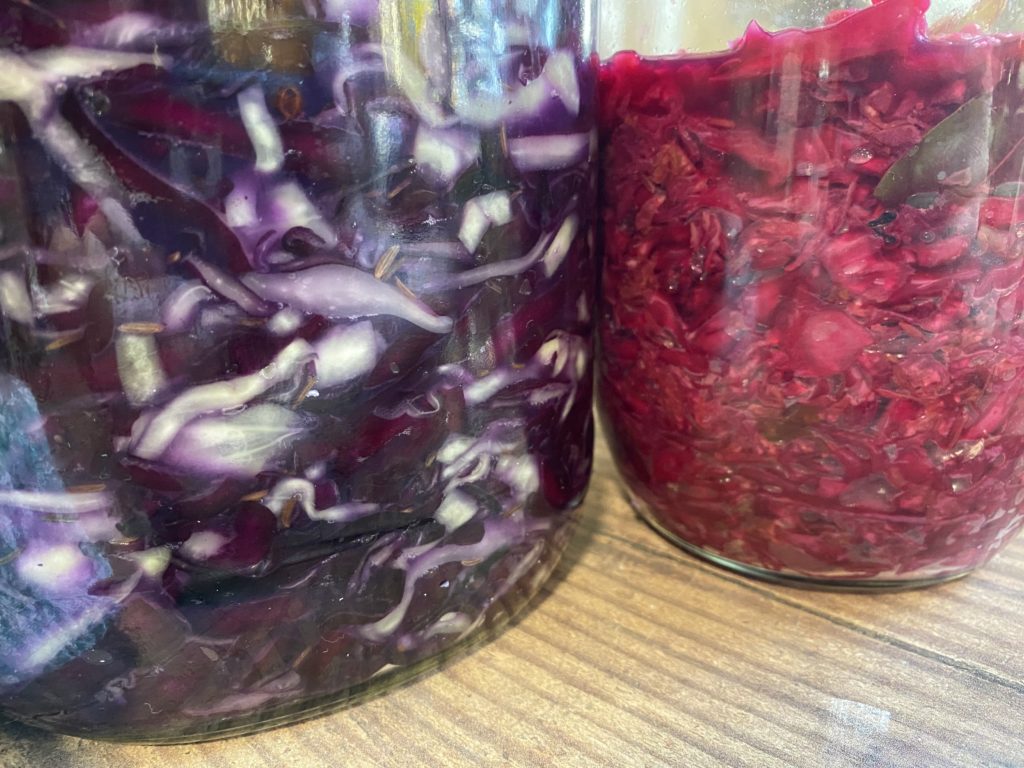
Keep going until you have used up all the mixture or until you have a good couple of inches left of head room in the jar. If you made a large amount or only have smallish jars then you may need to use a few jars.
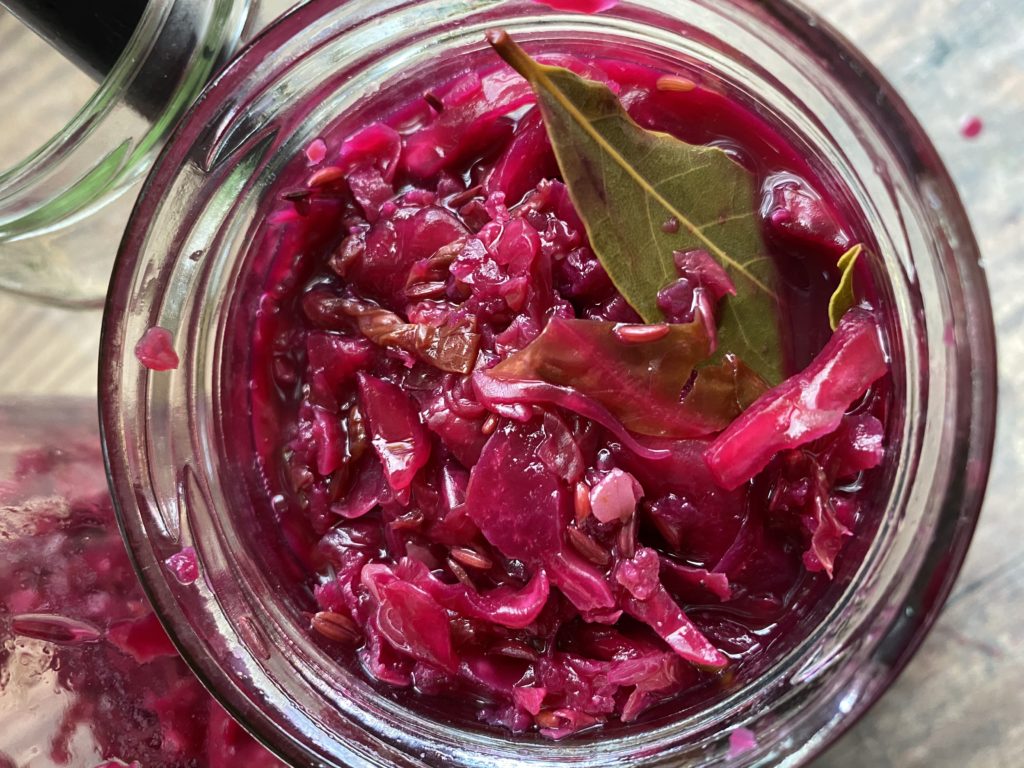
Now its time to add your ‘follower’ or cartouche. Get the cabbage leaves you saved earlier, break them to size if you need to, then wedge them into the jar, neatly covering the whole surface area of the ferment. Take your time to carefully tuck the leaf down around the edges of the ferment. Ideally the level of brine will rise above the ‘follower’.
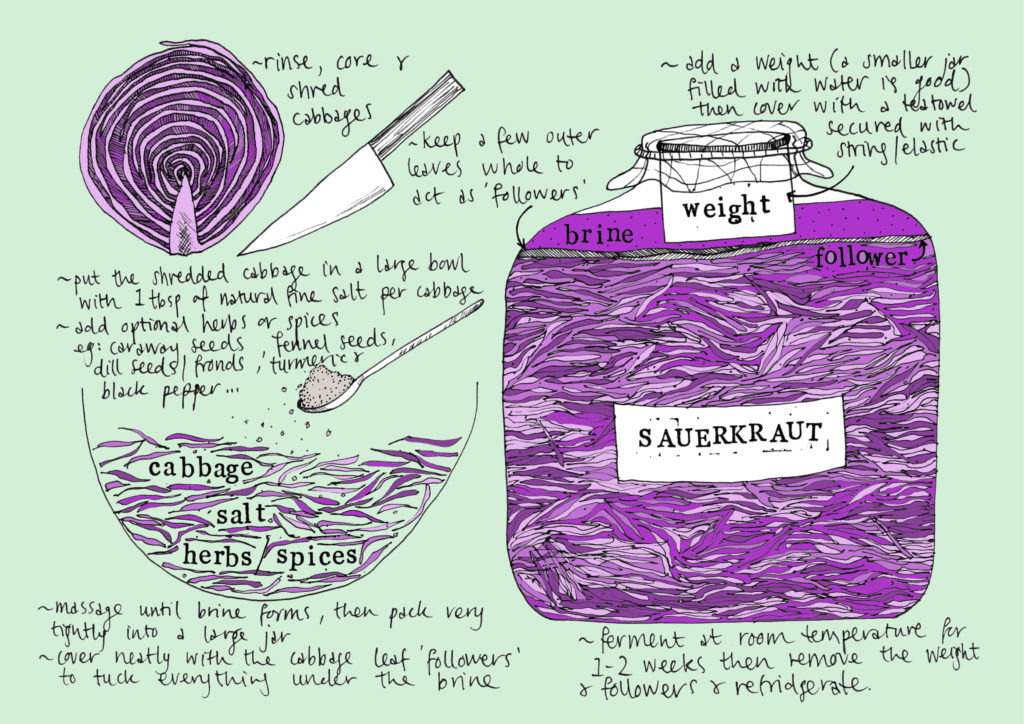
Then you need to add a weight to ensure the shredded vegetables stay submerged. The cheapest and easiest weight is simply a smaller jar filled with water. Make sure its nice and clean, no lables left on the outside. And make sure the lid does not come into contact with the brine. Salt and metal react and you don’t want a rusty metal lid sitting in your ferment! So just make sure the smaller jar can’t fall over inside the bigger jar and it should be fine.
Other weights you can use are scrubbed and boiled beach pebbles (make sure they are not chalk/limestone), you could even use a ziplock freezer bag filled with water/stones. You can also buy specially designed fermentation weights of course. made from glass or ceramics – if you really get into fermenting then these are a worthwhile investment.
Then loosely cover the jar to allow the gases produced during fermentation to escape. Use the lid, or if the lid doesn’t fit over your weight then you can cover the jar with a tea towel and secure it with an elastic band or string.
Place the jar on a plate or tray to catch any potential overspill. Then ferment at room temperature, out of direct sunlight for a week or two.
Check on your ferment daily. Push down on the weight to expel any air pockets/bubbles that form during fermentation. Taste it after one week and if it has soured to your liking you can remove the weight and follower and refrigerate it. Otherwise keep fermenting it at room temp for another week or so for a funkier, tangier taste.
Once refrigerated it will keep well for a very long time up to and over a year even, if you look after it. That means no double dipping – you don’t want to introduce new bacteria from your mouth into the jar, scrape down the sides to keep all the veg together – bits that dry out and are exposed to air are more likely to catch mould. Consider transferring your finished ferment into a few smaller jars before refrigerating. This will mean that the ferment is exposed to less air and last longer.
Let me know in the comments or over on our friendly Facebook page if you have any questions or need me to troubleshoot. More fermenting blogs and videos coming soon. Happy fermenting! Liz x