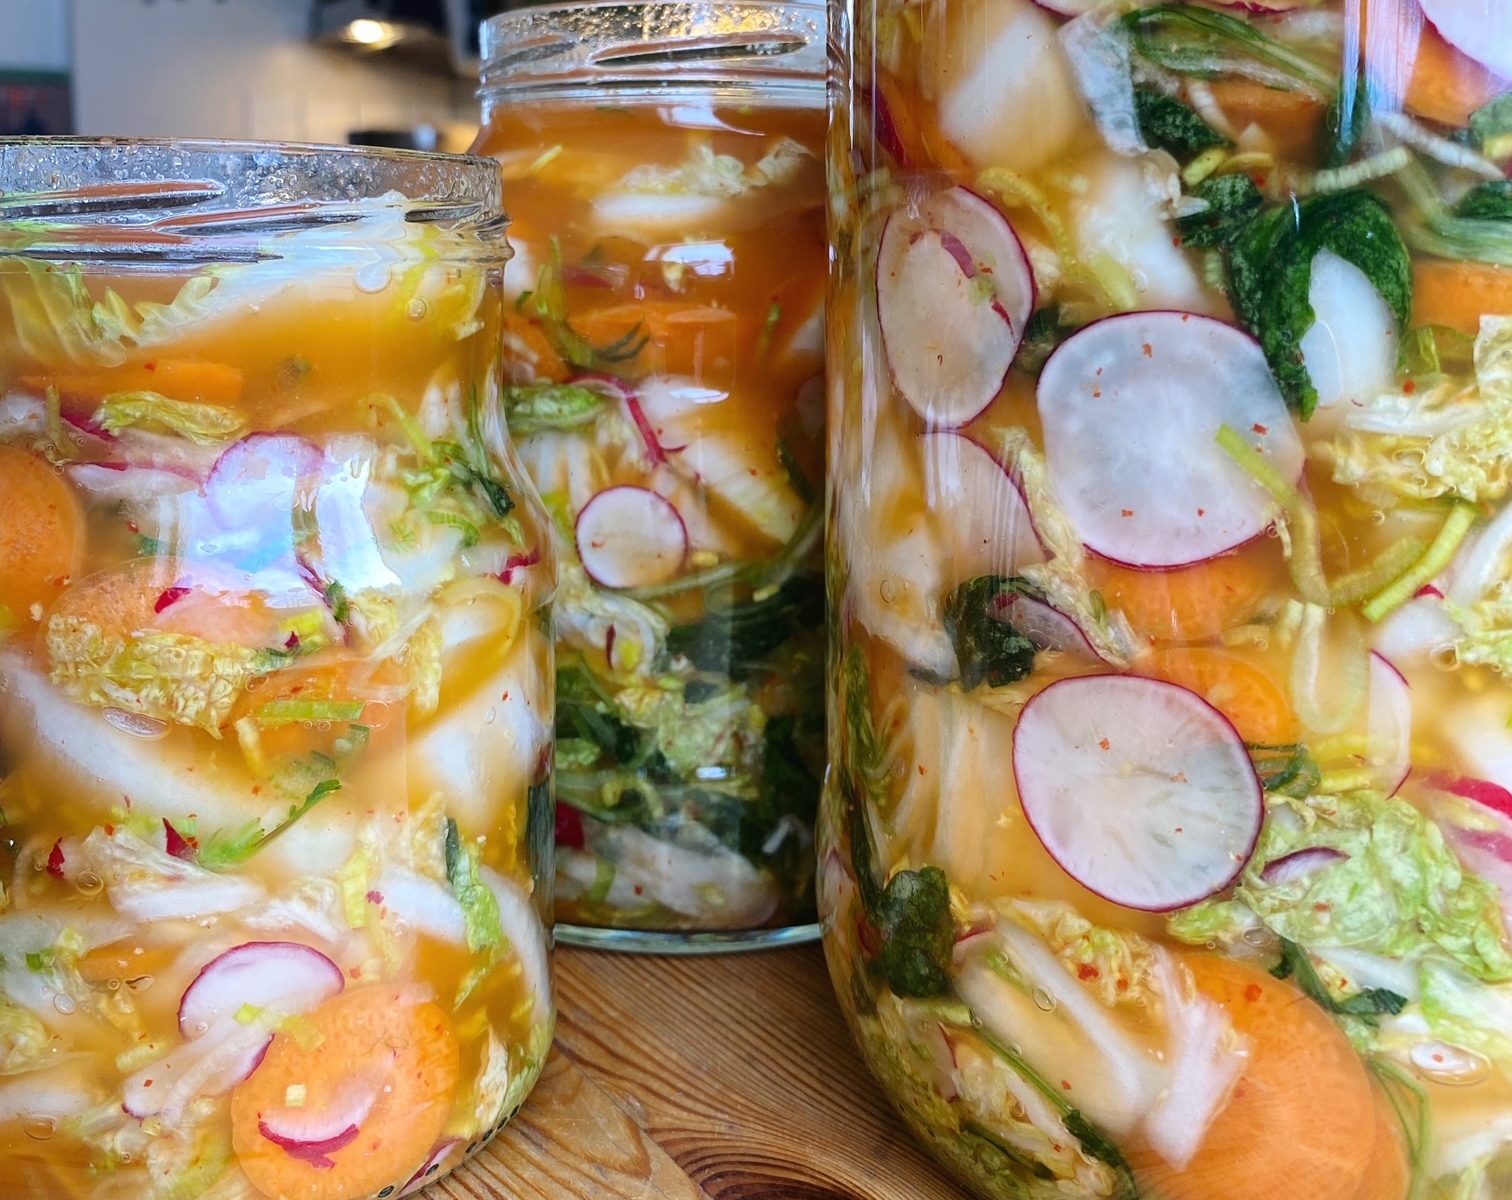
We are very excited about the first harvest of radishes this year. Have you ever grown them yourselves? They’re what we recommend for beginners (or kids!) as they are so satisfying to grow and only take a few weeks to turn from tiny seed to plump, ruby bulbs. They are so refreshing and peppery, of course brilliant in a salad, but our favourite way to eat them is fermented in a kimchi along with their leaves. Zero waste! Kimchi is a really delicious fermented cabbage, Korean side/topping, like a spicy version of sauerkraut. If you’ve never tried it before, it’s like a pickle – tangy, salty and spicy. So good with rice or noodles, in sandwiches (you HAVE to try a kimcheese toastie!) …we love filling dumplings with tofu and kimchi and pilling it up on savoury cabbage pancakes. Here’s the very flexible recipe.
Liz x
Ingredients (these are suggestions and amounts can be flexible)
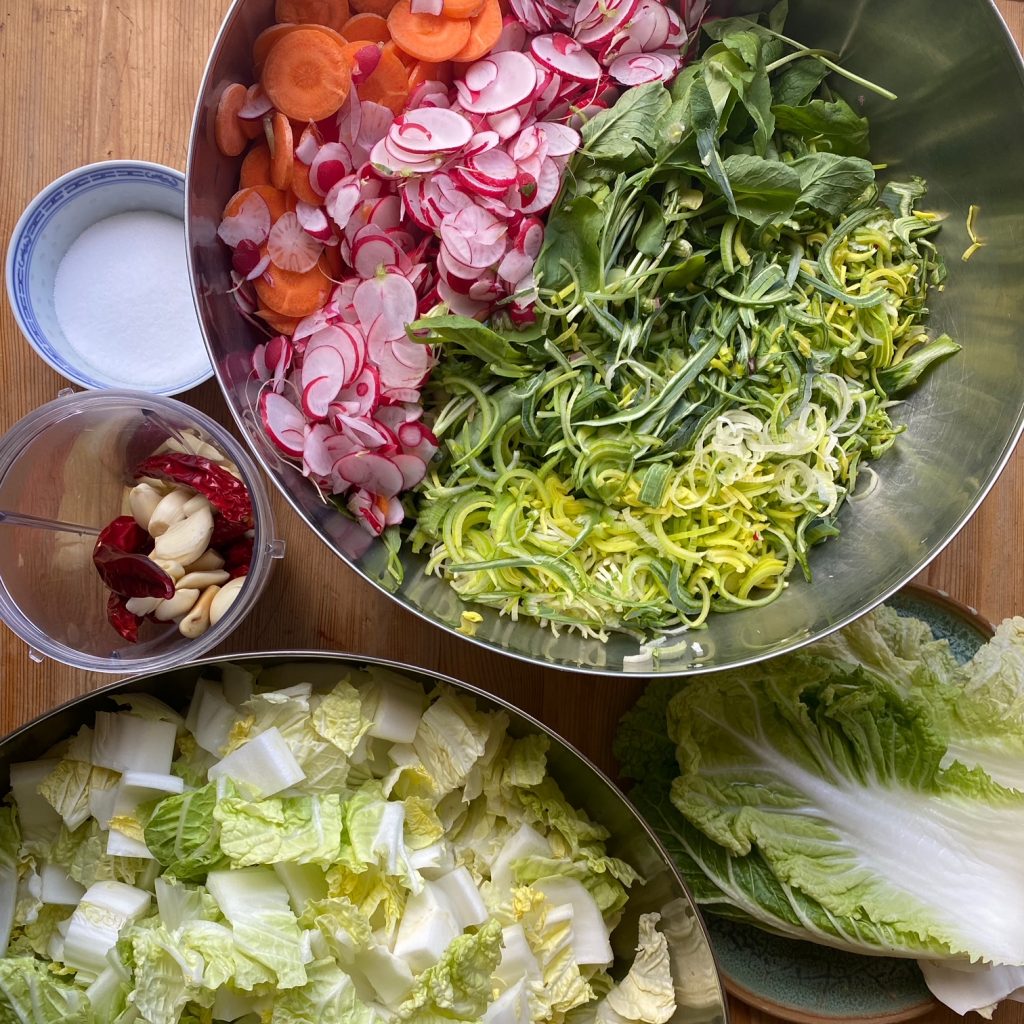
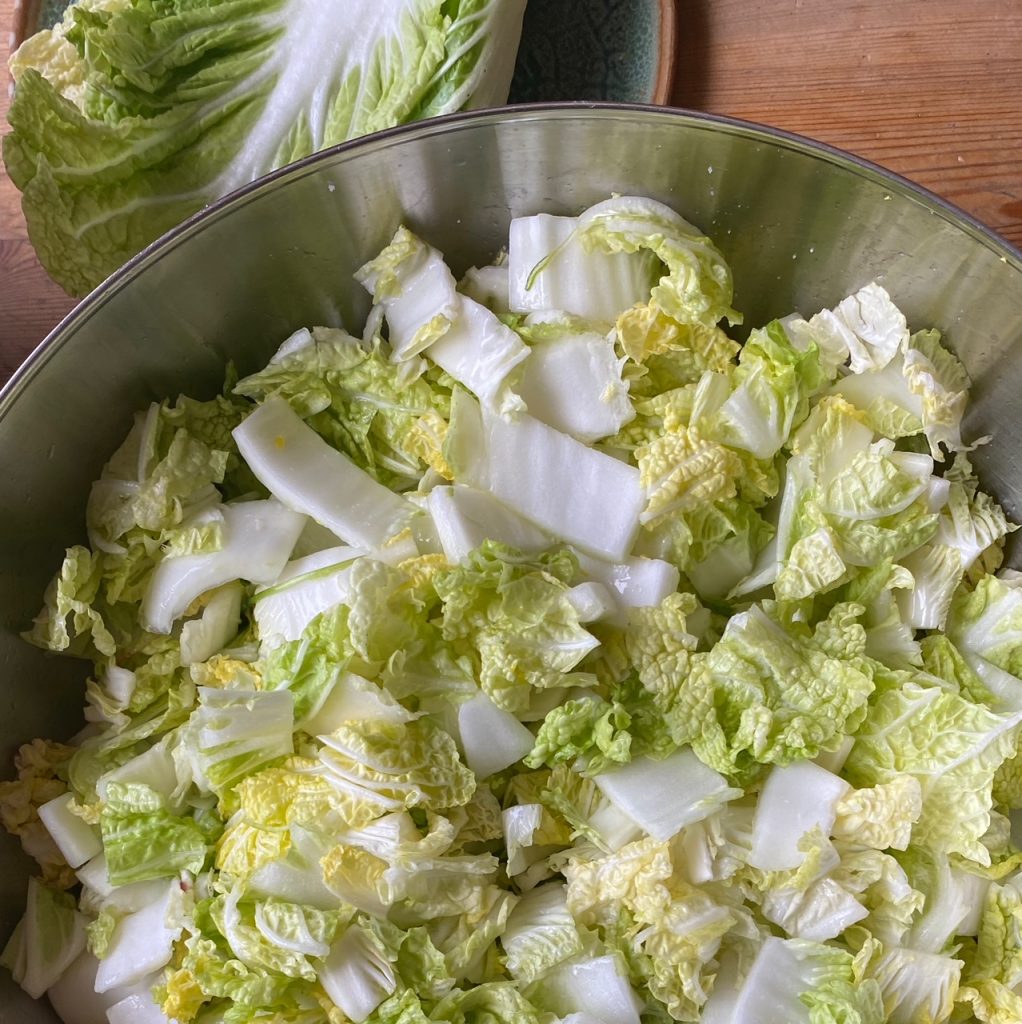
- 1 cabbage (Chinese Napa cabbages are traditional but you can use any loose, leafy cabbage – Savoy or January King work really well here)
- 4 carrots
- 2 bunches of radishes (including their leaves)
- 1 leek or a bundle of scallions
- Optional extra veg like a kohlrabi or a turnip…
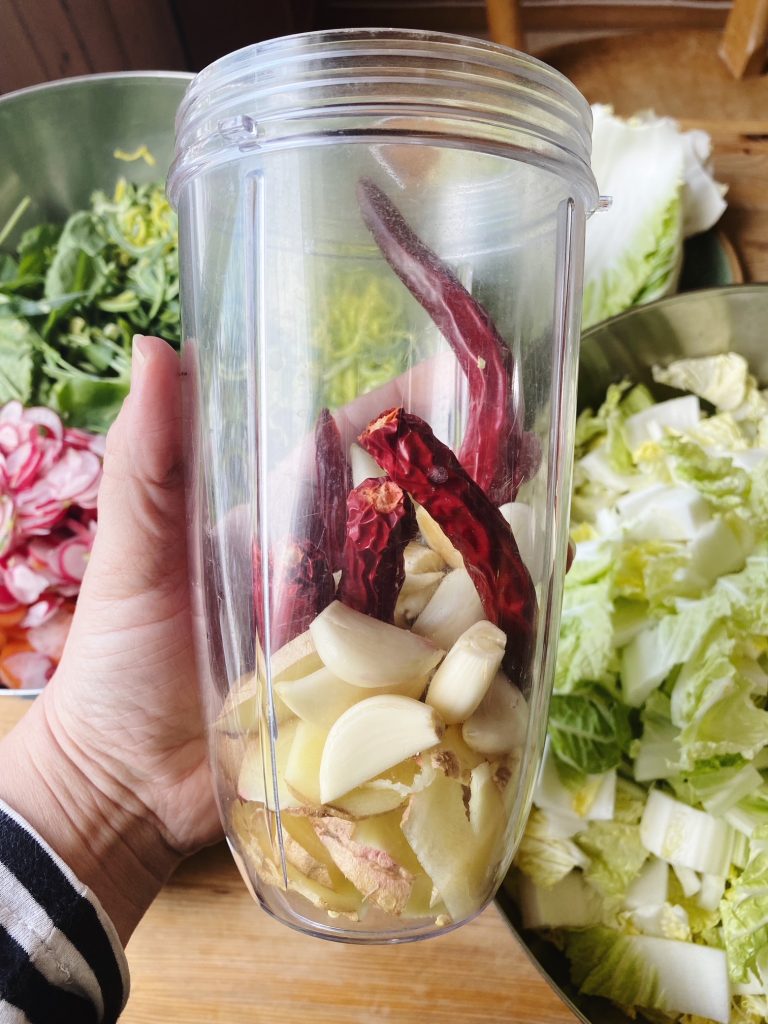
- 6 cloves garlic, 1 large thumb of ginger and 3 red chillies to make a paste
- salt (2% of the weight of all the above)
Method
- You will need clean equipment (large bowls, jars, chopping board, knife, blender, serving spoon and rolling pin) but it does not have to be sterilised. Apart from the superior taste and beneficial bacteria, fermenting rather than pickling is also easier in this way.
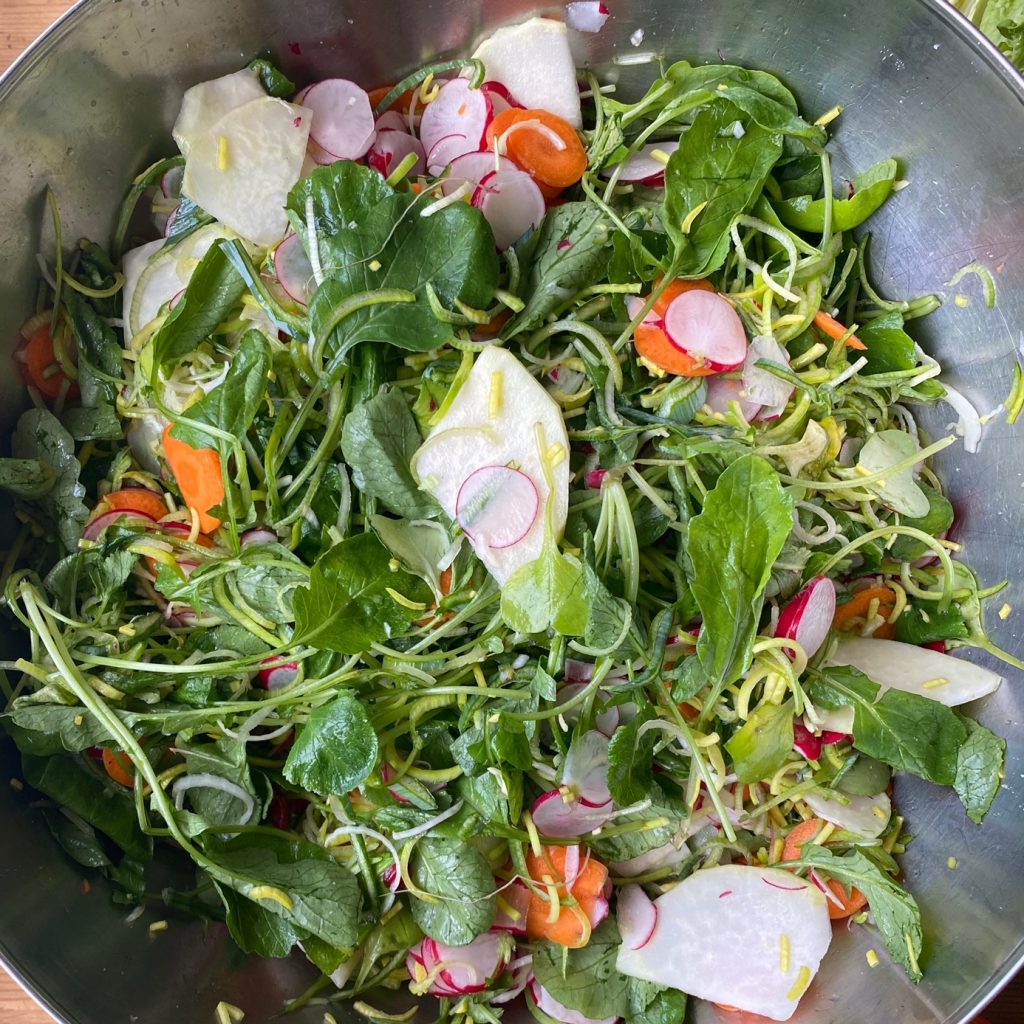
- Rinse your vegetables and start chopping. Save a few outer leaves of the cabbage but cut the rest into bite sized pieces. Weigh it and add to a large bowl. Thinly slice the other vegetables, leave the radish leaves whole, weigh them and add to the bowl.
- Weigh the garlic, ginger and chilli then blend into a paste. Add up the weights of all the different veg to find the total weight and work out what 2% is.
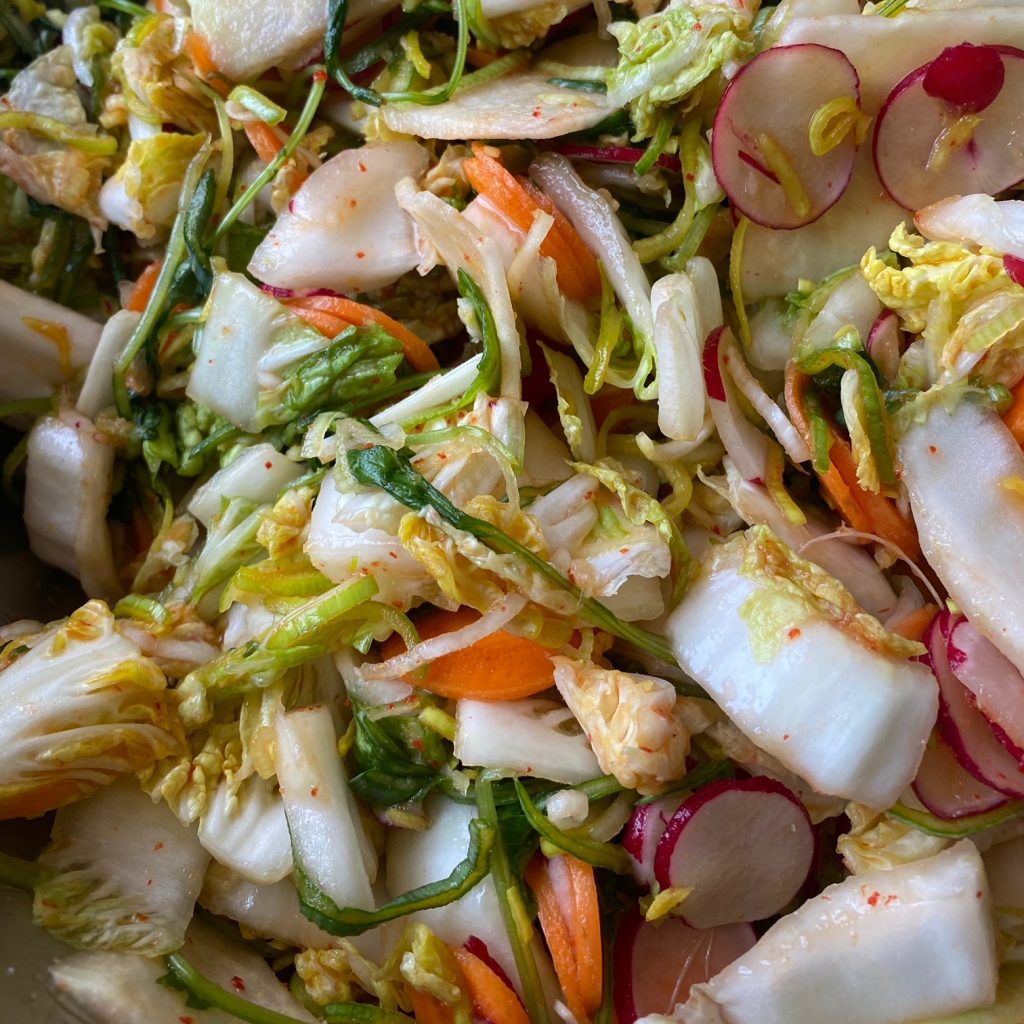
- Measure the salt and mix it through the chopped vegetables. Give them a light massage to encourage brine to form. Then stir the spice paste through using a serving spoon.
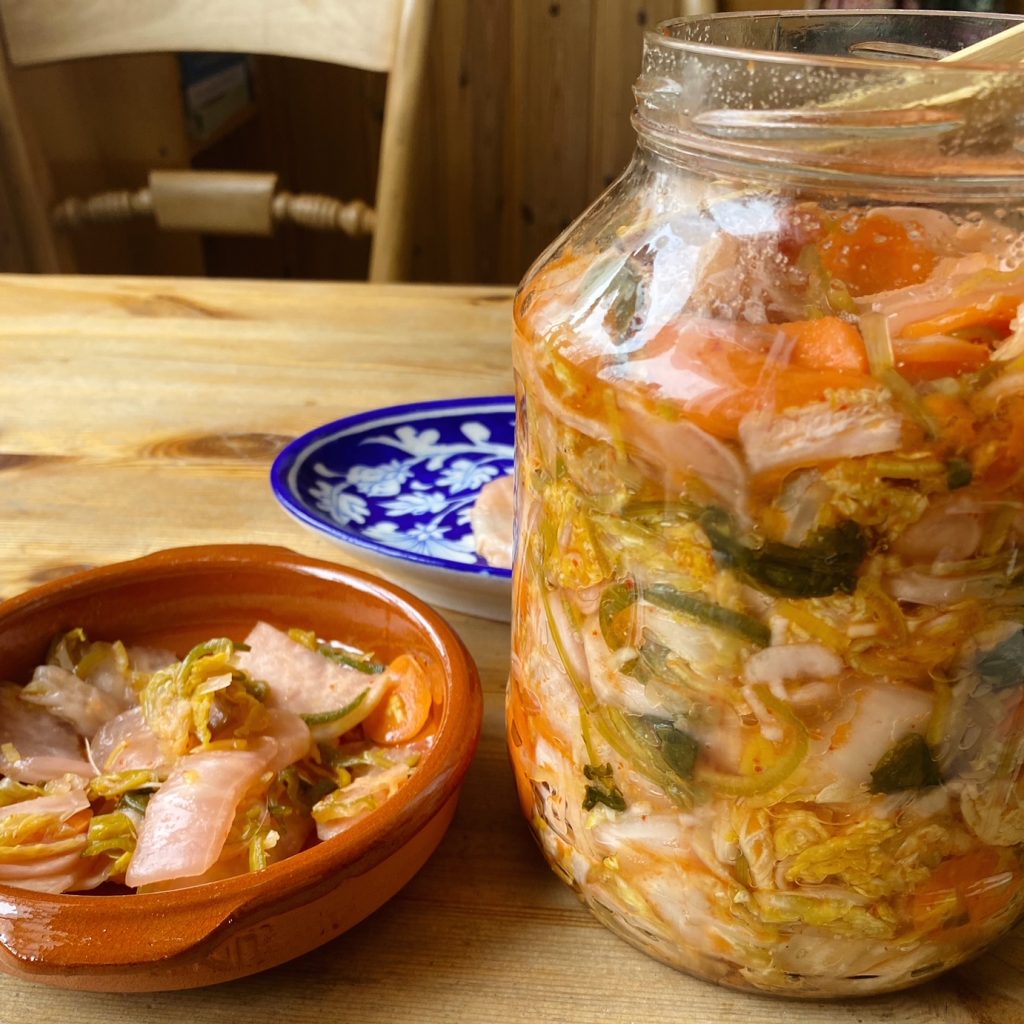
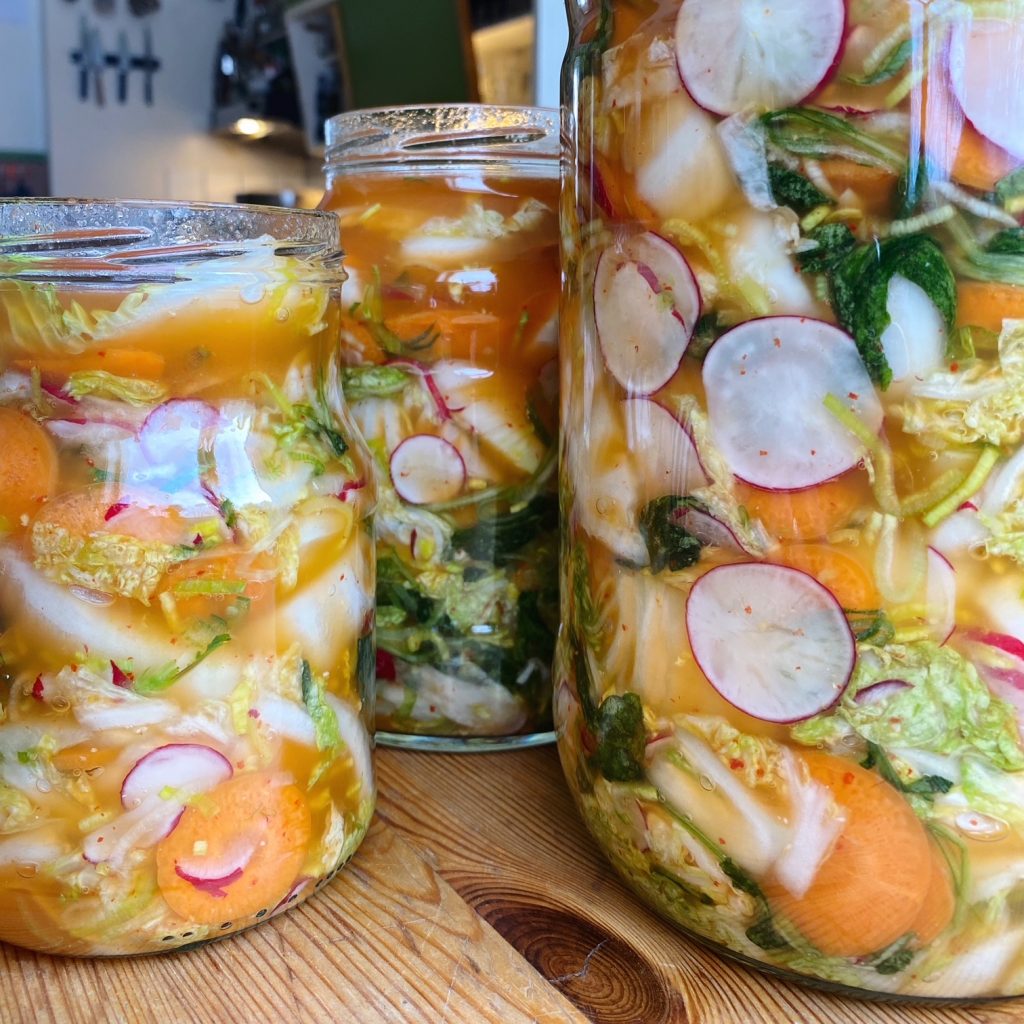
- Pack the mixture very tightly into jars. Use the spoon or a clean rolling pin to really pack the vegetables into the jar ensuring no air-pockets have formed. Leave a couple of inches of head room in the jar if you can. Then break a reserved cabbage leaf to size and press it down on top of the cut vegetables and tuck it in under the shoulders of the jar to keep the small bits of sliced vegetables submerged in brine. If they get exposed to air then they are likely to go mouldy. Your cabbage leaf may be enough to keep the kimchi submerged in brine, if not, use a weight. Something brine-proof like a glass, small jar or ramekin.
- Place the lid on the jar loosely to allow gases to escape during fermentation (be aware your kitchen is going to smell a bit funky this week!) and put the jar on a plate in a room temperature place in your kitchen, not too exposed to light as the extreme changes in temperature are not ideal. Allow the kimchi to ferment at room temperature for one week then refrigerate.
- TOP TIPS: – no double dipping! This could introduce new, unwanted bacteria from your mouth. – Remember the mantra, “Submerge in brine, all will be fine”. Check the jar every day whilst fermenting. Have the gases pushed the vegetables up above the brine? If so push them back under with a clean spoon.
