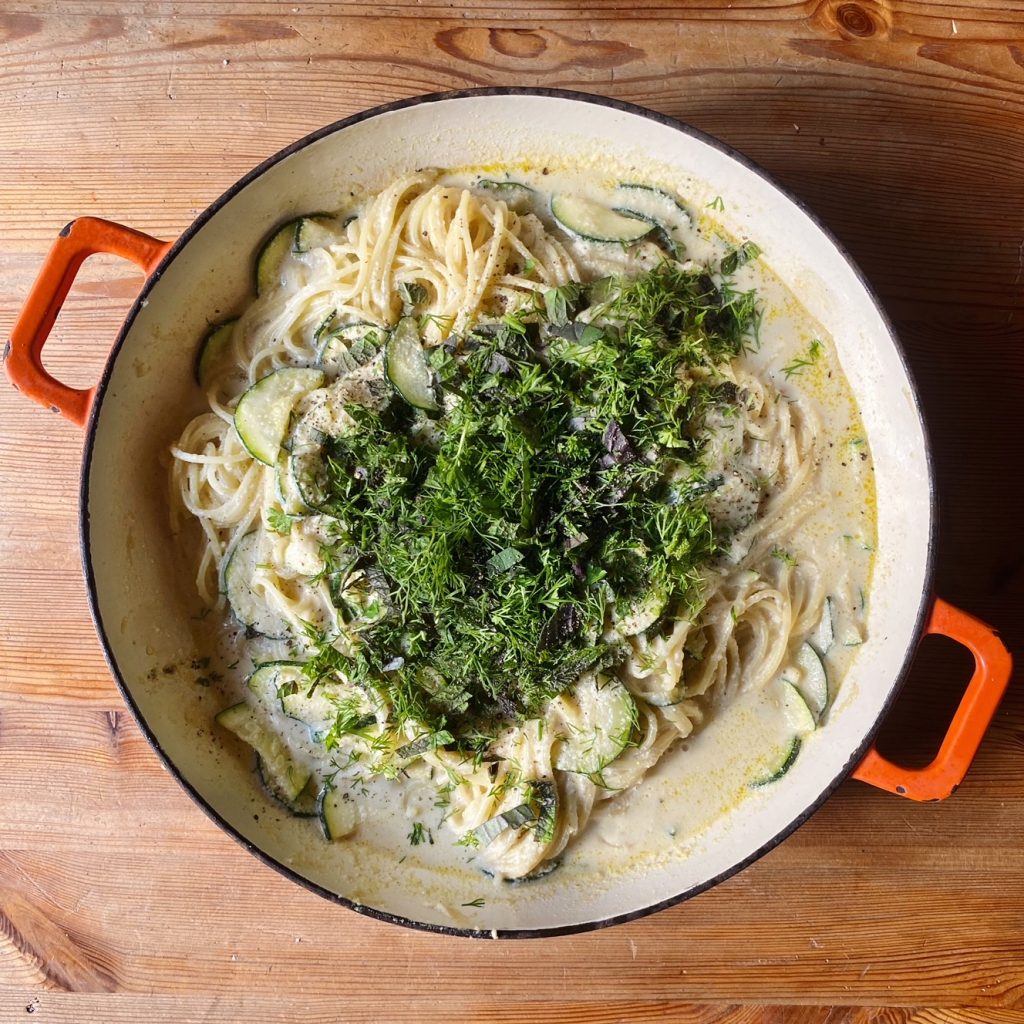
This simple pasta is very fast, very easy and very delicious. The perfect weekday supper. Courgettes are coming in thick and fast now so do enjoy them and use the search bar in the blog to find lots more courgette inspiration. You can substitute the cashew nuts in this recipe for sunflower seeds or any nut/seed you prefer. No need to be too exact with the ingredients, this pasta recipe is very easy-going, as all weekday dinners should be. Enjoy!
Liz x
Ingredients (serves 4)
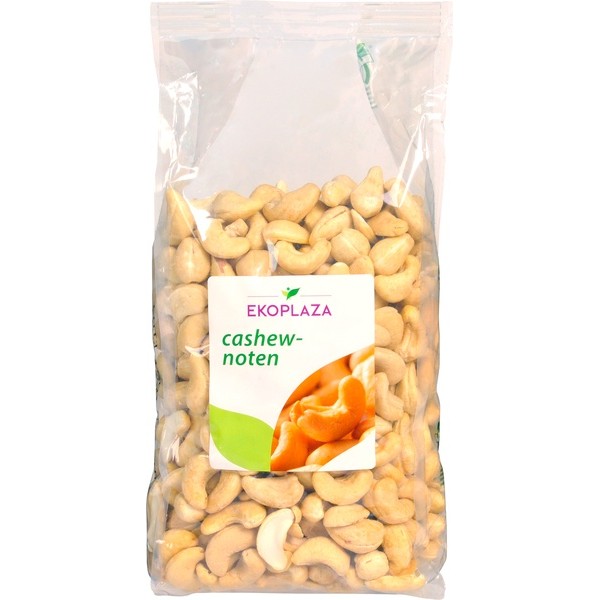
200g cashews covered in just boiled water
1 heaped tsp Dijon mustard
1 tsp garlic granules
2 heaped tbsp nutritional yeast
the juice of 1/2 a lemon
salt & pepper to taste
1 tbsp olive oil
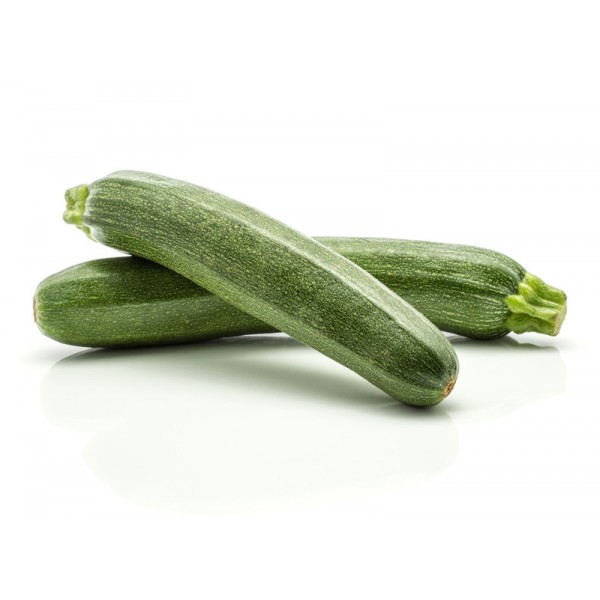
1 or 2 courgettes, thinly sliced
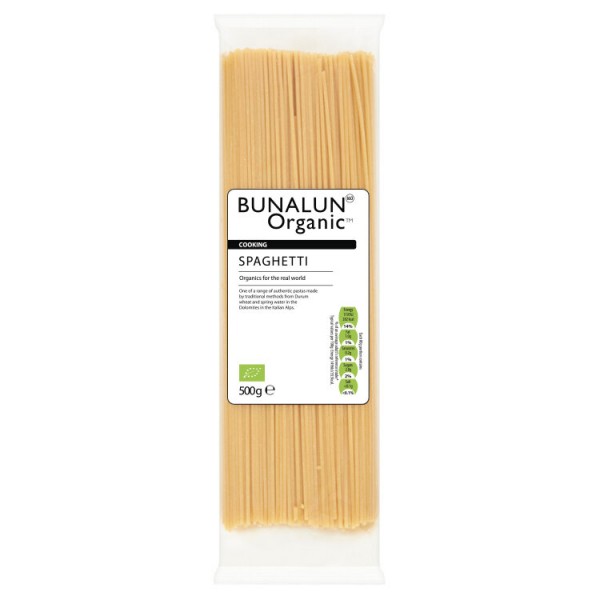
4 portions of spaghetti, cooked in salted, boiling water
1 large mug of the starchy water that the pasta was boiled in
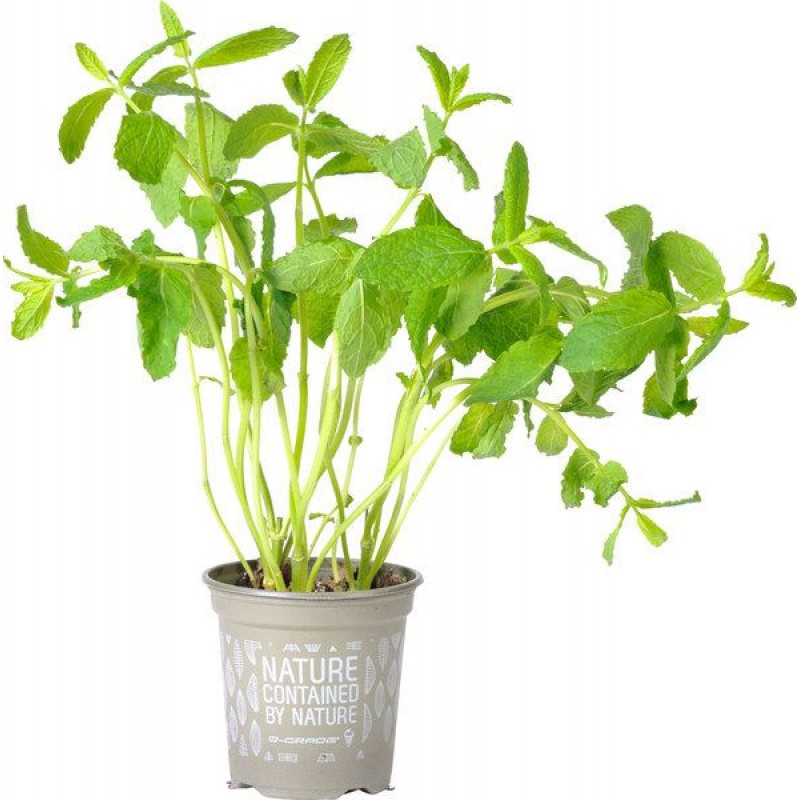
a large handful of chopped herbs eg dill, parsley and mint
Method
Soak your cashews and get a large pot of water on to boil. Thinly slice the courgette and find a wide pan.
When the water is boiling, generously salt it and tip in your spaghetti. While it cooks make the creamy courgette sauce.
Put a large pan onto a medium heat and add the olive oil and sliced courgettes. Season well with salt and pepper then sauté gently to soften and wilt the courgettes.
Blend the soaked cashews in their soaking water with the mustard, garlic granules, nutritional yeast, lemon juice and season to taste with salt and pepper. Scrape the cashew cream into the pan of courgettes and steal a mug of starchy pasta water from the pot. Add it to the courgettes and cashew cream to loosen and simmer into a gently bubbling sauce.
Drain the pasta and toss it through the sauce. Serve with extra black pepper and a sprinkle of fresh herbs.
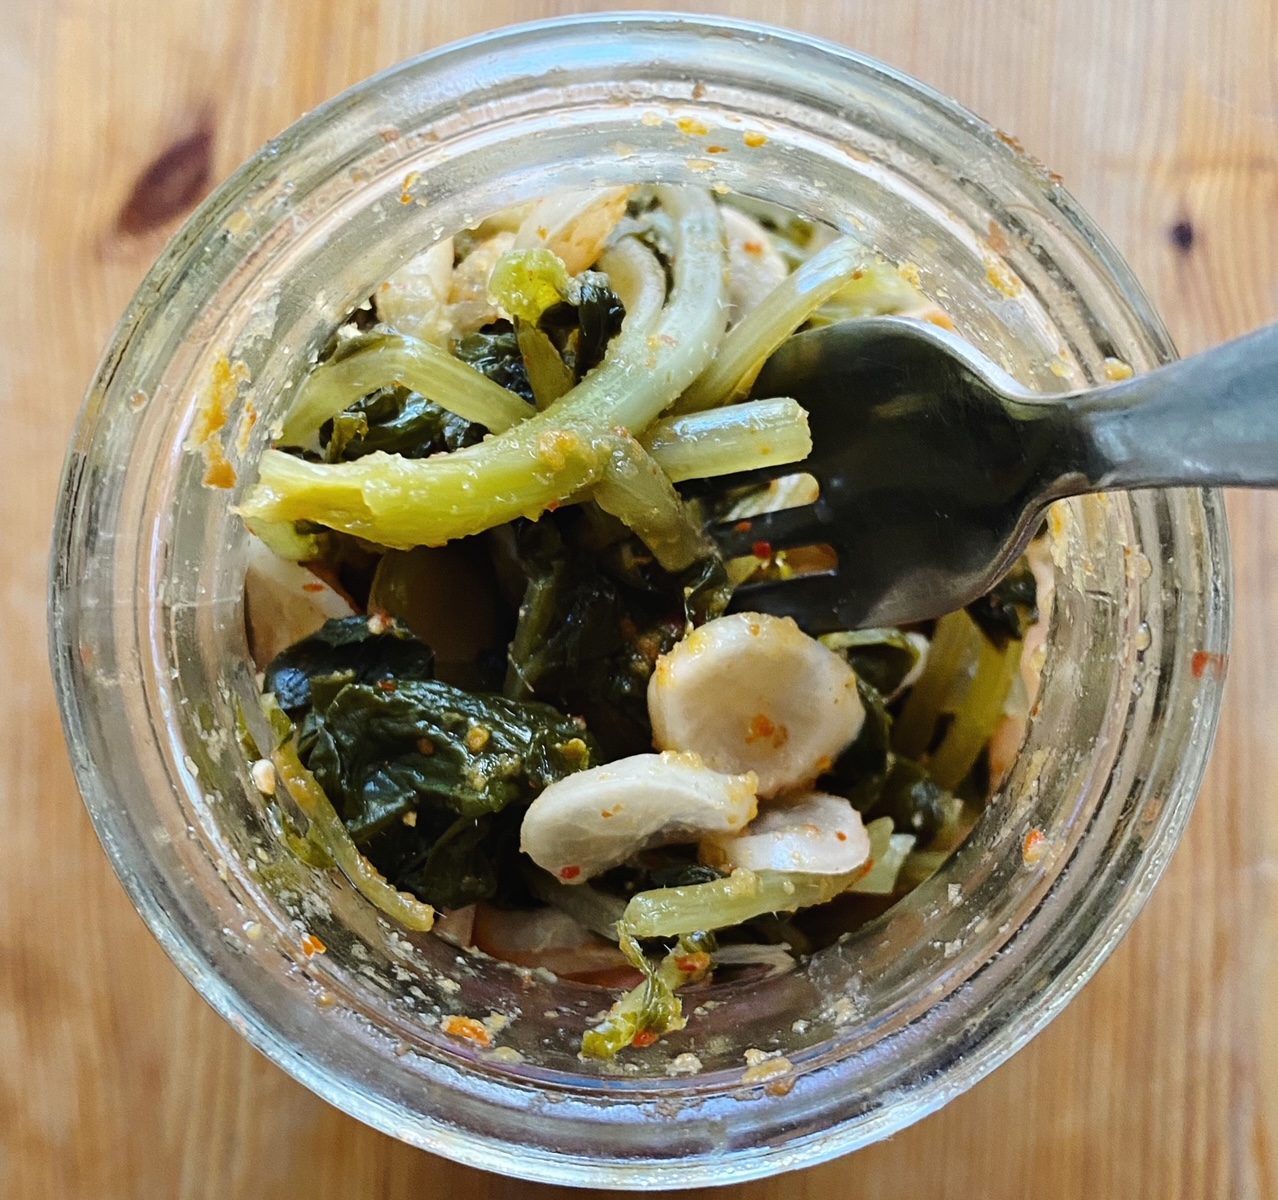
Did you know that radish leaves are edible? Get more bang for your buck (and save food waste) by eating them up! They are delicious and peppery, a little like rocket. Many people are not fans of their slightly bristly texture so, even though they are delicious fresh in a salad, you can also cook them in a soup or stew or as greens in a quiche or as a side dish with garlic. You can also blitz them up with nuts or seeds into a peppery pesto or ferment them as I have done here.
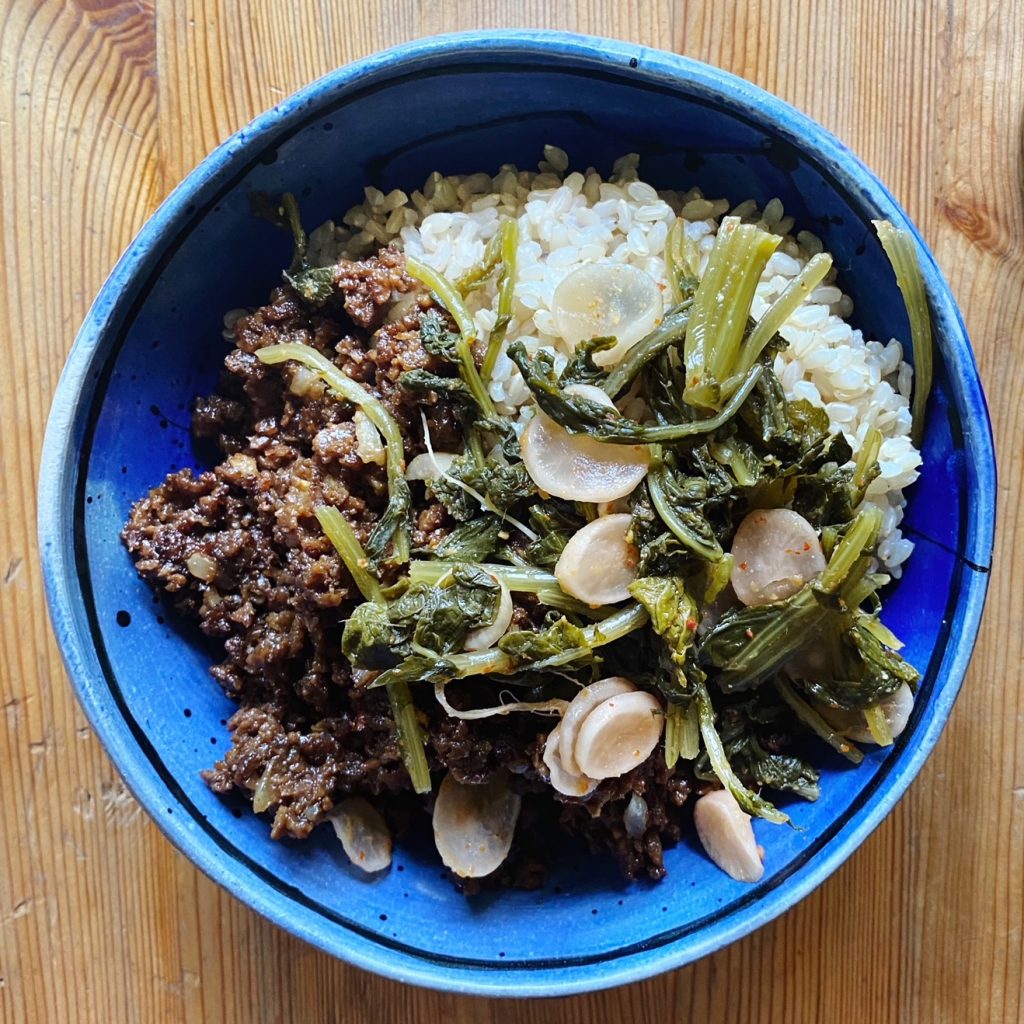
We are a little obsessed with kimchi in our house. We eat a lot of rice (or other grain) bowls and kimchi is just the thing to finish it off. If you’ve not had kimchi before, it is a tangy, spicy fermented condiment – a pickle of sorts – from Korea. Once you get a taste for it, you’ll be hooked, so it’s definitely worth learning to make your own. The health benefits of fermented foods are incredible too. Full of live, gut friendly bacteria to aid your digestion, nutrient absorption, mood and more! We do stock an organic kimchi here if you want to see how it is supposed to taste before you give making your own a go.
Liz x
Ingredients
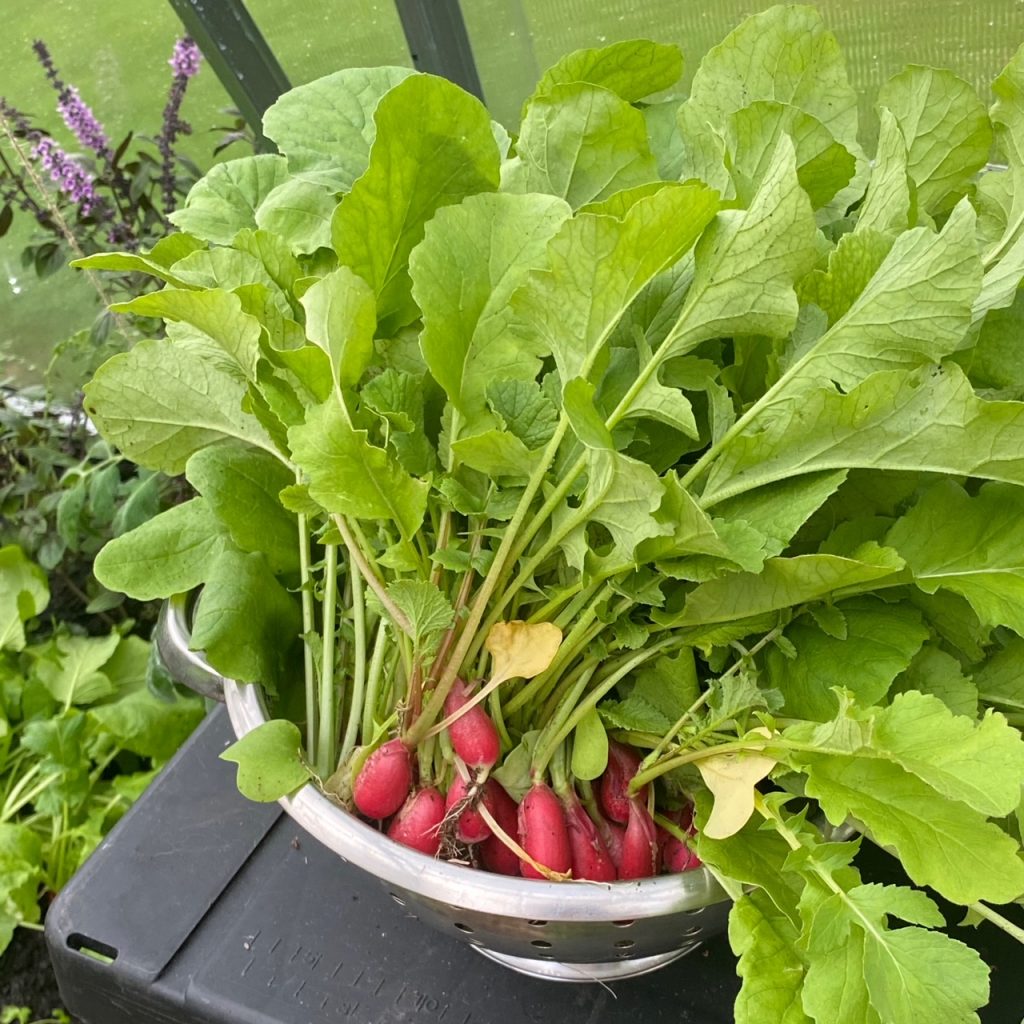
radishes with leaves – washed and separated
salt to taste (or you can weigh your radishes and leaves, work out 2% of the weight and use that amount of salt if you prefer being precise)
garlic, ginger and chillies to taste
a couple of cabbage leaves to use as ‘followers’ which help keep the radishes submerged in brine
You will also need clean jars, a clean chopping board and knife and a large, clean mixing bowl.
Method
Chop the leaves and stems into 3 or 4 cm chunks. Place them in a large bowl and sprinkle with salt – enough to make them taste pleasantly salty. Mix gently with your hands to tumble the salt around and coat each leaf. You will soon notice that the volume of the leaves decreases and they start to look wet as the salt draws the liquid from the leaves and creates a delicious brine.
Thinly slice the radishes – you can leave on their cute tails which are also perfectly edible. Add them to the bowl and mix them in too. Taste a leaf, does it need more salt?
Now make a paste with fresh garlic, ginger and fresh or dried chillies. I use a small smoothie maker and add a good thumb of fresh ginger – sliced but not peeled – the cloves of half a bulb of garlic, peeled, and a good tbsp or two of chilli flakes or a couple of fresh red chillies. Do it to your taste, for example, make it extra garlicky and not so spicy if you like.
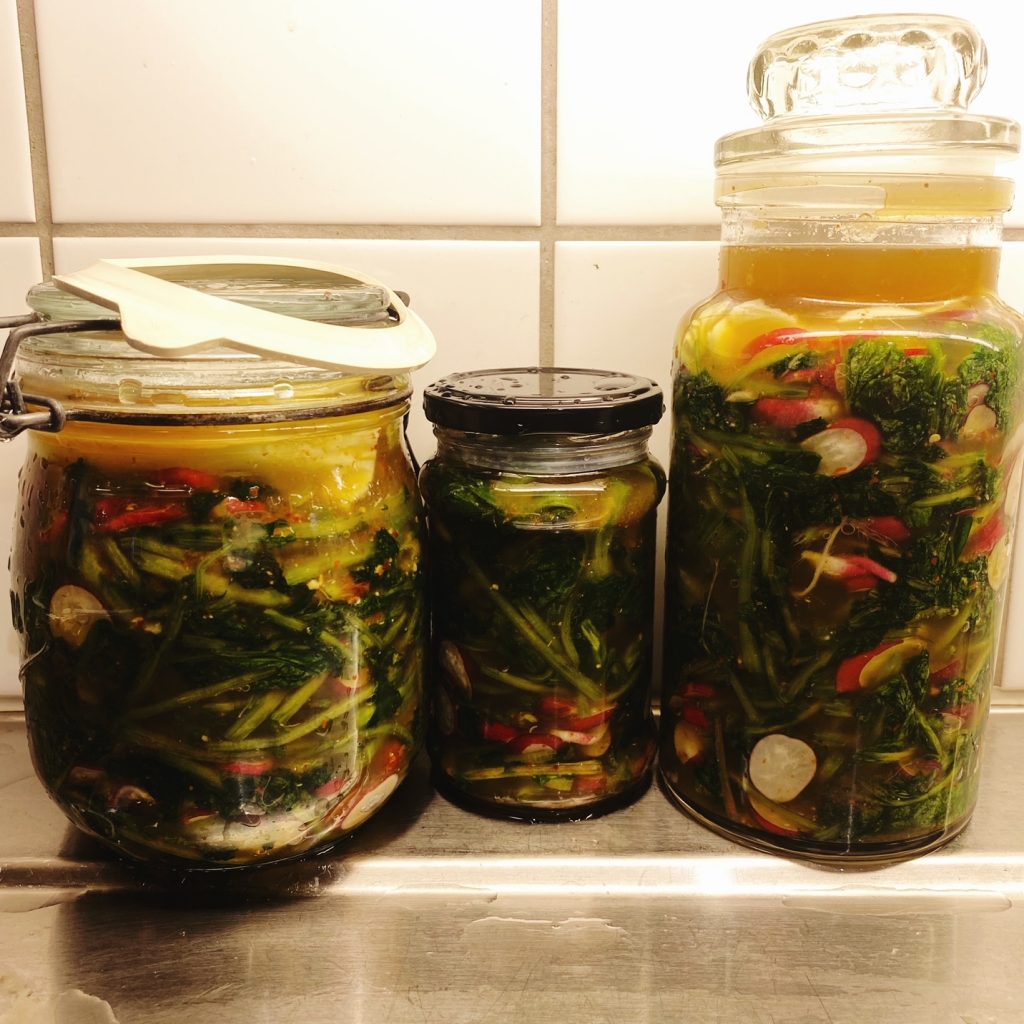
Stir the paste through the salted radish and then firmly stuff the mixture into clean jars. Push the mixture in very tightly, you want to avoid any air pockets in the jar. Pour in any brine that has collected in the bottom of the mixing bowl too. Ideally leave a couple of centimetres of head room in the jars. When you push down on the vegetables, brine should cover them.
Now tear a cabbage leaf to be slightly bigger than the surface area of the jar. Push it in over the kimchi mixture and tuck the chopped veg neatly under the brine. Then clean up the jars with a paper towel and loosely replace the lid to allow gases to escape during fermentation.
Place the jars on a plate or in a plastic box somewhere in your kitchen that doesn’t get direct sunlight. Allow the kimchi to ferment at room temperature for a week. Keep an eye on it, If the vegetables rise up above the brine, use a clean spoon to push them back down. Bubbling is normal, as is some of the brine escaping through the loose lids – hence the instruction to place the jars on a plate or in a box. You will undoubtedly notice a tangy, spicy aroma near the jars too – again this is normal and a good sign that things are fermenting as they should be.
Taste the kimchi. It should be tangy and spicy and salty and delicious. Now clean the jars up again and put the lids on tightly. Store in the fridge and enjoy!
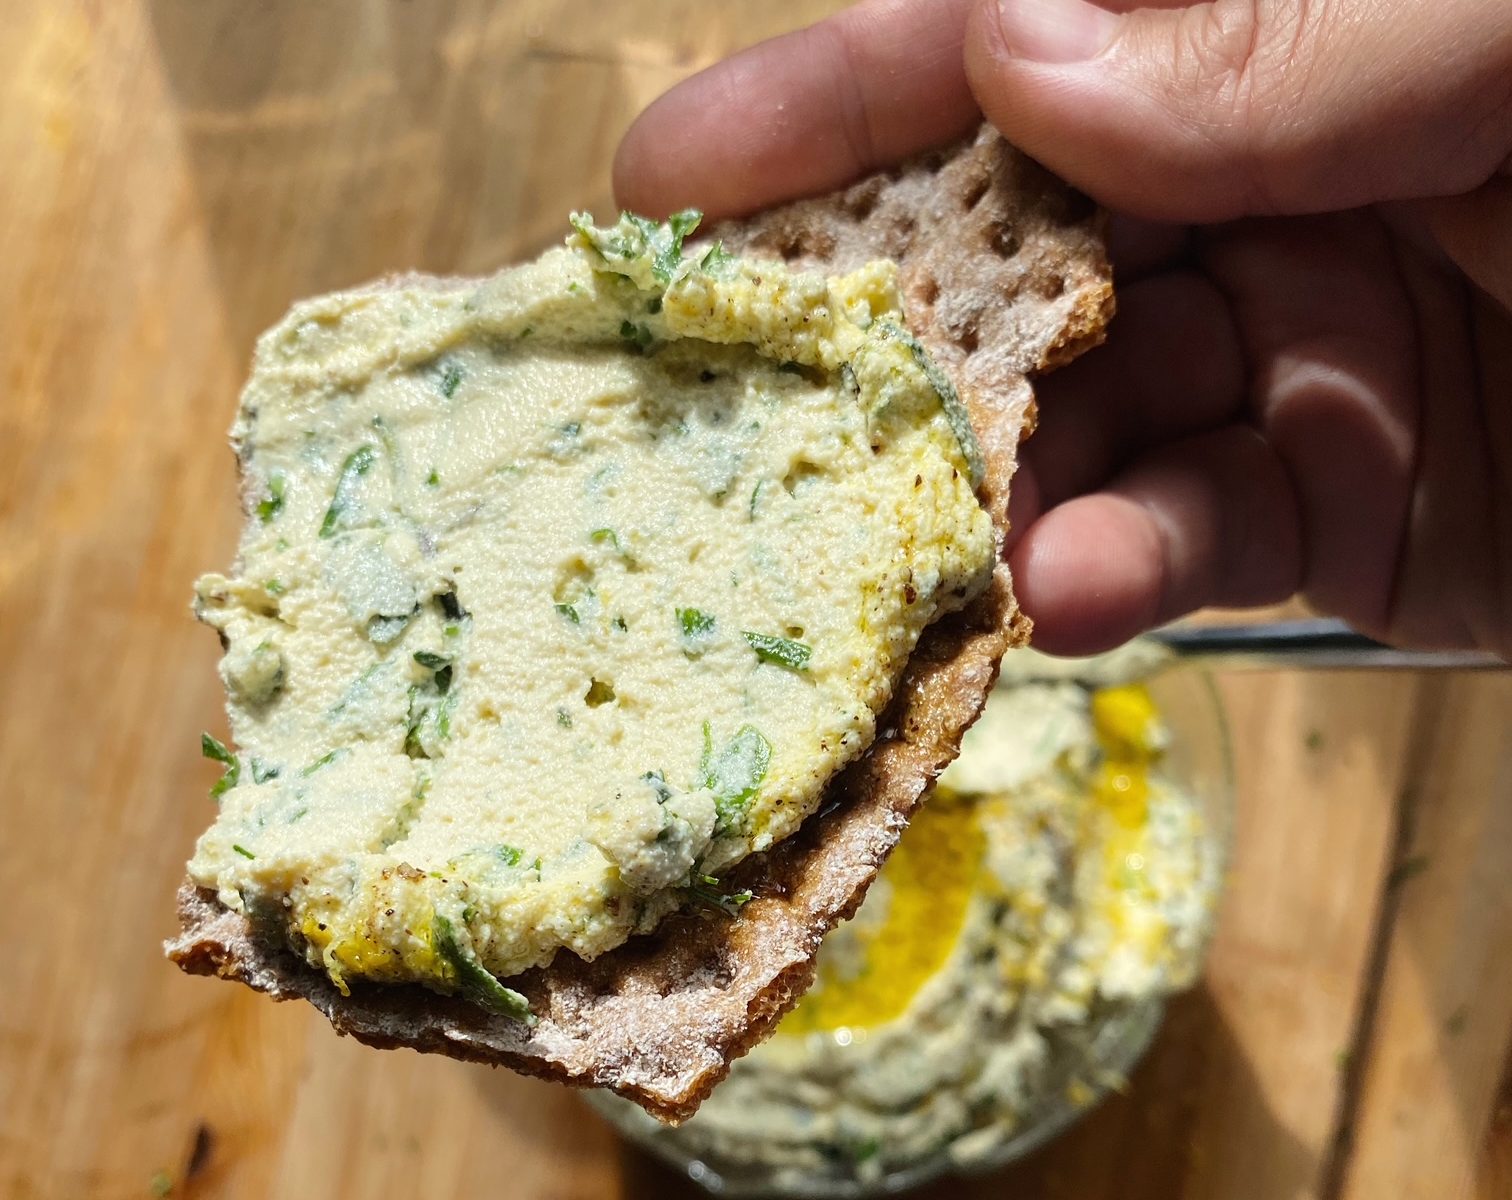
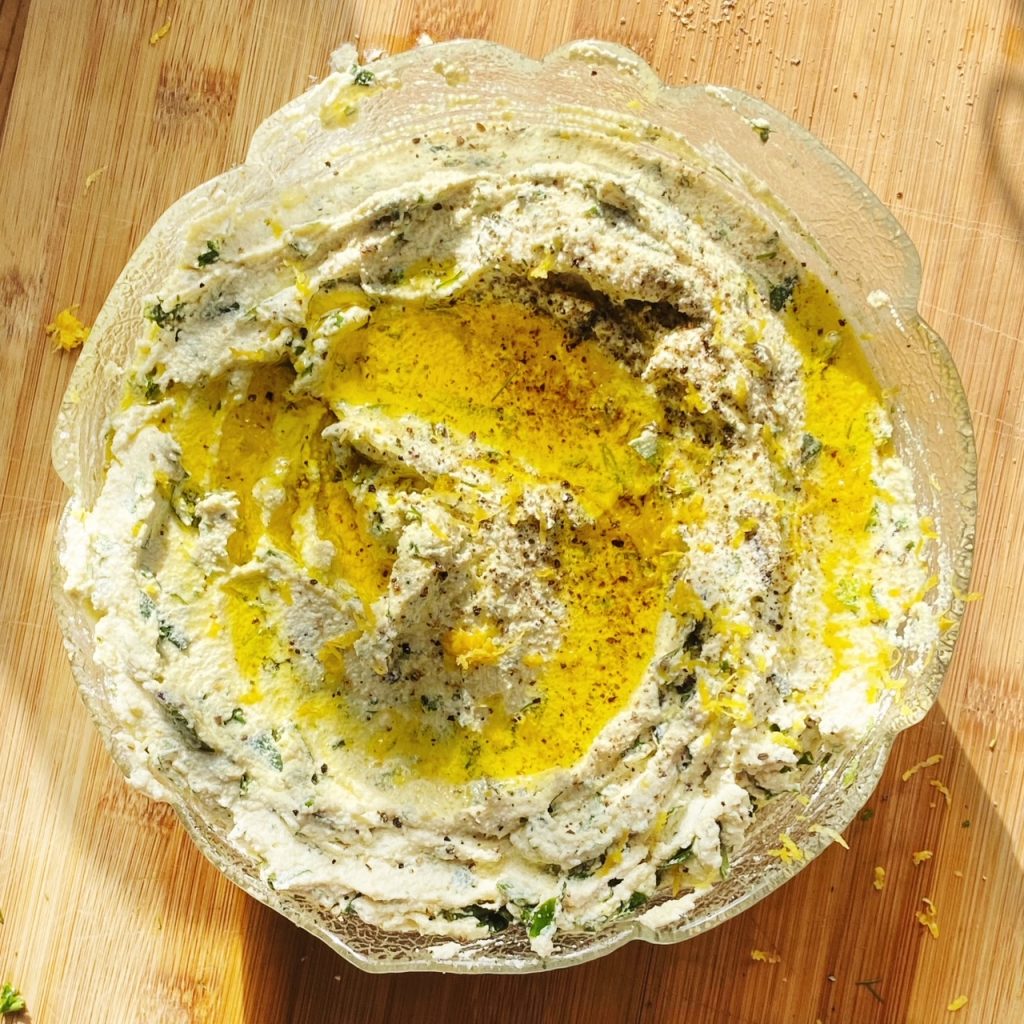
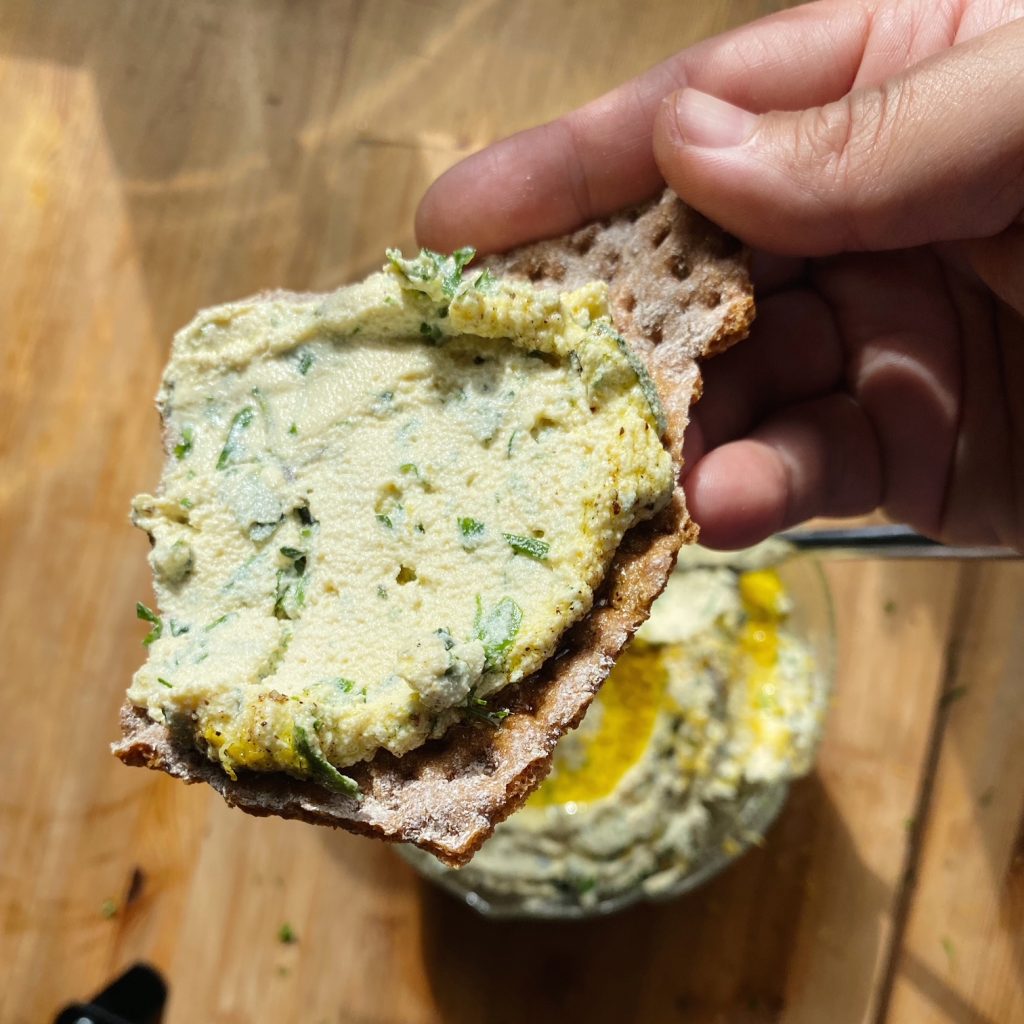
This summery, creamy, cheesey spread is such a useful one to have in your fridge. It is so delicious as a snack or starter with good bread or crackers, some crudités and an ice cold glass of white wine. It is wonderful with pasta – use it to stuff pasta shells, as a layer in a summery lasagne or simply stirred through cooked penne with some wilted spinach or chard. We also use this vegan ricotta rolled up in grilled strips of aubergine or courgette. You’ve got to try it, it’s so much more than the sum of its parts.
Liz x
Ingredients
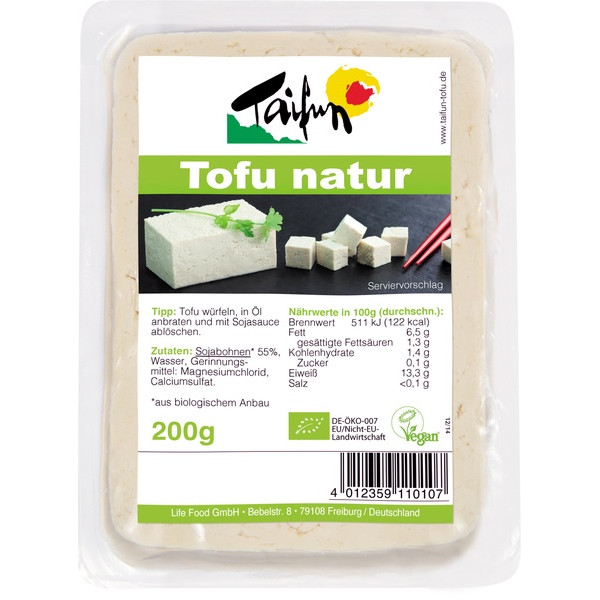
2 packs of extra firm tofu (400g)
1 tbsp garlic granules (or to taste)
the zest of a lemon
the juice of 1/2 a lemon (or more to taste)
8 tbsp extra virgin olive oil (or really good rapeseed oil)
salt and pepper to taste
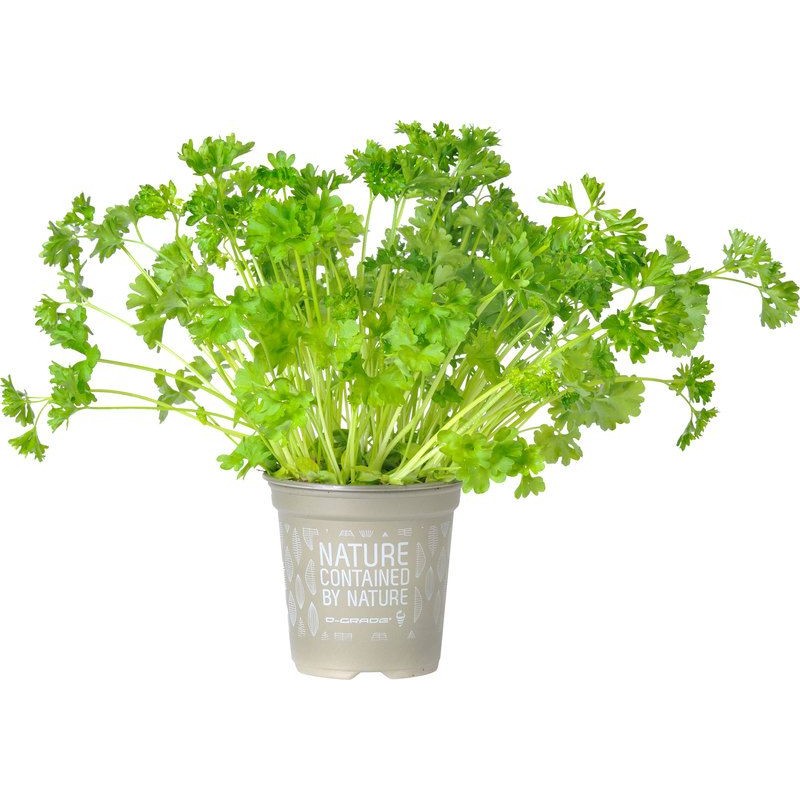
fresh herbs to taste – finely chopped (I like a lot! A large handful of fresh parsley, a few springs of mint, a few sprigs of fresh oregano and thyme, a handful of chives, a handful of basil… use whatever fresh herbs you like best)
Method
Open the tofu and drain off the liquid. Crumble/tear it into a food processor. Then add the garlic, a large pinch or two of salt, a good grind of black pepper and half the oil. Squeeze in the juice of half the lemon.
Blend until smooth and creamy. Stop the blender a few times to scrape down the sides and taste the mixture. You can add more salt or lemon to your liking as you blend.
When you are happy with the texture and seasoning, transfer the mixture to a bowl. Add the zest of 1/2 the lemon, 2 tbsp of the oil and the finely chopped herbs. Stir to combine. Then dress the top of the bowl with the last of the oil, another sprinkle of lemon zest and some extra black pepper. Enjoy!
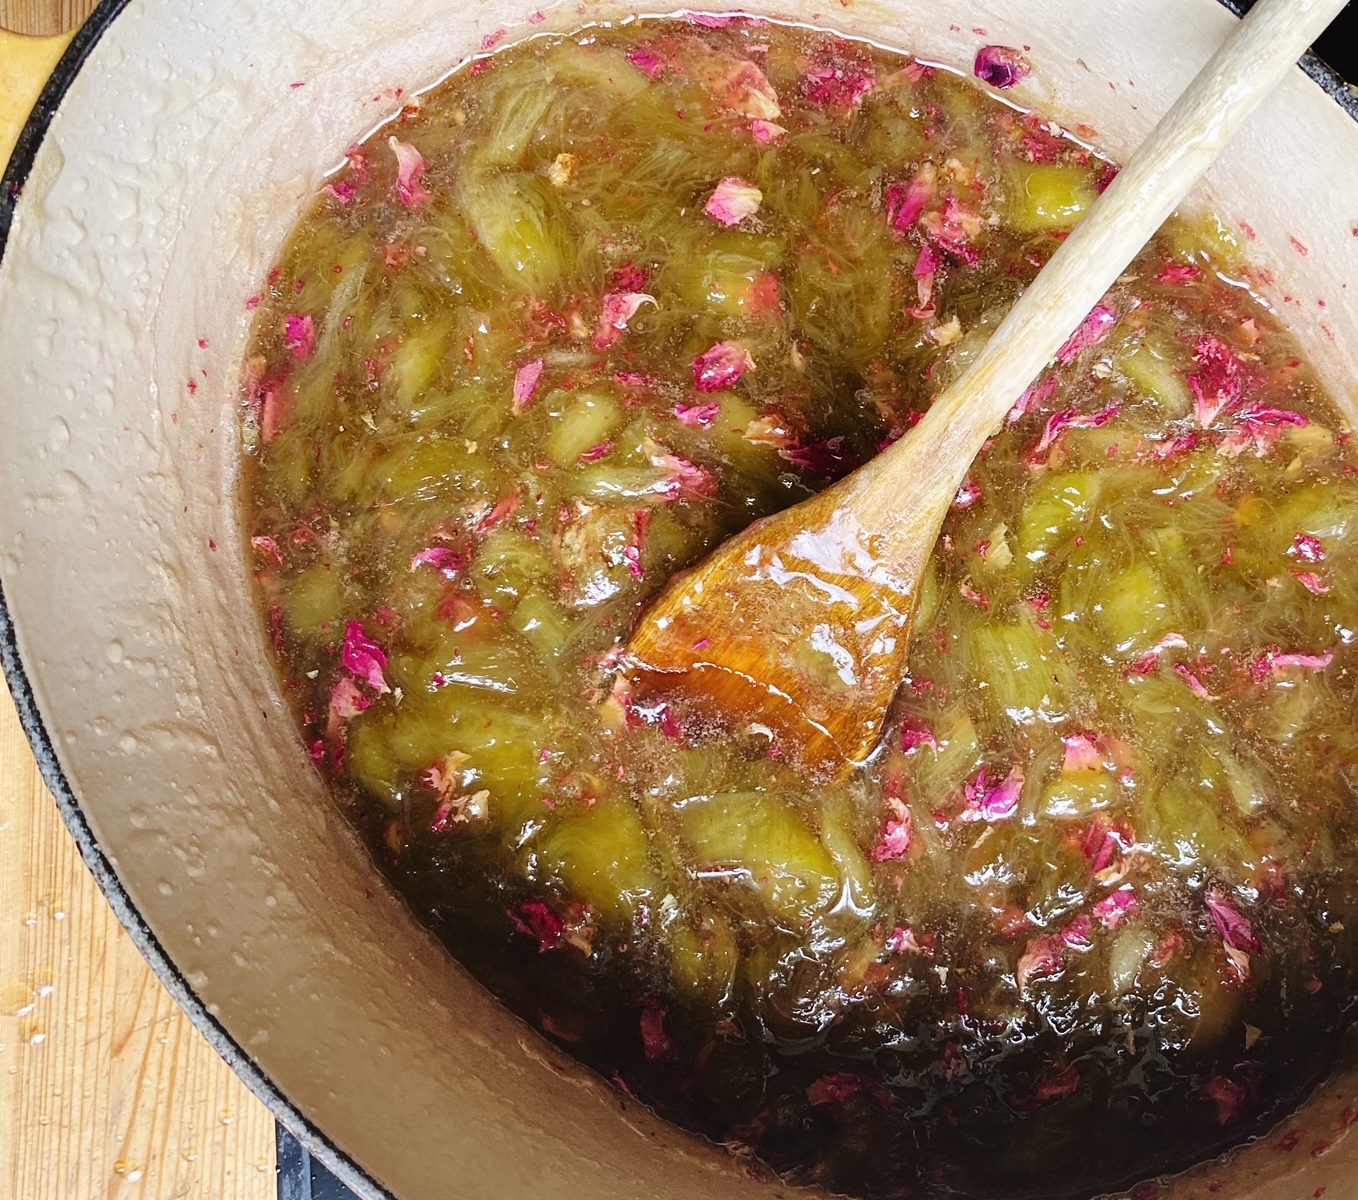
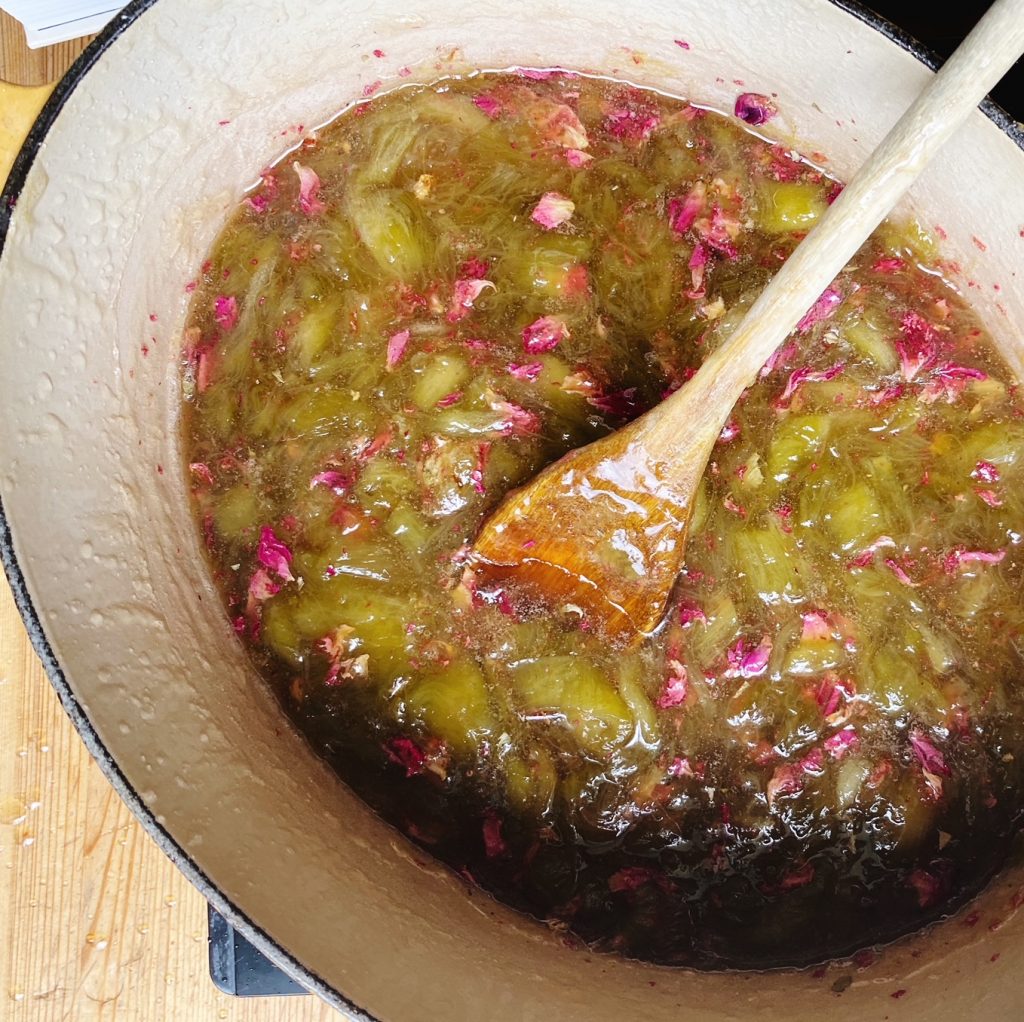
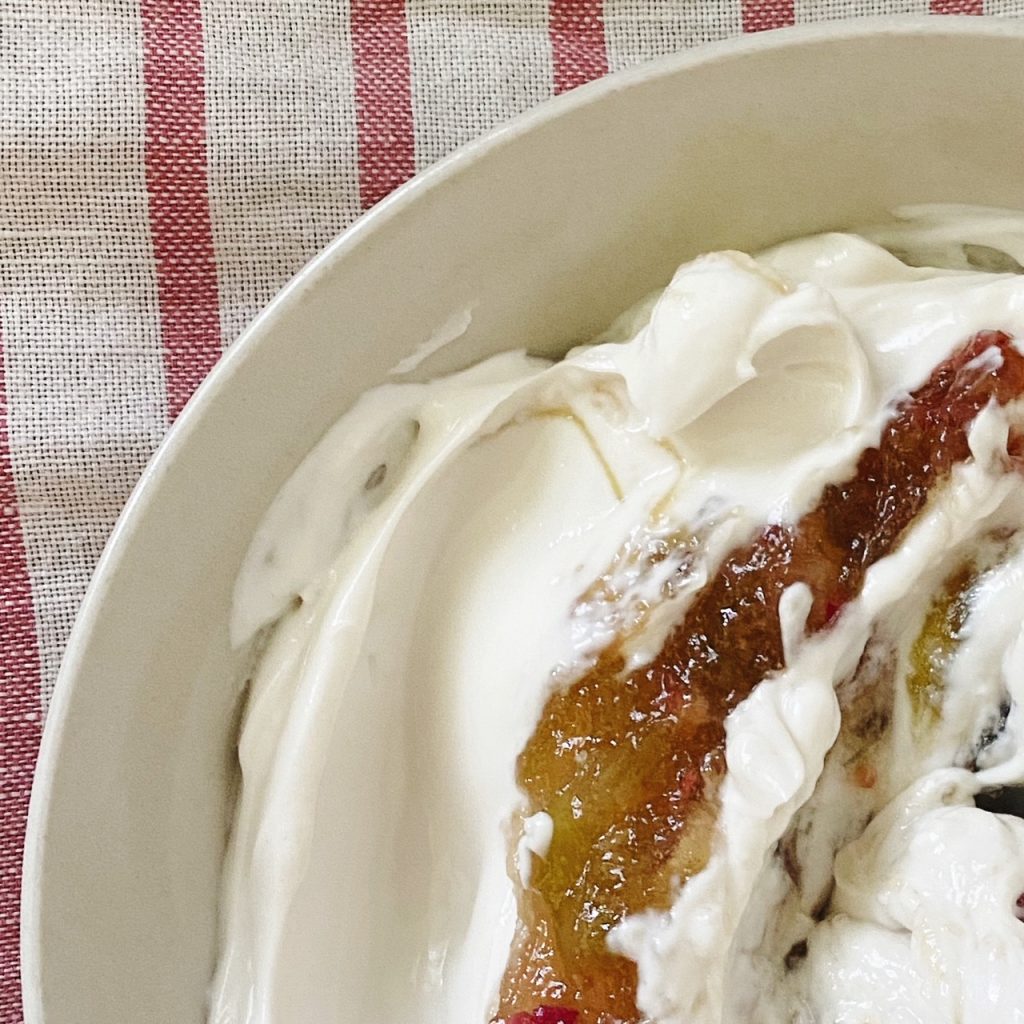
This jam is really special – tangy rhubarb meets delicate, floral rose. Did you know that all roses are edible? You can collect petals from your garden or from wild roses (just make sure they are spray free!), or buy them dried in specialist shops. The roses that smell the best, taste the best so only pick fragrant ones or you will not be able to taste them. You can use preserving sugar which already has pectin in it, or add pectin – 8g for every 1kg of sugar – to make your jam set into a lovely jelly. Serve on toast for breakfast or use in numerous puddings. Jam tarts, a layer in a cake or biscuit, add to sliced apples in a crumble… I’m sure you can think of many more uses for this delicious jam. My favourite way to eat it is swirled into a thick natural yoghurt for breakfast with a sprinkle of granola.
Rinse your rhubarb and slice into centimetre chunks. Place in a large, heavy bottomed pot with the sugar and pectin and stir well.
Turn the heat to medium-low and cook until the sugar is completely dissolved. Add the zest and juice of the lemon and turn the heat up to high.
Boil hard for 5 minutes and give the pot an occasional stir with a wooden spoon. Add the rose petals and continue boiling for another 5 minutes.
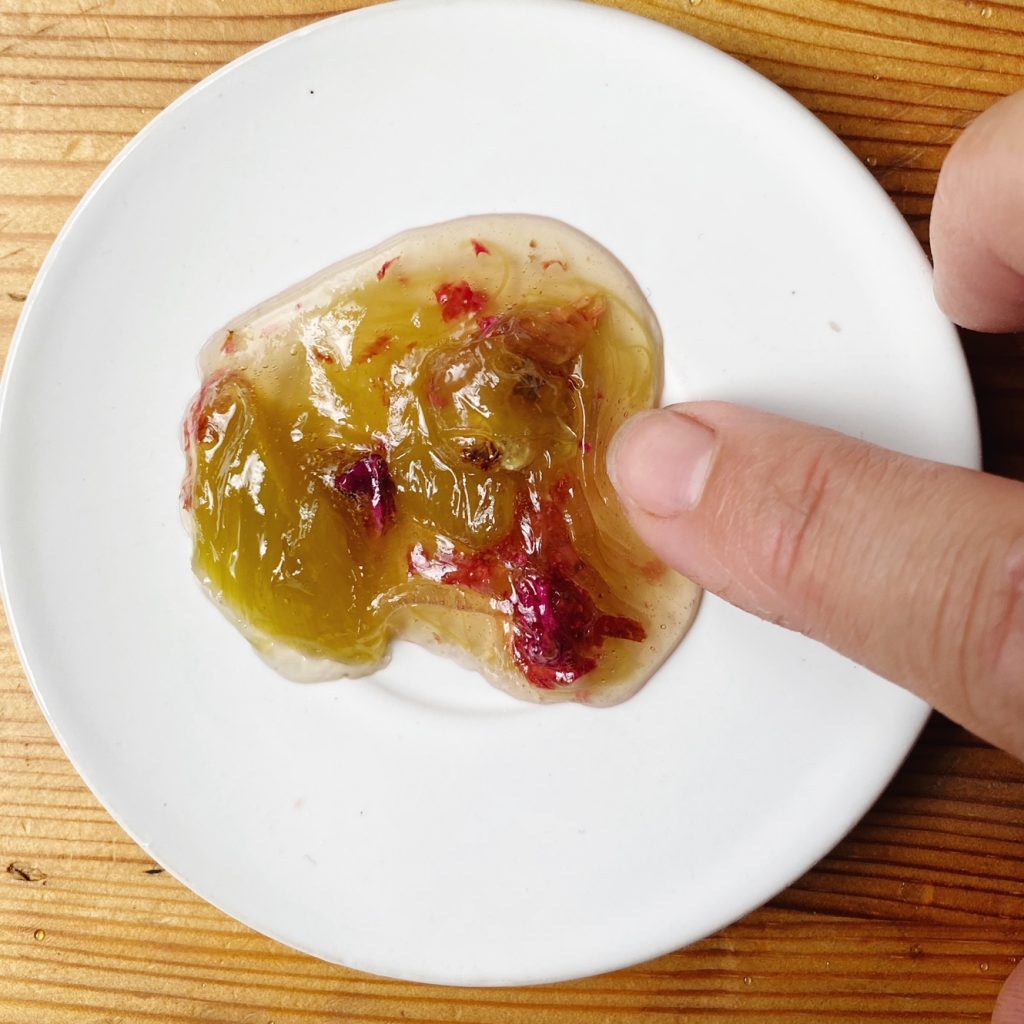
Your jam should be set now but you can test it by adding a teaspoon to the chilled plate you put in the freezer earlier. After a minute the jam should be cool. Drag your finger through it and if it wrinkles it is set, if not, boil for another few minutes and test again. Repeat until the jam is set, then turn off the heat.
Spoon the jam into sterilised jars and pop the lids on while it is still hot. They should keep at room temperature this way for 6 months in a cool, dark place (if your jars and lids were properly sterilised, filled and sealed whilst hot), but as soon as you open the jar, store it in the fridge and use within 3 months.
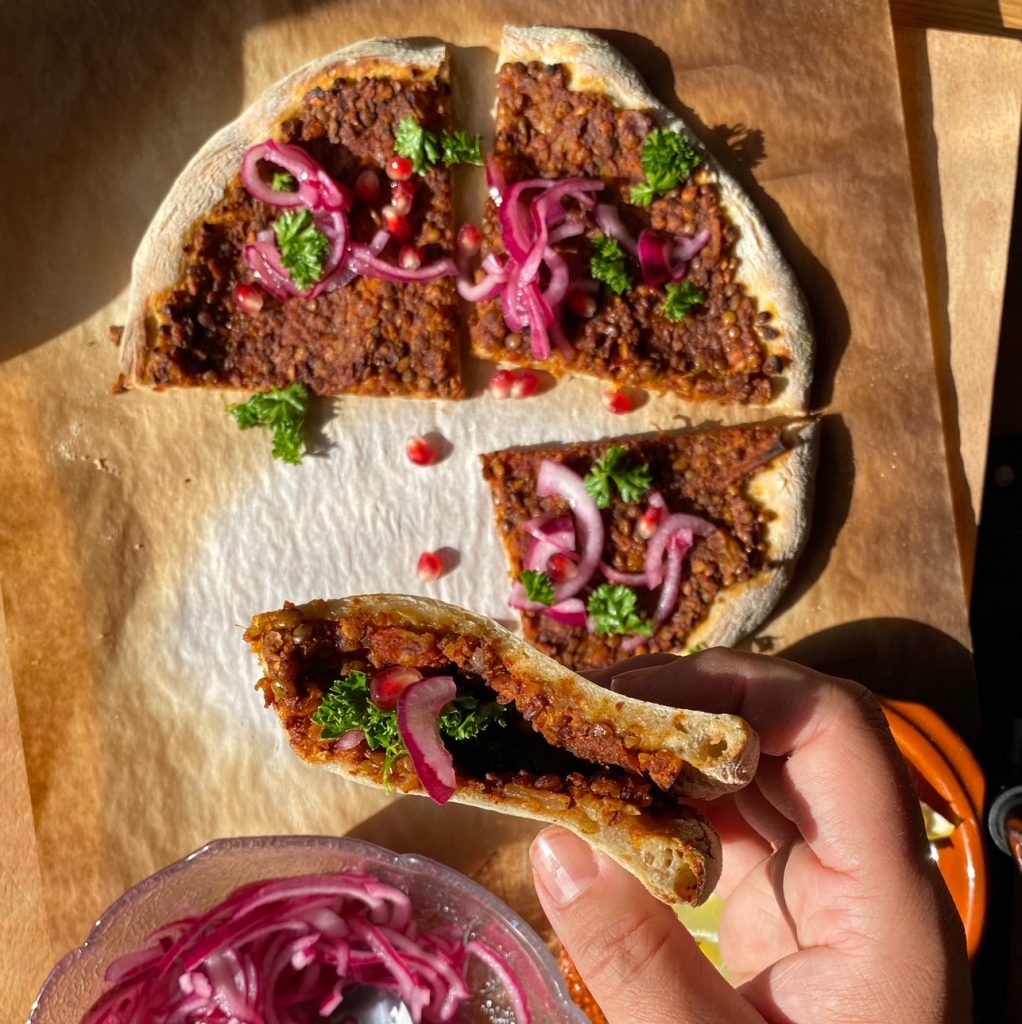
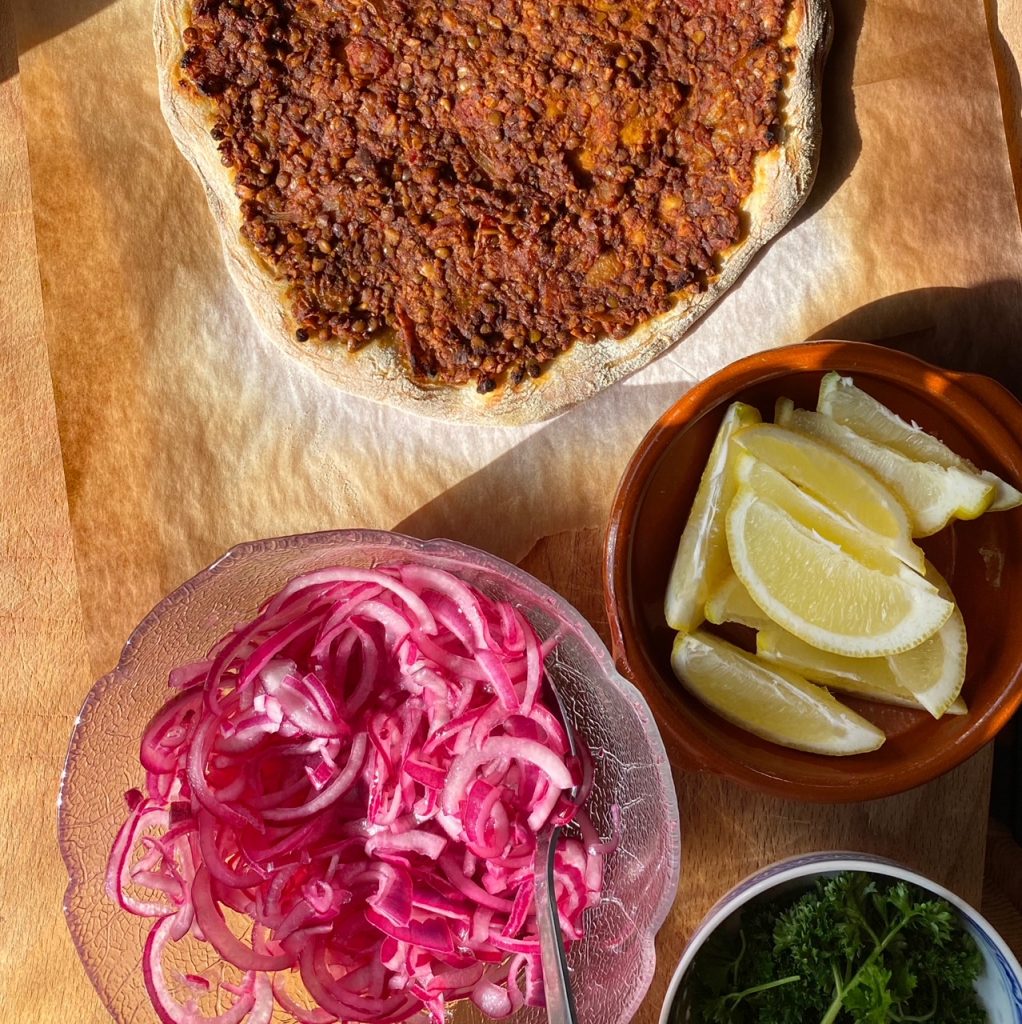
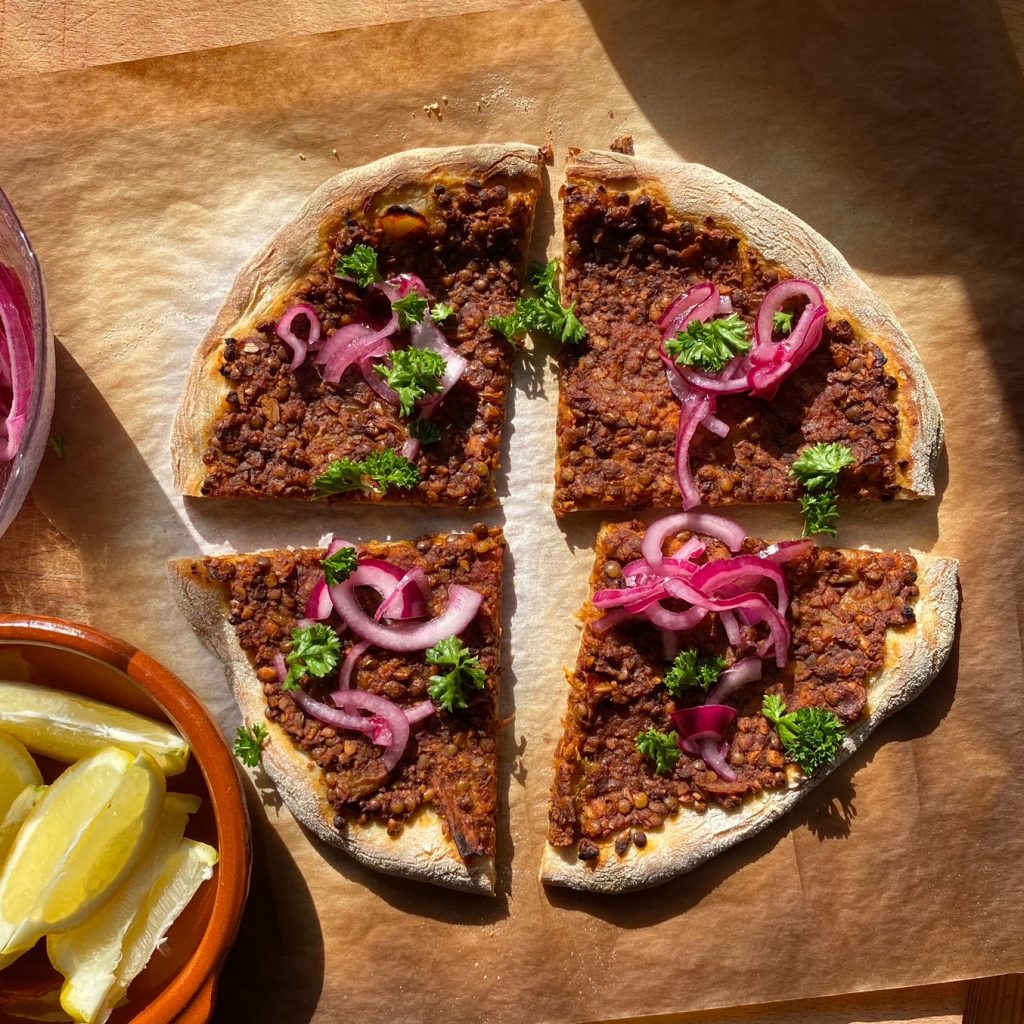
We love this spiced alternative to pizza. You won’t miss the Italian style cheese and oregano, this Middle Eastern style ‘pizza’ is a totally different beast. It’s essentially a pizza topped with a delicately spiced mince mixture (we use nuts and lentils to make a delicious vegan version) which is baked then eaten with a squeeze of lemon, a sprinkle of fresh parsley and some quick pickled pink onions. It’s the perfect summer party food with salads.
Grab all the organic ingredients from our online shop here. We deliver nationwide and are excited to announce we have been able to reduce our delivery charges with our new electric delivery van couriers, Green Way!
Liz x
Ingredients (serves 4)
For the quick pickled onions:
2 red onions
2 tbsp vinegar or lemon juice
a large pinch of salt
a large pinch of sugar
For the mince:
1 white onion, diced
4 cloves of garlic, sliced
2 tbsp olive oil
1 tbsp smoked paprika
1 tbsp ground cumin
1 tsp ground ginger
1 tsp cinnamon
2 large handfuls of walnuts, crushed/finely chopped (or a mix of any nuts or seeds you like)
2 tins of cooked green lentils, drained (or a mug of uncooked lentils – see method)
If you are making your own pizza dough, do that first, otherwise you can use ready made bases or even large flatbreads.
Make the quick pickled red onions before you start on the mince to give them time to turn a gorgeous shocking pink colour. It’s easy! Just finely slice the onions and place in a bowl. Sprinkle with a big pinch of salt and sugar then stir in the vinegar or lemon juice. Let it sit at room temperature to one side while you make the mince and bake the pizzas. Give it another stir every now and then to ensure the ingredients are mingling nicely and marvel as the purple onions soften and turn bright pink.
In a heavy bottomed sauce pan, sauté the diced onion with the olive oil until it softens and starts to colour. Add the garlic and spices and stir until fragrant. Then add the chopped nuts, lentils and tomatoes (if you are using uncooked lentils, add 2 mugs of water to the mixture too). Then season to taste with salt and pepper and simmer until the mixture is rich and thick. You may need to add a splash of water every now and then to get the texture right. Simmer for 10 minutes if you are using cooked lentils, and about 20 minutes for uncooked (or until the lentils are cooked through). Taste and tweak the seasoning if needed with more salt or pepper.
Pre-heat the oven to the highest temperature to imitate a pizza oven. Then shape your pizza dough and spread with a thin layer of the mince mixture. Bake until cooked to your liking then serve in slices .
Each slice should be topped with tangy onions, fresh parsley and a good squeeze of lemon. I like to add a sprinkle of pomegranate seeds too and devour with a fresh cucumber and tomato salad. Enjoy!
I hope the week has been good to you. It has been busy here on the farm and a strange week too. Life can be frantic, just this week I was reminded by the fact we are all on a clock, we all have a certain amount of time and that time is short. I was determined not to let this reminder slip, not to let this wake-up call fade away, but it does, life has a habit of coming in at full tilt and disrupting best laid plans.
The determination to savour every moment can at times be a little unrealistic and must I think, be coupled with a dose of realism. There is a need of course to be present (as best we can) to all that is going on around us. But in my experience it can be difficult to maintain a measured approach all the time, and the little annoyances of life can all too soon be elevated quite quickly into full blown emergencies! (Such as Marley our still young puppy coming in covered and muck and jumping up on the sofa which she knows she is not allowed on!) But coming back to ground zero and starting again over and over is I think what it is all about.
This week there was intense the pressure of change on so many different fronts and it made it difficult to maintain a focused outlook. Running through sticky jam (or mud!) is sometimes how it feels, expending loads of energy and feeling like you are going backwards.It can be frustrating but maybe that’s life telling us to let go, ease up, go with the flow, and stop falling into the same hole in the road over and over! At least I know the hole is there now. That’s where little moments like the one in the picture with Molly (my dog sadly no longer with us) are so important.
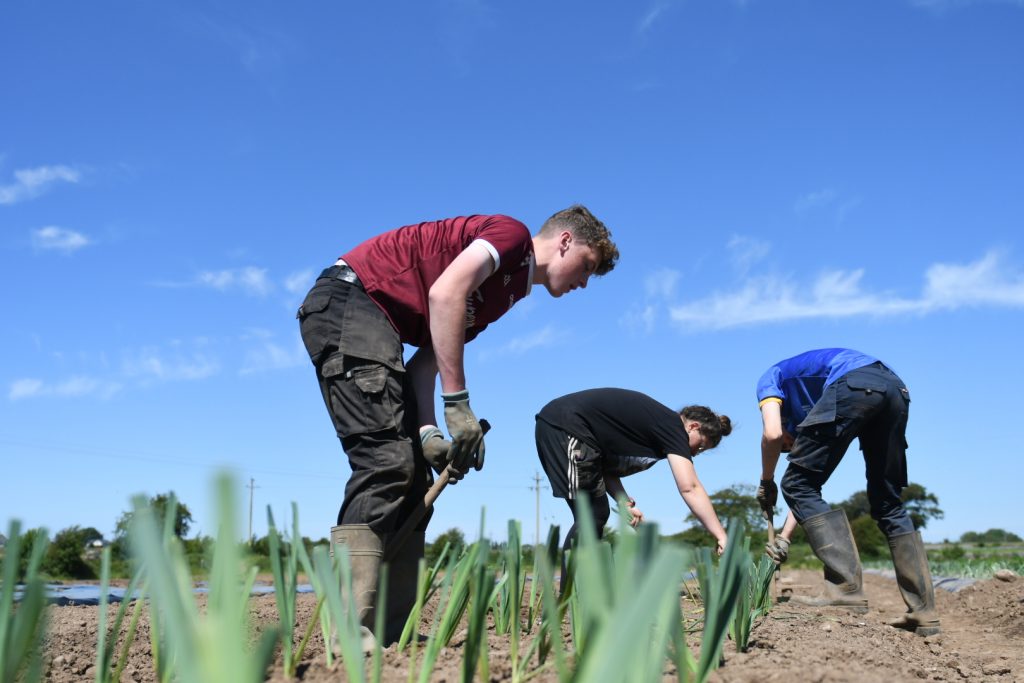
We are busy, very busy, we are planting leeks by hand, we are harvesting, we are weeding, and we are transplanting. It is that cross over time of the year, when the planting is not completely done, the weeding is bearing down on top of us and thankfully the harvest is kicking in full throttle. Just last night we got the final sowing of 6 different types of clover and wild flowers into the ground at 10.45 pm just before the rain came, that is timing for you.
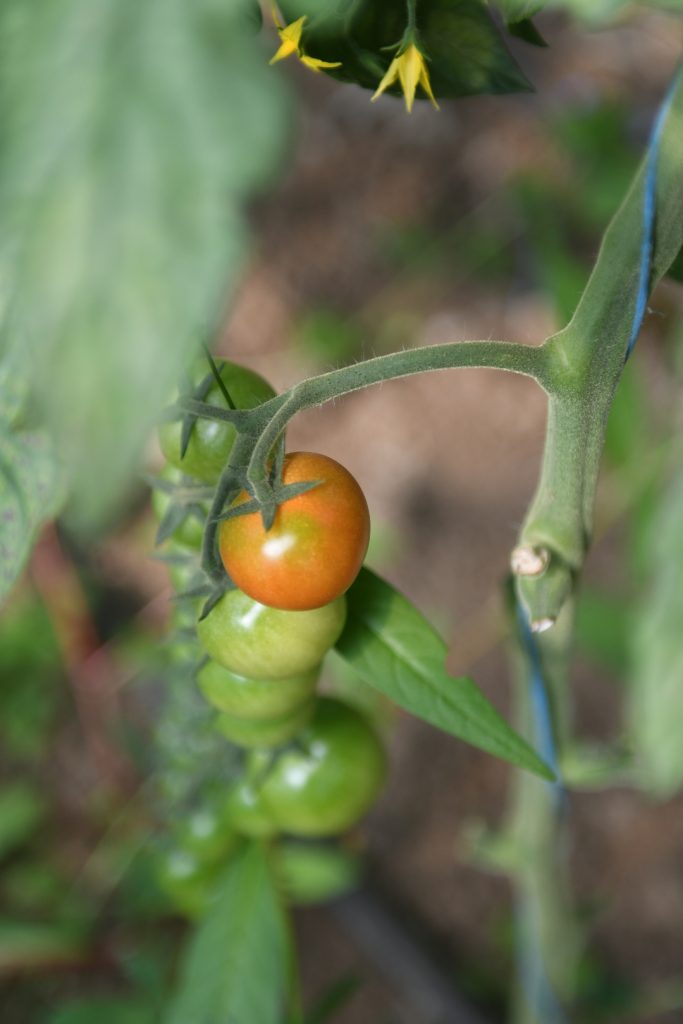
Our first tomatoes are nearly ready and Ella (the younger of my two daughters) has been coming in with full bowls of nearly ripe tomatoes, I hope there will be some left for you guys! Soon very soon we will have plenty for everybody.
Philosophical ramblings aside, the fields are proving very bountiful now. So, we wanted to say a massive thank you to all of you good people who have been supporting our efforts to protect our planet through growing food by increasing the value in our set boxes. We have made an exceptional effort from next week to give more in all our boxes, to make sustainable food more accessible to everyone, to make our boxes even better value.
You will notice the difference; we have added extra farm produce to all our fixed boxes from next week and they will be overflowing with produce. When everything else is going up we have effectively decided to bring the price of our boxes down by giving you more produce for your money.
Not only that but we have some amazing news, nothing short of sensational news for all our customers who are getting boxes delivered to every corner of Ireland by courier, we are so excited about this one! We have managed to reduce our courier delivery charge to €4.50 by moving from DPD to Greenway, an electric van fleet! So not only will your delivery charges go down, but they will be emission free! AND we can now accept back the courier boxes too, not just our local routes boxes. They can only be accepted back by Greenway if they are neatly flattened so please do flatten and leave them out when you expect your next delivery.
Thanks for your support, please spread the word about our better value and better deliveries to your friends and family all over Ireland.
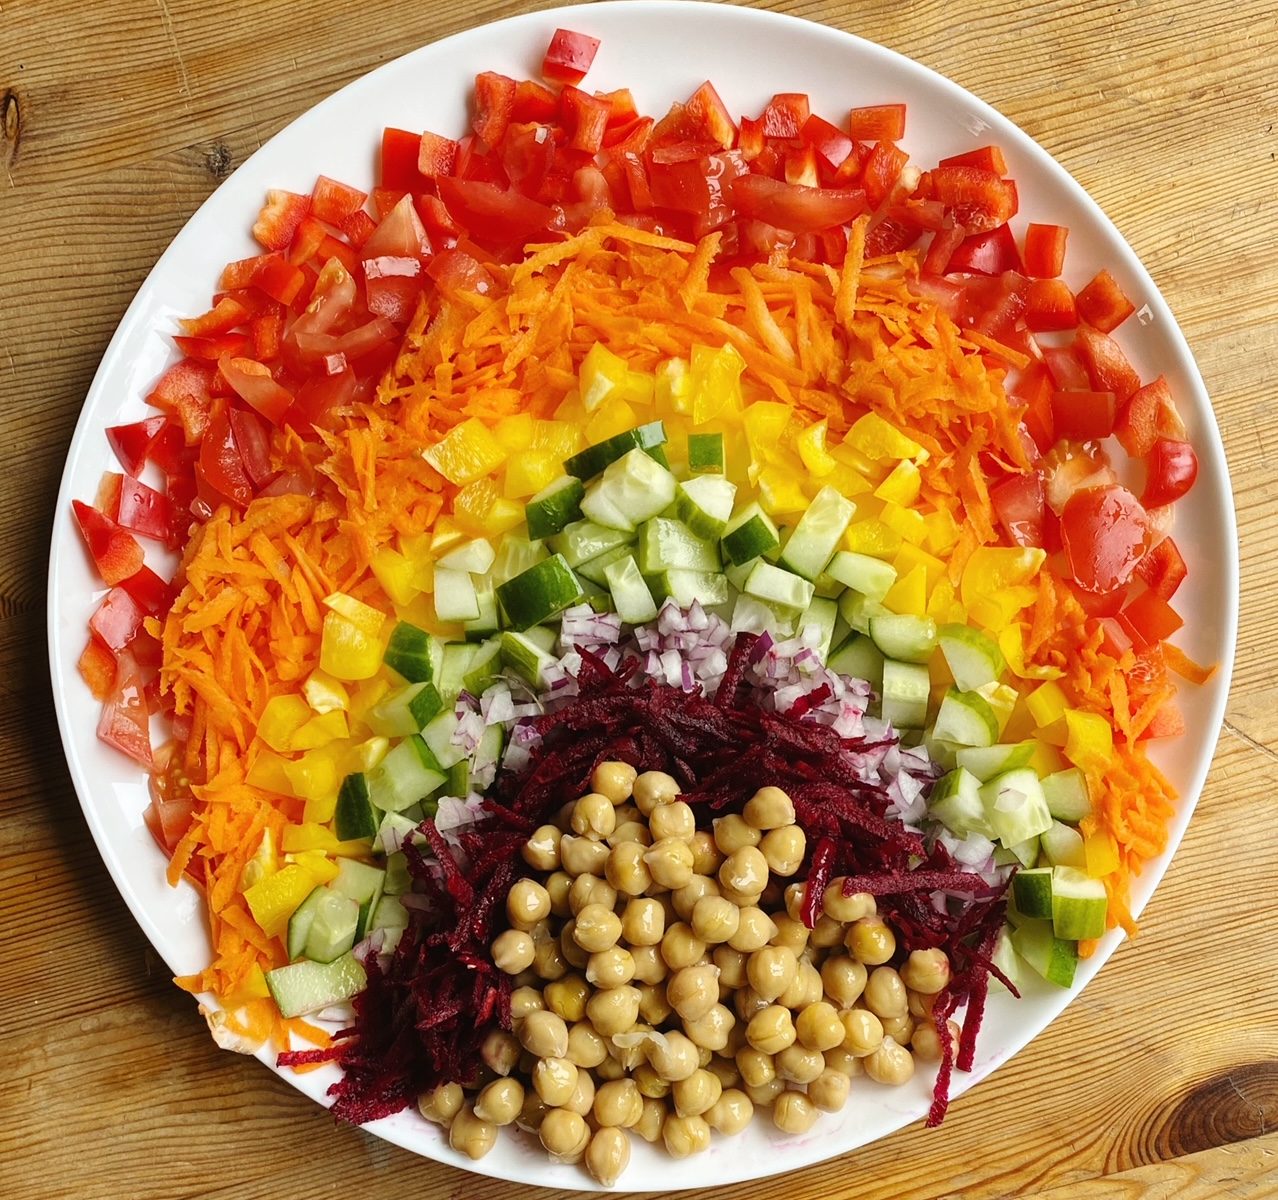
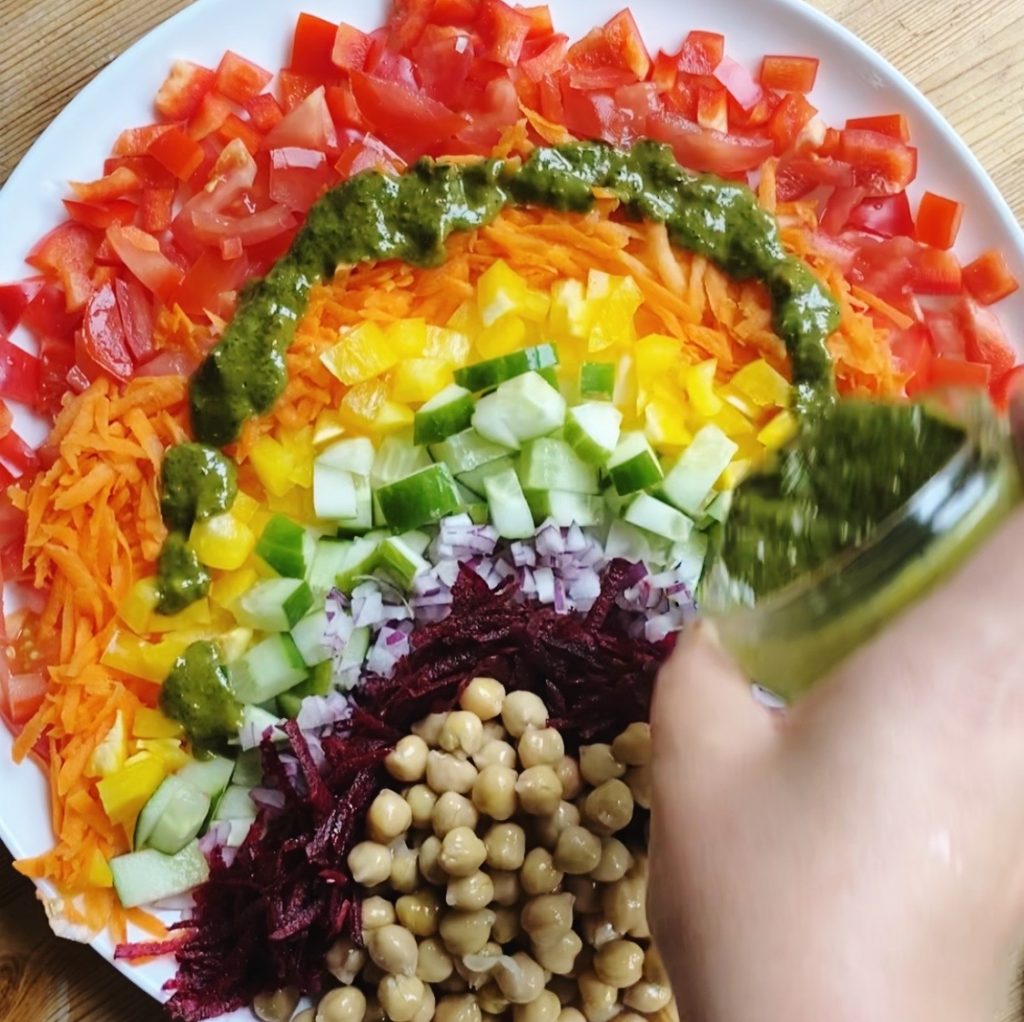
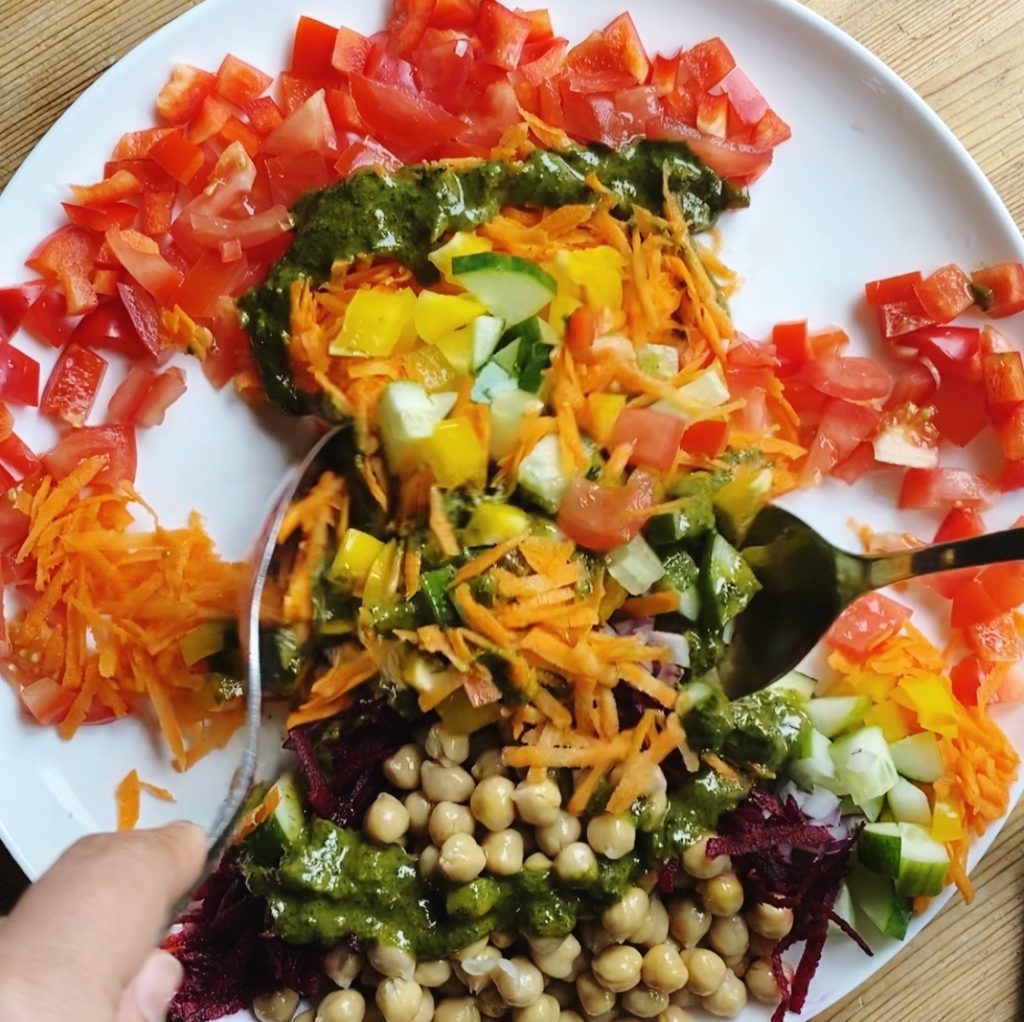
Happy Pride month to our wonderful rainbow of customers and recipe readers. You are all amazing just the way you are! Here’s a fun rainbow salad to celebrate. Did you know that ‘eating the rainbow’ is so beneficial to your health? Different coloured fruits and vegetables contain different vitamins and minerals, so to get the full spectrum, make sure you regularly eat the rainbow. This fun salad is so simple to put together, and of course it is endlessly adaptable. We served it with a zingy lime and mint dressing, but your favourite salad dressing would work well here. We recommend waiting to dress and mix it until it’s at the table, make the most of that beautiful rainbow of colours for as long as possible!
Liz x
Ingredients
red pepper, diced
tomatoes, diced
carrots, grated
yellow pepper, diced
cucumber, diced
red onion, finely diced
beetroot, grated
cooked chickpeas, beans or lentils – drained and rinsed
1 lime, juiced
3 tbsp olive oil
a large handful of fresh mint leaves (or any herb you prefer)
1 small garlic clove
1 tbsp maple syrup
salt and pepper to taste (a big pinch of each is good)
Method
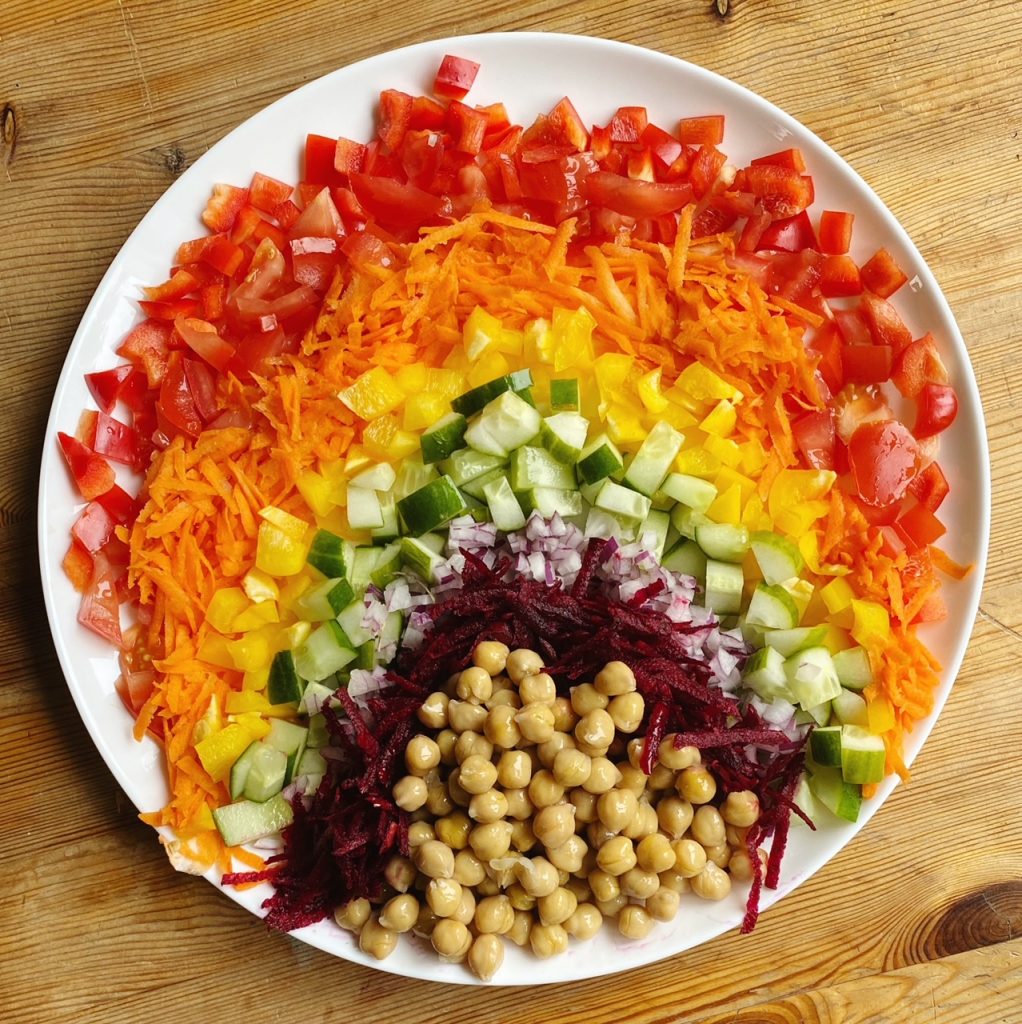
Arrange your chopped/grated ingredients on a large platter in the shape and colours of the rainbow – red, orange, yellow, green, purple/blue…and add chickpeas or cooked lentils to add protein.
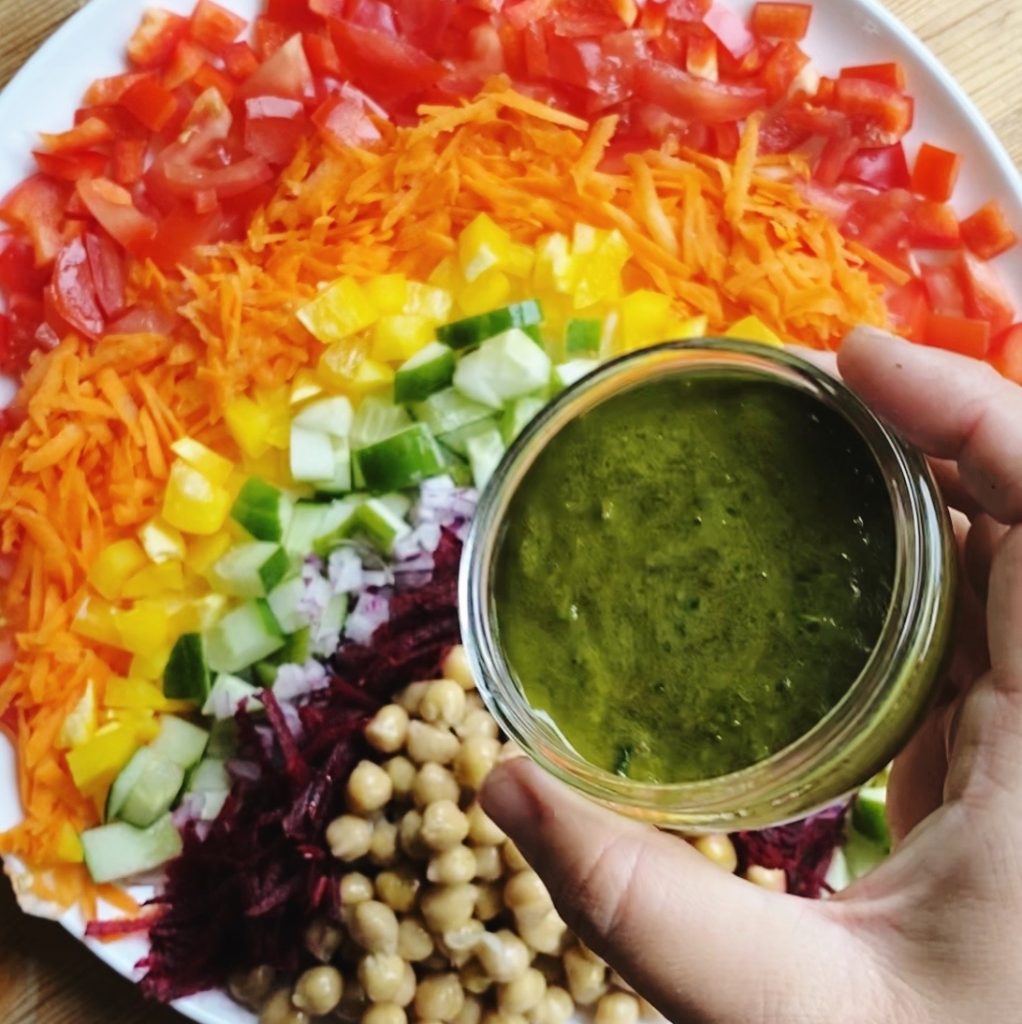
Make the dressing by adding the lime juice, olive oil, mint, garlic, salt, pepper and maple syrup to a blender and blending until smooth. Taste and adjust the seasoning if needed.
Pour the dressing over the salad just before serving and mix well. Enjoy with salad leaves, bread, some crumbled tofeta… or as a side to a BBQ.
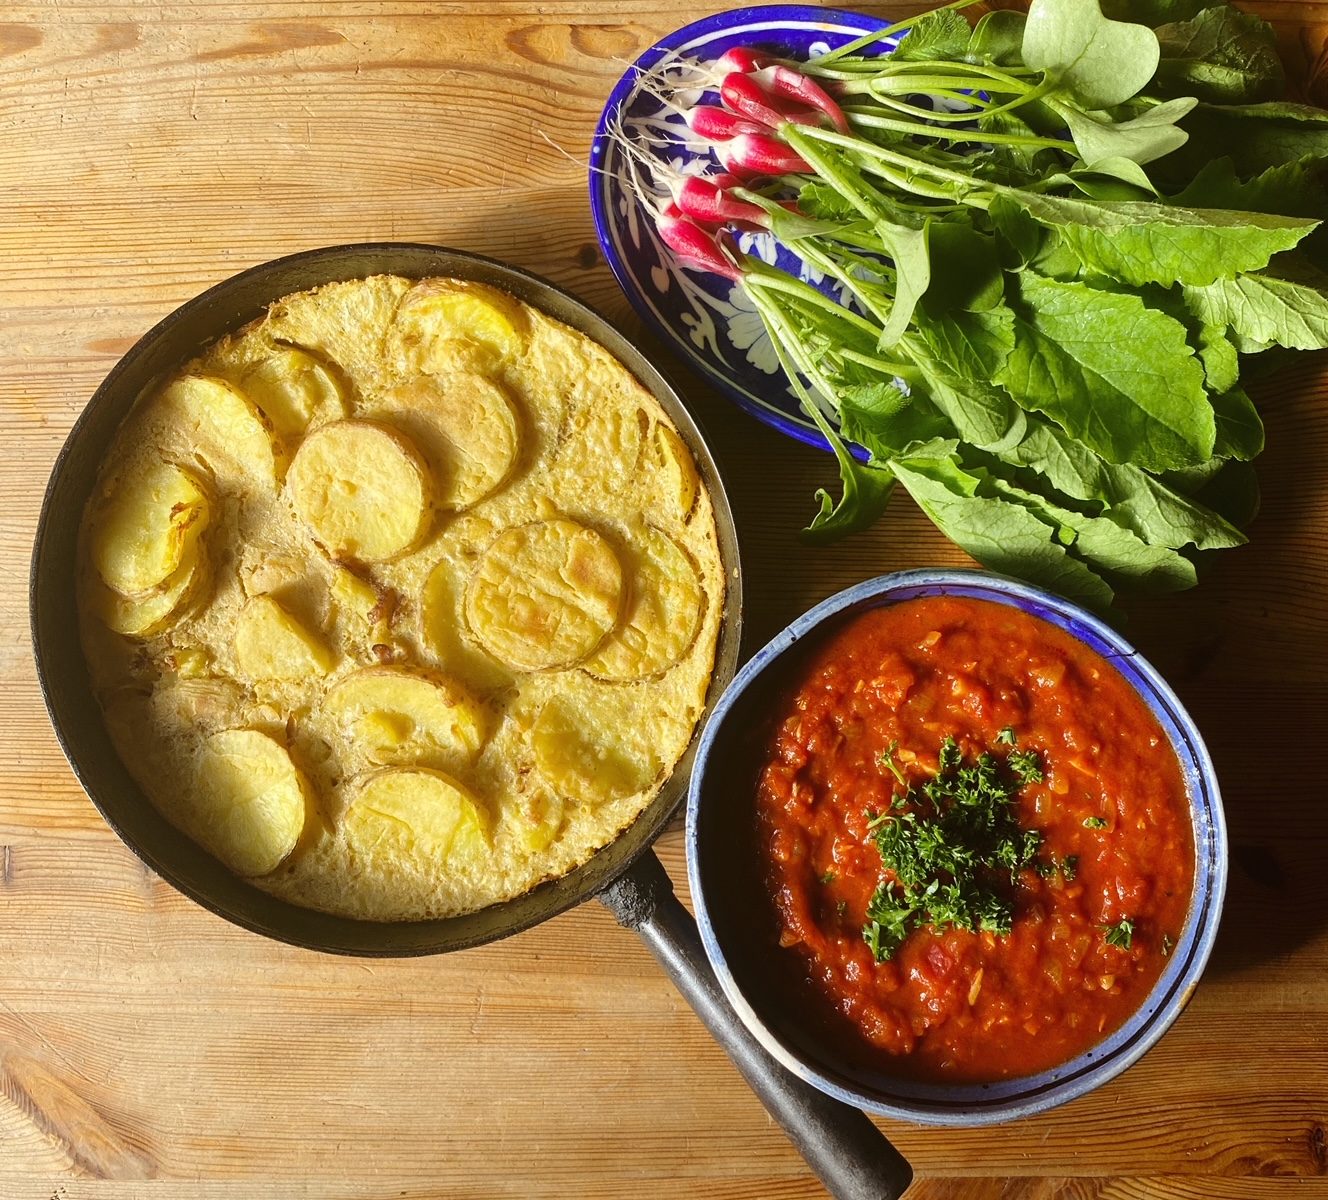
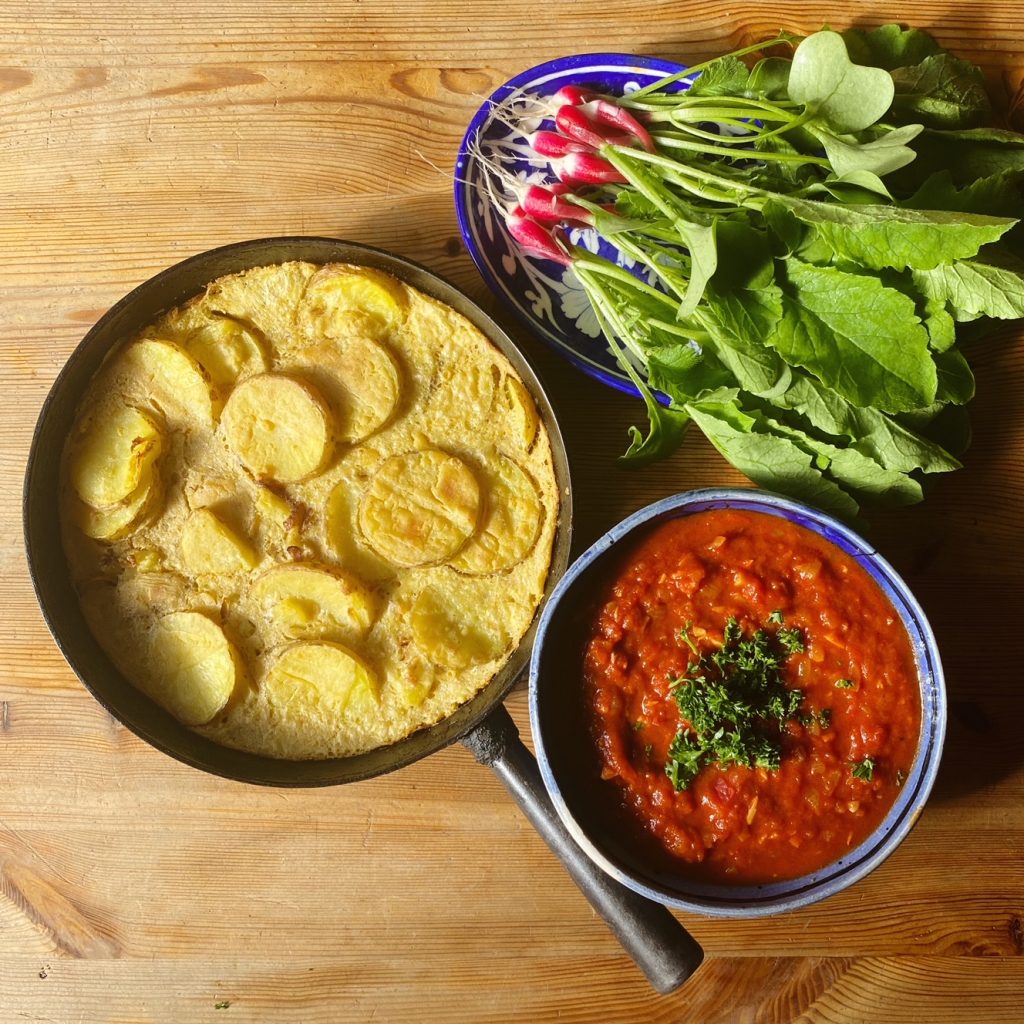
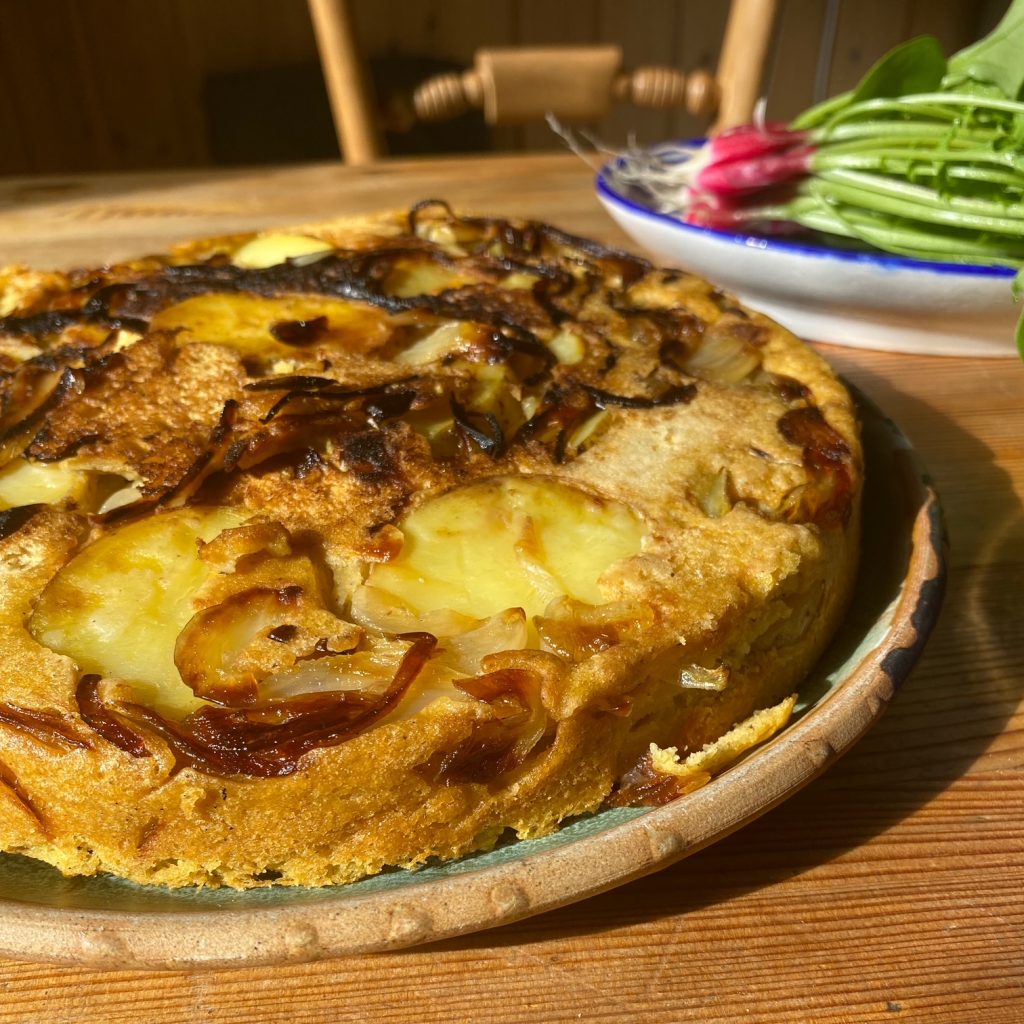
This thick, potato omelette is the perfect example of humble ingredients elevated to something special. Potatoes and onions, a chickpea flour batter in place of the traditional egg mixture, good olive oil and seasoning – that’s all you need. Serve with a smokey tomato sauce or some aioli and a simple salad and you have the perfect summer lunch or supper. Or use this recipe as part of a tapas spread – serve little plates of olives, smoked almonds, paella, tortilla, patatas bravas, grilled peppers and a big jug of sangria. All we need now is some sunshine and good company.
Liz x
Ingredients (serves 4-6)
For the tortilla:
5 tbsp olive oil
1 white onion, peeled and sliced
4-6 potatoes, scrubbed and sliced into 4mm thick rounds
a small mug of chickpea flour
a small mug of water
salt and pepper to taste
For the smokey bravas sauce:
1 white onion, peeled and finely diced
2 tbsp olive oil
3 garlic cloves, peeled and sliced
1 tbsp smoked paprika
salt and pepper to taste
1 tin chopped tomatoes
To serve:
salad
parsley
Method
Turn your oven to 200C and find a deep, oven and hob safe frying pan. If you don’t have one you can bake the tortilla in a lined oven dish instead.
Start with the chickpea flour batter – the longer it has to rest and rehydrate, the better. Whisk together the chickpea flour and water with a generous pinch of salt and pepper and a tbsp of olive oil. Set to one side while you prepare the potatoes and onions.
Cover the sliced potatoes with water and boil until just tender.
Meanwhile, pour 2 tbsp of olive oil into the frying pan, turn to a medium-high heat and add the sliced onions. Sauce until the onions are soft and golden (around 8 minutes).
Drain the potatoes and add them to the onions. Turn the heat down to medium-low and carefully stir the potatoes and onions together to evening spread the ingredients.
Then pour the chickpea flour batter over the potatoes and onions and allow the base of the tortilla to cook on the hob for 5 minutes on low. Drizzle with 2 tbsp olive oil and move the pan to the oven to cook until set (around 10-15 minutes).
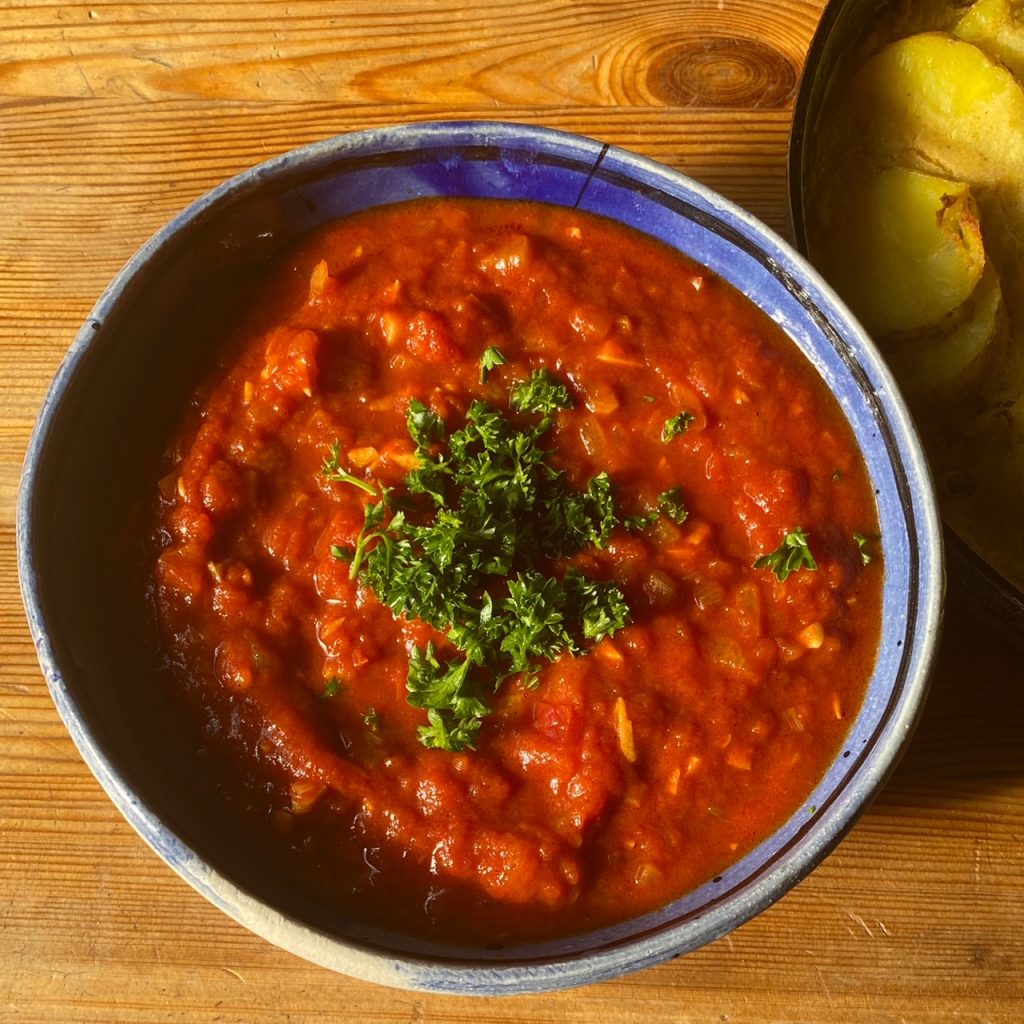
Meanwhile make the bravas sauce by frying the onion and garlic in the olive oil until golden, add the smoked paprika and tin of tomatoes (swirl the juices out of the tin and into the pot with a splash of water) then season to taste with salt and pepper and simmer until rich and thick.
Remove the pan from the oven and let the tortilla settle for 5 minutes. Then carefully loosen and turn out onto a plate or chopping board. I like to loosen it with a palette knife, place a board or plate upside down on the top of the pan, then use oven gloves and swiftly turn the plate and pan upside down. Then carefully lift the pan off the plate and the tortilla should neatly pop out onto the plate. Resting it really makes a difference here.
Slice into wedges and serve with the bravas sauce – sprinkle with parsley. Salads and aioli go perfectly alongside too. Enjoy!
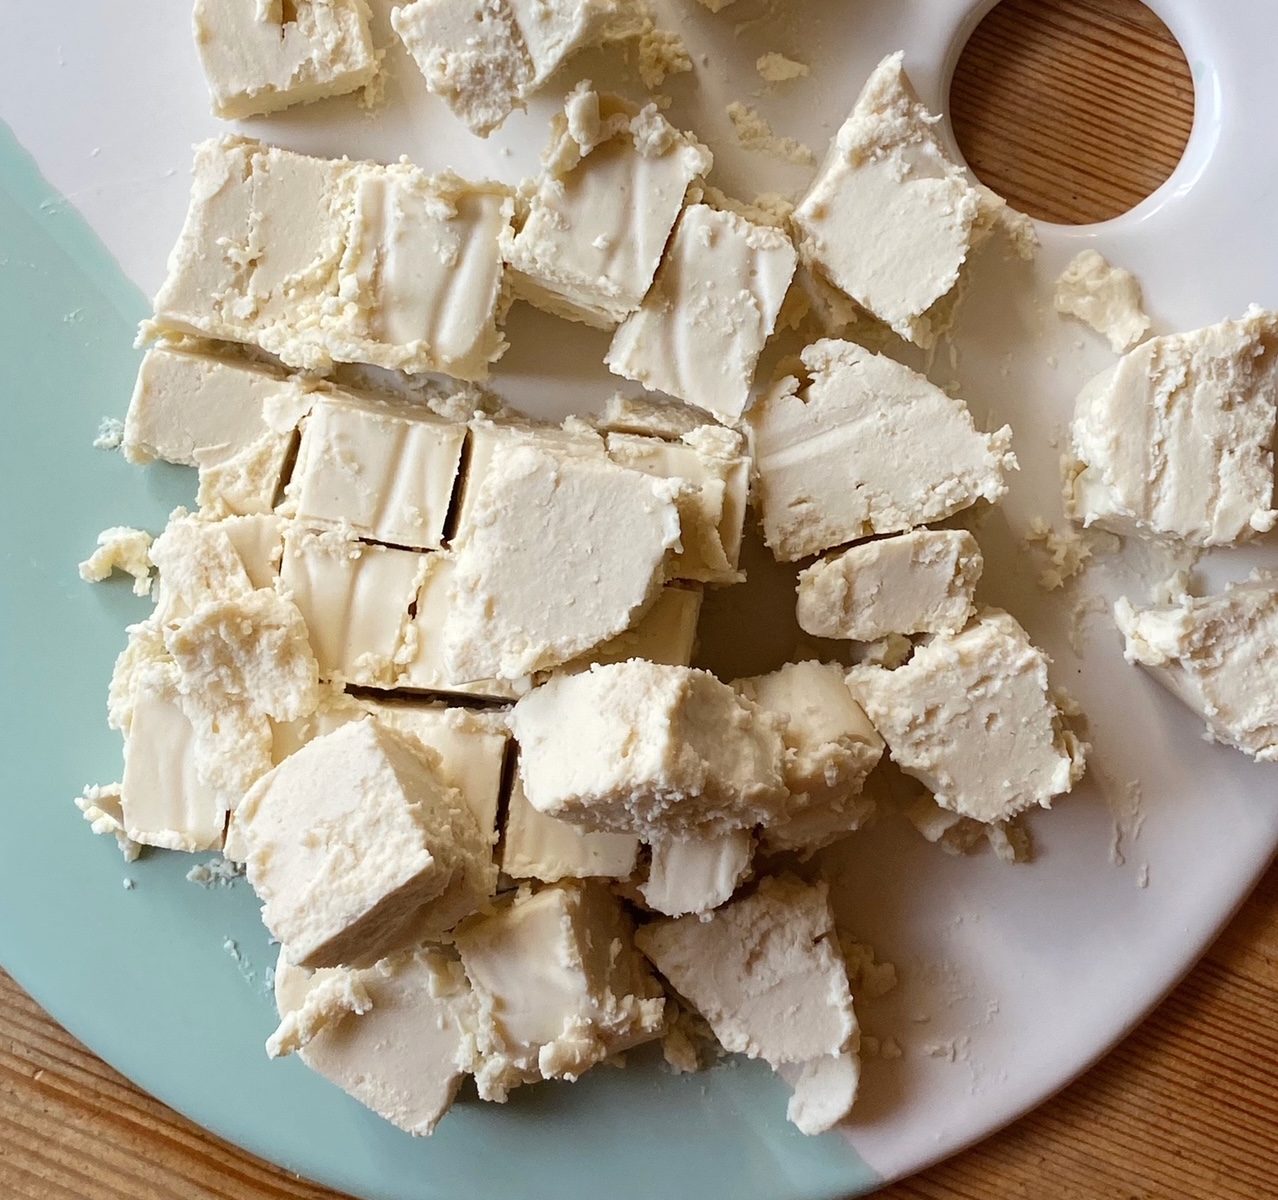
Tofeta is an essential in our dairy free home. If you don’t eat dairy and find shop bought vegan cheeses a bit disappointing (not to mention full of processed junk) then this tangy feta cheese is the answer to your prayers. It’s made from extra firm tofu (a really healthy, whole food ingredient) and coconut oil to give it that creamy texture and to firm it up into sliceable, crumbly, melty feta. Flavoured simply with salt, lemon, garlic and vinegar, you’ll be amazed at how close to feta this cheese tastes! Crumble over pasta or salads, cube up into a classic Greek salad with sliced tomato, cucumber, red onion, basil and olives, spread into sandwiches or on toast/crackers… however you would normally use feta, this substitute will work!
TOP TIP – find some unscented/flavourless coconut oil or your feta will taste a bit coconutty.
Liz x
Ingredients
400g extra firm tofu
9 tbsp coconut oil (flavourless is best here)
2 tbsp lemon juice
2 tbsp vinegar (apple cider or white wine vinegars work best here)
1 tsp garlic granules
1 tsp salt
Method
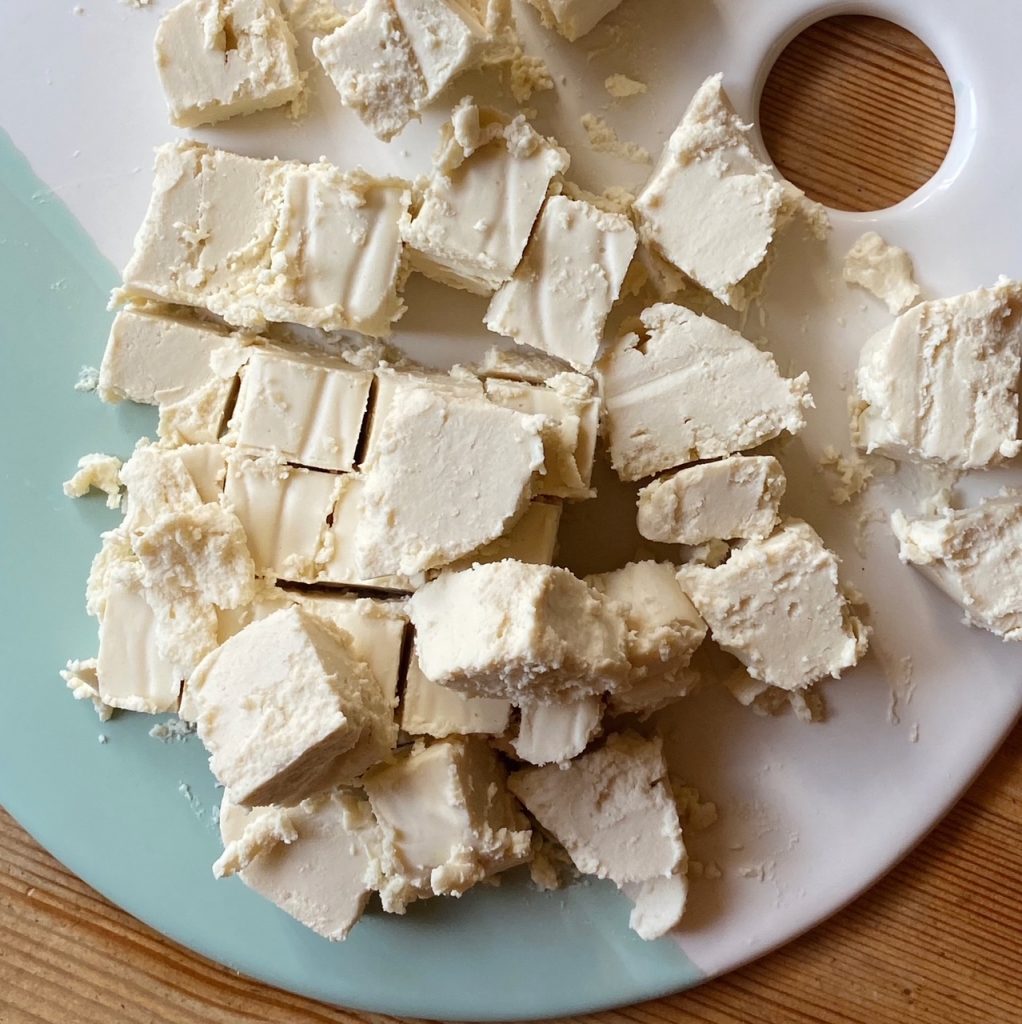
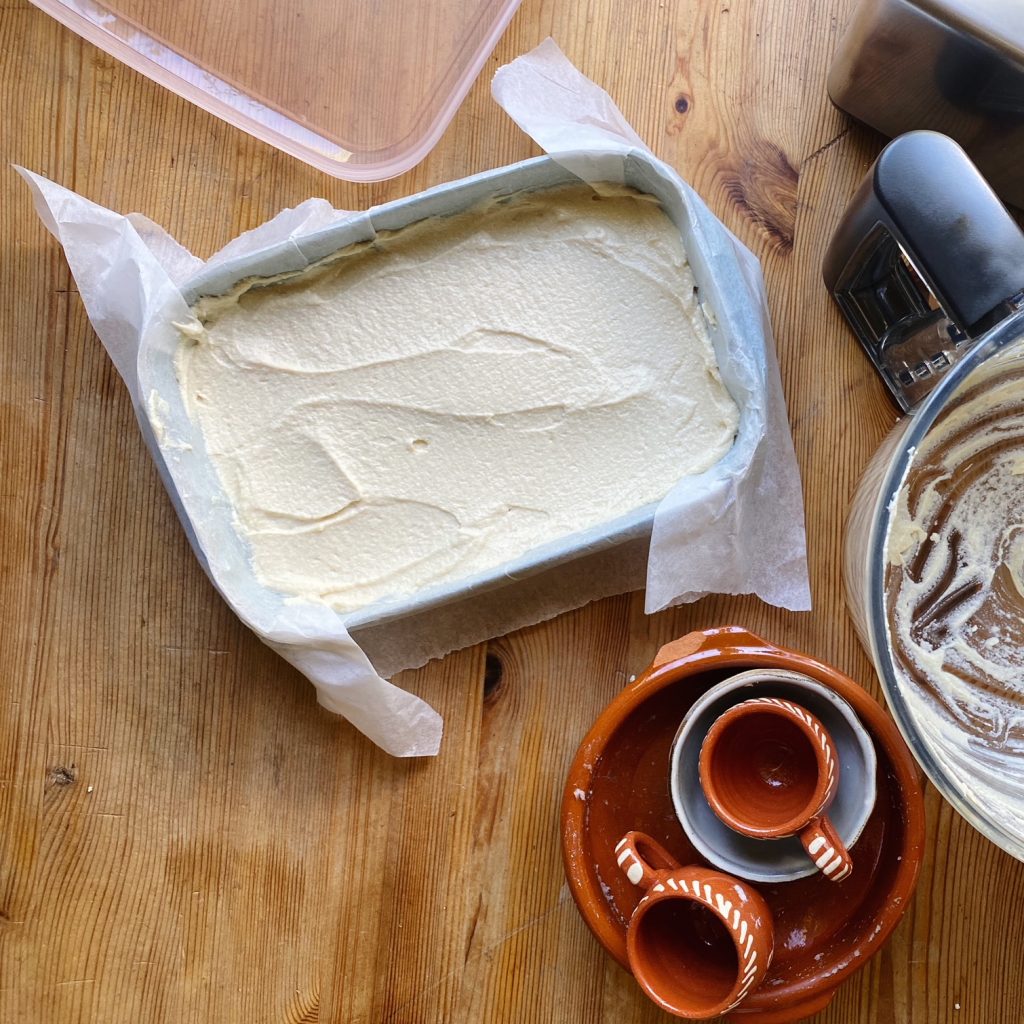
Start by pressing as much water as you can out of the tofu. This will ensure a nice crumbly, sliceable feta. If you can’t be bothered to do this step, not to worry, you’ll end up with a spreadable feta which is so delicious and useful too! To press the tofu, chop it into chunks and put it in a sieve over a bowl. Then place another bowl, which fits inside the sieve, on top and then place something heavy in the bowl like a big jar of pickles. Leave this set up to drain for an hour or so in the fridge. Then squeeze each chunk by hand before placing it in the food processor.
Add all the other ingredients to the food processor and blend until silky smooth. You will need to stop the machine and scrape don the sides half way through.
Line a plastic tub with baking parchment and smooth the tofeta mixture into it. Put the lid on and set in the fridge until solid.
Then carefully tip the feta onto a clean board and slice or crumble as you like. This tofeta will stay fresh in the fridge for 4 days. Enjoy!
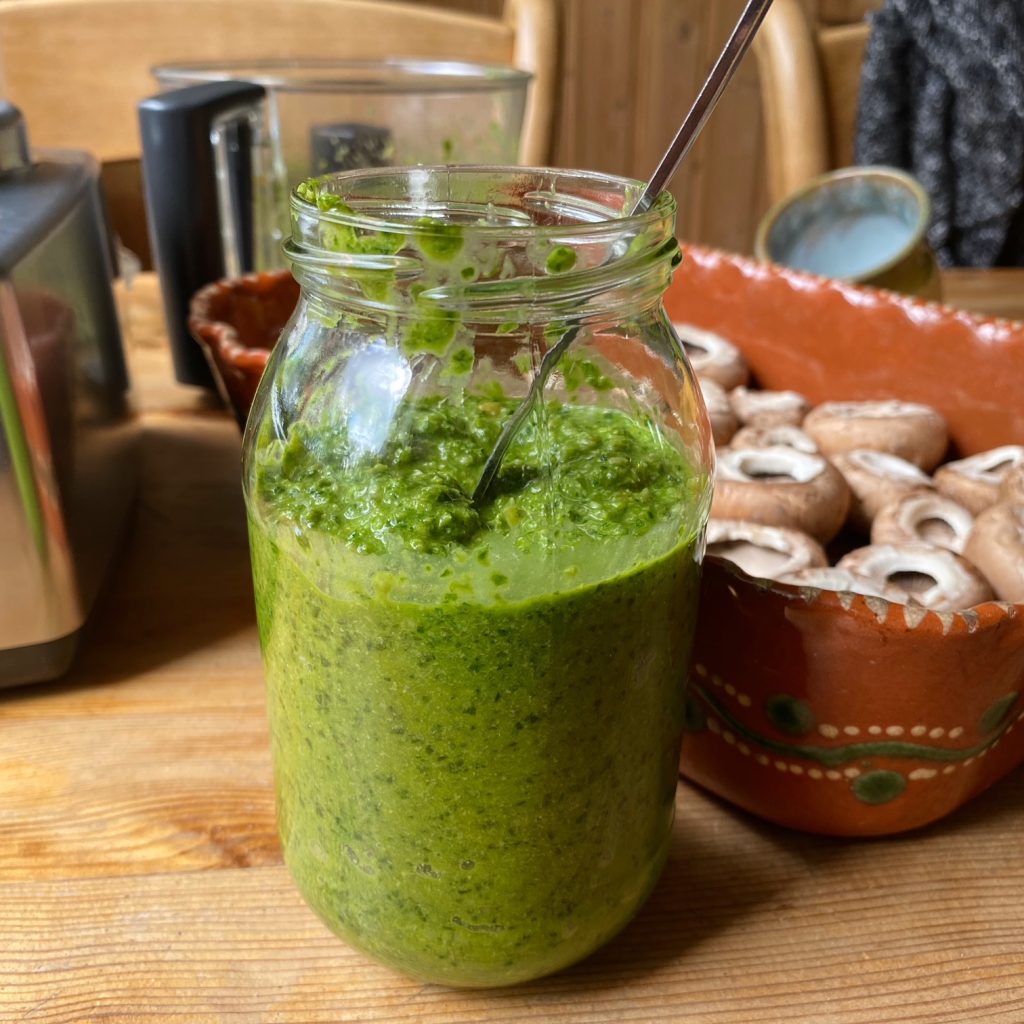
Pesto is such a staple in our house now. How did we live without it when we were kids? It is the most delicious condiment, not just for tossing through pasta for an easy mid-week meal (although of course that’s how it normally gets used up here), my daughter is obsessed with smearing a thick layer of pesto on toast for breakfast. Use it to stuff mushrooms, stir through boiled new potatoes or freshly steamed greens, add to sandwiches, dunk your chips in it… how else do you use pesto? We would love to hear your suggestions in the comments below.
I love that it’s a hit with the kids. It is beyond satisfying, watching them gleefully gobble up so many healthy ingredients. Nuts or seeds, raw herbs or other leafy greens like this kale version, olive oil, lemon juice, raw garlic… all super good! Home made pesto is the best-o. You’ve got to give it a try. For ease, use a food processor.
Liz x
Ingredients (fills an old jam jar)
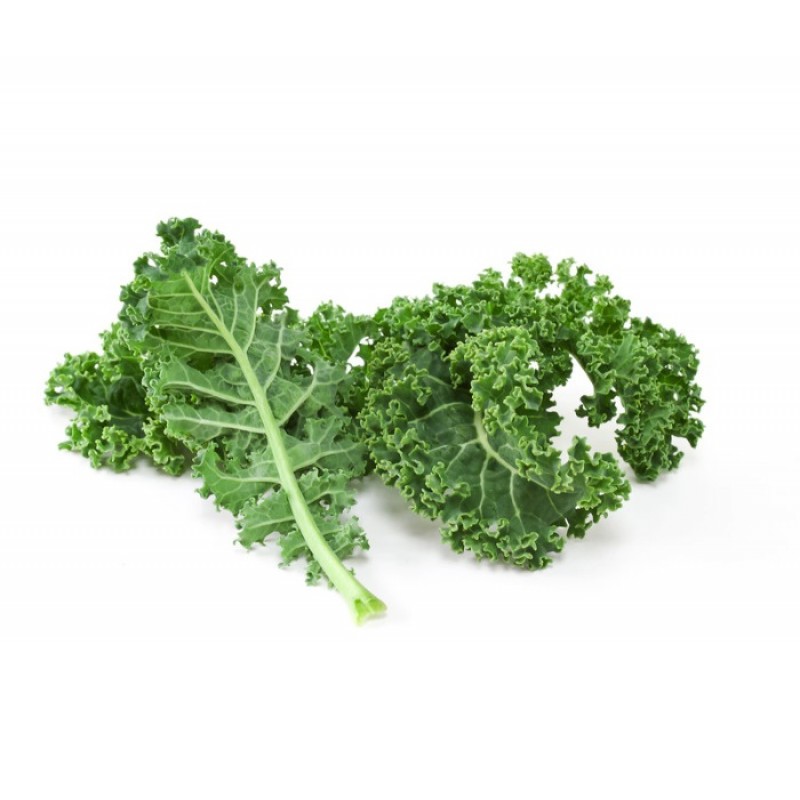
100g kale (or use a mix of kale and basil or any herbs or greens you like eg nettles, spinach, fennel fronds, parsley, dill…)
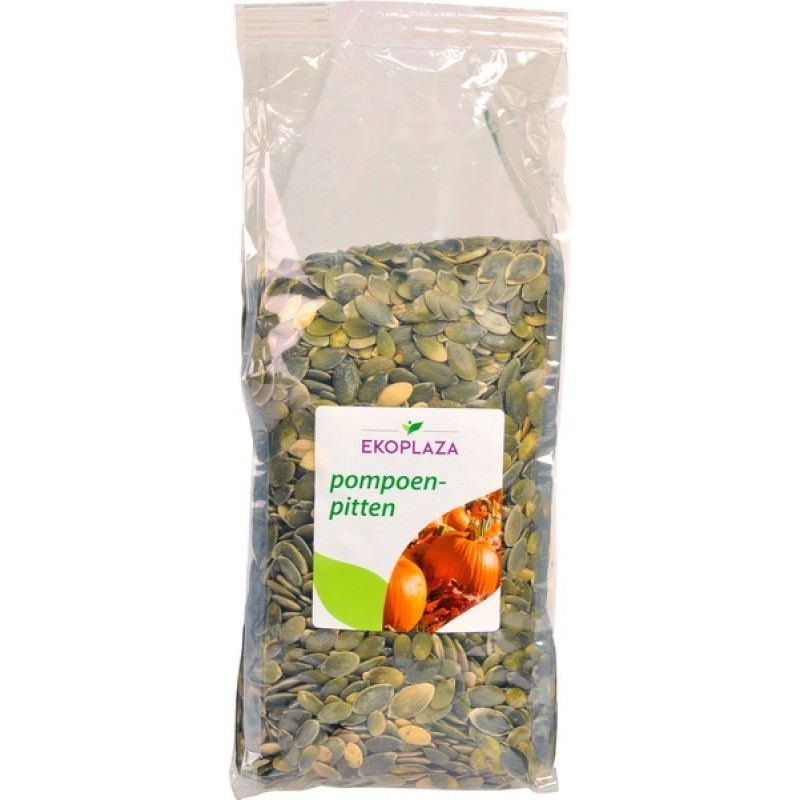
100g pumpkin seeds (or any nut or seed you prefer)
the juice of half a lemon (or a couple of tbsp of good vinegar)
1 garlic clove, peeled
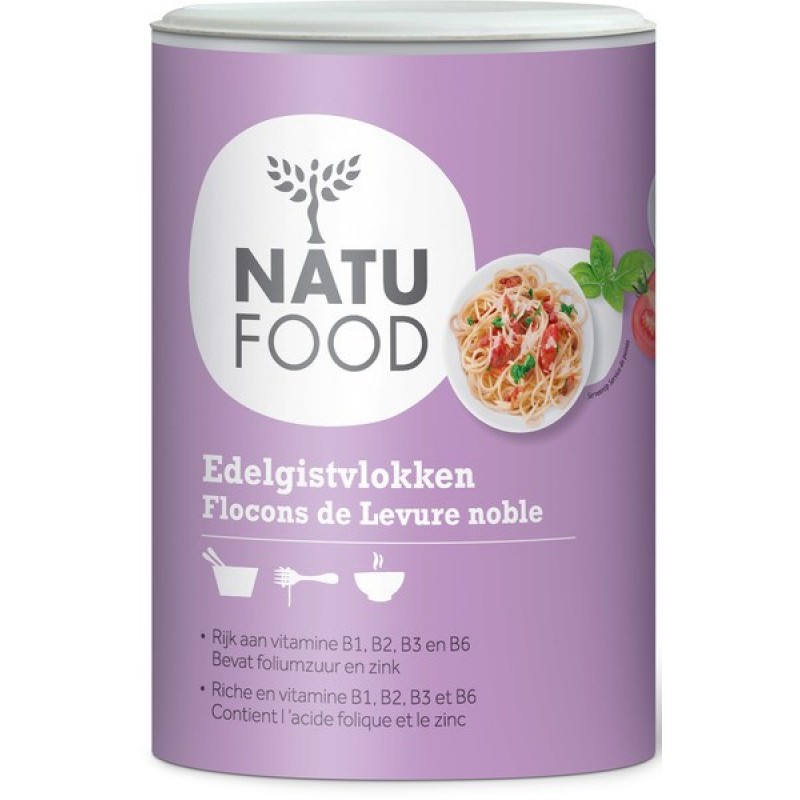
2 tbsp nutritional yeast
a big pinch of salt
100ml olive oil
Method
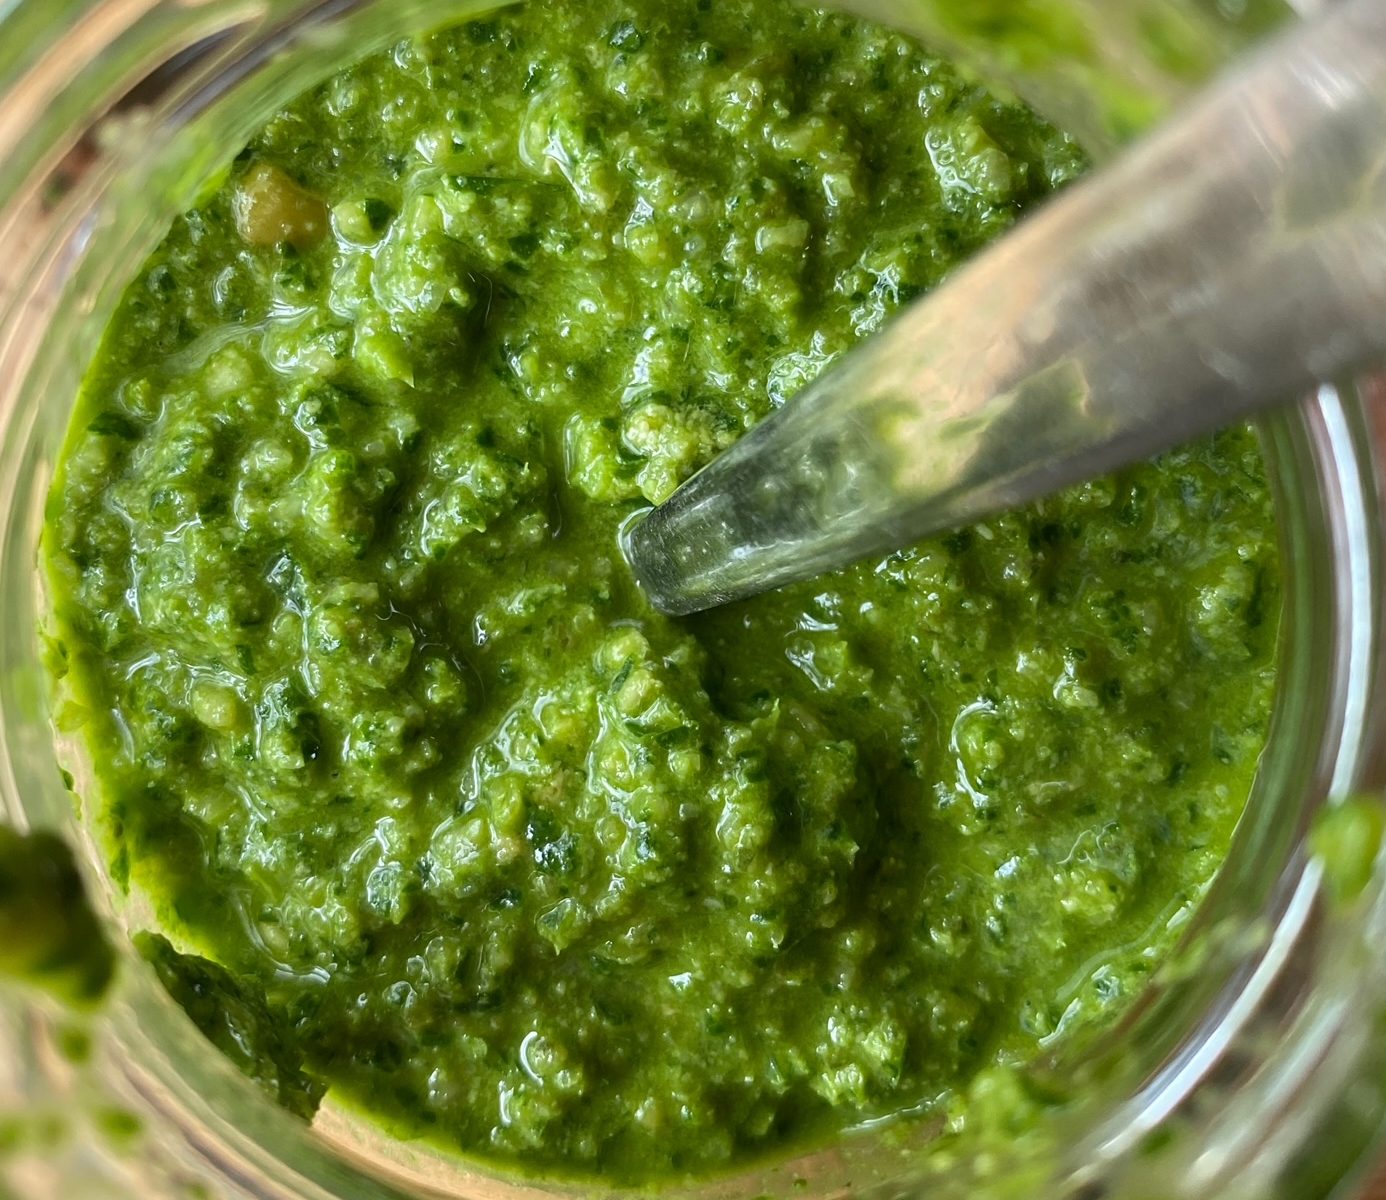
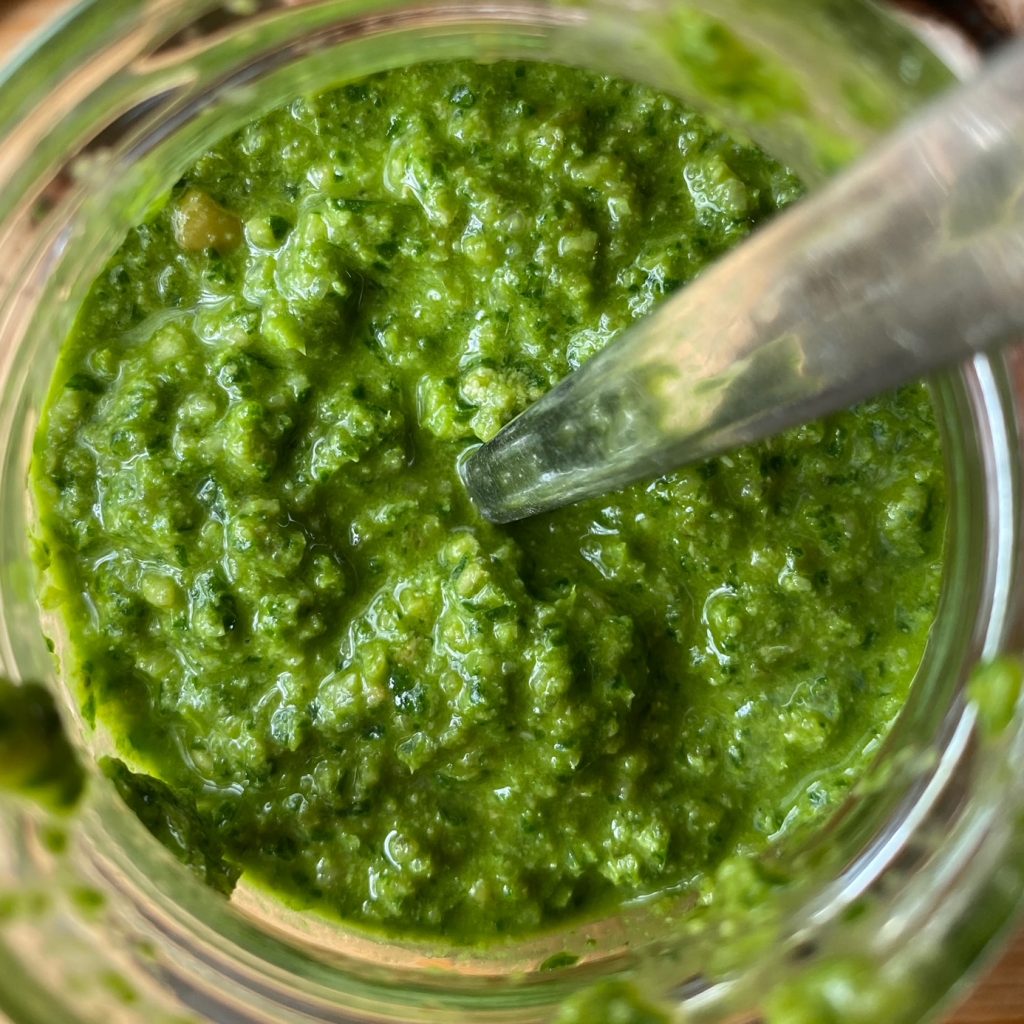
Place all the ingredients into a food processor but only half the olive oil.
Pulse until roughly combined then blend whilst drizzling in the other 50ml of olive oil until you achieve a beautiful pesto consistency – not too smooth.
Scoop out into a clean jar and refrigerate. Use within the week.