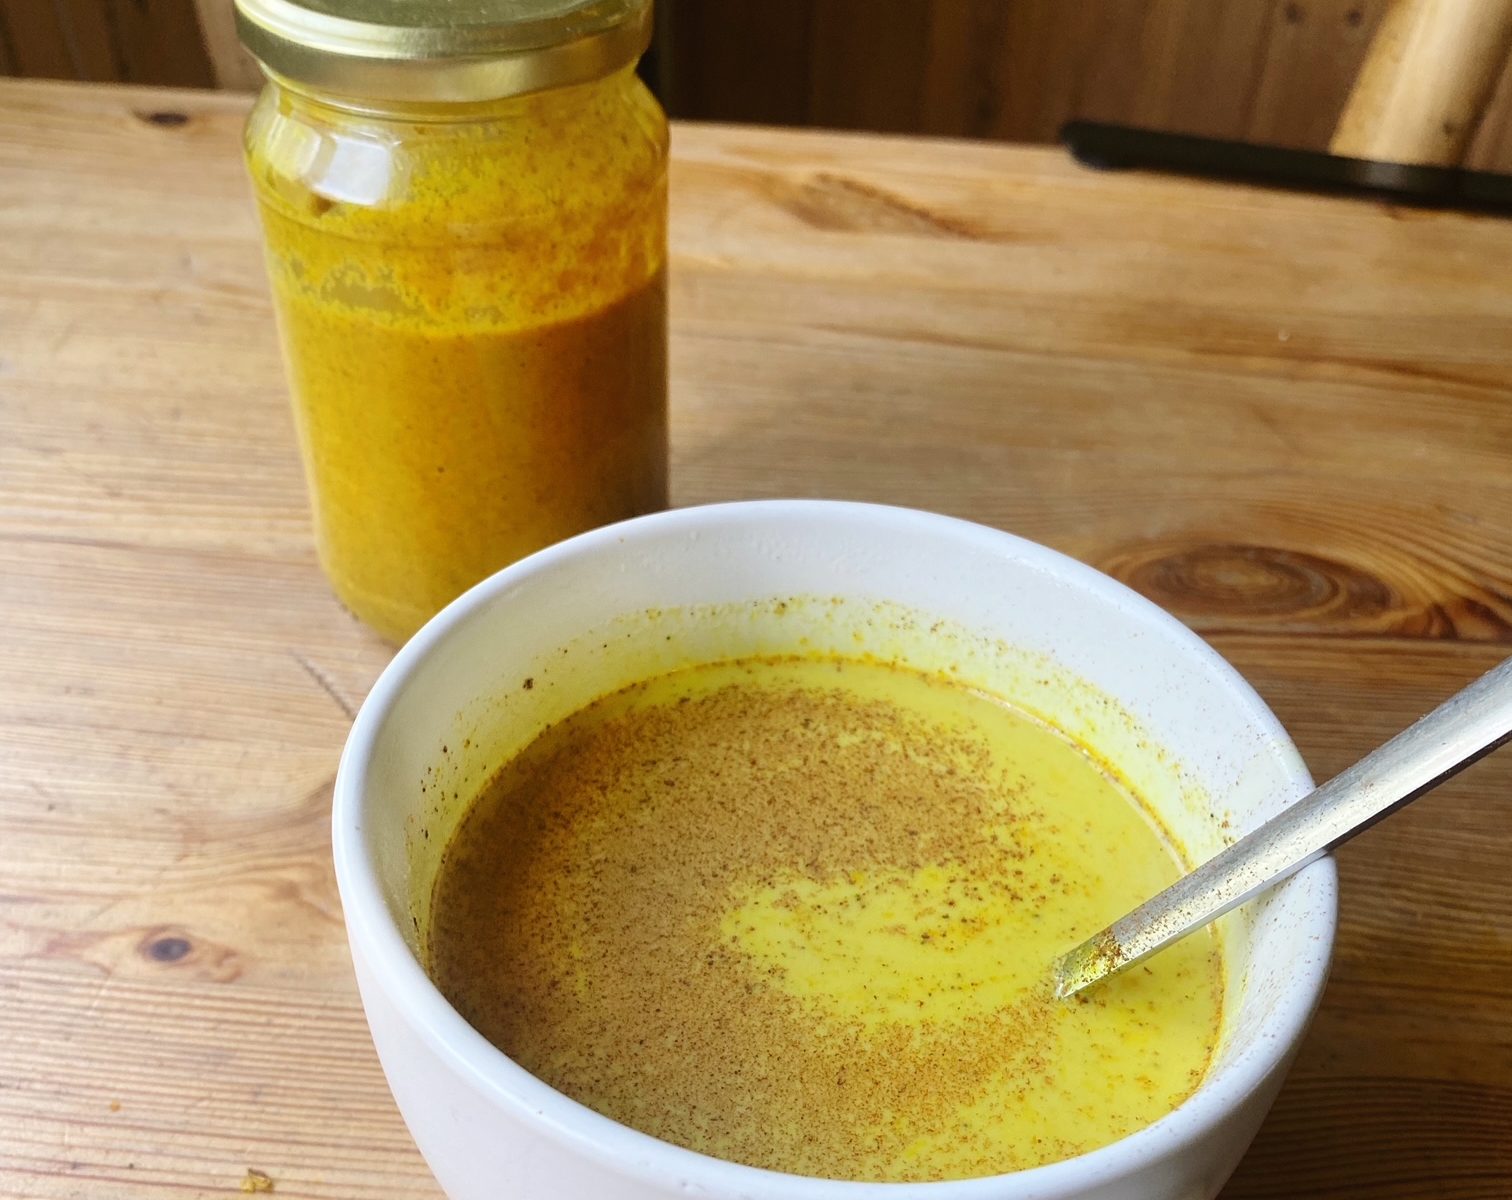
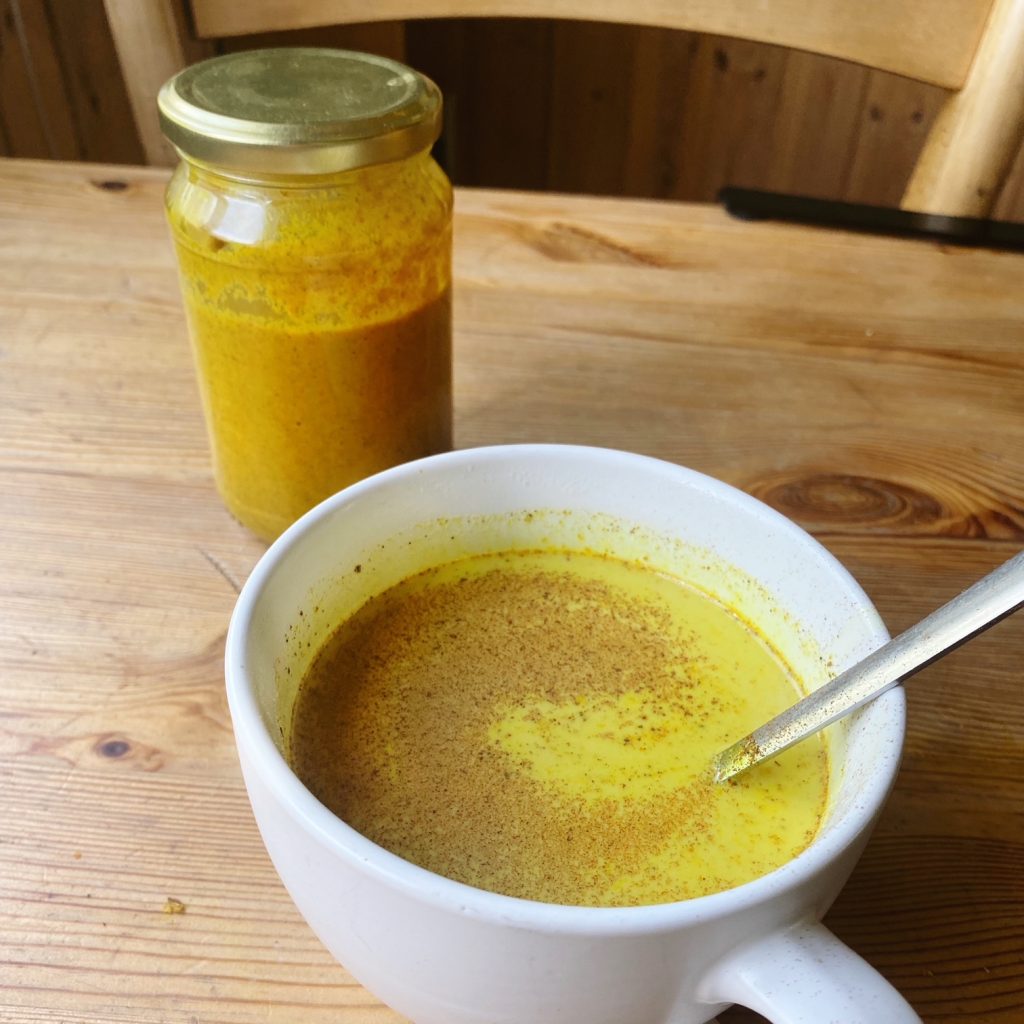
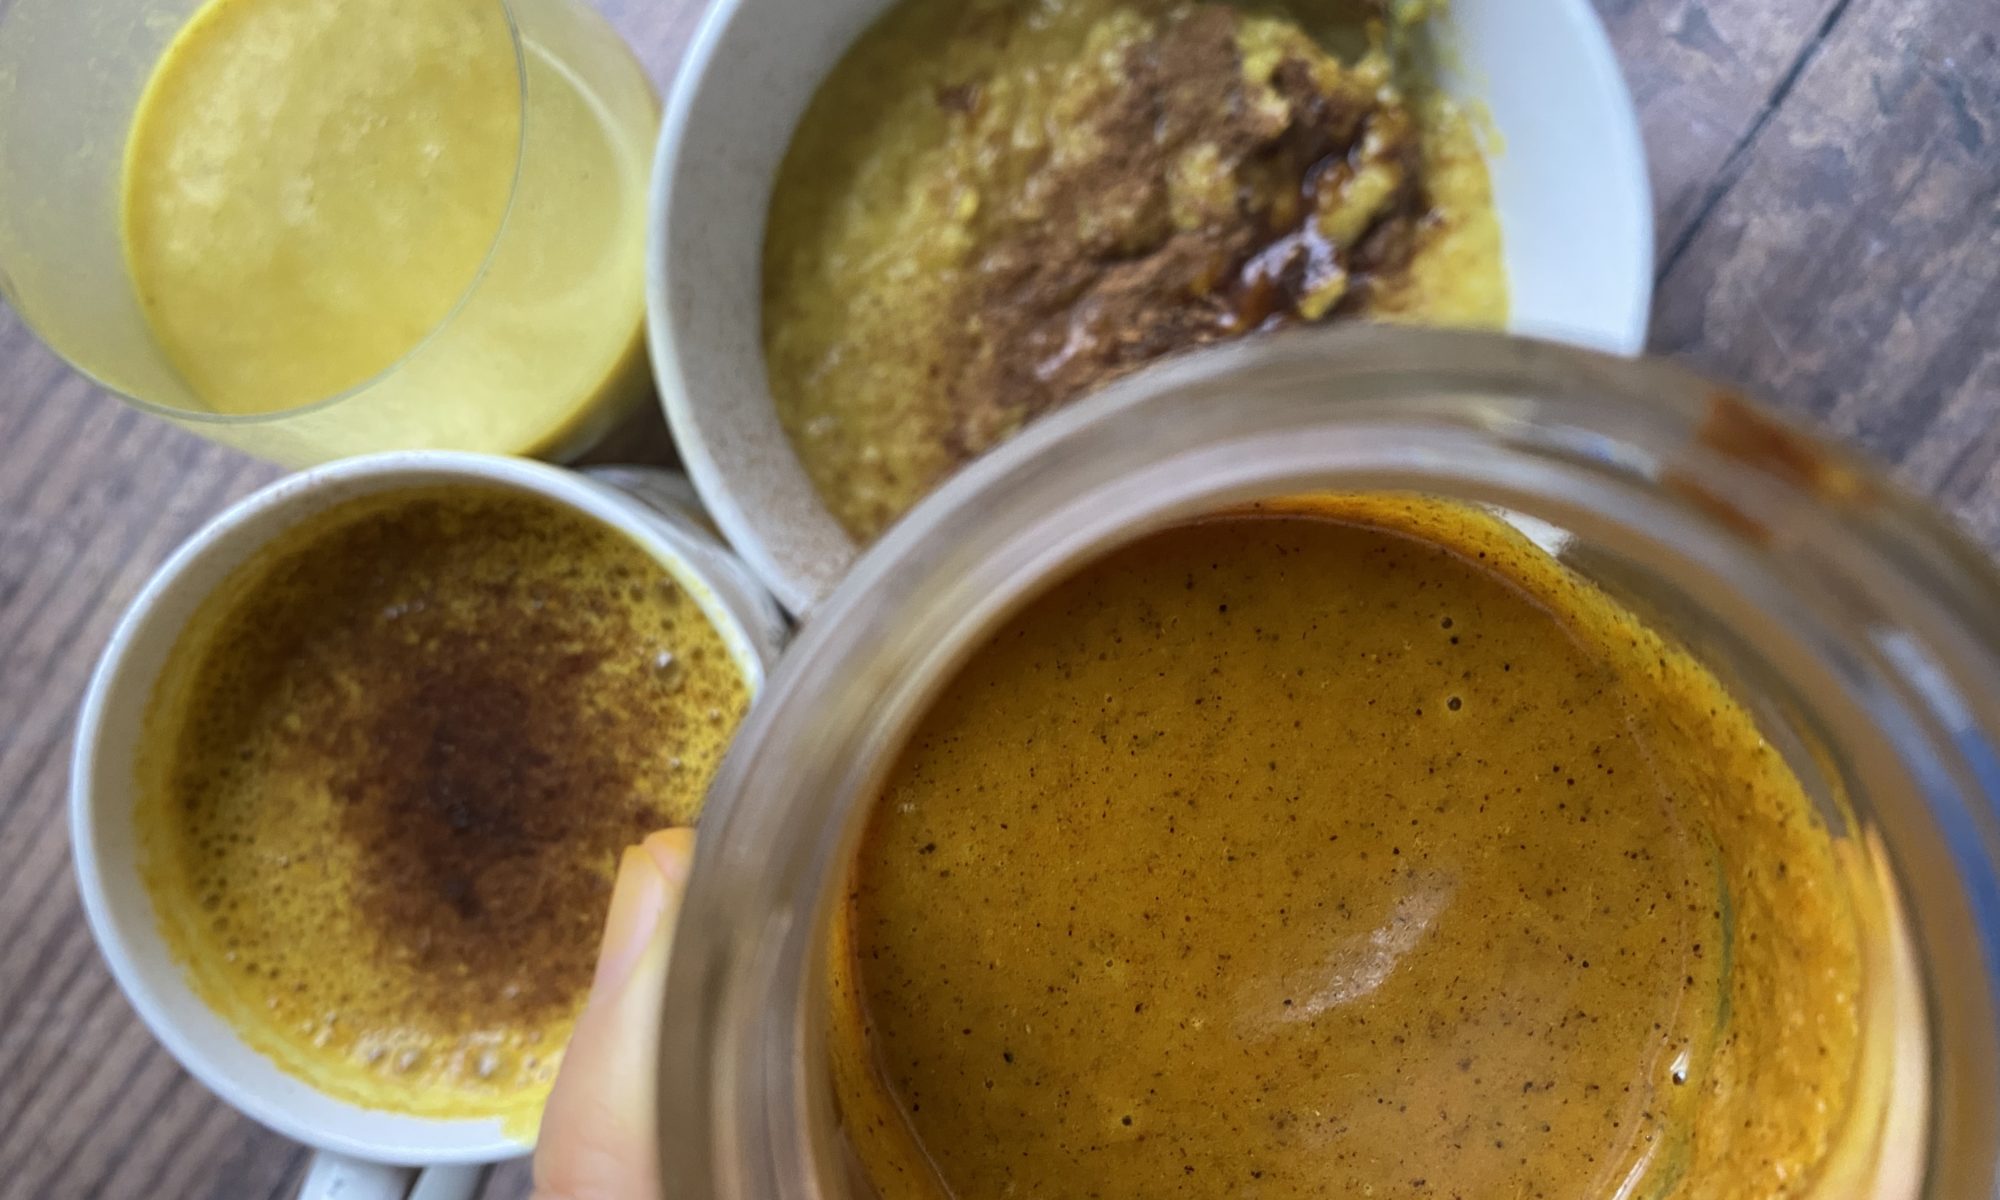
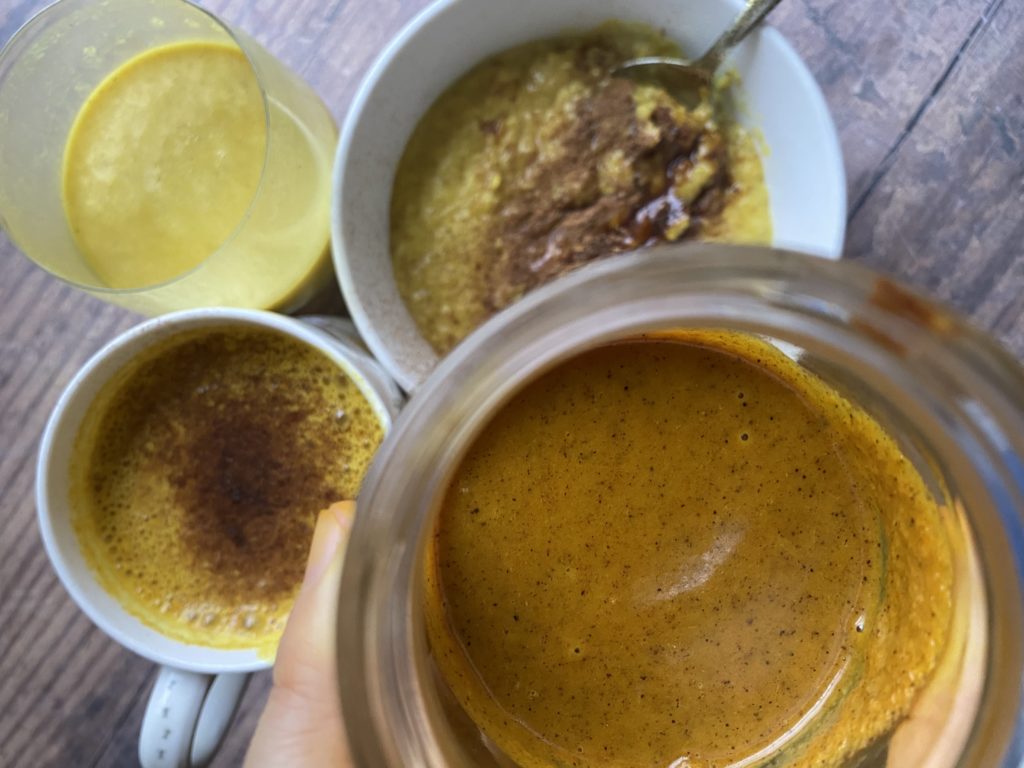
I always try to keep a jar of this fresh paste in the fridge. It is so handy for making golden milk in the evenings and I love stirring a spoon through my morning porridge. Turmeric and ginger have many amazing health benefits, I started eating this to help manage my knee pain, but I stuck with this paste because it’s actually very delicious! We stock fresh, organic turmeric and ginger roots in the shop so you can easily add some to your next order.
Liz x
Ingredients (don’t need to be exact)
a large thumb of fresh ginger
a similar amount of fresh turmeric
1 heaped tbsp coconut oil (this helps your body absorb the turmeric and ginger)
4 or 5 tbsp maple syrup (or your choice of sweetener)
1 tsp ground cinnamon
1/2 a tsp black pepper
1/4 tsp ground cloves
a splash of water
Method
As you are using organic turmeric and ginger, you don’t really need to peel them, but if you would like to, use a teaspoon to scrape off the skin and get into the awkward nooks and crannies without wasting too much flesh. Roughly chop and add to a small, strong food processor.
Add the rest of the ingredients and blend into a smooth, thick paste.
Pour the paste into a very clean jar and keep in the fridge. Use within 3 weeks. You can also freeze the paste in ice cube trays to keep it fresher for longer.
How to use:
Add a spoon or two to a mug of hot milk and drink in the evening after a long day, especially if you are feeling achey. I like mine topped with a sprinkle of cinnamon.
Blend a spoon with banana, ice and milk to make a golden smoothie. Kids love these!
Simmer a spoon into your morning pot of porridge. Top with coconut flakes and cinnamon or your favourite fruit and nuts.
Do not consume high amounts of turmeric if you are pregnant. Consult a doctor if you are concerned that turmeric will interact with other medication or health problems.
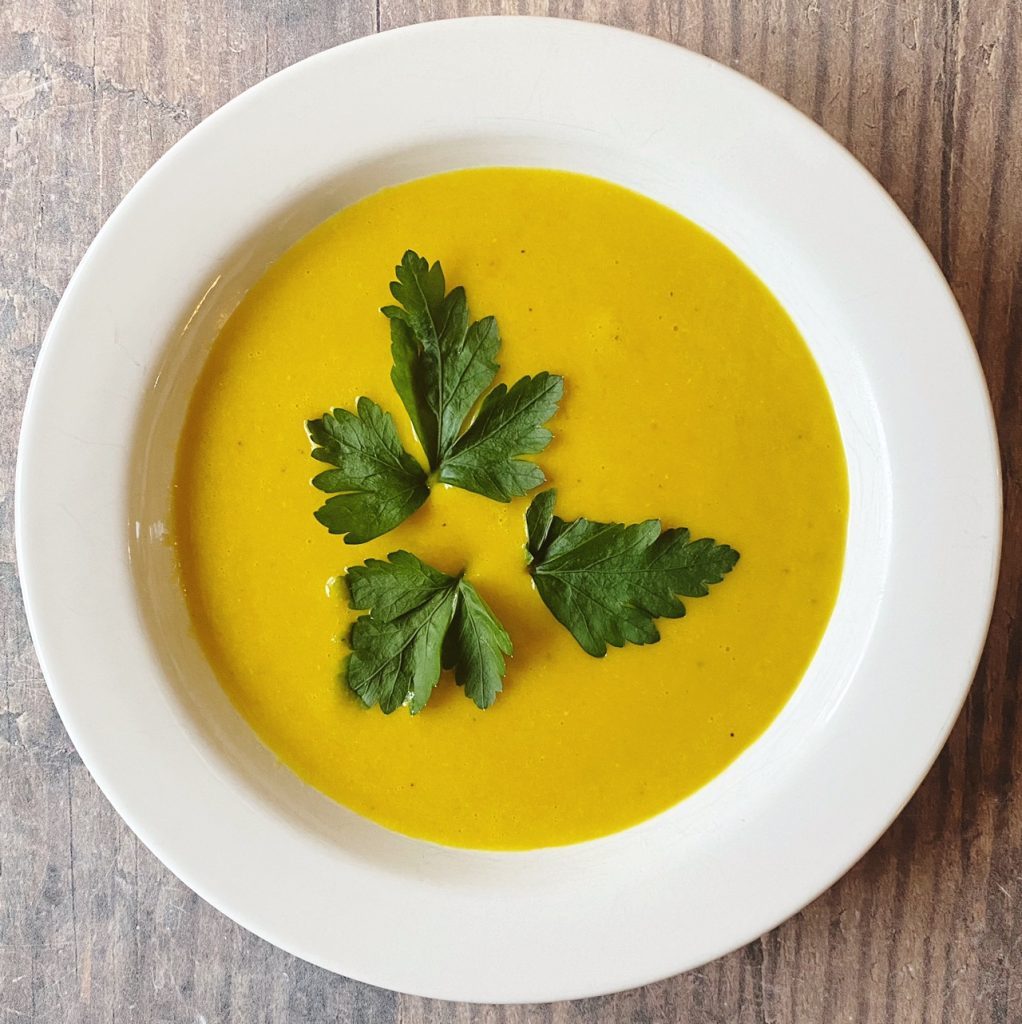
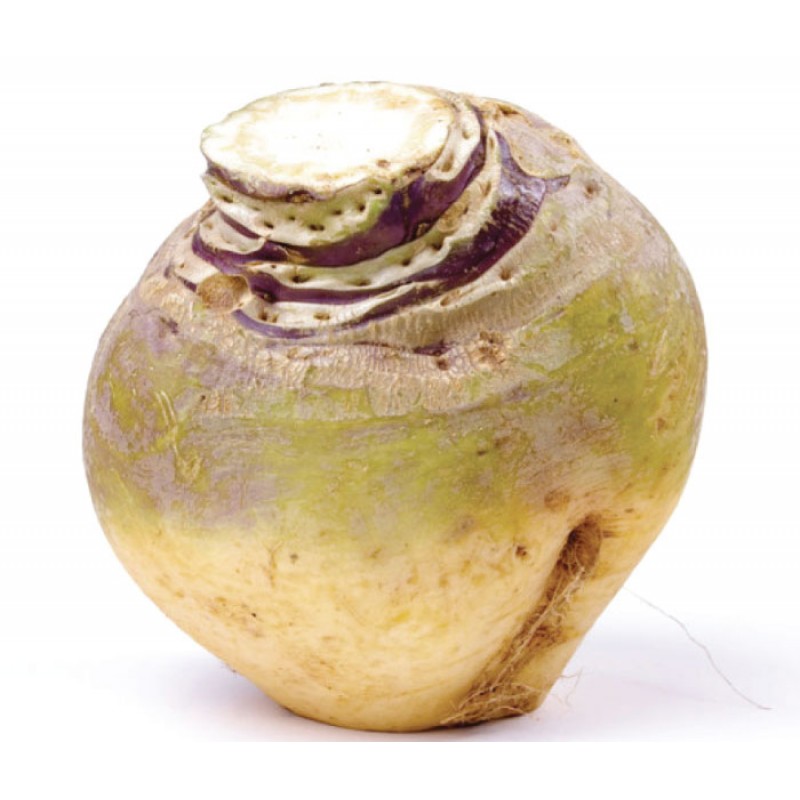
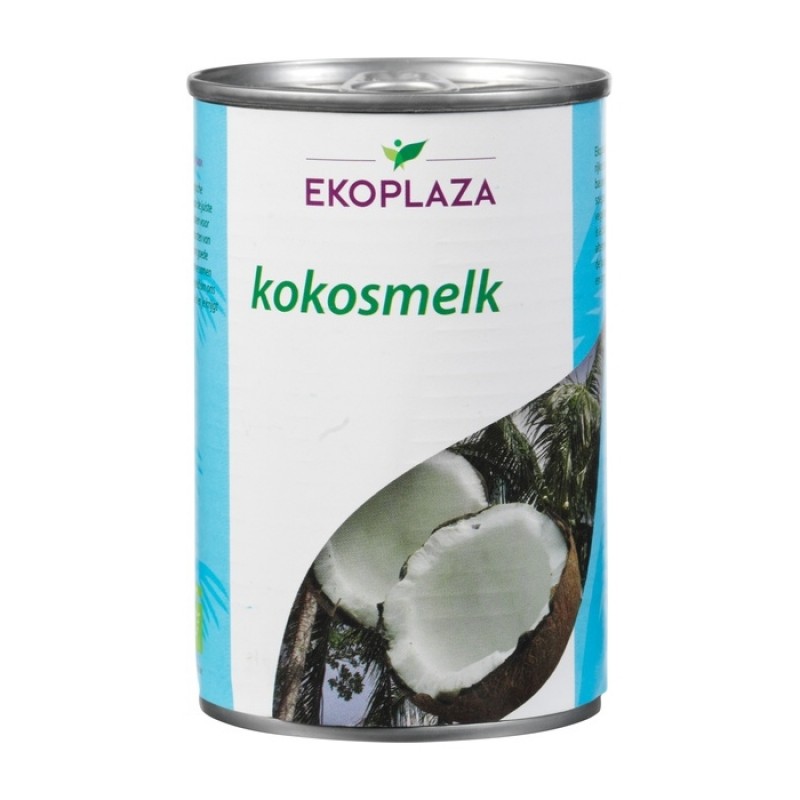
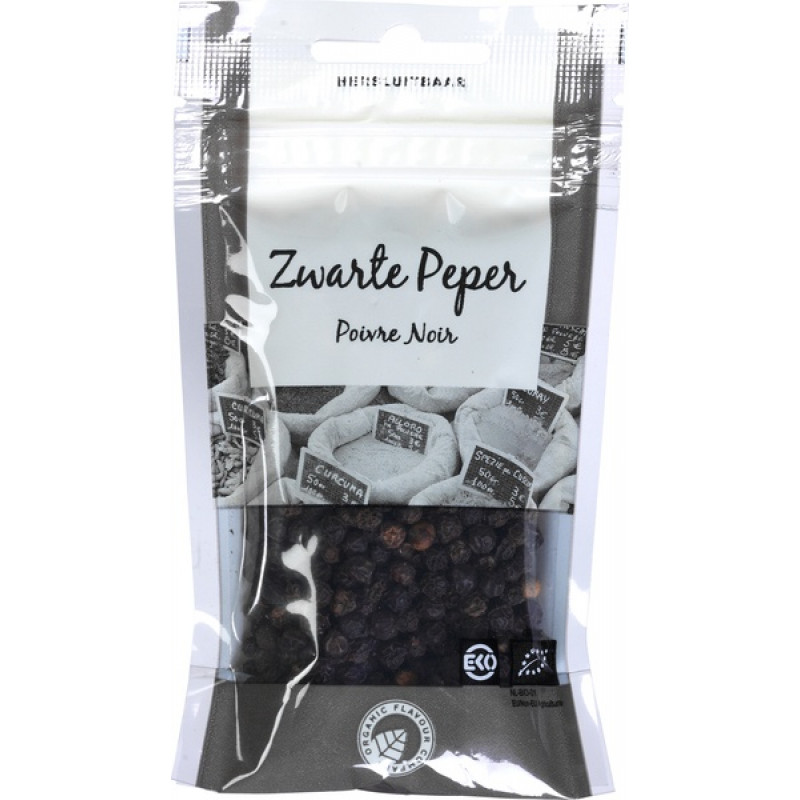
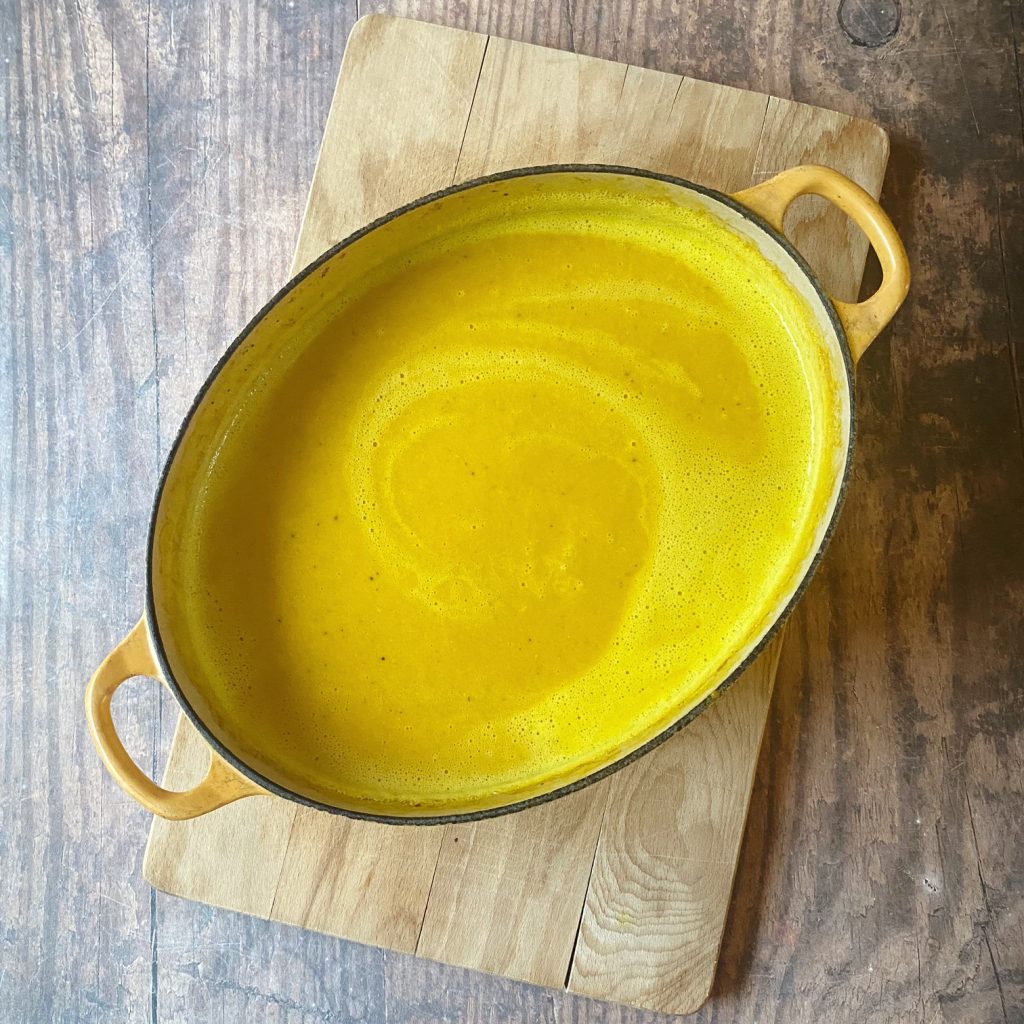
Sometimes in November a bowl of sunshine is just what is needed! Put our stunning root veg to use with this simple soup (or use up your Halloween pumpkins instead). We stock organic red lentils (in a compostable bag🙌) which gives this soup the most beautiful texture and provides protein, iron, potassium, folate, vitamin B1 and prebiotic fibre. Turmeric and black pepper are a delicious anti-inflammatory addition, and we have tins of organic coconut milk for a rich, creamy finish to the soup.
Liz x
Ingredients (serves 6)
2 tbsp oil
1 diced onion
4 chopped garlic cloves
750g diced veg (I used carrot and swede this time but any root veg or pumpkins work well here)
1 tbsp ground turmeric
1 tsp ground black pepper
2 tsp salt
300g rinsed red lentils
1500ml water (approx)
1 tin coconut milk
Method
In a large pot, sauté the onion with the oil until it softens and starts to turn golden brown.
Add the garlic and diced vegetables, season well with salt, pepper and turmeric.
Tip in the rinsed red lentils and cover generously with water. Stir then put the lid on the pot. Bring to a boil then immediately turn the heat down and simmer until the lentils and vegetables are soft (around 15-20 minutes). You should take the lid off and stir every 5 minutes to ensure there is no sticking or burning on the bottom of the pot. You may wish to add more water if the soup is looking a bit thick.
Scrape in the coconut milk then blend until smooth with a hand held stick blender. Taste and adjust the seasoning if necessary. Then enjoy!
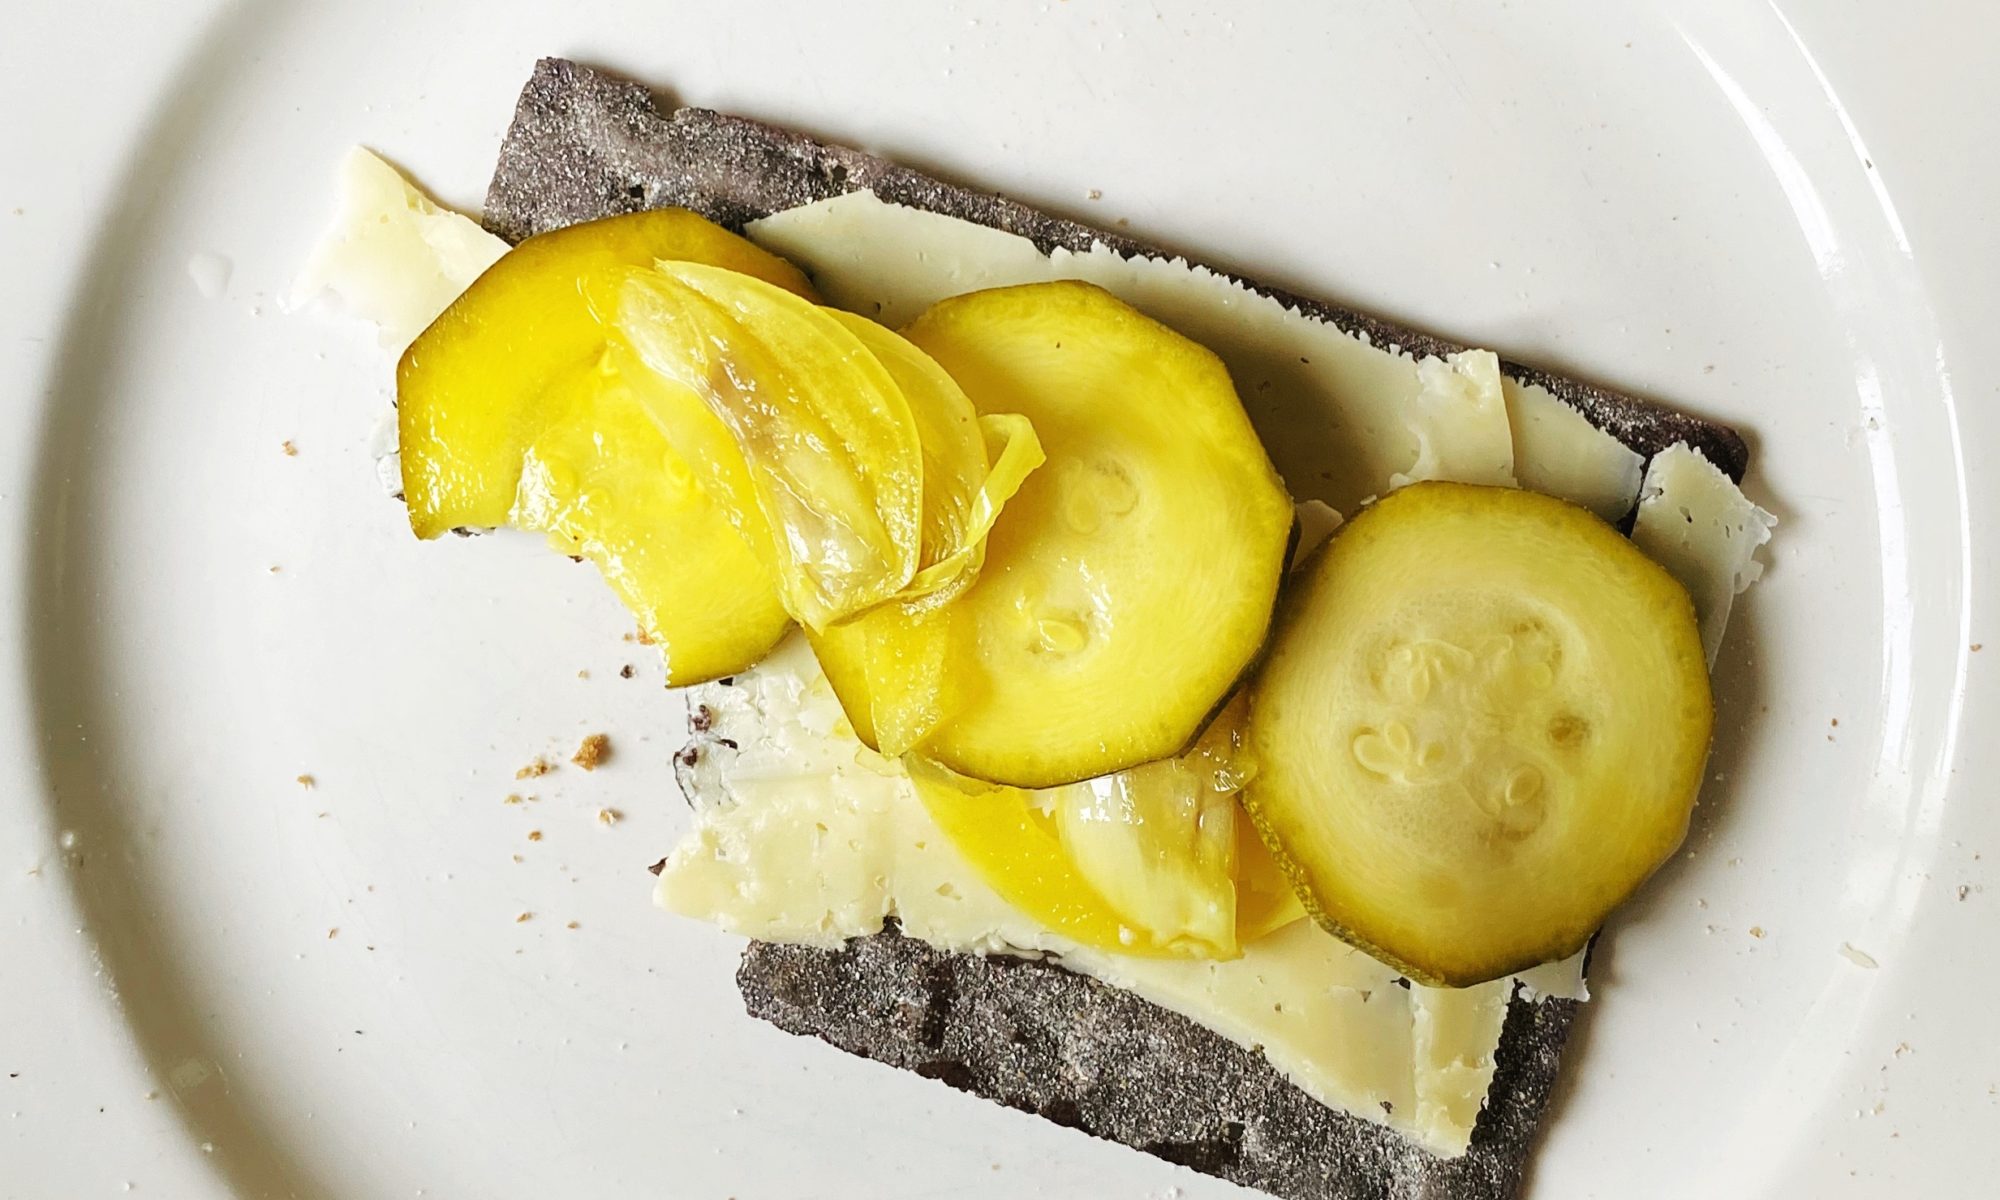
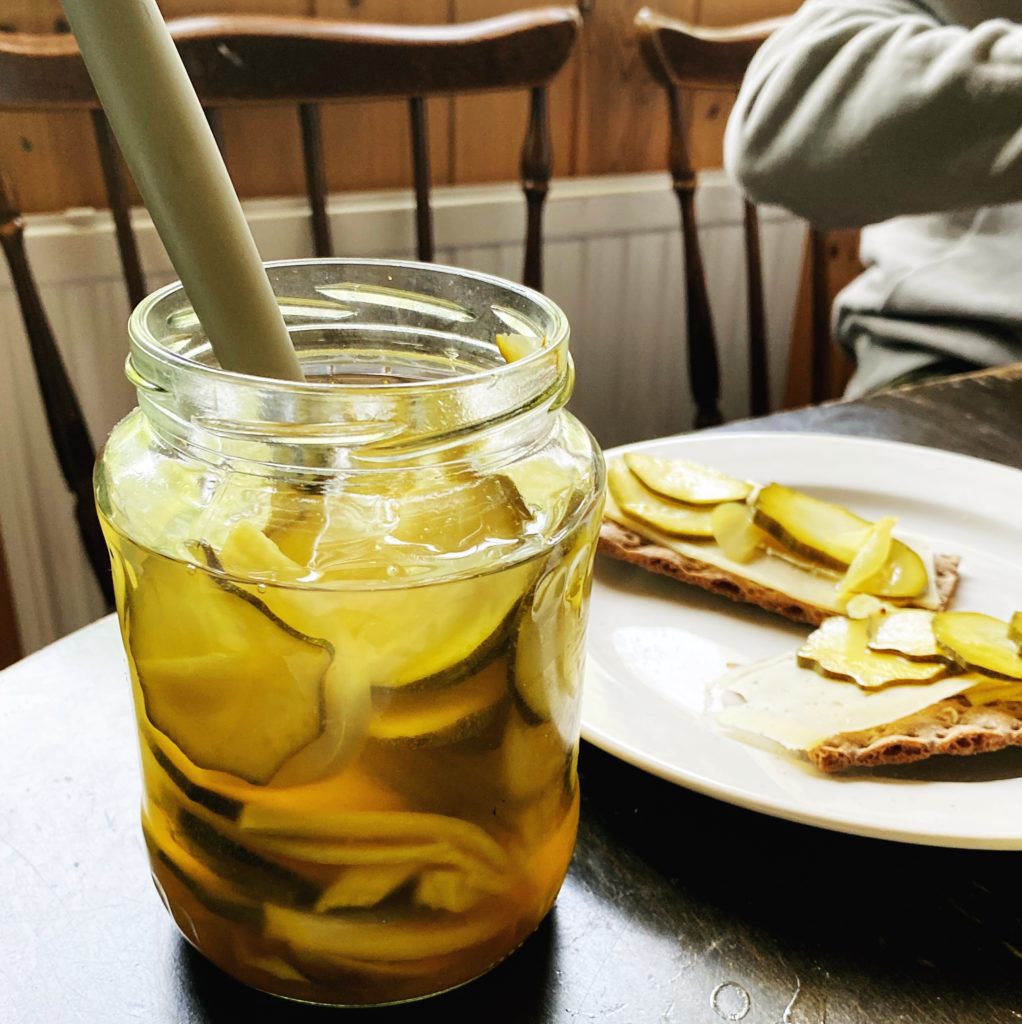
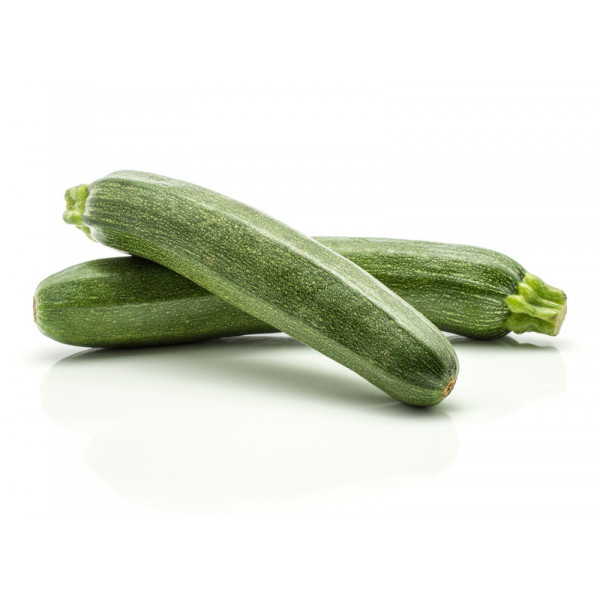
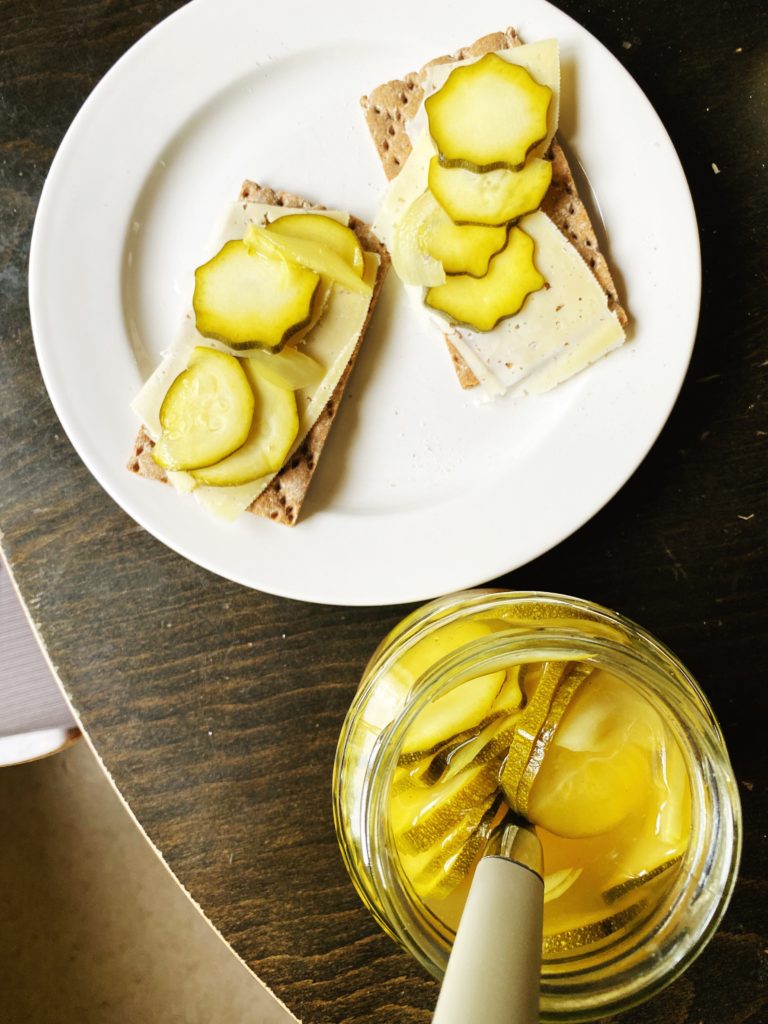
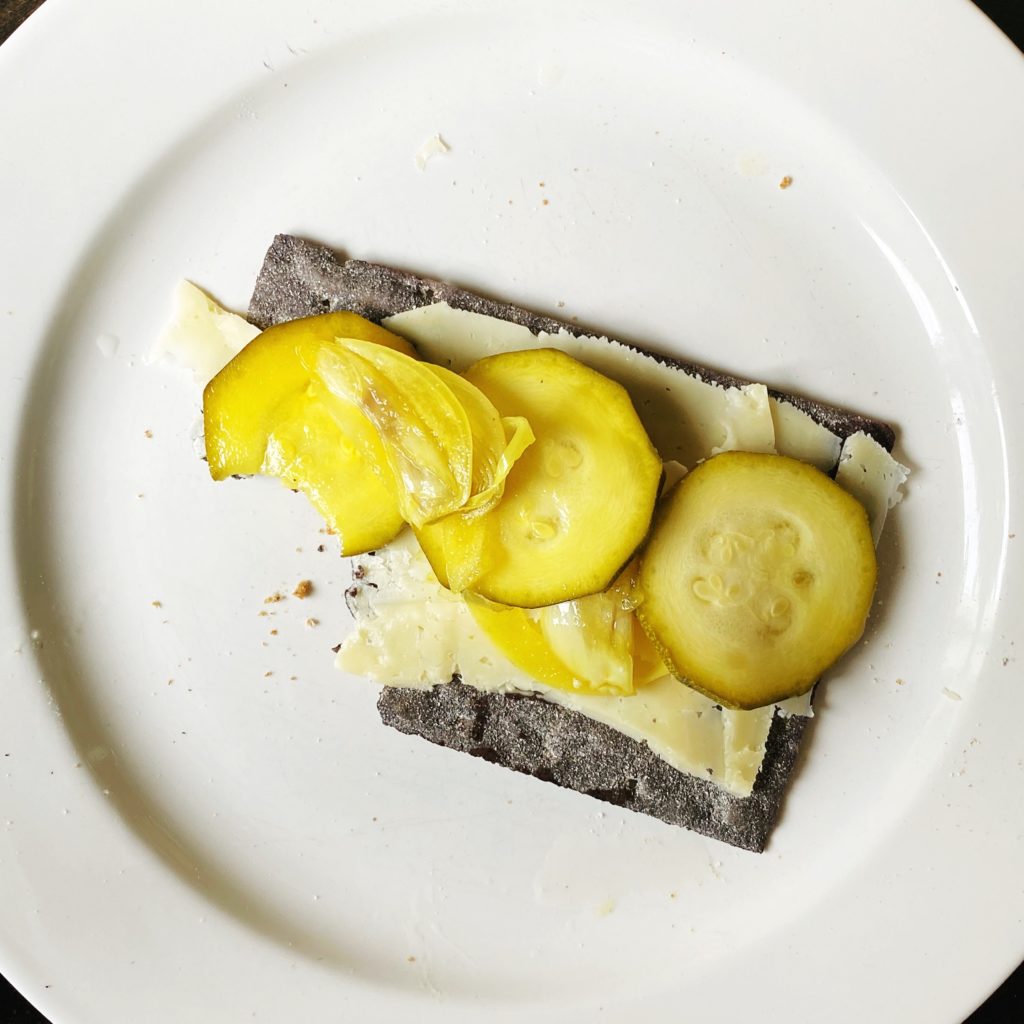
Got a glut of courgettes? We’ve got the recipes. As well as this classic quick pickle, a delicious solution for many excess veg, I’ve shared a fair few other courgette recipes. Just pop ‘courgette’ in the search bar and they’ll come up.
Quick pickles do what they say on the tin. They are quick and simple to put together and they are ready to eat in just a couple of days. You can definitely eat them earlier too, I just think the flavours develop better after a couple of days in the fridge. They last a long time too, especially if you sterilise the jar and close it while the vinegar solution is still hot. Keep the pickles in the fridge and don’t double dip and they should last for 2 months, if you don’t eat them up in that time… don’t store these pickles at room temperature unless you can them, which is a whole other process.
Pickled courgettes are so delicious in a sandwich or burger, with cheese and crackers or as a tangy, crunchy part of a salad. You can also flavour them however you like. Go herby with dill, spicy with chilli, use classic pickling spices, bay leaves, garlic, ginger…whatever you like! Enjoy! Liz x
Ingredients (makes 2 medium jars, around a litre volume)
flavourings of your choice – I used: 3 sliced cloves of garlic, 1 tsp ground turmeric, 1 tsp mustard seeds, 1/2 tsp black pepper
1 courgette
1/2 a white onion
Method
Start by finding 2 small jars (or 1 big one? – it all depends on how much pickle you’re making or the size of your courgettes) and giving them a really good clean and hot rinse. Or you can sterilise them to be extra safe. Put the washed and rinsed jars in a clean sink then fill them with freshly boiled water from the kettle. Wait a minute then carefully empty the jars (use oven gloves or a folded tea towel so you don’t burn your hands). Let them air dry while you get on with chopping and heating up your vinegar solution.
Measure the vinegar, water, salt and sugar into a small pan and heat it up while you quickly add the flavourings to the jars and chop the vegetables.
Divide your flavourings between your jars. Then thinly slice the courgette and onion and divide them between the jars too. Lightly press the vegetables down into the jars to pack them in neatly, but don’t crush them. You should leave a couple of cm of room in the jar.
As the vinegar solution comes to the boil, take it off the heat and pour it into the jars over the vegetables and flavourings. The solution should cover the vegetables. Give the jars a light tap on the work surface to remove any air bubbles that may be trapped between the layers of vegetables. Then screw on the lids whilst the jars are still hot. You may not use all the vinegar solution, or you may need to make a bit more.
Allow them to cool then refrigerate. The pickles will be ready to eat in two days and will last in the fridge for 2 months.
A page from my book – available to add to your order on Greenearthorganics.ie here.
Turmeric is an incredible, powerful ingredient. It’s many, scientifically proven, health benefits including being an anti-inflammatory and antioxidant are very interesting to read up on. Anecdotally, I have terrible knees from a combination of hyper-mobility, multiple dislocations and corrective surgery that went badly wrong, and I find, when I remember to have a tsp of my turmeric paste at least a few times a week, be that in porridge, smoothies or golden milk, my knees do feel less swollen and painful at the end of the day. As a chef, I love it for it’s vibrant colour and interesting flavour. Curcumin, the compound responsible for most of turmeric’s potential health benefits, unfortunately doesn’t absorb well into the bloodstream so I always add black pepper and oil to anything with turmeric in to increase it’s bioavailability. You can read about the science behind the bioavailibity of turmeric here. So don’t leave the black pepper and coconut oil out of the recipe!
Turmeric & Ginger Paste and three things you can make with it – golden smoothie, turmeric latte and golden porridge – watch the video at the end of this blog to see how!
Peel the turmeric and ginger roots using the edge of a teaspoon.
Slice the roots against the direction of the fibres and put them in a strong blender.
Add coconut oil, ground cinnamon, ground cloves and ground black pepper.
Cover the ingredients with maple syrup and then blend until smooth.
Transfer the mixture into small jars and refrigerate. They should last in the fridge for about a month, so freeze what you won’t use up in that time. Use the frozen turmeric paste within 6 months of making it.
Did you make this recipe? Let us know how it went in the comments or over on our friendly Facebook group. Don’t forget to share this blog post with your friends. Liz x
Illustration from my cookbook, Cook Draw Feed – available to add to your next order here.
Biryani is a very special Indian dish, traditionally reserved for big celebrations like weddings and festivals. The elaborate layering of marinated meats, par cooked rice, whole and ground spices, nuts, fruit and caramelised onions take a long time to prepare and would feed a big gathering from one large pot. My version is not exactly authentic, being plant based, and I’ve simplified the method to suit my relaxed style of cooking. But, it doesn’t hold back on the flavours and textures. It’s a crowd pleaser in my house and I love it because I can assemble it fairly quickly in one pot on the stove top, then let it bake in the oven while I get on with something else. It always gets some ‘oohs’ and ‘ahhs’ when it emerges from the oven, good enough for dinner parties but also quick enough to rustle up mid-week.
You’ll need an oven and hob safe pot with a lid. If you don’t have one, you can always use a baking dish and cover it with foil (or to avoid single use foil, try use a baking sheet weighed down with an oven safe bowl as a lid). I hope you give it a try. Let me know in the comments or on our Facebook group or Instagram if you do. We love to see what you’re up to in the kitchen with the wonderful produce from the farm.
Liz
If you like this recipe, you’ll love my book. Add it to your regular order from the farm here. As always, thank you for your support, we really appreciate it.
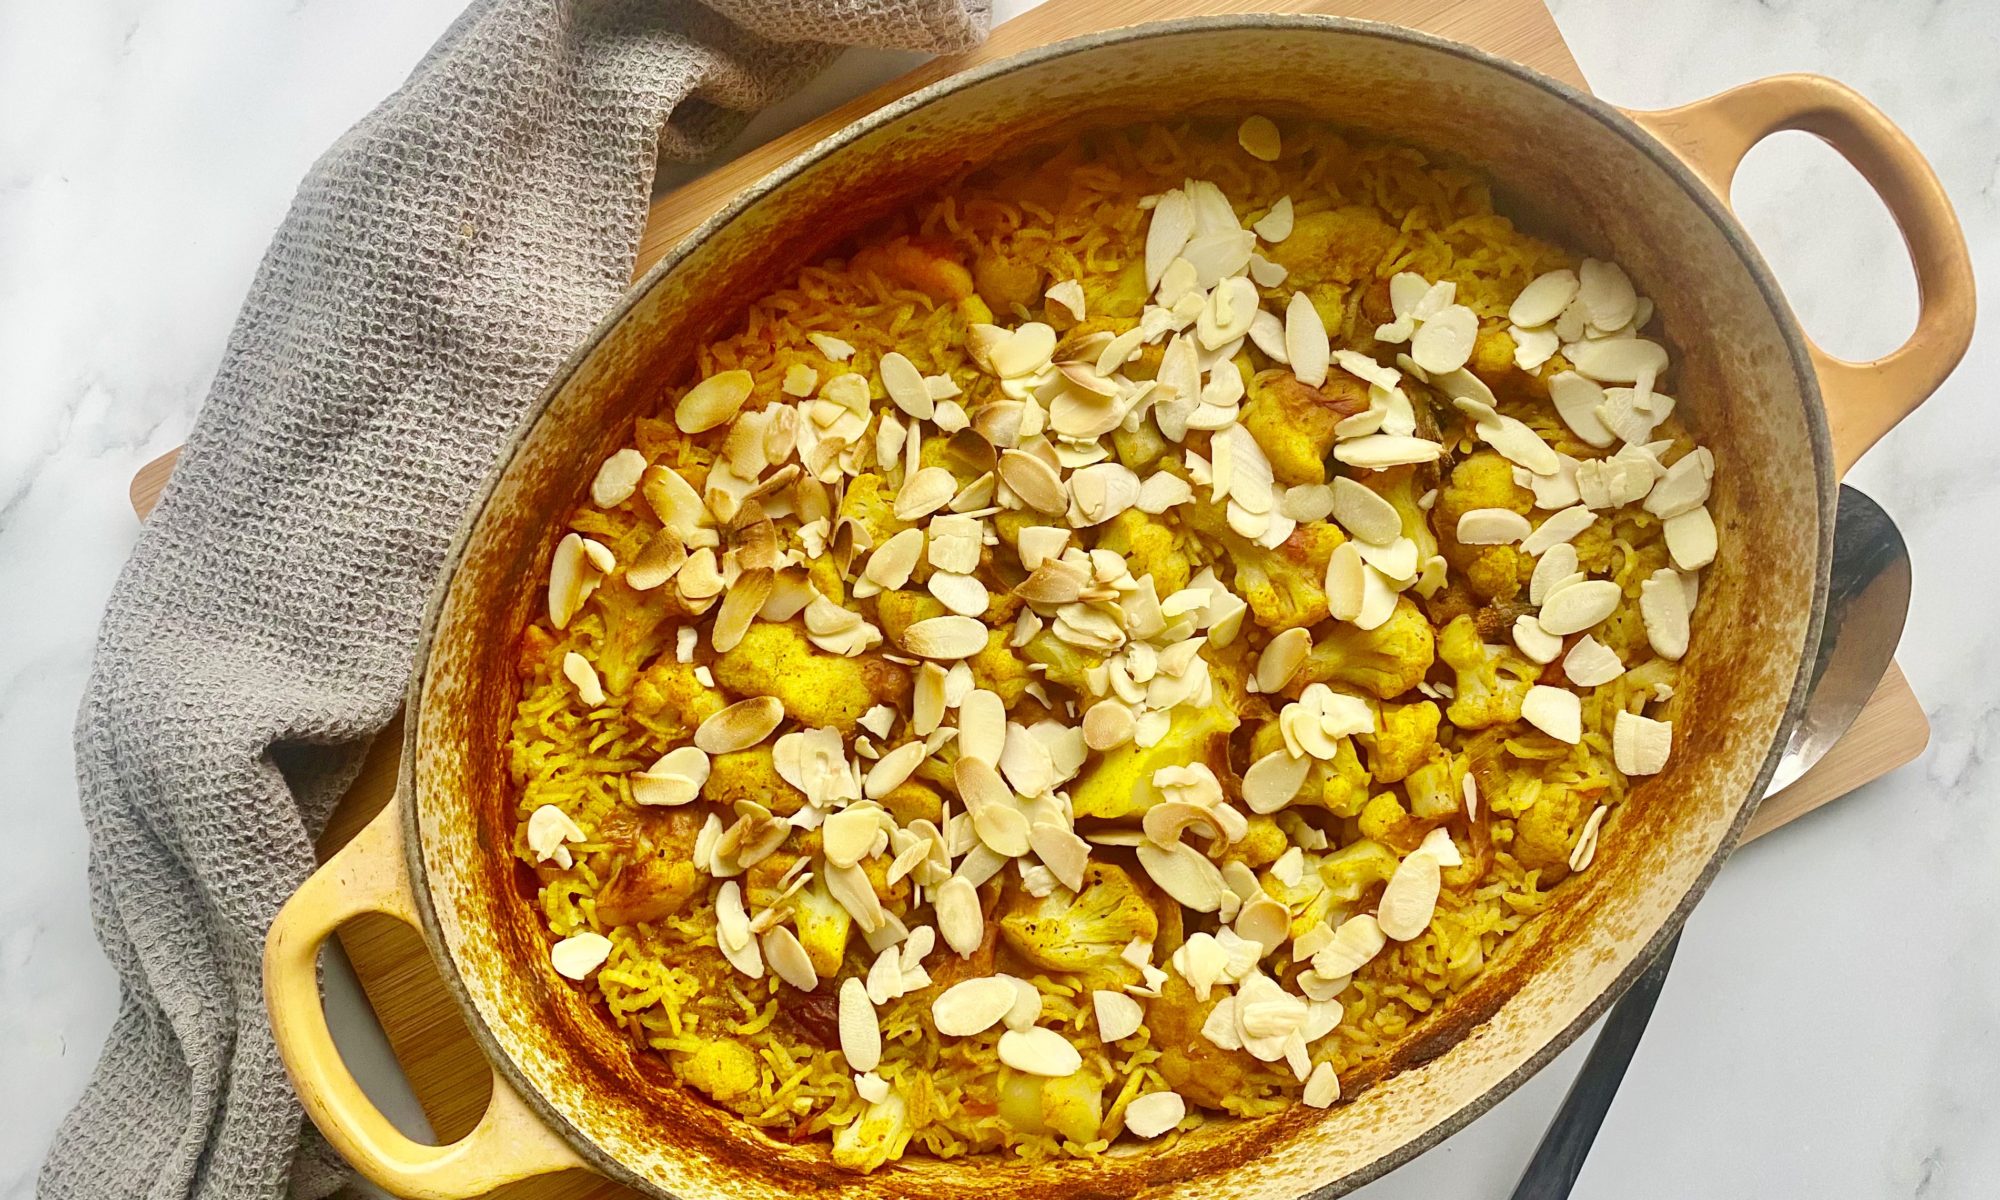
a handful of flaked almonds (or chopped nuts/seeds of your choice)
Method
Pre-heat the oven to 200C. In an oven and hob safe pot, sauté the diced onions and chopped garlic in the vegetable oil until they start to colour.
Roughly chop the mushrooms then add them to the pot with a little salt and the ginger and curry powder. Sauté until fragrant.
Add the chickpeas and the tin of chopped tomatoes. Swirl the juices out of the tin, into the pot by filling it 3/4s with water. Season the curry with salt and pepper and taste. The curry should be slightly on the too salty side as this will permeate and flavour the rice too.
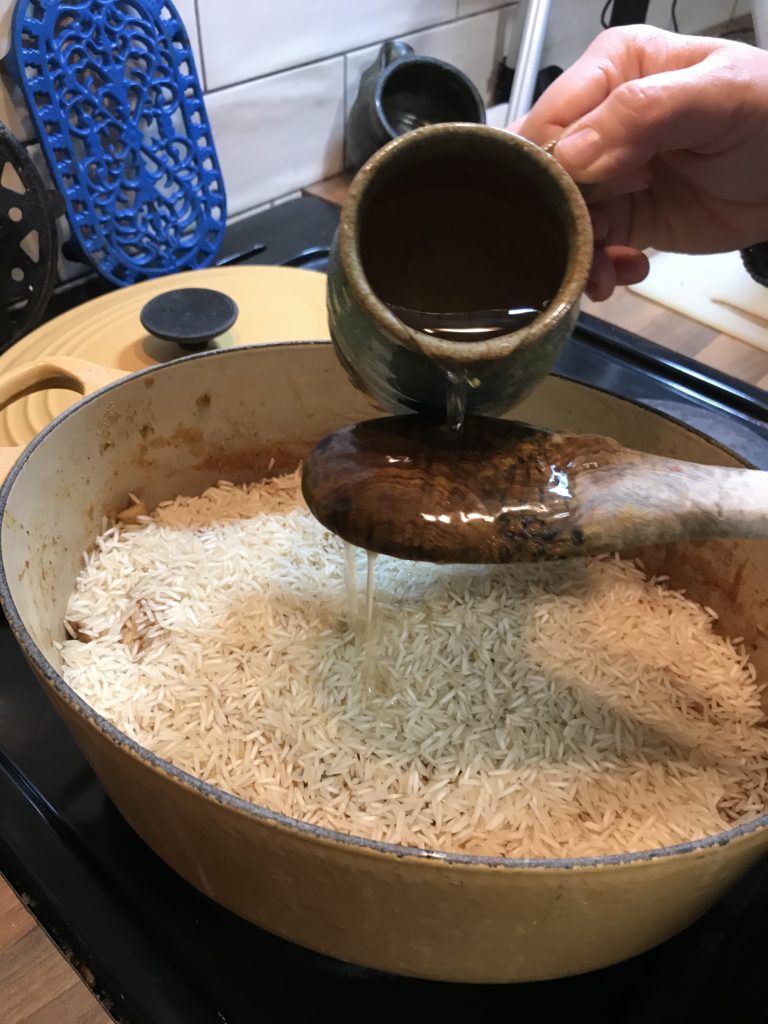
Turn the heat off and then evenly sprinkle over a mug of basmati rice to cover the whole top of the curry. Don’t stir it in! Let it sit on top of the curry in an even, separate layer. Then carefully add two mugs of water to the pot without disturbing the rice. I do this by pouring the water in slowly over the back of a wooden spoon.
Flavour the water which the rice will cook in with some whole star anise or saffron strands, or both! You can also add other aromatics like cardamom pods or cinnamon sticks if you like. I used ground star anise this time as I didn’t have any whole. At this stage you can also add a handful of sultanas or other chopped dried fruit to the rice if you like. It will rehydrate as the rice cooks and add little sweet pops of flavour to the dish.
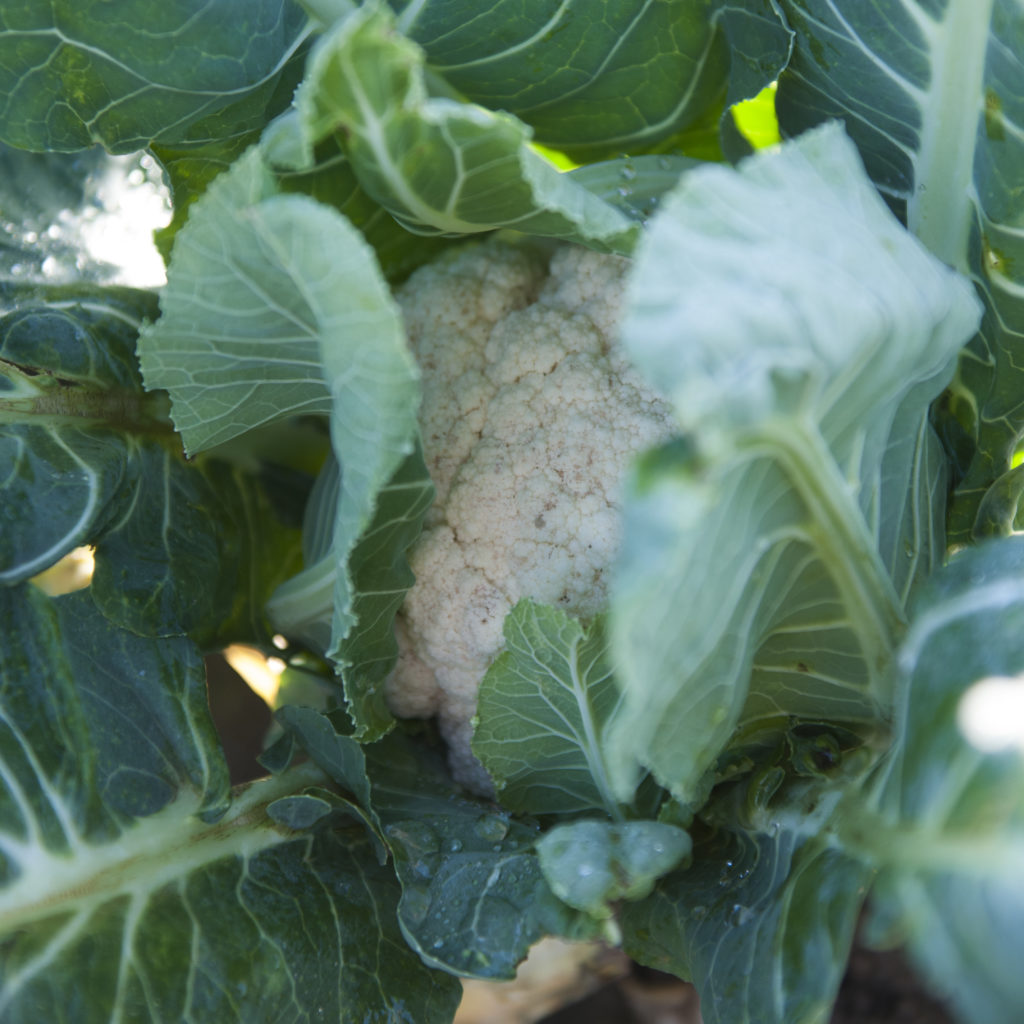
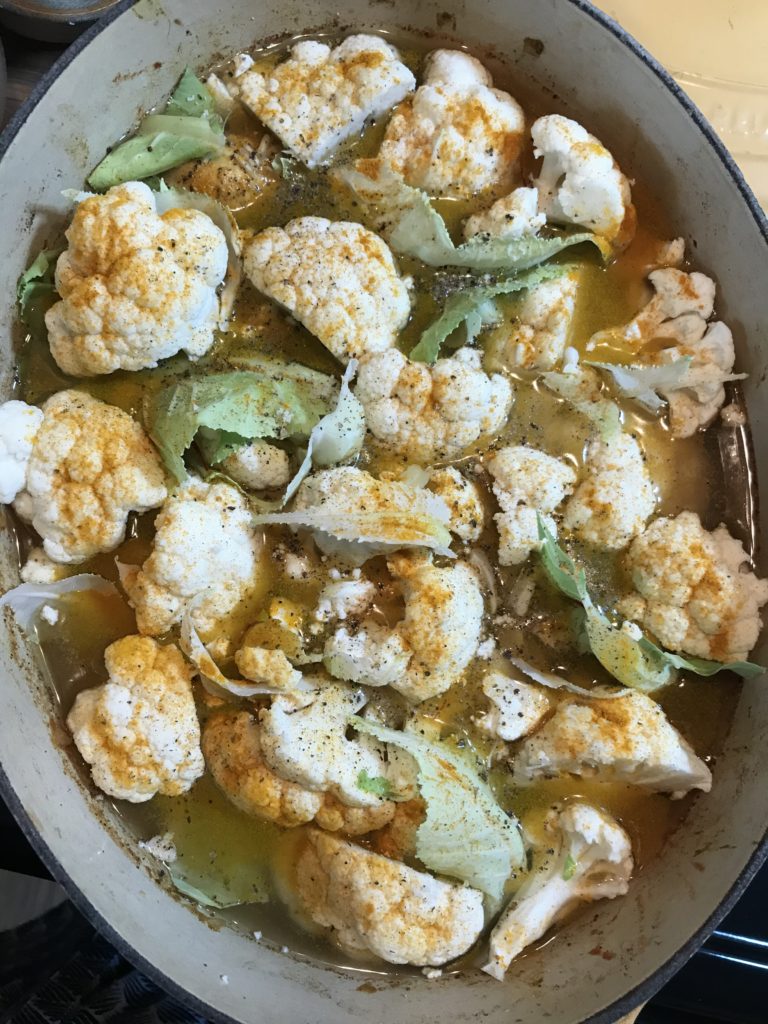
I like to add an extra layer on top of the rice here by carefully placing cauliflower florets into the pot, then sprinkling them with turmeric and black pepper. But if you like, you can stop short of that and just add a little turmeric and black pepper to the rice layer. Then put the lid on the dish and pop it in the oven to bake until the rice has absorbed all the liquid. This normally takes around 20-30 minutes.
Once the rice has absorbed the water it should be perfectly cooked through and fluffy. You can then sprinkle over the flaked almonds or other chopped nuts or seeds of your choice – cashew nuts are a good choice. Return the pot to the oven with the lid off for just 4 or 5 minutes to gently toast the nuts. Serve with spicy Indian chutneys or a cooling natural yogurt.
Why not try seasonal variations of this dish? I love a roast squash biryani with a tin of coconut milk instead of the tin of tomatoes. Or in summer, a silky aubergine biryani topped with tomato and red onion slices in place of the cauliflower is so delicious. What combinations will you try? Let me know in the comments. Enjoy!