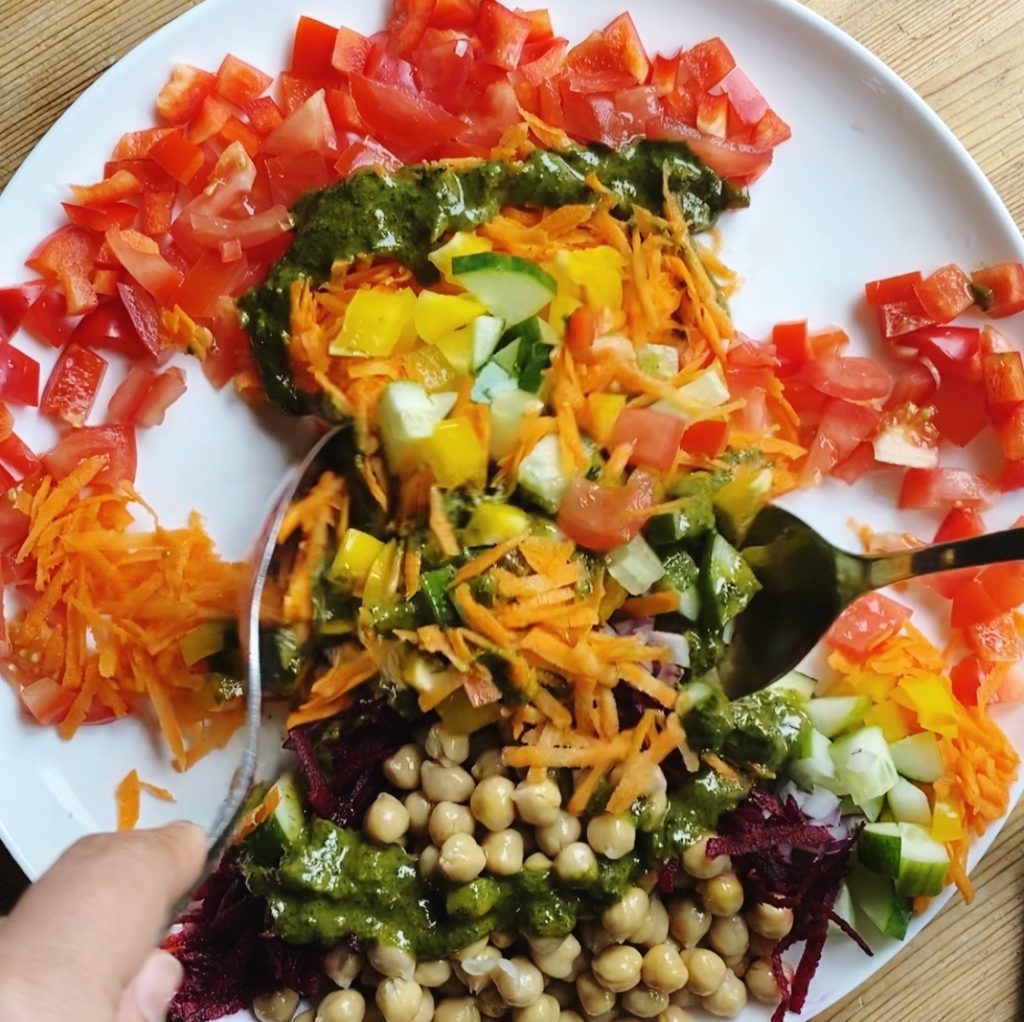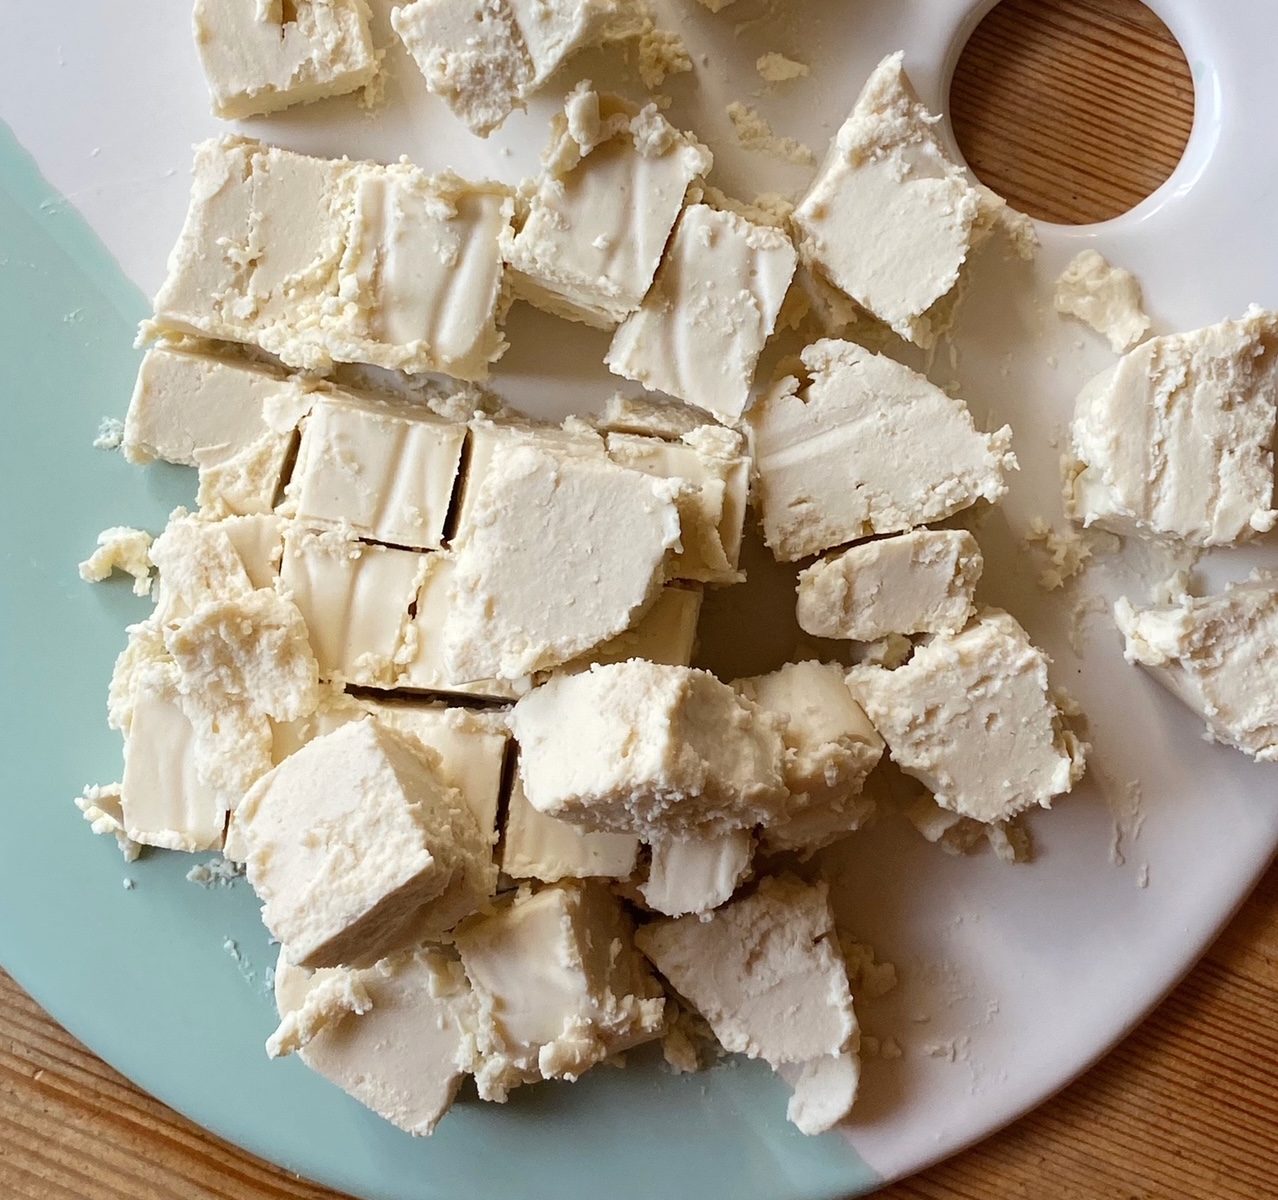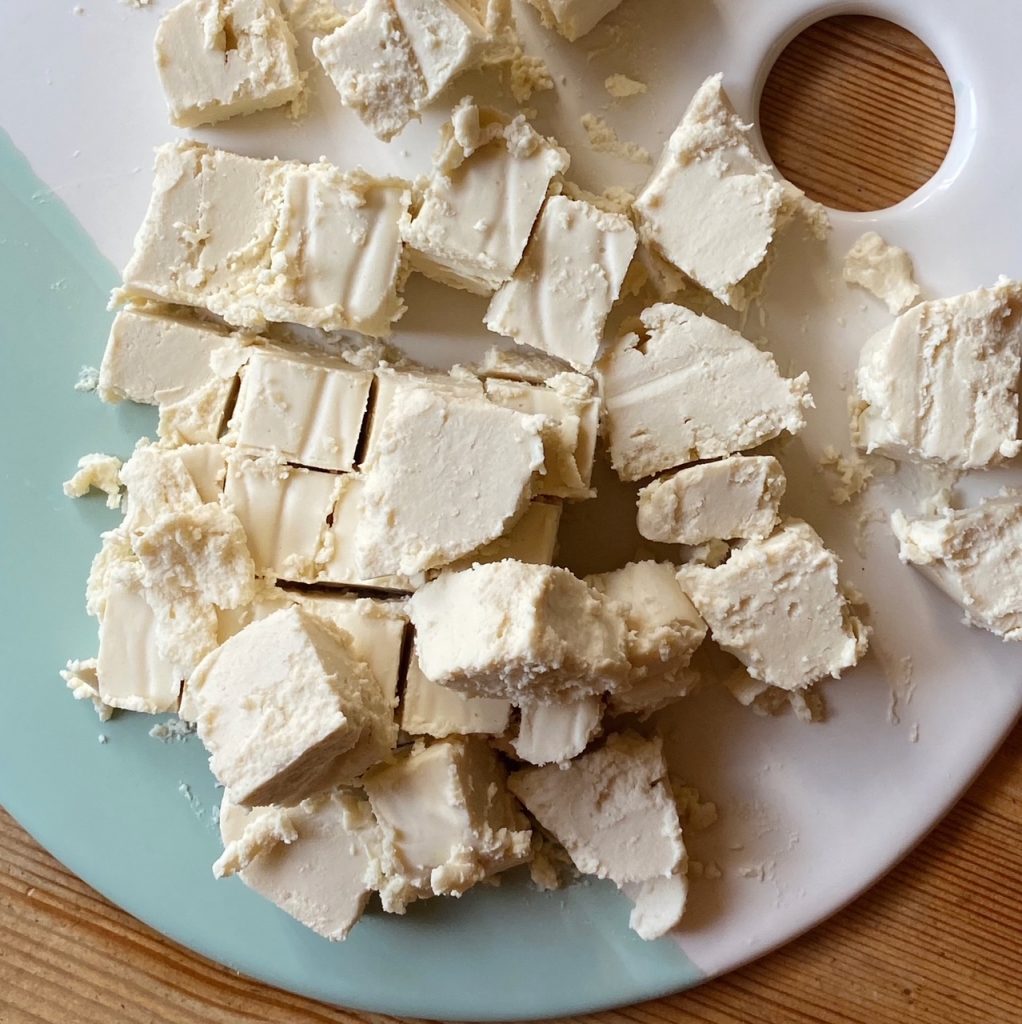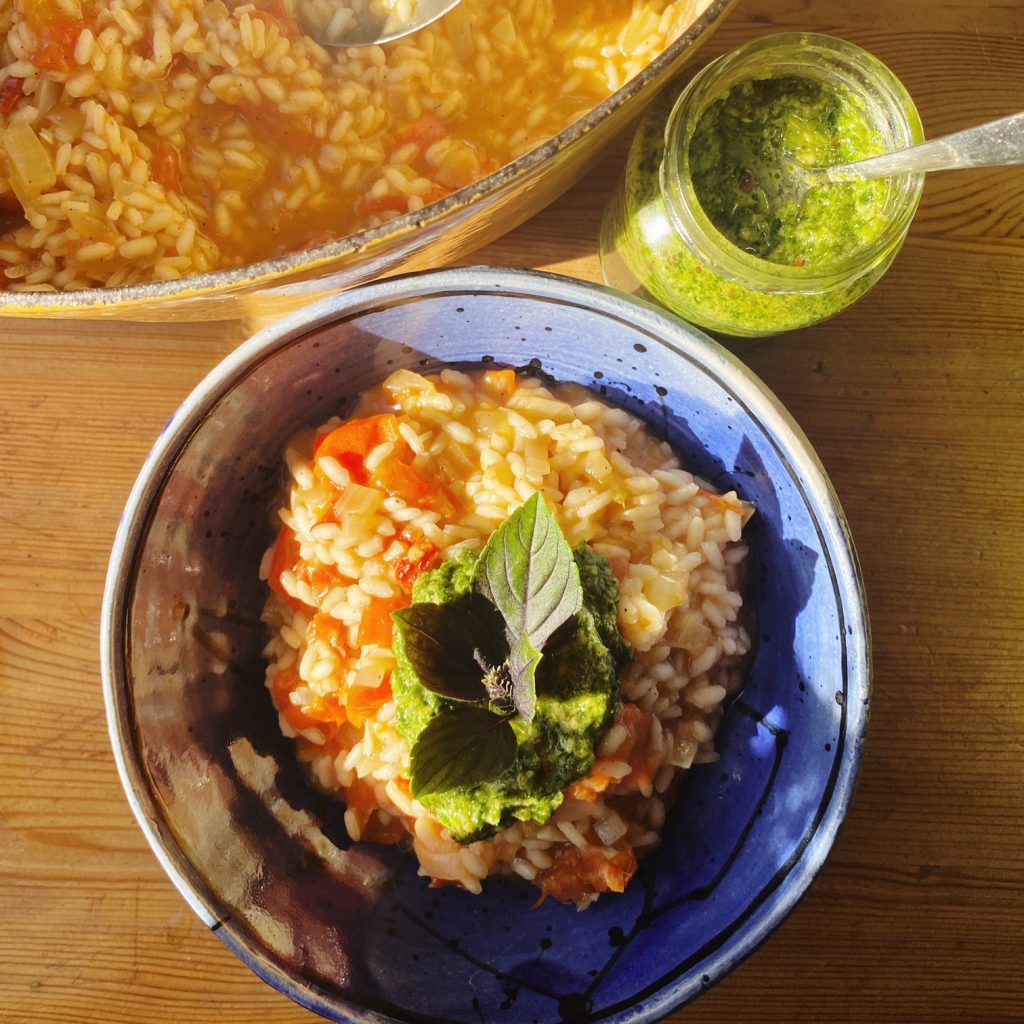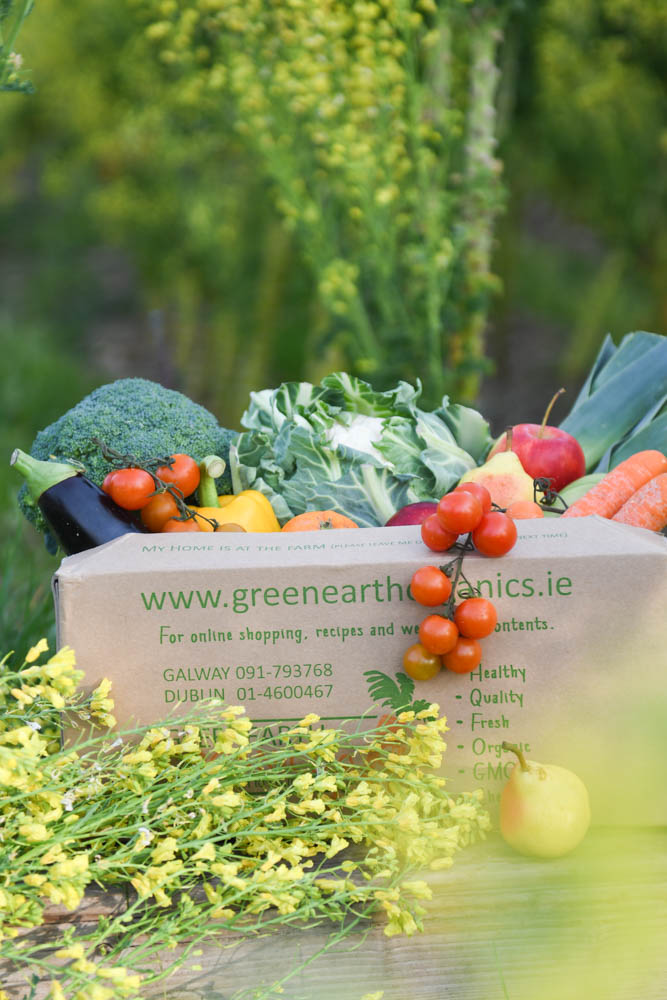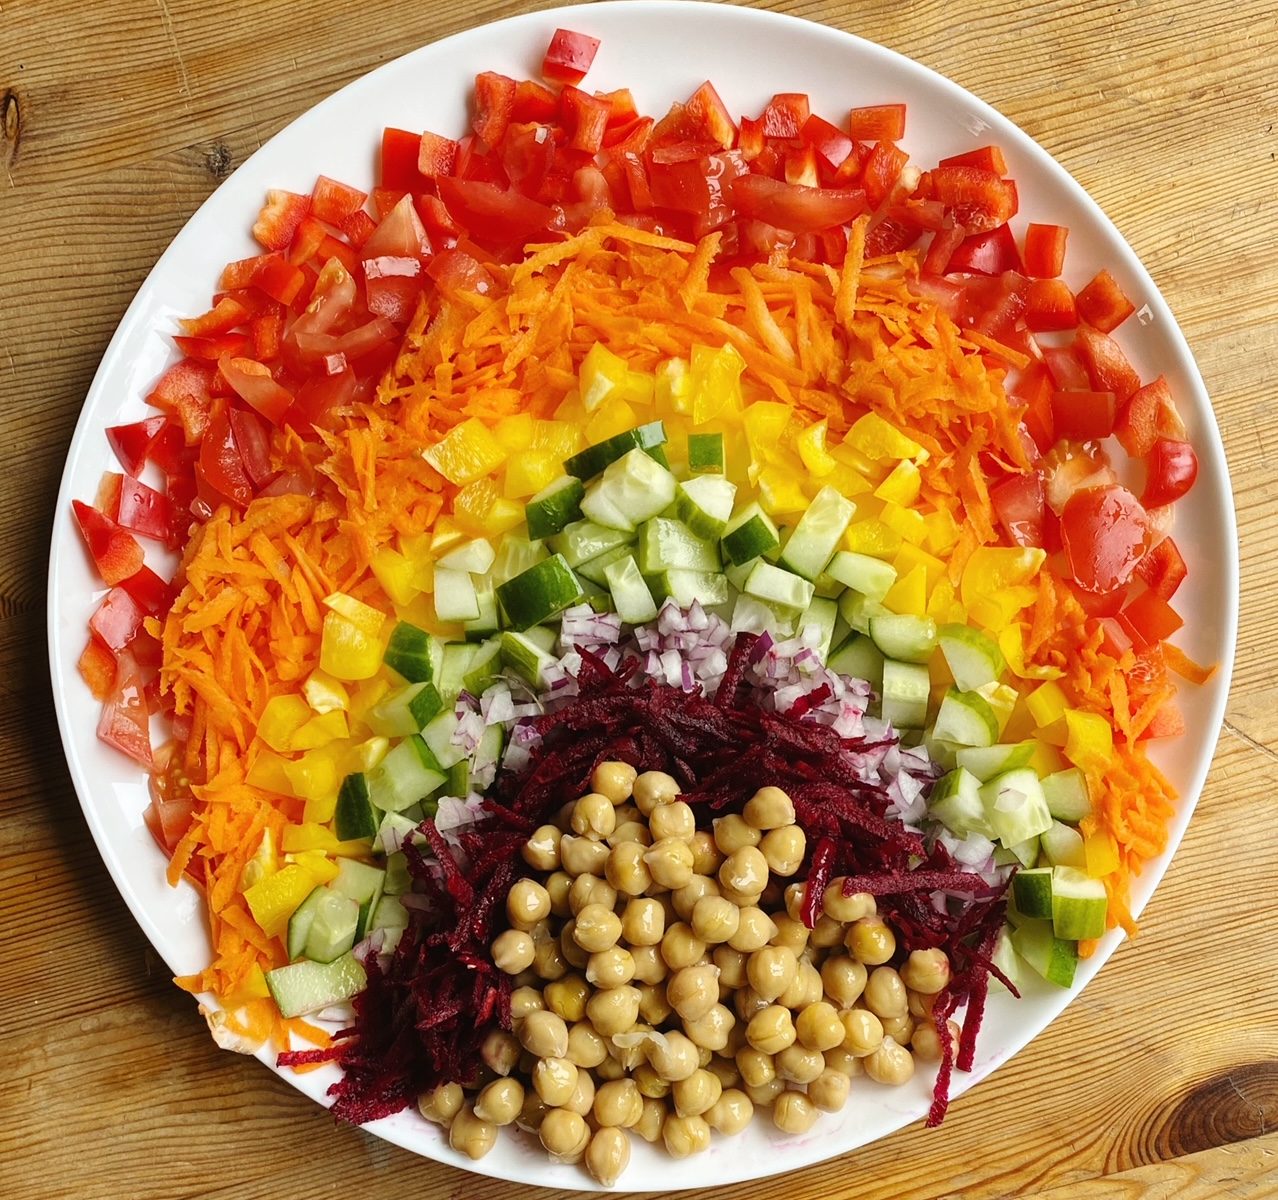
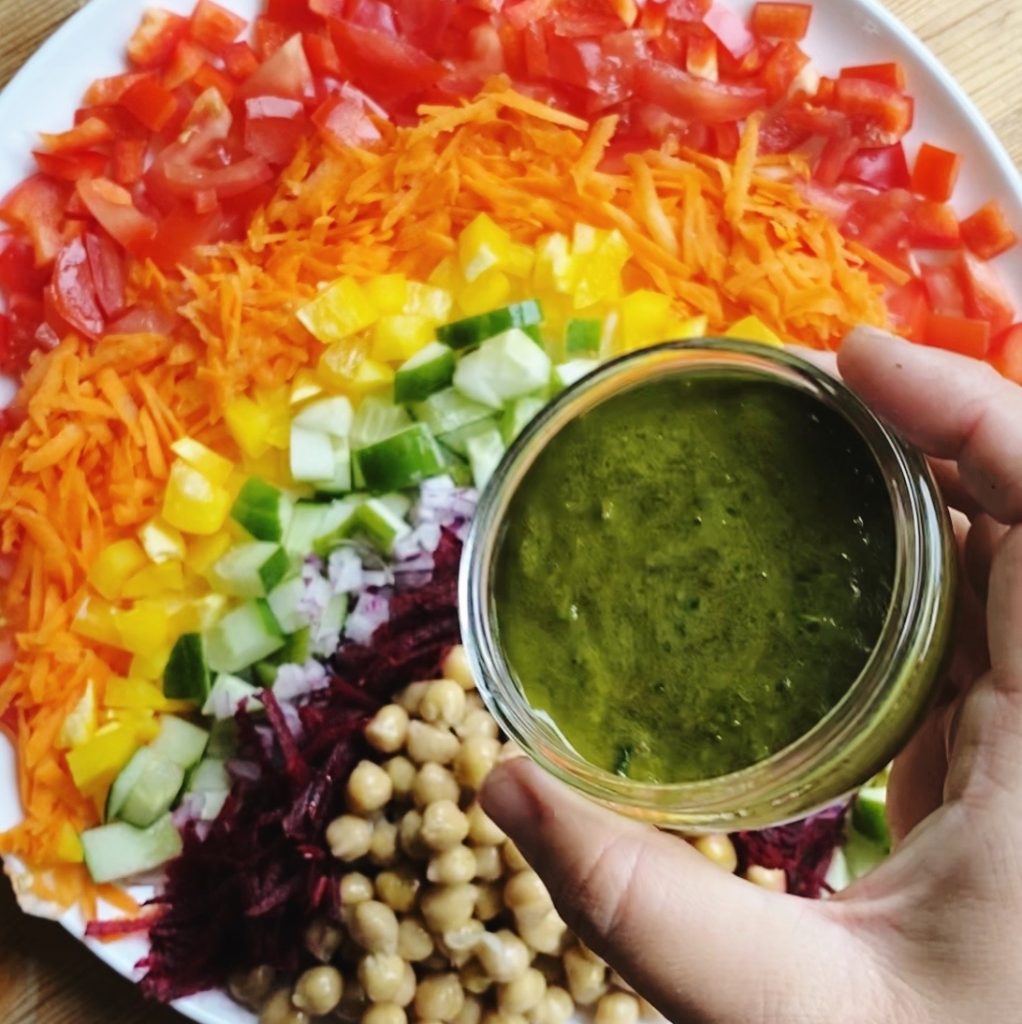
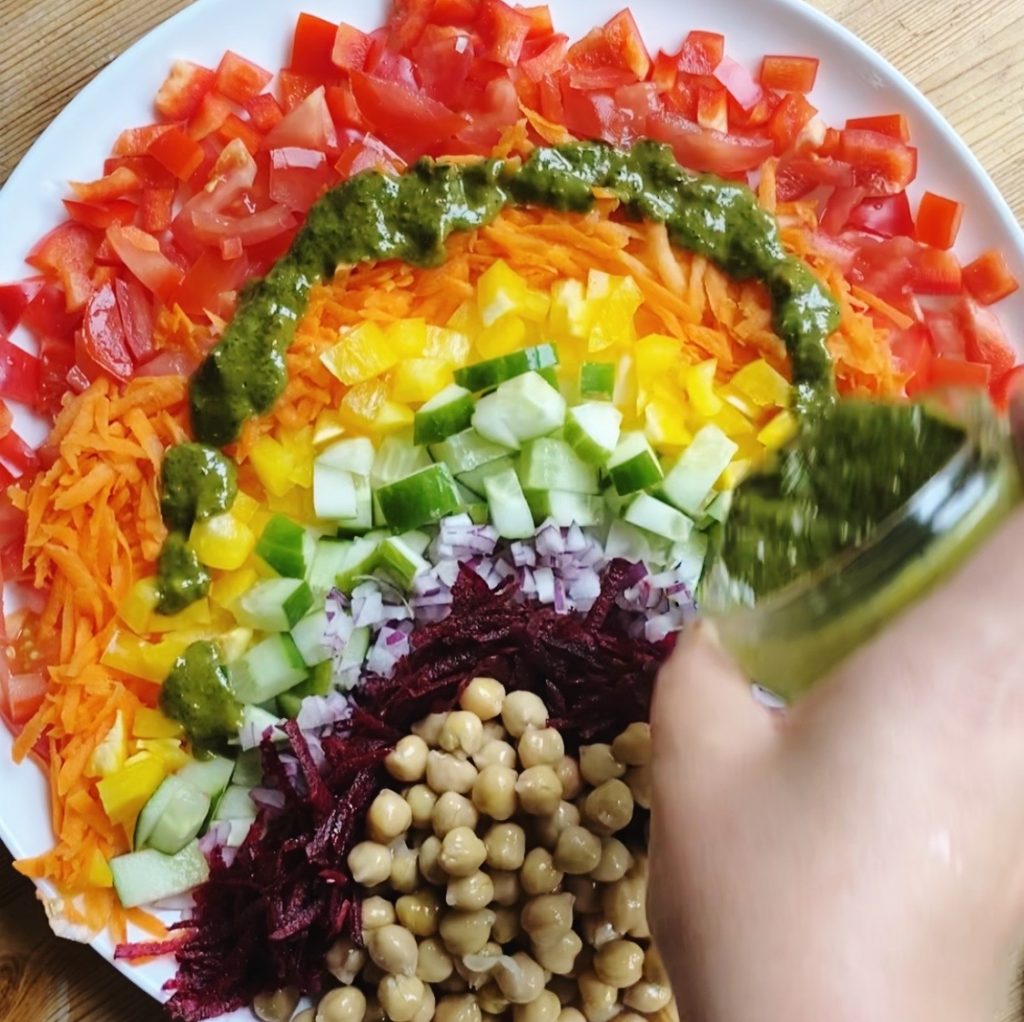
Happy Pride month to our wonderful rainbow of customers and recipe readers. You are all amazing just the way you are! Here’s a fun rainbow salad to celebrate. Did you know that ‘eating the rainbow’ is so beneficial to your health? Different coloured fruits and vegetables contain different vitamins and minerals, so to get the full spectrum, make sure you regularly eat the rainbow. This fun salad is so simple to put together, and of course it is endlessly adaptable. We served it with a zingy lime and mint dressing, but your favourite salad dressing would work well here. We recommend waiting to dress and mix it until it’s at the table, make the most of that beautiful rainbow of colours for as long as possible!
Liz x
Ingredients
- red pepper, diced
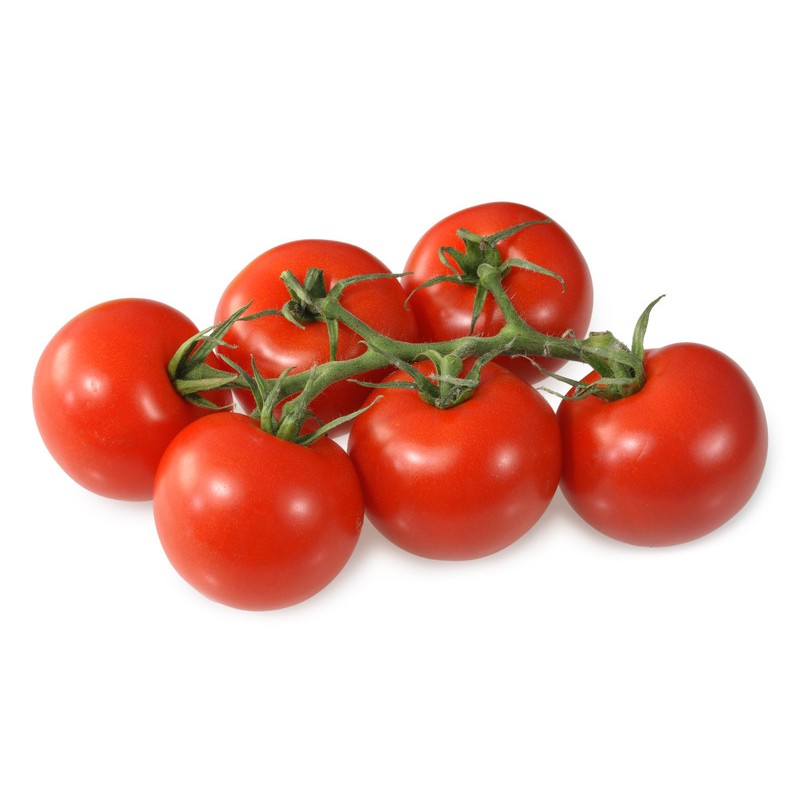
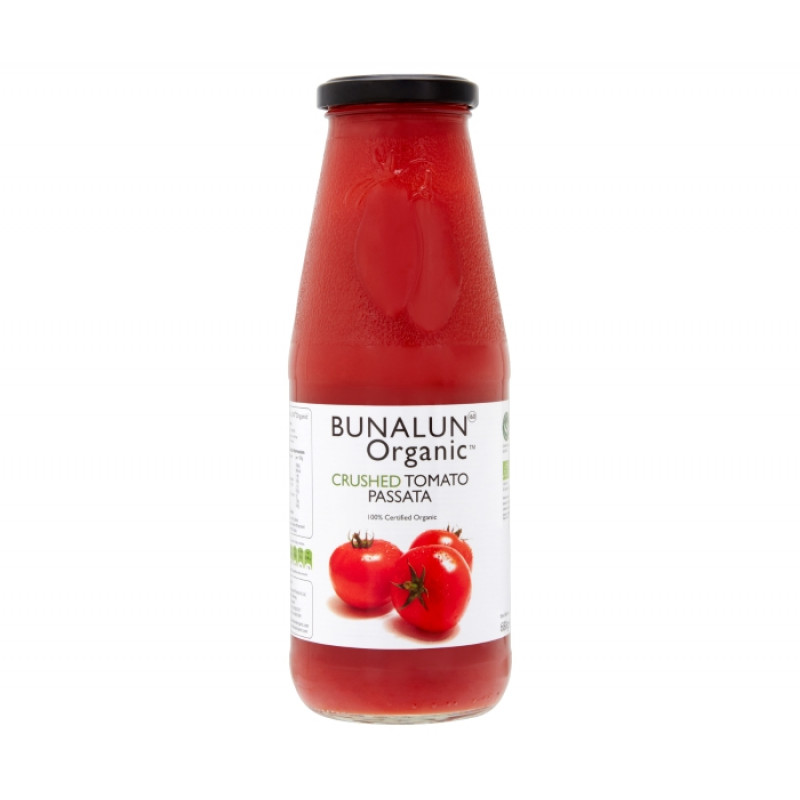
- tomatoes, diced
- carrots, grated
- yellow pepper, diced
- cucumber, diced
- red onion, finely diced
- beetroot, grated
- cooked chickpeas, beans or lentils – drained and rinsed
- 1 lime, juiced
- 3 tbsp olive oil
- a large handful of fresh mint leaves (or any herb you prefer)
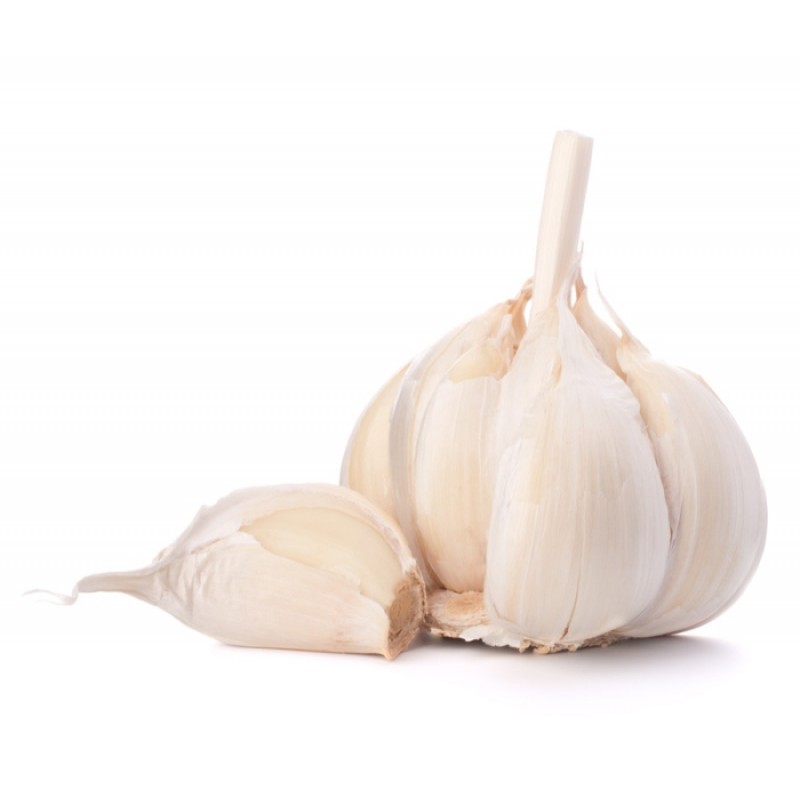
- 1 small garlic clove
- 1 tbsp maple syrup
- salt and pepper to taste (a big pinch of each is good)
Method
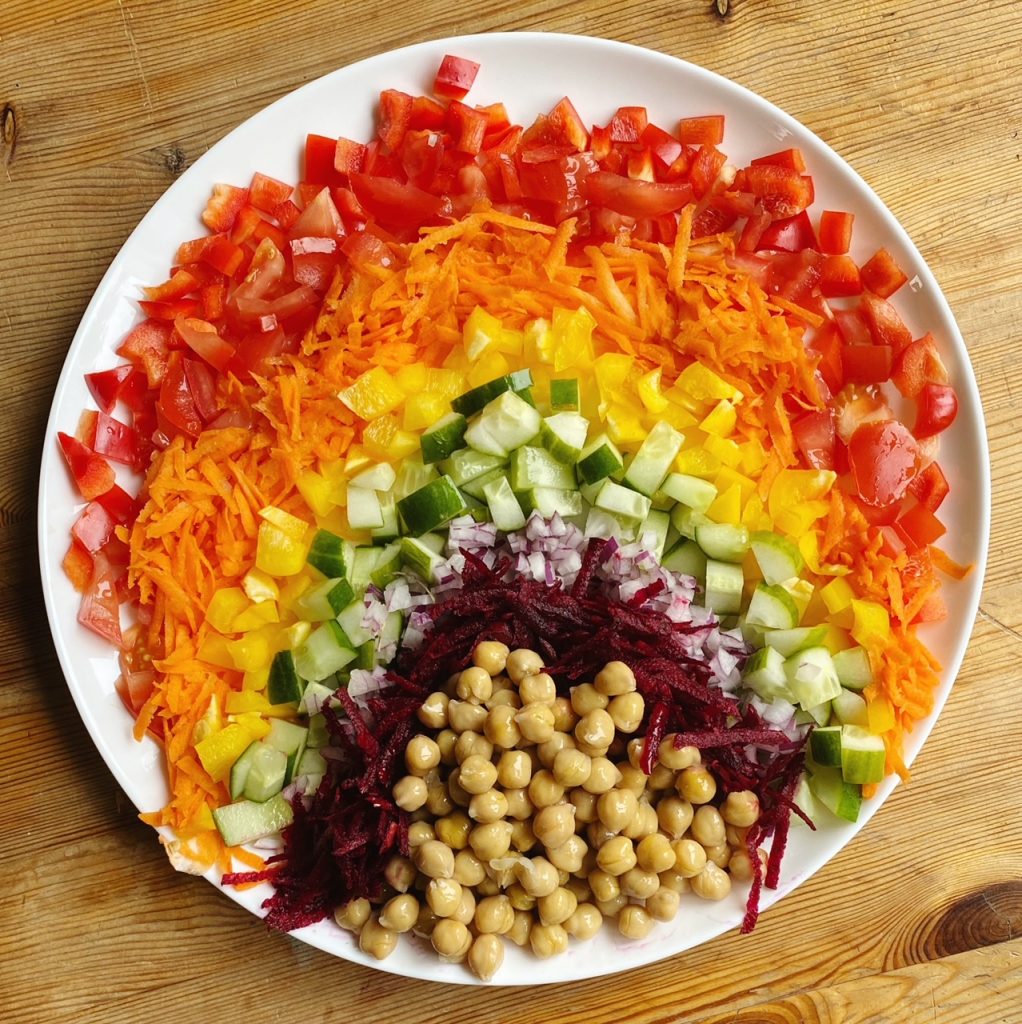
- Arrange your chopped/grated ingredients on a large platter in the shape and colours of the rainbow – red, orange, yellow, green, purple/blue…and add chickpeas or cooked lentils to add protein.
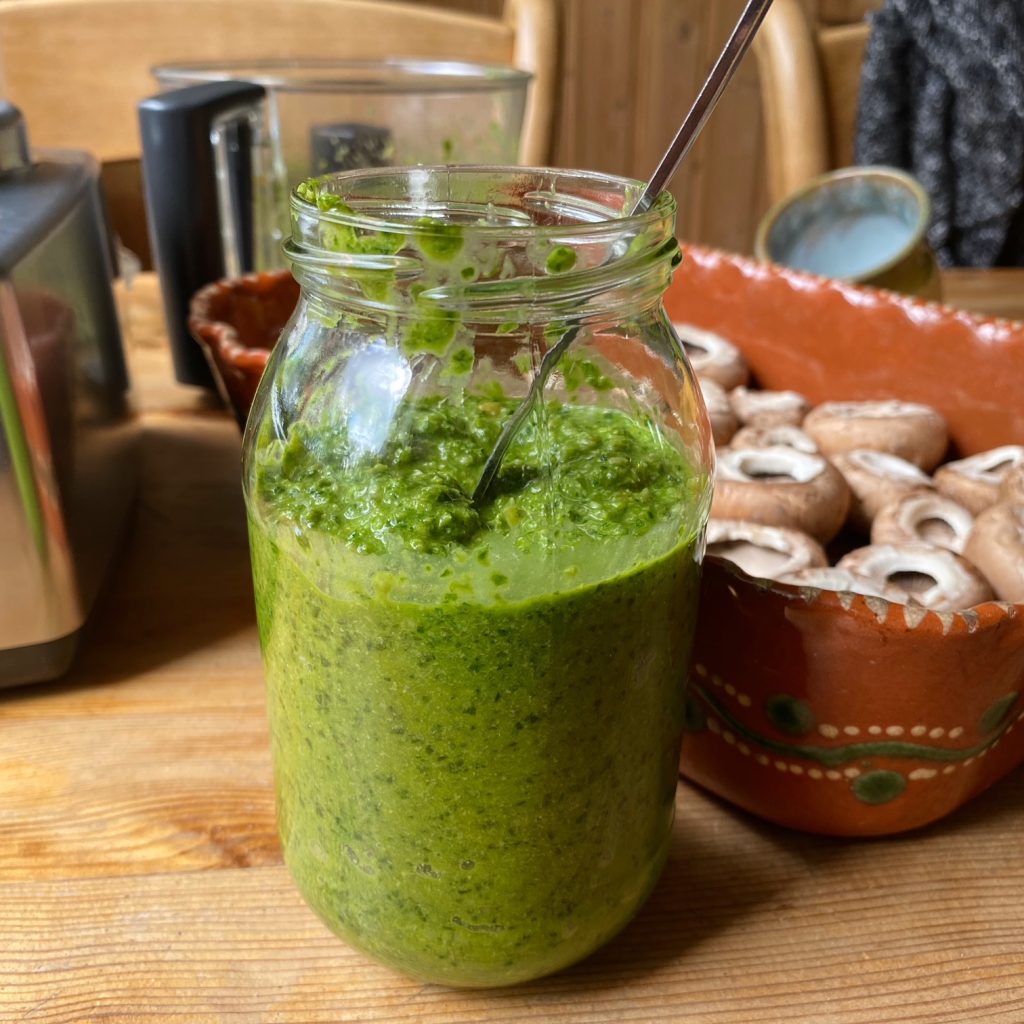
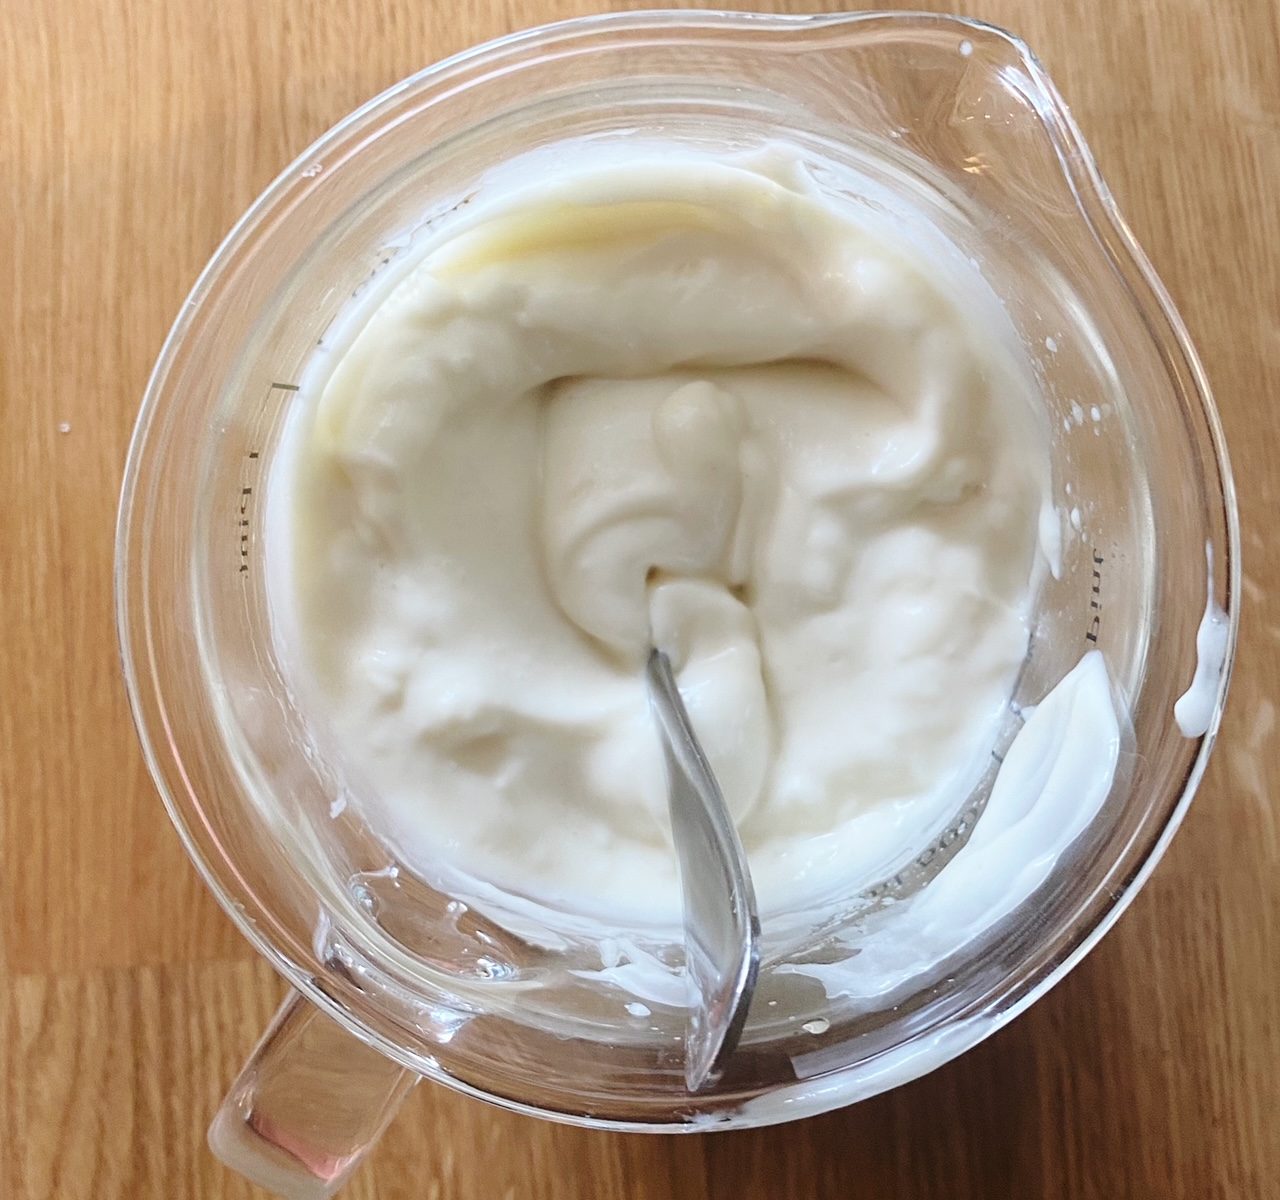
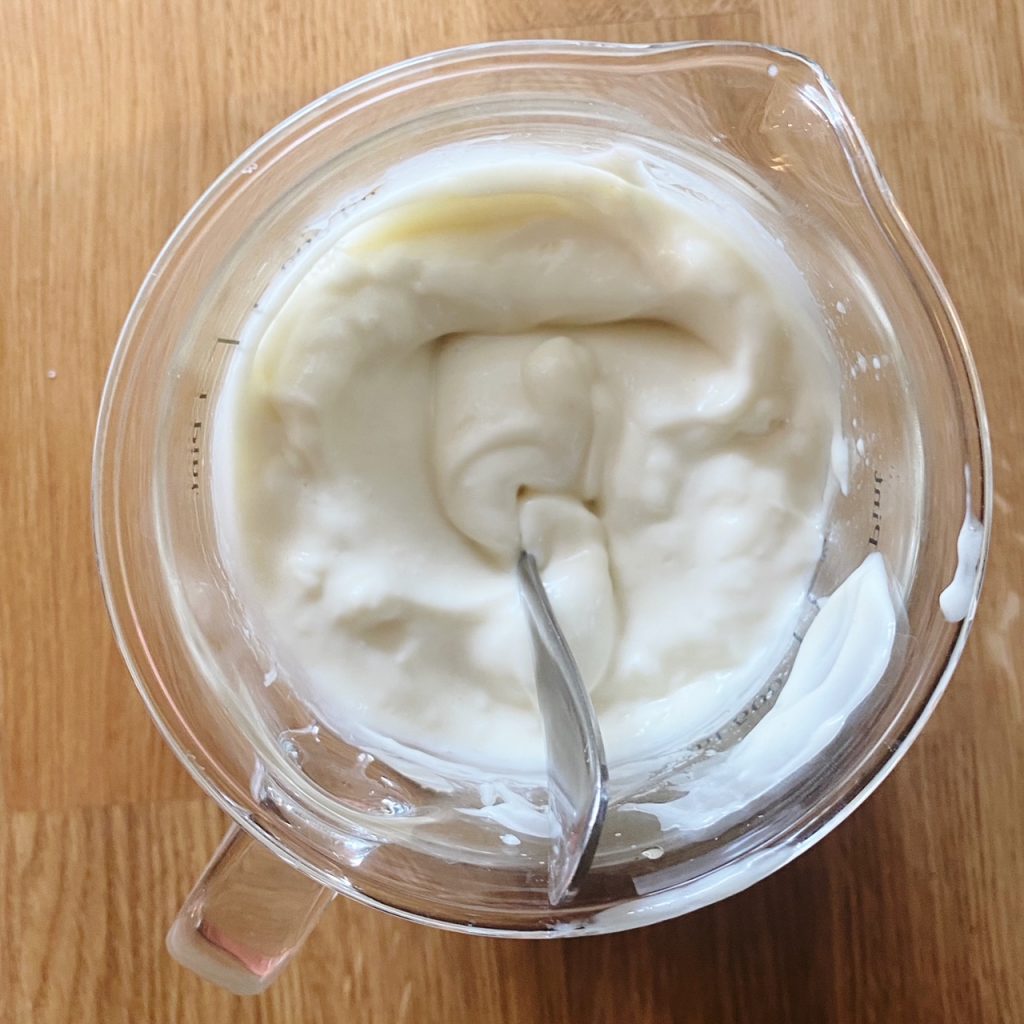
- Make the dressing by adding the lime juice, olive oil, mint, garlic, salt, pepper and maple syrup to a blender and blending until smooth. Taste and adjust the seasoning if needed.
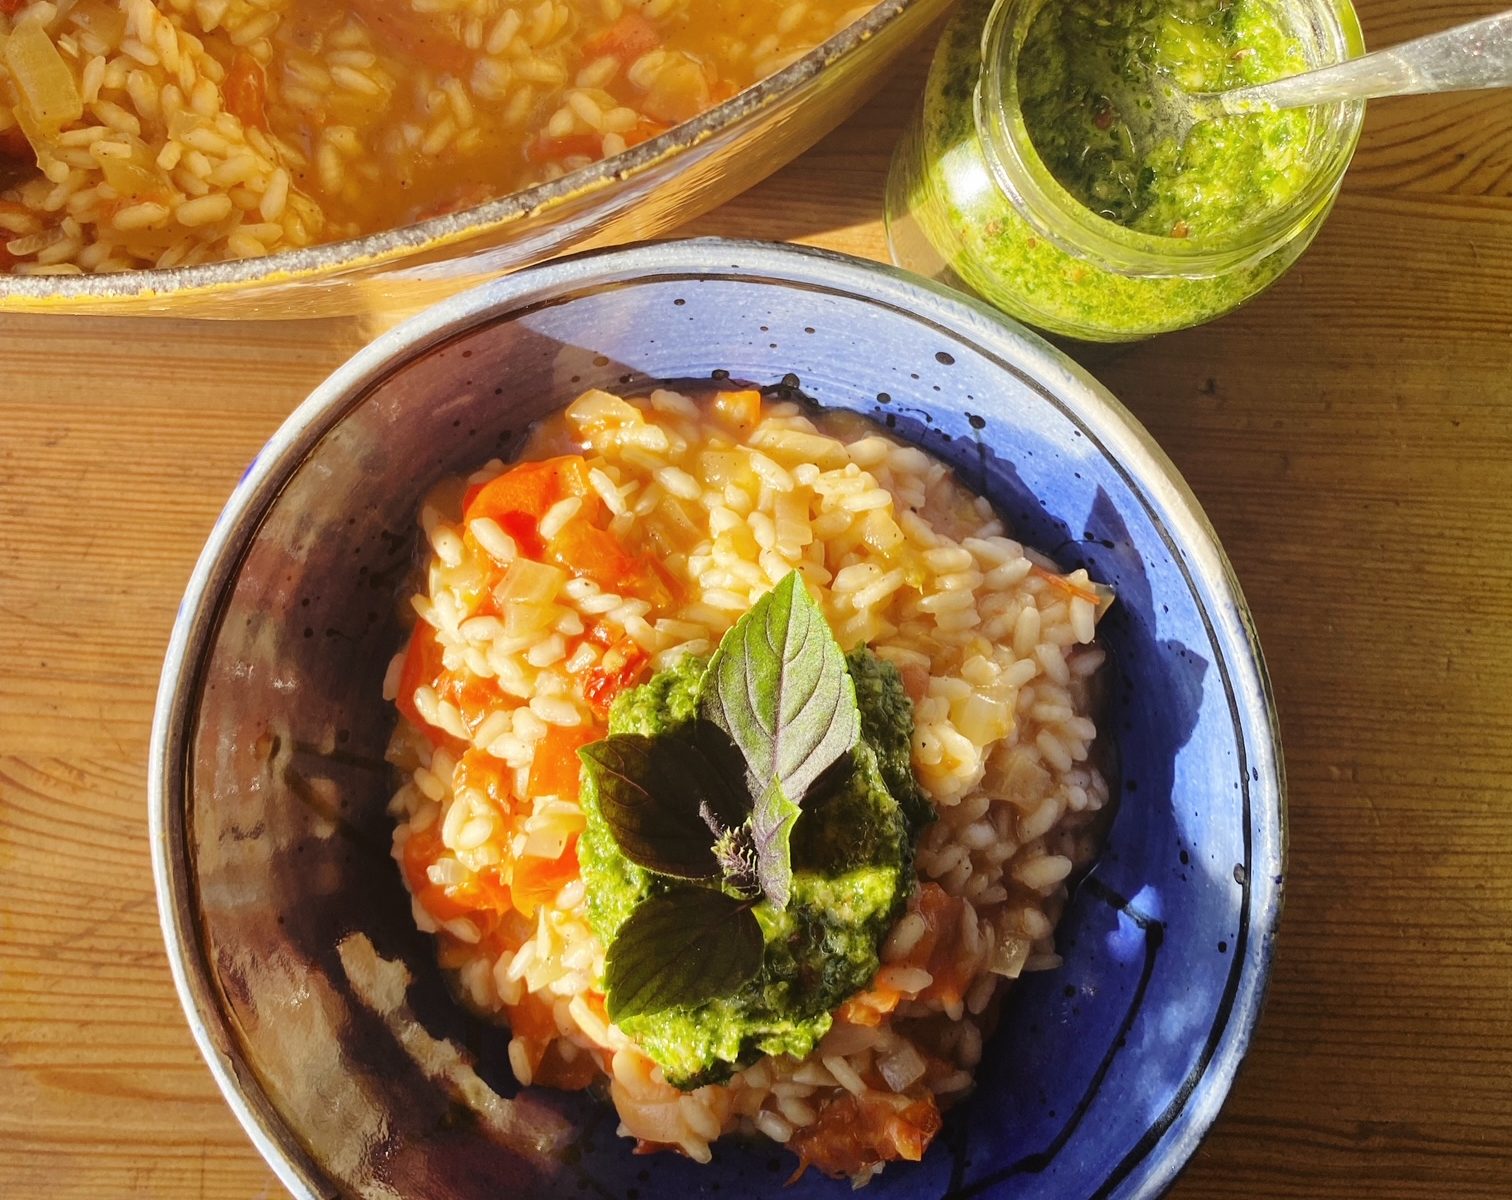
- Pour the dressing over the salad just before serving and mix well. Enjoy with salad leaves, bread, some crumbled tofeta… or as a side to a BBQ.