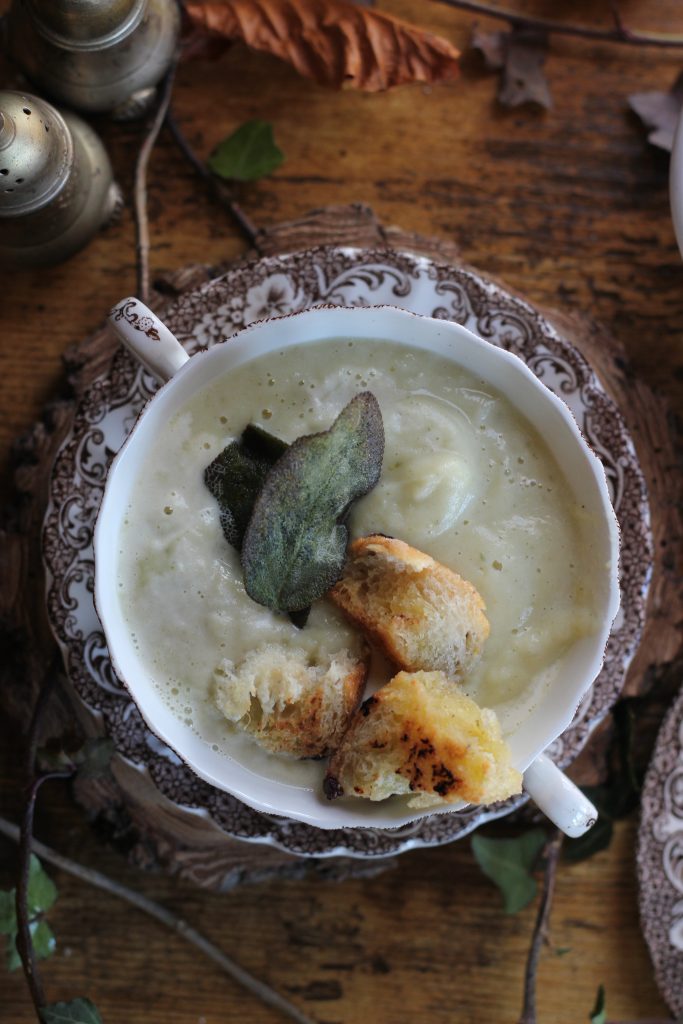

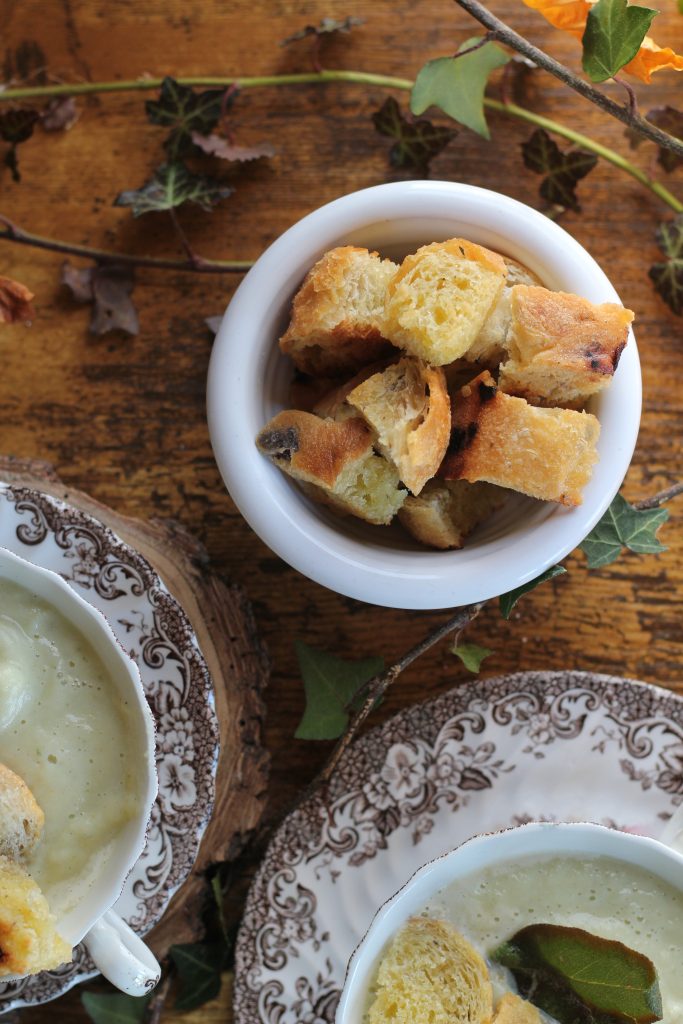
Delicious and comforting, this celeriac soup with golden ciabatta croutons is the perfect way to warm up on a chilly day. The subtle sweetness of the celeriac pairs perfectly with the crunchy croutons. The soup can be stored in an airtight container in the fridge for up to three days, but the croutons are best enjoyed soon after cooking.
Enjoy!
Nessa x
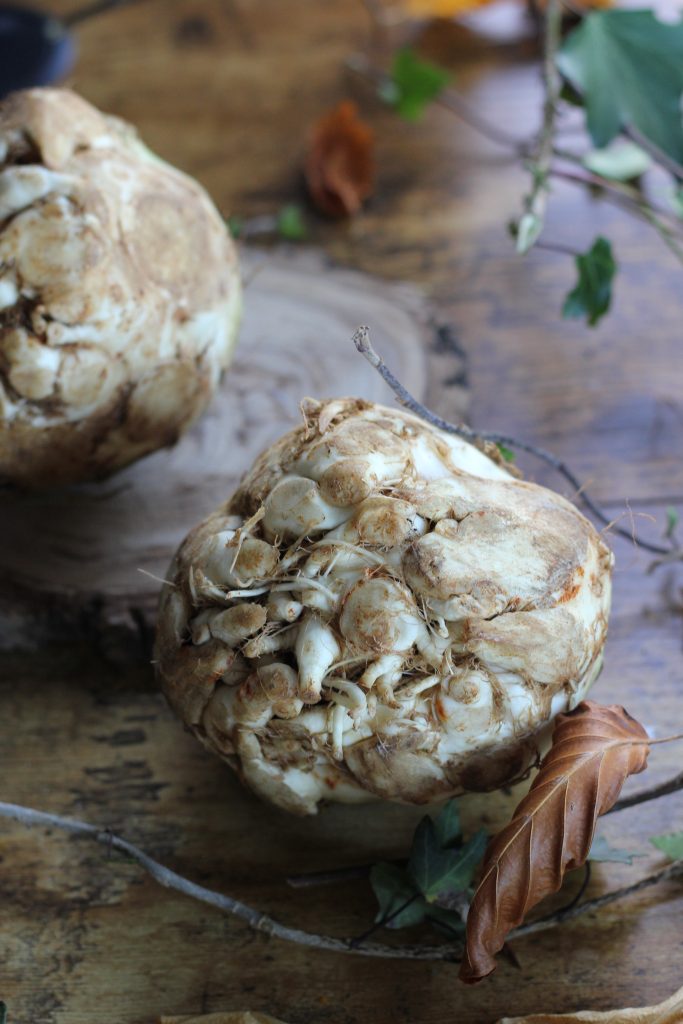
Celeriac & Sage Soup with Ciabatta Croutons
Serves 6
Ingredients
- 50g butter
- 600g celeriac, peeled and diced
- 1 onion, roughly chopped
- Salt and freshly ground pepper
- Handful of sage, about 10 leaves, chopped
- 750ml vegetable stock
- 75ml milk
- 75ml cream, plus 50ml extra for serving
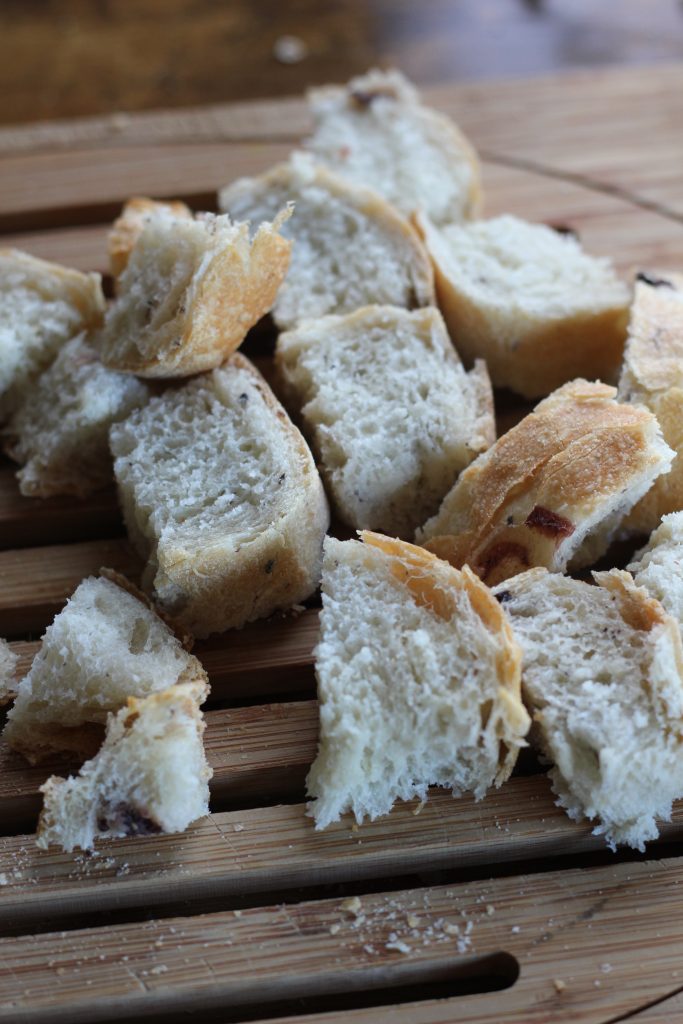
Croutons
- 100g ciabatta, diced
- 3tbsp olive oil
To serve
- 1tsp olive oil
- 10 sage leaves
Method
- Melt the butter in a large saucepan over a low heat. When it begins to foam add the celeriac and onion stir to combine with the butter.
- Sprinkle with a little salt, a few grinds of pepper. Place a butter wrapper or a piece of greaseproof paper over the vegetables, to help them sweat. Cover with the lid of the saucepan. Sweat over a low heat for about 10 minutes, making sure the vegetables don’t stick to the bottom of the saucepan.
- When the vegetables are soft but not coloured, and the chopped sage and stock, and continue to cook for another 15 minutes or until the vegetables are soft.
- While the soup is simmering, make the croutons by heating the olive oil on a large pan, when hot add the diced ciabatta and fry each side until golden. Remove and leave to cool.
- Using a hand blender or a food processor purée the soup until it is smooth. Taste and season, if necessary. Pour in the milk and cream and stir well to combine.
- Add a teaspoon of oil to a small frying pan. Once hot, add the sage leaves and fry gently on each side for a few seconds. Place the leaves on some kitchen paper, to drain off the excess oil.
- Pour the soup into serving bowls and garnish each with two sage leaves, a little drizzle of cream, and a few golden croutons.