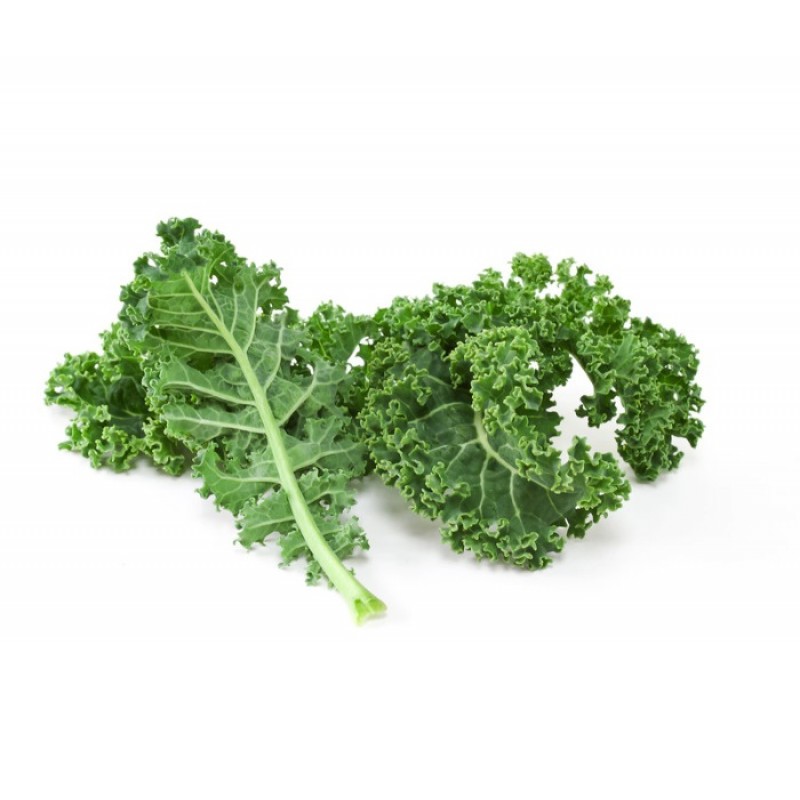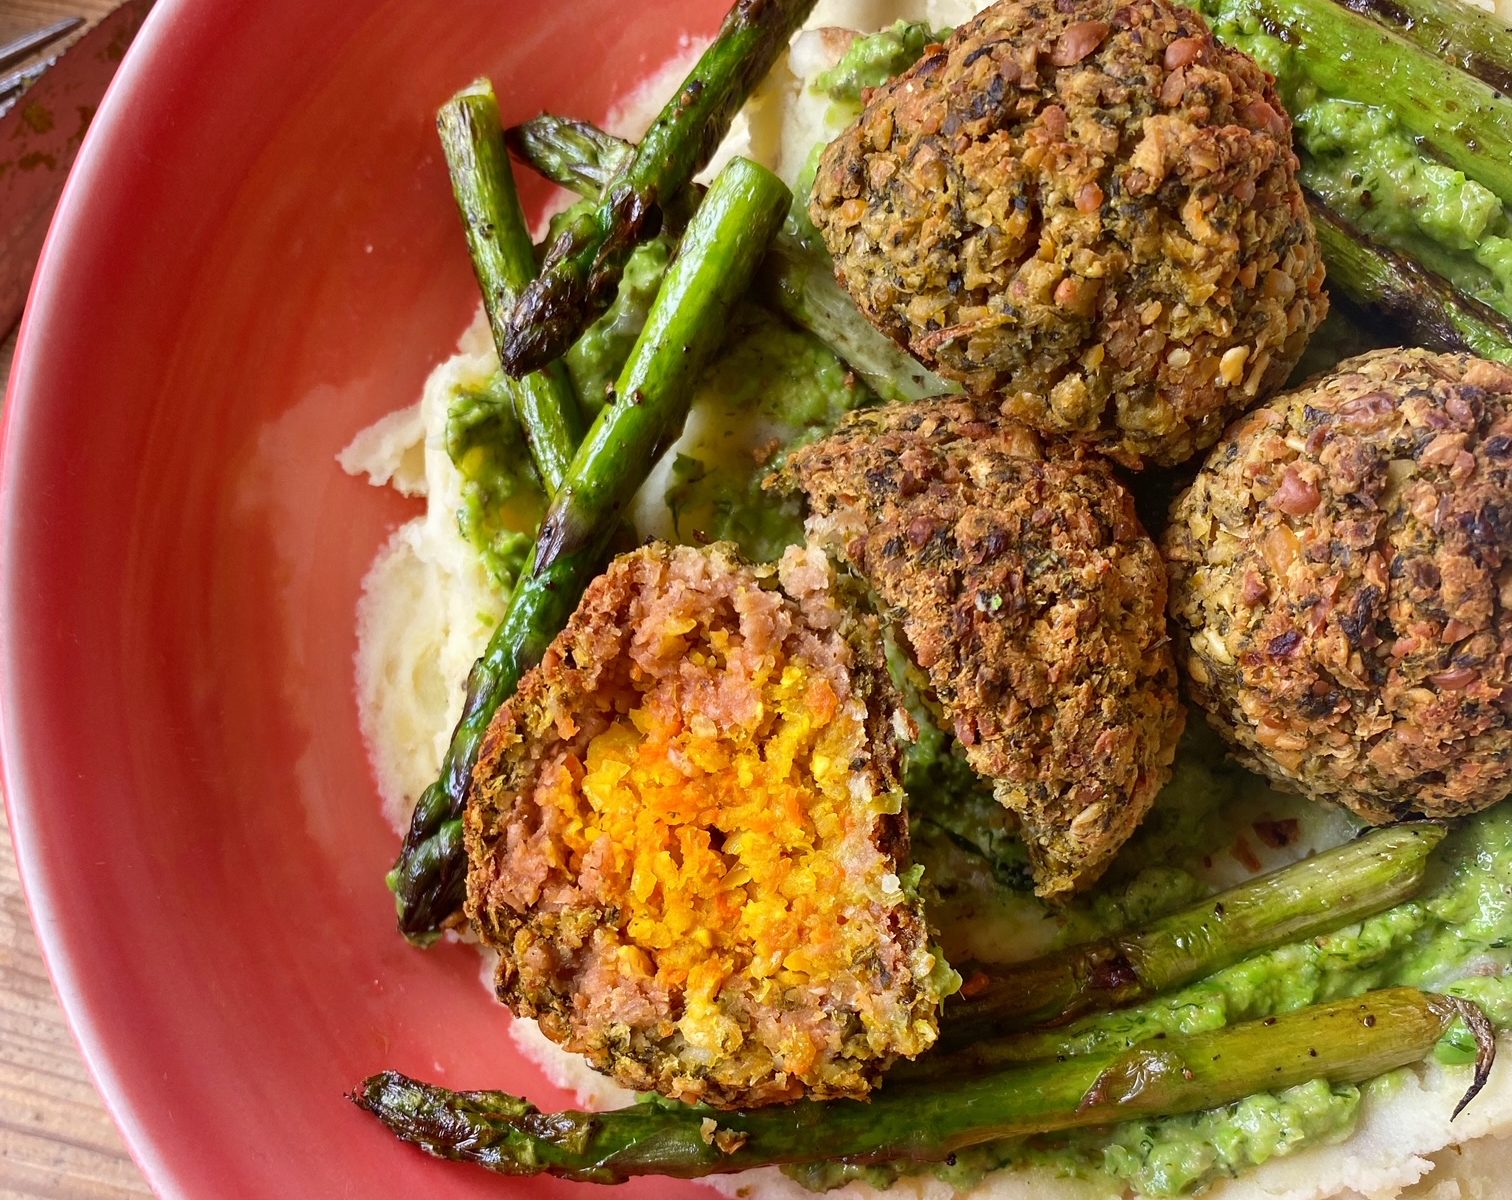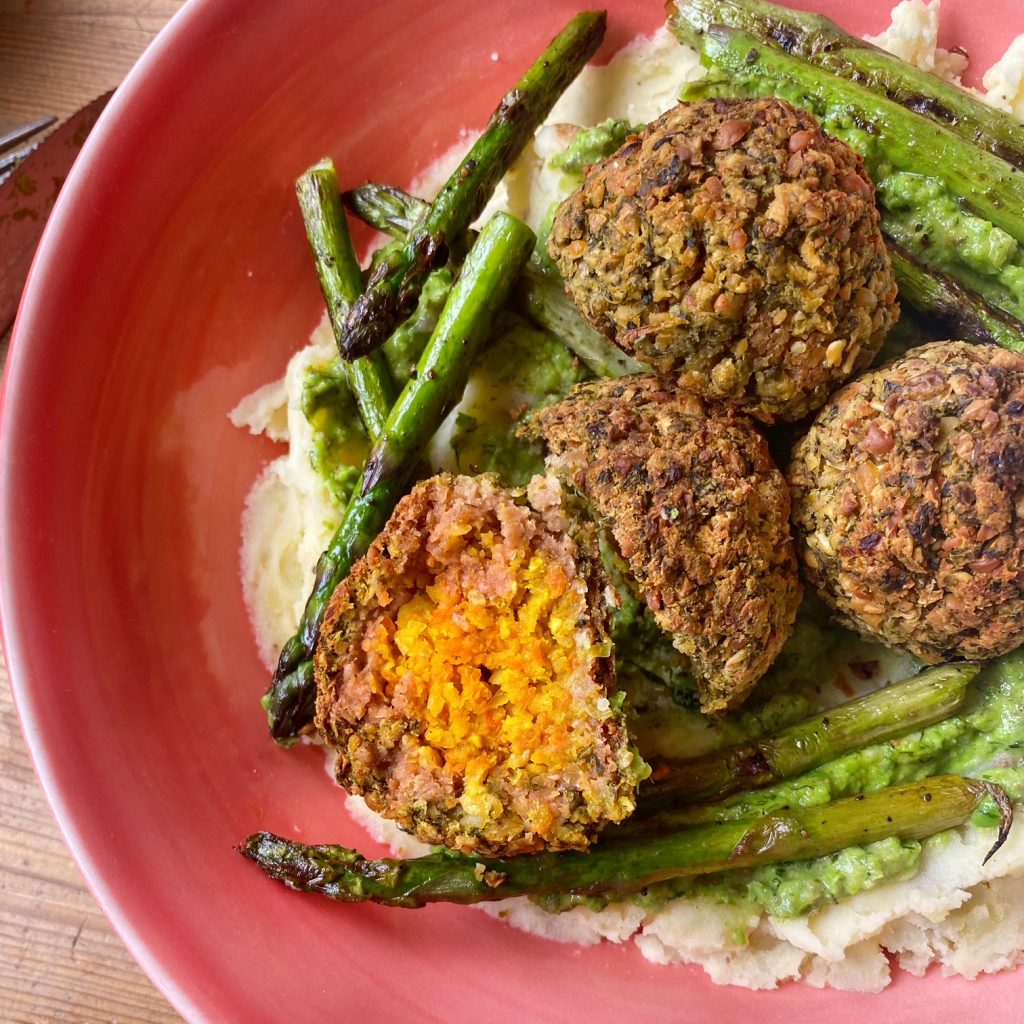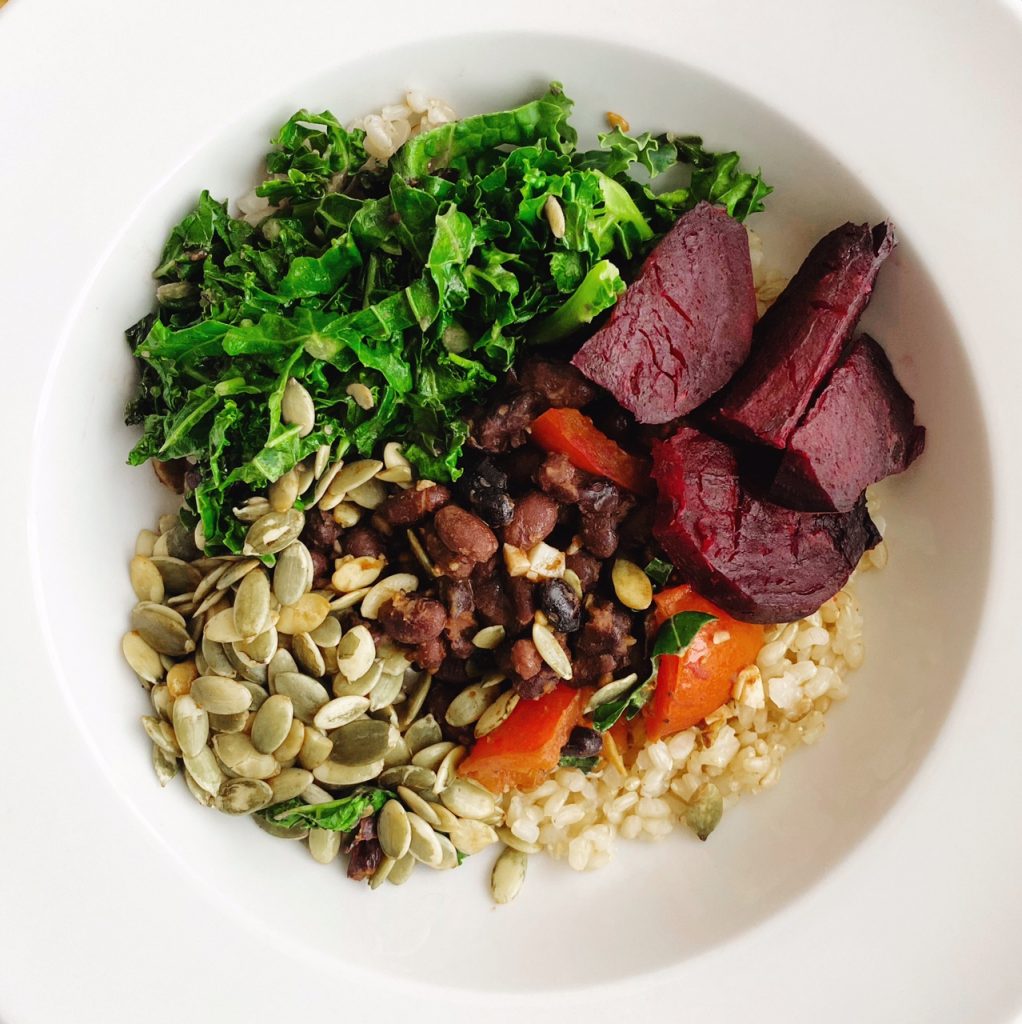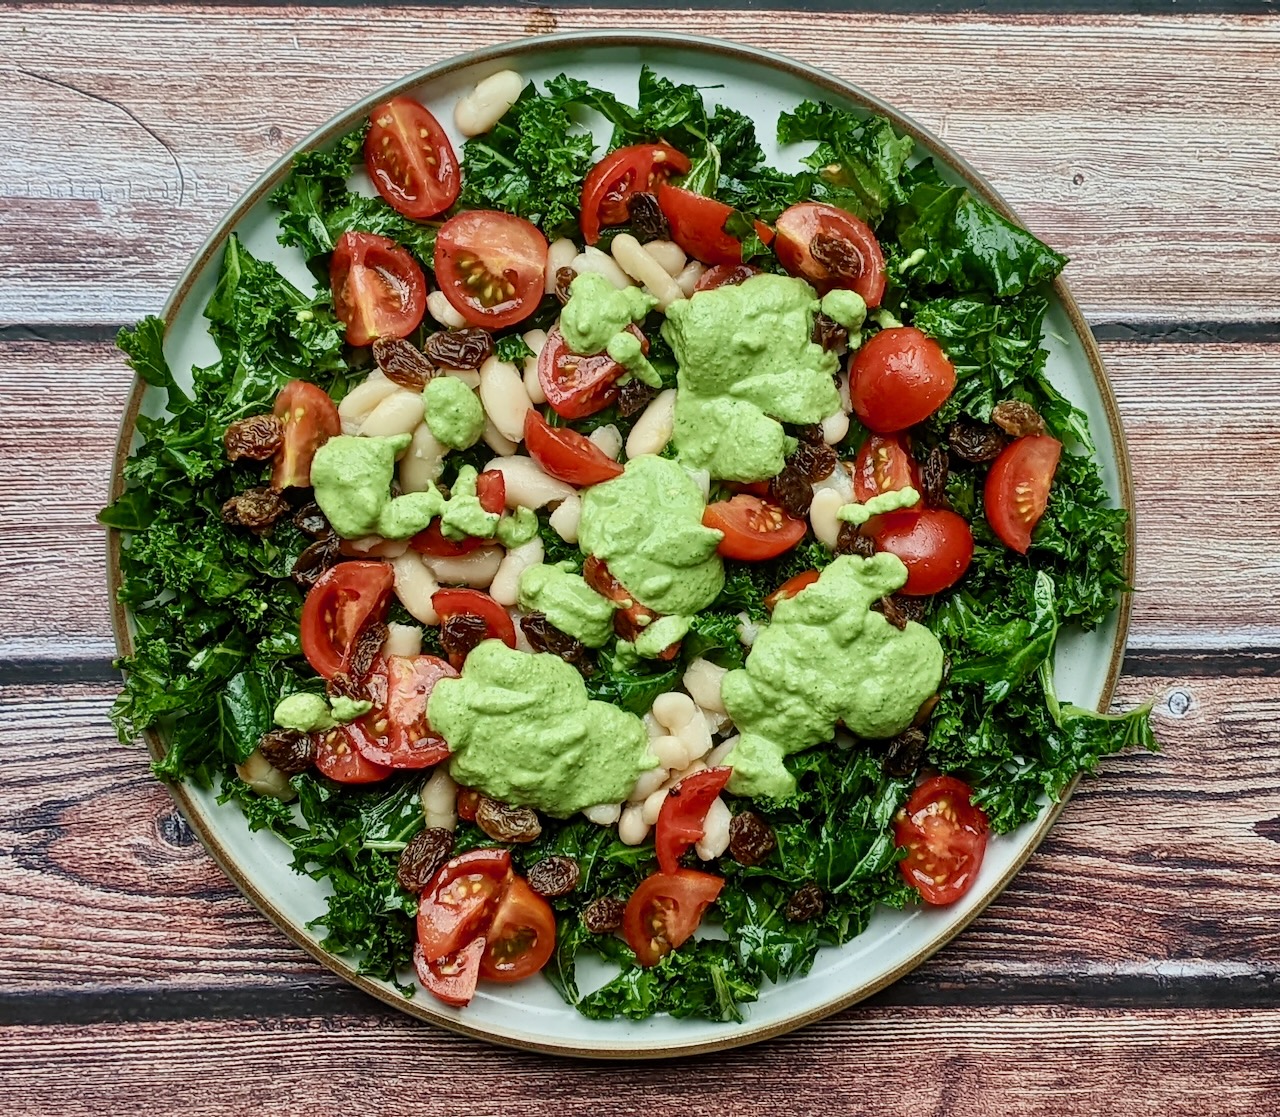

Simple summer salads dressed in a punchy dressing tick all the boxes! These Galway grown sweet cherry tomatoes are just delicious and bursting with flavour. The kale is coarse and crunchy and the dressing is fresh, punchy (from the garlic), vibrant and invigorating! #feelthegoodnesss
This is a gorgeous salad to eat solo or add a warm savoury pastry or some sourdough bread and cheese to make it a main meal.
Enjoy!
Lou 🙂

For the dressing
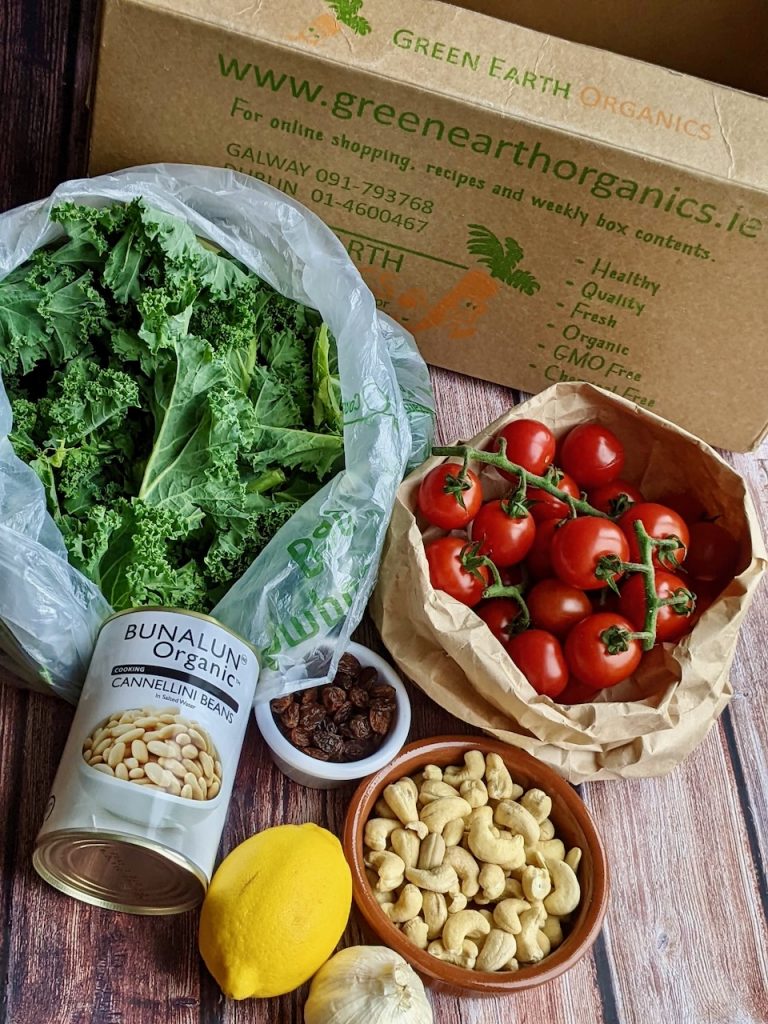
- 15g fresh kale leaves – finely chopped
- 12g fresh basil leaves – finely chopped
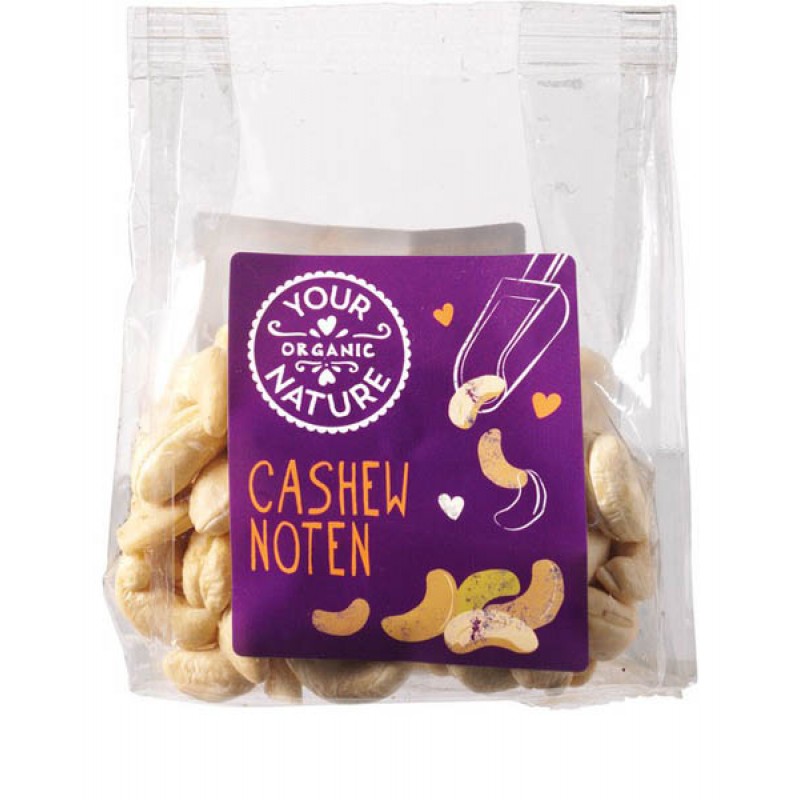
- 80g raw cashews
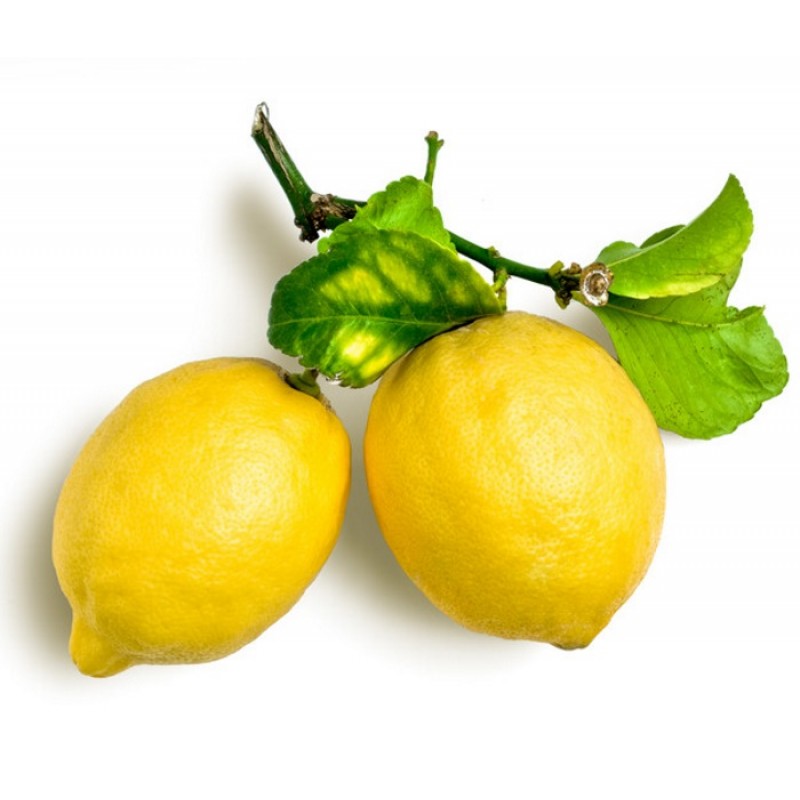
- ½ lemon – juice
- 130ml water
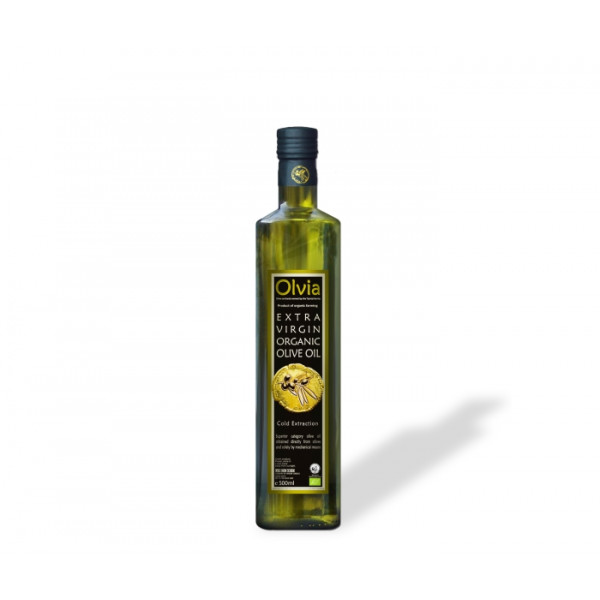
- 1.5 tablespoons light oil (vegetable or olive)
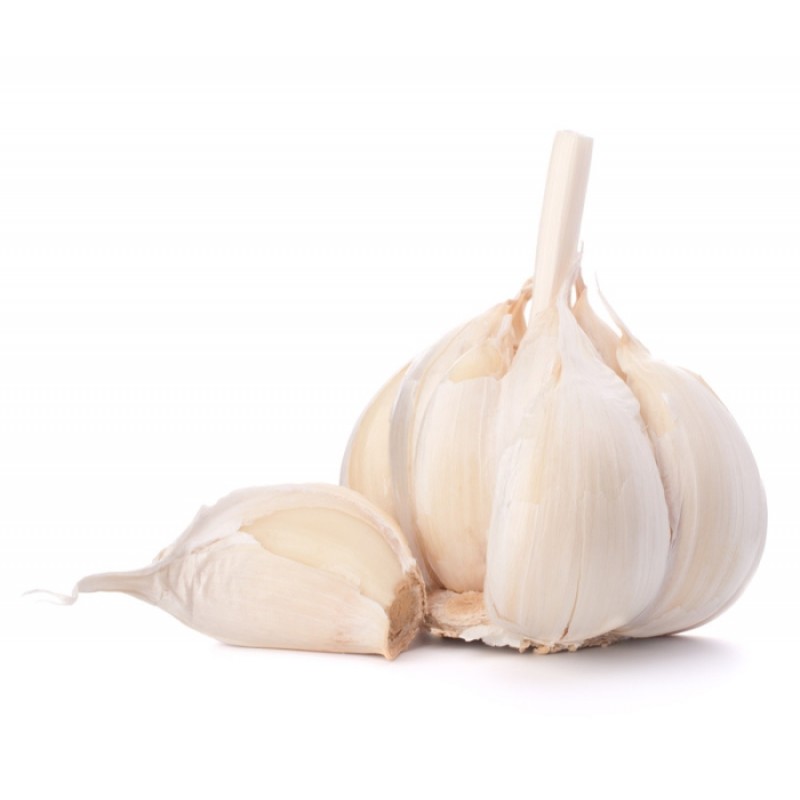
- 3 cloves garlic, finely chopped (less if you wish)
- Pinch salt and pepper
For the salad
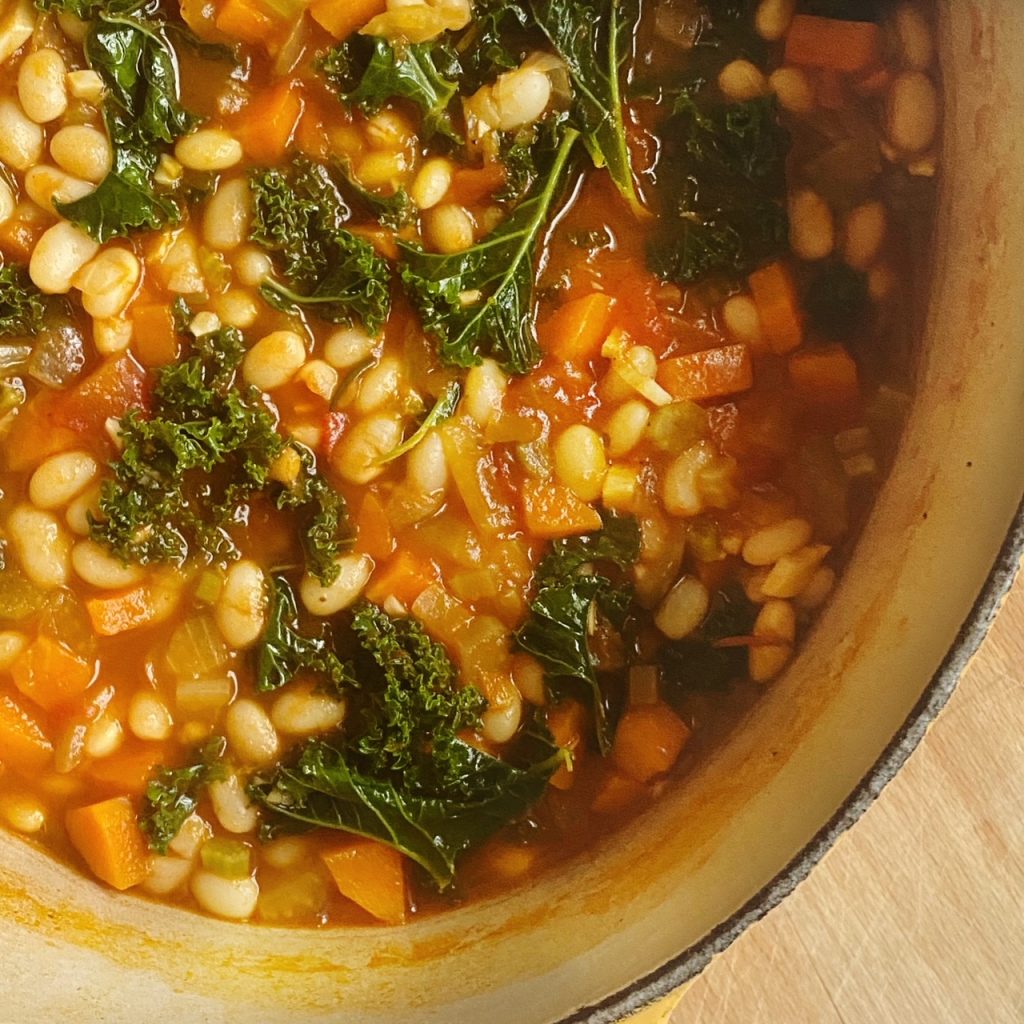
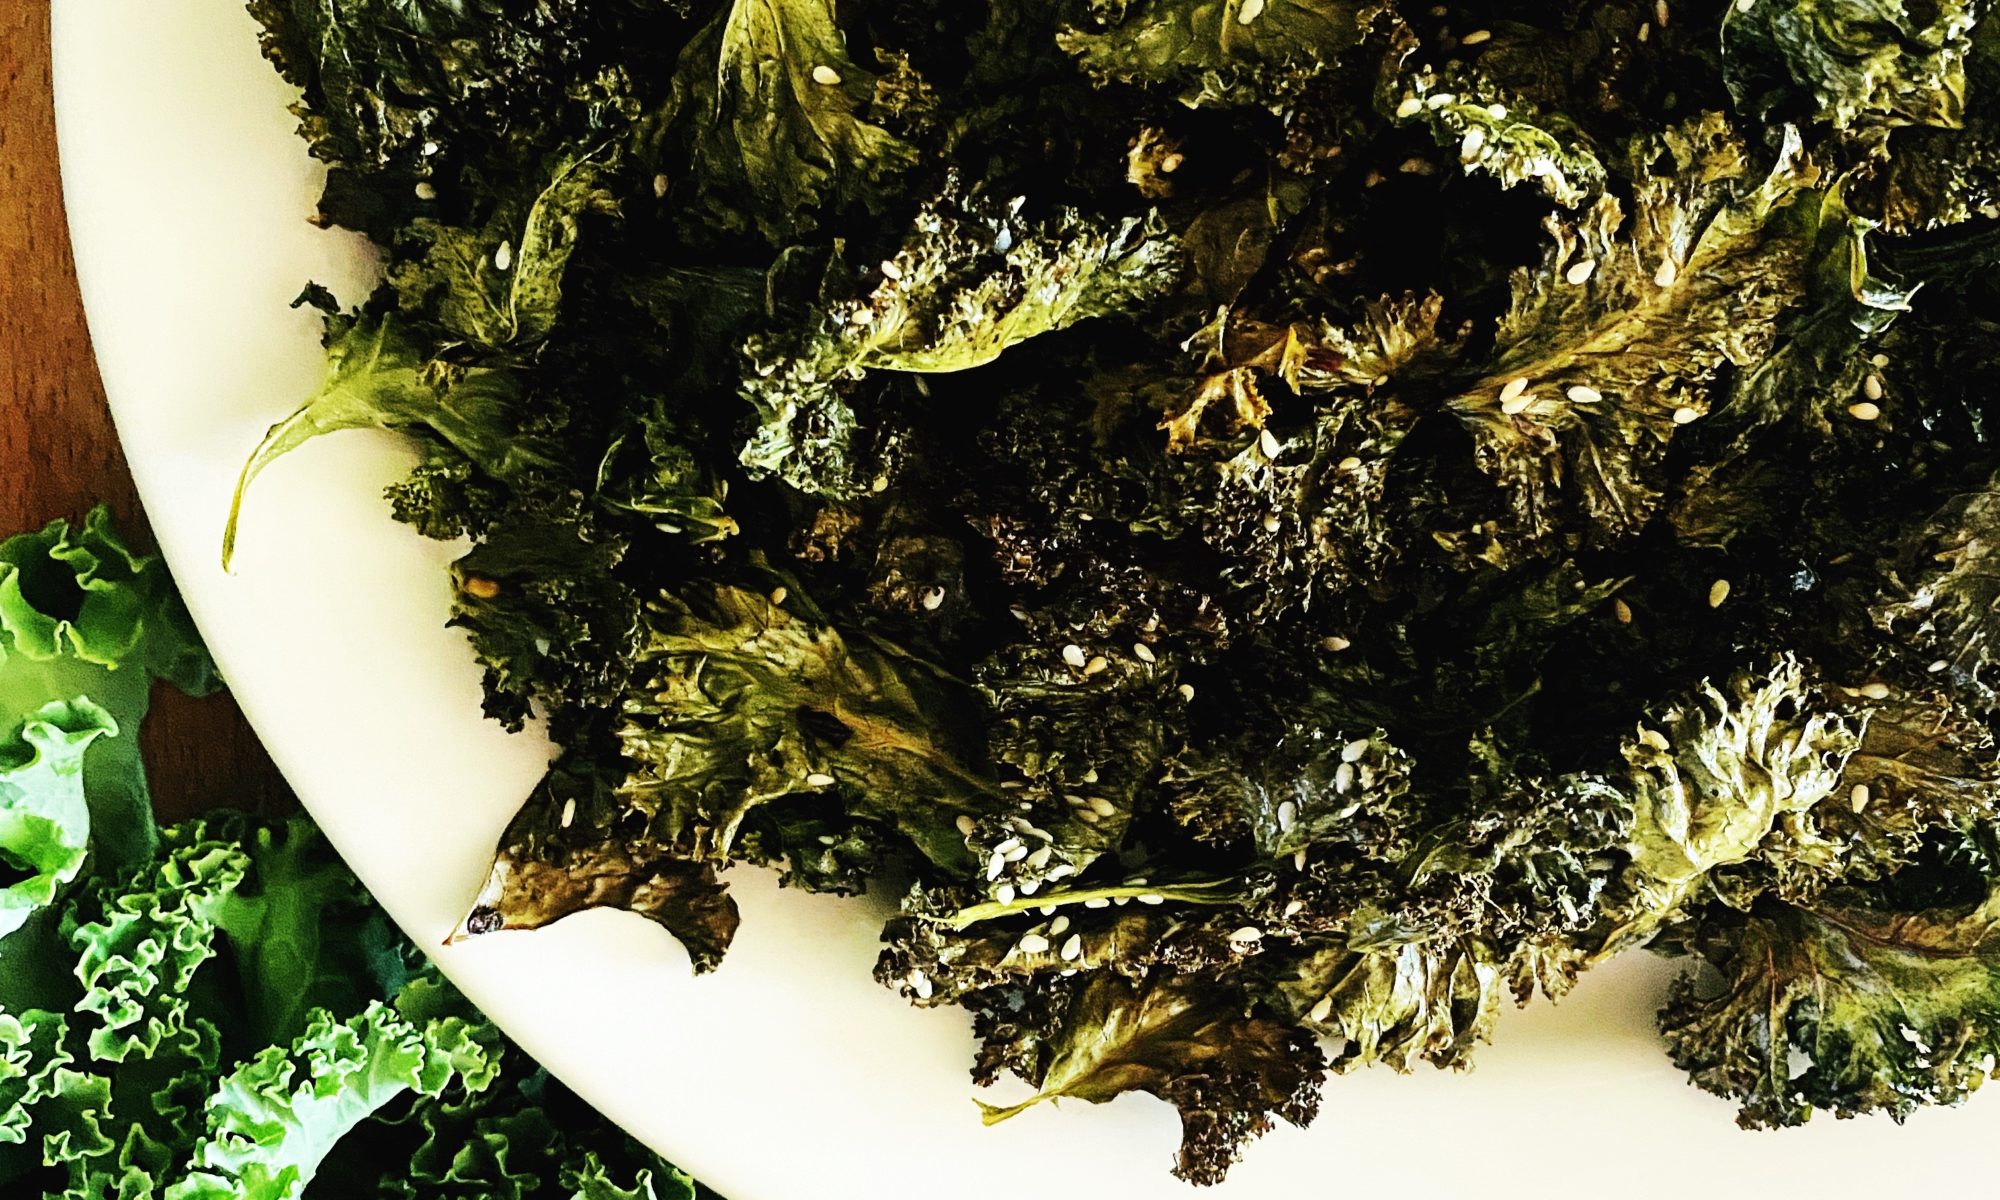
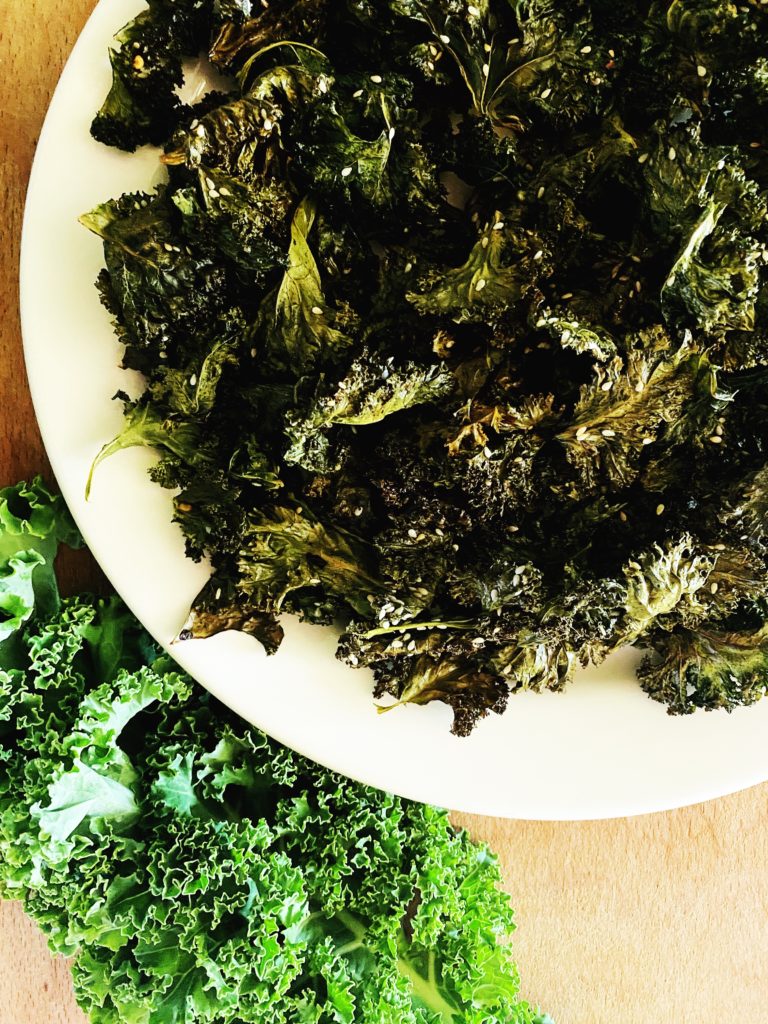
- 80g fresh kale leaves
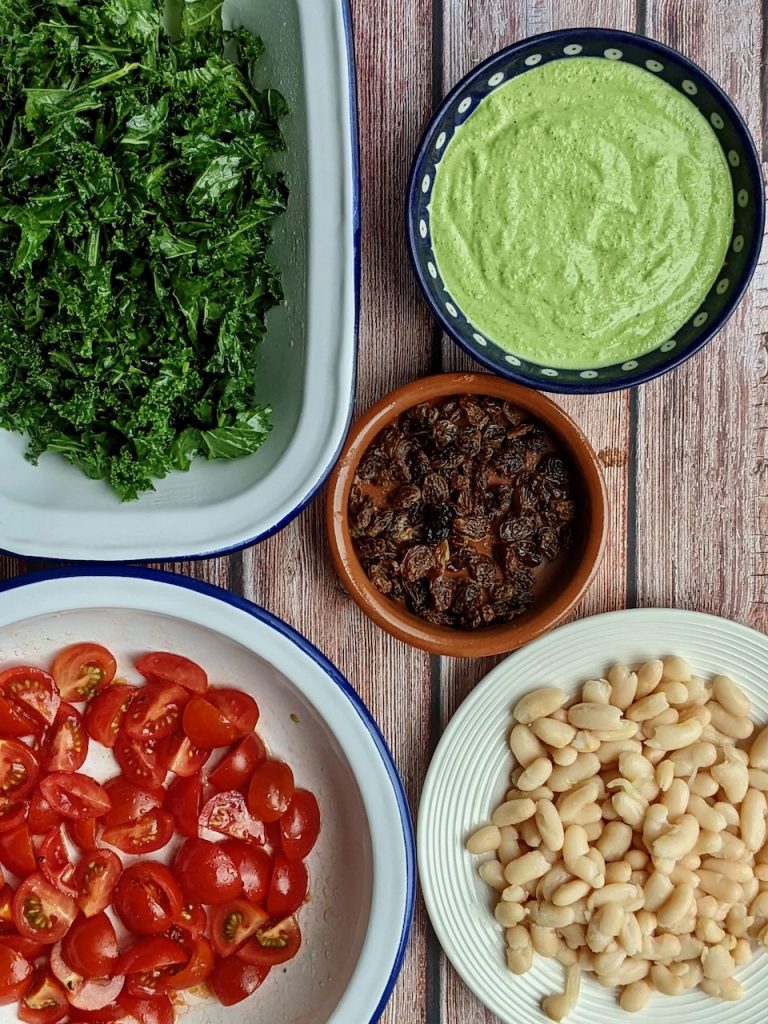
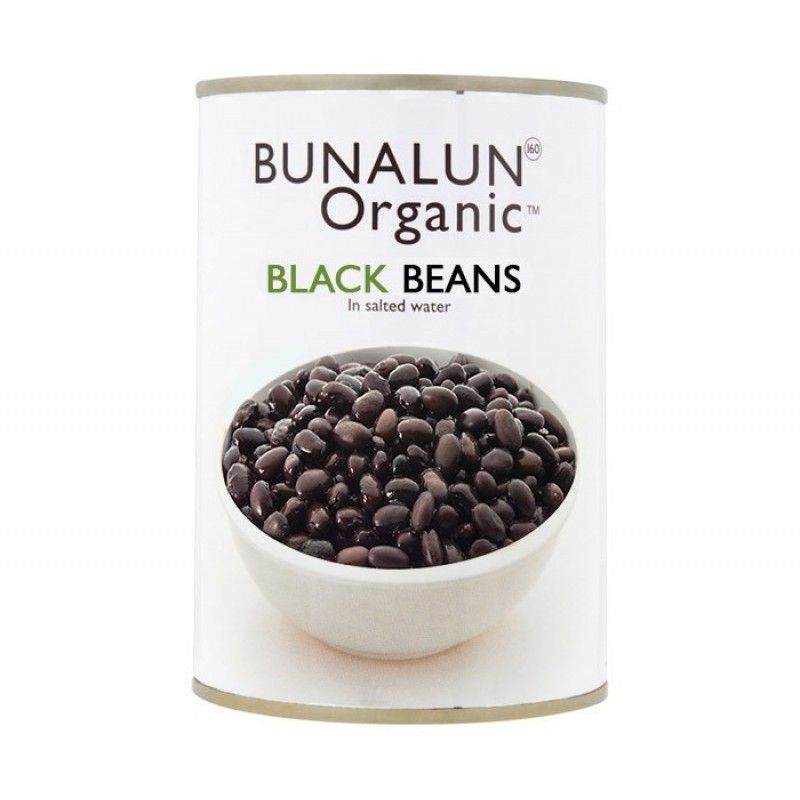
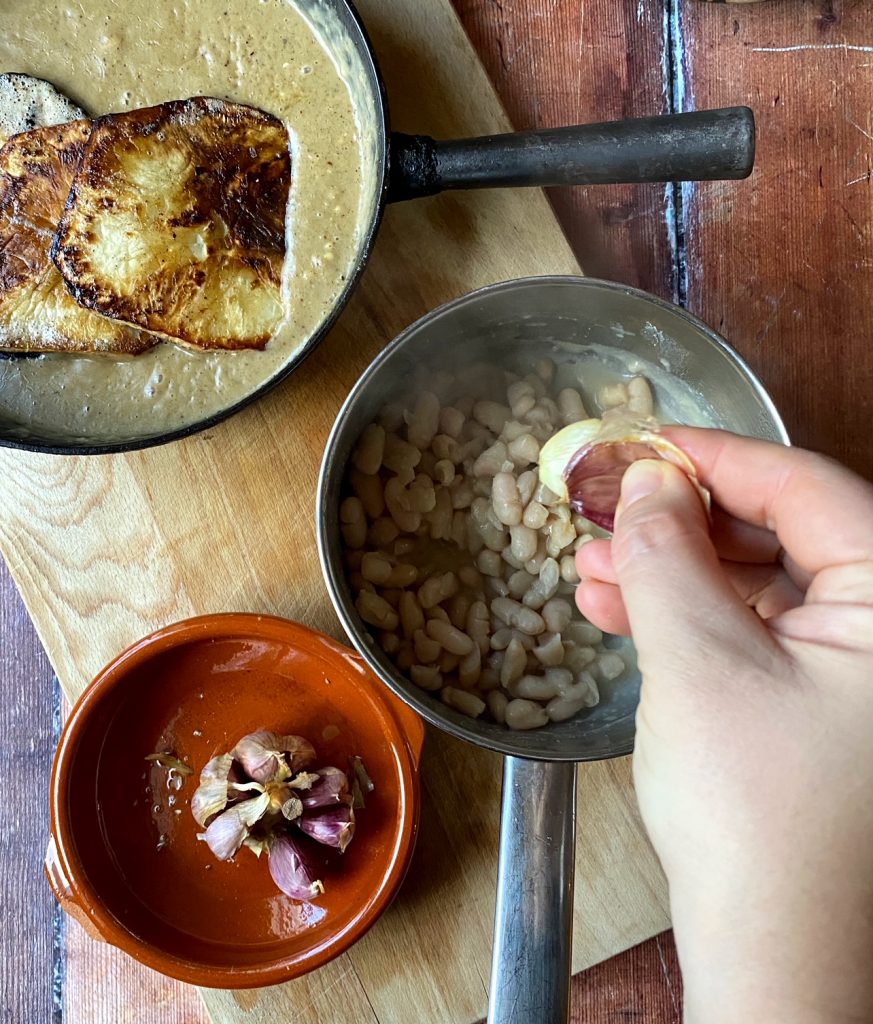
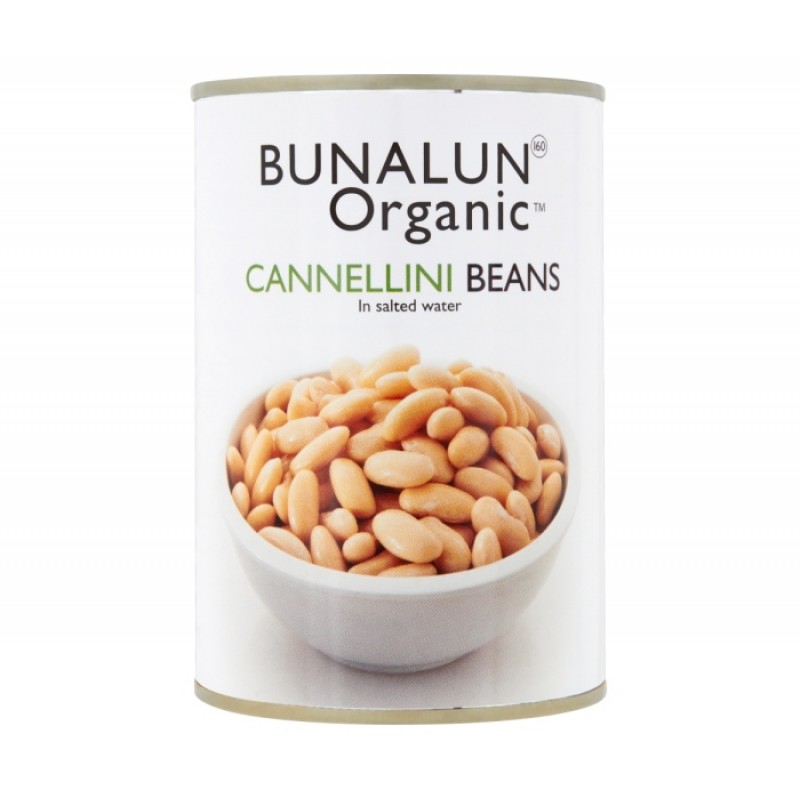
- 1 can organic cannellini beans
- 200g cherry tomatoes
- Oil, salt, pepper
- 50g raisins
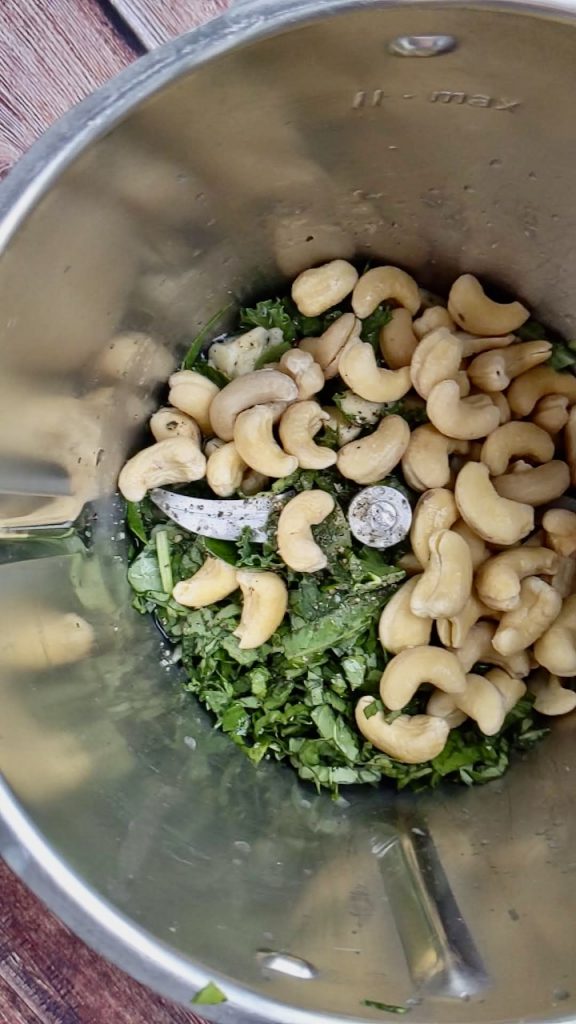
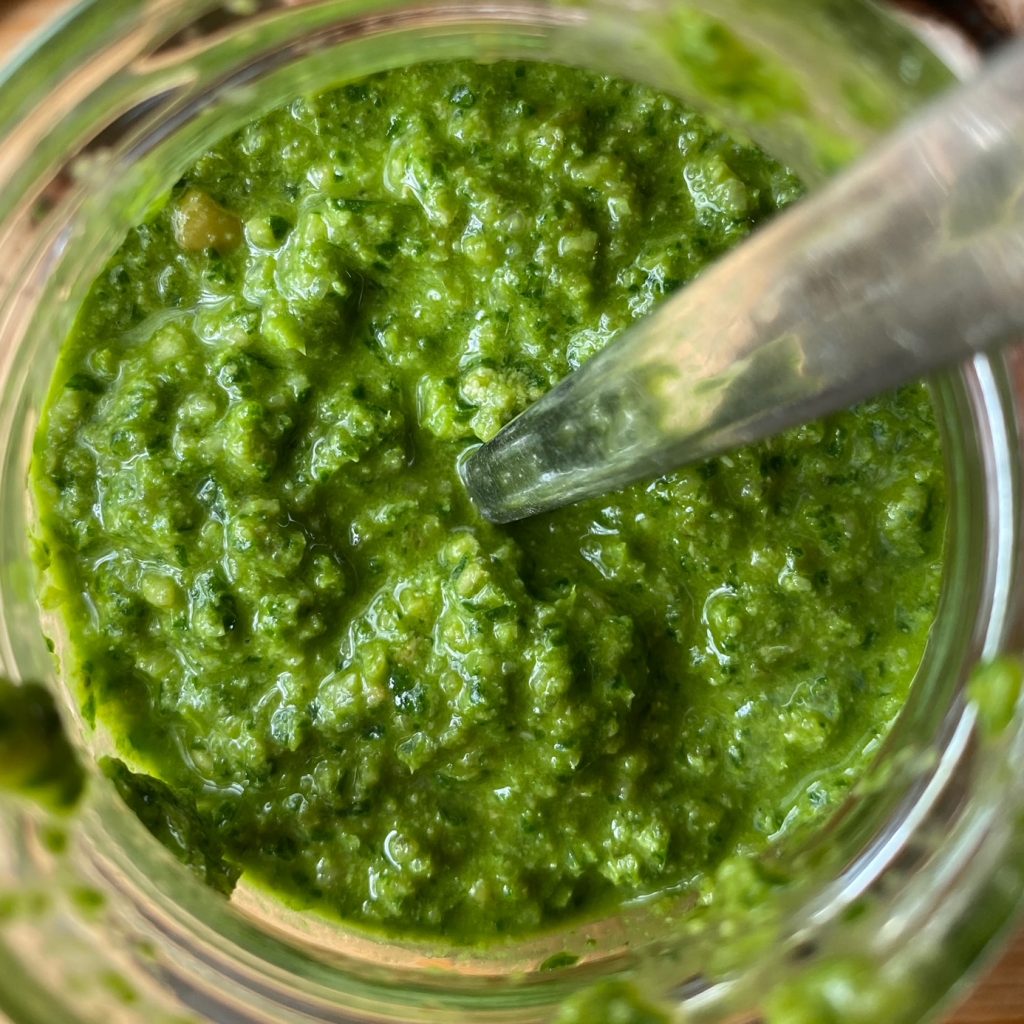
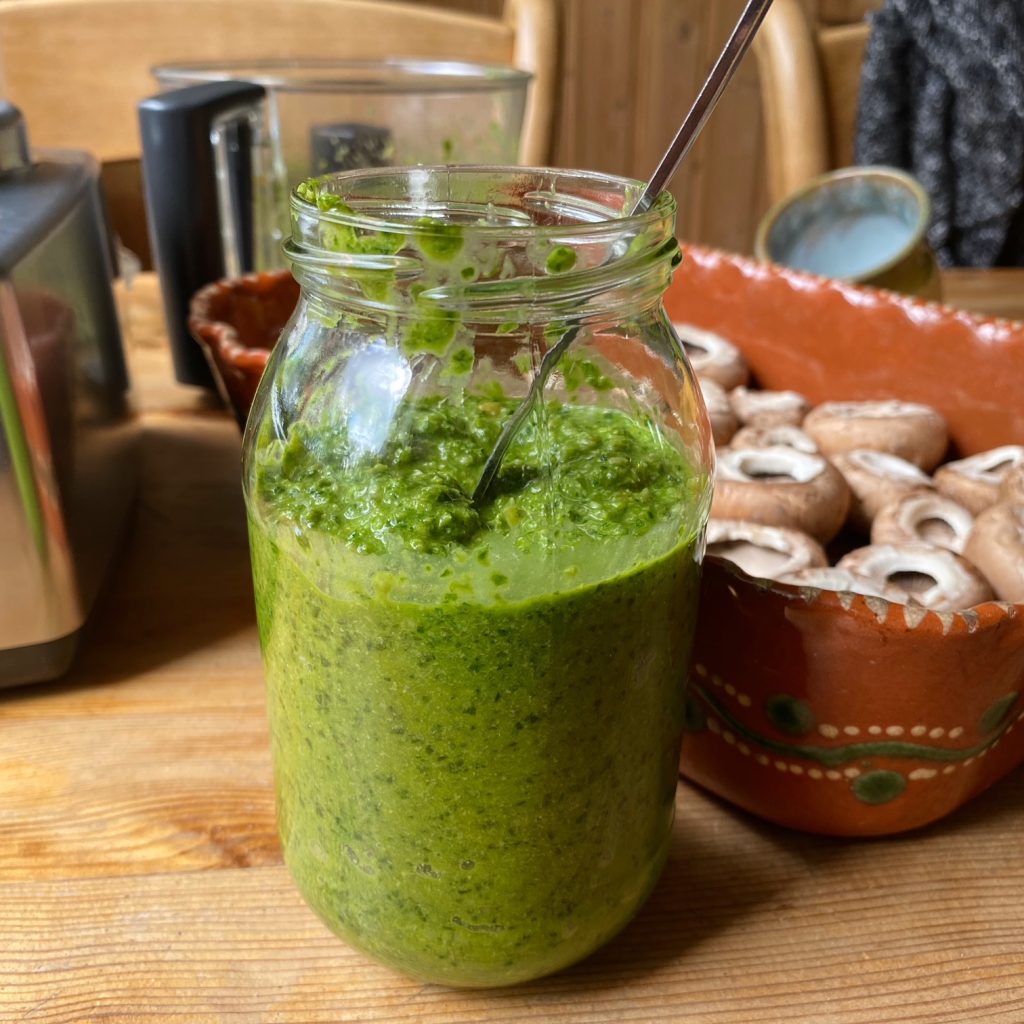
- To make the dressing measure the cashews into a bowl and cover with boiling water, set aside to soften for 15 minutes.
- To a blender add the finely chopped kale, basil, chopped garlic, lemon juice, water, oil, salt, pepper.
- Drain the cashews and add them to the blender too.
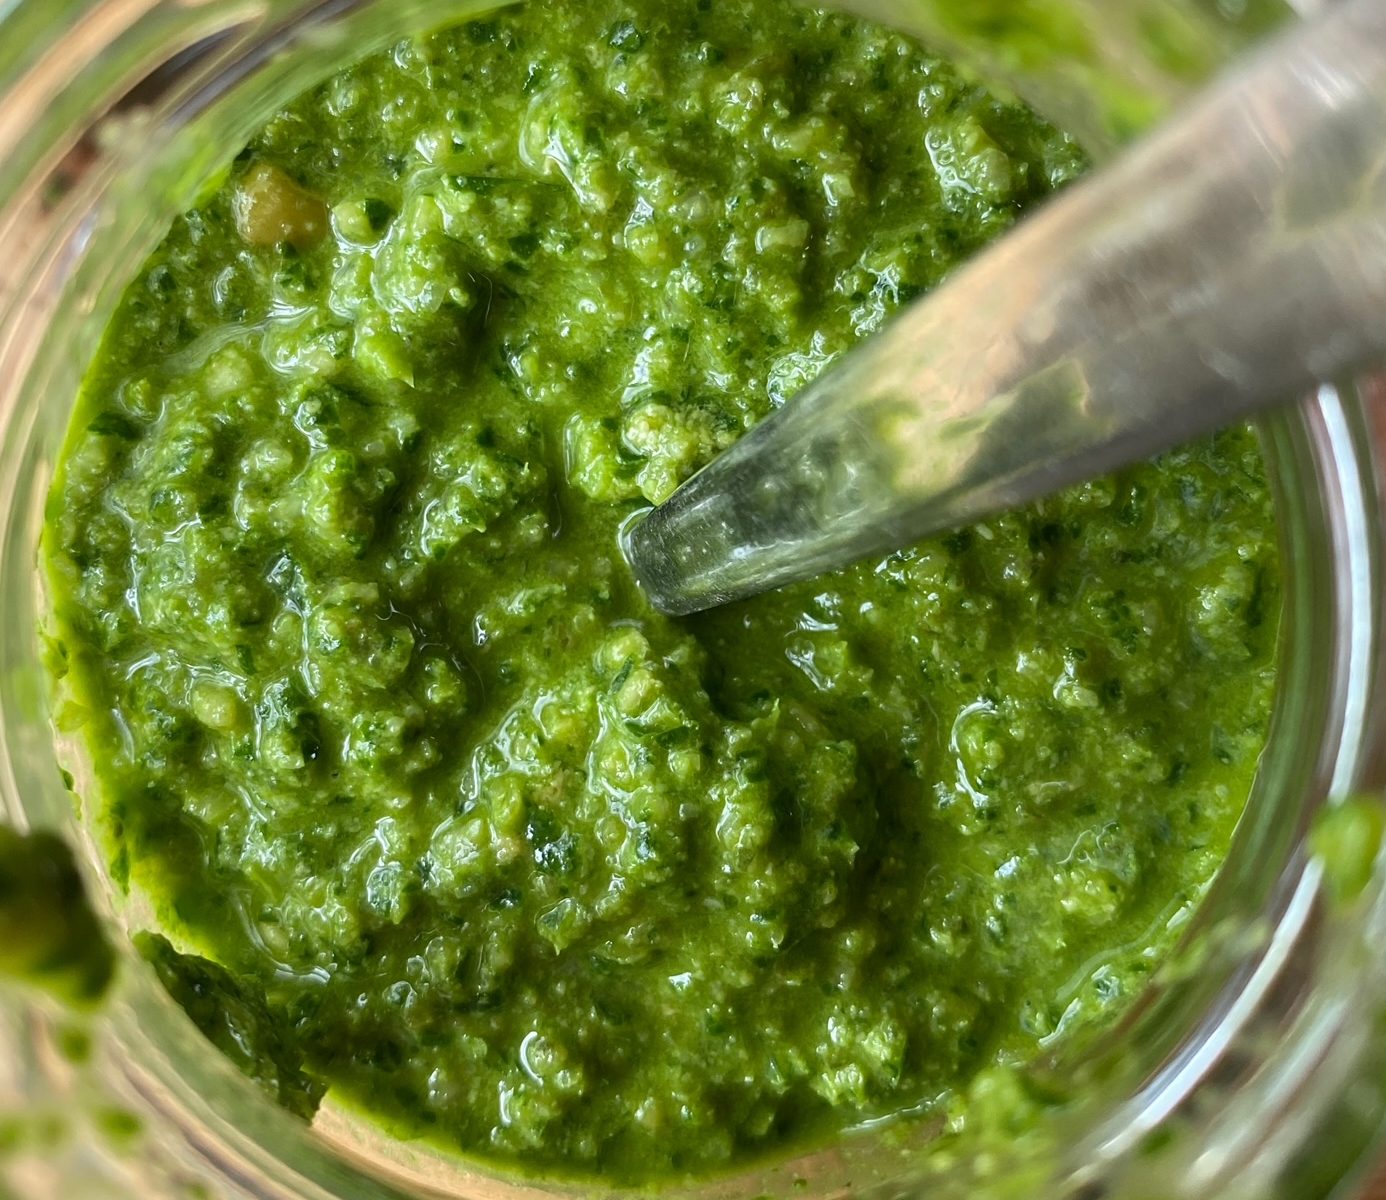
- Blend until you have a vivid green dressing.
- Taste the dressing, it will be punchy and zingy from the garlic. Add more salt, pepper or lemon juice if it needs it.
- When you’re happy with it, add it to a bowl or jug.
- To make the salad begin by rehydrating the raisins. Add them to a small bowl and cover with boiling water, set aside to soften.
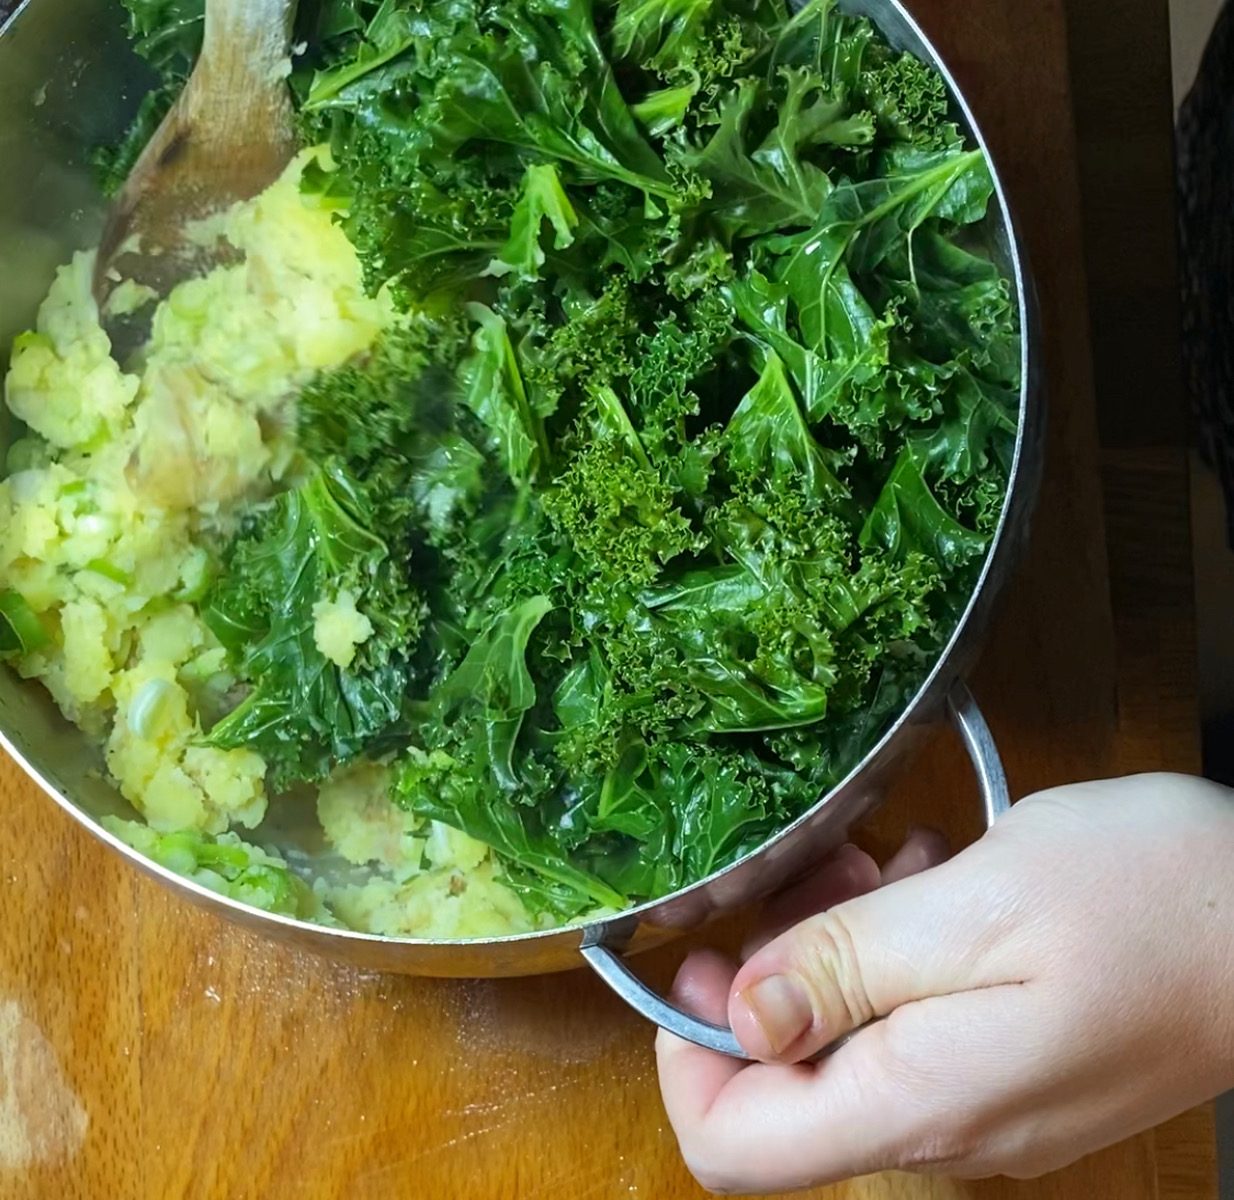
- Next, chop the kale into small pieces and add to a mixing bowl. Drizzle over a small amount of oil, add salt and pepper and massage (give it a good squeeze) to soften the leaves, this makes it easier to eat.
- Quarter the tomatoes and add them to a bowl, drizzle a small bit of oil over them, add a small pinch of salt and pepper and toss to coat.
- Drain the can of cannellini beans and the raisins.
- To assemble, add the kale to a large serving plate, scatter over the tomatoes, beans, raisins and dollop the dressing on top.