Seasonal Eating

A while back somebody asked me, jokingly (at least I hope it was a joke, looking back now maybe it wasn’t, in which case I led them astray by my answer) ‘What corner of the farm did we grow pineapples and bananas in?’ My answer: ‘The far corner!’

Eating seasonal, eating Irish, eating local, all admirable aspirations and absolutely possible-ish. ‘Ish’ because it can be tough, and it can require a great deal of thought and understanding and commitment if you want to stick to these ideals all year round and not end up eating turnip at every meal from Nov-March!

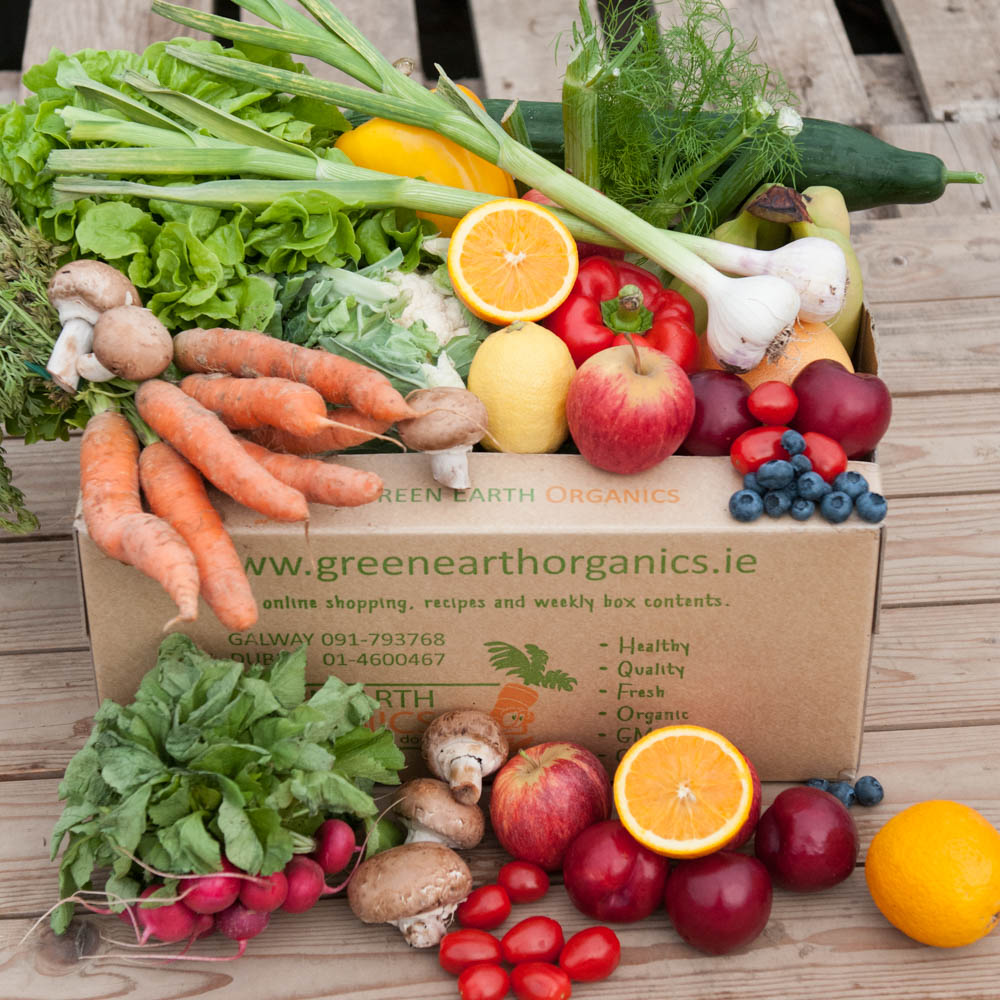
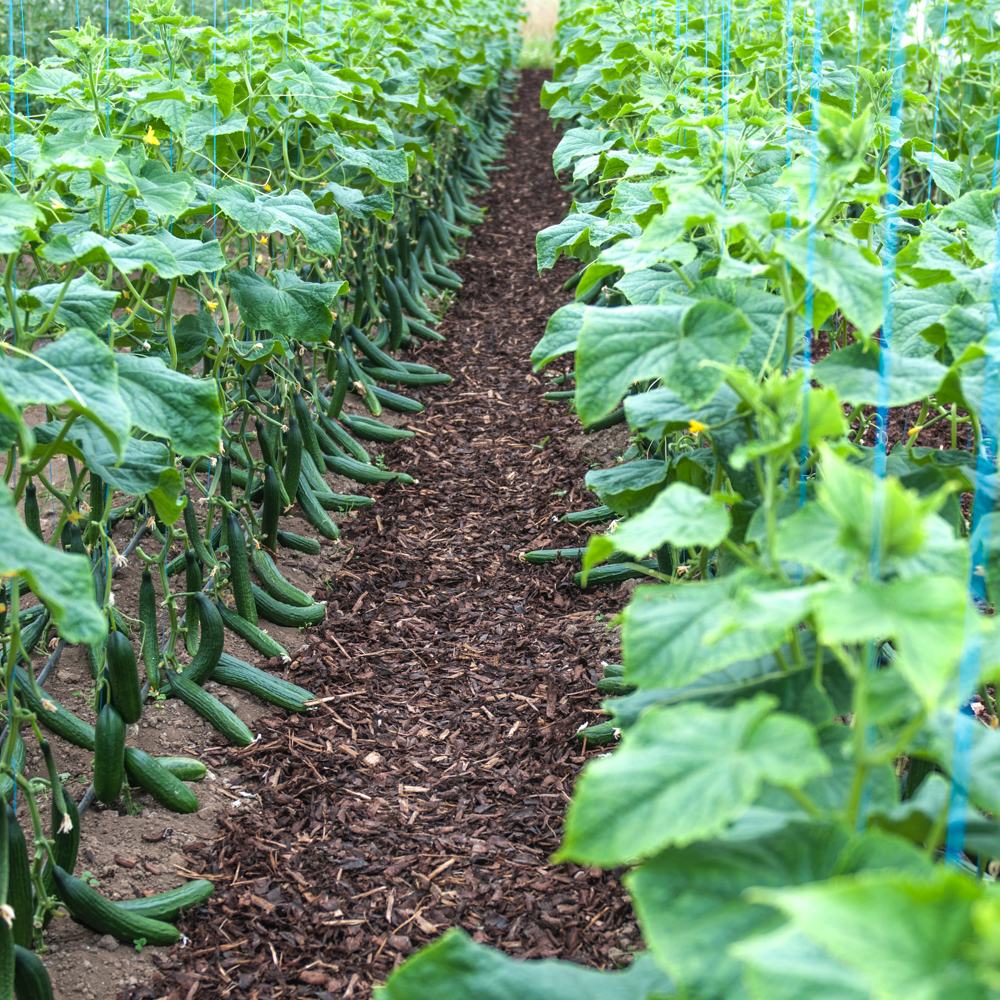
Eating seasonally is much easier at certain times of the years than others and this is the best time to start. This year is turning out to be one of the best years ever for harvest. However it is not all good news and while we have always been committed to sourcing local and organic where possible. Sometimes it is difficult to meet everybody’s expectations. 

I have just come off the phone with Richard Galvin our regular IRISH, seasonal apple grower and he has just told me the news that much of his crop was devastated with a late frost back in June and he will have few if any organic apples for us. 

There is nothing we can do about this, similarly in a few weeks the IRISH organic tomato season will finish, and we will then rely on imported organic tomatoes. While growing tomatoes out of season is possible it is energy intensive.

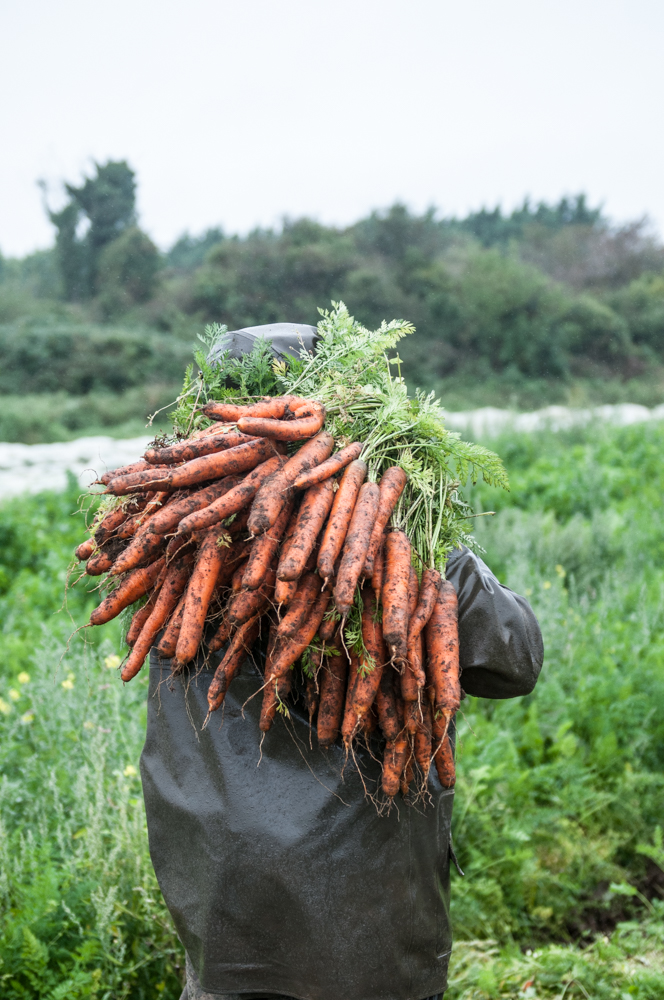
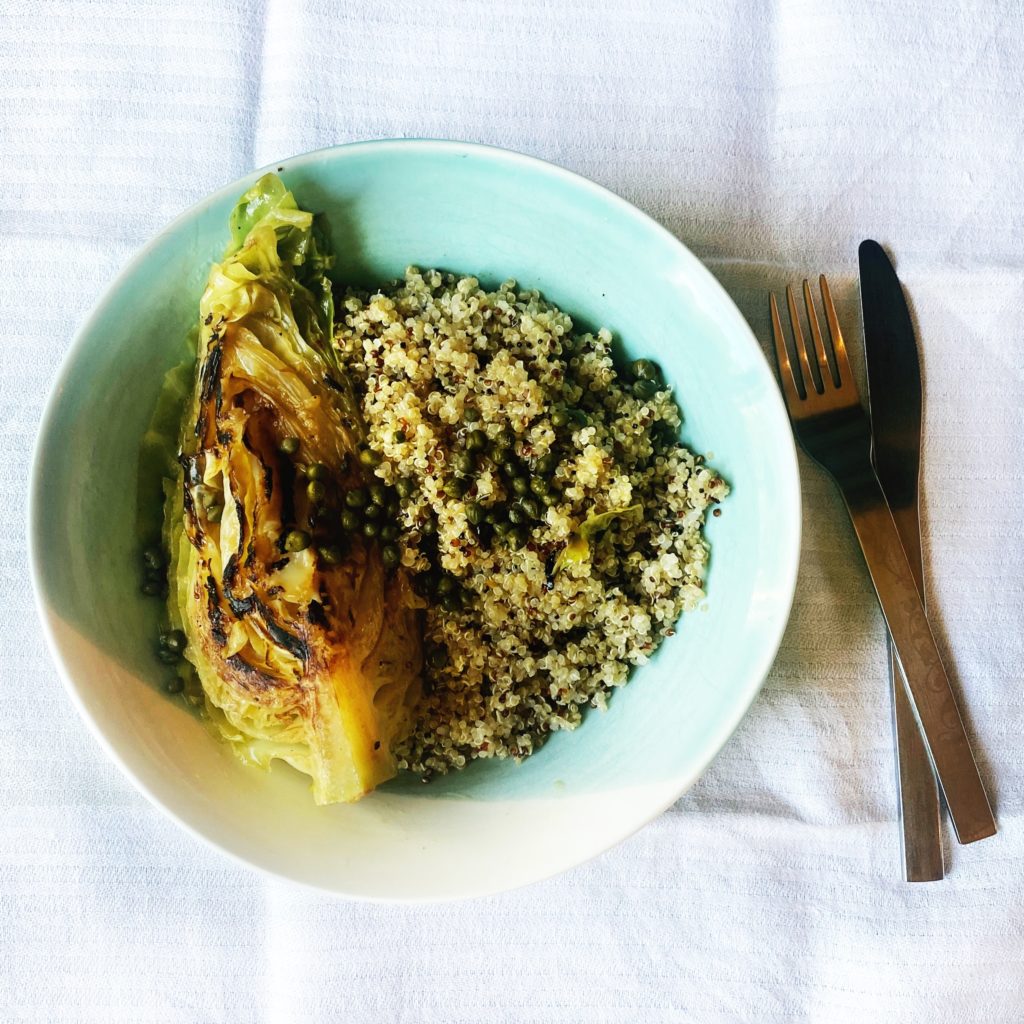
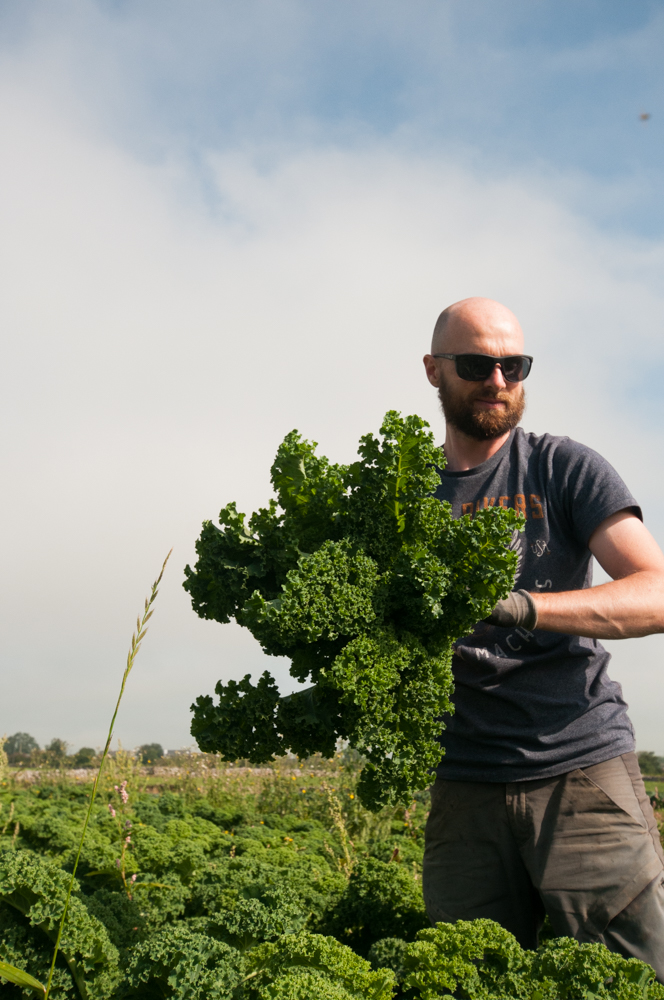
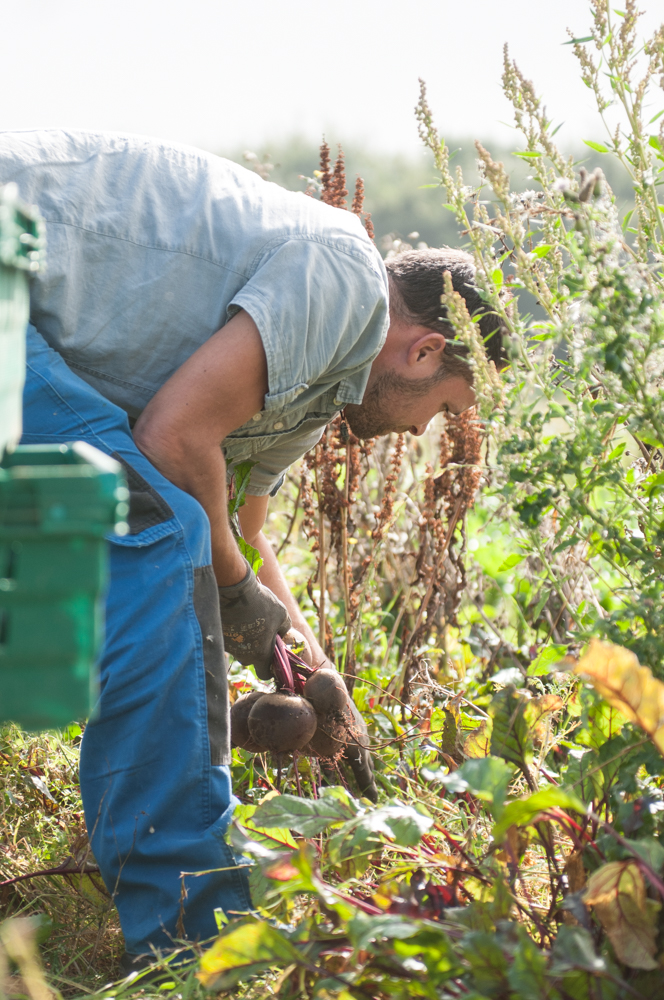
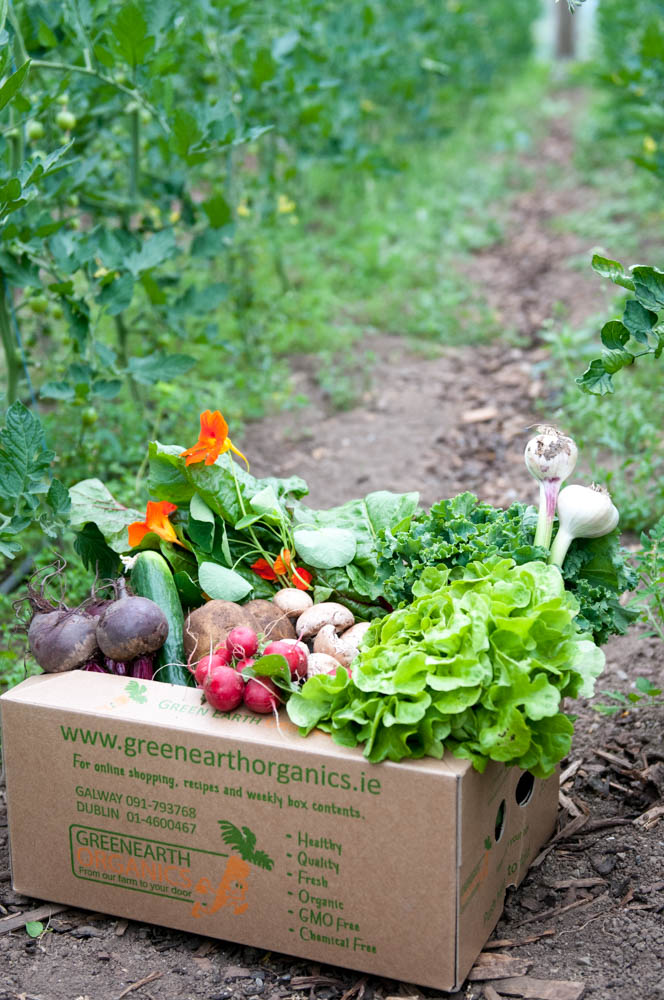
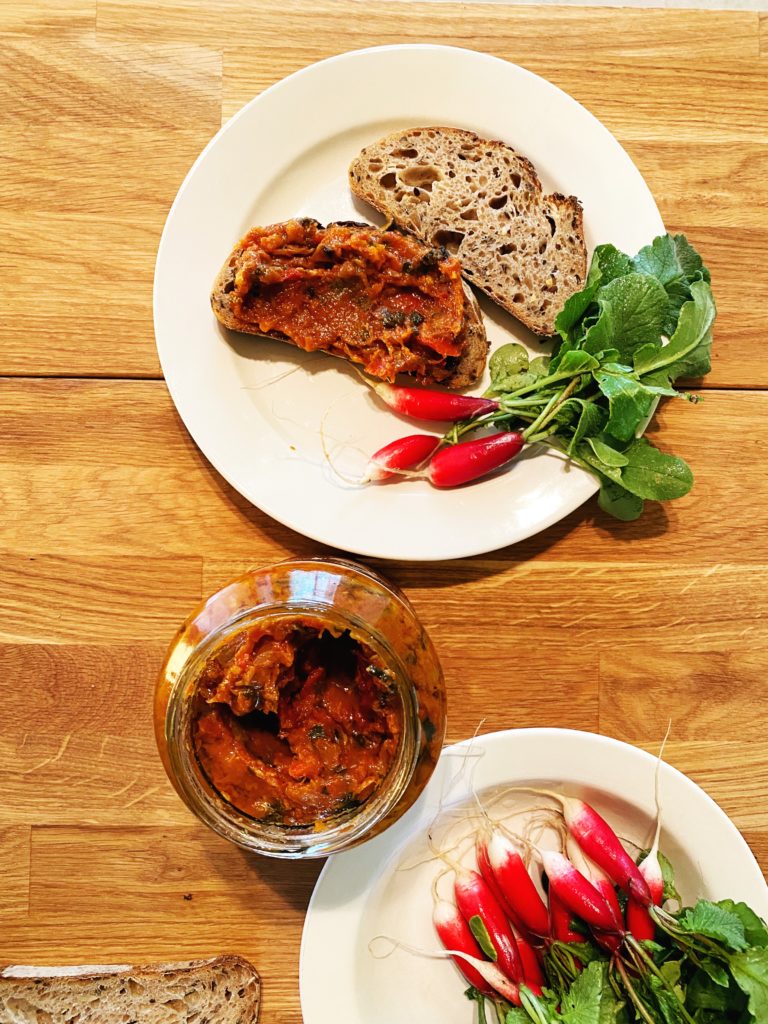
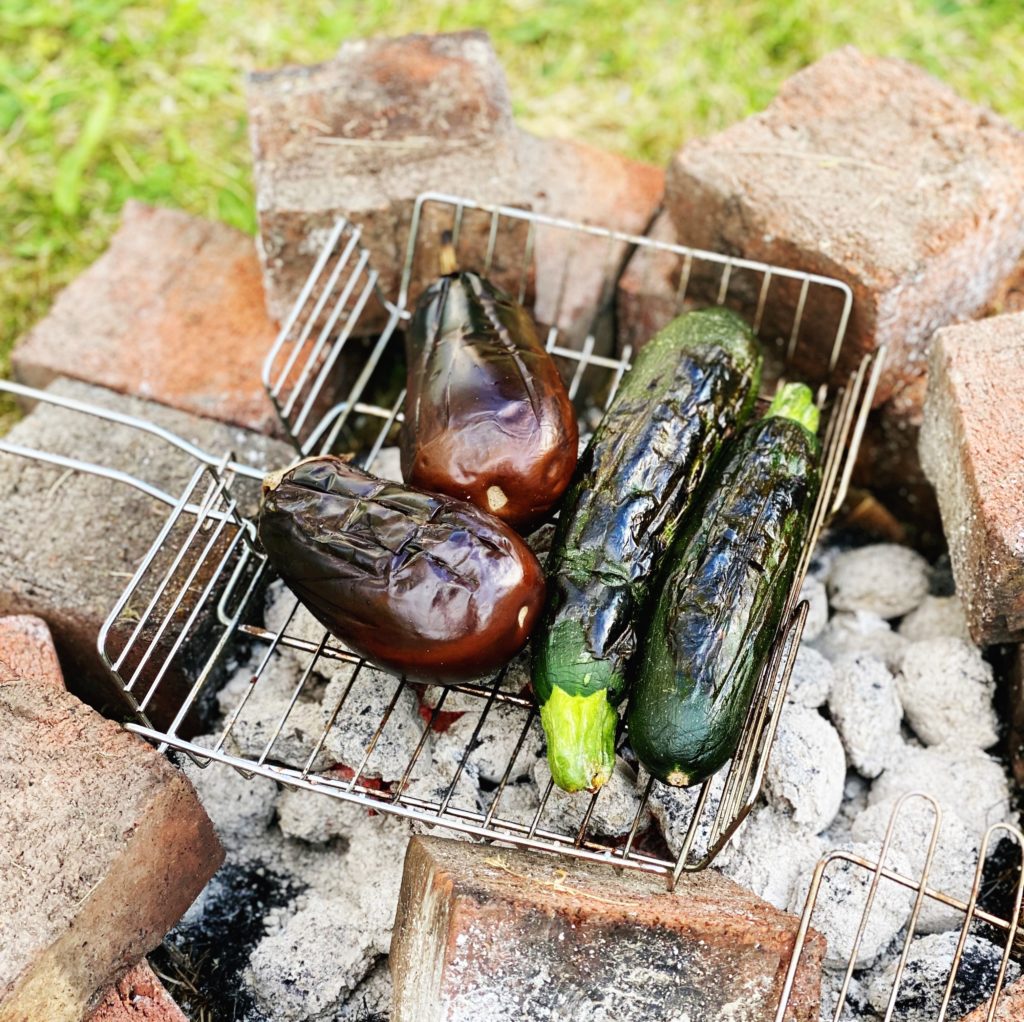
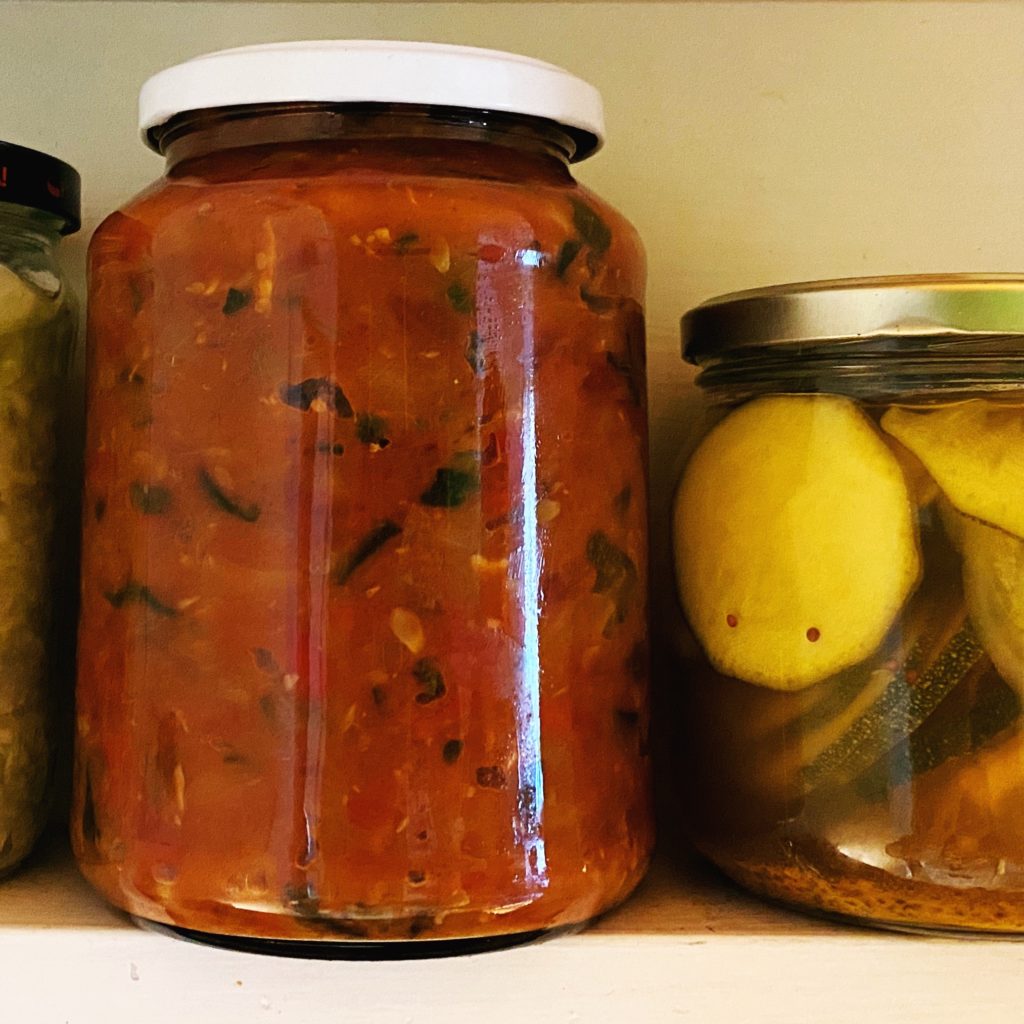
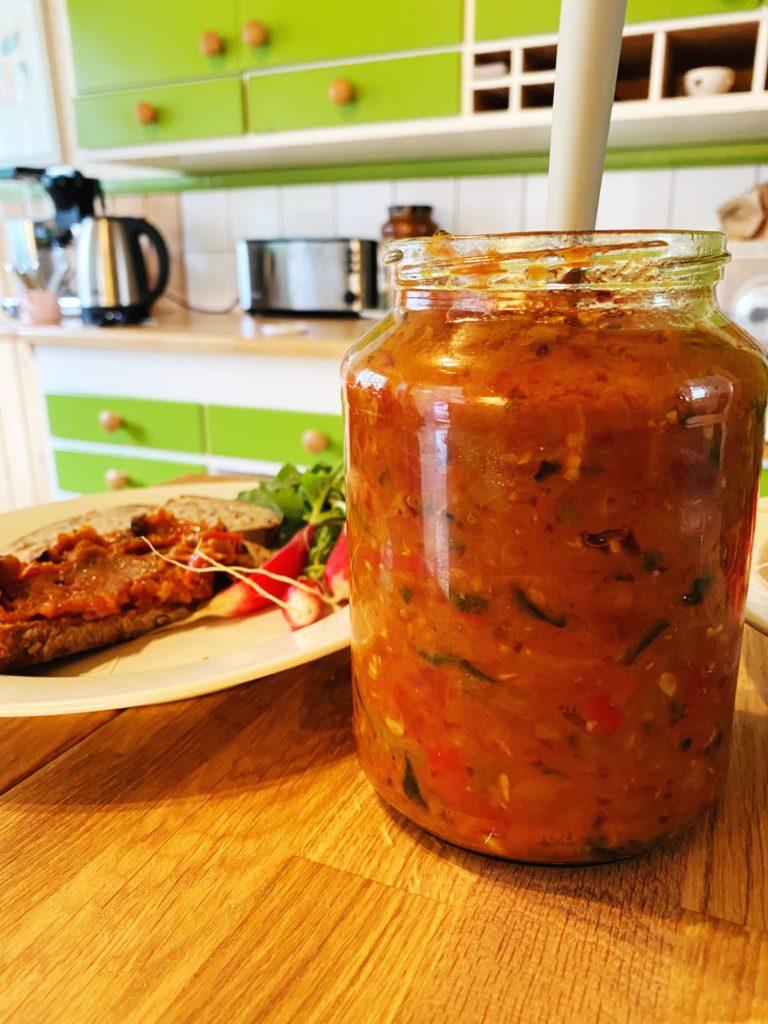
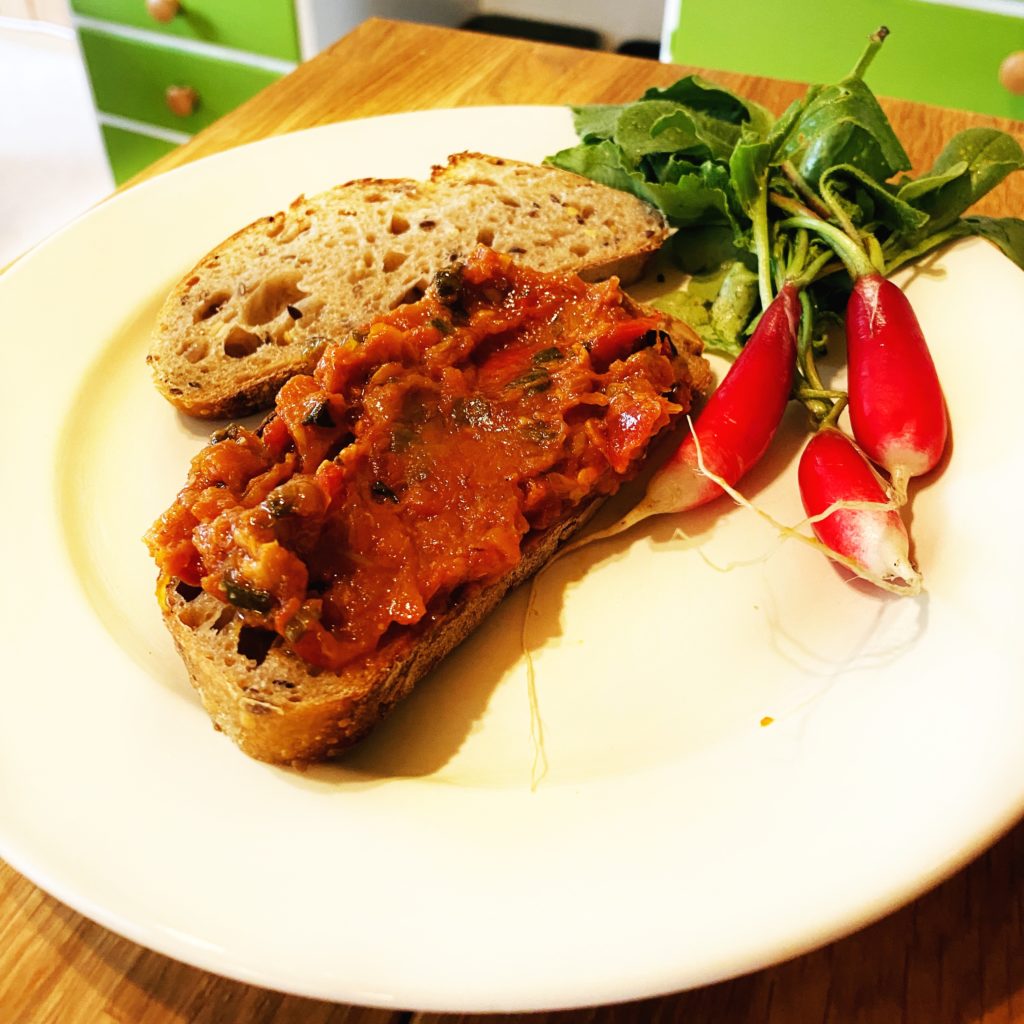
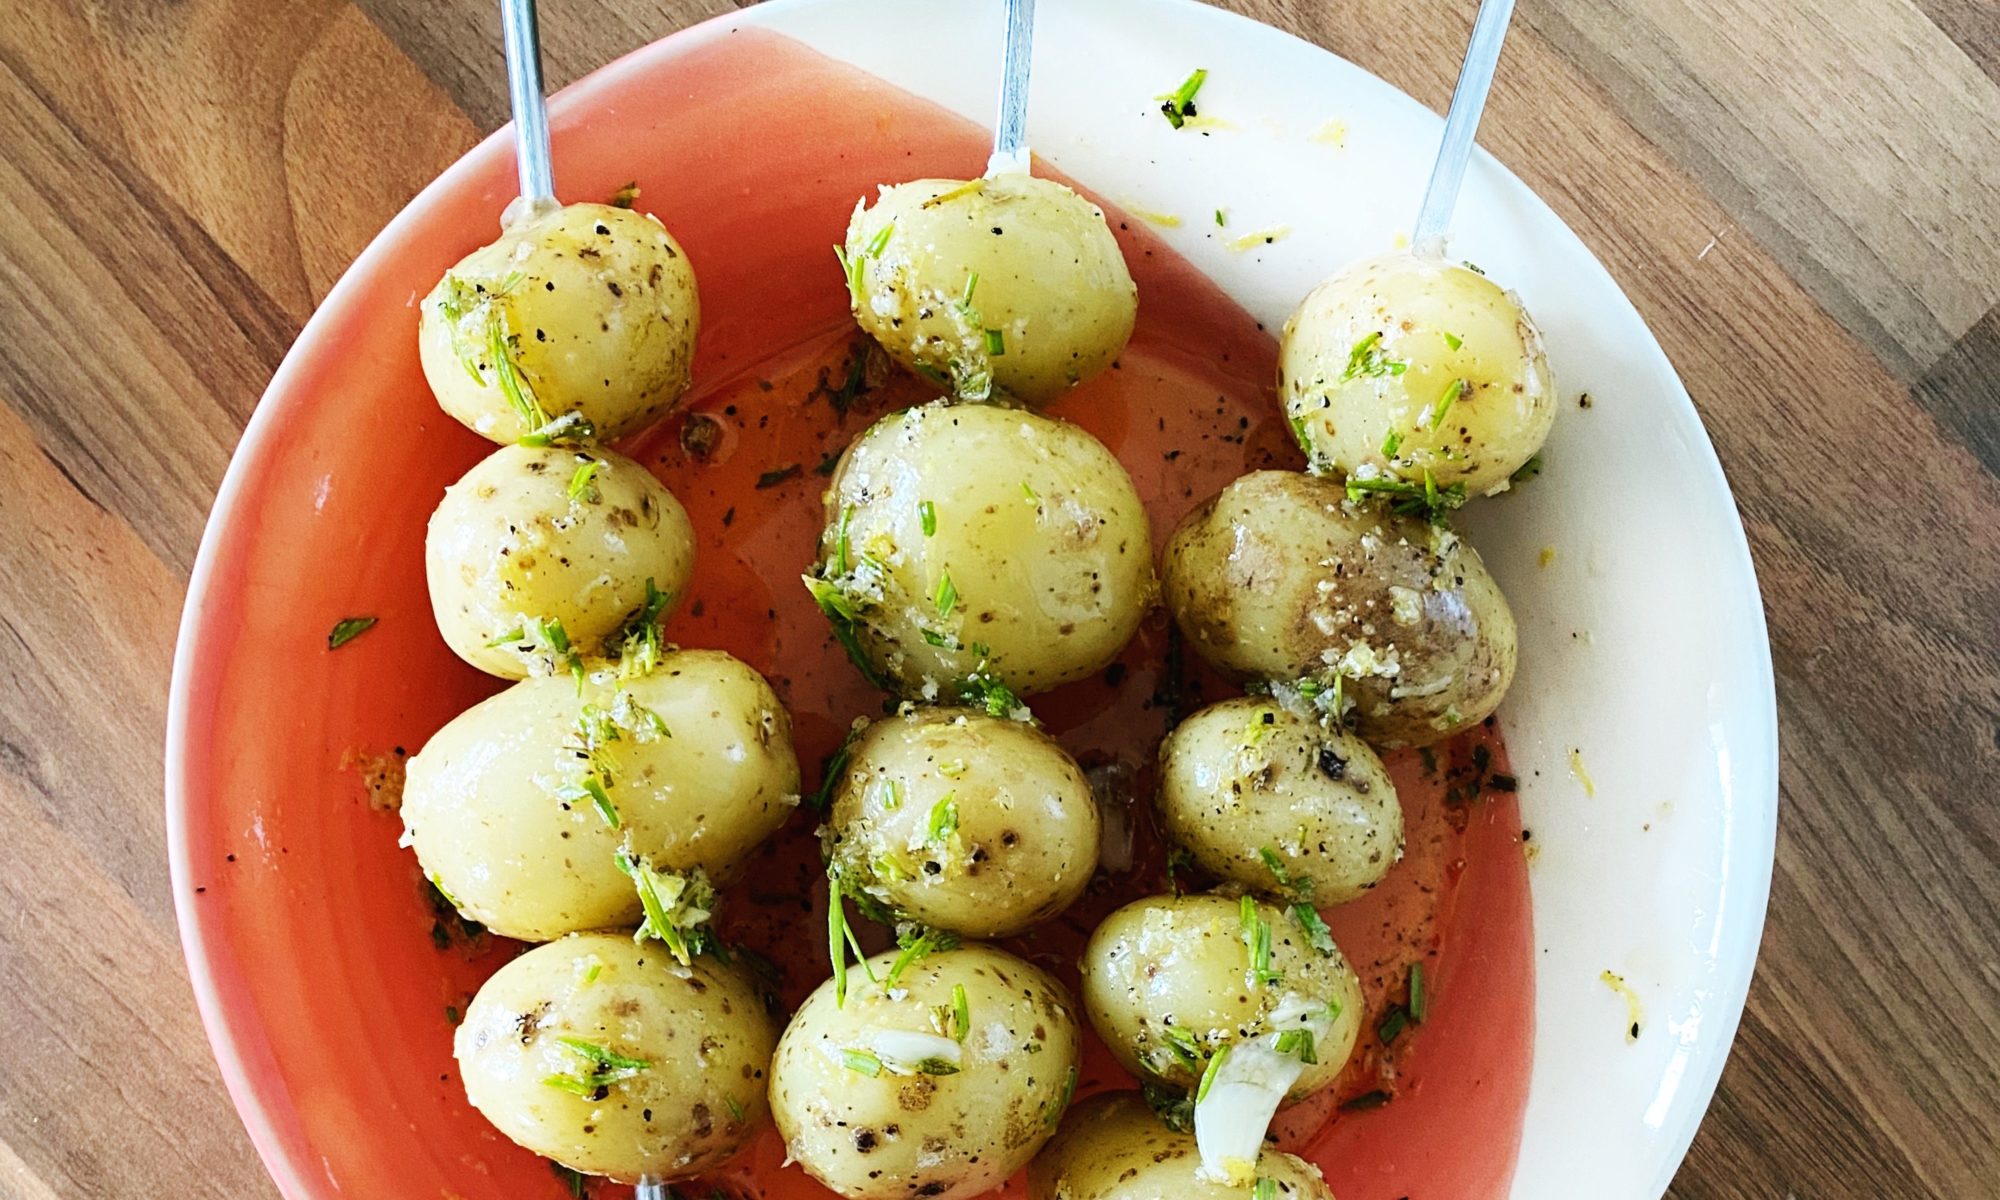
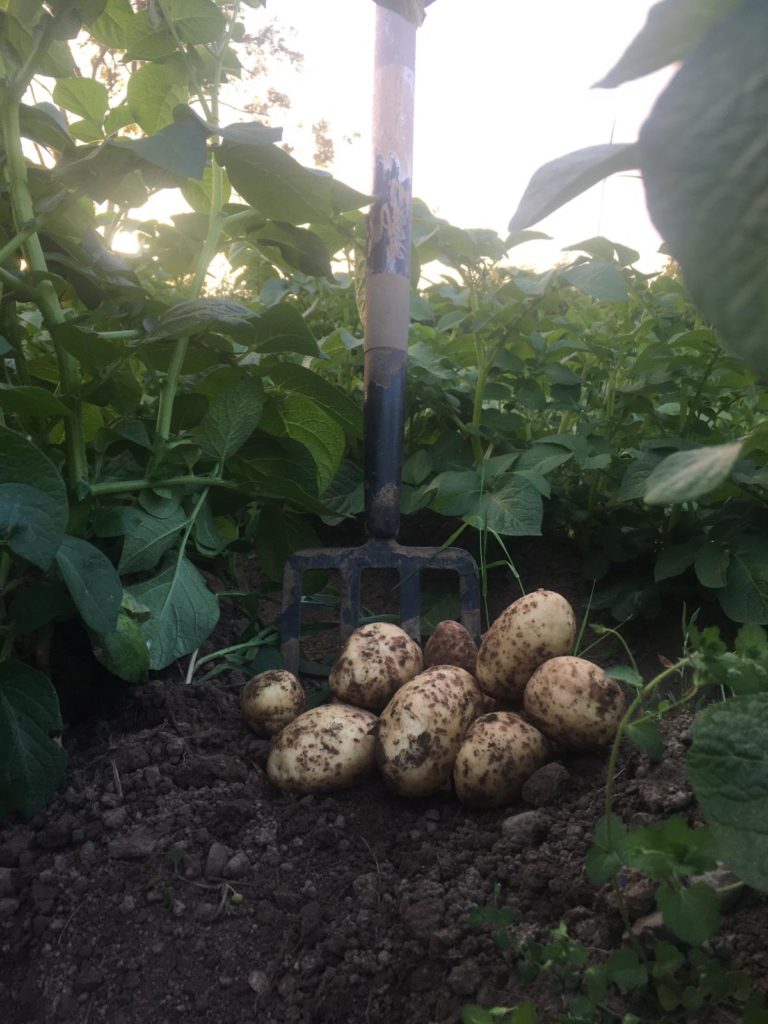
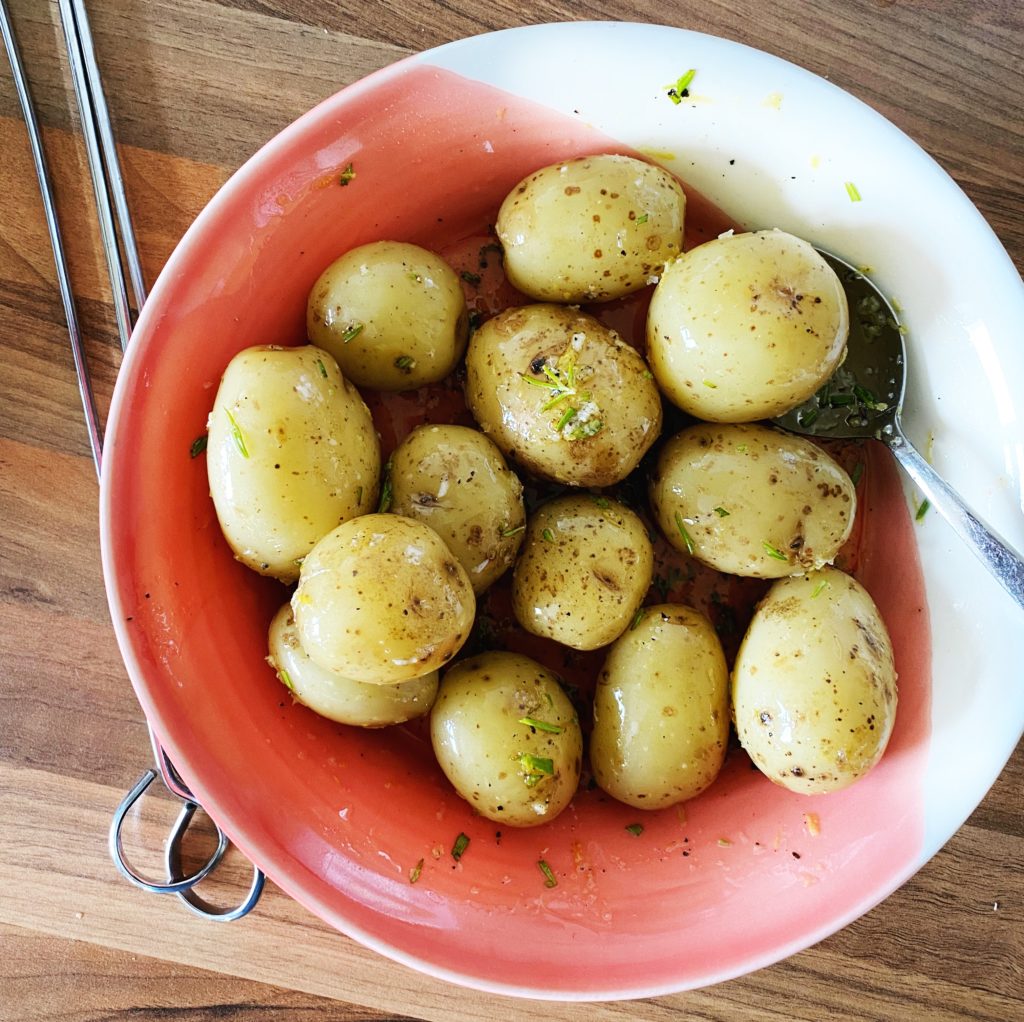
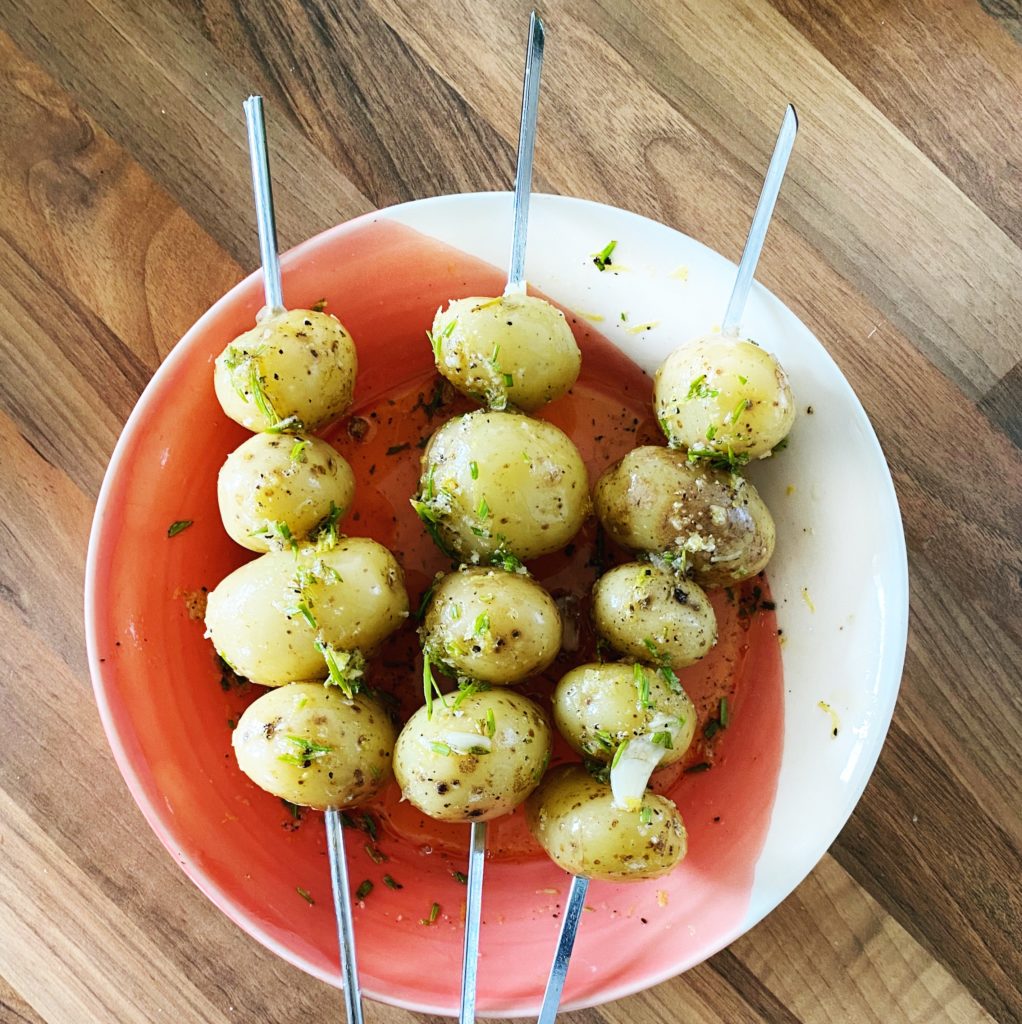
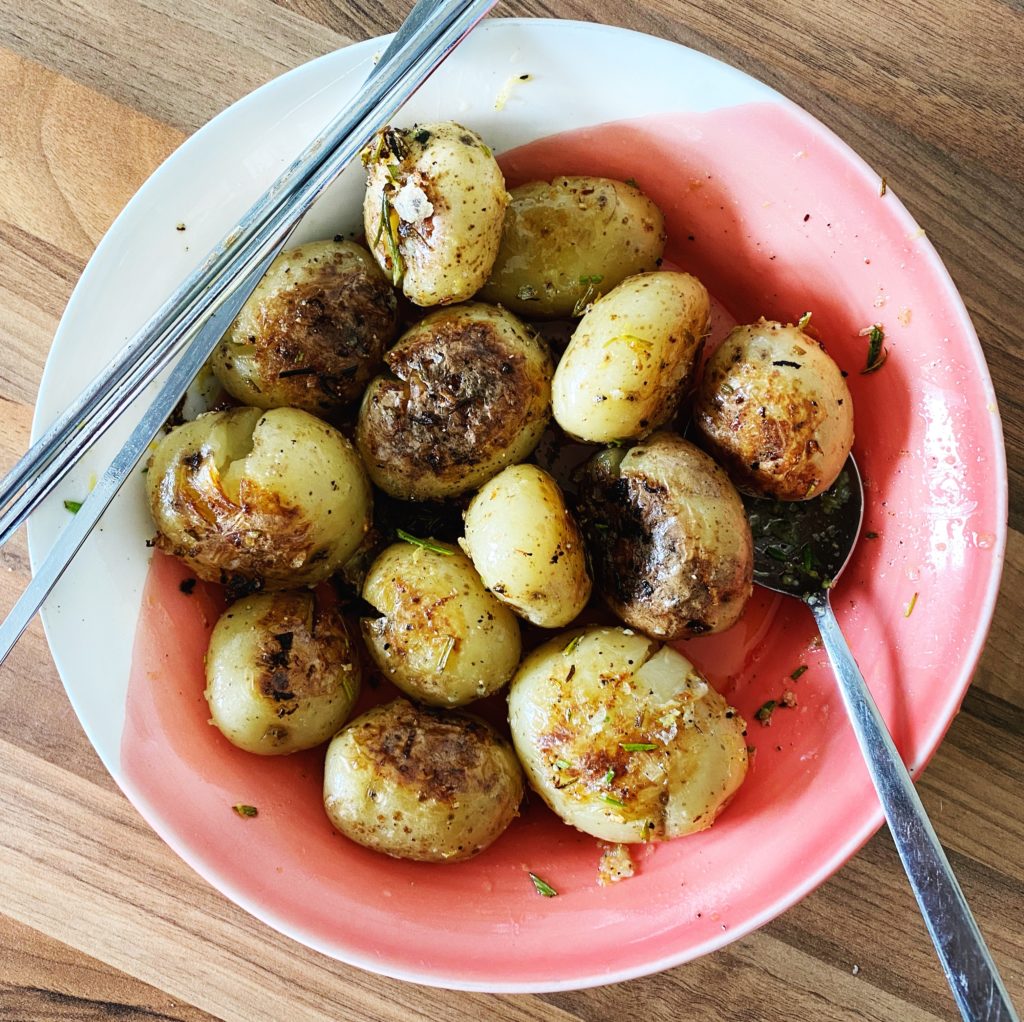
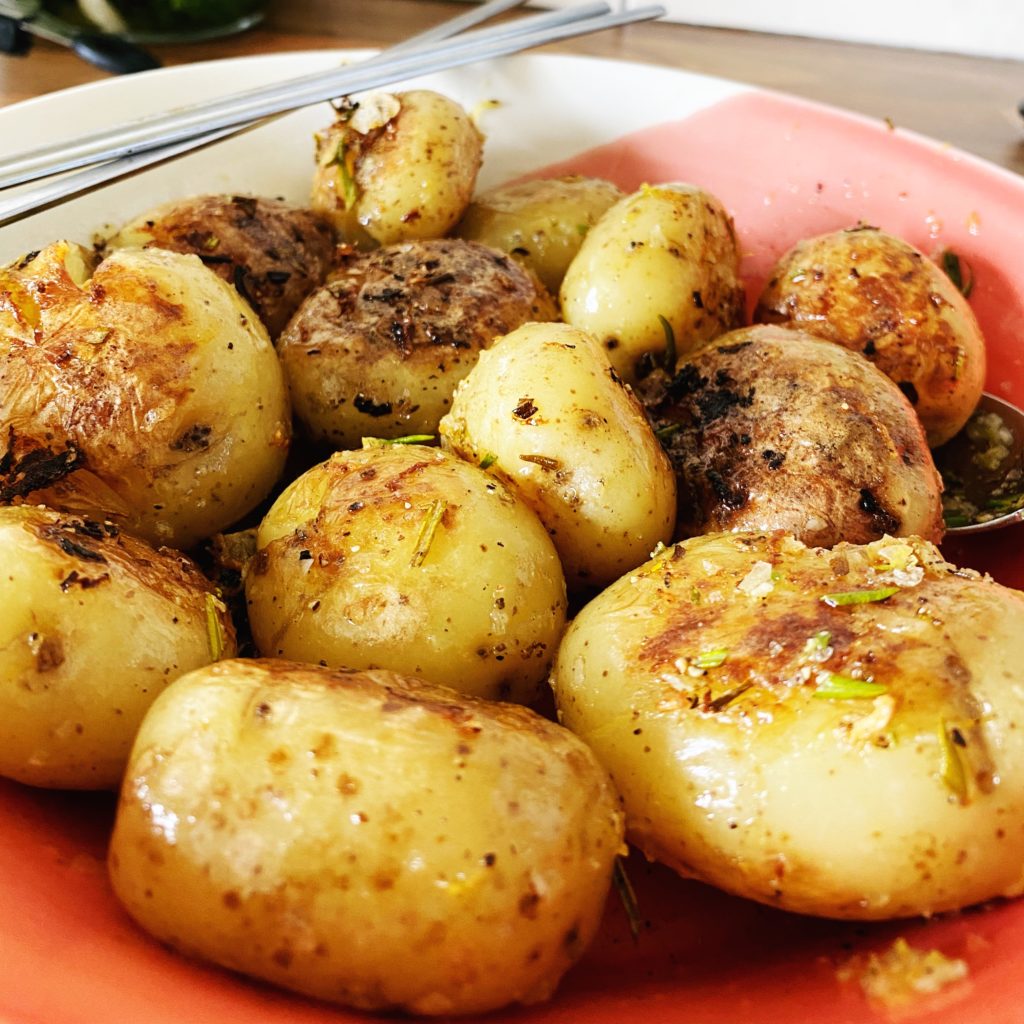
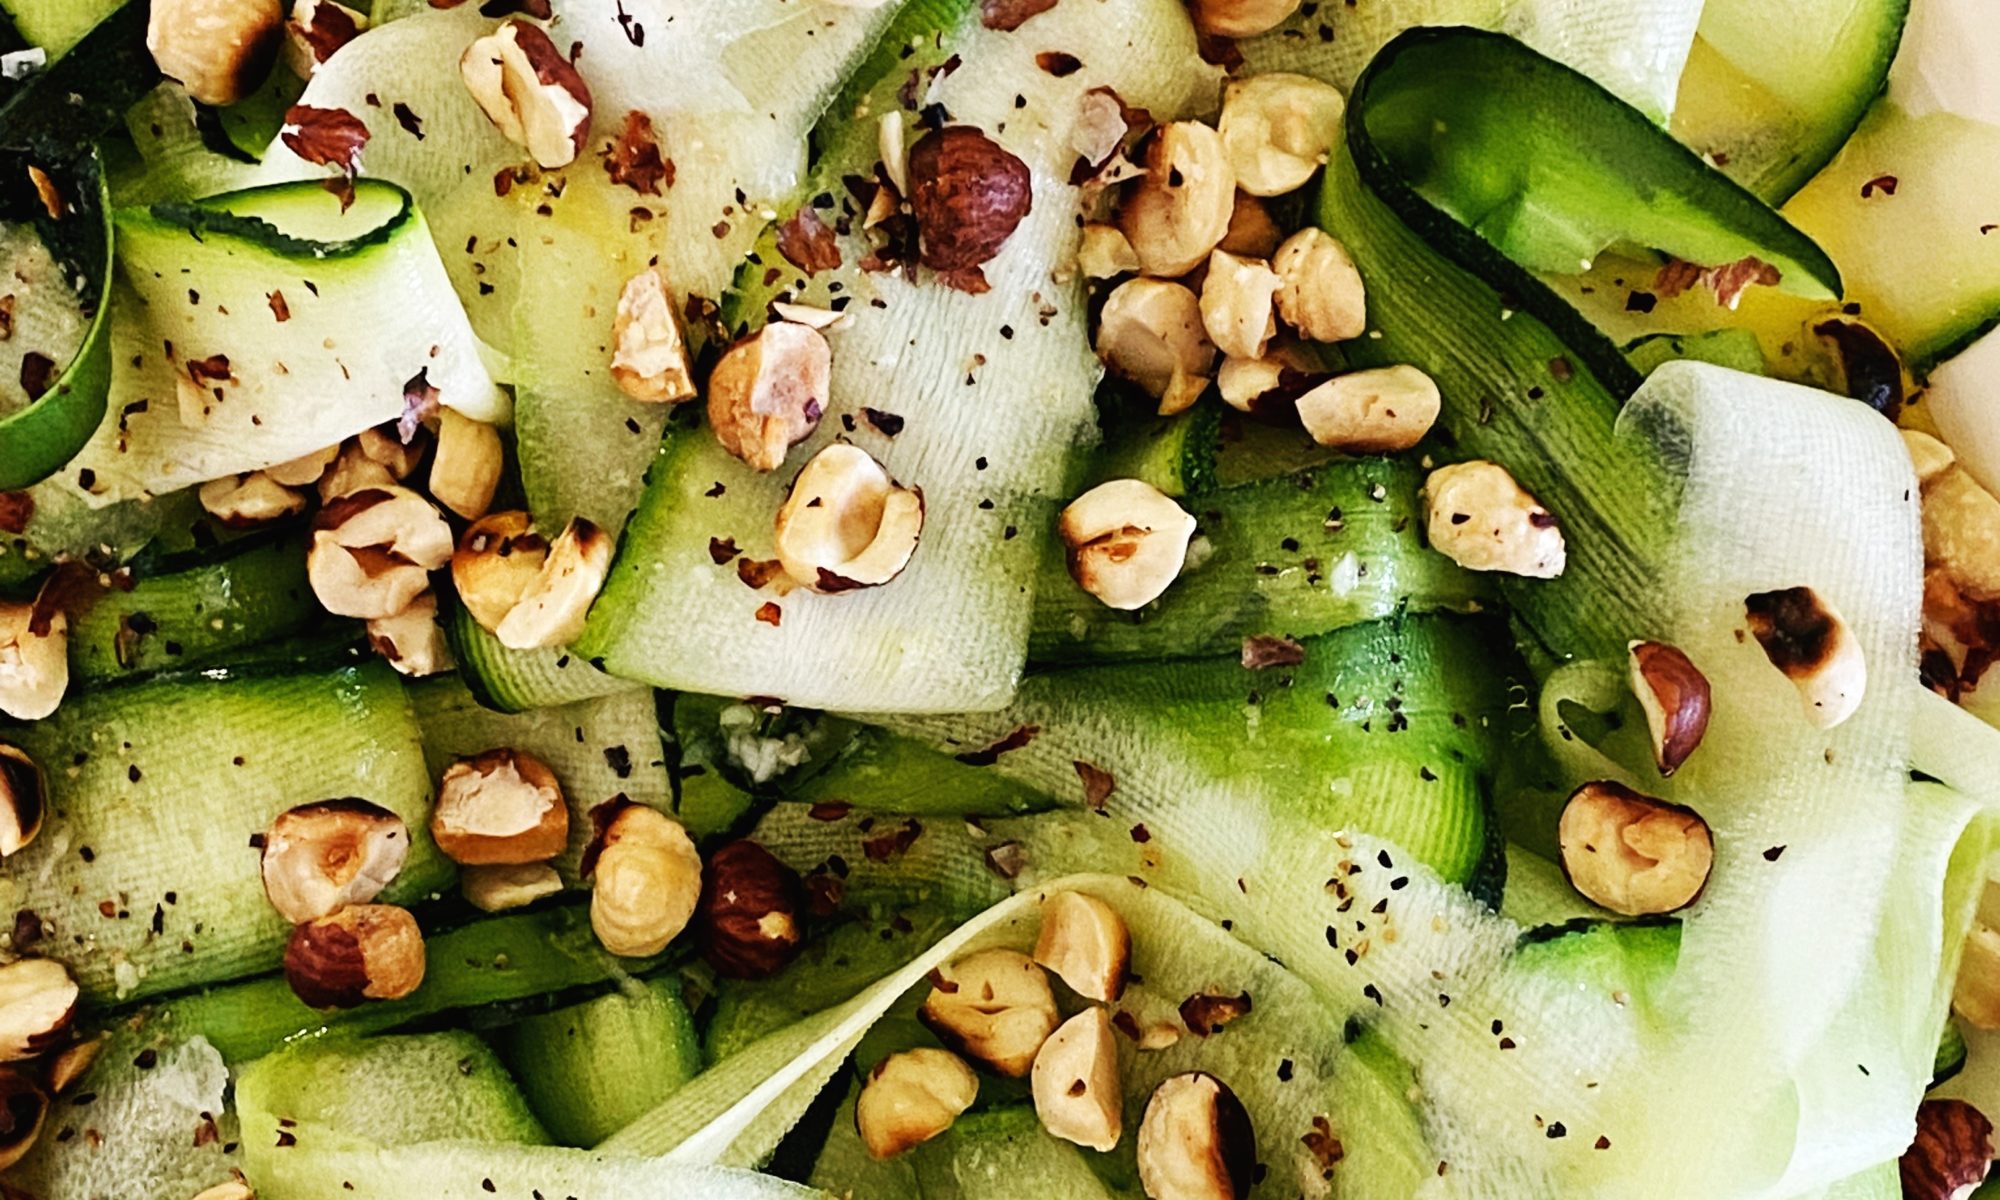
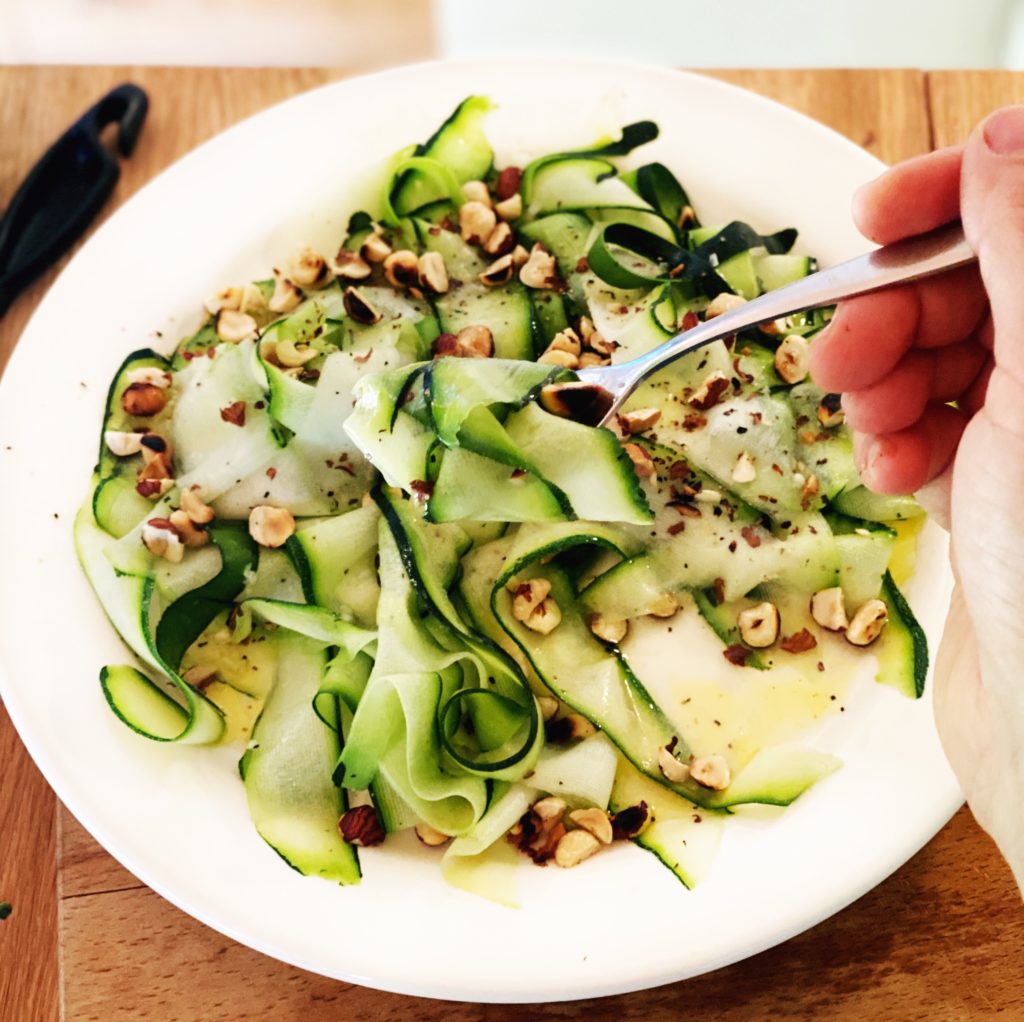
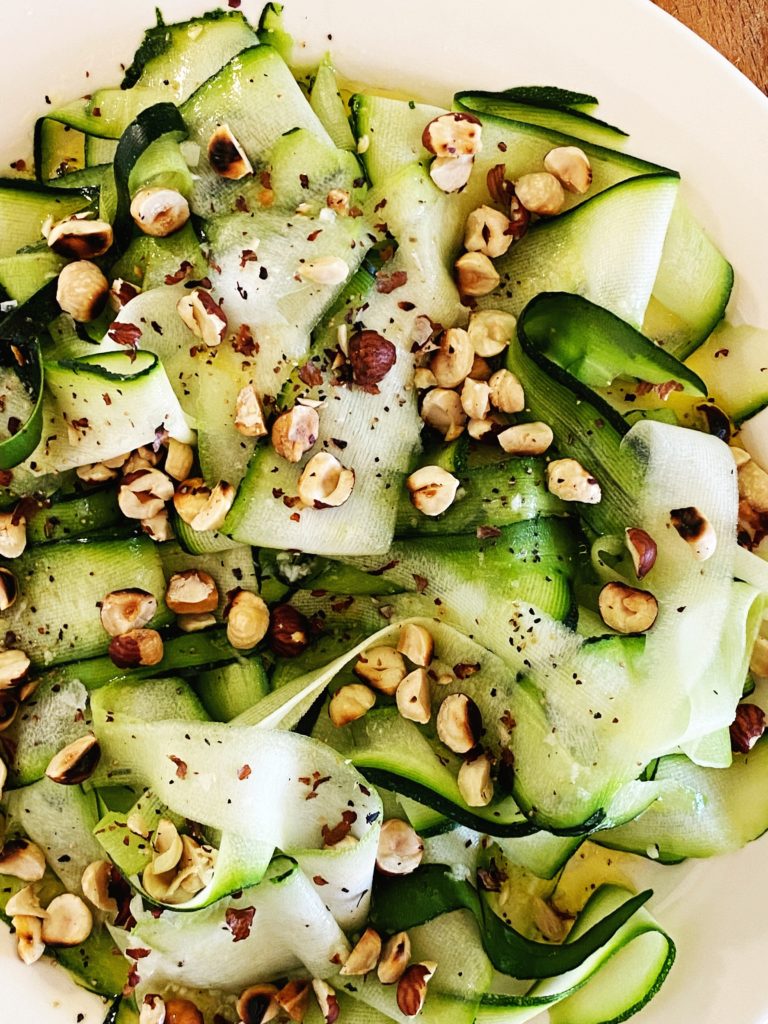
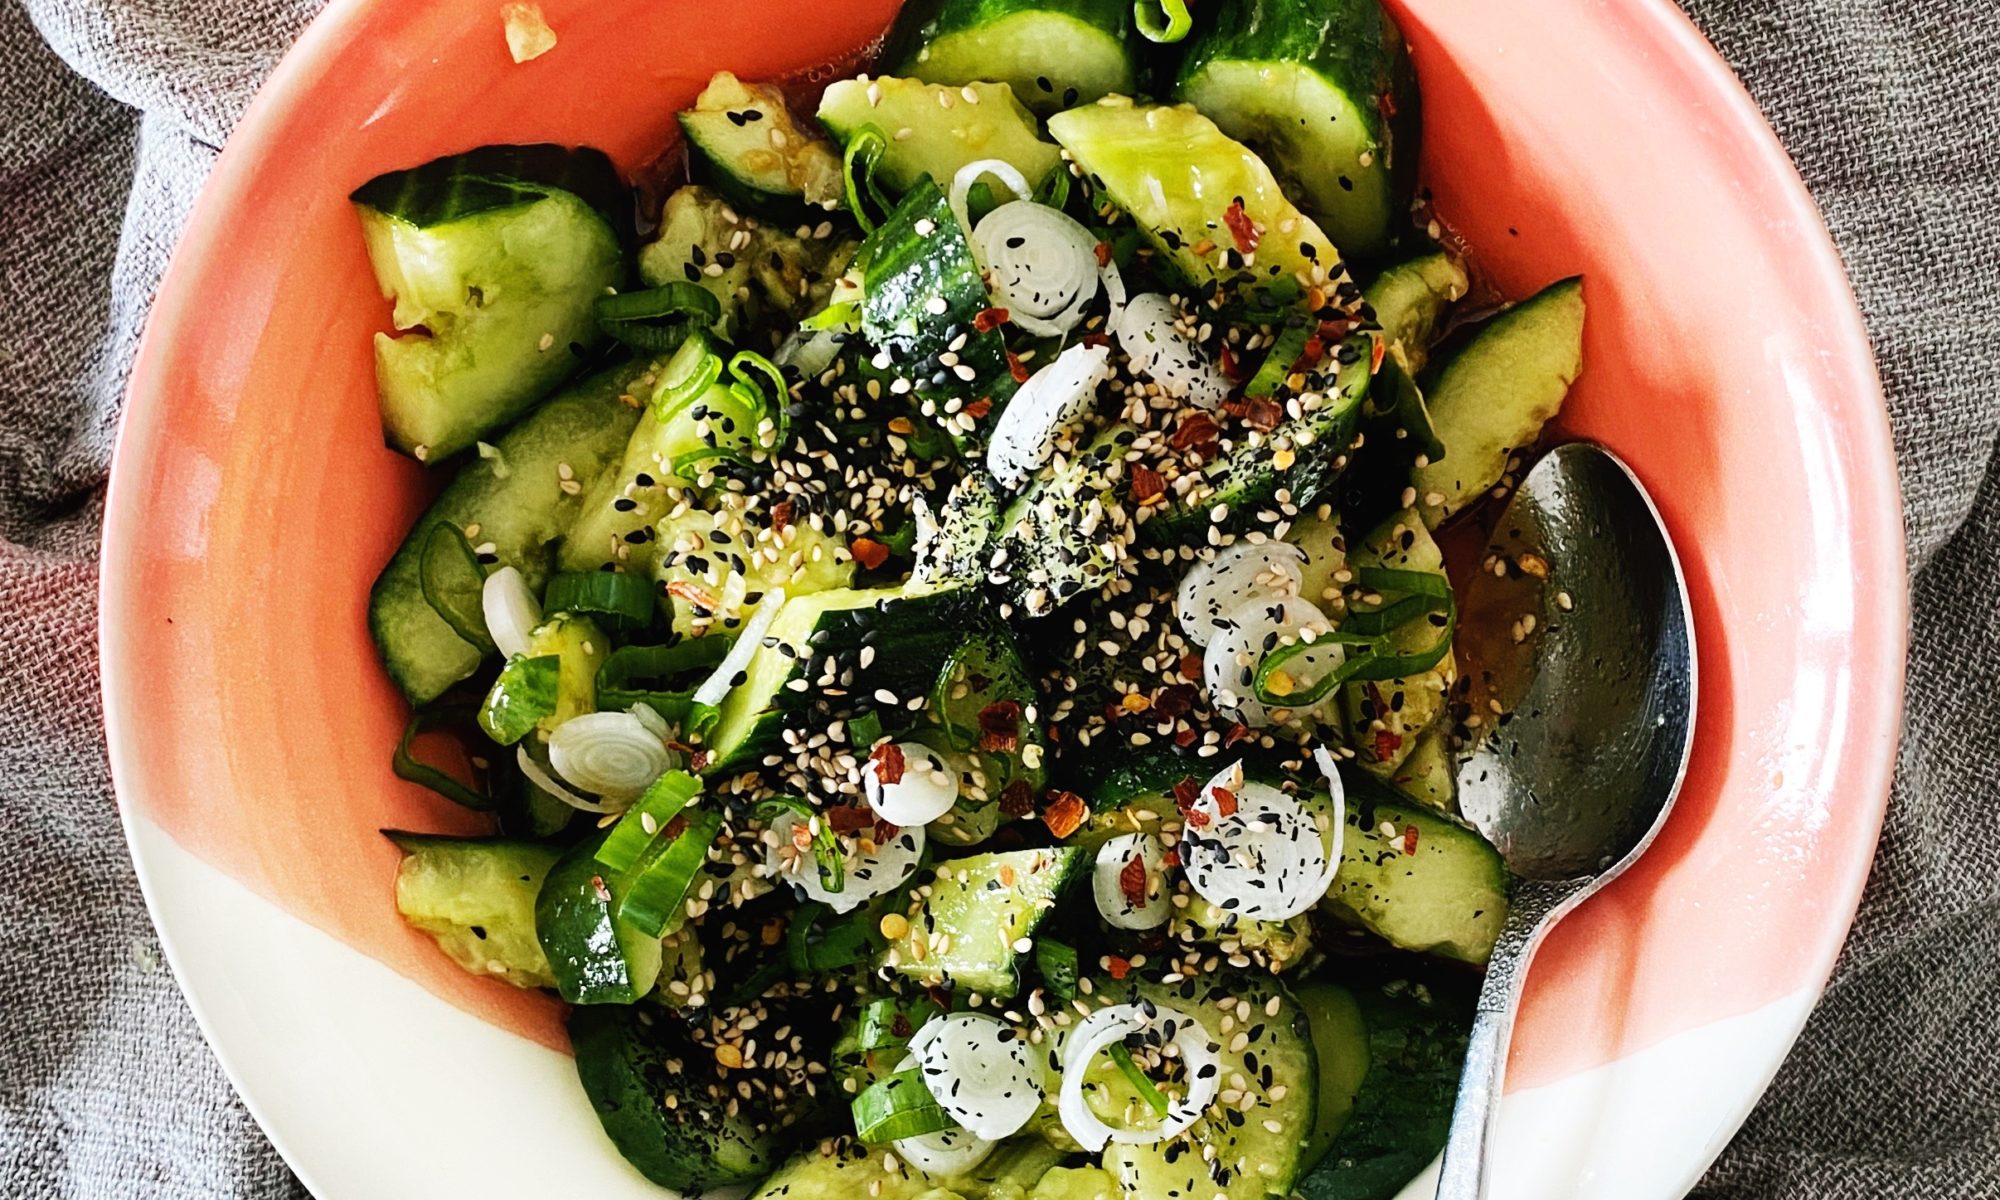
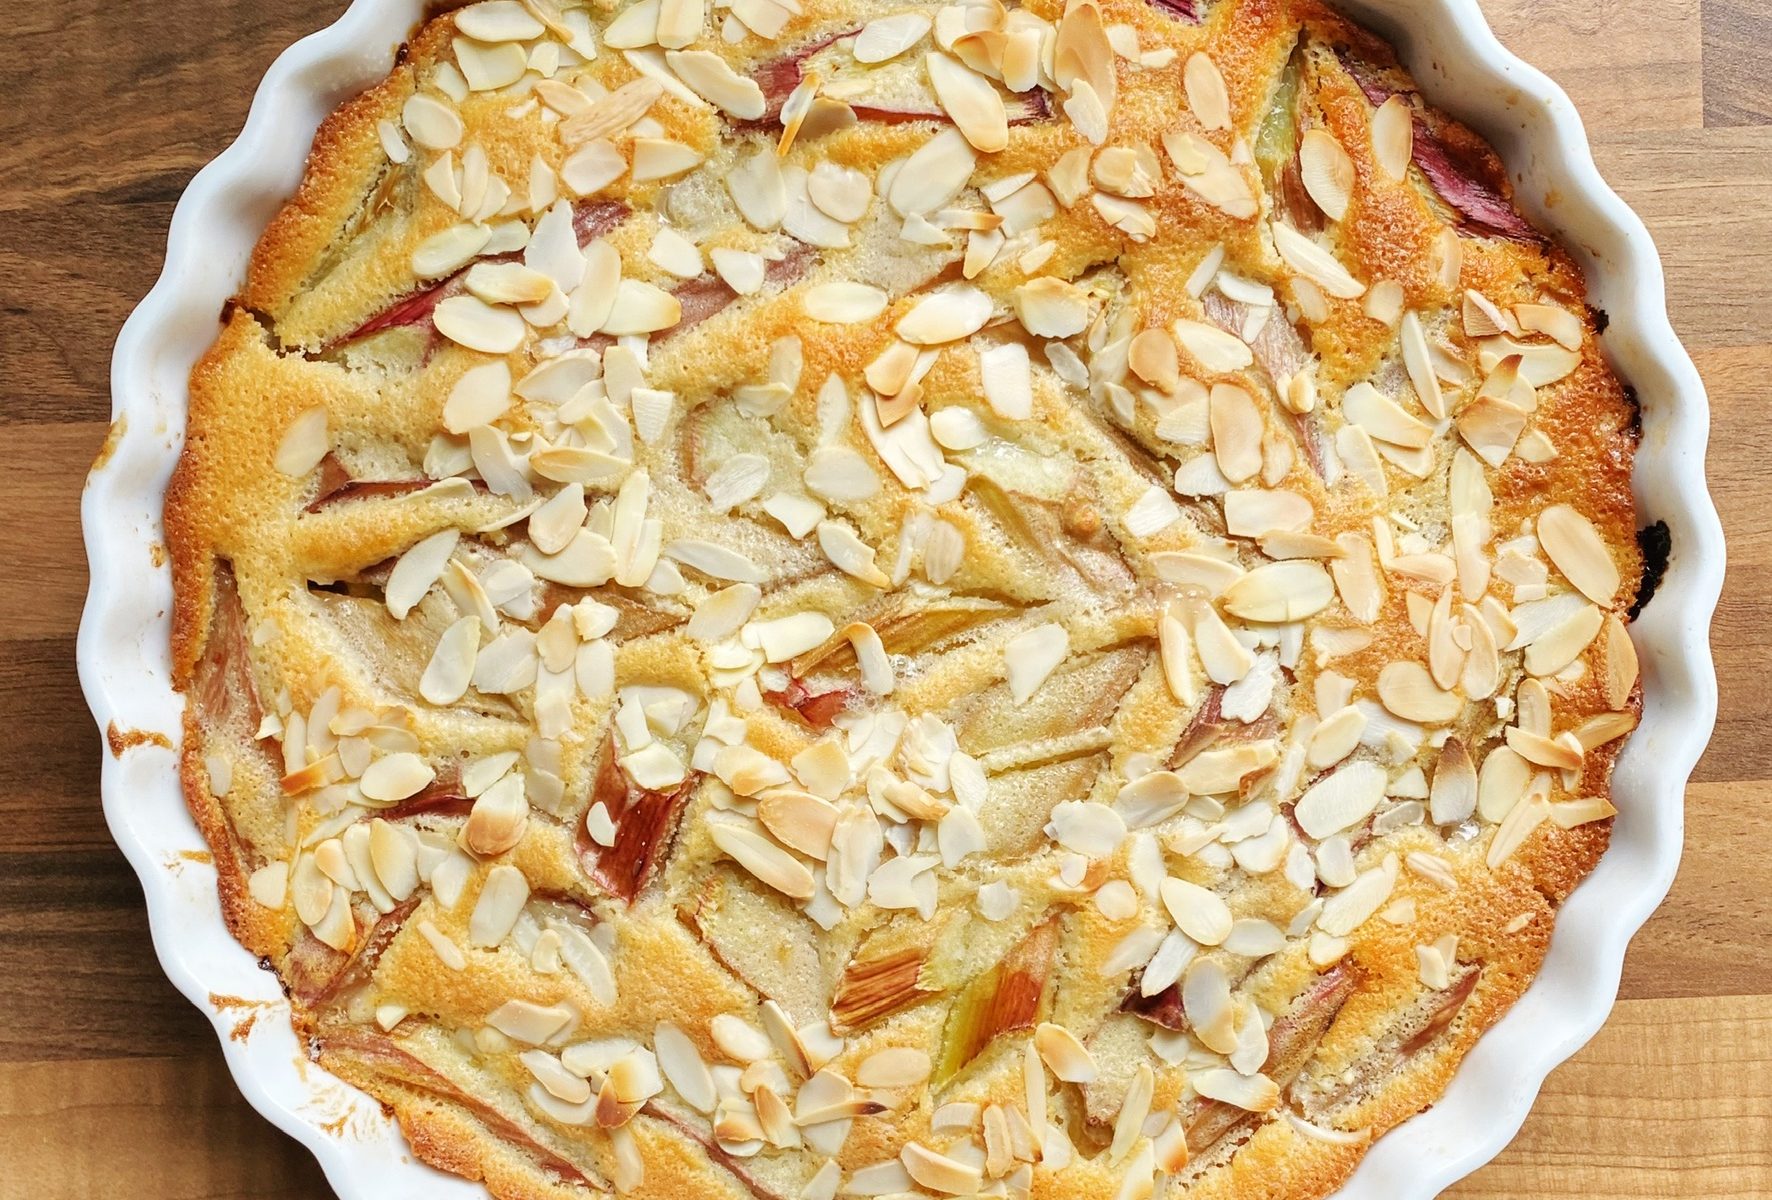
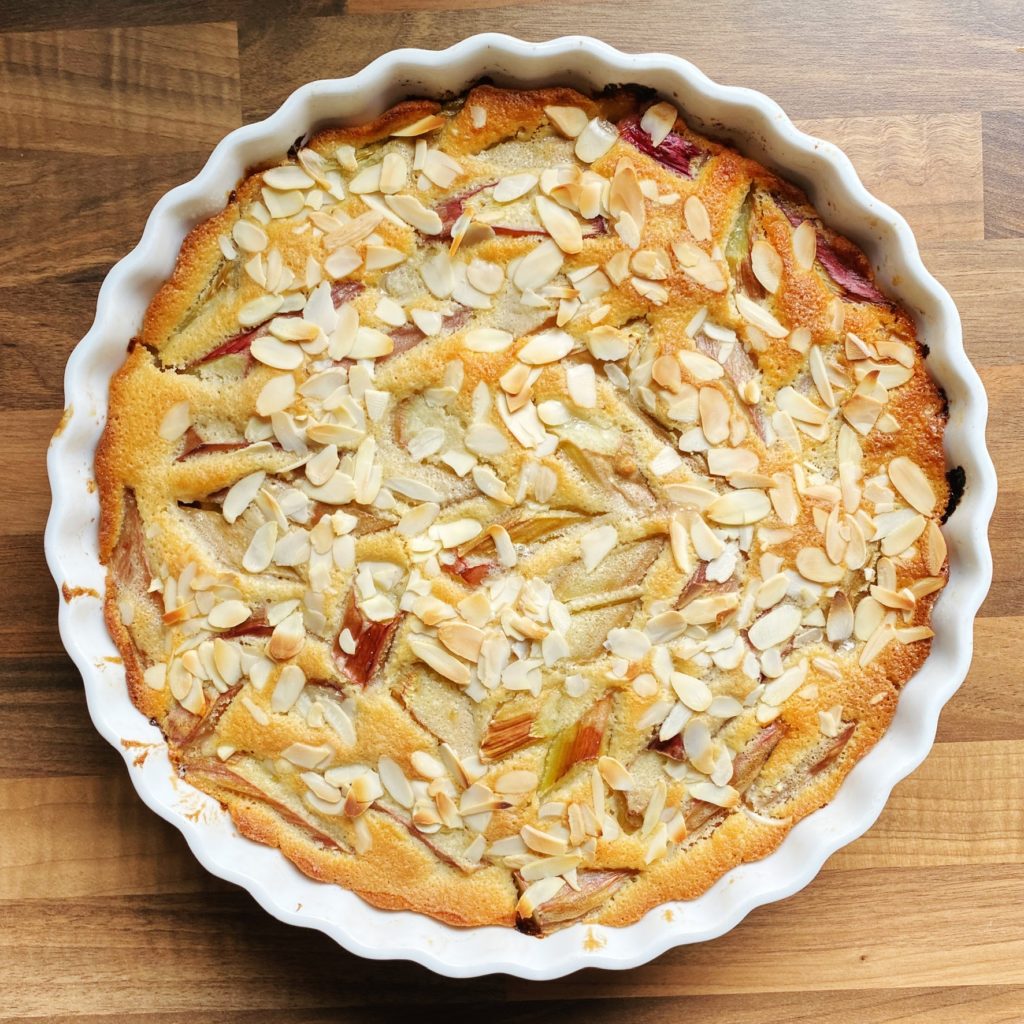
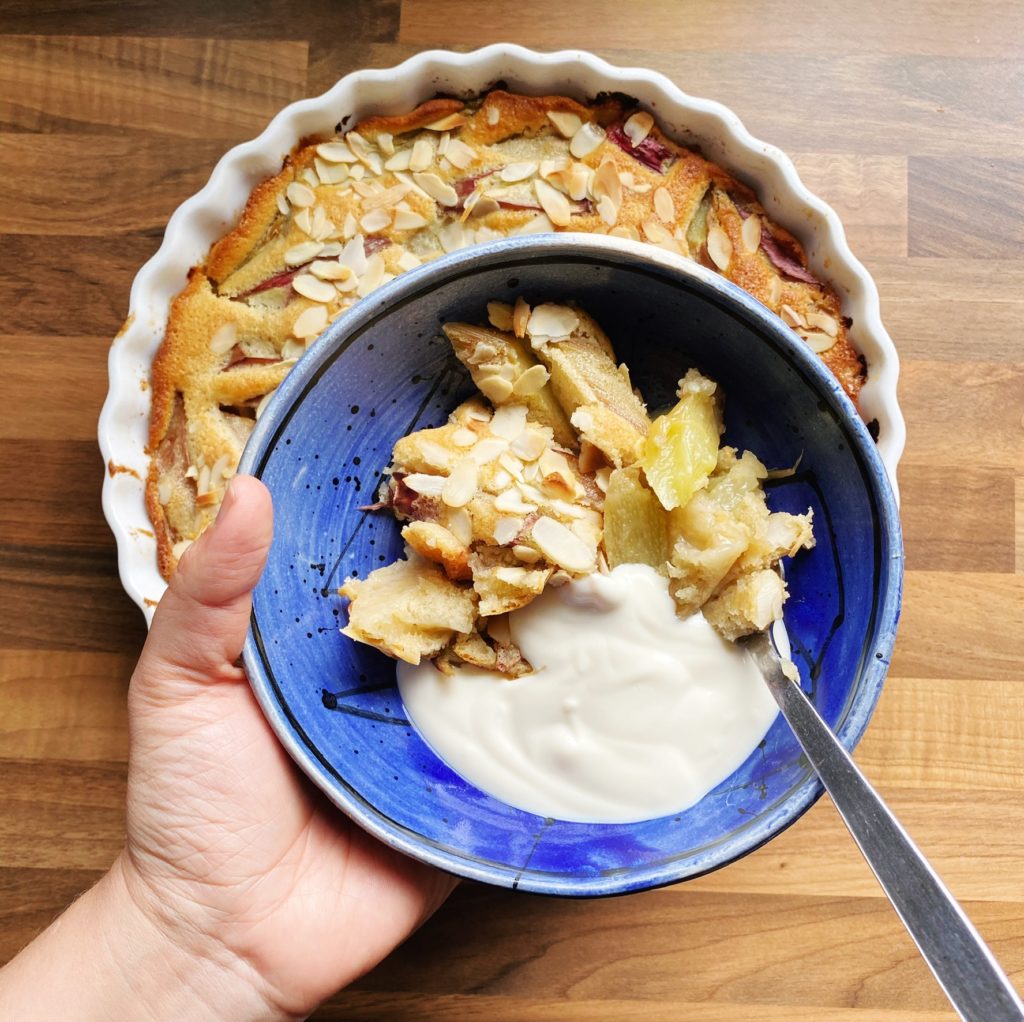
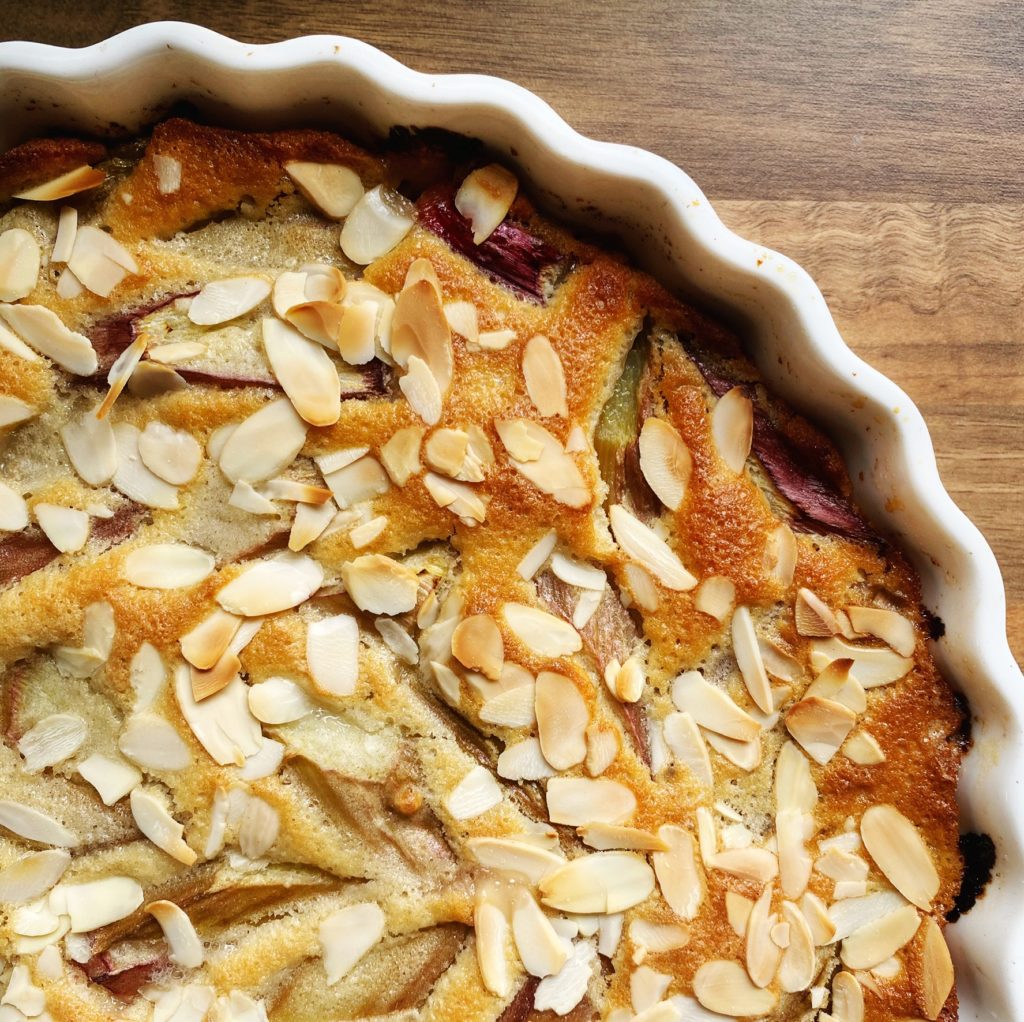
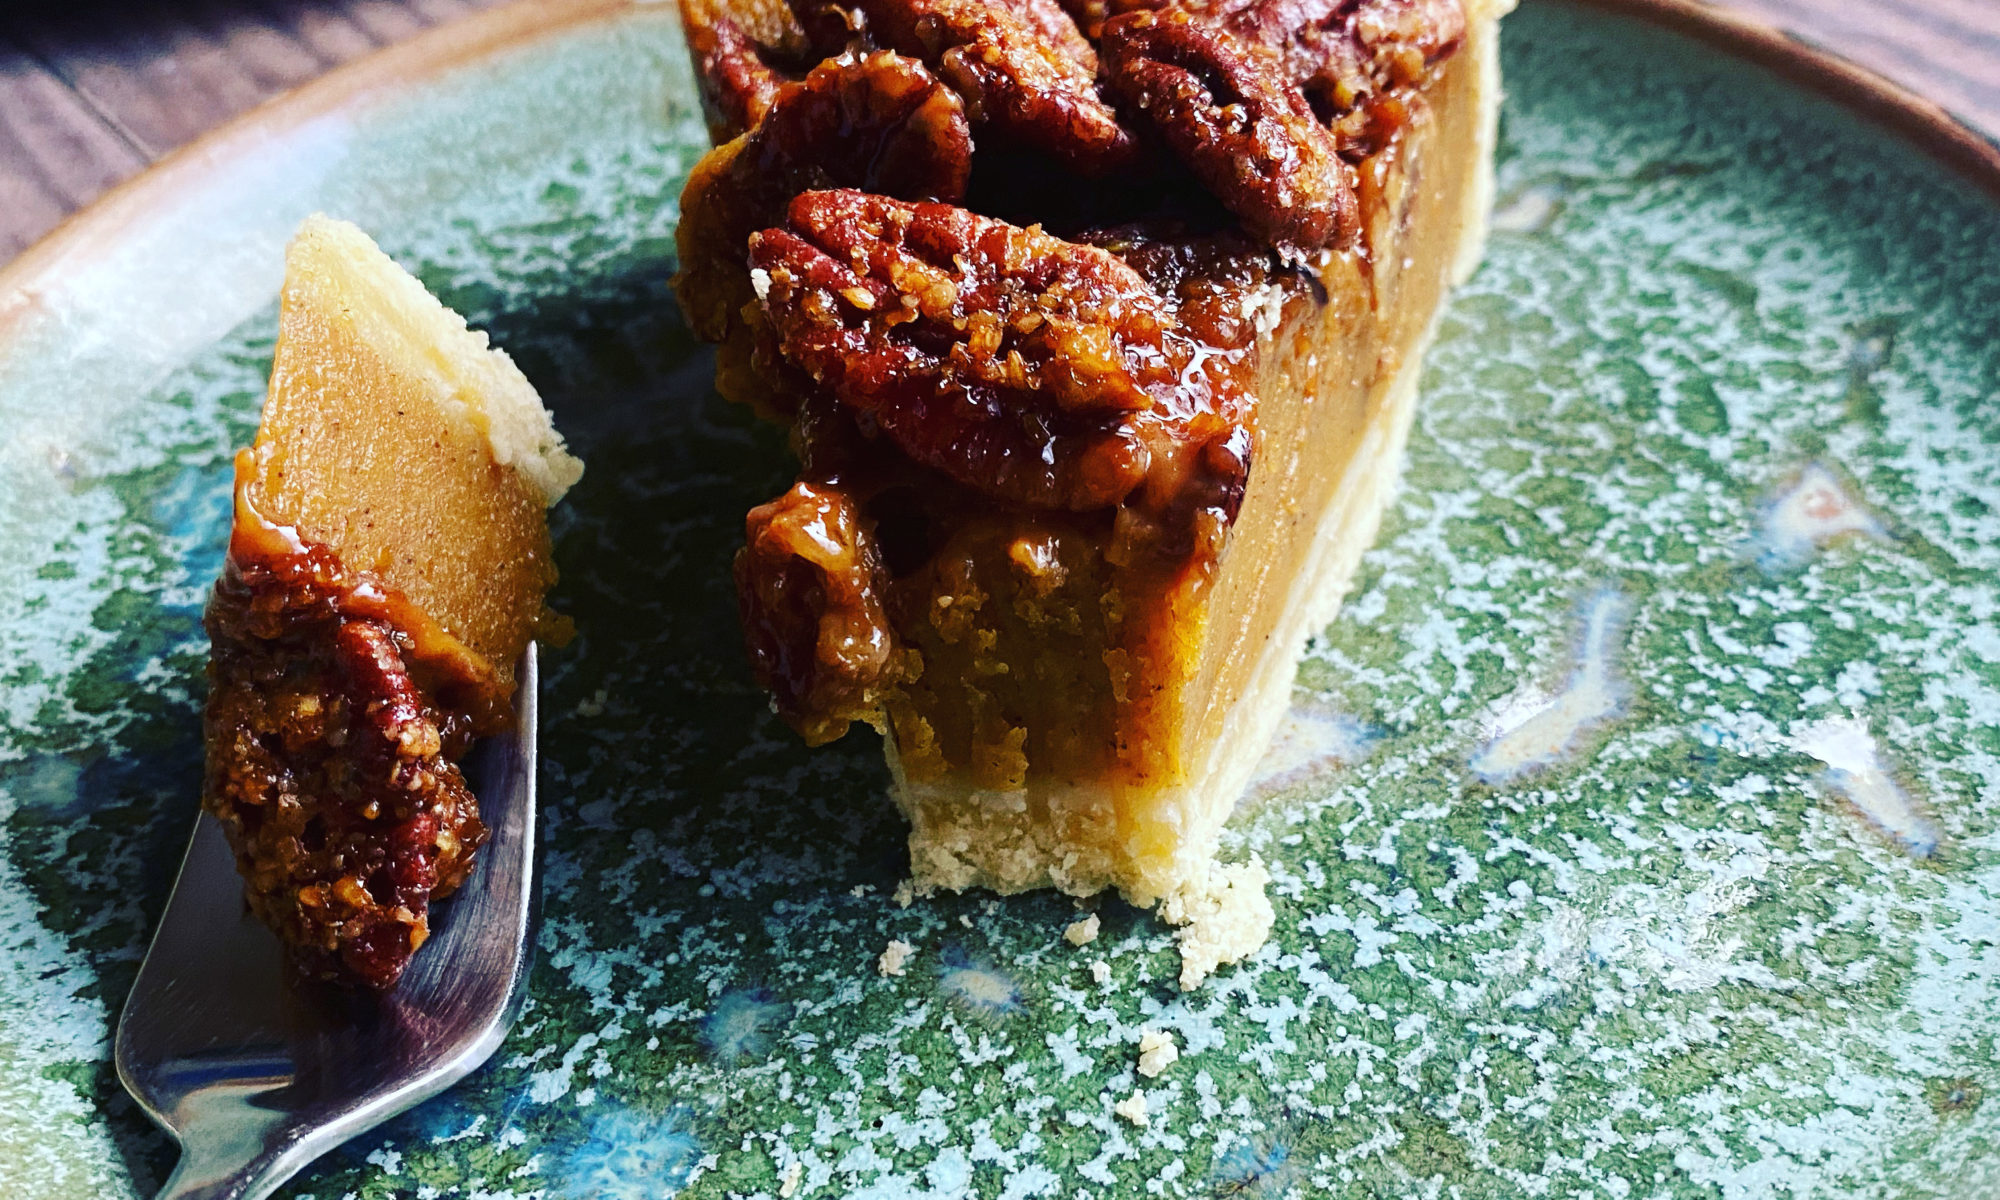
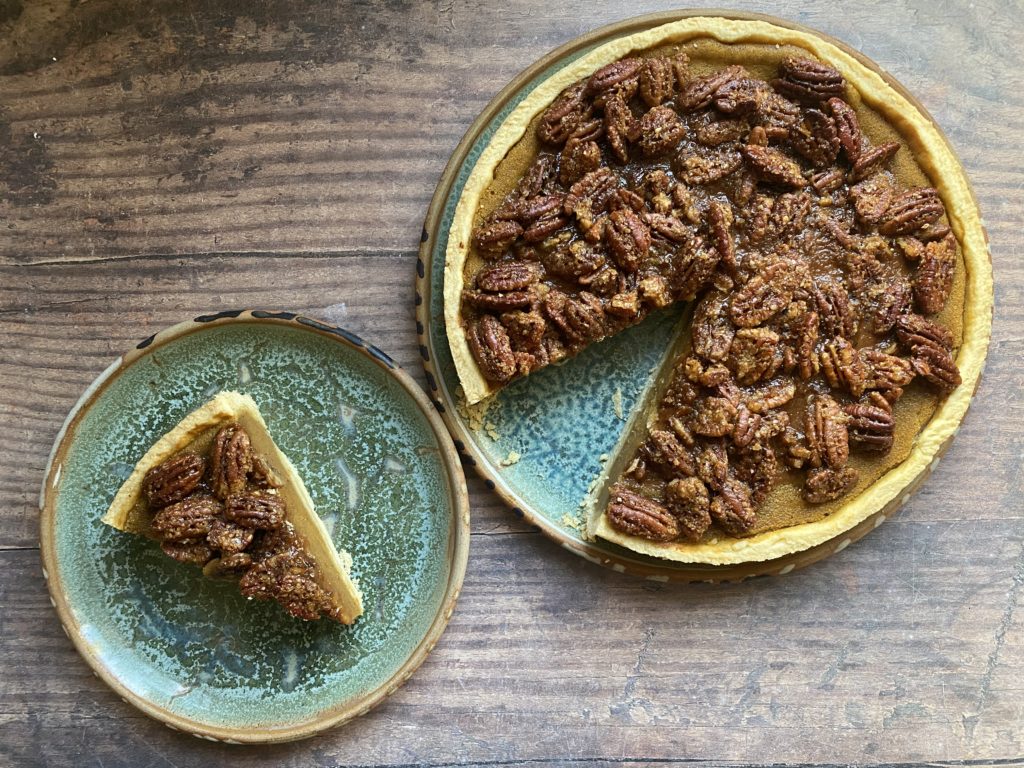
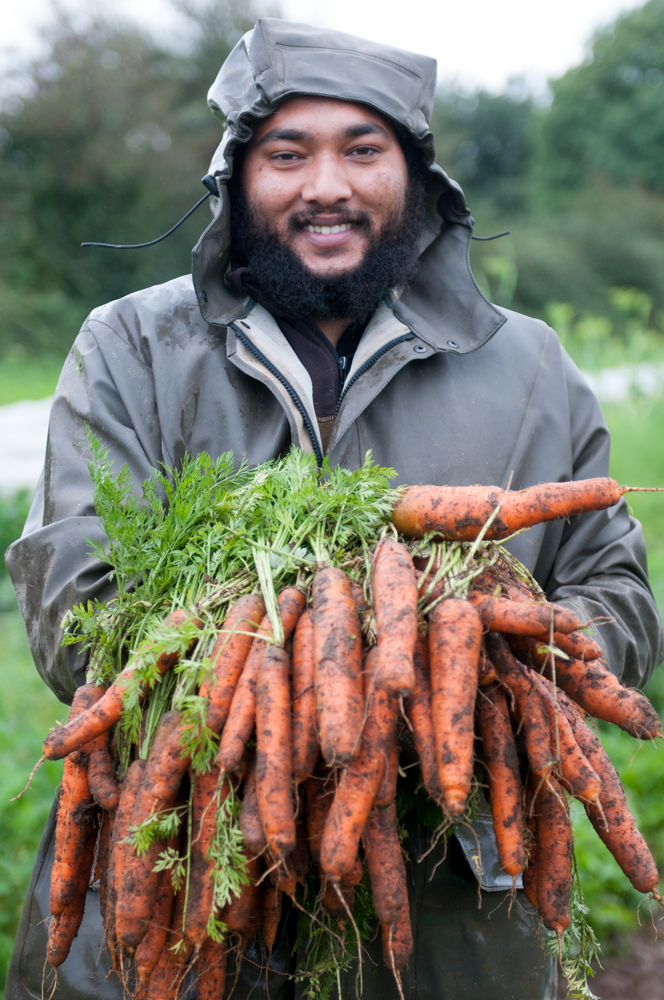
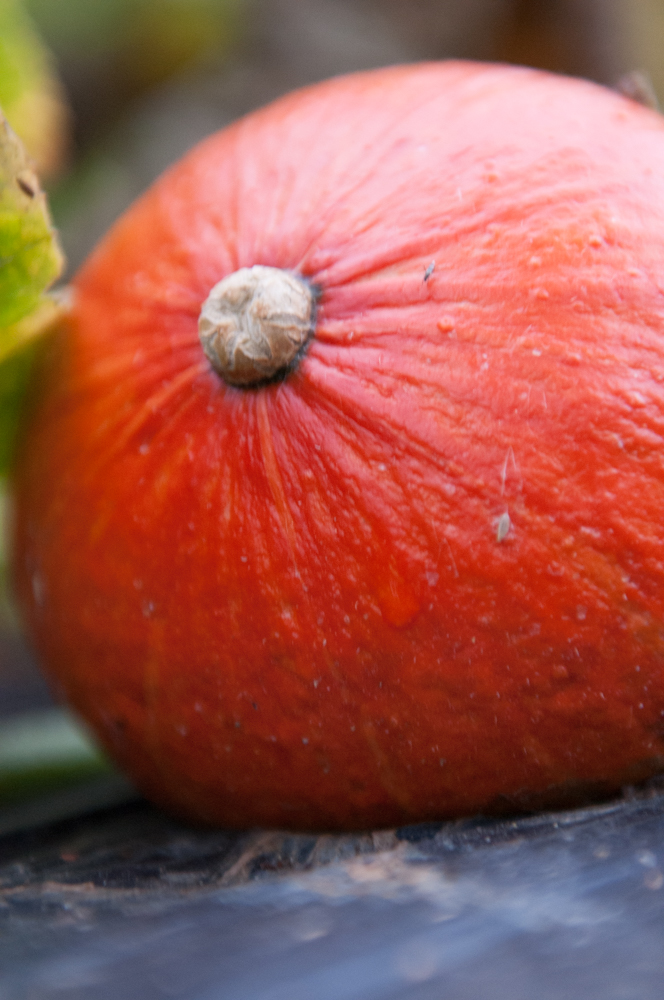
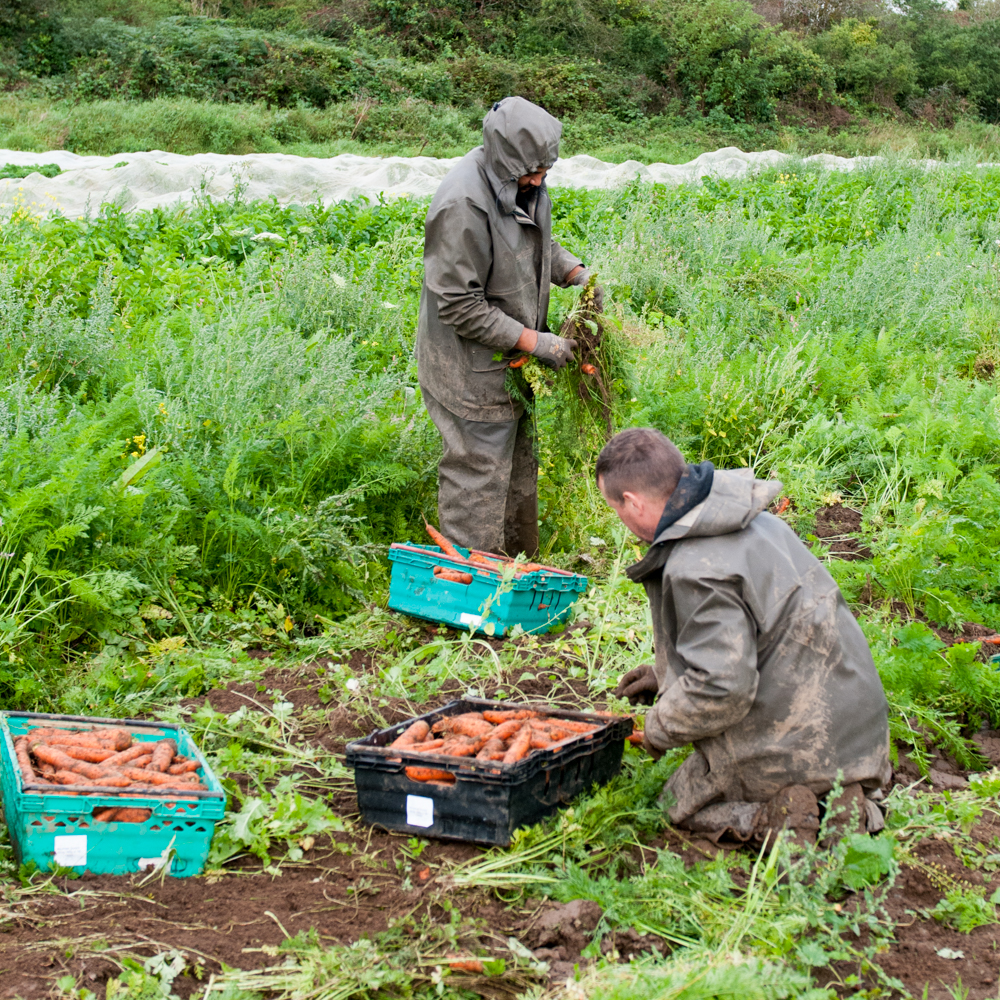
That being said, eating seasonal food can be remarkably rewarding.  The harvest on our farm is now moving towards the more earthy IRISH crops that thrive in our climate and tucked in there are some real seasonal stars. It is maybe the taste of the first freshly harvested carrot, or the start of the purple sprouting broccoli season that really make me appreciate the ebb and flow of the seasons and its effect on our local food supply. 

Following a strictly seasonal diet can be nearly impossible,but maybe using the old 80/20 rule might be a good idea here? Eating what is in season 80% of the time and eating what you want the other 20%.

But does taking a seasonal approach to food matter? Yes, it matters a lot, it matters for our planet and for our health. Seasonal organic food is usually fresher and therefore contains more nutrients, has been grown sustainably and has a smaller carbon footprint.

Even so, accepting that somethings just don’t grow in our country and some things only grow well in our country at certain times of the year is part of understanding our food landscape. We grow what we can here on our farm, but we still need to source bananas from the other side of the world.

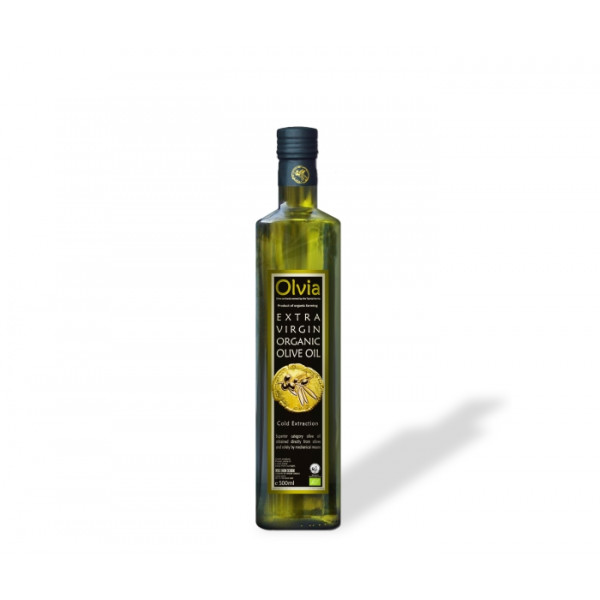
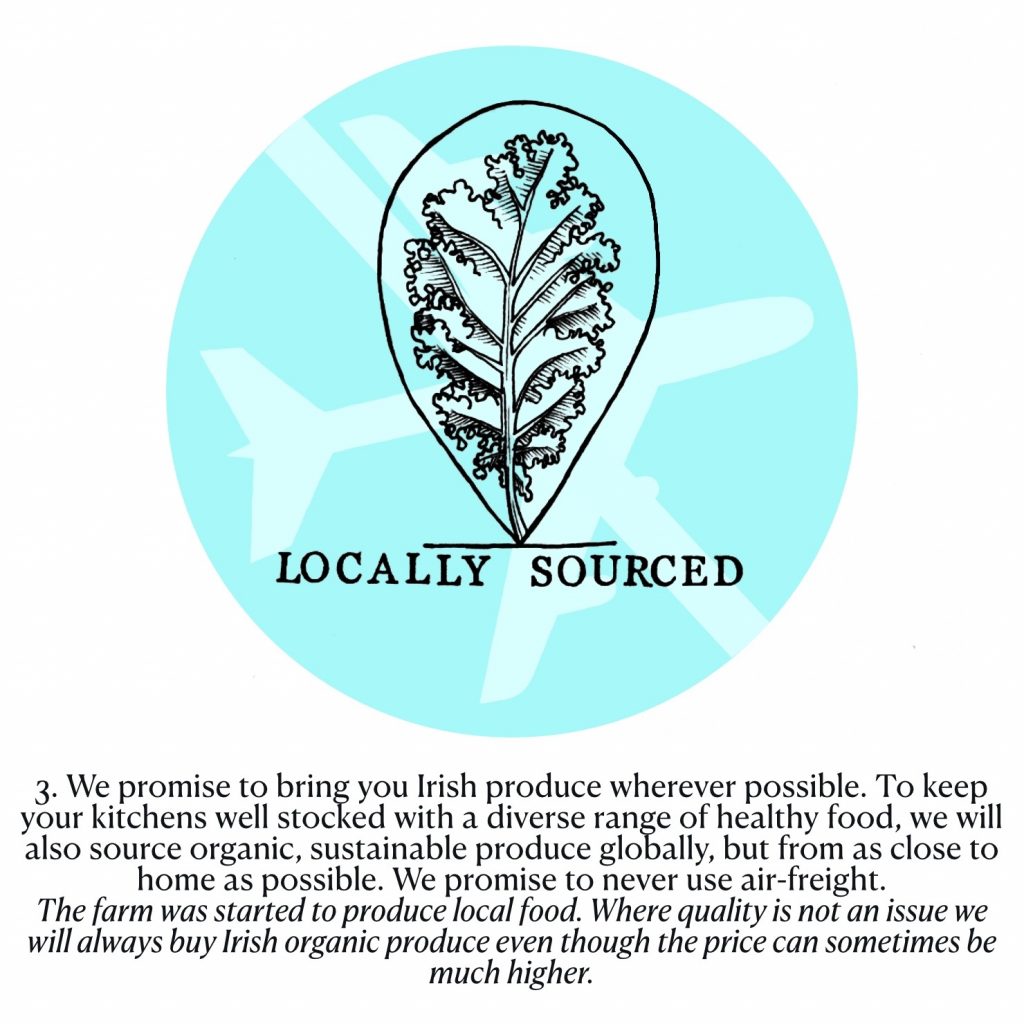
Where we need to import, we will always make sure our produce is organic, Fairtrade where possible and never airfreighted.

One of our 5 pledges for the planet.

We have never had such a large range of local IRISH organic produce both from our own farm and from a host of other small organic farms across Ireland. Without any doubt right now is the perfect time to give seasonal eating a go. 

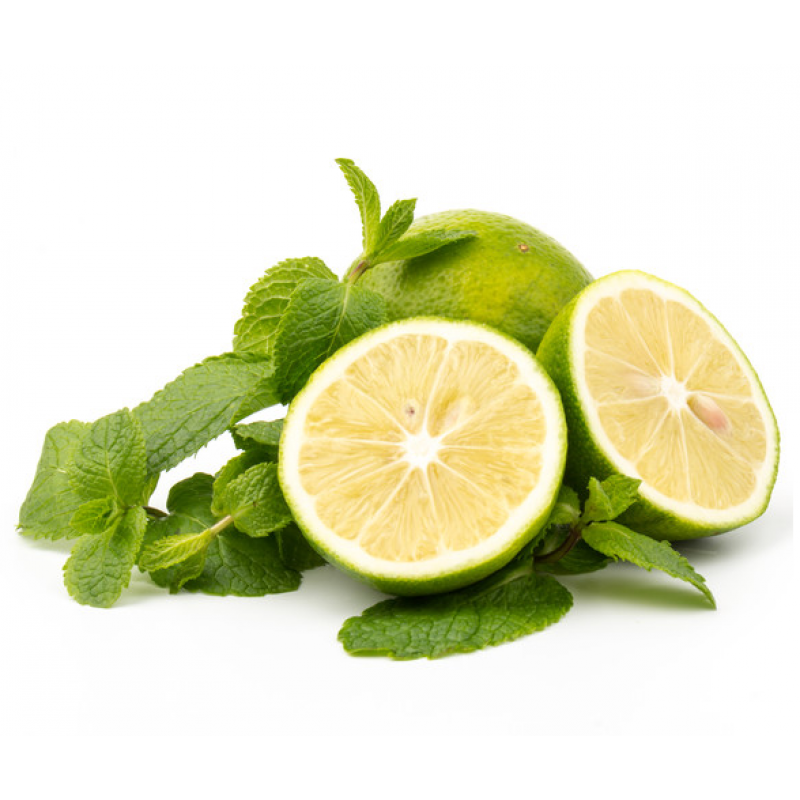
I am also looking for to the start of the proper Italian Clementine and Lemon season, and my favourite is the blood orange season later in the year. 

As always thanks for your support. 
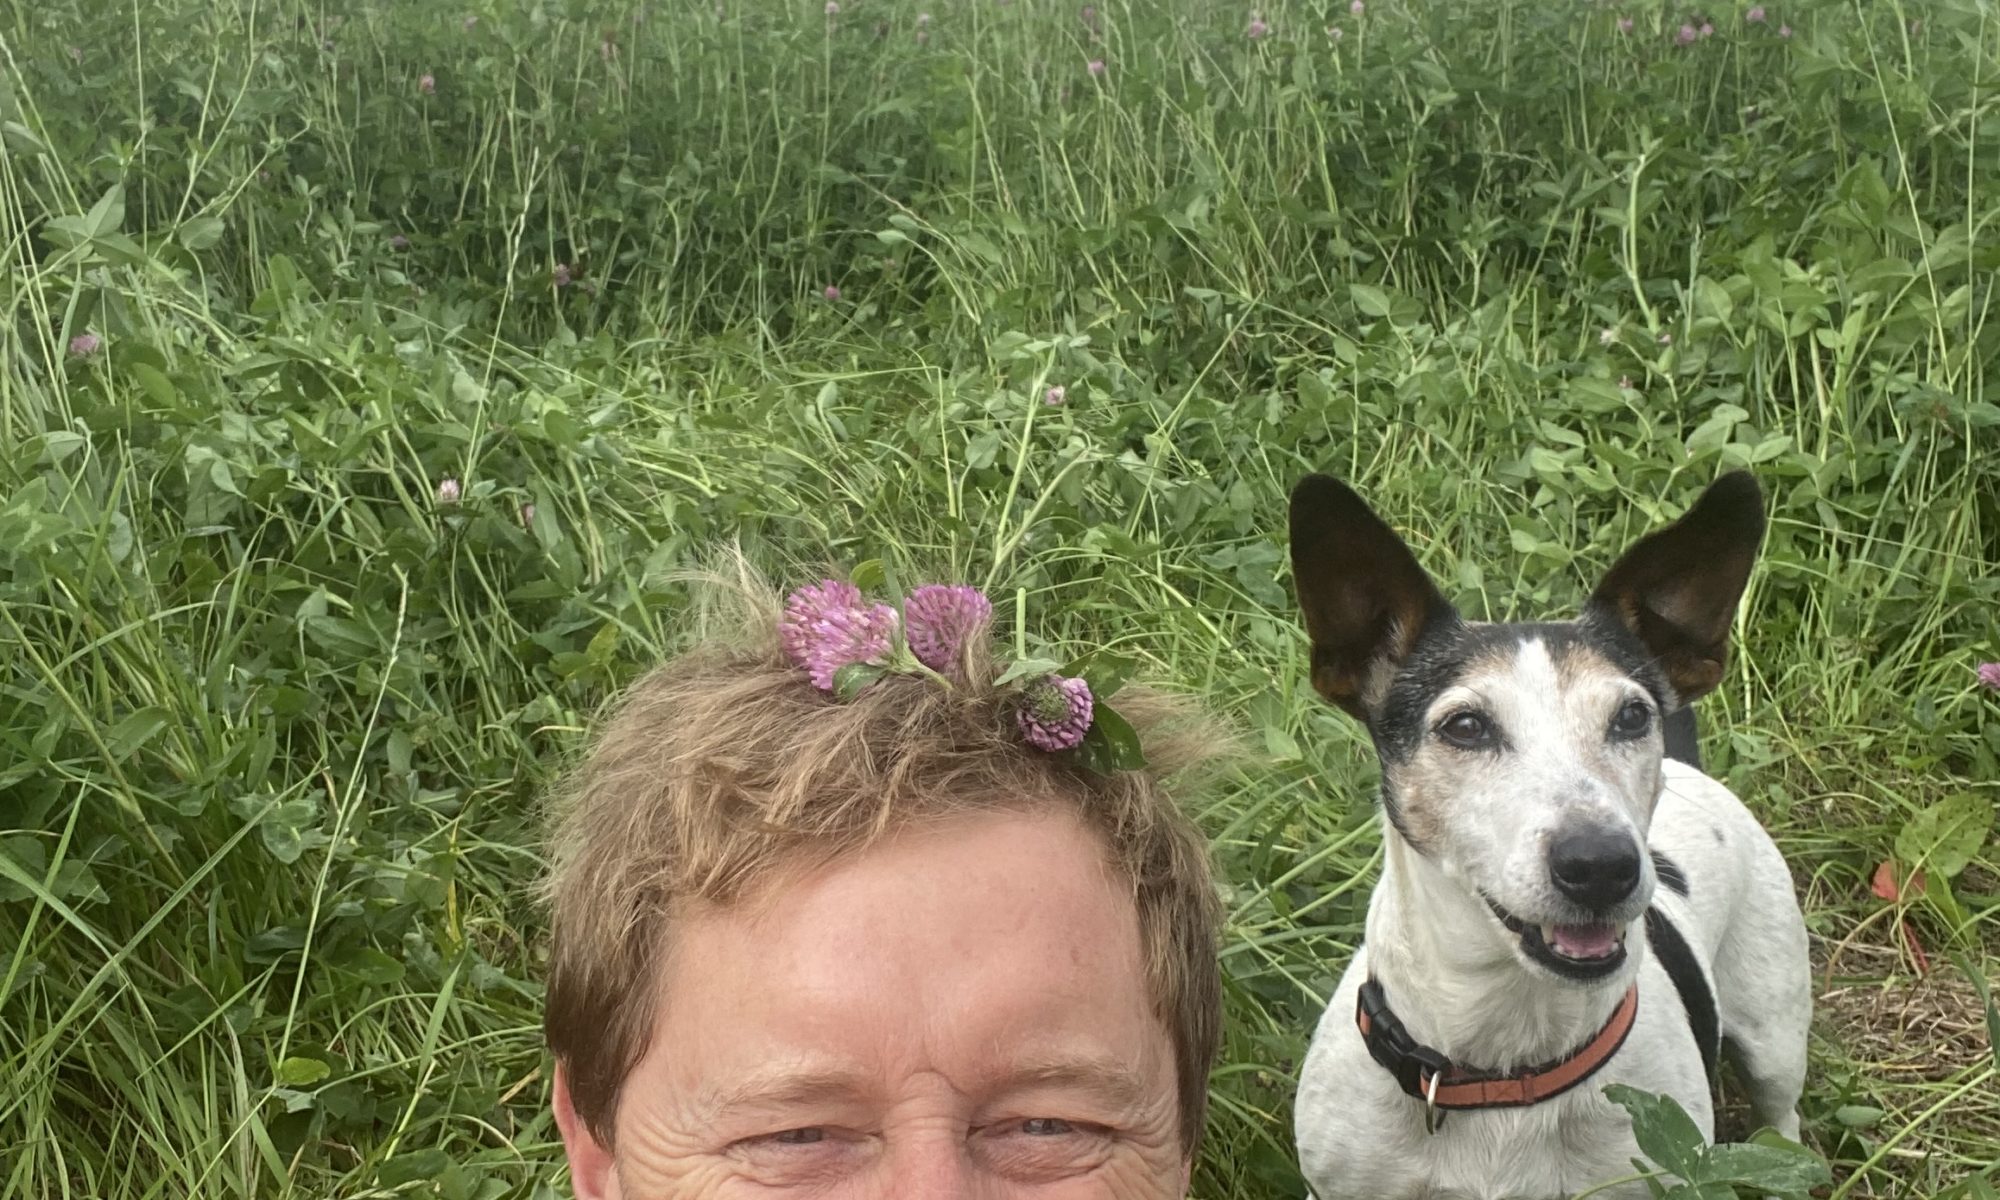
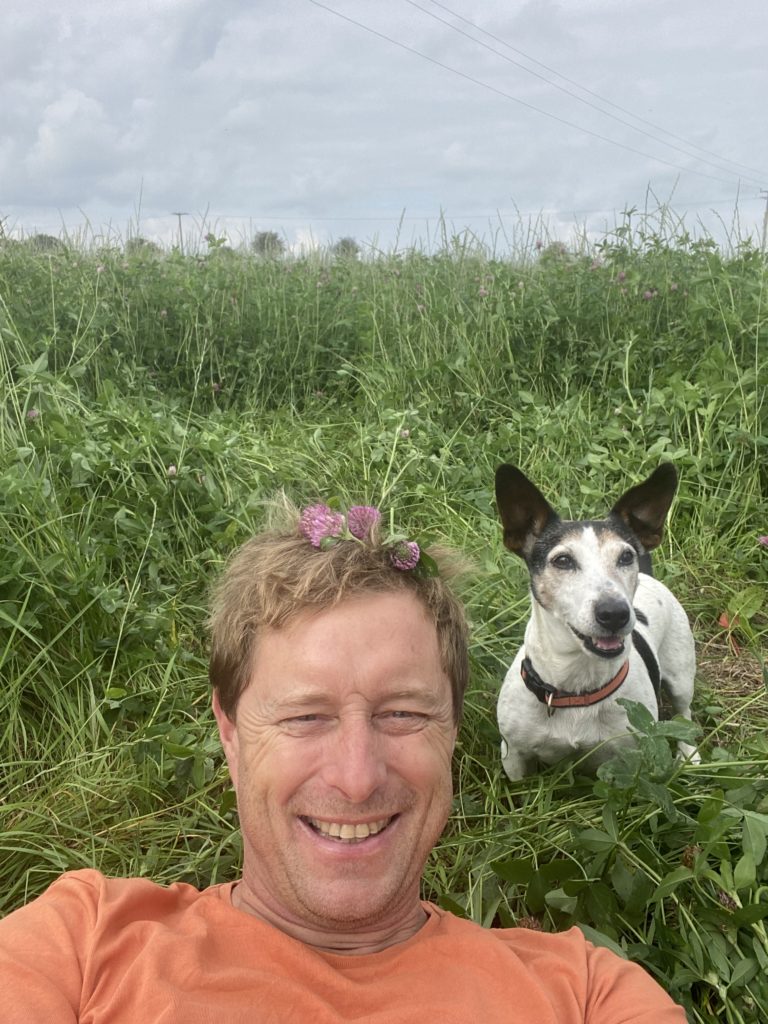
Kenneth

Get a box of locally grown veg (with some more exotic fruit thrown in for variety) here.

Steam-Fried Cabbage

Have we mentioned? Perhaps just once or twice? We have a LOT of cabbages coming out of our fields right now! Although we love cabbages – they are sweet and juicy, delicious raw or cooked, super-duper healthy (they are packed full of vitamins C and K and have loads of fibre and other amazing properties) – we know that it can be a bit hard to get inspired by them in the kitchen. I’ve done a ‘4 Ways With…Cabbages’ blog already which you can read here (it was written for January King cabbages but the same recipes can apply to pointed, savoy etc) and sauerkraut recipes here and here. But this recipe is the one I actually use the most at home. It’s so easy and so delicious! Who would have thought that cabbage would be the star of the plate?

Steam-frying involves caramelising a side or two of the cabbage first before adding stock and a lid to steam the cabbages until cooked through. The result? Sweet and smokey, juicy and tender, succulent wedges of cabbage with a stunning broth. I love it served over a simple grain/pulse – this time I went for some nutritious quinoa – and topped with something really ‘punchy’ like the capers used here. Some other ideas using the same steam-fry technique:

  • Serve it over rice (make the stock miso or soy-sauce infused) and top with a drizzle of sriracha and some toasted sesame seeds?
  • Serve over mashed potatoes and top with a dollop of mustard and a side of sausages?
  • Serve over warmed butterbeans or chickpeas (put chopped tomatoes and garlic in the stock) and top with smoked paprika, chilli flakes and toasted almonds?
  • Serve over pasta (put lemon juice and garlic in the stock) and top with cheese or pesto?
  • Serve alongside a Sunday roast?

Have you got any good ideas on how to serve steam-fried cabbage? Share them in the comments below or over on our community facebook group here.

Liz x

Ingredients (serves 4)

  • 1 pointed cabbage
  • 3 tbsp olive oil
  • 1 tsp salt
  • 1/2 tsp black pepper
  • 1 stock cube
  • quinoa and capers to serve (or see above for alternative serving suggestions)

Method

  1. Prepare your quinoa (or other base eg rice, potatoes, beans, chickpeas, pasta). For 4 people, I rinse a mug of quinoa through a fine sieve then pop it into a pot with a mug and 1/2 of water. Bring to the boil with the lid on, then turn to the lowest setting and simmer until the quinoa has absorbed all the water (about 10-15 minutes) and released it’s little tails. Take the pot off the heat but leave the lid on and let the quinoa rest.
  2. Meanwhile grab your largest pan that has a lid. A wide, shallow casserole dish is perfect. In fact, if you don’t have one of these, I highly recommend investing in an oven and hob safe one as they are so useful!
  3. Rinse the cabbage, remove any unwanted outer leaves and pop them in the compost bin. Use a large knife to carefully cut the cabbage into quarters, lengthways. You need to keep the core intact.
  4. Drizzle the quarters with the olive oil and season with the salt and pepper. Then place, cut side own, into the pan. Put the pan onto a medium high heat.
  5. Fry the cut sides of the cabbage wedges until they are beautifully coloured and caramelised. Meanwhile crumble the stock cube into 500ml of just-boiled water.
  6. Once you are happy that all the wedges are nicely caramelise, add the stock to the pan and pop the lid on. Keep an eye on the cabbage now, you may need to turn the heat down a bit to stop the stock boiling over. After around 8-10 minutes, the cabbages should be tender. Test with a sharp knife. If your cabbage is very large it may take longer of course.
  7. Serve over the quinoa (or other chosen base) and spoon over the stock. Top with capers (or other chosen topping) and eat whilst still warm.

The Rewards of Harvest

Lughnasa the Irish word for August represents the start of the harvest season and it is embedded in our culture and identity. It is a celebration of the harvest season, and both myself and Toby were having our own little festival in the field of clover here! 

By September we are celebrating the fruits of many months of labour in the fields it is the true month of harvest.

Growing and harvesting your own food can be so rewarding. Watching the small seedlings transform into robust healthy plants that provide food is truly one of the many miracles of nature. 

Sometimes, it seems that the food is an added bonus, and that the pleasure and the reward of working in the soil is enough. It feeds the soul.  Research has shown that putting your hands in soil can help ease depression and being outside cheers people up.

Rekindling that connection with our food and the land is something that is central to our identity.  

Our grand-parents knew what good food tasted like, they knew where their food came from and they knew how it was produced.

We have handed the control of our food to a handful of global corporations that run an efficient feeding machine, which has disconnected us from primary food production. Supermarkets have added a layer of separation that takes us another step further away from our food. In recent years they have seen the value in putting the smiling farmer on their walls in a weak attempt to give the impression that they are reconnecting us to our food.

We have relinquished not only this connection but the skills and ability to produce our own food.

We have become accustomed to the always available food culture, everything we ever need is always there on the supermarket shelves, plastic clad ready to be added to our shopping basket.

We have paid a high price for this choice and convenience.  

If you are honest, what do you know about the food you are eating today for dinner? Where was it produced? How was it produced? How were the people treated that grew it? Difficult questions and mostly ones that don’t cross our minds.

However, the answers to these questions will not only open our eyes, they are the key to a shift in what we eat and how we approach our food. They can also lead to a healthier you and crucially a healthier planet.

We are right in the middle of harvest season now and it is wonderful. If you ever wondered if you could manage to eat with the seasons, then now is your best shot. 

And if you don’t know why you might start eating seasonally here are the whys: 

  1. Reduce your carbon footprint massively.
  2. Get more nutritious food. Freshly harvested food has a higher nutrient content.
  3. Get an amazing taste experience “how food used to taste”
  4. Support real local jobs.
  5. Support the skills needed to grow our own food. 
  6. If it is organic you are supporting a system of food production that enhances biodiversity rather than degrades it.

So as with the traditional feast of Lughnasa why not get some good local food in, and celebrate the beautiful bounty of your gardens and our fields by a simple meal with family and friends. 

Kenneth

Get a beautiful box of organic veg delivered to your door here.

Quick Pickled Courgettes

Got a glut of courgettes? We’ve got the recipes. As well as this classic quick pickle, a delicious solution for many excess veg, I’ve shared a fair few other courgette recipes. Just pop ‘courgette’ in the search bar and they’ll come up.

Quick pickles do what they say on the tin. They are quick and simple to put together and they are ready to eat in just a couple of days. You can definitely eat them earlier too, I just think the flavours develop better after a couple of days in the fridge. They last a long time too, especially if you sterilise the jar and close it while the vinegar solution is still hot. Keep the pickles in the fridge and don’t double dip and they should last for 2 months, if you don’t eat them up in that time… don’t store these pickles at room temperature unless you can them, which is a whole other process.

Pickled courgettes are so delicious in a sandwich or burger, with cheese and crackers or as a tangy, crunchy part of a salad. You can also flavour them however you like. Go herby with dill, spicy with chilli, use classic pickling spices, bay leaves, garlic, ginger…whatever you like! Enjoy! Liz x

Ingredients (makes 2 medium jars, around a litre volume)

  • 300ml apple cider vinegar (we LOVE Clashganny Farm’s organic ACV)
  • 300ml water
  • 2 tbsp salt
  • 2 tbsp sugar (optional but really nice)
  • flavourings of your choice – I used: 3 sliced cloves of garlic, 1 tsp ground turmeric, 1 tsp mustard seeds, 1/2 tsp black pepper
  • 1 courgette
  • 1/2 a white onion

Method

  1. Start by finding 2 small jars (or 1 big one? – it all depends on how much pickle you’re making or the size of your courgettes) and giving them a really good clean and hot rinse. Or you can sterilise them to be extra safe. Put the washed and rinsed jars in a clean sink then fill them with freshly boiled water from the kettle. Wait a minute then carefully empty the jars (use oven gloves or a folded tea towel so you don’t burn your hands). Let them air dry while you get on with chopping and heating up your vinegar solution.
  2. Measure the vinegar, water, salt and sugar into a small pan and heat it up while you quickly add the flavourings to the jars and chop the vegetables.
  3. Divide your flavourings between your jars. Then thinly slice the courgette and onion and divide them between the jars too. Lightly press the vegetables down into the jars to pack them in neatly, but don’t crush them. You should leave a couple of cm of room in the jar.
  4. As the vinegar solution comes to the boil, take it off the heat and pour it into the jars over the vegetables and flavourings. The solution should cover the vegetables. Give the jars a light tap on the work surface to remove any air bubbles that may be trapped between the layers of vegetables. Then screw on the lids whilst the jars are still hot. You may not use all the vinegar solution, or you may need to make a bit more.
  5. Allow them to cool then refrigerate. The pickles will be ready to eat in two days and will last in the fridge for 2 months.

Slow-Cooked Courgette Caviar

Courgette caviar is a Russian/Ukrainian spread made from slowly cooking summer vegetables down into a rustic and delicious purée. The long, slow sauté reduces and caramelises the vegetables together, elevating these humble ingredients into a stunning jar of flavour. This is so much more than a stew. Slow cooked courgettes have the most wonderful texture, you can also use aubergines or a combination of the two. It’s just a brilliant way of using up a glut of courgettes and other summer veggies. If we are having a barbecue, I sometimes chuck a few courgettes and aubergines (also peppers, whole bulbs of garlic, carrots…) on to get smokey and soft then make this purée with those. It’s amazing, the smokiness really comes through. Just peel off any very blackened bits of skin and sauté and crush the vegetables together in the pan until reduced.

Enjoy cold on good bread or with crackers. It’s delicious as part of a picnic spread with cheese, pickles, ferments etc. Or heat it up and loosen it with some pasta water for a quick pasta sauce. It’s an incredible pizza sauce base too! I have never tried making a huge batch and keeping the jars in a cellar, but if you have the know-how and the right equipment, that’s a great way to preserve the fruits of summer. But making the recipe as per the method below, the jar should last well in the fridge for two weeks.

Liz x

Ingredients* (makes a large jar approximately 1 litre)

*don’t worry too much about amounts and the ingredients can vary too! Leave out the pepper, add aubergine, use fresh tomatoes, add more or less garlic… it’s more about the technique of slowly cooking down and caramelising the vegetables together than getting the proportions and ingredients exact. I suppose starchy vegetables like potatoes wouldn’t work here, but most other vegetables will be fine. Use any combination that you like. Here’s what I did this time:

  • 1 onion
  • 6 cloves of garlic
  • a generous slick of olive oil to coat your pot/pan, plus extra to to top the jar
  • 2 carrots
  • 1 red pepper
  • 2 courgettes
  • 1 tin of chopped tomatoes
  • salt to taste
  • optional extras like black pepper, dill or fennel seeds, coriander seeds, chilli…

Method

  1. Start by dicing or grating all your ingredients.
  2. In a large, heavy bottomed saucepan or pot, heat up a generous slick of olive oil and add the diced onion. Keep the pot at medium high and stir fry the onions until they start to soften and colour.
  3. Add the garlic, courgettes, carrots, pepper and a big pinch of salt. Sauté, stirring regularly for at least 30 minutes. You will need to lower the heat as you go. It’s nice if the vegetables caramelise and slightly catch on the bottom of the pan. Just keep scraping the base of the pan with a wooden spoon.
  4. Crush the vegetables together with the back of the wooden spoon, or use a masher to help you along.
  5. When the vegetables are reduced and drying out, add the tomatoes and keep cooking, stirring and reducing. You should end up with a rich, thick purée. You can keep it rustic or blend it smooth.
  6. Pack the mixture while it’s still hot into a large, sterilised jar. Add a layer of olive oil and put the lid on. This should make it last longer.
  7. Keep it in the fridge. It should last well for 2 weeks.

BBQ’d New Potatoes

This is my simple and adaptable method for BBQing our gorgeous new potatoes! I have fond memories of pricking large jacket potatoes, wrapping them in foil and packing them in with the food for camping trips. Then we would carefully tuck them into the BBQ coals to bake while the rest of the grilling was done, they’d often come out perfect if we remembered to turn them occasionally, but more often than not, half the potato would burn and half would be raw, or the coals would burn out before the potato was done and there’d be some disappointment… So this way of par-boiling, dressing then skewering little salad potatoes provides a much more consistent result.

Start by boiling scrubbed new potatoes until they are nearly cooked through. Test a few larger ones with a sharp knife or skewer. Then drain the potatoes and allow them to cool in the colander while you prepare a tasty marinade or dressing!

I love potatoes with garlic and herbs. This time I mixed olive oil, salt, pepper, crushed garlic, rosemary and lemon zest in a large bowl. Then toss the par cooked new potatoes in the dressing.

Push the potatoes on skewers (or cook in a BBQ basket) and get them onto a plate or tray ready to pop over the coals.

Cook on the BBQ, turning often until soft, smokey and delicious!

Then push them off the skewers, back into the dressing bowl and toss again to get any last bits of dressing and flavour back over the delicious, charred potatoes. Enjoy!

Raw Courgette & Hazelnut Salad

We are in the midst of a classic courgette glut on the farm. Next week we’ll add some free courgettes to all the boxes, we hope you enjoy them. Expect lots of courgette recipes to come your way. We’d love to know your favourite courgette recipes too please! Let us know in the comments or over on our community Facebook group. I’ll start us off with this super simple salad. It’s so easy to make (just a matter of combining raw courgettes with a lemony dressing, then scattering over some toasted hazelnuts) and oh SO delicious! I have this salad often this time of year as a side to pretty much any meal, or it’s brilliant stirred through freshly boiled pasta or bulked out with a drained tin of lentils.

Liz x

Ingredients

  • Courgettes (2 small or 1 large)
  • 2-3 tbsp extra virgin olive oil
  • the juice of half a small lemon (have you tried our new season verdelli lemons?)
  • 1 small garlic clove, crushed
  • salt and pepper to taste
  • a handful or two of hazelnuts, toasted in a dry pan then roughly chopped

Method

  1. Using a potato peeler, slice the courgettes into delicate, thin ribbons. For ease, slice them directly over a serving platter or large salad bowl.
  2. Make the dressing by stirring together the olive oil, lemon juice and crushed garlic with a pinch of salt and pepper.
  3. Drizzle the dressing over the courgette ribbons. You could toss the salad now to evenly coat the ribbons with the dressing, or just leave it drizzly.
  4. Then toast the hazelnuts in a dry frying pan until nicely coloured. Tip them onto a board and carefully chop them up a bit to make them go further through the salad.
  5. Scatter them over the dressed ribbons and finish the salad with a little sprinkle of flakey sea salt. We LOVE Achill Island sea salt for exactly this type of dish.
  6. Enjoy as is as part of a salad buffet or alongside a BBQ. Or make it a light, refreshing meal by tossing through some freshly boiled pasta or a drained tin of cooked green lentils.

Smashed Cucumbers

Photo from our farm photographer Simone last week.

Our farm grown cucumbers, fresh out of the warm, sun kissed polytunnels, are mind-blowingly delicious! Nothing like the almost tasteless supermarket ones, these are the real deal. If the kids don’t get to them first as a snack, this is one of my favourite things to do with them. Smashing the cucumber before dressing it really opens it up and makes more craggy surface areas for the dressing to cling to. We often eat this summery side dish with simply boiled rice, some baked or fried tofu and spicy kimchi. 

Liz x

Ingredients

  • 1 large or 2 small cucumbers
  • 2 tbsp toasted sesame oil
  • 2 tbsp tamari or soy sauce
  • 1/2 a lime – juiced (or 1 tbsp apple-cider/rice-wine vinegar)
  • 1/2 a garlic clove – crushed or finely grated
  • 1/2 thumb of fresh ginger – finely grated
  • 2 tbsp sesame seeds – toasted
  • 1 tsp chilli flakes – optional
  • 2 sliced scallions – optional

Method

  1. Give the cucumber a rinse, then place it on a chopping board and cover it with a clean tea towel to prevent bits of cucumber flying around your kitchen in the next step.
  2. Bash or crush the cucumber with a something heavy or blunt. Rolling or bashing a tin of beans or a wooden rolling pin along its length with a fair bit of weight behind it will crack open the insides beautifully. Or you could press a heavy saucepan over it or whack it gently with a mallet. You don’t want to smash it into mush, rather crack and break it open and lightly crush it so that there are lots of wild, craggy shapes inside.
  3. Remove the tea towel then break and slice the cucumber into bite sized pieces. Place the pieces in a bowl and make the dressing.
  4. Stir together the toasted sesame oil, soy sauce, lime/vinegar, garlic and ginger. 
  5. Pour the dressing evenly over the smashed cucumber, give it a quick stir, then top with toasted sesame seeds, chilli flakes and sliced scallions.
  6. Serve with rice, tofu, kimchi…or as a side to a barbecue!

I used the same dressing to marinade a romanesco cauliflower before roasting it as another side to this meal and it was absolutely delicious! Highly recommend!

Rhubarb & Almond Clafoutis

A clafoutis is a classic French dessert, somewhere between a cake and a pudding. It’s normally made with cherries but here’s my seasonal twist with gorgeous, tangy rhubarb and flaked almonds. The other twist? This recipe is plant based and low food waste, the eggs are replaced with aquafaba which is the liquid from a can of chickpeas or white beans which is normally discarded. I love it served warm, scooped out of the dish into bowls with yoghurt or custard but it’s also delicious chilled and served in slices. Give it a try and let me know how you like it? And of course, switch the fruit for whatever you fancy. I even make a savoury version with asparagus or cherry tomatoes…the possibilities are endless!

Apart from the taste, the whole joy of this recipe is that it is very forgiving, hence the super-simple mug measurements. Some of my cakes require exact weights to work but this little beauty is a chilled out affair. Just grab a regular sized mug to weigh out your sugar and flour (not American style ‘cup’ measurements) and if you don’t have a measuring tbsp, just use a dessert spoon for the oil/milk. A few grams amiss here and there won’t affect the bake as it’s more of a pudding than a cake, so just trust your instincts and go for it. If you have a really big roasting dish or flan dish, use a big mug and enough rhubarb to cover the base in a single layer. And enjoy the easy, relaxed method!

Liz x

Ingredients

  • 1 tbsp butter/margarine
  • 1 handful sugar
  • 5 or so stalks of rhubarb
  • the liquid from a 400g can of chickpeas or white beans
  • 1/2 mug sugar
  • 1 mug plain flour
  • 2 tsp baking powder (or 1 tsp baking soda & 1 tsp vinegar)
  • a pinch of salt (omit if your aquafaba came from a salted tin)
  • 3 tbsp oat milk (or more if needed)
  • 4 tbsp olive oil
  • 1 tsp vanilla
  • 1 handful flaked almonds (optional)
  • yoghurt or custard to serve

Method

  1. Preheat your oven to 175C. Find a large flan dish or medium roasting dish.
  2. Butter the base of the dish then scatter over a handful of sugar. 
  3. Rinse and cut your rhubarb into bite sized chunks then arrange them in the dish.
  4. Pour the aquafaba from a can of chickpeas or white beans into a large mixing bowl. Keep  the beans/chickpeas in a box in the fridge to use later today or tomorrow.
  5. Whisk the aquafaba until frothy, then add the 1/2 mug of caster sugar and whisk until creamy.
  6. Fold in the plain flour and baking powder (if your aquafaba came from an unsalted tin, add a pinch of salt now too).
  7. Stir in the milk, oil and vanilla. You should have a thick, creamy batter. If it’s too thick, add a splash more milk and stir again.
  8. Pour the batter over the rhubarb and spread it evenly. Scatter over the handful of flaked almonds if using.
  9. Bake in the oven until golden brown and just set. This should take approximately 20-30 minutes. The cake should still have some wobble and the rhubarb should be just cooked through and tender. 
  10. If you find it’s browning too much on top before being cooked through, move it to a lower part of your oven and cover the dish with a baking sheet or some baking parchment.
  11. Serve warm in large scoops with a dollop of yoghurt or custard. Or allow it to chill and set – the texture will become less pudding-like and more cake-like as it cools. You can then slice it and serve it in wedges like a regular cake. 
  12. Feel free to play around with the recipe substituting seasonal fruit or frozen berries as you like. I even make a savoury version with asparagus or cherry tomatoes, fresh herbs and feta. Simply substitute the sugar for more flour and seasoning.

Pumpkin & Pecan Pie

I am such a vegetable geek, I always get overexcited when a new vegetable comes into season. So I eagerly wrote a pumpkin custard pie recipe, back in October when pumpkins and squashes were the veg of the moment. But one of the many beauties of these sweet, fleshy gourds is that they keep well for up to 6 months if properly stored, so you can have pumpkin pies up until March if you like, they are not just for Autumn! Pumpkins and winter squashes can be stored in a well-ventilated position at a temperature under 15°C and no colder than 10°C. I suggest finding a chilly part of your home, for example a shady windowsill. Watch for signs of rot, and remove any affected fruit immediately. I think their cheerful, bright colour and sweet, nutty flavour make them a gorgeous addition to your festive table too.

An illustrated recipe of my Pumpkin Pie from October 2020

Pumpkin pie is a very American, Thanksgivingy thing and like much of American food culture, it’s seeping over the pond and onto our plates. Pumpkin spice lattes and the like don’t seem to be going anywhere and why would they? The sweet, heady mixture of cinnamon, ginger, nutmeg and cloves is pretty irresistible. Pecan pies are another classic American dish, traditionally served at the festive table, so I couldn’t resist combining the two here in my layered pumpkin and pecan pie. I think you’ll agree, it’s a great combination.

Did you make this recipe? Let us know how it went in the comments or over on our Healthy Eating facebook page. And don’t forget to share the recipe with your friends.

Liz

Shortcrust Pastry Ingredients

Pastry Method

Shortcrust pastry is very easy to make if you have a food processor with a blade attachment. (And by the way this recipe makes a brilliant mince pie, apple pie or cherry pie crust too!) Just blend up the flour, butter, salt and sugar until it resembles wet beach sand. Then add a couple of tablespoons of very cold water and briefly blend again and it will magically form into a neat ball of dough!

If you don’t have a food processor you can just use your hands. Use the tips of your fingers to work the butter into the flour, salt and sugar until it reaches wet sand consistency, then add the water and gently bring it together into a ball of dough. The trick to a really short, melt in the mouth shortcrust pastry is not overworking the dough and getting it too warm. Then wrap it with a damp tea towel and let it rest in the fridge while you make the pumpkin custard.

Pumpkin Custard Ingredients

Method

I’ve never bought a tin of pumpkin puree, it seems that’s what most Americans use. Instead I just roast a halved and deseeded pumpkin or squash, cut side down, until it’s soft. Then scoop out the flesh and mash or blend it. I call this pie a ‘custard pie’ because this filling is a riff on my custard recipe. Simply blend all the ingredients until smooth. (And by the way, if you ever want to make regular plant based custard, just replace the pumpkin puree with another mug of oat milk, leave out the spices but keep the vanilla, then whisk and simmer on a low heat until thick and delicious.)

Then roll out the chilled pastry and carefully line a flan dish or a cake tin with it. Prick little holes in the base of the pastry with a fork to prevent a pocket of hot air forming under the crust and making it rise up in the oven. Then pour the custard into the pastry case and bake for about 30 minutes at 175C or until both the pastry and the custard are mostly cooked through. In the meantime, make the pecan pie topping.

Pecan Pie Ingredients

  • 1.5 tbsp cornflour
  • 1.5 tbsp milled linseeds (if you don’t buy them already milled, just blend some whole ones up in a small spice blender or smoothie maker until ground into a course flour consistency)
  • 1.5 tbsp maple syrup
  • 1.5 tbsp soft brown sugar
  • pinch of salt
  • 2 tbsp water
  • 150g pecan nuts

Method

Mix all the ingredients except the pecan nuts together in a bowl. Then stir through the pecan nuts, ensuring they are all coated in the caramel-like mixture. Then once the pumpkin pie is par cooked enough so that the pumpkin custard is mostly set, carefully spoon the pecans and caramel over the top of the pie.

Return it to the oven to cook for another 10 minutes or until the custard, pastry and pecan pie mixture is all cooked through.

Allow the pie to cool and set before carefully removing it onto a serving plate and slicing it up. Serve it with whipped coconut cream or vanilla ice cream.