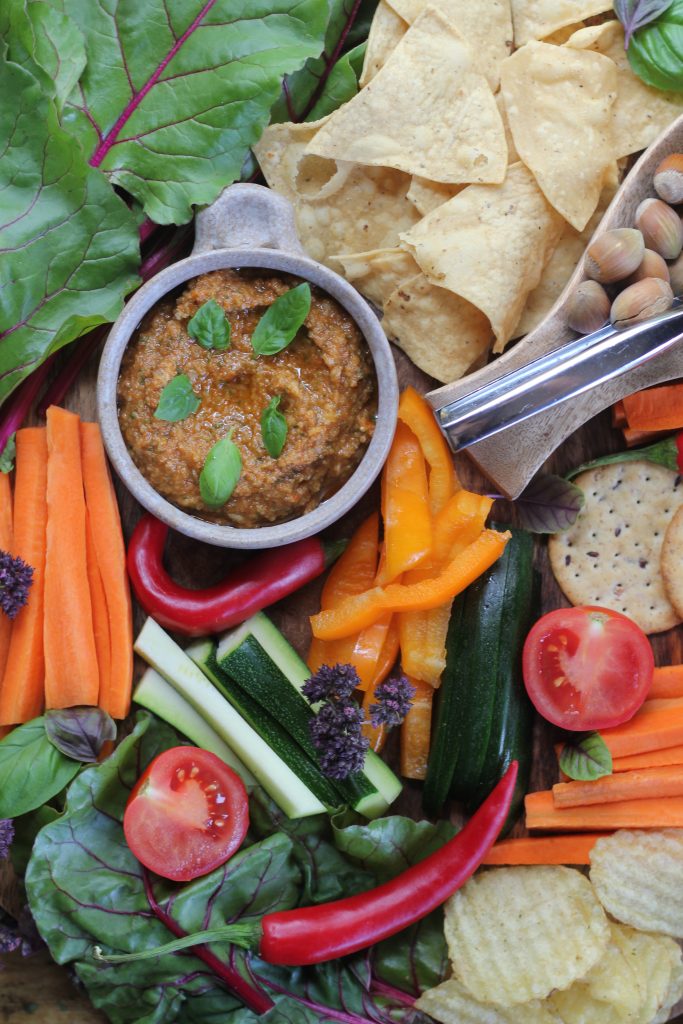

At last week’s farm walk, I set-up a beautiful display in the middle of the farm shop, using the best of fresh produce. Tucked in-between the prepared fruit and vegetables, I included a tray of mini energy balls, and some scrumptious dips. This sun-dried tomato pesto was by far the most requested recipe, and for good reason. It’s rich and flavoursome, and makes for the perfect accompaniment to crudites, but it can also be served with pasta, roasted vegetables, or as a delicious sandwich filler.
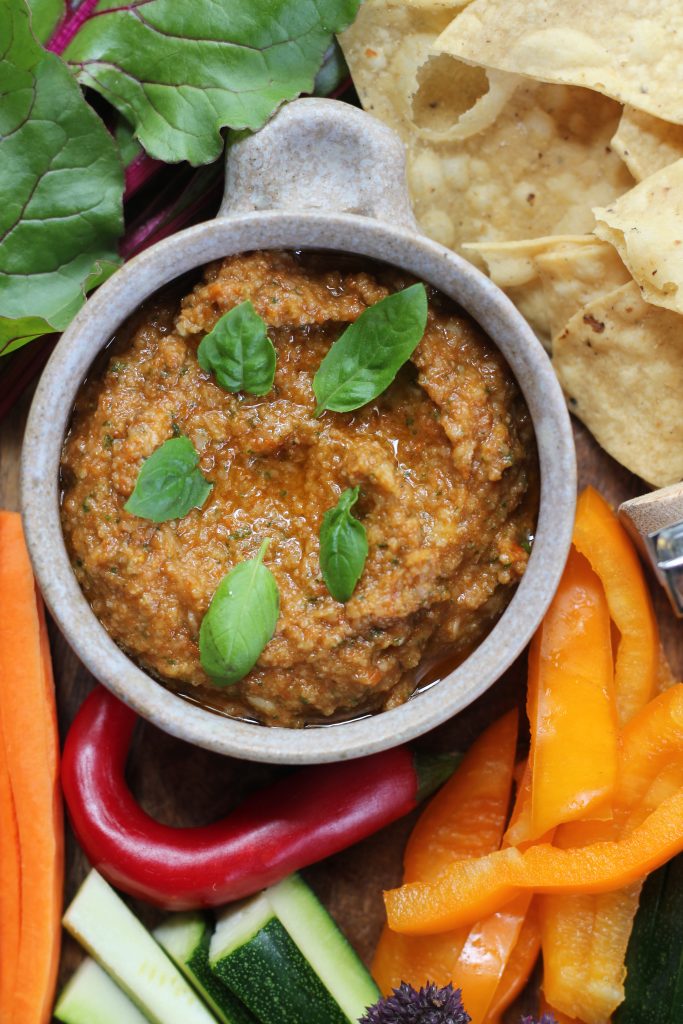
To ensure this dish is as tasty as possible, use a good quality jar of sun-dried tomatoes. Some tend to be quite salty and will ruin the overall taste of the pesto. Also, organic garlic will always taste superior too, so seek it out when you can.
Enjoy!
Nessa x

Sun-Dried Tomato Pesto
Ingredients
- 75g sun dried tomatoes
- 25g pine nuts
- 1 garlic clove, crushed
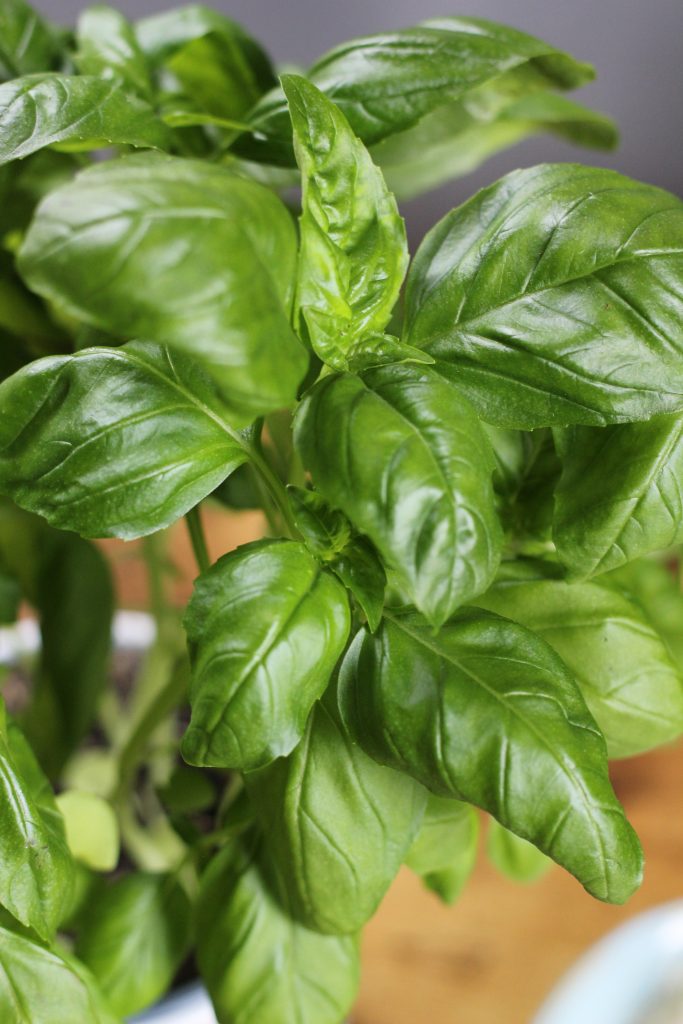
- Handful of basil leaves
- 75ml extra-virgin olive oil
- 50g parmesan, freshly grated, or nutritional yeast as a vegan alternative
Method
- Whizz the tomatoes, pine nuts, garlic, and basil for a few seconds in a food processor.
- Add the oil and blitz again.
- Add the parmesan, and pulse for a few seconds.
- Store in a covered sterilised jar in the fridge for up to 5 days.