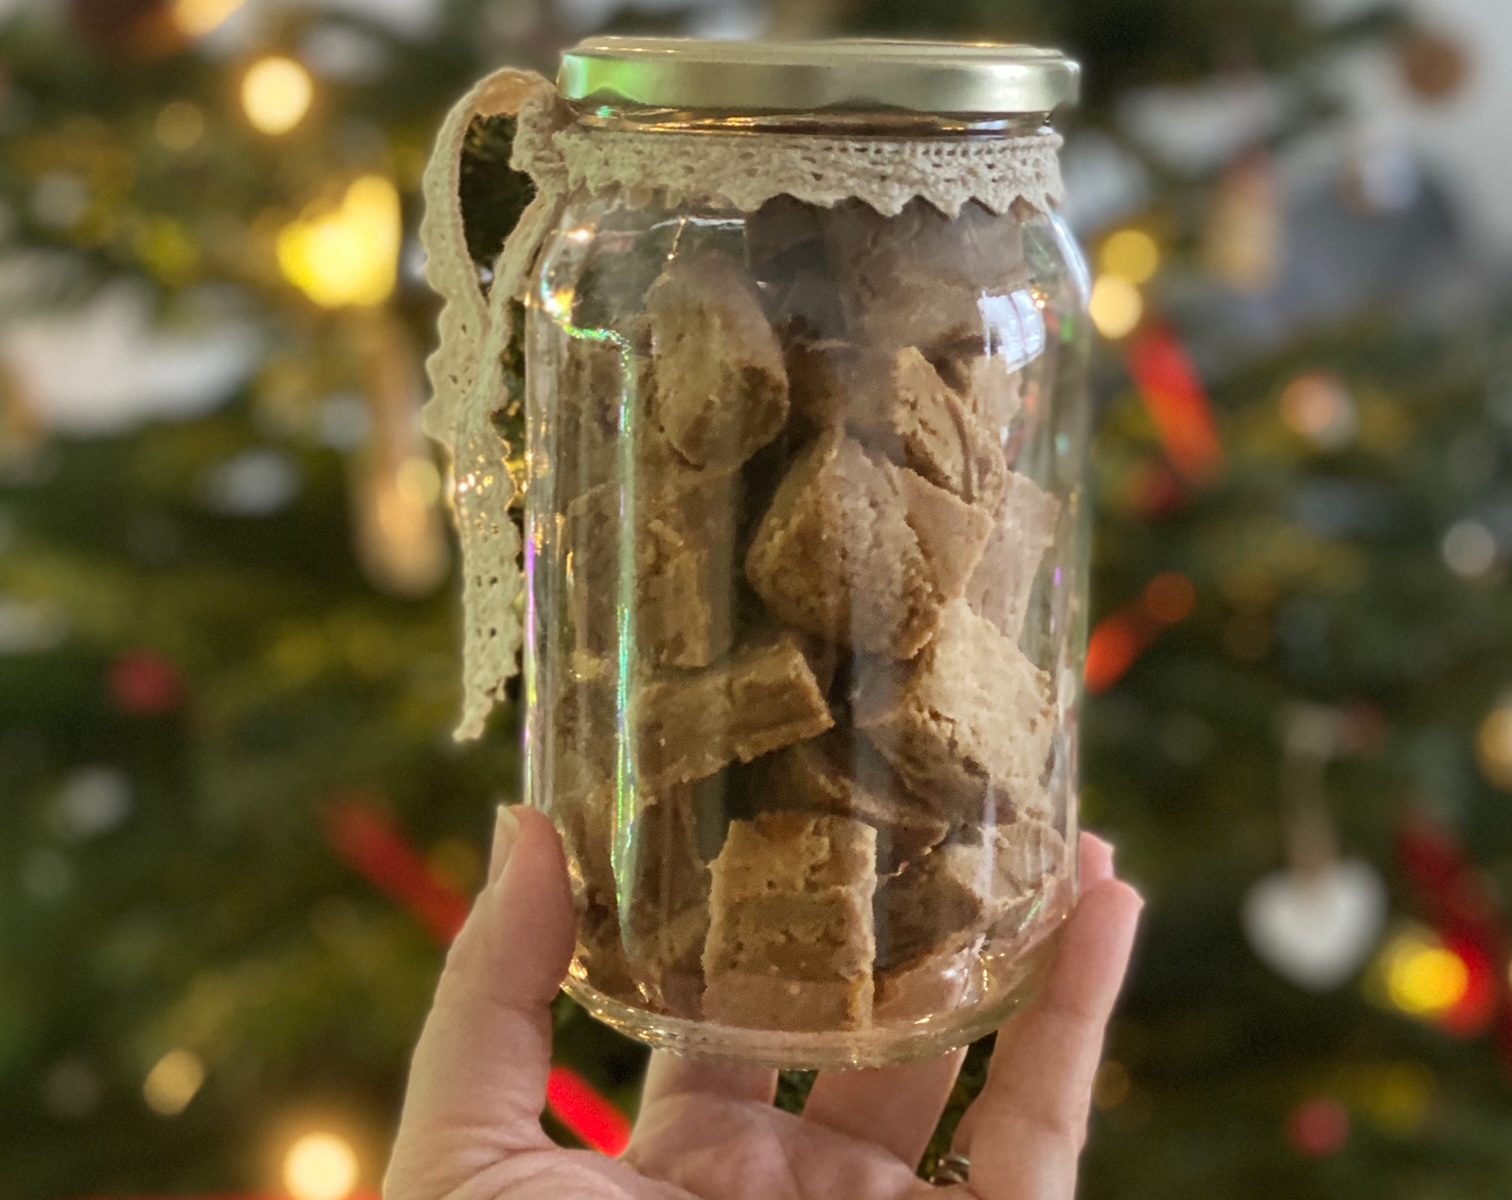

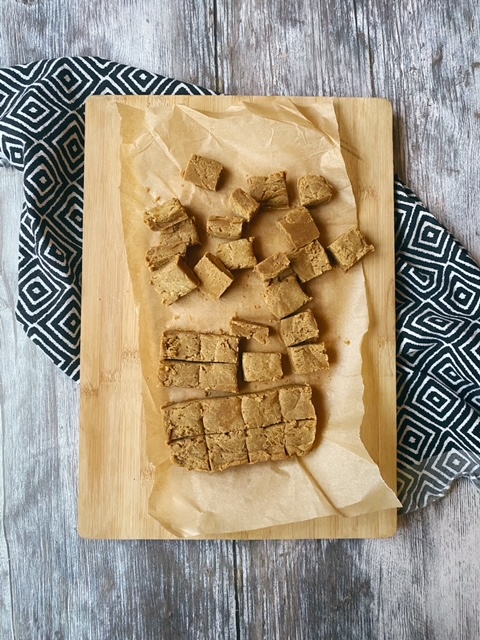
I have a childhood memory of the best homemade fudge. Every shop-bought fudge I’ve ever purchased has never lived up to that memory. It’s usually too close to caramel or toffee, too chewy or sticky. To me, fudge should hold together in blocks, but when you bite into it, it should have a buttery, sweet flavour and a slightly grainy, melt-in-the-mouth texture. It should crumble and be short and snappy rather than chewy and stretchy. I’ve been experimenting in the kitchen and I’m really happy with this recipe.
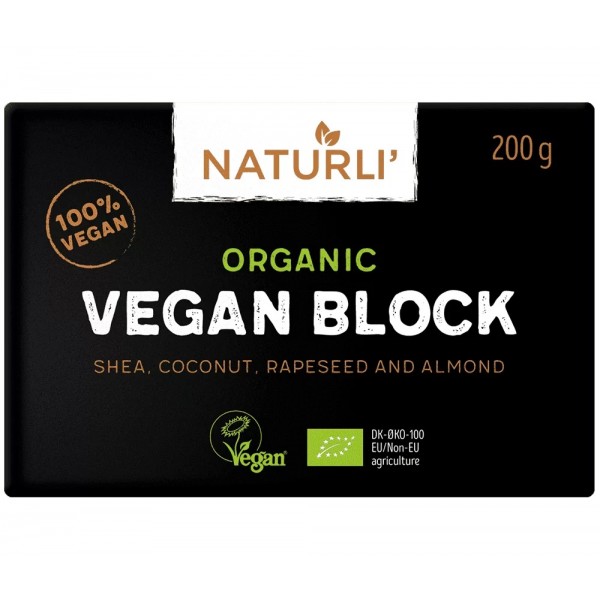
Our new Natruli butter blocks make it easy to recreate a dairy free version. This recipe works just as well with dairy/dairy-free ingredients so you do you. A jar of fudge is definitely going in all my homemade Christmas hampers to friends this year. Do you make homemade Christmas gifts? I’d love to hear about them in the comments.
Liz x


Ingredients
- 150g butter
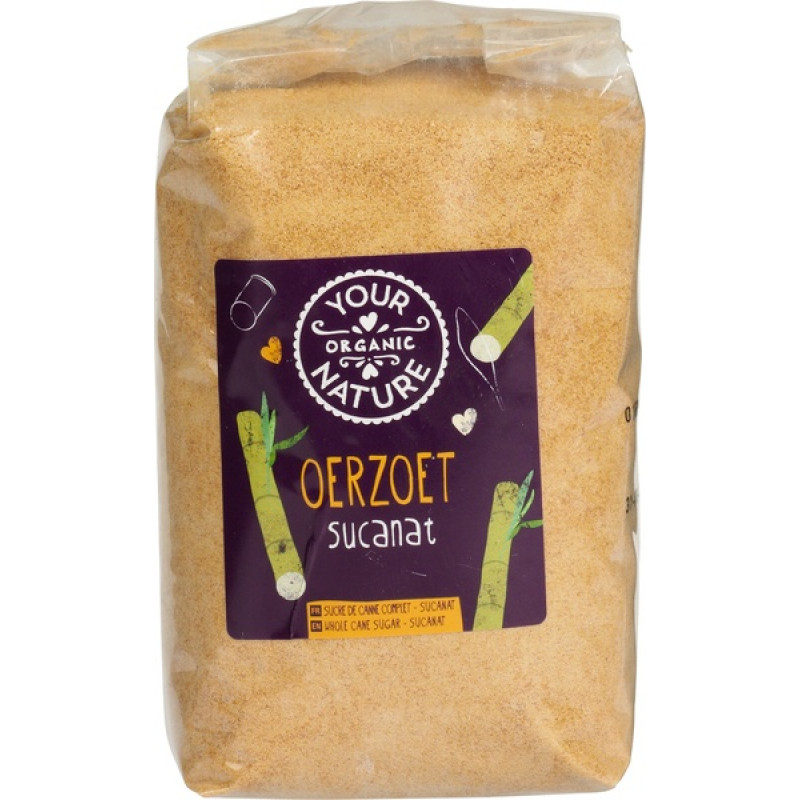
- 300g sugar (our whole cane sugar is perfect for this recipe, otherwise use an even mix of soft brown and white sugar)
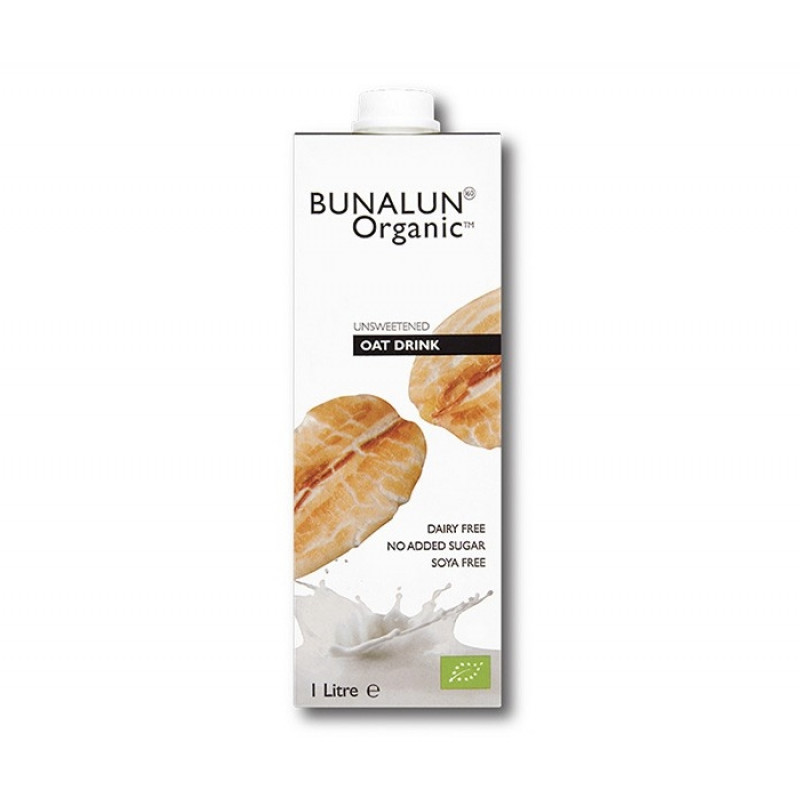
- 250ml milk (I use oat milk but any milk will work)
- a large pinch of Achill Island sea salt flakes
- 1 tsp vanilla essence
Method
- Put all the ingredients except the vanilla into a heavy bottomed pot.
- Melt them together over a medium-high heat, stirring regularly with a wooden spoon.
- Bring the mixture up to a bubbling boil. Stir frequently and let it bubble and thicken for 20 minutes or until it reaches 115C.
- Take the pot off the heat, add the vanilla then beat with a whisk for around 8 minutes or until the sugars start to crystallise. You should notice the mixture change from glossy and smooth to thick and grainy.
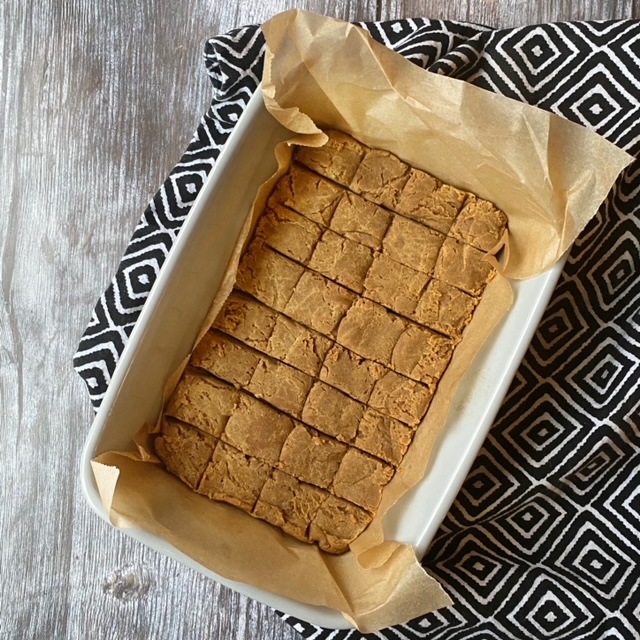
- Scrape the mixture into a small baking tray lined with baking parchment (did you know we sell compostable baking paper?), level it out and score/cut it into 32 squares using a blunt knife or the edge of a spatula.
- Cover the tray with a clean tea towel and let it set at room temperature for a few hours.
- Once it’s completely cool you can pull it out and snap it into squares. Pack the fudge into an airtight container and enjoy within 2 weeks! It will store well at room temperature in an airtight container. It is prone to dry out in the fridge so it’s best to keep it at room temperature.