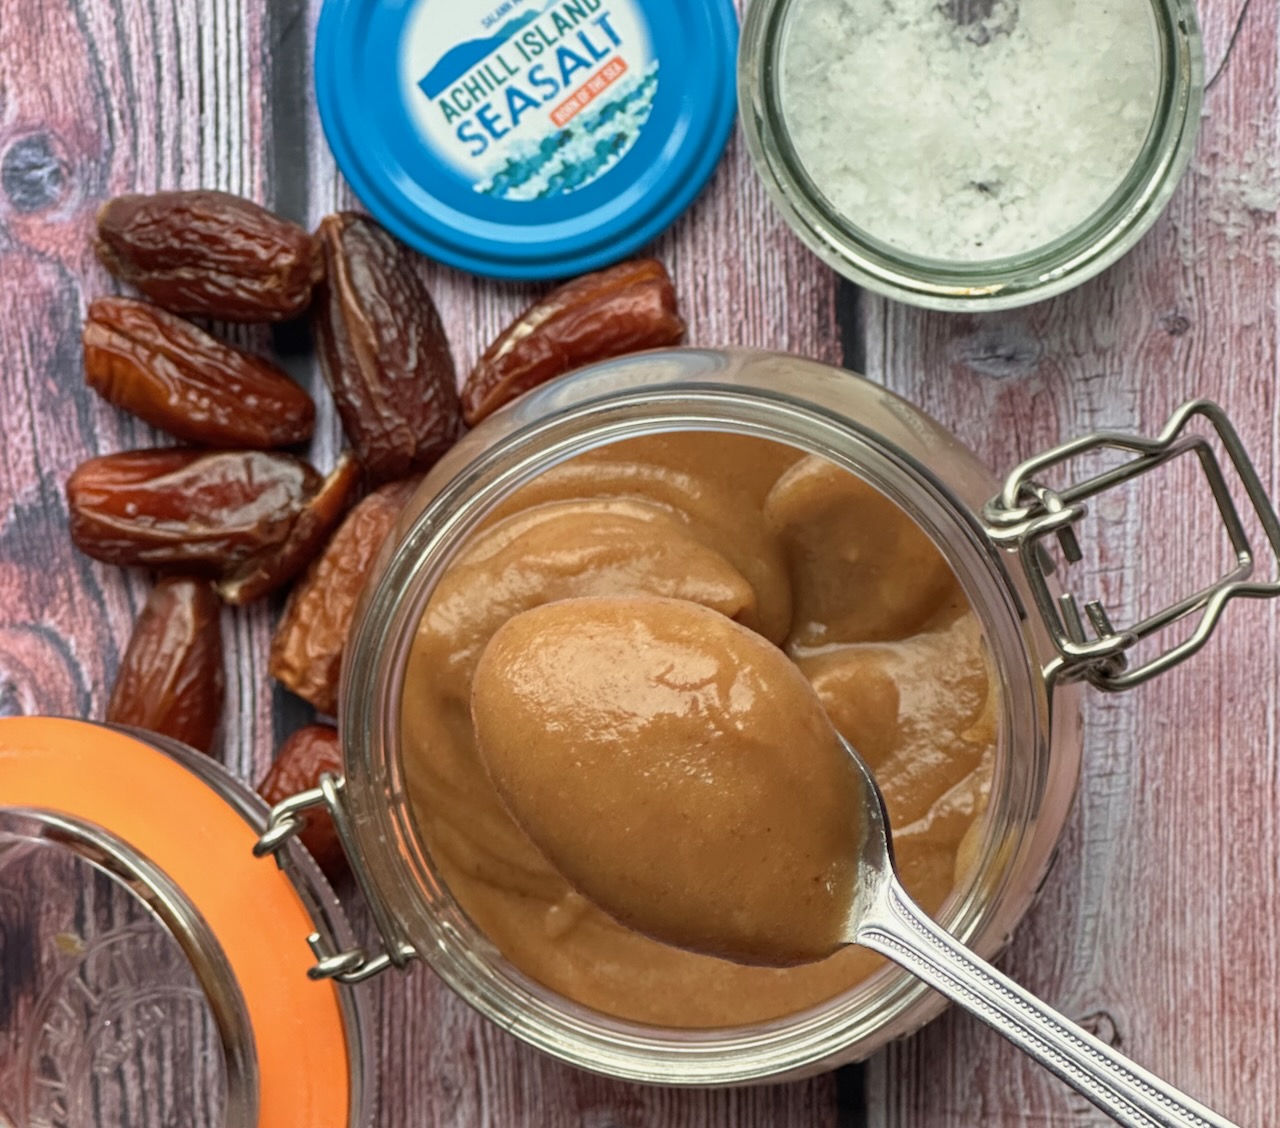

This is our ‘guilt free’ caramel sauce. It’s refined sugar free, dairy free, nut free, gluten free, vegan and so creamy … a lovely treat!
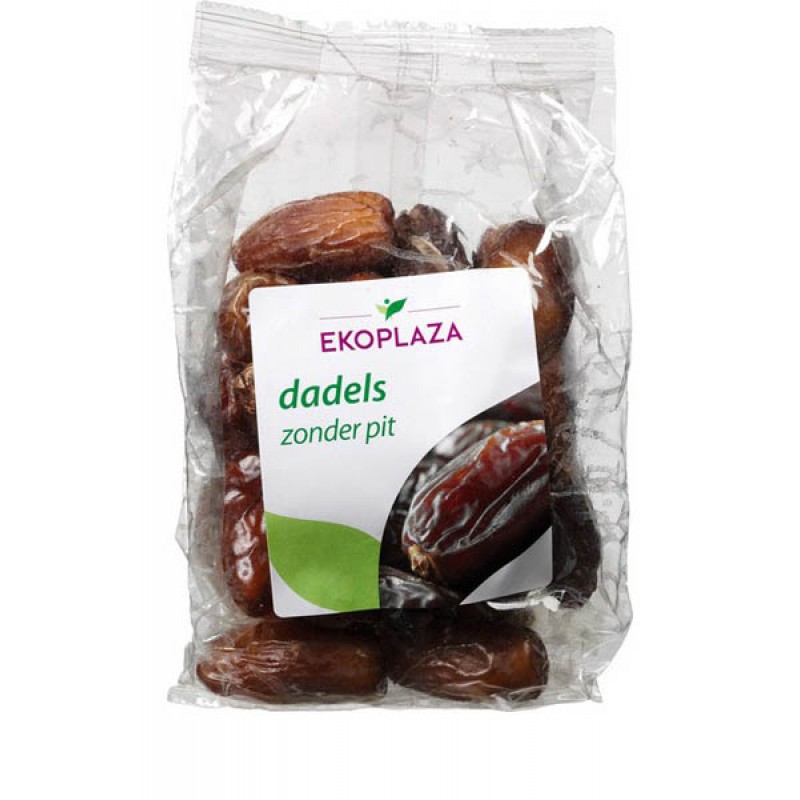
Our organic dates are just amazing, they are full of fibre and antioxidants. They are great for your gut and bone health, a natural sweetener and are so easy to store and cook with. I’m never without them. Having a jar of this date caramel in the fridge is just the best when you want a spoon of natural sweetness added to your overnight oats, creamy porridge, yoghurt, toast/ oat crackers, chocolate milkshake, smoothies or banana nice cream. Try it you and you won’t be disappointed.
We have big and small packets of organic dates as well as medjool dates available in the shop all in compostable packaging.
Lou 🙂
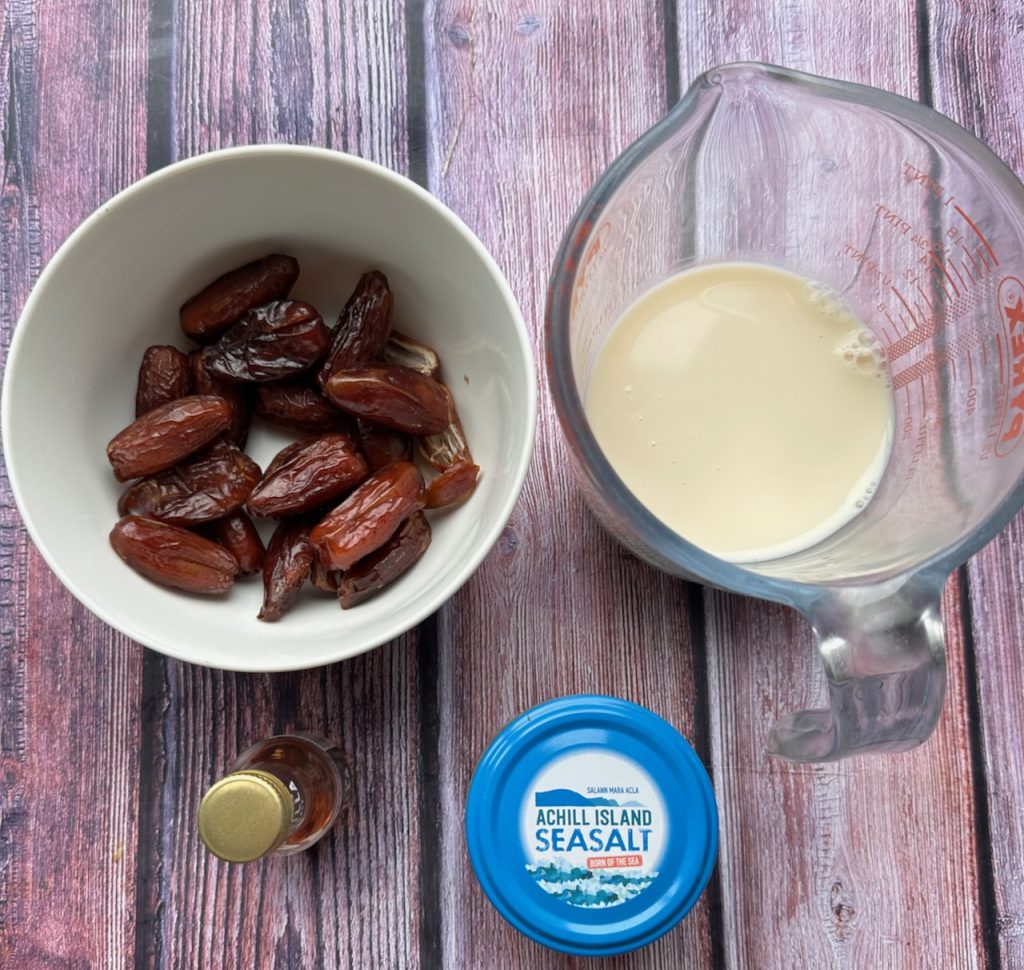
Ingredients – makes 1 jar
- 30 pitted dates (200g)
- 180ml non dairy milk – I used oat milk
- 1 tsp vanilla extract
- 1 tsp sea salt
Method:
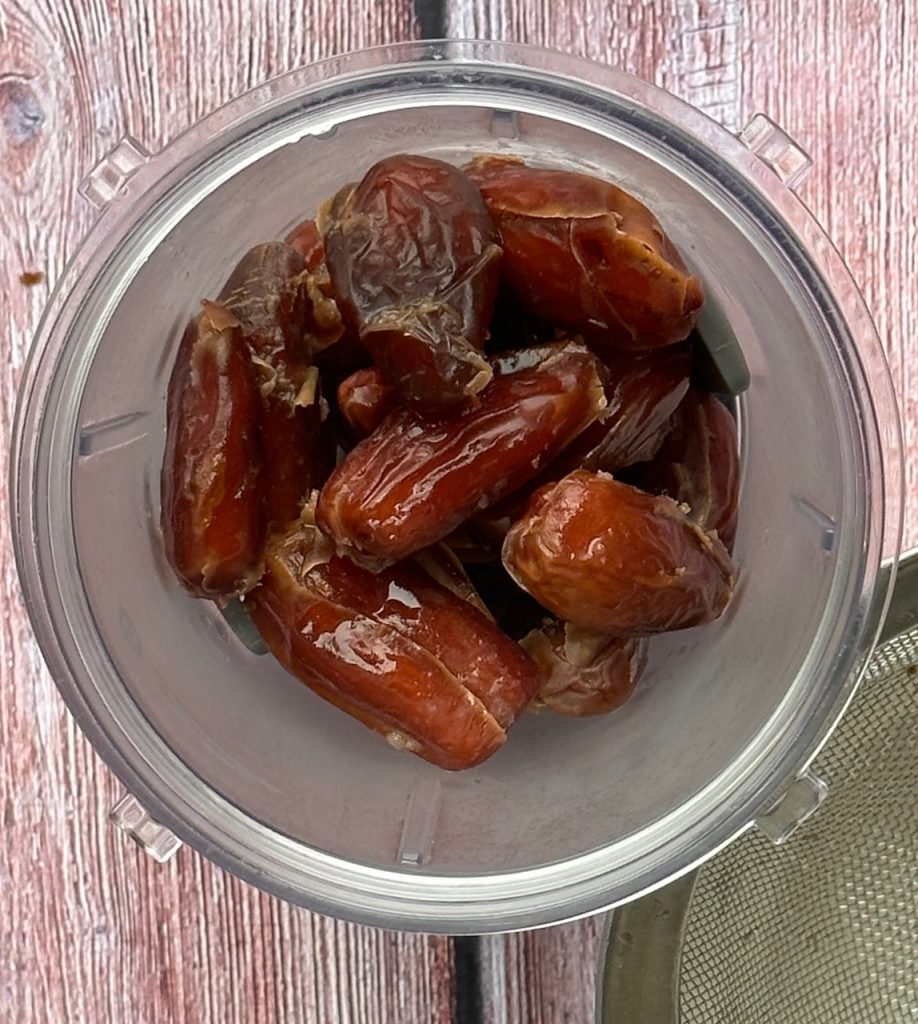
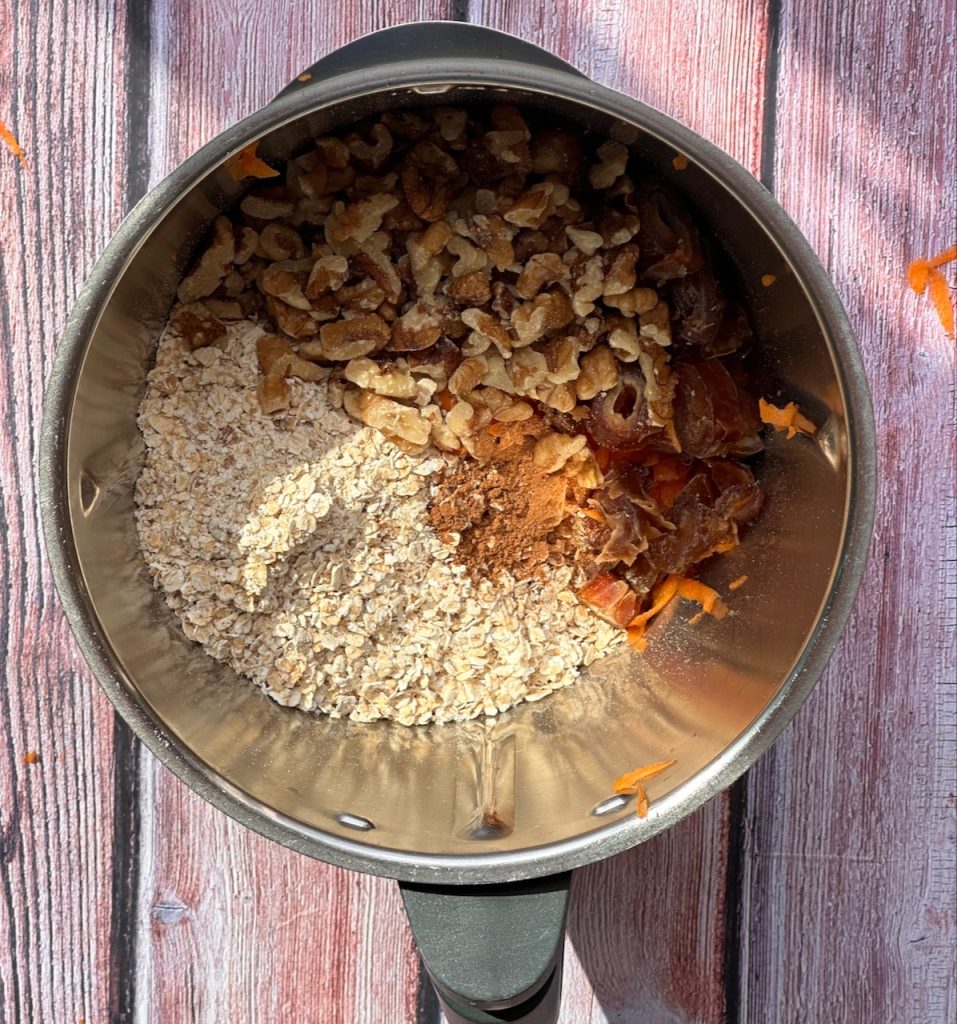
Step 1: Put the dates in a bowl, cover with boiling water to help them soften for 10 minutes. Then stain and discard the water.
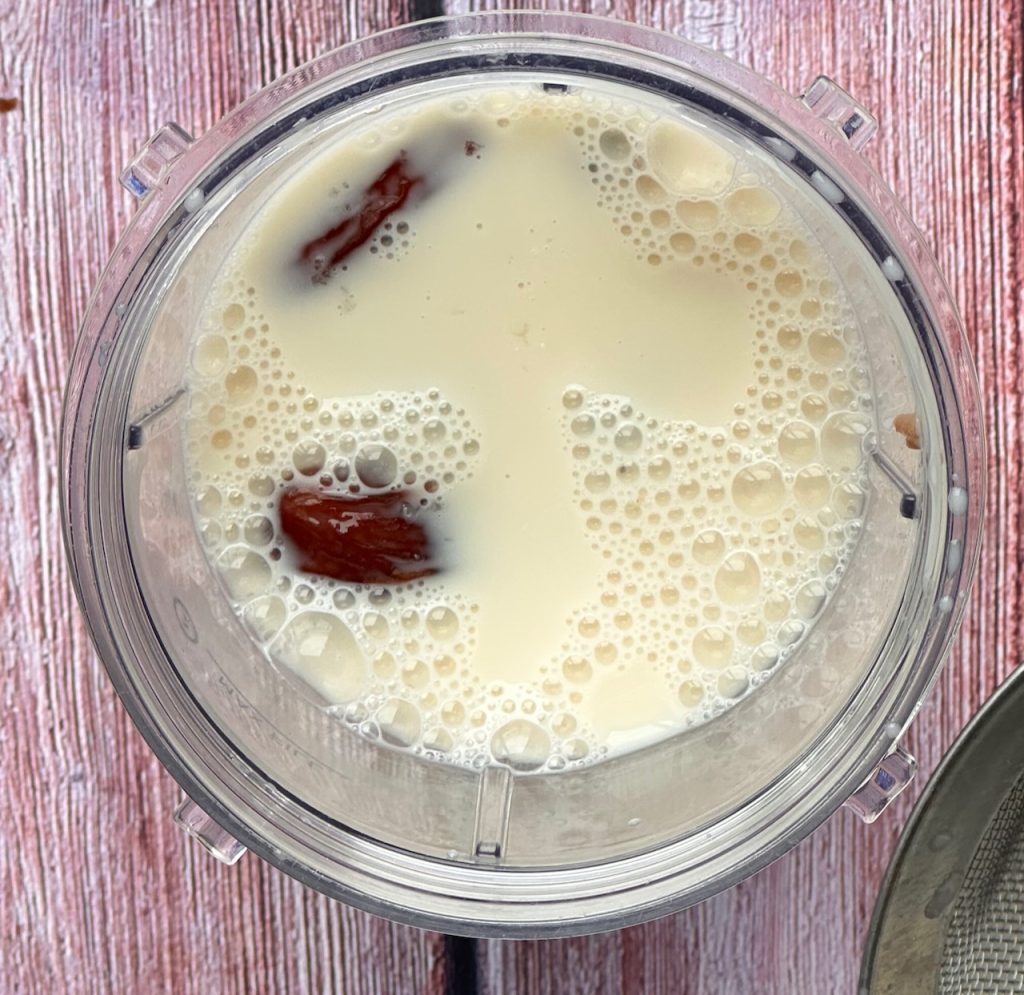
Step 2: Add the dates to a blender along with the non dairy milk, vanilla and sea salt. Blend until really smooth. I use a smoothie blender for this, it works a treat.
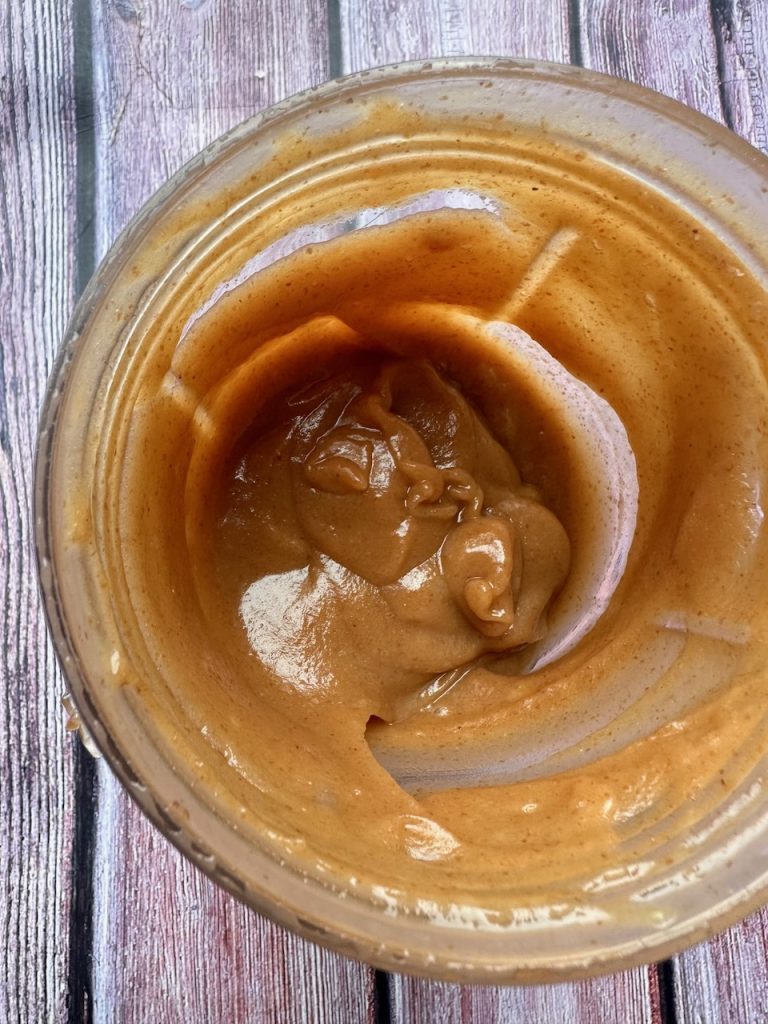
Step 3: Taste the sauce and add more salt if you wish. Scoop the sauce into a clean jar and store in the fridge for 1 week.
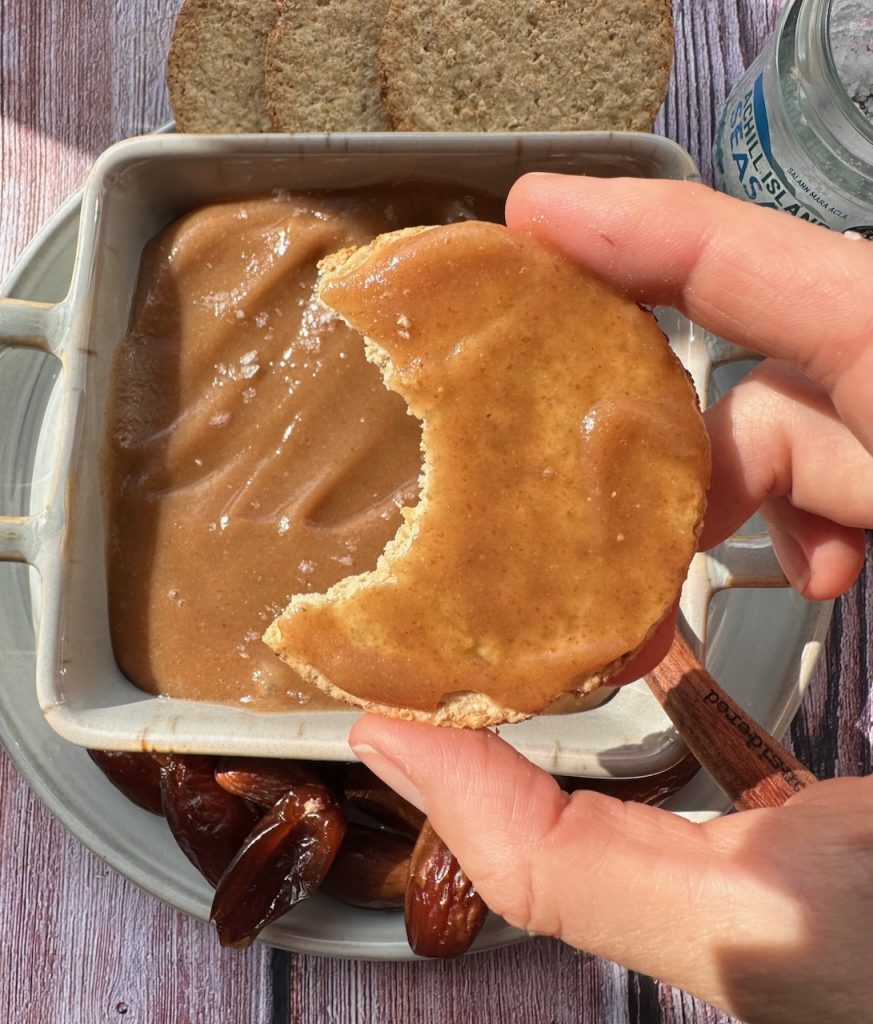
Serving suggestions: Add a spoon to your morning oats, eat on crackers or toast with banana, drizzle over pancakes and waffles or with vanilla ice cream….enjoy!