Sweet, Sticky, Sesame Tofu with Stir Fried Greens

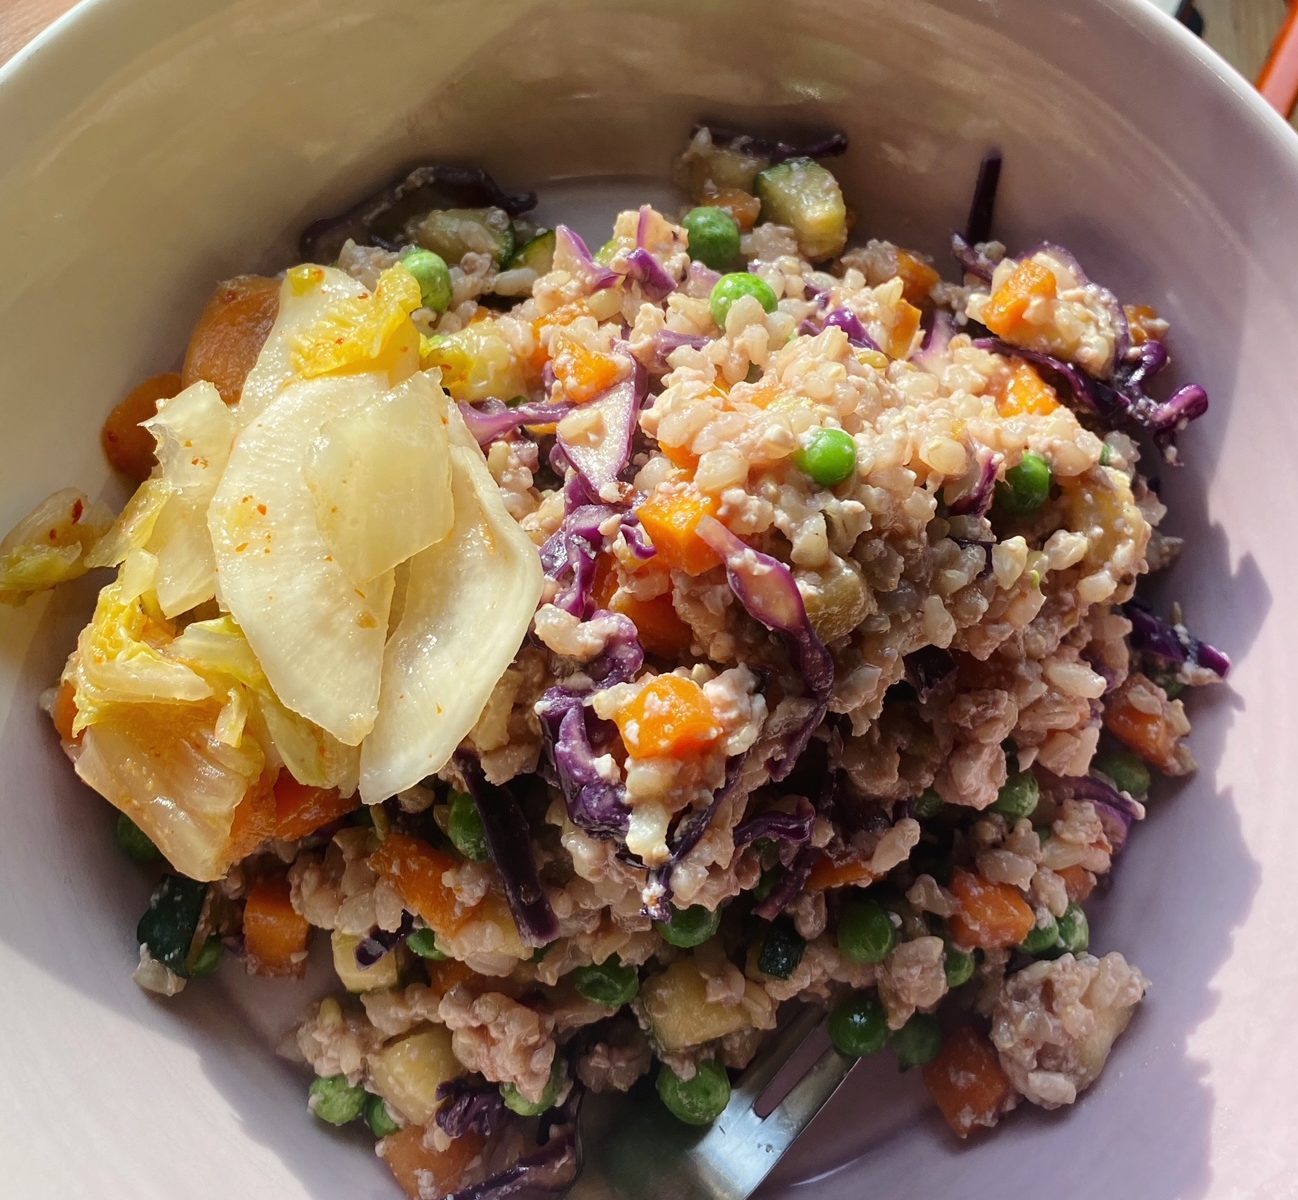
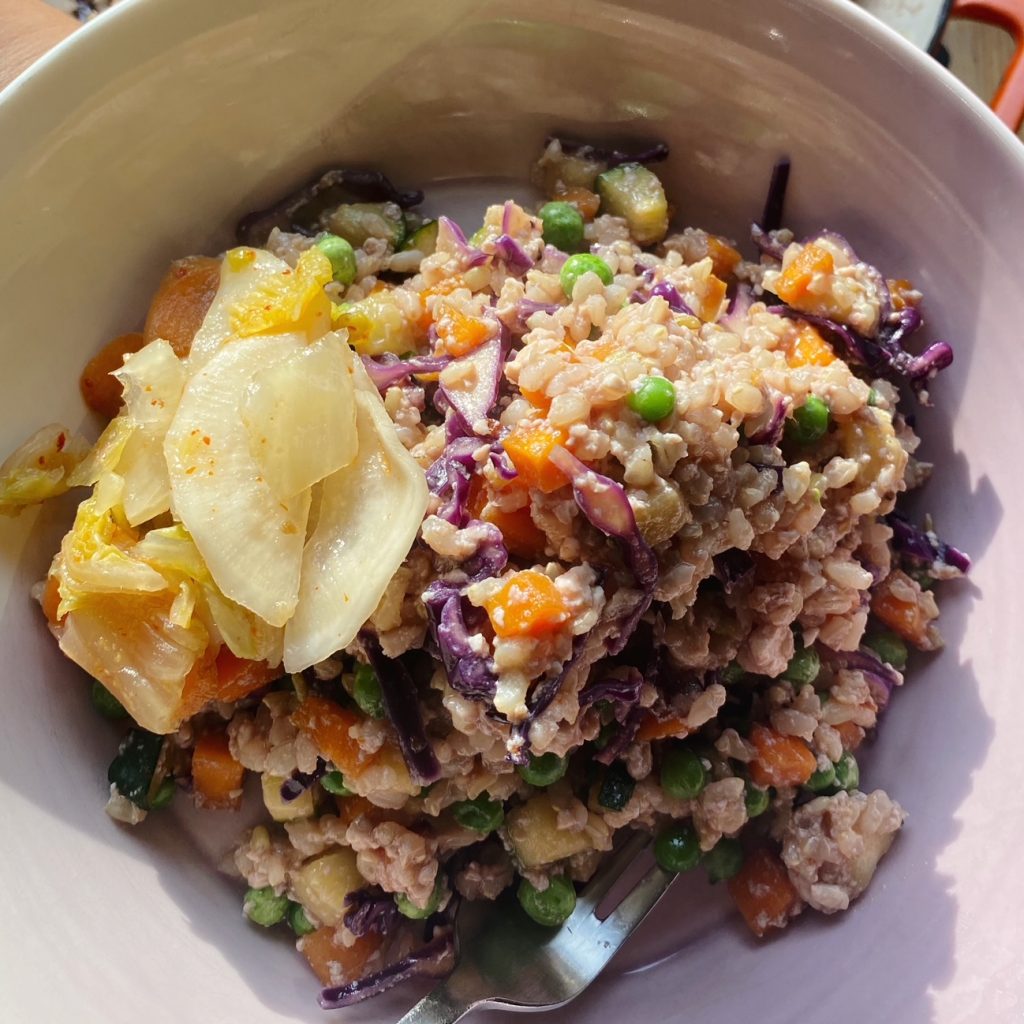
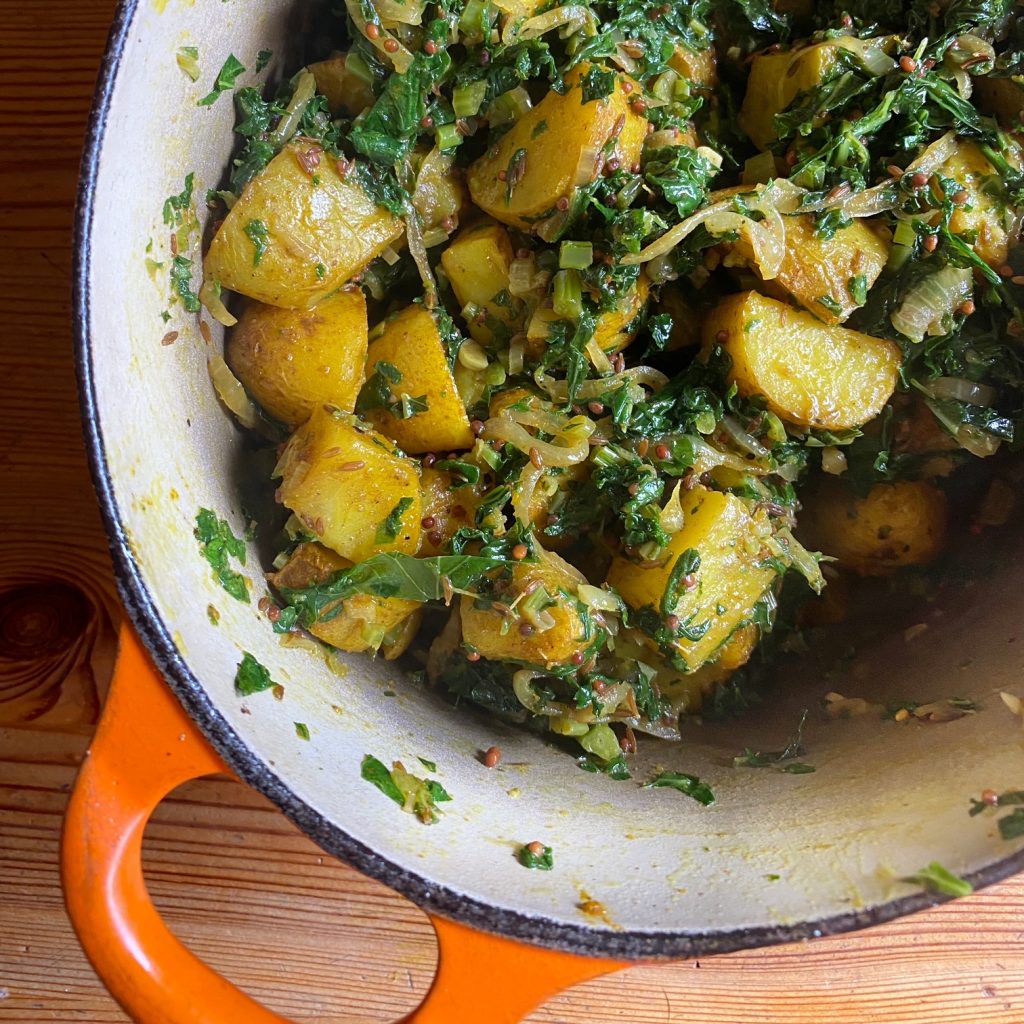
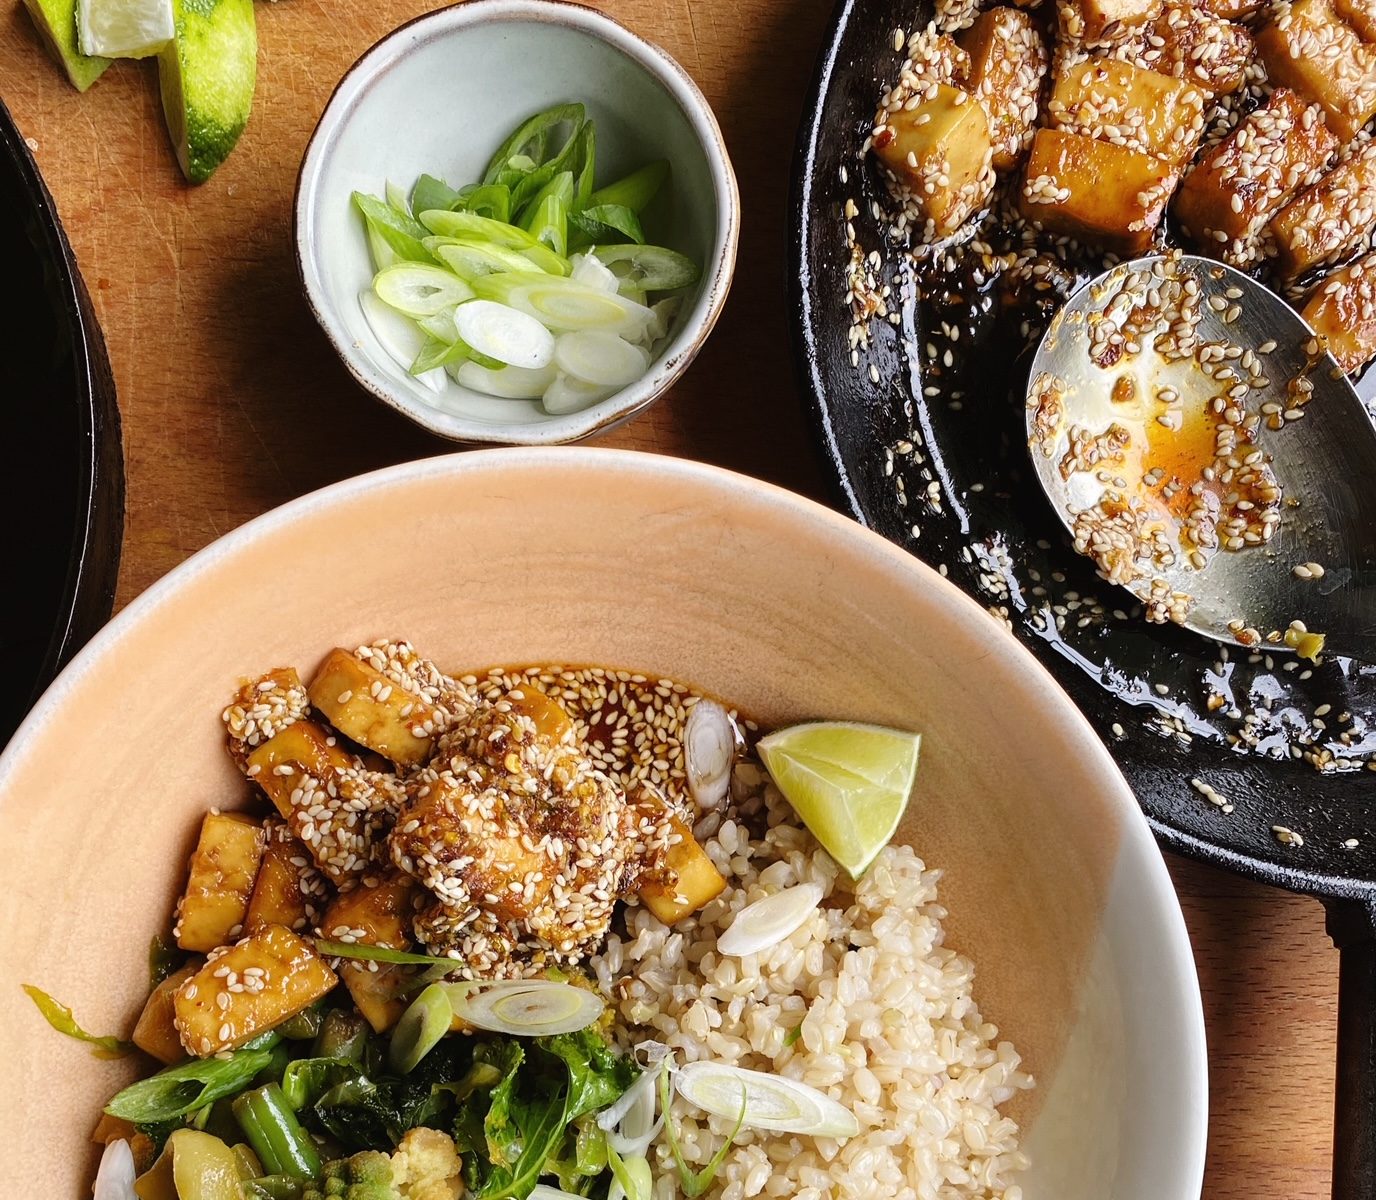
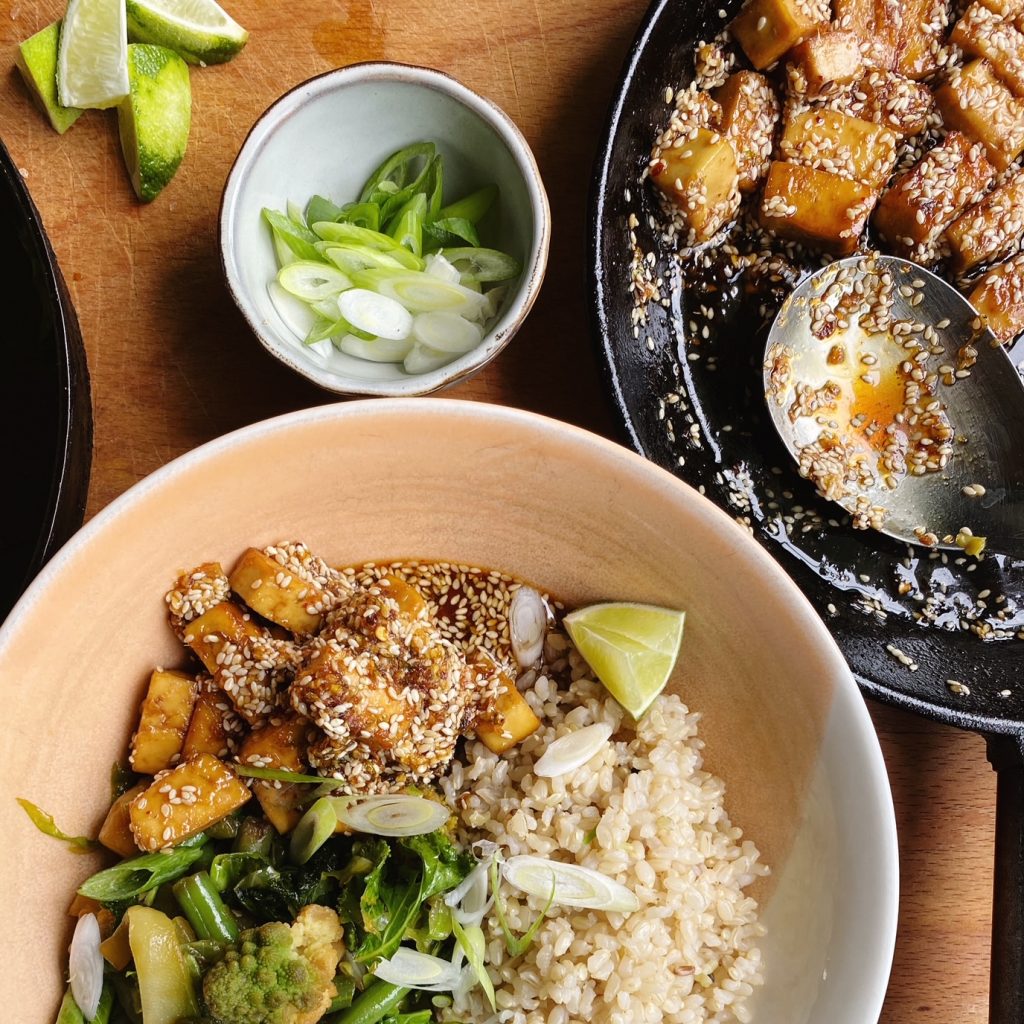
The best way to get a whole lot of greens into my family is with a simple stir fry. No one can resist them simply seasoned with a splash of salty soy sauce and piled into a bowl with rice or noodles. And for protein? We are really into tofu right now, its a beautiful blank canvas and we are trying to up our soy consumption as latest studies show how healthy is it (cancer and fibroid prevention, also anti-inflamatory and great for heart health – high in calcium, magnesium, selenium, phosphorus, iron, copper, manganese and zinc). Beans as crops are also a brilliant, Earth-efficient source of protein. We love extra firm tofu with our stir-fries, simmered with a sweet and sticky honey-ginger-sesame sauce.

Liz x

Ingredients (serves 4)

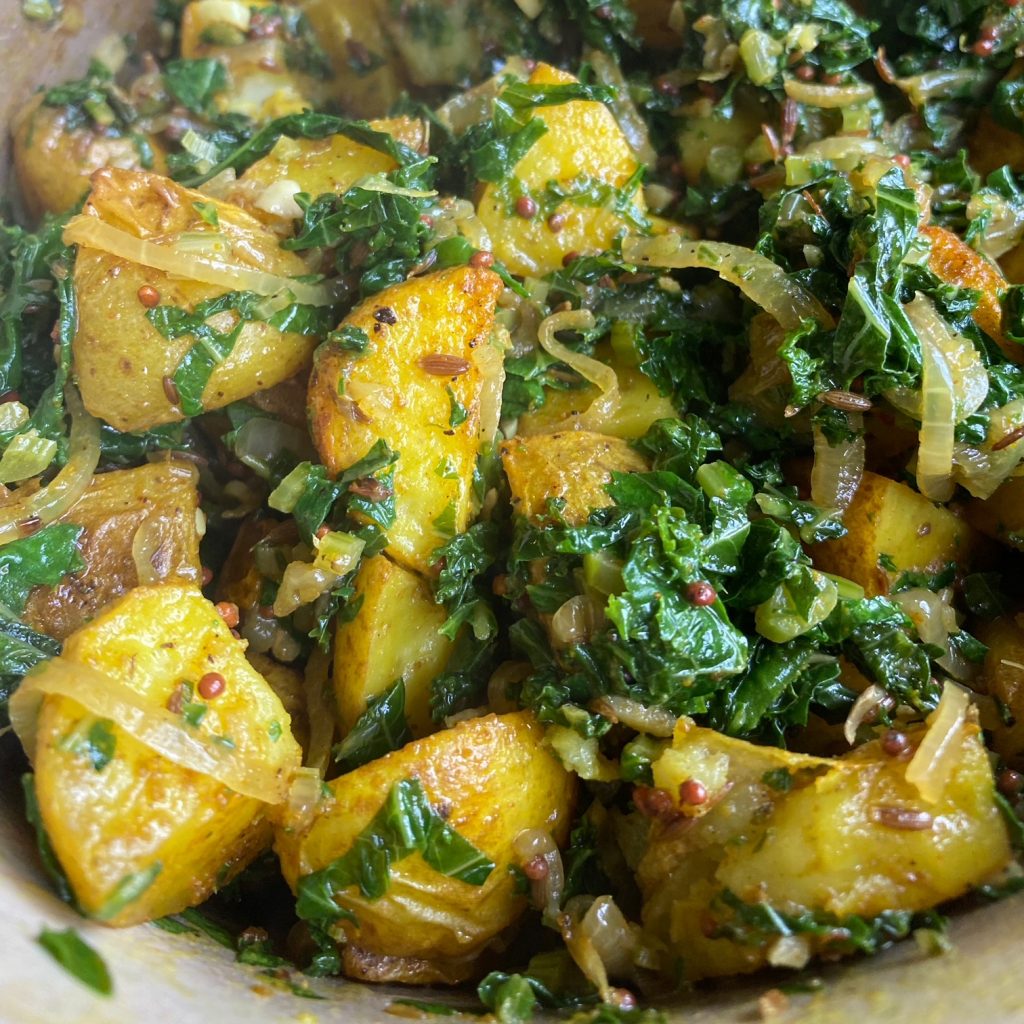
For the stir fried greens:

  • 1 tbsp neutral oil
  • 1 small courgette, julienned
  • 1/2 a cabbage, shredded
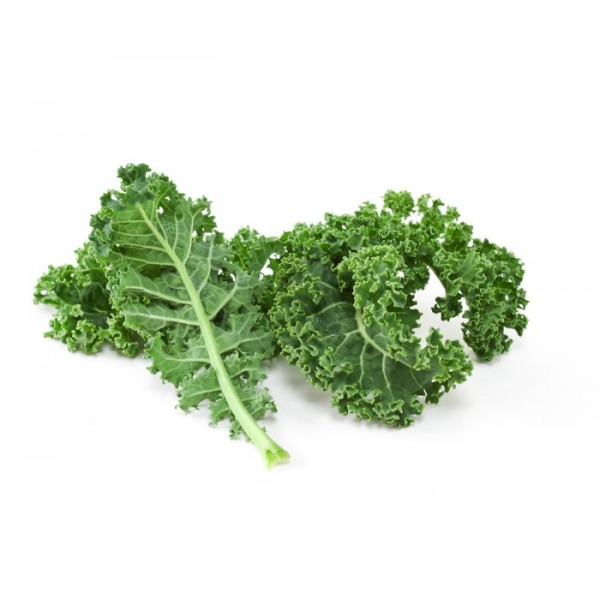
  • a few large kale leaves, shredded
  • a small head of romanesco or broccoli, chopped
  • a few large handfuls of green beans
  • 1-2 tbsp soy sauce (to taste)

For the sticky tofu:

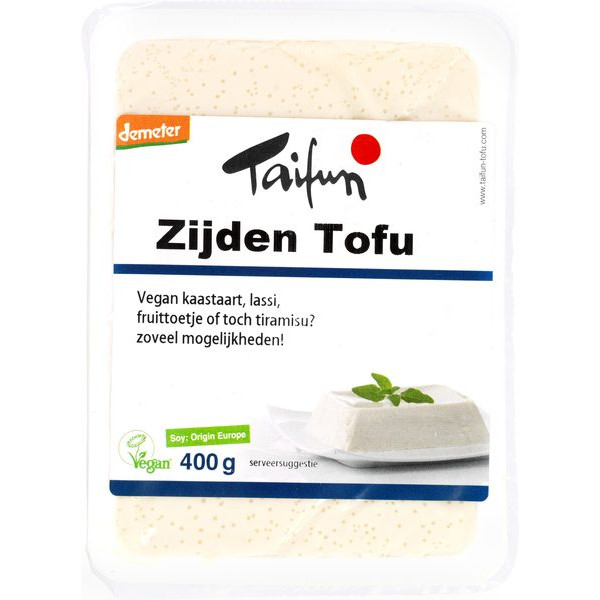
  • 2 packs of extra firm, natural tofu – drained and cut into cubes
  • 1 tbsp neutral oil
  • a splash of soy sauce
  • 50ml honey or maple syrup
  • the zest and juice of half a lime
  • 1/2 tsp chilli flakes, or to taste
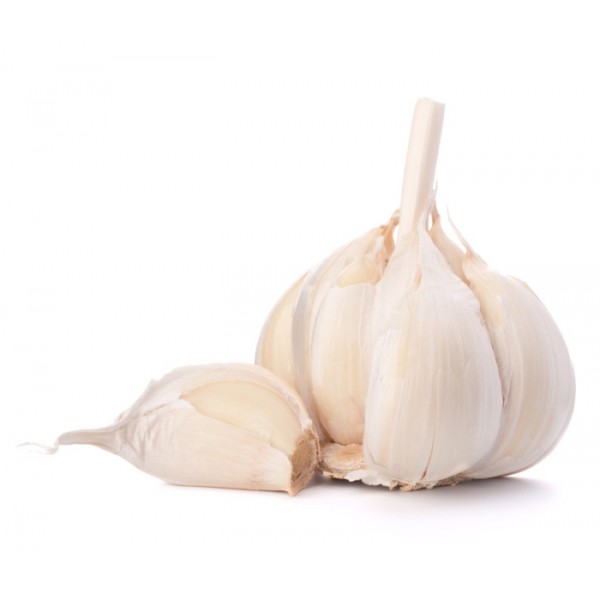
  • 2 garlic cloves, finely grated
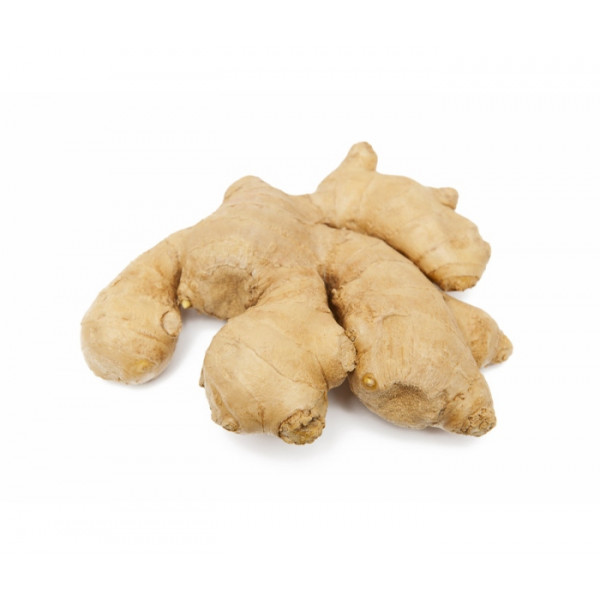
  • a thumb of fresh ginger, finely grated
  • 2 tbsp soy sauce
  • 3 tbsp sesame seeds
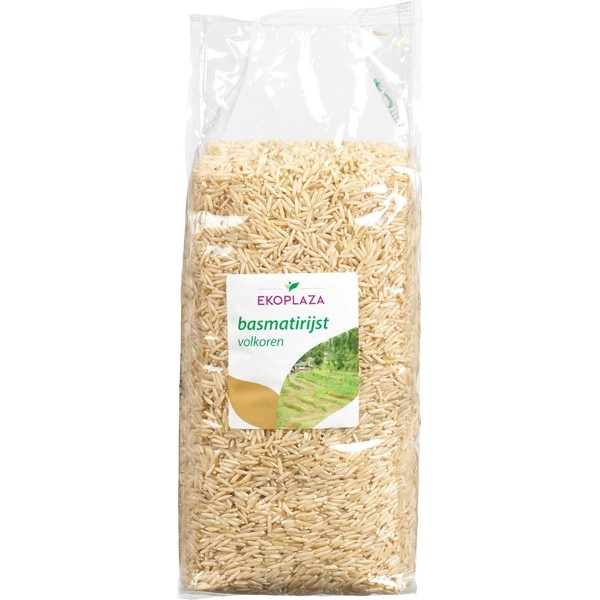
  • rice or noodles and chopped scallion to serve

Method

  1. Start by mixing the sticky dressing. Gather the ingredients and mix together in a bowl or jug. Taste and adjust the salt level with a bit more soy sauce if needed. Want it tangier? add the other half of the lime.
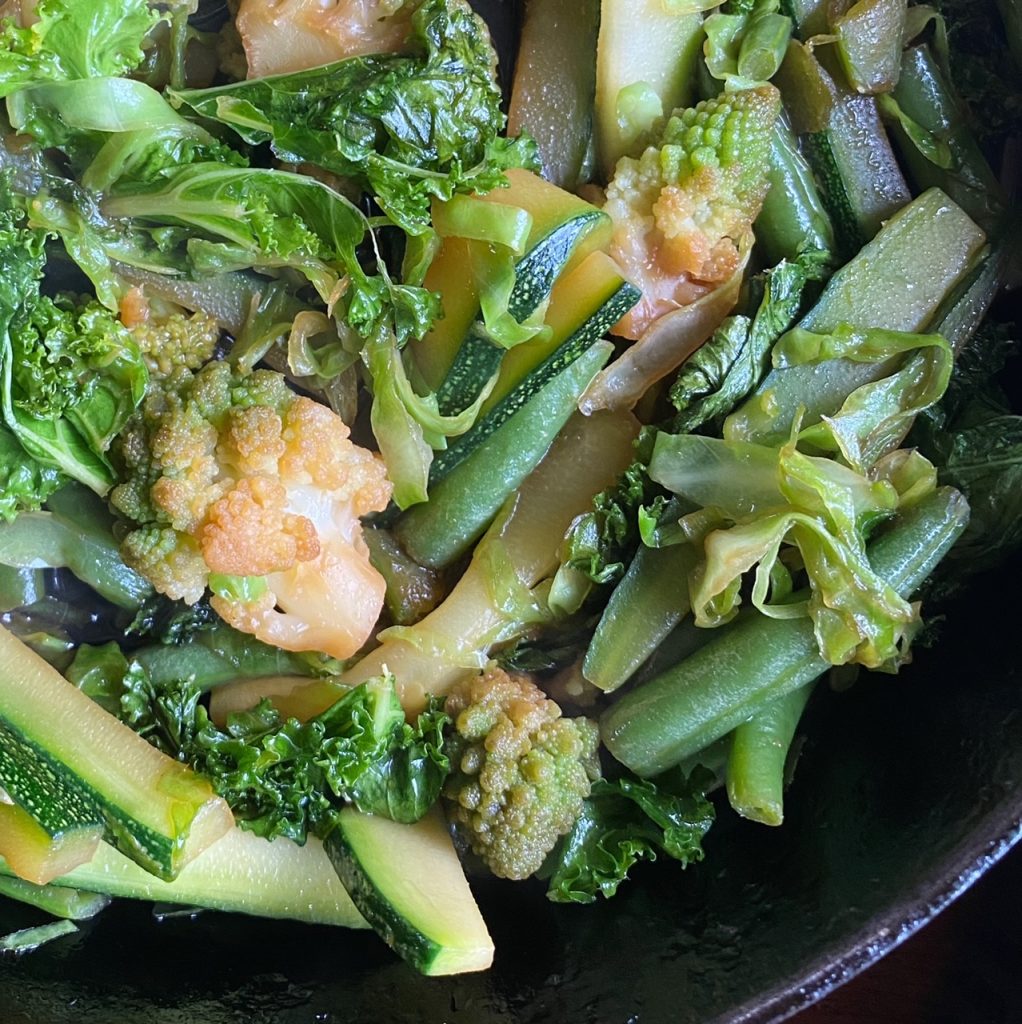
  2. Cook your rice or noodles and heat up two pans, a large one for the greens and a smaller one for the tofu. Stir fry the greens with the oil until starting to wilt, then add the soy sauce and stir for a couple more minutes.
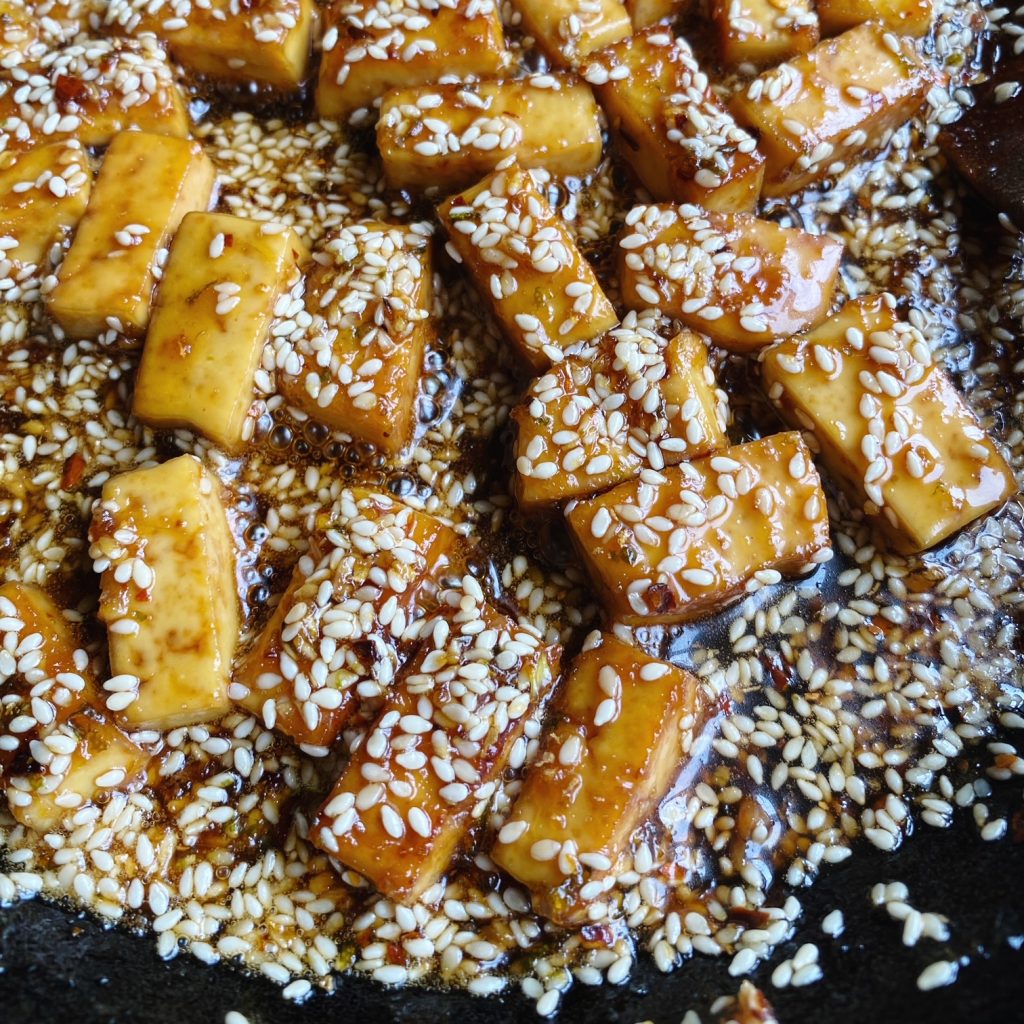
  3. In the other pan, fry the tofu with the oil until starting to warm through. Add the small splash of soy sauce and stir fry to season and brown the cubes. Then pour over the sweet, sticky sesame sauce and let it simmer and reduce for a couple of minutes.
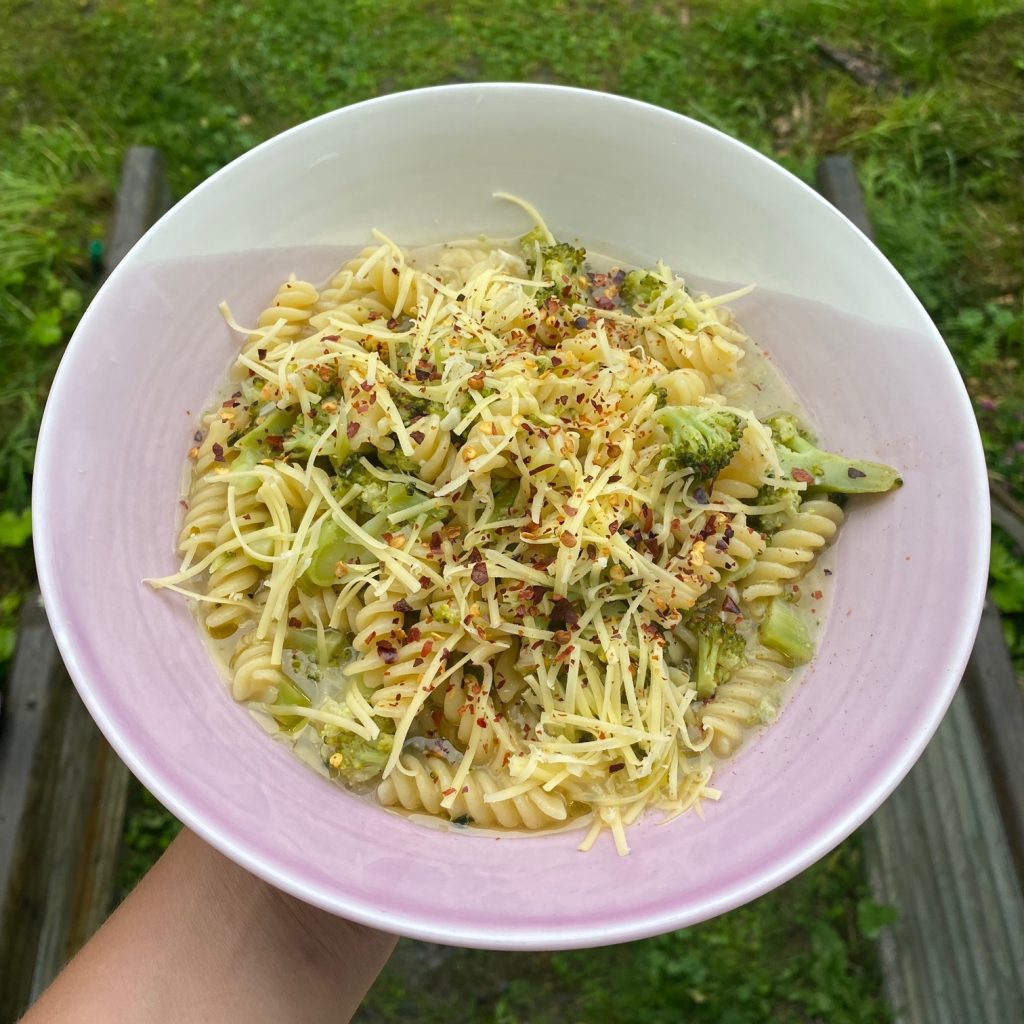
  4. Serve with the rice or noodles and greens, top with chopped scallions and enjoy!

Peanut Butter Squares – No bake

Here at Green Earth Organics we are always adding new products to the online store. When the coconut flour came in this month this recipe had to be made! 

These peanut butter squares are a real treat! Not only are they unbelievably good they might even be good for you as they are made with these gorgeous natural organic ingredients! 

They are quite filling so a small square is enough to satisfy- but go back for seconds if you must!!

Leave the plastic wrapped supermarket treats on the shelf and give them a go and let us know what you think.

Lou 🙂

  1. Line a small baking tray (8×5 inc approx) with parchment paper and cut out a spare piece of paper the same size as the tray. 
  2. Measure the peanut butter into a bowl and warm in the microwave for a minute or until it mixes easily with a spoon. (you can do this step in a small pot on the hob if you prefer)
  3. Add the coconut flour and maple syrup and mix to form a thick paste. 
  4. Tip the paste onto the baking tray and push down with the back of a spoon. 
  5. Use the spare piece of parchment paper and your hands to smooth the paste evenly into the corners of the tray, then discard the paper.
  6. Put the tray into the fridge to firm up for 10 minutes. 
  7. Add the chocolate to a bowl with the coconut oil and melt in the microwave until melted. Check the chocolate at 20second intervals so it does not burn. Mix well. 
  8. Take the tray from the fridge and pour over the melted chocolate, gently agitate to cover evenly. 
  9. Chill in the fridge again to set. Cut into squares and enjoy.

Simple Apple Galette

Galettes are the easiest pies to make. We love their beautiful rustic shape and the flexibility they bring. You can get creative and make them sweet with fruit, jam, chunks of marzipan or chocolates, or savoury with vegetables, cheese, pesto etc. Use your favourite flavours and the results will always be delicious! I use the same, sugar free, shortcrust pastry for both sweet and savoury versions, but of course you can add a spoon of sugar to the pastry if you like it a little sweeter. You can also add extra flavours to the pastry to match the fillings if you like. For example cinnamon in an apple galette, lemon zest and fresh rosemary in a parsnip galette, switch out some of the flour with ground hazelnuts or almonds… the possibilities are endless. We would love to hear about your favourite galettes in the comments please.

Liz x

Ingredients

  • 200g plain flour
  • 125g butter
  • pinch of salt
  • 3 tbsp cold water
  • 3 apples, peeled, sliced and placed in water with a squeeze of lemon juice to stop it going brown
  • a handful of sugar

Method

  1. The easiest way to make pastry is with a food processor with the ’S’ blade attachment. If you don’t have one you can use a bowl and your hands to rub the butter into the flour then bring it into a ball with the water.
  2. If you have a processor, place the flour, salt and butter in the processor and pulse until it resembles fine breadcrumbs. Then run the processor and add a tbsp of cold water while it is running, after a few seconds, add another tbsp and see if it forms into a ball. If not, add another tbsp of water and the dough should gather up and spin around into a ball. Stop the processor as soon as a ball forms.
  3. Gather the dough into a neat ball and place in a bowl. Cover with a lightly damp tea towel and chill in the fridge for 30 minutes while you pre-heat the oven to 180C and prepare the filling. This time I peeled and sliced apples and placed them into a bowl of acidulated water (water with a squeeze of lemon juice).
  4. When the dough is rested, remove it from the oven and place it onto a floured baking sheet. To be sure it will not stick, I usually line the sheet with a piece of baking parchment too, but this is optional. Press the dough down into a round disc then roll it out into a large, 4mm thick round.
  5. Arrange the fruit in the middle of the pastry, sprinkle with sugar and then gather up the sides. Remember, rustic is beautiful so no need to worry about tears and uneven folds here.
  6. Place the baking sheet and pie into the pre-heated oven (180C) and bake until golden. In my oven, this usually takes around 30-40 minutes, but do keep an eye on yours as ovens vary so much.
  7. Remove from the oven and enjoy hot or cold in slices with ice-cream.

Tofu Fried Rice

Egg fried rice but using wobbly silken tofu in place of the egg. This is such a delicious mid week, one pan, quick meal. If you ever find yourself with leftover rice, this is the solution! Its a great way to clear out the odds and ends from the veg drawer too. We love it served with kimchi or a squeeze of hot sauce, some scallions and sesame seeds. How do you eat yours?

Liz x

Ingredients (serves 4)

  • 2 tbsp neutral vegetable oil
  • 1 courgette, diced
  • 2 carrots, diced
  • 1/4 red cabbage, thinly sliced (or any combination of veg you prefer)
  • a pinch of salt
  • 1 tsp garlic granules
  • 1 tsp ground ginger
  • 1/2 tsp chilli flakes
  • 4 tbsp soy sauce
  • 1 block silken tofu
  • 4 portions of cooked rice
  • a big mug of frozen peas (or any tender greens you like)
  • 4 tbsp toasted sesame oil
  • kimchi to serve (or any toppings you prefer eg chopped scallions, hot sauce, toasted sesame seeds)

Method

  1. Stir fry the courgette, carrots and cabbage (or any chopped veg you prefer) with the vegetable oil and a pinch of salt until just starting to soften (around 5 minutes).
  2. Add the block of silken tofu and break it up with the wooden spoon. Drizzle in the soy sauce and sprinkle in the garlic, ginger and chilli and stir fry for another minute or so.
  3. Add the rice and frozen peas (or other tender greens) and stir fry to warm through. Taste and add more soy sauce if needed. Then finish with nutty, delicious, toasted sesame oil and serve however you like. We love ours topped with tangy, spicy kimchi.

Raw Noodle Salad with Peanut Dressing

This salad is SO delicious and a brilliant way to make the most of seasonal courgettes. It’s fresh and crunchy, with different colours, textures and flavours all drenched in the most moreish nutty sauce. Eat it as it is topped with salted peanuts, herbs and chillies for the best summer lunch. It makes a great packed lunch too.

Liz x

Ingredients (serves 2)

  • 1 courgette, spiralised
  • 1 carrot, grated
  • 1/2 a red pepper, thinly sliced
  • 1/8 of a red cabbage, thinly sliced
  • 1 scallion, thinly sliced
  • 1 red chilli, thinly sliced
  • a handful of fresh herbs (coriander and mint go well here)
  • a couple of handfuls of salted peanuts

For the dressing:

  • 3 heaped tbsp of peanut butter
  • 1 lime, juiced
  • 1 thumb of fresh ginger, finely grated
  • 1 clove of garlic, crushed
  • 2 tbsp soy sauce
  • 2 tbsp toasted sesame oil
  • a few splashes of cold water

Method

  1. Start by preparing the vegetables and pilling them up in a large salad bowl or in serving bowls or lunch boxes.
  2. Make the dressing by mixing the ingredients together in a bowl or jug, loosen the dressing with small splashes of cold water and keep mixing until you get a smooth, pourable sauce.
  3. Drizzle the sauce over the vegetables and top with chilli slices, fresh herb and salted peanuts. Enjoy right away. If you want to serve it later, keep the vegetables and dressing separate in the fridge until you are ready to serve.

Stuffed Mushrooms w/ Roast Veggies & Sauté Kale

When the Zero Waste Veg Box was delivered to my door I was so excited to think what I could make with all the fabulous ingredients. The chestnut mushrooms grabbed my attention first and I thought how could I make them the star of the show!! My recipe thought path went something like this: mushrooms and walnuts, walnuts and cheese, cheese and bread… stuffed mushrooms it had to be!! 

When you open your veg box and take a vegetable out and touch it and smell it and imagine what works well with it, the ideas will come flooding in. 

These are gorgeous chestnut mushrooms, when they roast slowly they release the juice into the bread stuffing, making them extra tasty.

While you’re roasting the stuffed mushrooms in the oven, roast the veg at the same time, its more efficient to use your oven this way. 

Enjoy,

Lou 🙂

For the stuffed mushrooms:  

For the roast veg: 

For the sauté kale: 

  • 100g kale 
  • Small knob of butter
  • salt and pepper

For the sauté kale: 

  • 100g kale 
  • Small knob of butter 
  • salt and pepper

To make the stuffed mushrooms: 

  1. Preheat the oven to 180℃. Line a small baking tray with parchment paper. 
  2. Clean the mushrooms by wiping them with a piece of kitchen paper. 
  3. Remove the stalks and keep them to roast with the veggies. 
  4. Make the stuffing by adding the bread, grated garlic, grated cheddar, walnuts, chopped rosemary and salt and pepper to a blender. Blend briefly until you have breadcrumbs. 
  5. Spoon the breadcrumb mix into the mushrooms. 

(Tip: If there are extra breadcrumbs you can toasted it in the oven for 10 minutes and use it to sprinkle over the roast veggies.)

  1. Add all the stuffed mushrooms to the tray. 
  2. Cover in tinfoil and bake in the oven for 30 minutes, or until fully cooked. 
  3. After 30 minutes take the foil off and bake for a further 10-20 minutes to crisp up the top of the mushrooms. Alternatively put them under the grill for a few minutes. 

To make the roast veggies:

  1. Line a large baking tray with parchment paper.
  2. While the mushrooms are roasting- chop the red pepper, yellow pepper and onion into chunks add the cherry tomatoes whole. 
  3. Add all to a mixing bowl along with a pinch of salt and pepper, a couple of sprigs of rosemary (or a pinch of dried herbs) and a drizzle of oil. 
  4. Pour the chopped veg onto the baking tray and roast in the oven for 30-40 minutes at 180℃.

To make the saute Kale: 

  1. Put a large pot of water on to boil.
  2. Pick the kale from its stalks, and chop into bite sized pieces, add to a bowl. 
  3. Finely slice the stalks too and add to the bowl with the kale leaves. 
  4. When the water is boiling add all the kale and stalks, if it doesn’t all fit do it in batches. 
  5. Blanche for 2-3 minutes to soften. 
  6. Drain through a colander and keep in a bowl until needed. This will keep in the fridge in a closed container for a couple of days. 
  7. When ready to sauté, warm a frying pan on a medium heat. 
  8. Add a knob of butter and a handful of kale, add a small pinch of salt and pepper and heat through. 

To serve: 

Add the warm stuffed mushrooms, roasted veg and sauté kale to a plate. And enjoy!!! 

Courgette Involtini

One of our favourite summer dishes, we love this with pasta or bread and a big bowl of salad. For the filling, use any soft cheese you prefer, mixed with fresh herbs or a big scoop of pesto. We usually use our homemade tofu ricotta (here’s the recipe) but a mix of cream cheese and feta is delicious too. Make your own tomato sauce or use a jar of ready made.

Liz x

Ingredients (serves 4-6)

  • 1 courgette
  • 1 batch of tomato sauce (from a jar or sauté a diced onion and 4 crushed garlic cloves in 3 tbsp olive oil until soft, add a tin of chopped tomatoes and half a tin of water, season with salt and pepper and simmer for 10 minutes)
  • 400g soft cheese (use any you prefer, a mix of feta and cream cheese or vegan versions, we like to use our homemade garlic and herb ricotta)
  • a large handful of chopped herbs or a couple of tbsp of pesto
  • olive oil, salt & pepper to taste

Method

  1. Make the tomato sauce and pour it into an oven proof dish. Pre-heat the oven to 180C.
  2. Make a batch of garlic and herb tofu ricotta or mix any soft cheese you prefer with chopped herbs or pesto.
  3. Use a potato peeler or a cheese slicer to cut the courgette into long, thin strips.
  4. Place a heaped tsp of the herby cheese mixture on the end of a courgette slice. Then roll it up and place it, seam down, into the tomato sauce. Repeat until you have filled the dish or used up all the courgette slices.
  5. Drizzle the rolls with olive oil and season with salt and pepper. Bake in the oven until bubbling and golden – around 15 to 20 minutes.
  6. Enjoy with bread or pasta and salads.

One Pot Broccoli, Lemon & Garlic Pasta

One pot pasta dishes are our favourites! Not just because of less washing up, but also because when you create a sauce in the pasta’s starchy cooking water, it is so luscious, silky and rich.

We have loads of amazing broccoli here on the farm now, we love it so much that we use half a head per person in this recipe (based on the traditional Italian broccoli orecchiette). The broccoli is deliberately cooked for longer than we would usually cook it, until it collapses into the sauce. We use a big dollop of miso (in place of anchovies) for complex depth of flavour and loads of gorgeous garlic and lemon to make this simple dish sing. Give this recipe a try for your next pasta night.

Liz x

Ingredients (serves 4)

  • 4 tbsp extra virgin olive oil (plus extra for drizzling on the bowls)
  • 6 fat garlic cloves, peeled & finely chopped
  • 2 heads of broccoli, finely chopped – stalks included
  • 1 tbsp miso paste
  • the zest and 1/2 the juice of a lemon
  • 400g pasta (any small shape you prefer)
  • salt and pepper to taste
  • chilli flakes and grated cheese to serve

Method

  1. In a large, heavy bottomed pot, sauté the garlic and finely chopped broccoli stalks in the oil until very fragrant and starting to soften – about 5 minutes or so.
  2. Season with salt, pepper, miso and lemon zest and then add the dried pasta and broccoli florets.
  3. Just cover with water, give the pasta a stir and put the lid on the pot to help the water come quickly to a boil.
  4. Once boiling, remove the lid and stir to ensure no pasta is sticking to the bottom. Cook until the pasta is soft. Taste and adjust the seasoning as needed with more salt and pepper and the lemon juice.
  5. Let the pasta sit off the heat and rest a few minutes before serving. This will allow the sauce to thicken into the perfect texture. Serve with a drizzle of extra virgin olive oil, a sprinkle of cheese and chilli flakes. Enjoy!

New Potato, Chard & Kale Saag Aloo

Saag aloo is one of our favourite Indian side dishes. Make it a meal and serve it with rice, dal and a chickpea curry. Maybe a raita too using our Galway grown cucumbers and some natural yoghurt? Irish new potatoes are the best and in season now. Combined with our farm chard and/or kale in place of the traditional spinach, this recipe is a great way to make the most of our local, seasonal produce. The method is simple and the results are so delicious!

Liz x

Ingredients (serves 4)

  • 500g new potatoes, cut into bite sized pieces
  • 1 tbsp curry powder
  • 3 tbsp vegetable oil
  • 1 onion, finely sliced
  • 4 cloves of garlic, diced
  • 1 thumb of fresh ginger, diced
  • 1 tbsp brown mustard seeds
  • 1 tbsp cumin seeds
  • a large bunch of kale or chard (or a combination), stalks separated and finely chopped, leaves finely chopped
  • salt and pepper to taste

Method

  1. Turn the oven on to 200C. Place the potatoes in a roasting dish and drizzle with 2 tbsp oil, season with salt and pepper and sprinkle over the curry powder. Stir to evenly coat the potatoes in the oil and seasoning and roast until the potatoes are soft.
  2. Meanwhile wash and prepare the greens. Separate the tougher (but perfectly edible) stalks from your chard/kale. Finely slice the stalks and put in a bowl. Finely slice the tender greens and put in another bowl.
  3. Slice the onion and sauté with the remaining tbsp of oil in a large pot with the whole spices, salt and pepper. Cook until the onion is golden and soft and the whole spices are fragrant and toasted.
  4. Then add the sliced stalks, garlic and ginger and sauté for 3 minutes or until softened. Then add the tender greens and wilt down stirring constantly until dark green and soft. You may need to add a small splash of water to help wilt the greens.
  5. When the potatoes are cooked through, stir through the wilted greens and serve.

Salmorejo with Spiced Chickpeas

If you like gazpacho, you’ll love this simpler version of chilled tomato soup. It is so quick and easy to make and perfectly balanced with a creamy texture and refreshing sweet and tangy tomato flavour. Traditionally it is served topped with chopped boiled egg and jamón slices but we love it with cumin and smoked paprika chickpeas. This soup is only as good as the quality of the ingredients, so use ripe tomatoes, really good olive oil and for the best flavour, sourdough bread.

Liz x

Ingredients (serves 4)

For the soup:

  • 500g tomatoes (any fresh, ripe tomatoes)
  • 1 tbsp red wine or sherry vinegar
  • 1 clove of garlic
  • 4 tbsp extra virgin olive oil
  • 2 slices of stale sourdough bread
  • salt and pepper to taste

For the chickpeas:

  • 1/2 a tin of chickpeas, drained & rinsed
  • 1 tsp olive oil
  • 1 tsp ground cumin
  • 1 tsp smoked paprika
  • salt & pepper to taste

Method

  1. Put the soup ingredients into a strong blender and blend until smooth.
  2. Taste and adjust the seasoning if needed with more salt, pepper or vinegar.
  3. Pour into a jar or jug and chill in the fridge for at least 3 hours.
  4. Meanwhile fry the chickpeas in a hot frying pan with the oil and spices until they start to pop. Tumble into a bowl and keep in the fridge to serve with the soup later.
  5. Divide into 4 bowls and top with the spiced chickpeas. The soup will keep fresh in the fridge for 3 days.