Chocolate Guinness Cupcakes

These are just like a pint of the dark stuff. Bittersweet, rich and fudgy chocolate cupcakes with a sweet, creamy frosting. If you are a fan of dark chocolate, you’ll love these. The Guinness in the recipe reacts with the baking soda to make the cake rise, as well as adding dark, delicious, malty flavours. So good! The perfect treat for St Patrick’s Day.

Liz x

Ingredients (makes 12)

Cake:

  • 150g flour
  • 50g cocoa powder
  • 1 tsp baking soda
  • 100g sugar
  • pinch of salt
  • 50ml oil
  • 250ml Guinness

Icing:

  • 50g butter (room temperature)
  • 100g cream cheese
  • 100g icing sugar (sieved)

Method

  1. Pre-heat the oven to 175C and line a muffin tin with 12 cases.
  2. Mix the dry cake ingredients together in a bowl to evenly disperse the baking soda, then stir in the oil and the Guinness. Stir into a smooth batter, but do not over-mix.
  3. Divide the batter between the 12 cupcake cases and bake for 12-15 minutes until risen. An inserted skewer should come out clean. After a few minutes, carefully move the cupcakes to a cooling rack.
  4. To make the icing, whisk the softened butter with the cream cheese until smooth. Then add the sieved icing sugar, one tablespoon at a time. Whisk the first tablespoon in until creamy and smooth before adding another tablespoon and whisking in again. Repeat until all the sugar is incorporated and the icing is fluffy and creamy.
  5. Allow the cupcakes to completely cool before icing. Enjoy!

Sweet Soda Bread

With St Paddy’s Day just around the corner, we have been making lots of traditional Irish food. Soda bread is so quick and easy to make, we love this sweet loaf with whiskey soaked raisins. We make our own dairy free buttermilk, but of course you can use regular if that’s what you have. It’s the best thing, warm out the oven with a generous slab of cold cold butter and a steaming cup of tea. How do you like yours?

Liz x

Ingredients

  • a generous handful of raisins soaked in a splash of whiskey or black tea

For the dairy free buttermilk:

  • 300ml oat milk
  • 2 tbsp apple cider vinegar
  • 2 tbsp oil

Dry ingredients:

  • 500g flour
  • a pinch of salt
  • 2 tsp baking soda
  • 3 tbsp sugar

Method

  1. Heat the oven to 180C and butter a skillet (or you can use a baking sheet or cake tin).
  2. Soak your raisins in a splash of whiskey or tea and mix the buttermilk ingredients together in a measuring jug.
  3. While the raisins plump up and the milk sours, measure out your dry ingredients into a bowl and give them a good whisk to evenly disperse the baking soda.
  4. Then use a wooden spoon to stir in the raisins, followed by the buttermilk. You should be left with a fairly sticky dough.
  5. Generously flour a clean work surface and scrape the dough out onto the flour. If your dough is very sticky, sprinkle flour on top too. Bring the dough together into a ball, no need to knead, then place the dough on the buttered skillet.
  6. Score the bread with a deep cross and sprinkle with more sugar if you like. Then bake for 30 minutes or until it sounds hollow when tapped. Allow to cool as long as you can resist before slicing and spreading with butter. Enjoy!

Air Fryer Croutons 3 ways

Bread is Irelands most wasted food with 40% of households saying old bread makes it way to the bin. There are a few nifty thrifty ways to use up old bread and give it a new lease of life. There is “Less Waste and More Taste” with these homemade croutons in 3 different flavours (herb, chilli and curry) that go deliciously well with soup in winter and salads in the summer.

I joined the air fryer community a few months ago and I have to say making a batch of croutons in the air fryer with old cubed bread is a cinch and very satisfying. Raid the spice rack and add some exciting flavours while you’re at it. If you don’t have an air fryer just toast the bread in the oven.

Tip: Old bread works best for croutons. Cut the pieces of bread into roughly the same sized cubes for even cooking.

My young kids adore these with their soup…and we munch and crunch on them chat about which flavour we like best.

Lou 🙂

Ingredients: makes 3 different flavours and 3 small bowls

  • 6 slices old bread – white slice pan/ sour dough/ batch loaf/ GF whatever you have
  • 1-2 tsp dried mixed herbs
  • 1 tsp paprika, 1/2 tsp chilli flakes
  • 1-2 tsp curry powder
  • cooking oil
  • salt and pepper optional

Method:

  1. For the herby croutons: Slice and cube 2 slices of bread and add them to a mixing bowl.
  2. Sprinkle in the dried mixed herbs and mix, add a drizzle of oil to coat season with a small pinch of salt and pepper if you wish. Toss the croutons to coat in the oil.
  3. Pour the cubed bread into the air fryer basket.
  4. Air fry at 180ºC for 8-10 minutes shaking half way through.
  5. You can toast the croutons in the oven -Preheat your oven 180ºC, put the bread cubes on a baking tray and bake them in the oven for 20 minutes, check and shake half way through.
  6. The croutons should be evenly toasted and brown all over.

For chilli croutons: Repeat the method above but for step 2 instead of dried mixed herbs add paprika and chilli flakes.

For curry croutons: Repeat the method above but for step 2 instead of dried mixed herbs add curry powder.

Good dirty soil and lemons not suitable for vegans…

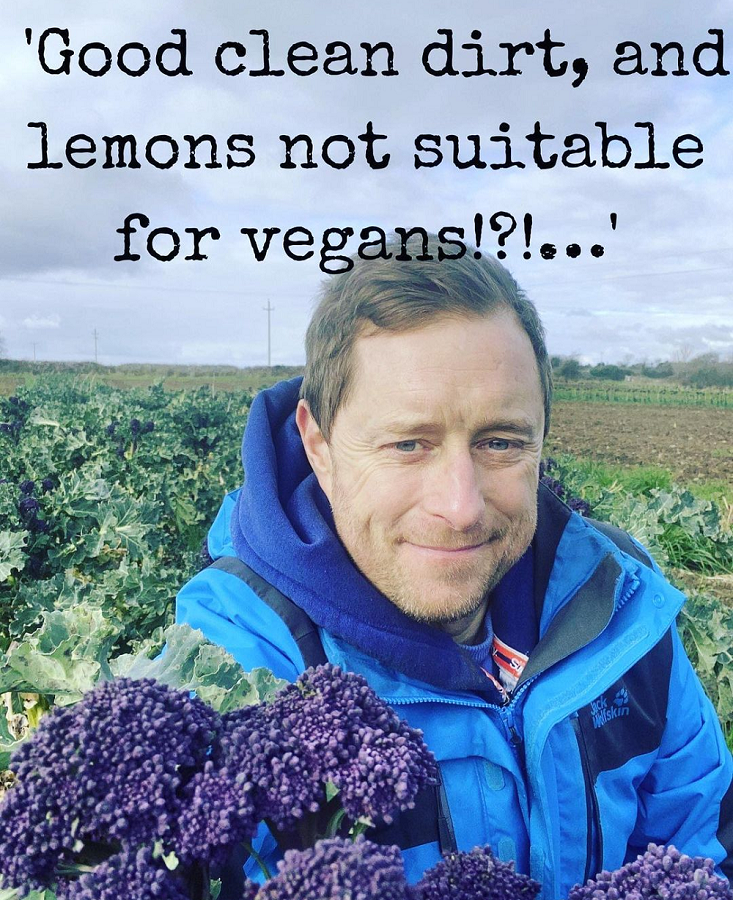
When I was a young teenager I used to work every summer for a farmer, he had a saying “there is nothing like good clean dirt!” And in fact, there was a lot of truth in that, even though at the time I had no idea what he was talking about.

A customer contacted us during the week and was concerned about the wasted soil on some of our vegetables that gets washed down the sink, and rightly so. We have thought about this long and hard and totally agree that soil management is critical to healthy food and a healthy planet.

Dirt, clay, soil the stuff that gets stuck under your fingernails is good for us. It is actually pretty healthy to get it on your hands, in fact research has shown that getting your hands stuck in clay may actually ease depression. (Mycobacterium vaccae the bacterium is found in soil and may stimulate serotonin production is currently under study)

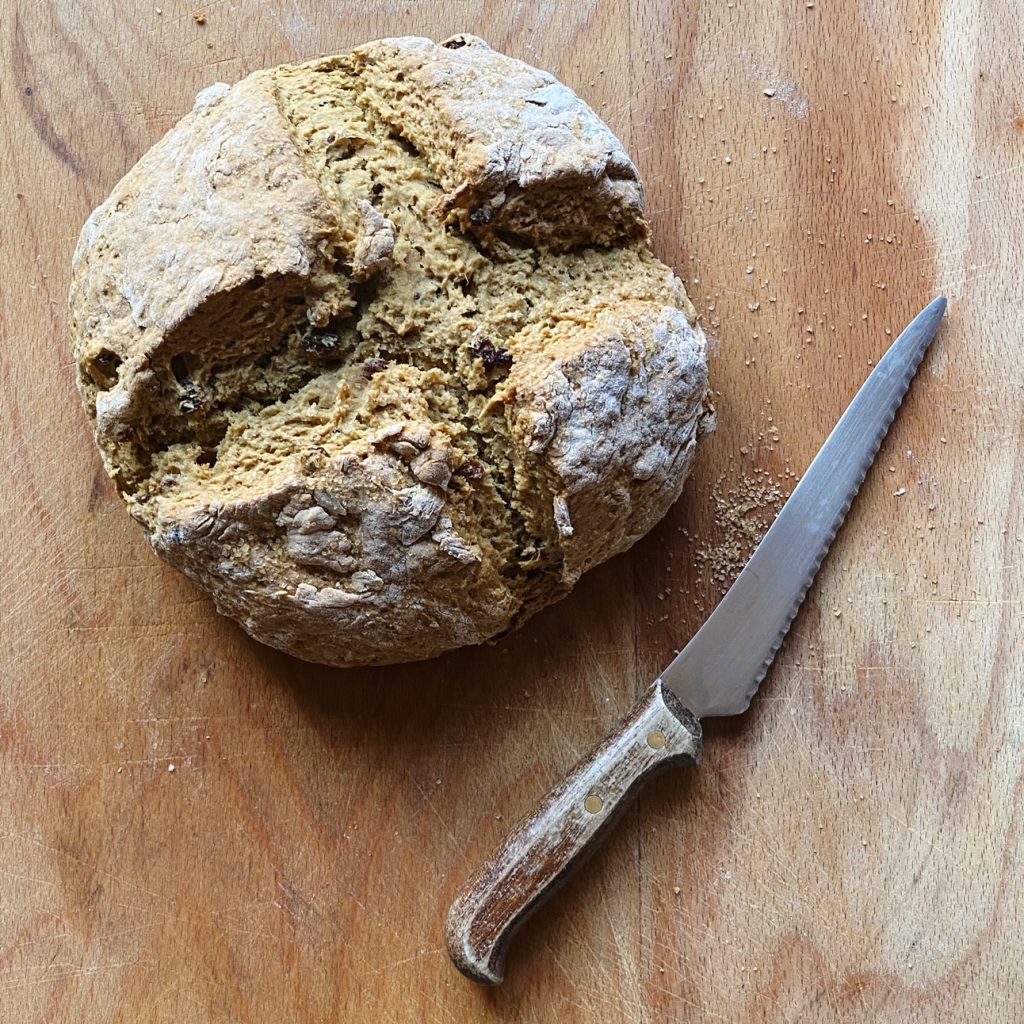
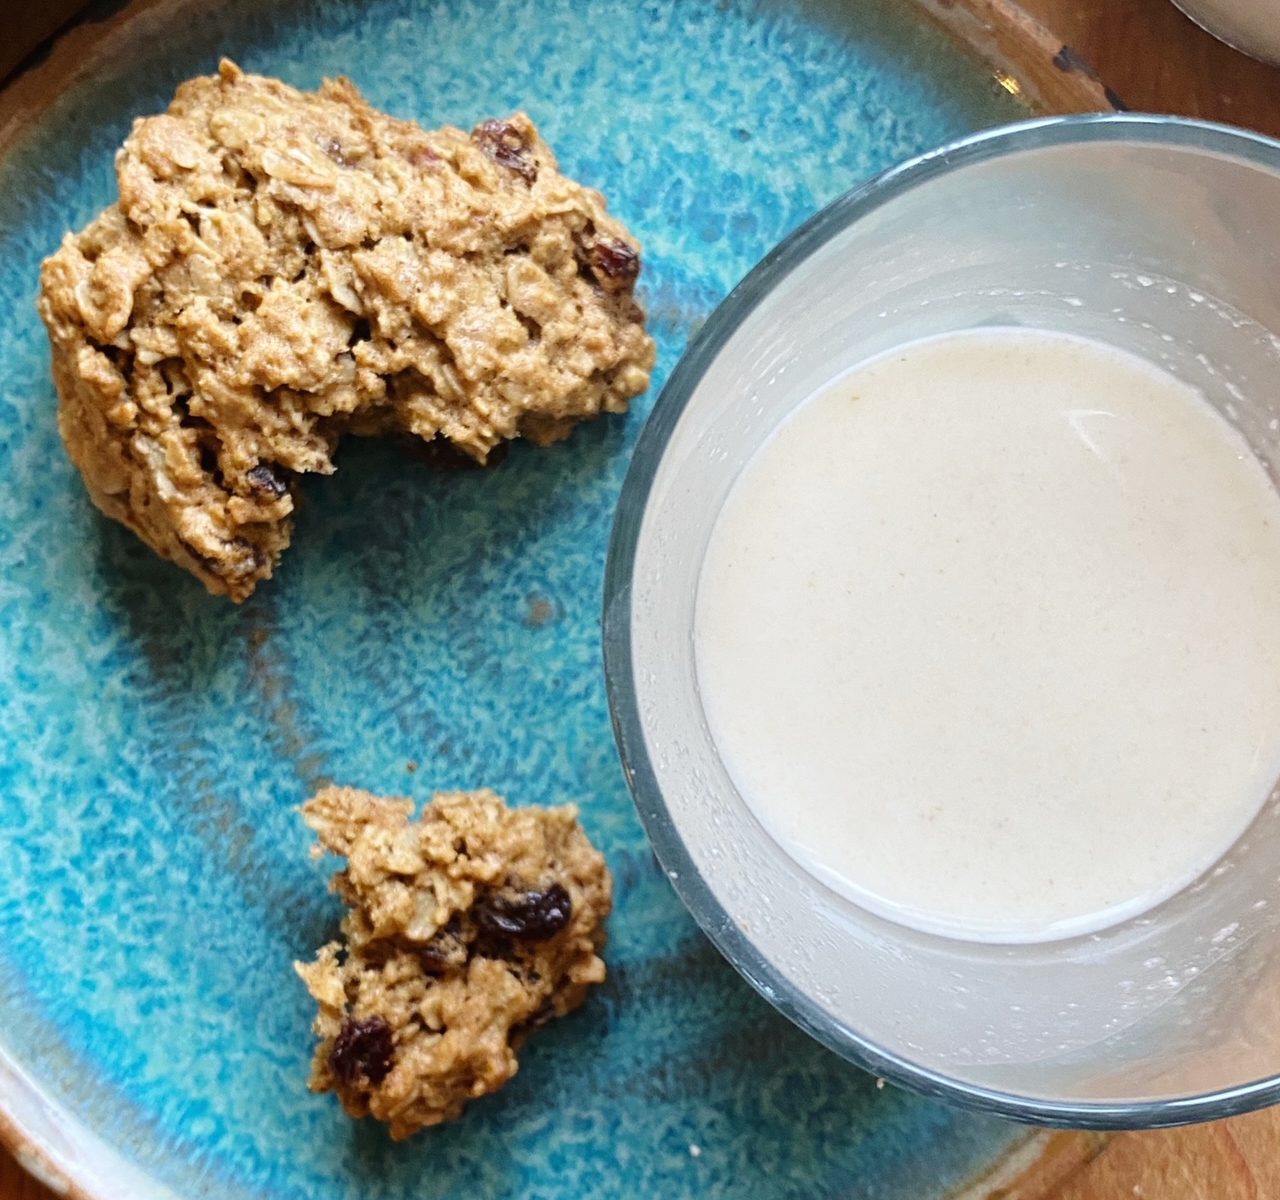
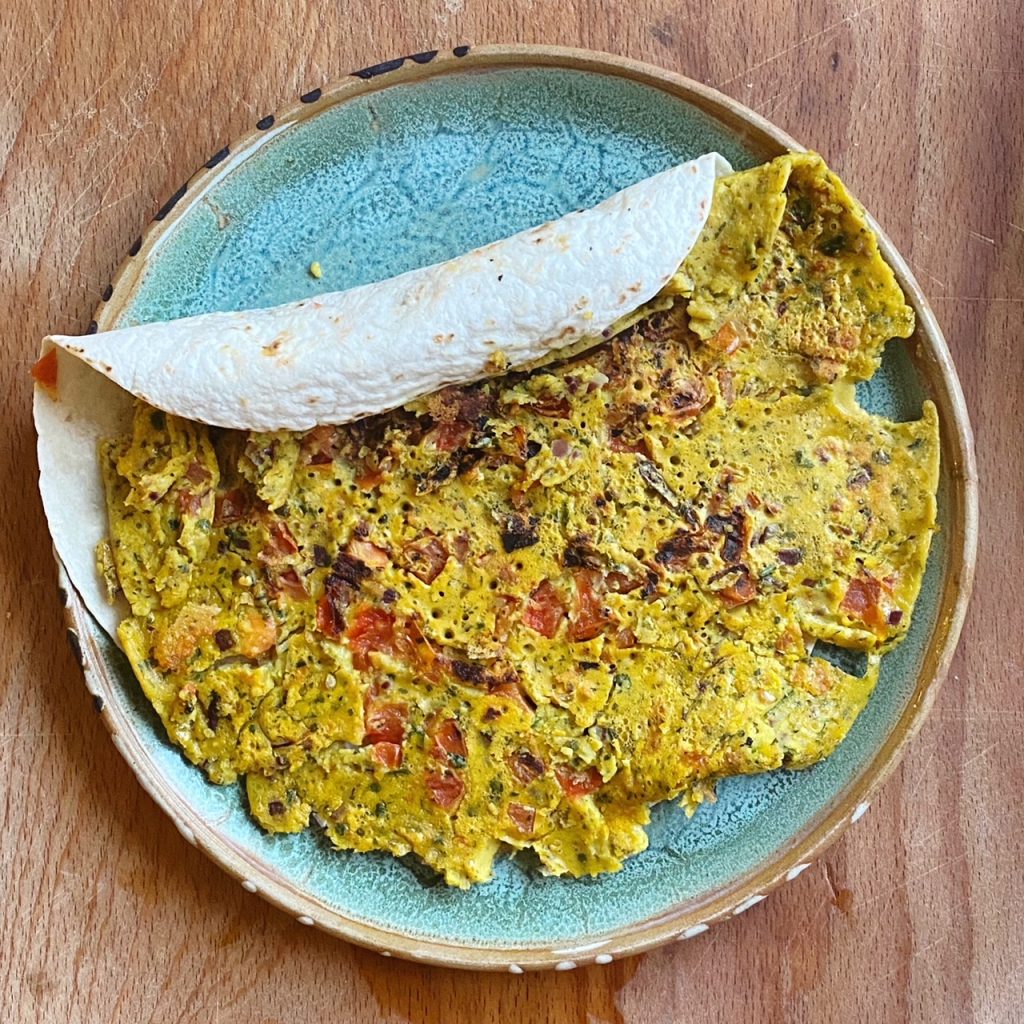
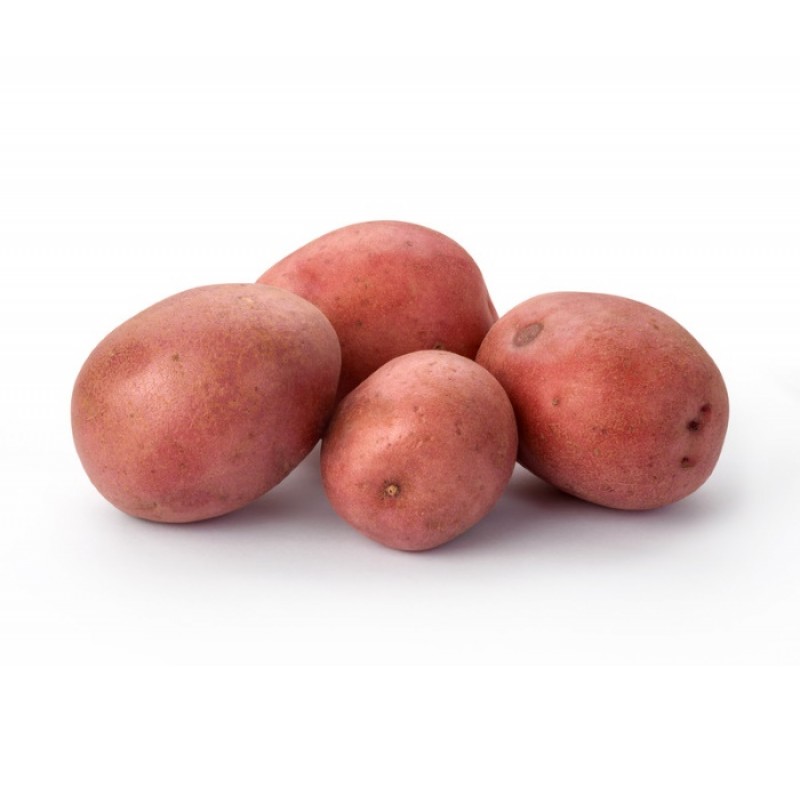
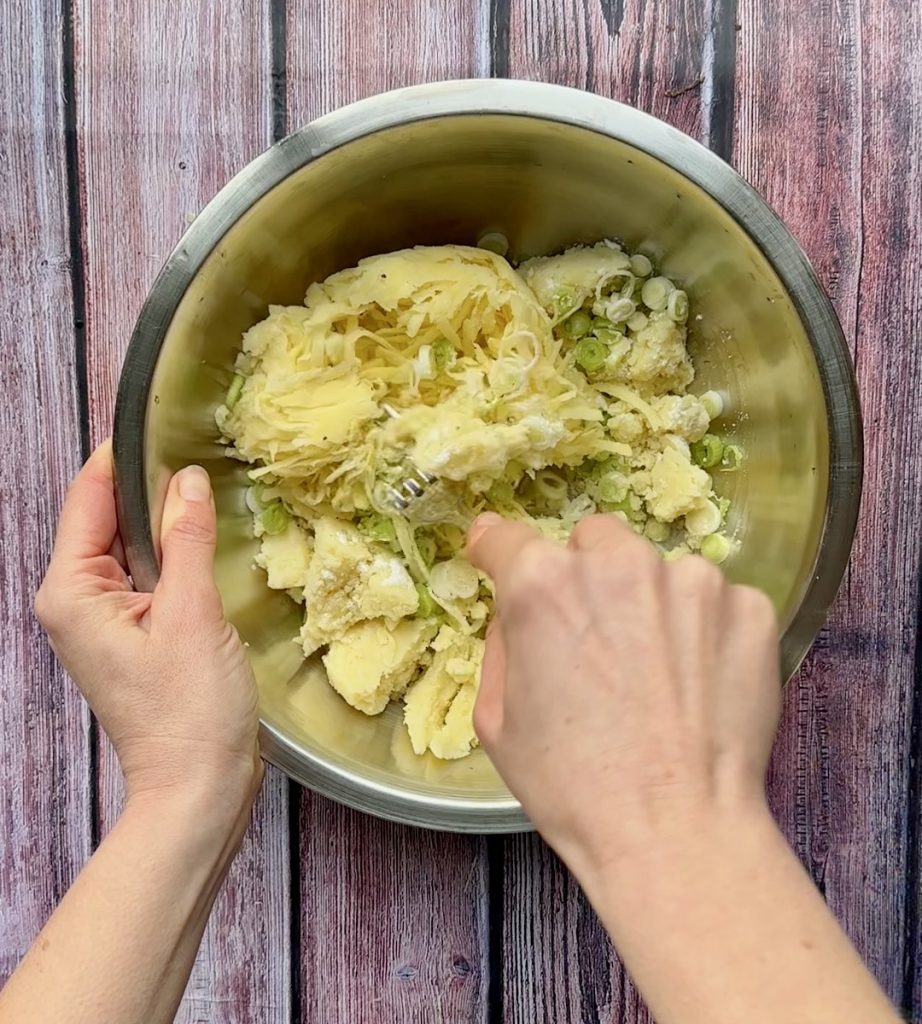
Some of our produce comes with dirt on it, we know it takes a little more effort in the kitchen and time can be in short supply, we know when you have a busy household the last thing you want to do is to wash dirty carrots or parsnips.

But here’s the thing we are not hiding anything, you can see the dirt and it has a very important function. It is a natural preservative, it keeps the veg fresh, it keeps the flavour in. You can smell the freshness when you wash one of our dirty parsnips. Crucially leaving dirt on your veg actually helps reduce food waste!

It also avoids an energy intensive and water intensive washing process, and eliminates the need for plastic packaging plus it maintains the nutrient content of the produce

The great thing of course about soil is it can be washed off.

This unfortunately is not the case with chemicals. Many are systemic in nature, (simply put they get inside the plant or food and stay there).

Some chemicals are applied to the skins of fruits and vegetables to preserve them. The most commonly known ones are the fungicides mixed into the waxes and applied to citrus fruit.

It turns out that one of the big supermarkets are now kindly putting the names of the chemicals mixed in with the waxes on their loose citrus fruit on their website. Have a look see for yourself. (Check out the description on loose lemons on this retailer’s website. I’ll give you a hint it is a large multinational supermarket.)

Under Description (and remember this is for Lemons!) it starts by “not suitable for vegans….” Hmm now that is definitely an interesting one.

This is what is found on your conventional (Non organic) LEMONS:

Here is the list we found (Depending on country of origin, the treatment varies)

Spain:                     Imazalil/Thiabendazole/Pyrimethanil & Wax E914, E904

Morocco:               Propiconazole/Pyrimethanil/Imazalil & Wax E914, E904

Egypt:                     Imazalil/Thiabendazole & Wax E904, E914

Peru:                       Imazalil/Orthophenylphenol/Thiabendazole & Wax E903, E904

RSA:                        2,4 D/Imazalil/Thiabendazole & Wax E914, E904

And here are some fun facts about these hidden gems:

Imazalil is a suspected carcinogen and a probable endocrine disrupter (compounds that mimic or inhibit the body’s hormones, generally not good for us)

Thiabendazole is a probable endocrine disrupter

2,4-D falls into a class of compounds called endocrine-disrupting chemicals.

So, unlike the dirt on our parsnips which is harmless, and could be argued is actually improving our health, extending shelf life, locking in flavour, cutting down on plastic and can be seen, these hidden compounds reside on much of the conventional fruit that is purchased in supermarkets and are bad for our health.

Here’s to good clean dirt!

Kenneth

https://www.ewg.org/foodnews/citrus.php

Oat Milk & Cookies

We LOVE oat milk, do you? So creamy and delicious and incredibly good for both you and the planet. For teas and coffees we definitely recommend a store bought option which doesn’t curdle or separate. But for all your other oat milk needs, smoothies, béchamel, cereal, porridge or a simple glass of milk, we recommend making your own to save on packaging and money. Oat milk is fairly straightforward to make yourself at home. But if you over-process it, it can come out a little slimy, and if you strain it through a nut-milk bag, can come out a little thin and watery. The best (and easiest) way we’ve found to separate the milk from the oat purée is straining it through your finest mesh sieve then letting any extra solids settle for a few minutes before pouring the top off into a clean bottle. If you have a loosely woven tea towel then you could try use that too, but the sieve method is so quick, easy and mess-free. Now don’t waste those leftover oat solids! Add to bread dough, smoothies or your bowl of oats, or make these zero waste oatmeal cookies, they are divine!

Liz x

Ingredients

For the milk:

  • 100g oats
  • 1 pitted date (or a tsp of sugar or maple syrup)
  • a pinch of salt
  • 800ml ice-cold water

For the cookies:

  • 100g oat purée left from making oat milk
  • 100g melted dairy free butter or coconut oil
  • 100g brown/white sugar mix
  • 1 tsp cinnamon
  • 1 tsp vanilla
  • 1/2 tsp baking soda
  • 1/2 tsp baking powder
  • pinch of salt
  • 100g flour
  • 150g porridge oats
  • handful of raisins (or chocolate chips)

Method

  1. Turn your oven on to 175C and line a large baking sheet with baking parchment. Gather your ingredients.
  2. Make the milk by adding the ingredients to a strong blender and blending for just 40 seconds on high. If you over-blend, your milk can come out a little slimy. Now separate the milk from the solids by pouring it through a fine mesh sieve into a jug. Do not press or squeeze the milk through or it can become gritty/slimy. Let the milk settle in the jug for a few minutes then carefully pour the top into a clean bottle to store in the fridge (use within 5 days*). Leave any extra sediment in the bottom of the jug. Now tip the oat purée into the jug along with the sediment and you should be left with around 100g of purée. Perfect for making cookies (you can make the cookie dough in the jug).
  3. Melt the butter or coconut oil and stir it into the oat puree. Add the sugar and stir into a smooth batter. Then add the salt, cinnamon, baking soda and powder and vanilla, then stir again until smooth. Add the flour and stir until just incorporated. Lastly add the raisins and oats and stir until you are left with a sticky cookie dough.
  4. Spoon the dough onto the baking sheet you prepared earlier (makes 12-14 cookies) and bake until golden. Around 15 minutes but keep an eye on them as ovens vary. Allow to cool then enjoy with a cold glass of oat milk.

*NOTE – it is normal for oat milk to separate in the fridge. Always shake well before serving.

BEANS beans good for your HEART!

We are celebrating “Heart Health” this week and no better way to do so than with a warming bowl of homemade heart healthy beans!

The food we fuel ourselves with is so important when it comes to our hearts. This homemade beans dish packs in RED (like the heart) ingredients; onions, tomatoes, peppers and paprika these are all great for lowering the chances of heart disease. The beans of course are a great source of fibre that also contributes to a happy healthier heart!!

We’ve topped our beans with a protein packed poached egg, but add tofu if you wish.

All the organic ingredients can be found in our groceries www.greenearthorganics.ie/

Lou 🙂

Ingredients:

  • 1 tablespoon oil
  • 400g beans (choose black, kidney, butter or cannellini) – drained
  • 400g chopped tomatoes
  • 1 red onion, finely diced
  • 1 red pepper, finely diced
  • 2 teaspoon paprika
  • 1 teaspoon ground cumin
  • 1/2 teaspoon chilli – optional
  • 1 teaspoon salt
  • 1/2 teaspoon black pepper
  • 2 teaspoon honey or maple syrup
  • To serve poached eggs or tofu and fresh chopped parsley to sprinkle

Method:

  1. Warm a frying pan on a medium heat and add the oil.
  2. Add the diced red onion and cook to soften for 5 minutes.
  3. Tip in the diced red pepper and cook for a further 5 minutes.
  4. Add the salt, pepper, paprika, cumin, chilli and honey, stir in and cook the spices for a few minutes, if they begin to catch add a tablespoon of water.
  5. Pour in the tinned tomatoes and stir in the drained beans.
  6. Simmer on low for 30 minutes. Taste the beans and adjust the seasoning if needed.
  7. Poach an egg or two in a separate pot then serve up.
  8. Scoop the beans into a bowl top with an egg or two and some chopped parsley if you are feeling fancy.

Masala Omelette

This is up there with one of our top 5 breakfasts. It is so delicious and incredibly nutritious, I urge you to give this recipe a go. We replaced the eggs in this classic Indian breakfast with a chickpea flour batter here to keep it plant based. Chickpea flour has been used in Asian cuisine for hundreds of years, it is also full of fibre, protein and many vitamins and minerals. Such a useful ingredient, we also use it to make fritters, socca bread and to bind falafel and bean burgers – have you tried cooking with it yet? We stock an organic bag which you can add to your next fruit and veg order.

Liz x

Ingredients (per omelette)

  • 60g chickpea flour
  • 150ml water
  • large pinch of salt
  • chilli flakes to taste (or even better, use chopped fresh green chilli)
  • 1/4 tsp ground turmeric
  • 1/2 tsp garam masala (or any Indian spice blend you like)
  • 1 salad tomato, finely chopped
  • 2 tbsp finely chopped red onion or scallion
  • 2 tbsp finely chopped fresh coriander
  • 1 tsp good oil for frying (we use rapeseed)
  • 1 flatbread (we used tortilla bread here)
  • 1 tbsp mango chutney (or any Indian chutney you like, or natural yoghurt)

Method

  1. Whisk the chickpea flour and water together into a smooth batter. Then add the salt, chilli, turmeric and garam masala and whisk again.
  2. Stir in the tomato, onion and coriander. Meanwhile, heat up a pancake pan over a medium heat.
  3. Warm the flatbread on both sides in the dry pan, place on a plate. Then pour in the oil, swirl to coat the pan evenly. Pour the masala omelette mixture into the pan and swirl or spread in out with a spoon into a thin layer.
  4. Be patient and let the omelette cook slowly until it is set and golden on the bottom and almost dried out on top. You should notice small bubbles forming and popping. Carefully loosen the omelette from the pan and flip with a spatular.
  5. The second side should only take a minute. Spread the bread with the chutney then flip the omelette out on top. Roll up and enjoy whilst hot!

Boxty – Potato pancakes

We don’t eat enough boxty in Ireland. These potato pancakes are so easy to make and so tasty. Boxty is a thrifty and clever way to use up left over mash, stretched further by adding grated raw potato! The secret to really tasty boxty is adding a small knob of butter to finish frying them on the pan.

Eat them as they are or serve with eggs, mushrooms and beans for a delicious weekend brunch.

Lou

Ingredients: makes 16 approx

Method:

  1. Peel and grate the raw potato. Place in a clean tea towel, wrap it and squeeze out the starch.
  2. Finely slice the spring onions and keep some of the green tops for garnish.
  3. Add the mash potato to a mixing bowl along with the grated potato, sliced spring onion, bicarbonate of soda, buttermilk, flour and a good pinch of salt and pepper. Give the batter a good mix.
  4. Heat a frying pan on a medium heat.
  5. Lightly coat the pan with oil.
  6. Spoon on 3 – 4 generous mounds of the potato batter.
  7. Cook gently and just like pancakes, wait for little bubbles to form.
  8. Carefully flip and cook for a further few minutes.
  9. Cook all of the boxty and then return to the pan and drop in a couple knobs of butter, let the butter melt and coat the potato pancakes. Serve straight away.

Sugar Free Flapjacks

The days of 3 square meals has gone out the window for most. Snacking seems to be habitual to many and it definitely isn’t a bad thing so long as the snacks are packed full of energy boasting ingredients like these yummy sugar free flapjacks.

Feel free to snack on these morning, noon or night they taste so good. We favour these over individually wrapped packets from the supermarket too! #lessplasticpackaging

Tip: These flapjacks work best with really ripe black bananas. You can ripen yellow bananas by baking them in the oven for 30-40 mins at 180c or in the air fryer at 180c for 13 minutes.

Lou 🙂

Ingredients:

Method:

  1. Preheat the oven to 160c. Line a 8×8 inc baking tray with parchment paper.
  2. Put the dates in a bowl and cover with boiling water for a couple of minutes to soften.
  3. Measure the oats, coconut and seeds into a mixing bowl. Stir to combine.
  4. Discard the water from the dates and add them to a blender along with the 4 ripe bananas and melted butter. Blend to a smoothish paste.
  5. Add the paste to the mixing bowl and stir everything together.
  6. Tip the mix into the baking tray, push it down and flatten the top as best you can.
  7. Bake in the oven for 30 minutes.
  8. Cool and cut into squares.

Beetroot & Carrot Salad with Dukka

This fresh, sweet salad is the perfect vehicle for my favourite crunchy condiment, dukka. Dukka is an Egyptian dip/sprinkle made with toasted nuts, sesame seeds and spices. It is absolutely stunning – earthy, nutty, warmly spiced with the most intoxicating fragrance. Use it the traditional way as a dry dip (dunk bread in olive oil then into the dukka and devour) or as a crunchy topping for endless salads, soups, stews… you’ll find any excuse to use it once you have a jar in your pantry. Beetroots are in season now and perhaps eating them raw is the most delicious way? Let me know your favourite beetroot recipes in the comments.

Liz x

Ingredients

For the dukka:

  • 250g mixed nuts (or use just the traditional hazelnuts)
  • 4 tbsp sesame seeds
  • 2 tbsp fennel seeds
  • 2 tbsp cumin seeds
  • 2 tbsp coriander seeds
  • optional tsp of salt

For the salad:

  • 3 carrots, julienned
  • 3 beetroot, julienned
  • a large handful of chopped parsley
  • the juice of half a lemon
  • 3 tbsp extra virgin olive oil
  • a very small clove of garlic, crushed or finely grated
  • salt and pepper to taste

Method

  1. To make the dukka, toast the nuts in a dry, hot frying pan until they start to take on some colour. Stir often whilst toasting to avoid burning any. Allow the nuts to cool a little before tipping them into a food processor. Pulse to roughly chop the nuts before adding the other smaller ingredients.
  2. Toast the sesame seeds, fennel, coriander and cumin in the dry, hot frying pan next. They will start to pop and smell incredible. Tip them in with the nuts and pulse the processor again until you have a fairly uniform, crumbly mixture. Careful not to over-process, you want crunch and texture, not powder. You can add salt at this stage if you like too.
  3. Allow the dukka to completely cool before storing in a clean jar. Use within one month for optimum freshness and flavour.
  4. To make the salad, add the julienned carrots and beetroot to a salad bowl along with the chopped parsley. Mix the lemon juice, olive oil, garlic and seasoning and pour over the salad. Toss well and just before serving, sprinkle over the dukka. We ate it alongside a parsnip pilaf (next recipe) and some natural yoghurt.