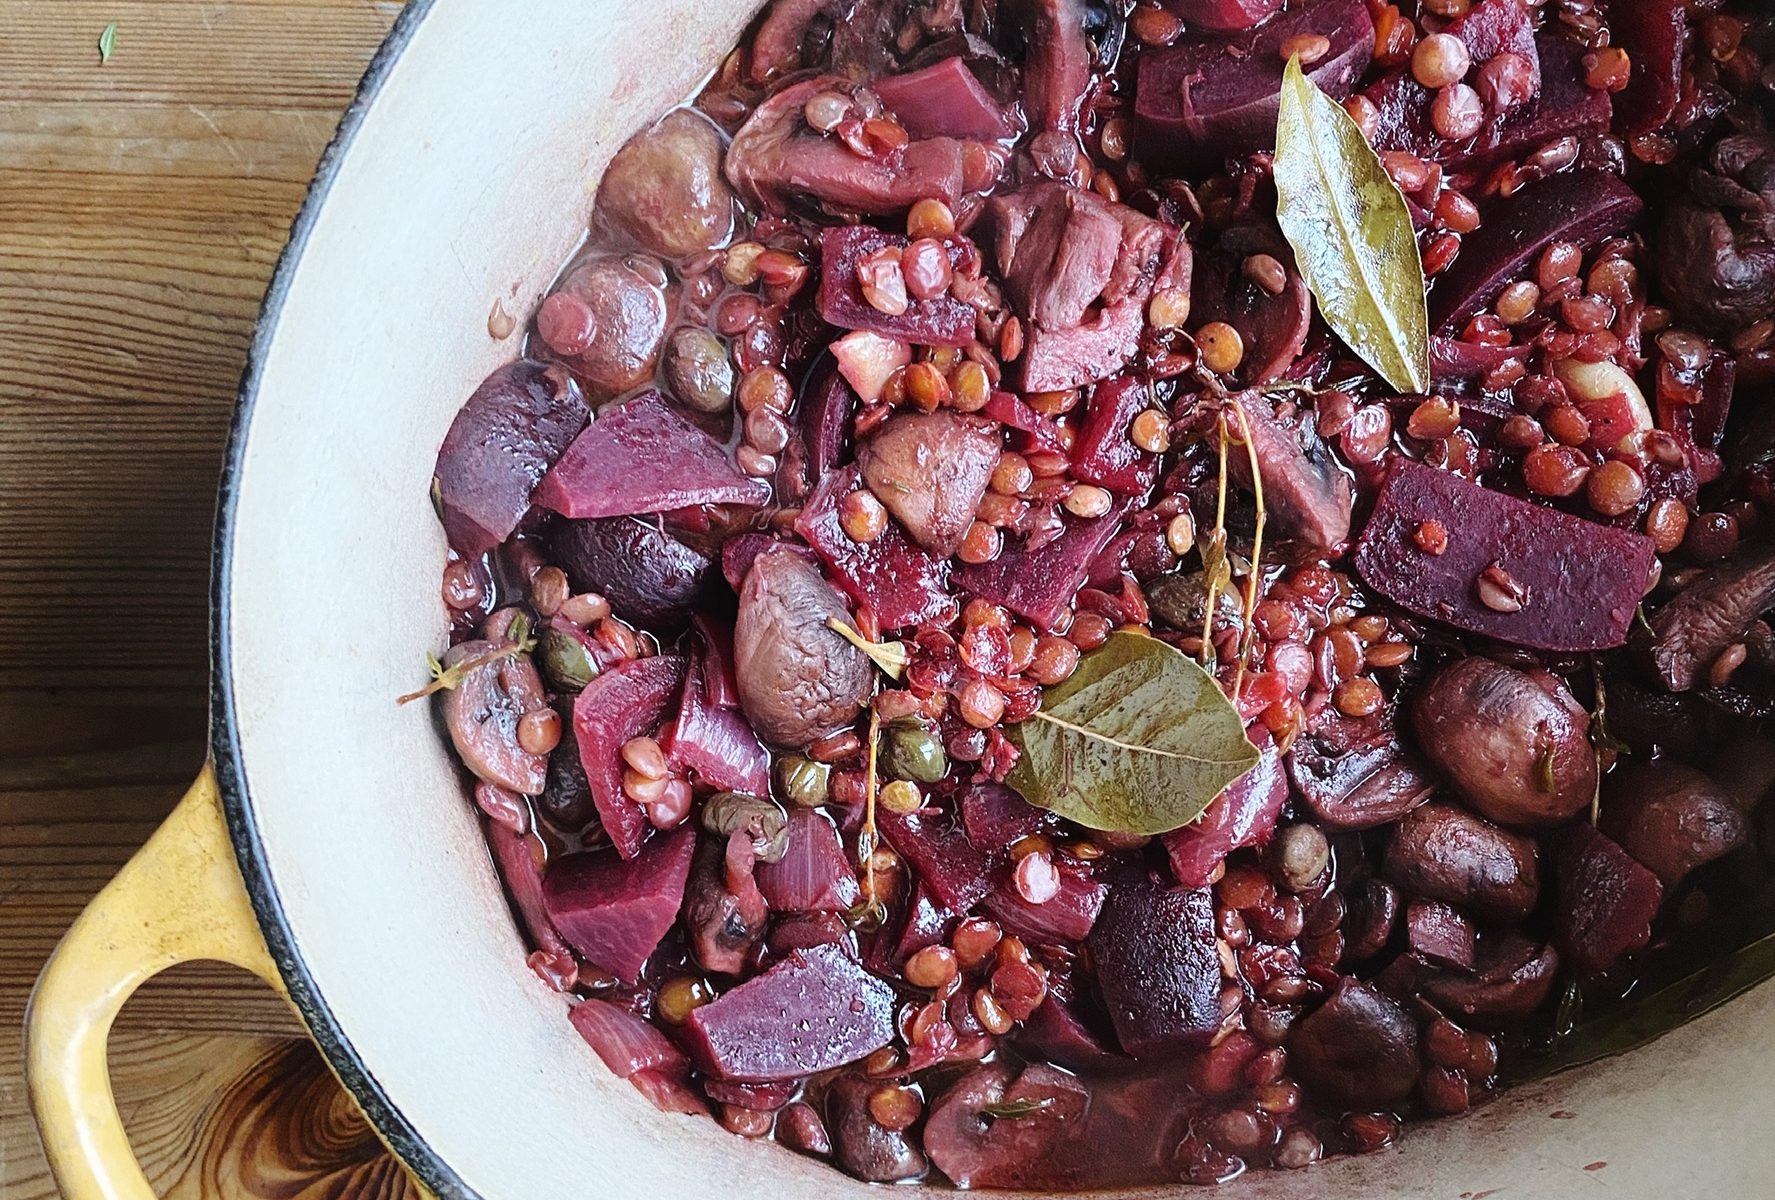
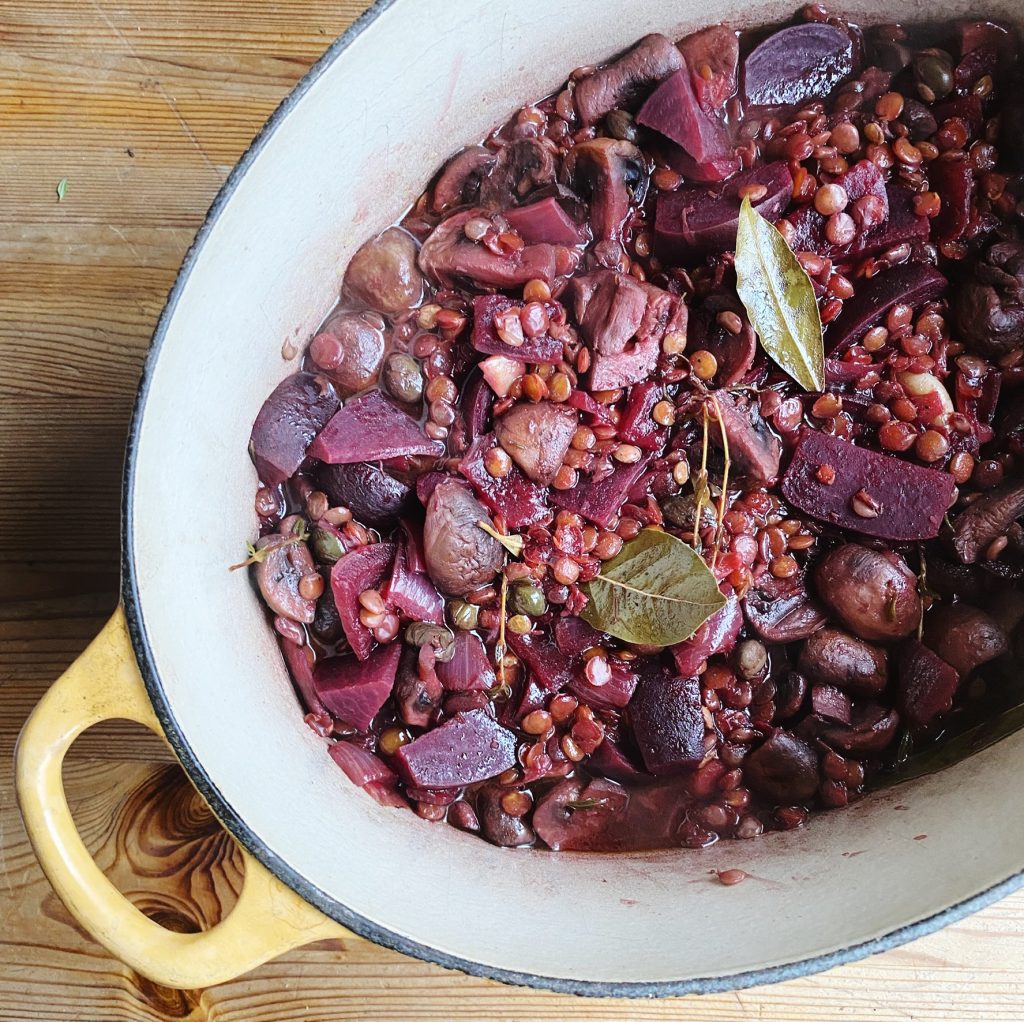
Growing up we always had baked and filled potatoes or mushrooms but never beetroot. In fact beetroot in our house usually came pickled in a jar. Beetroot usually gets the job as side veg but here it’s the star of the show.
Beetroots are an all year round veg, hearty and filling and full of goodness. If you get nice big beetroots in your box why not give this recipe a go. It’s sweet from the beets and salty from the feta and toasty from the spices. topped with crunchy walnuts its a complete meal.
Enjoy,
Lou 🙂


Serves 4 as a main
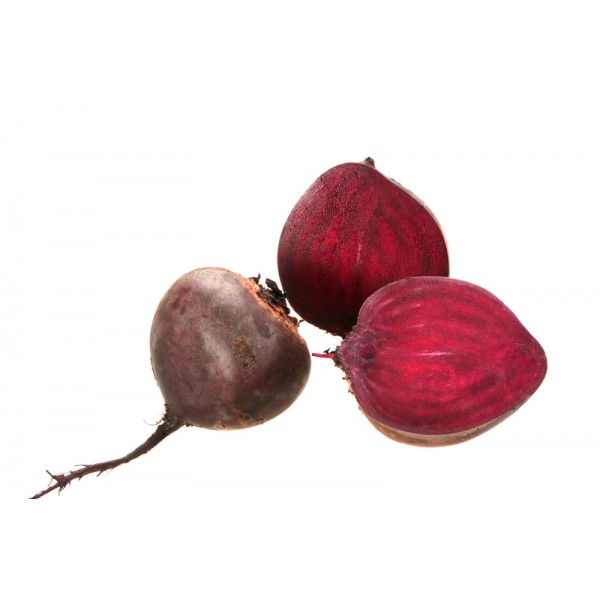
- 4 large raw beetroot– leave the skin on
- 1 tablespoon oil
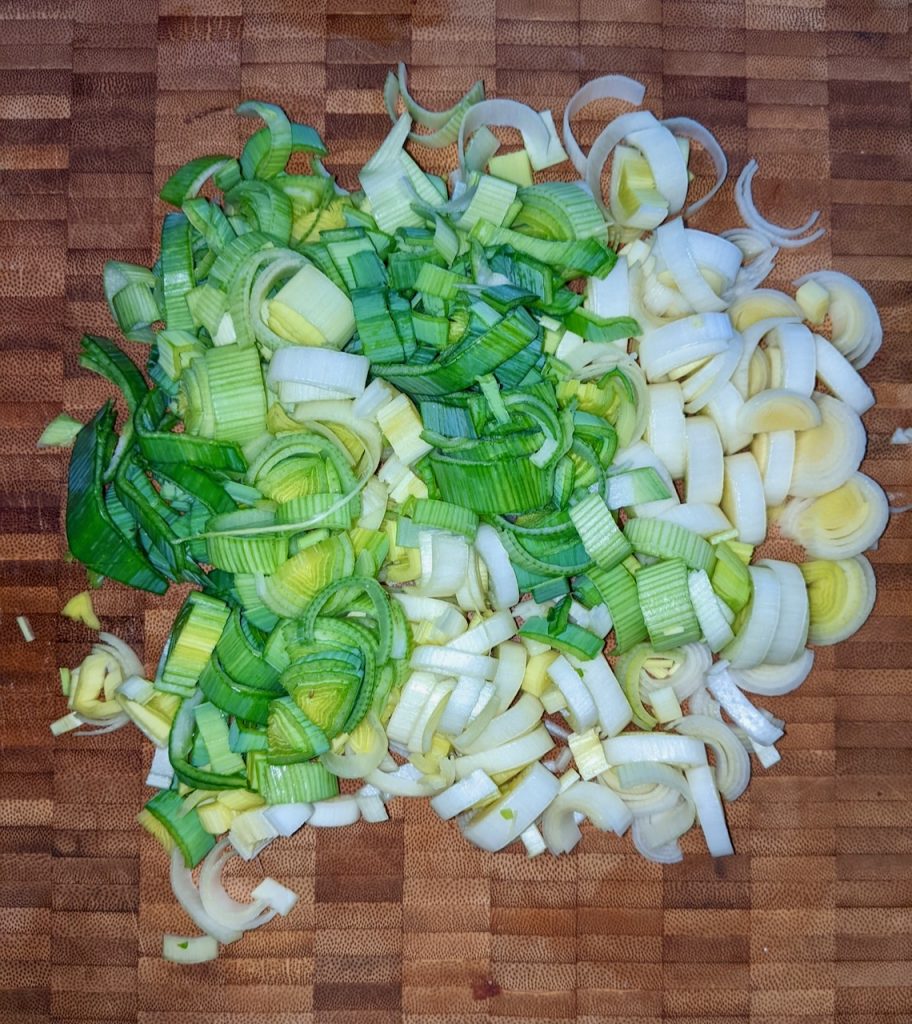
- 1 onion finely diced
- 2 cloves garlic finely chopped
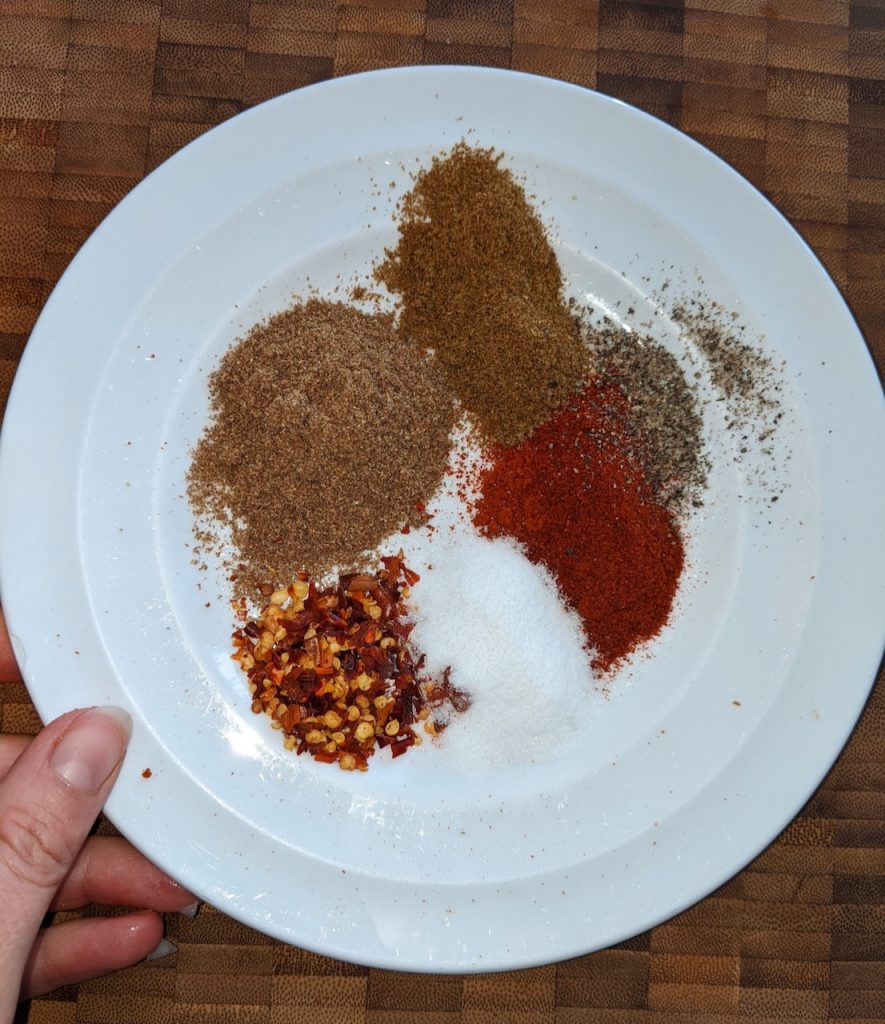
- 1 teaspoon paprika
- 1 teaspoon ground cumin
- ¼ teaspoon chilli flakes
- Small pinch salt & pepper
- 400g tin puy lentils- rinsed and drained
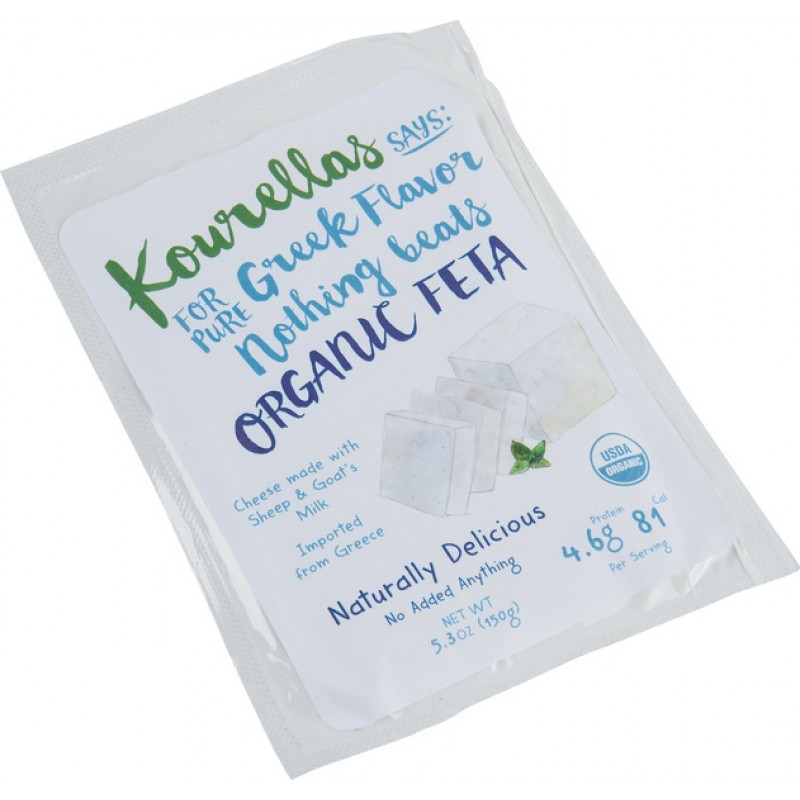
- 100g feta cheese crumbled
- Zest ½ lemon
- 50g chopped walnuts
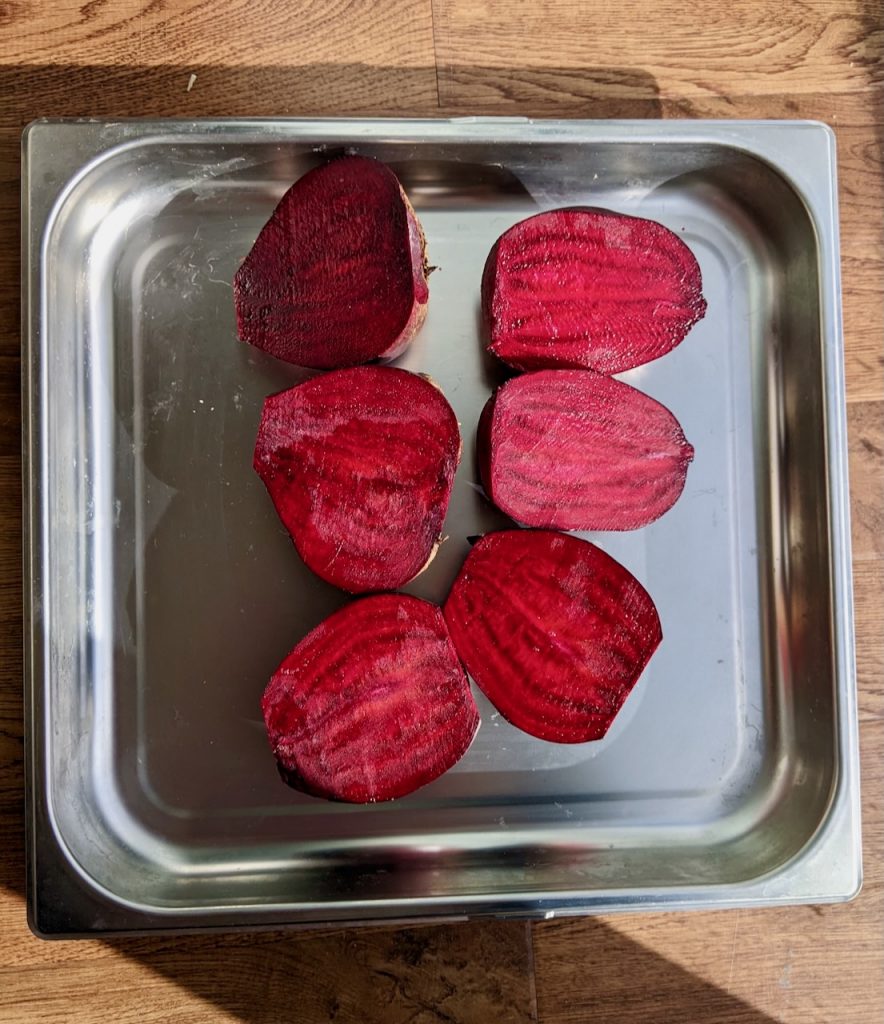
- Wash the whole beetroots and slice in half.
- Roast or steam the beetroot and cook until it pierces easily with a knife.
- Preheat your oven to 180C.
- In the meantime make the lentil filling.
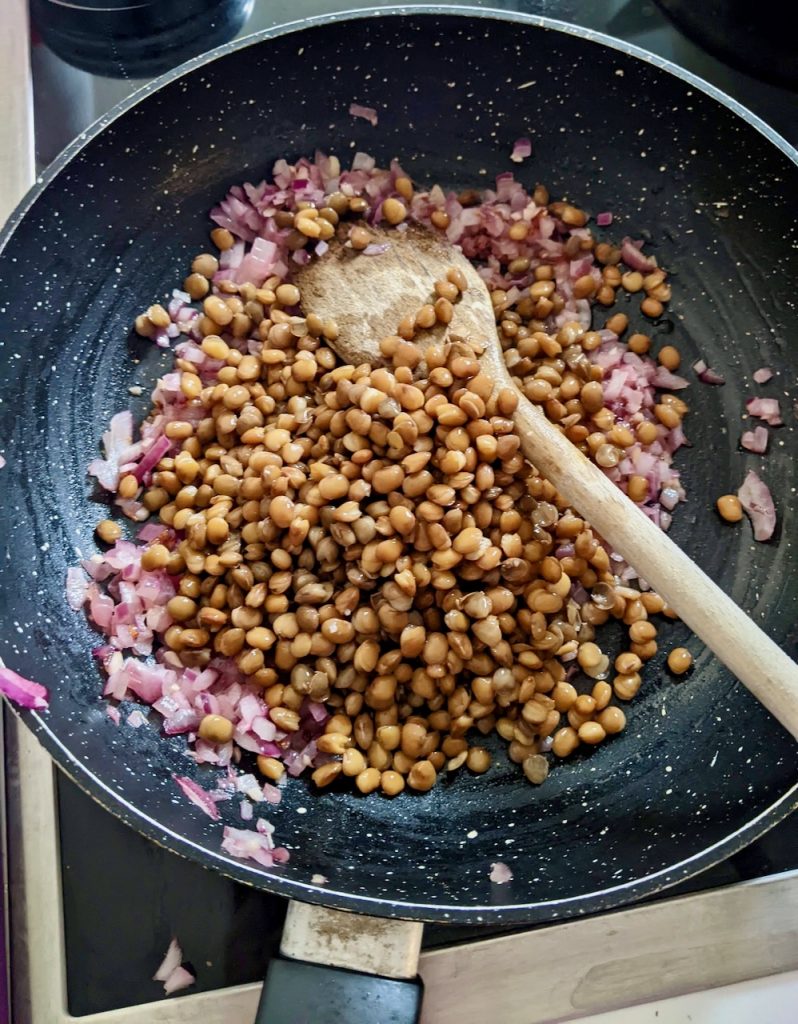
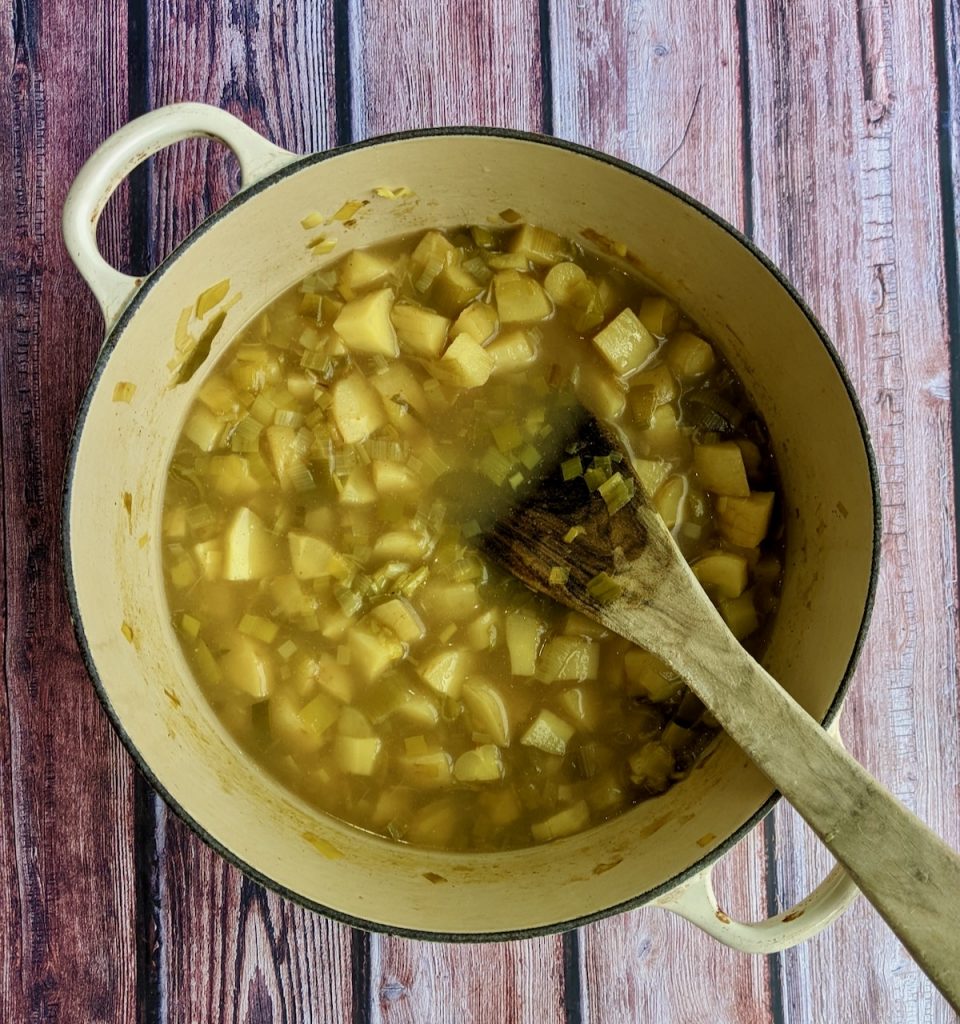
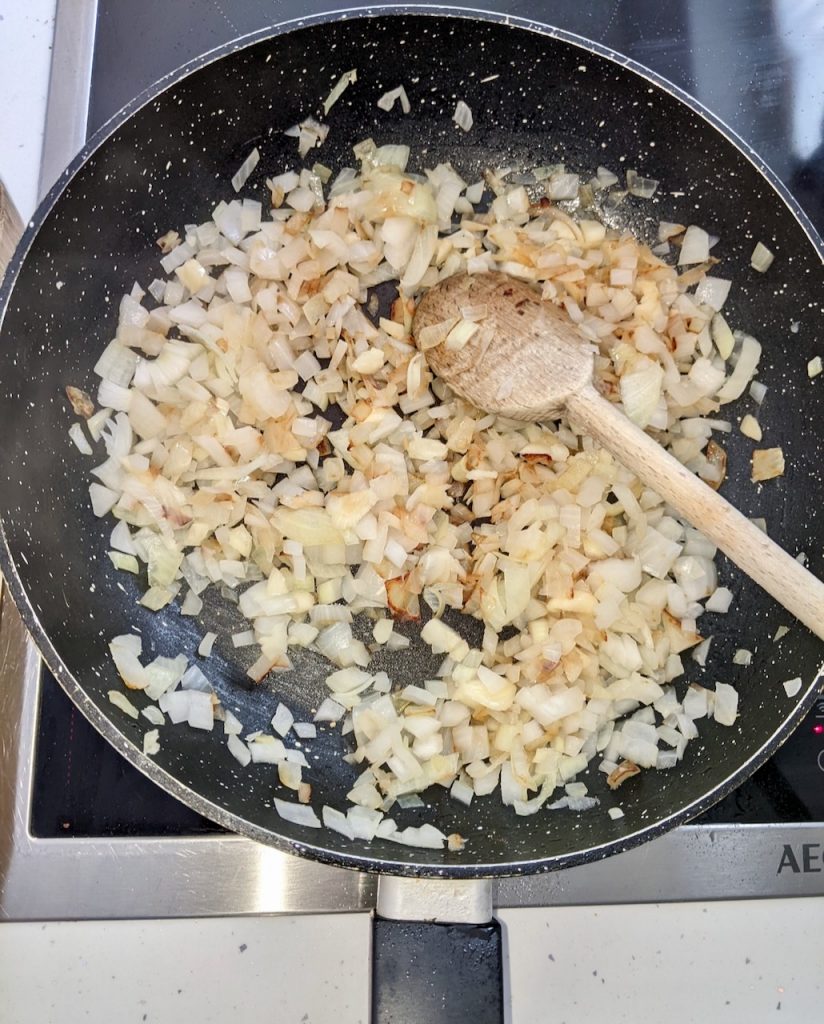
- Warm a frying pan on medium heat, add the oil, diced onions and garlic and sauté until soft – 5-10 minutes.
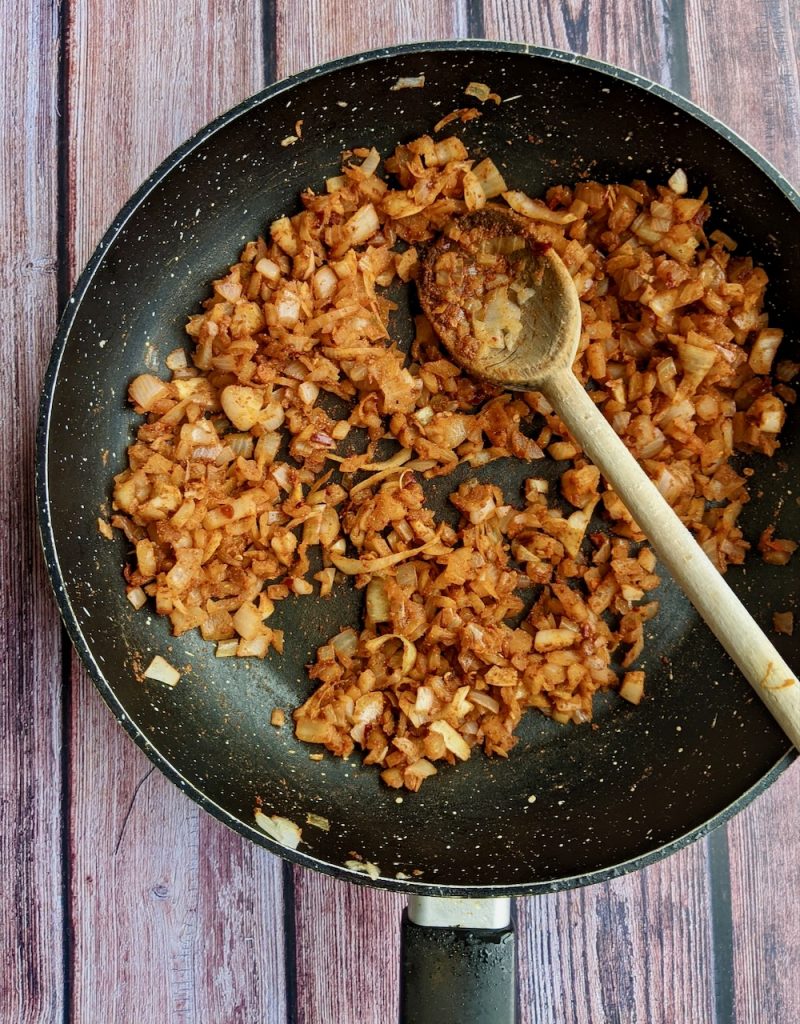
- Add paprika, cumin, chilli, salt and pepper, cook for a few minutes.
- Add the drained and rinsed tinned lentils and cook on a low heat for a further 10 minutes.
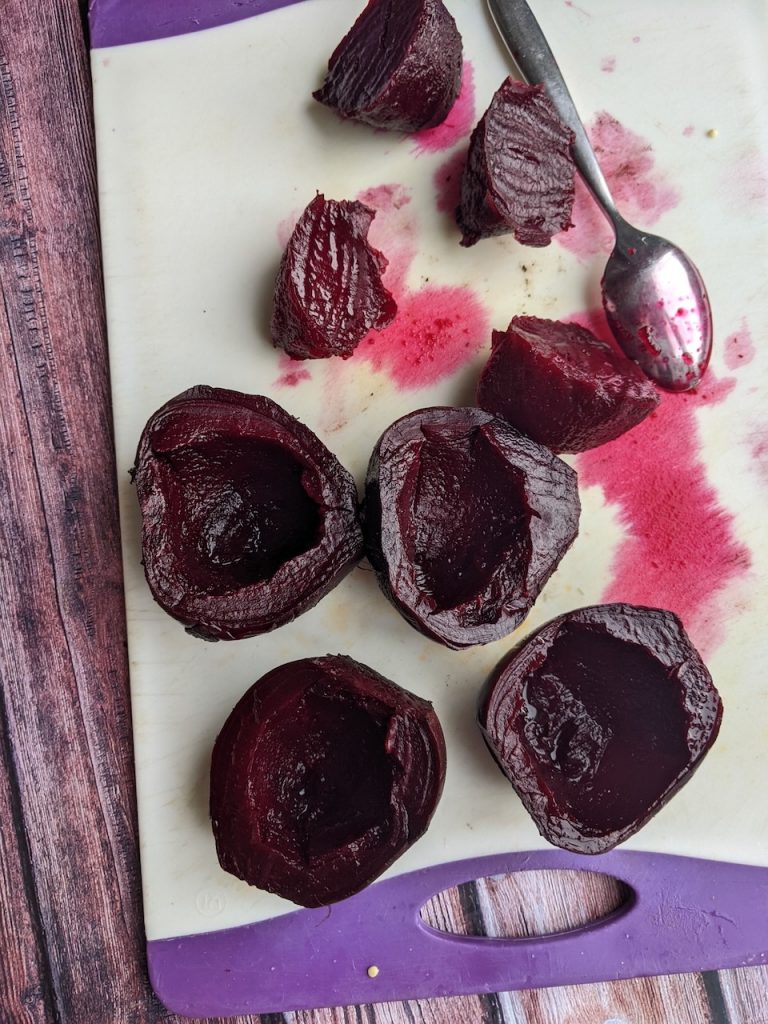
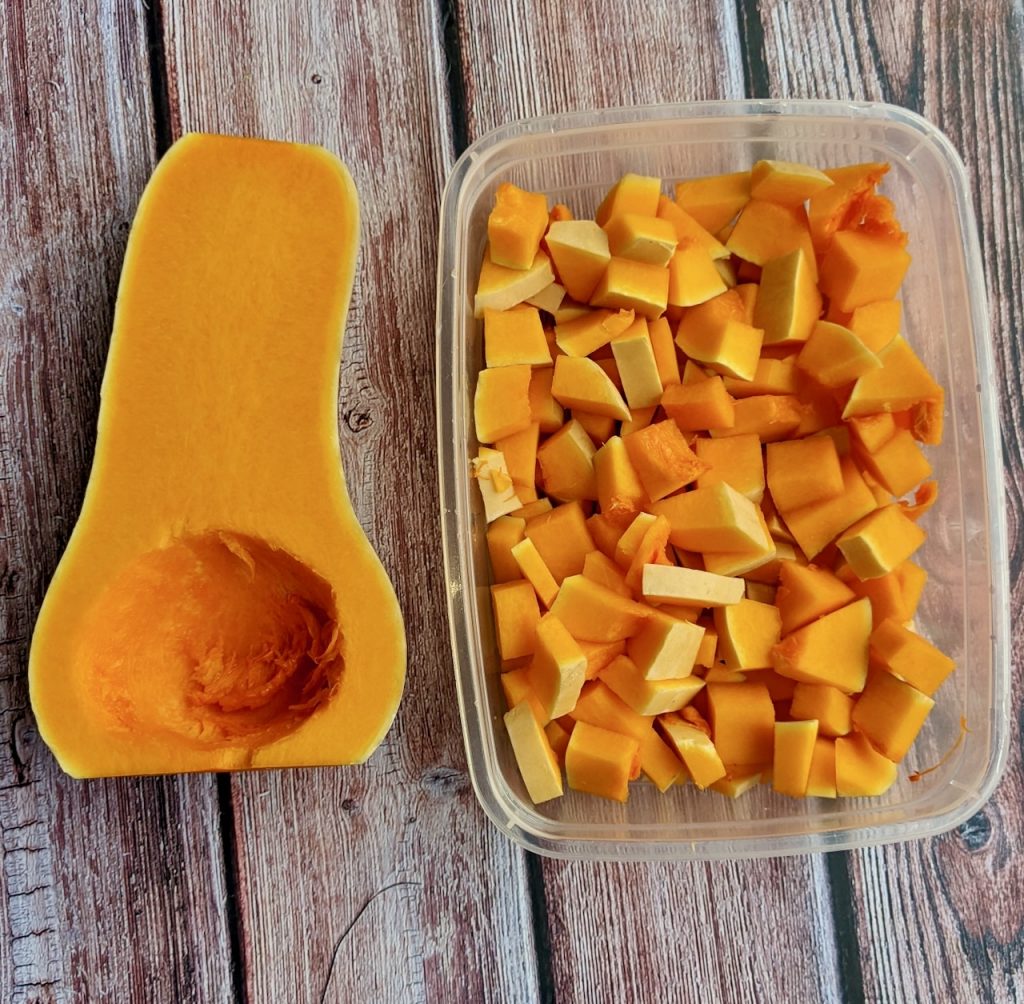
- With a spoon scoop out the centre of the beetroot, dice it and add it to the lentil mix.
- Fold through half the crumbled feta and lemon zest. Check the seasoning add more salt or pepper if needed.
- Fill the beetroot shells with the lentil filling, top with more feta and some walnuts- there may be some filling left over.
- You can bake, grill or air fry the stuffed beetroot to finish it. Make sure its hot in the middle and the walnuts and feta are toasted on top.
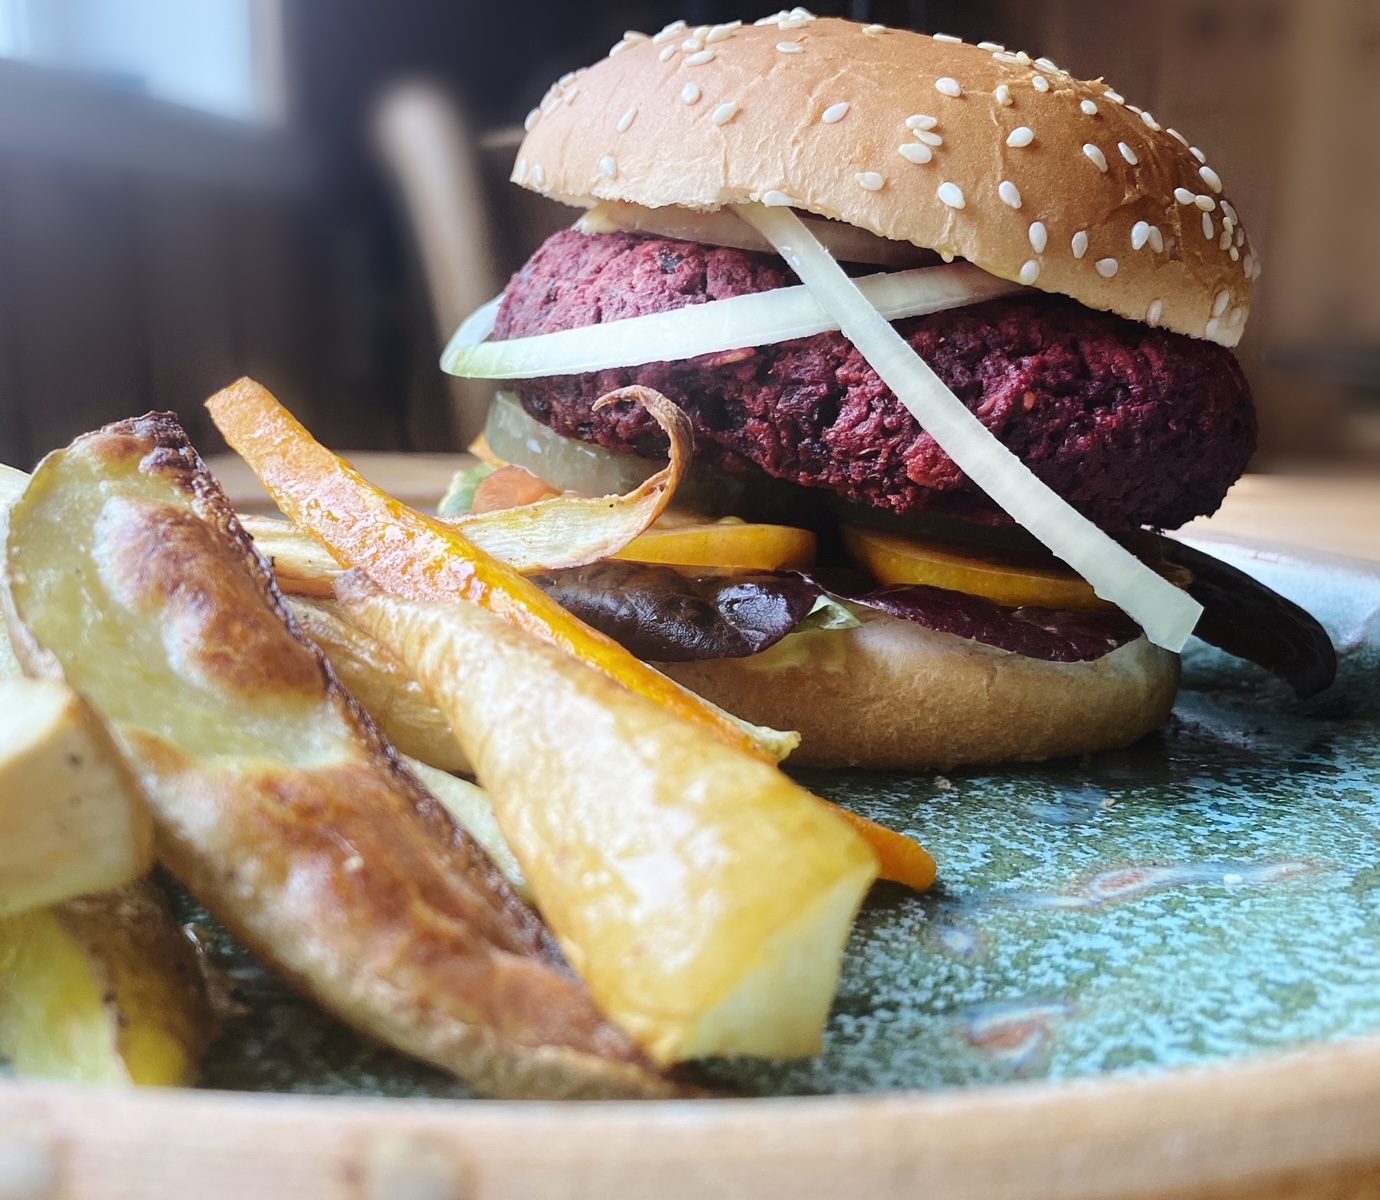
- Serve with your favourite sauce and greens on the side.
- Serve one half as a starter or 2 halves as a main.