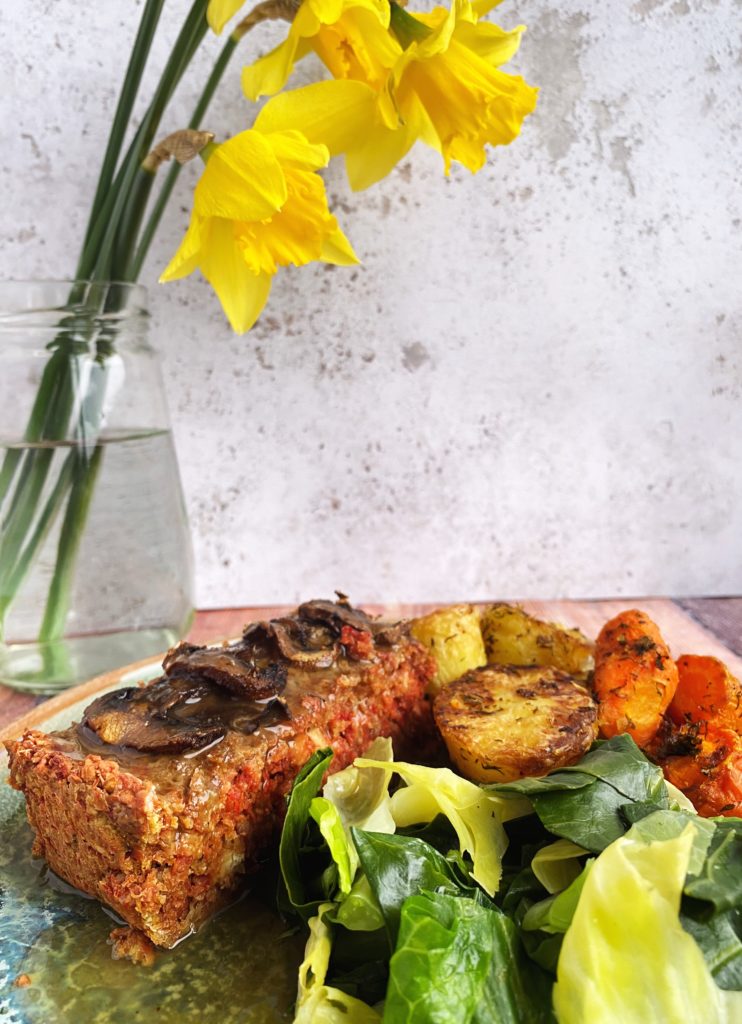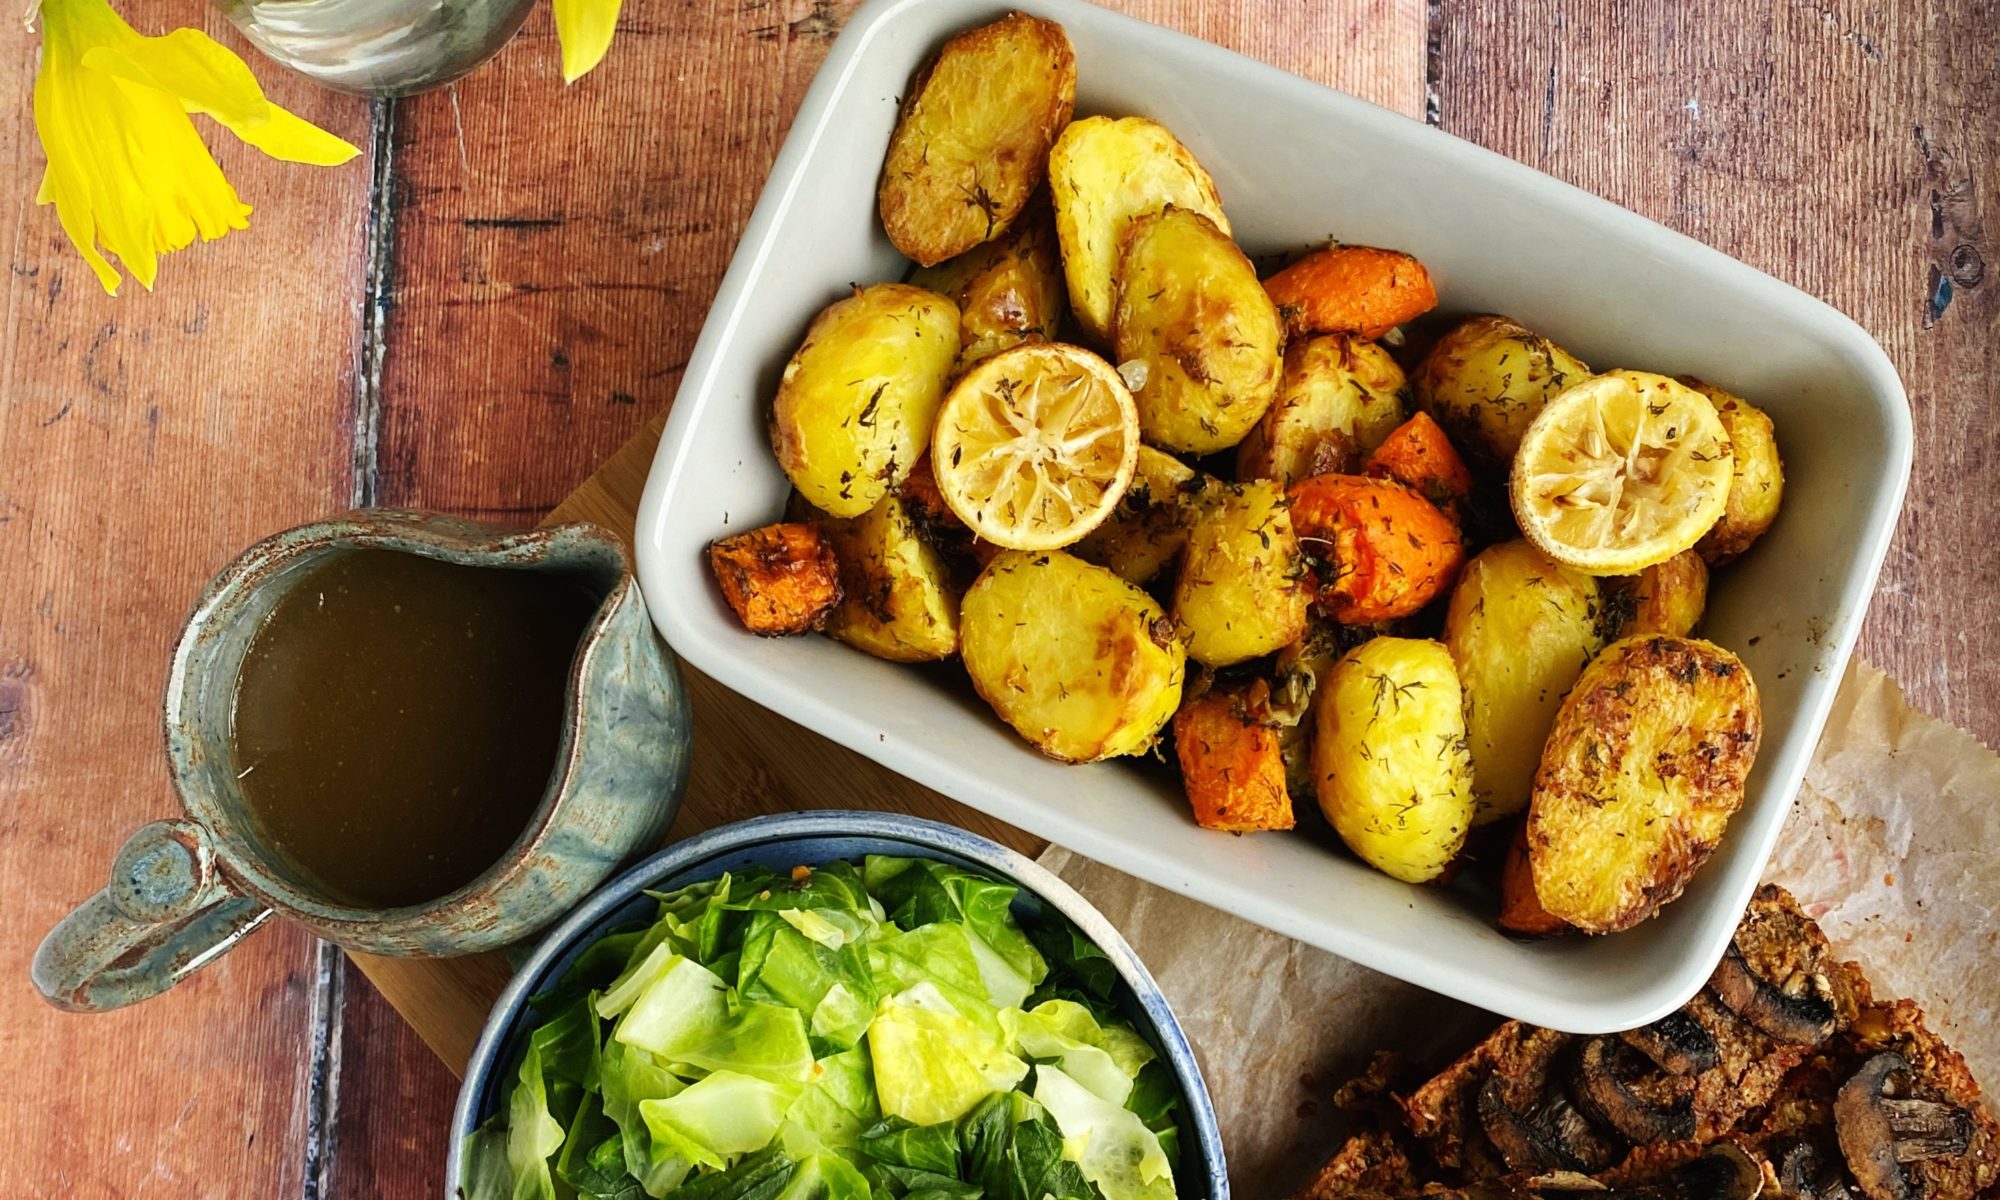
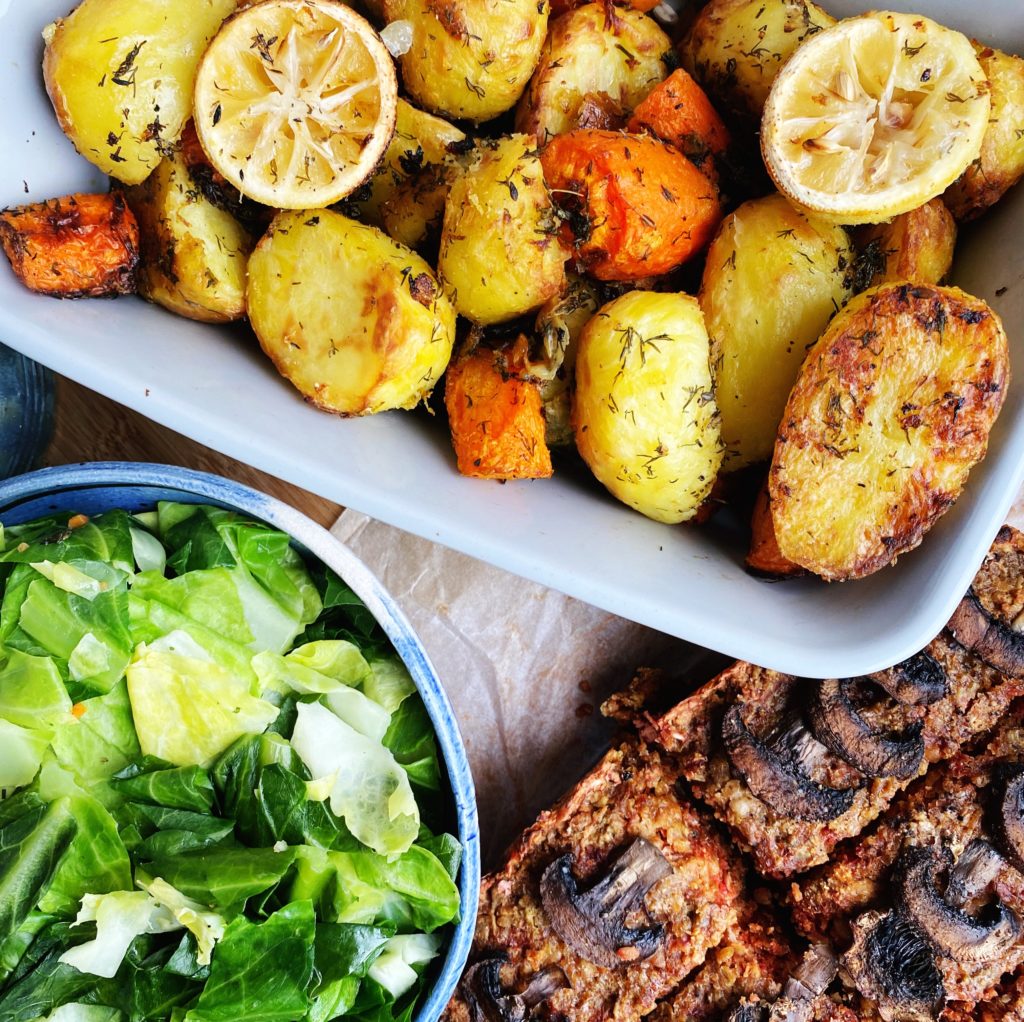
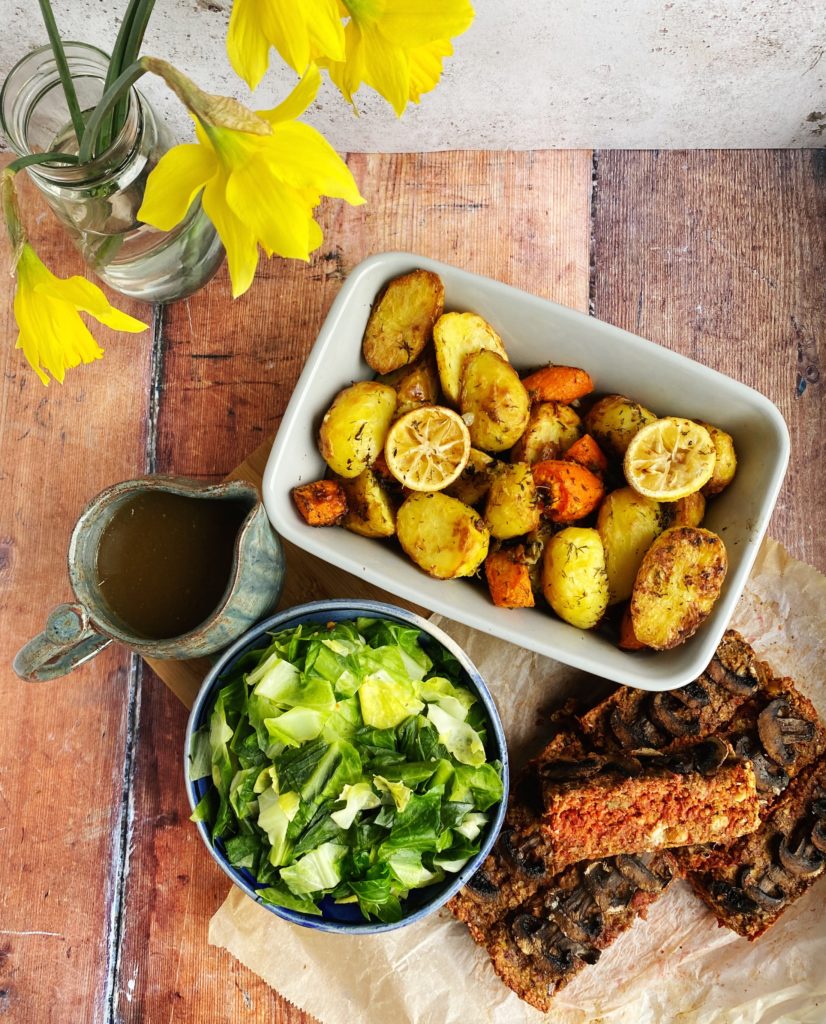
A roast on Sunday doesn’t have to be a big faff. Here’s a quick and easy recipe for a delicious beetroot and butterbean loaf with lemon and herb roast veg, spring greens and gravy. Liz x
*You can get all the ingredients from our online shop delivered straight to your door. Just click on any bold words to be taken to the item to add to your cart. We deliver to every address in Ireland.
Ingredients (serves 6)
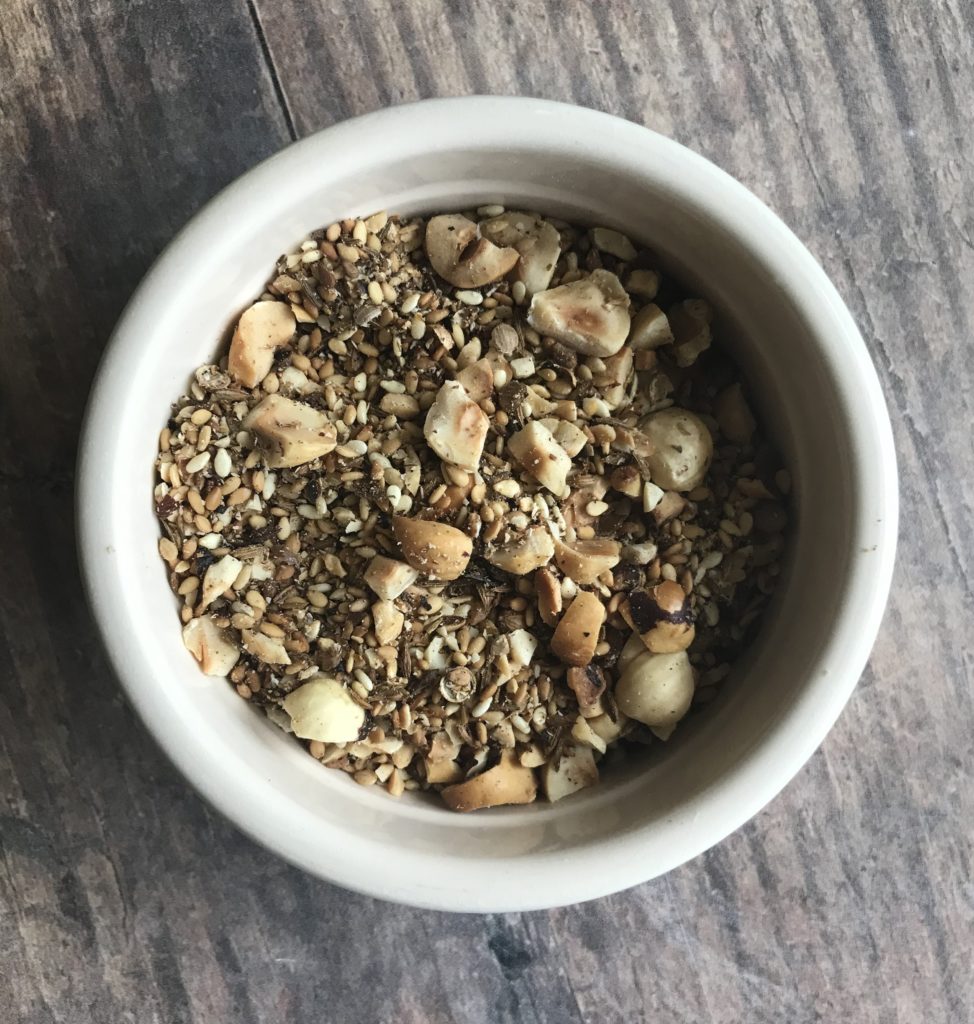
- 2 mugs porridge oats
- 1 mug sunflower seeds
- 3 tbsp linseeds
- 1 tin butterbeans
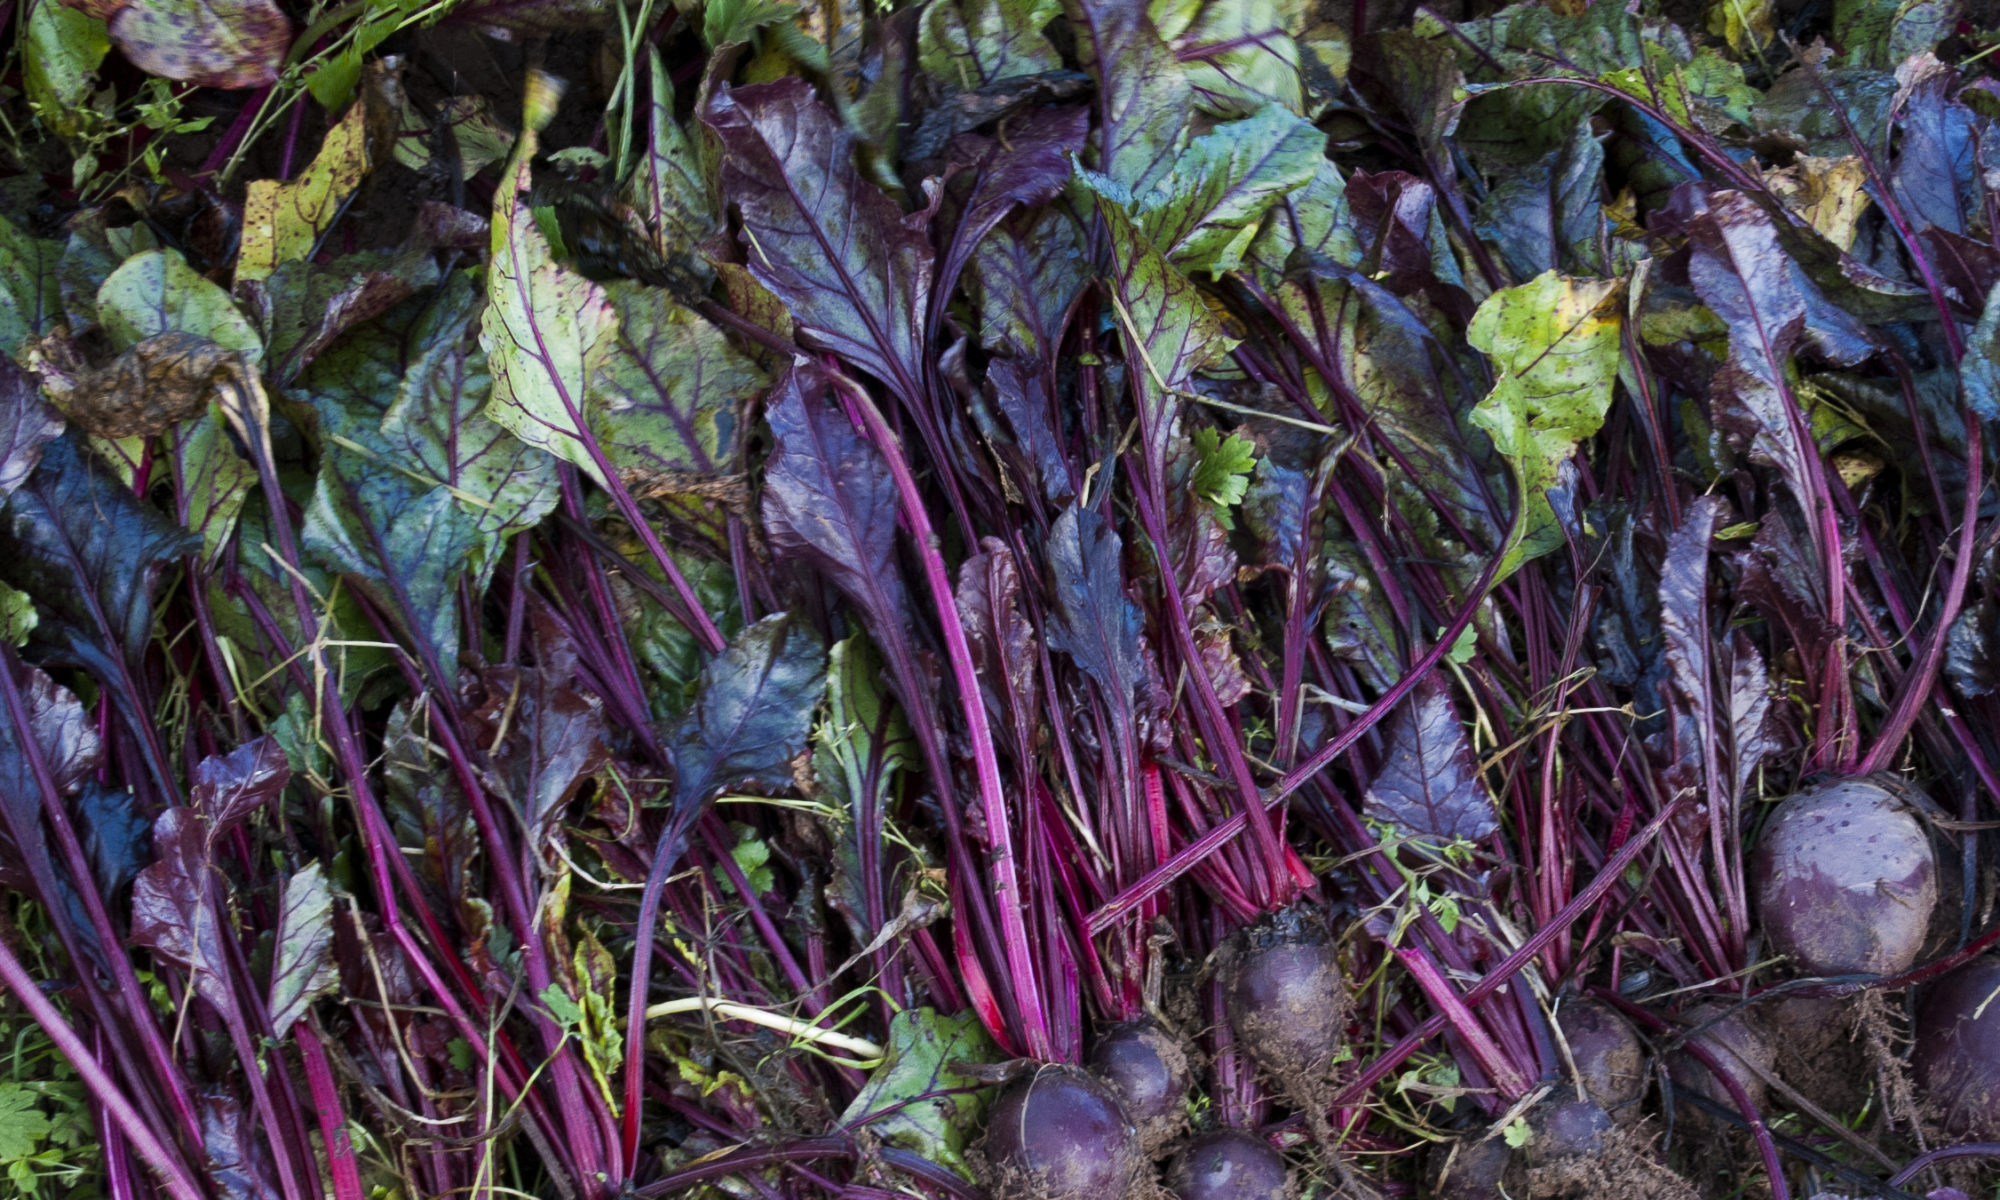
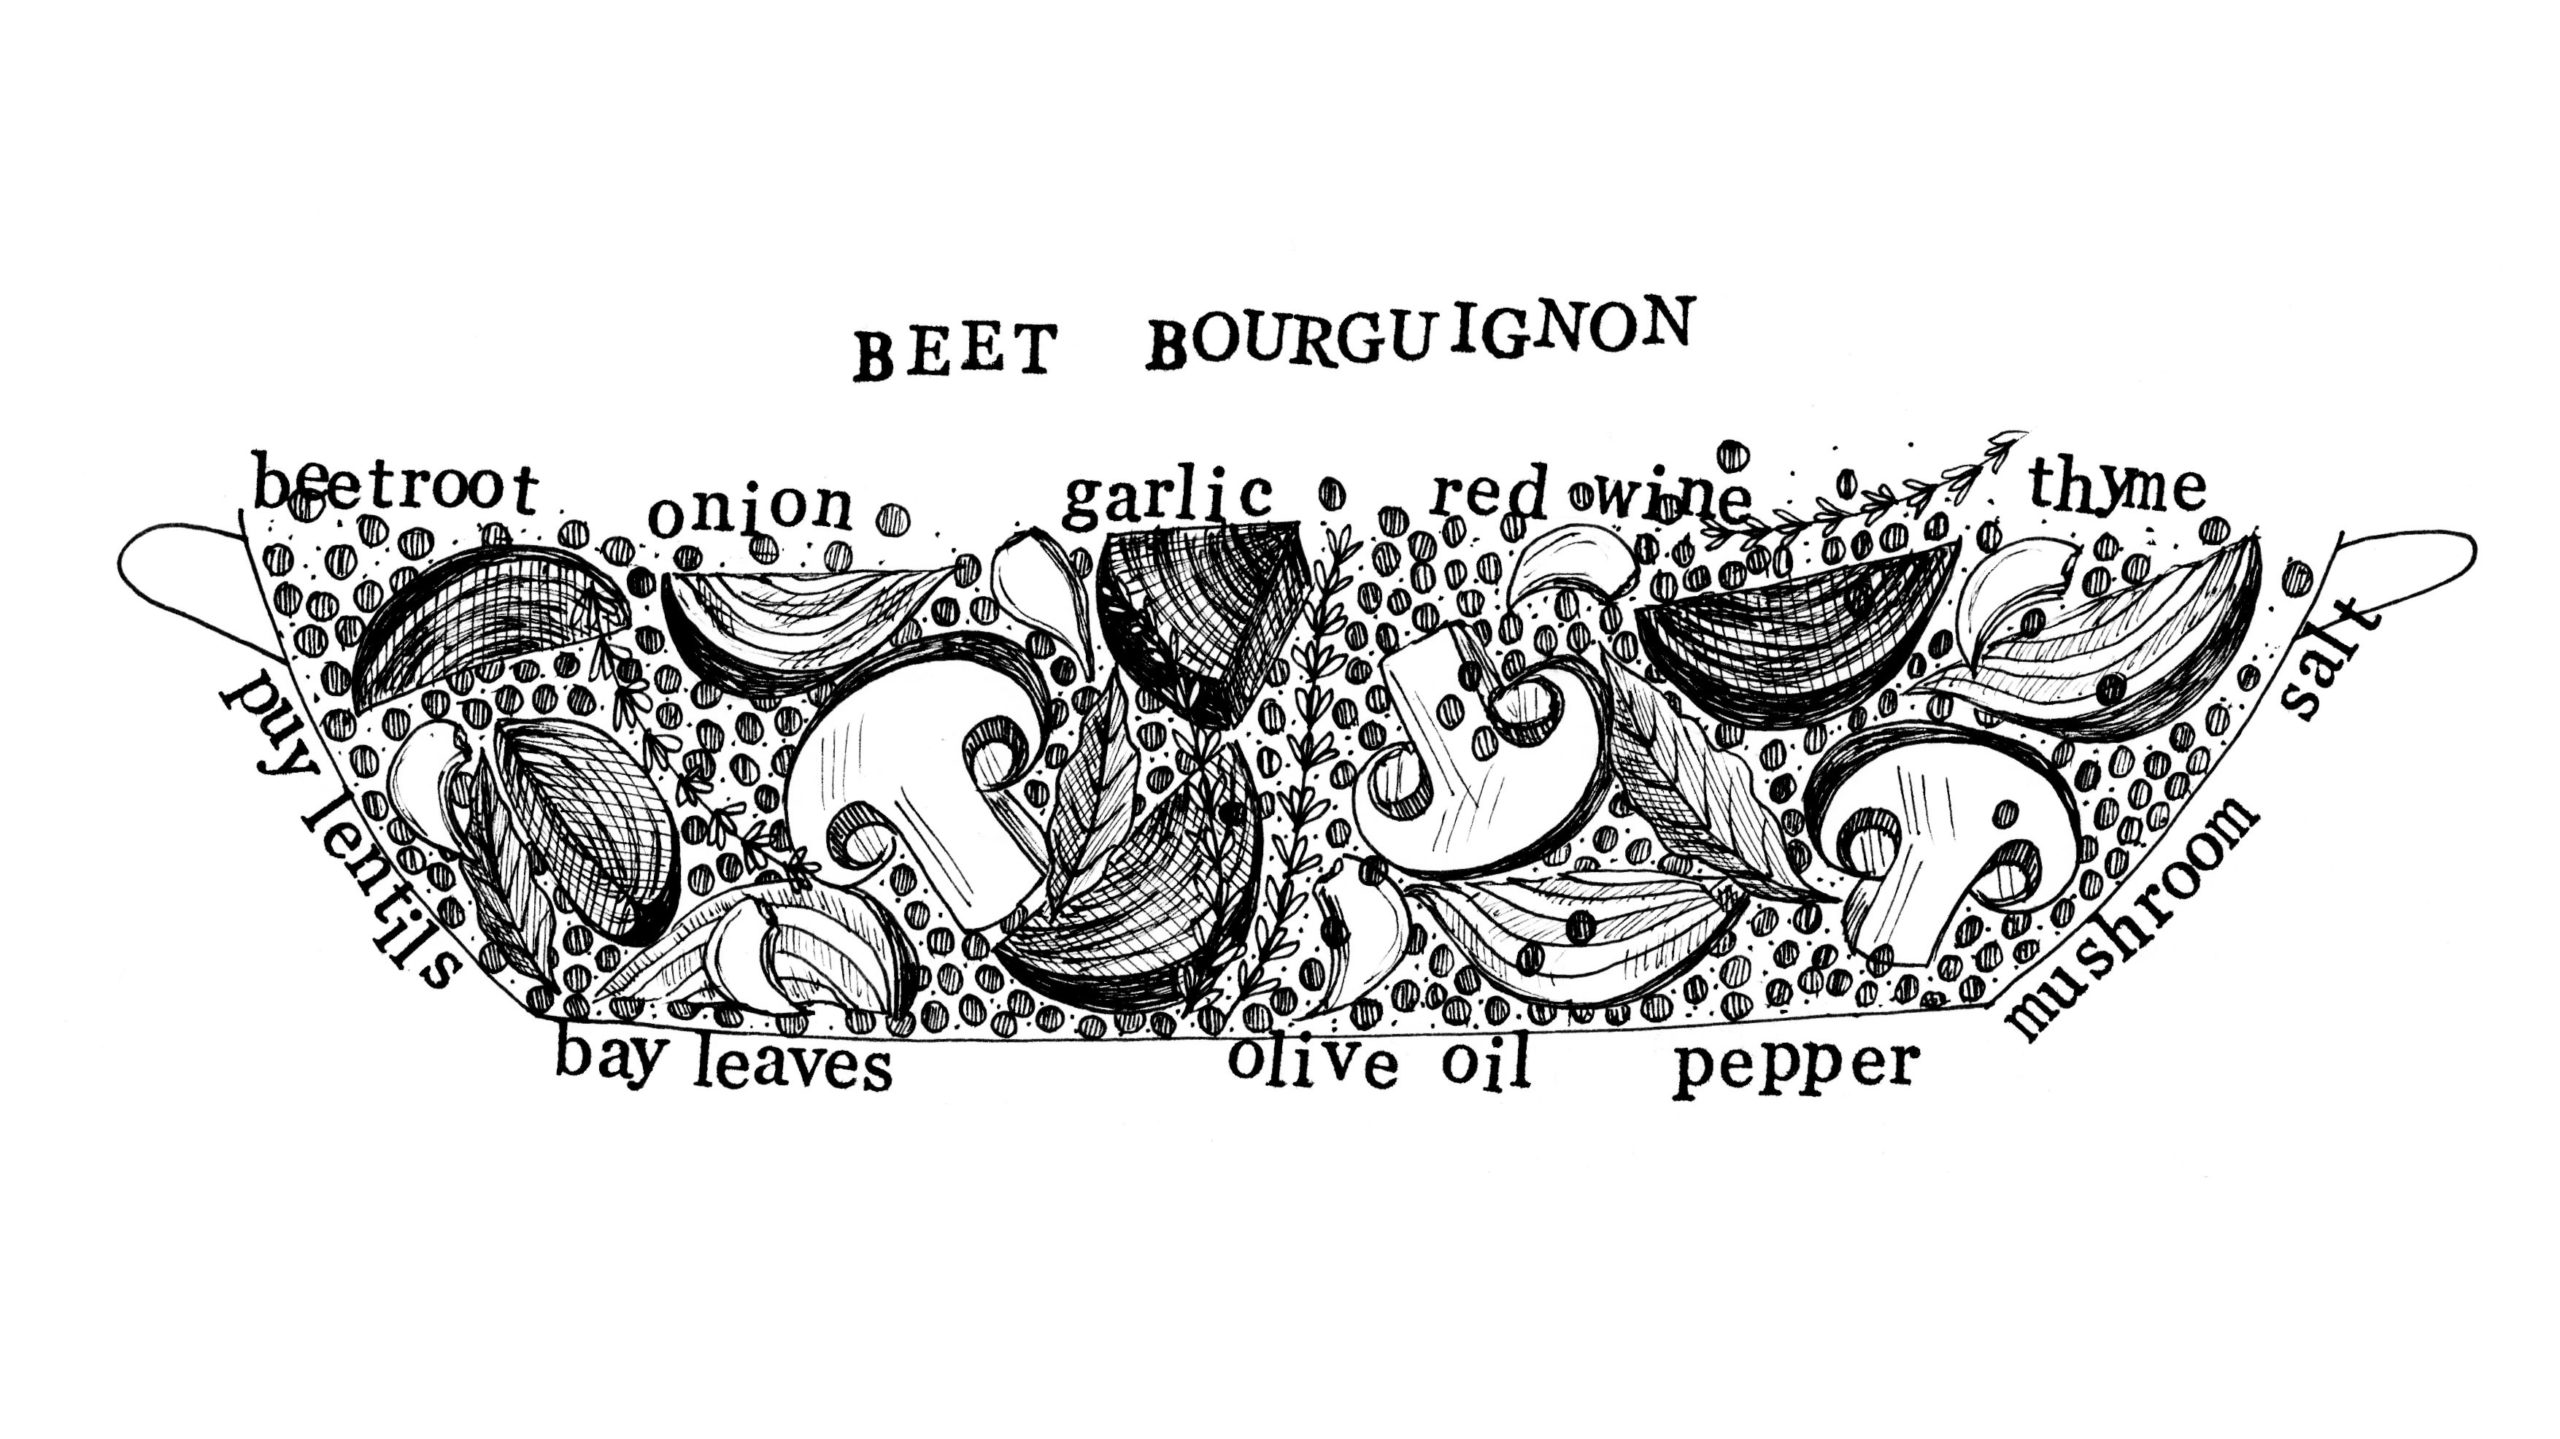
- 2 beetroots
- salt and pepper
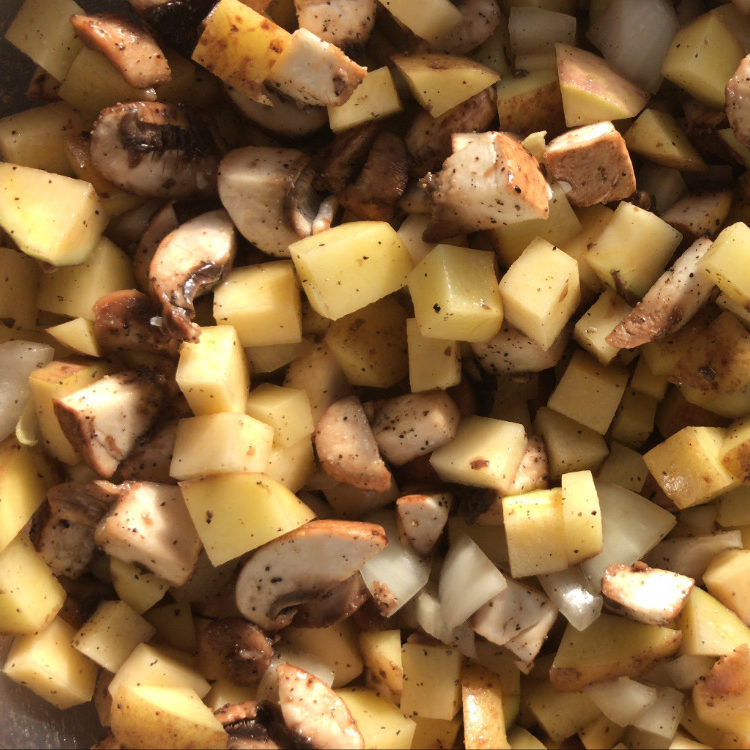
- 6 chestnut mushrooms
- as many potatoes and carrots as you like (I use about 6 medium potatoes and 4 carrots)
- sunflower oil
- zest of 1 lemon
- 3 cloves of garlic
- large bunch of fresh herbs eg dill, thyme, parsley, mint…
- salt and pepper to taste
- 1 pointed cabbage
- 1 stock cube
- 1 tsp dried mushrooms
- 2-3 tbsp cornflour
- 2 tbsp soy sauce
Method
Turn your oven to 200C. Find your biggest roasting dish and put it in the oven to heat up too.
Peel the potatoes and carrot, cut them into large chunks and just cover them with water in a big pot. Put the lid on the pot and get them on the stove to boil.
Meanwhile make the beetroot and butterbean loaf:
Toast the sunflower seeds in a dry frying pan and add them to a blender with the linseeds and oats. Pulse until coarsely combined, but still with some texture.
Grate the beetroots into a mixing bowl on the fine side of the grater. Add the drained tin of butterbeans to the bowl too.
Add the oat, sunflower seed and linseed mixture to the bowl, season well with salt and pepper (you could also add additional flavourings here like lemon zest, crushed garlic, herbs).
Using one hand, squish the mixture together into a stuffing-like mixture. You may need to add more oats as you go if your mixture is too wet. When you are at stuffing texture taste the mix for seasoning ad adjust as needed.
Then put the mixture into a baking dish or loaf tin lined with baking paper. Top with slices of mushroom a drizzle of olive oil and some salt and pepper. Then pop the dish in the oven to bake.
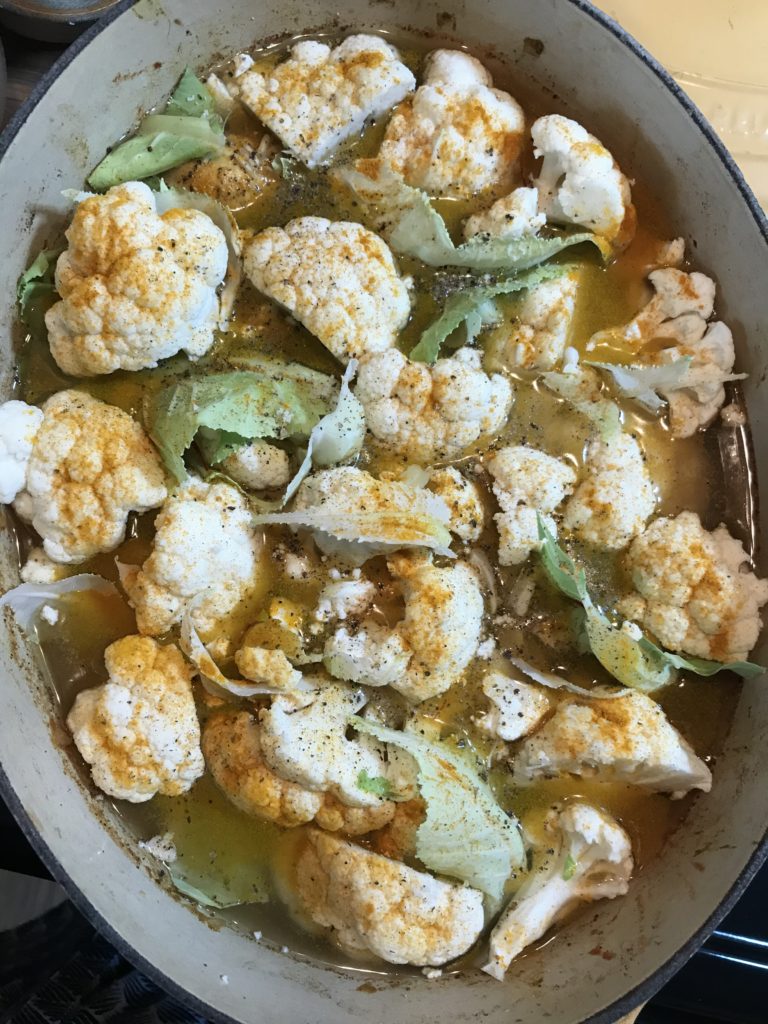
By now the potatoes and carrots will be par boiled so move them off the heat. Finely chop a generous couple of handfuls of herbs and put them into a bowl with the zest of a lemon, 3 crushed garlic cloves, salt, pepper and enough sunflower oil to bring it into a loose sauce.
Remove the hot, large roasting dish from the oven and drizzle it with sunflower oil. Use a slotted spoon to move the potatoes and carrots onto the hot tray and keep all the water in the pot (you’ll need this to cook the cabbage and make gravy with later).
Add the garlic/lemon/herb oil to the roasting dish of potatoes and carrots and stir to coat the veg in the mixture. Cut the zested lemon in half and add it to the roasting tray. Return the dish to the oven and get on with the greens and gravy.
Add a stock cube to the water that the carrots and potatoes were cooked in. Then rinse and chop the cabbage and add it to the pot to poach in the stocky water. When it is still slightly undercooked, use the slotted spoon to pull out the cabbage and keep it in the pan you used earlier to toast the sunflower seeds (you’ll use this to re-heat and finish cooking the cabbage when the beetroot loaf and roast veg are nearly done).
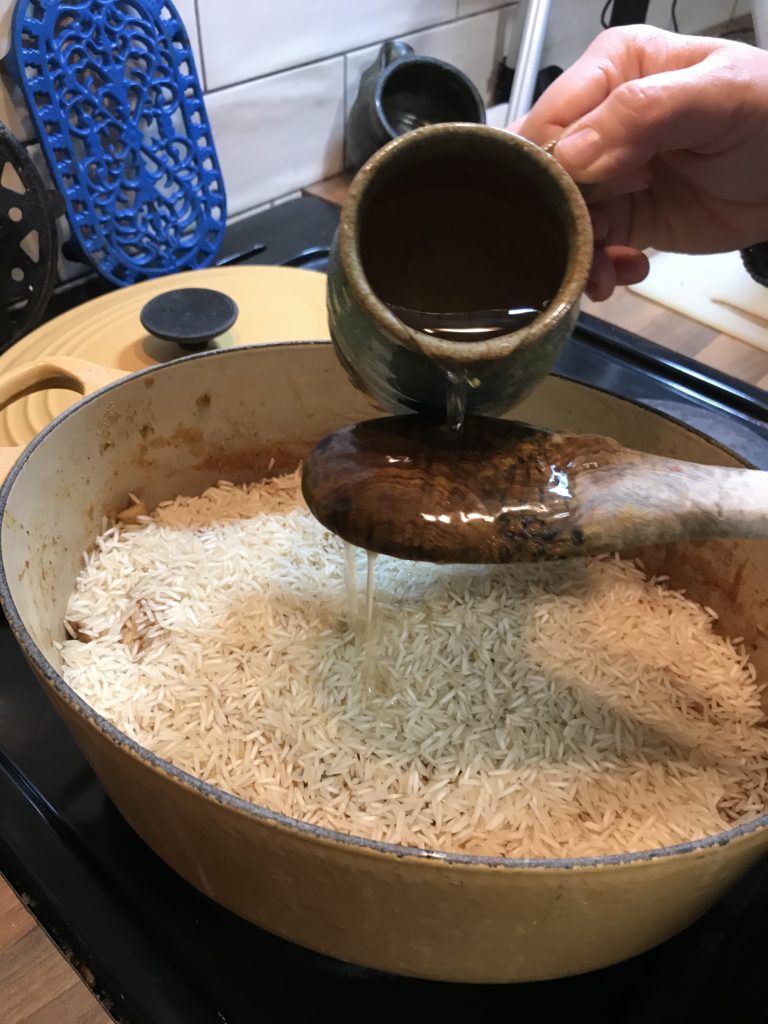
Then make the gravy. Put a tsp of dried mushrooms into the stock and bring it to the boil. You can also dip the bowl that you mixed the lemon/garlic/herb oil for the roast veg in and get all those flavours added to the gravy.
Mix the cornflour with a little cold water into a smooth paste in a cup. Then add that to the stock and simmer and stir until it has thickened into a gravy. Taste and adjust the seasoning if needed. I like to add a couple of tbsp of soy sauce to add a punchy umami flavour. You may wish to add a splash of wine or a spoon of recurrent jelly to your gravy. When you are happy with the flavour and texture of your gravy you can pour it into a jug through a sieve and keep it warm.
The beetroot and butterbean loaf and roast veg should be ready after about 40-60 minutes in the oven. Just keep an eye on them. Then re-heat the cabbage and gravy and serve!