This St Patrick’s Day favourite combines the two best vegetables of all time – potatoes and kale. Don’t let anyone tell you these humble vegetables are nothing less than extraordinary!
Potatoes (especially when you leave the skin on) are a delicious source of fibre, energy giving carbohydrates, antioxidants, potassium (more than a banana!) and magnesium. They also contain vitamin C, calcium, folate and vitamin B6.
Kale is well known for being a superfood. The humble kale, grown right here on our farm in Galway, is one of the most nutrient dense foods on the planet and contains well over 100% of your daily needs for Vitamins A, C and K as well as a whole host of other vitamins, minerals, antioxidants, fibre and even an omega 3 fatty acid!
So we say this dish is not just for St Patrick’s Day, make colcannon regularly as a side dish or as a topping for your pies.
Liz x
Ingredients (per person)
1 large or a couple of smaller potatoes, scrubbed and chopped into even chunks
3 kale leaves, rinsed, tough stems removed (save the stems, they are delicious finely chopped and added to stir fries, stews, soups etc)
1 scallion, sliced
1 tbsp butter
salt and pepper to taste
Method
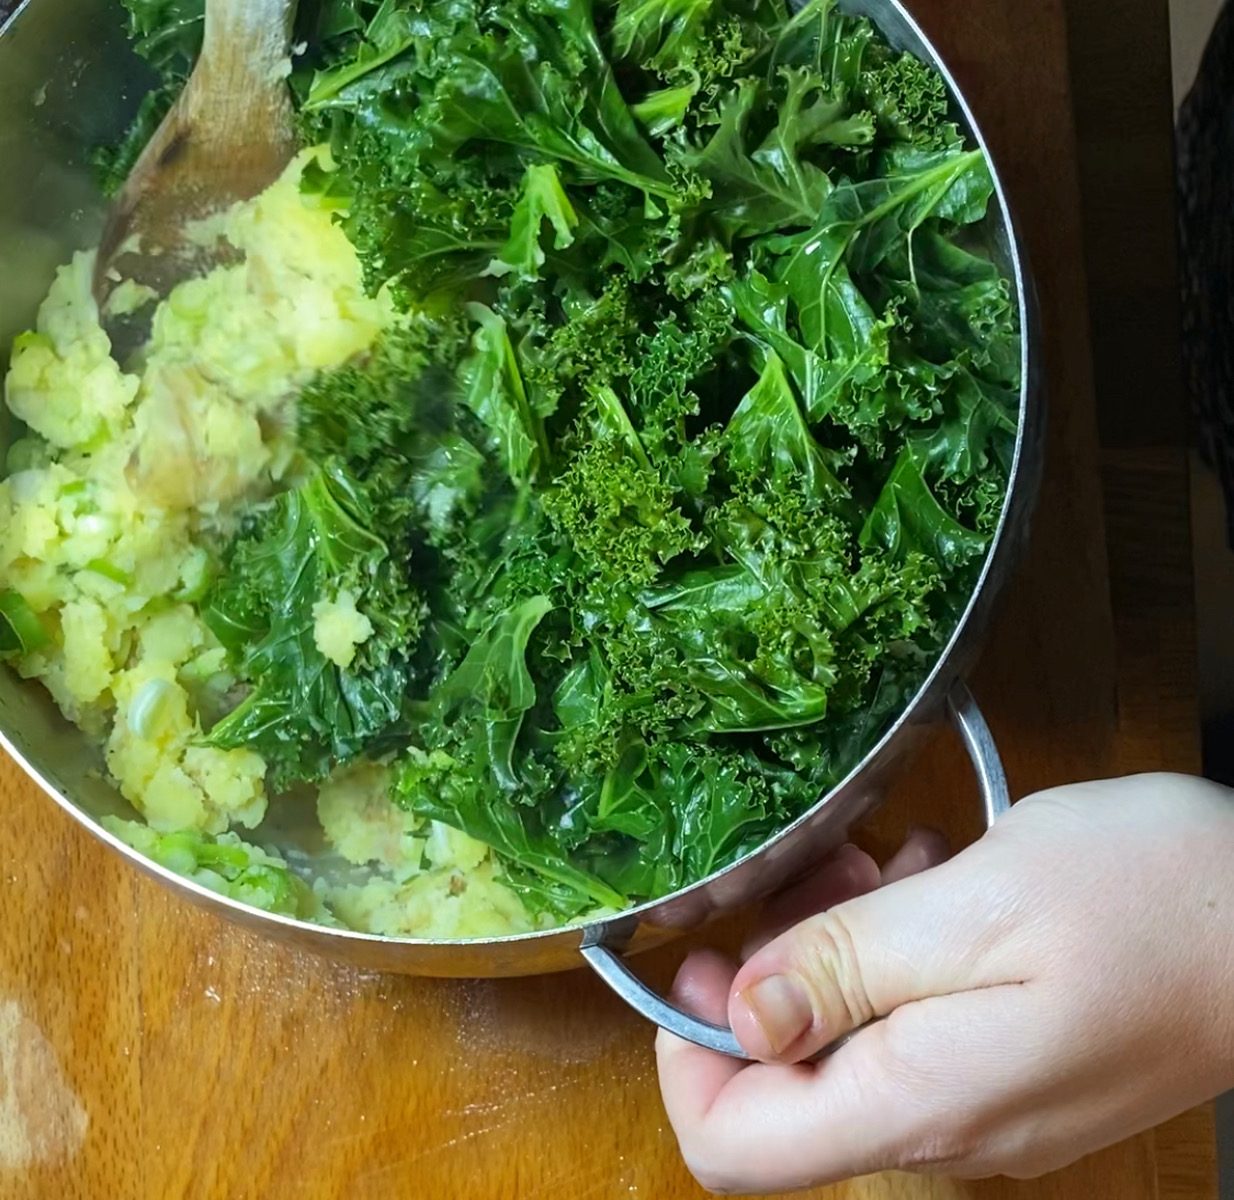
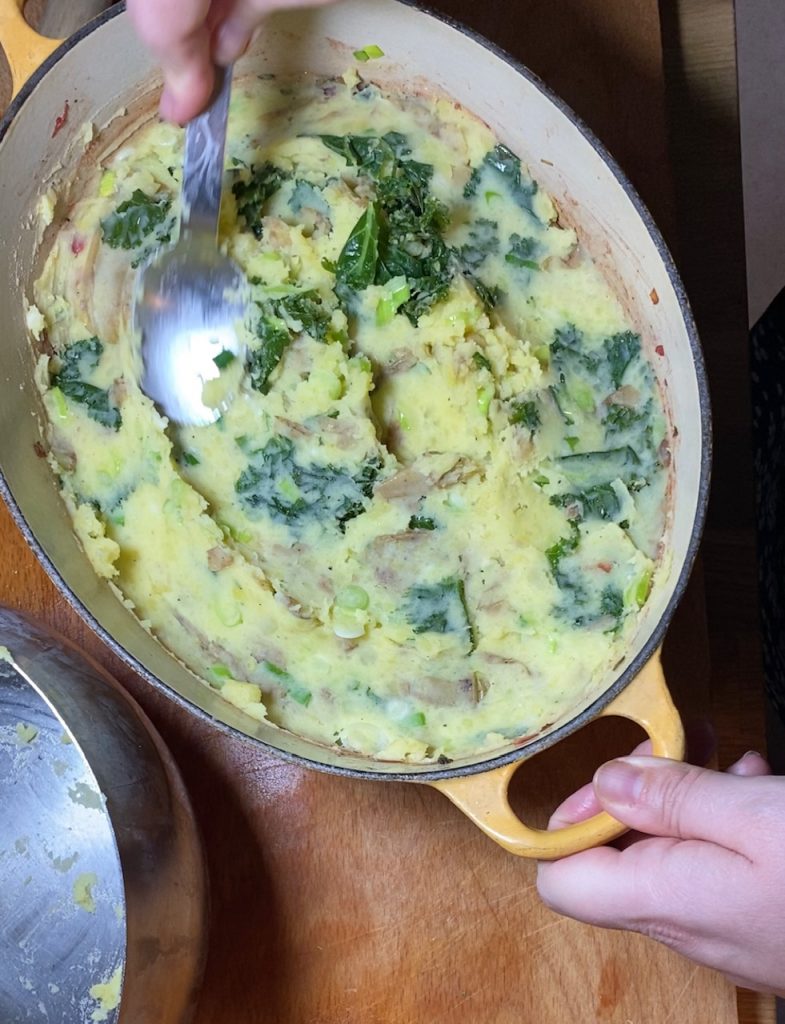
Get your potatoes boiling in a large pot of water. Meanwhile tear up your kale leaves into small pieces and place them in a steaming basket or metal colander.
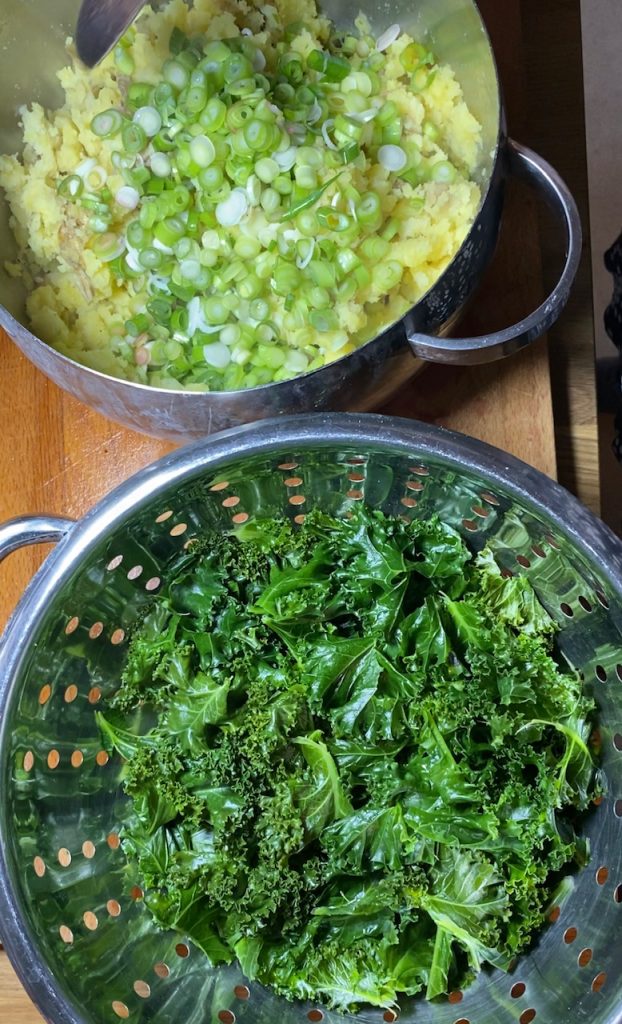
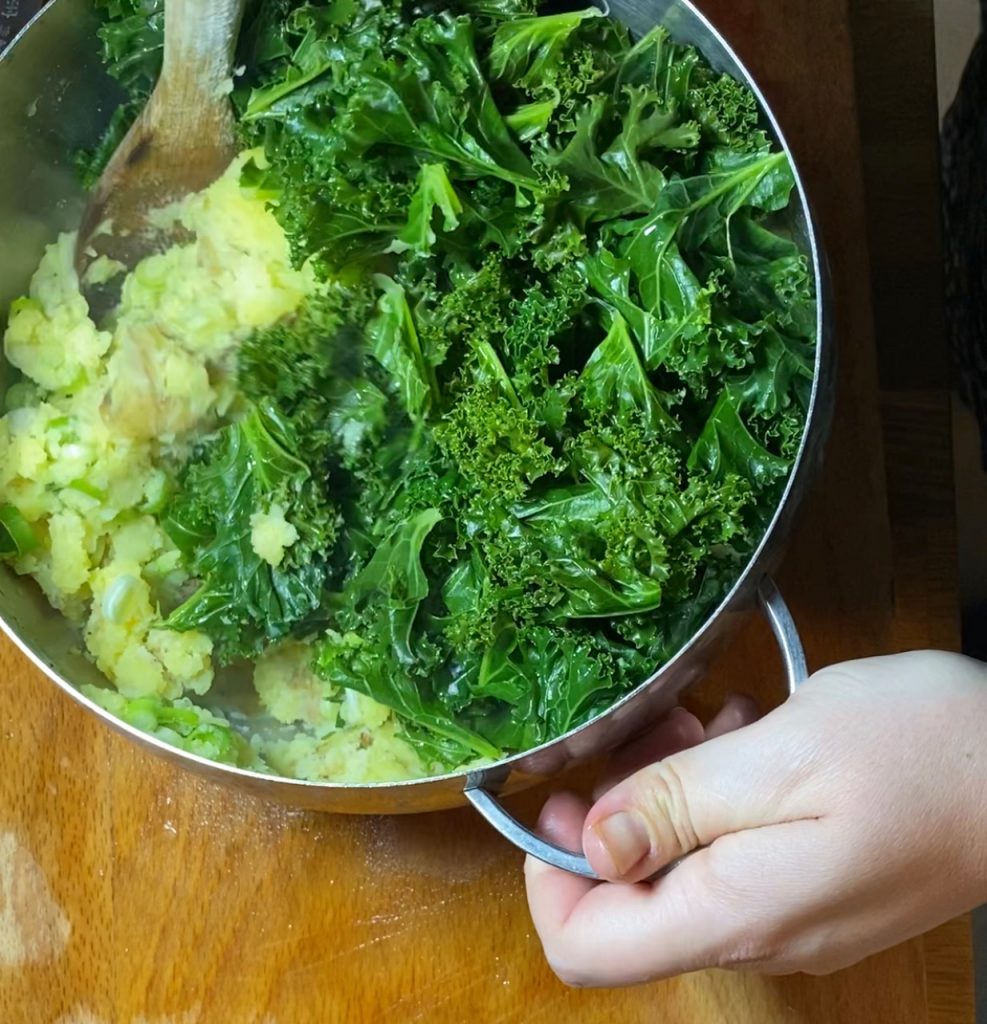
When the potatoes are nearly cooked through, place the steaming basket/colander of kale over the pot and put the lid on. Let the kale steam until wilted and soft – this only takes around 3 minutes so keep an eye on it.
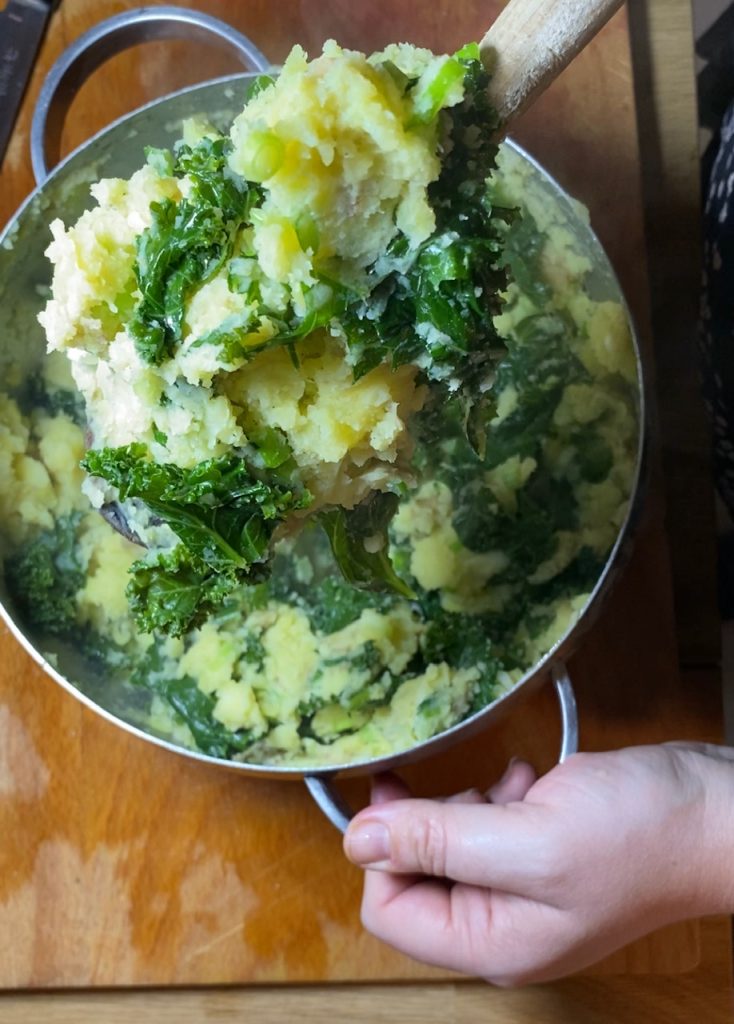
Remove the kale and drain the soft potatoes, then tumble them back into the warm pot. Mash the potatoes with the butter and season with salt and pepper to your taste. Then stir through the wilted kale and chopped scallions.
Serve with an extra dollop of butter as a side dish. It’s also delicious as a shepherd’s pie topping, baked in the oven to crisp up – see pic below.
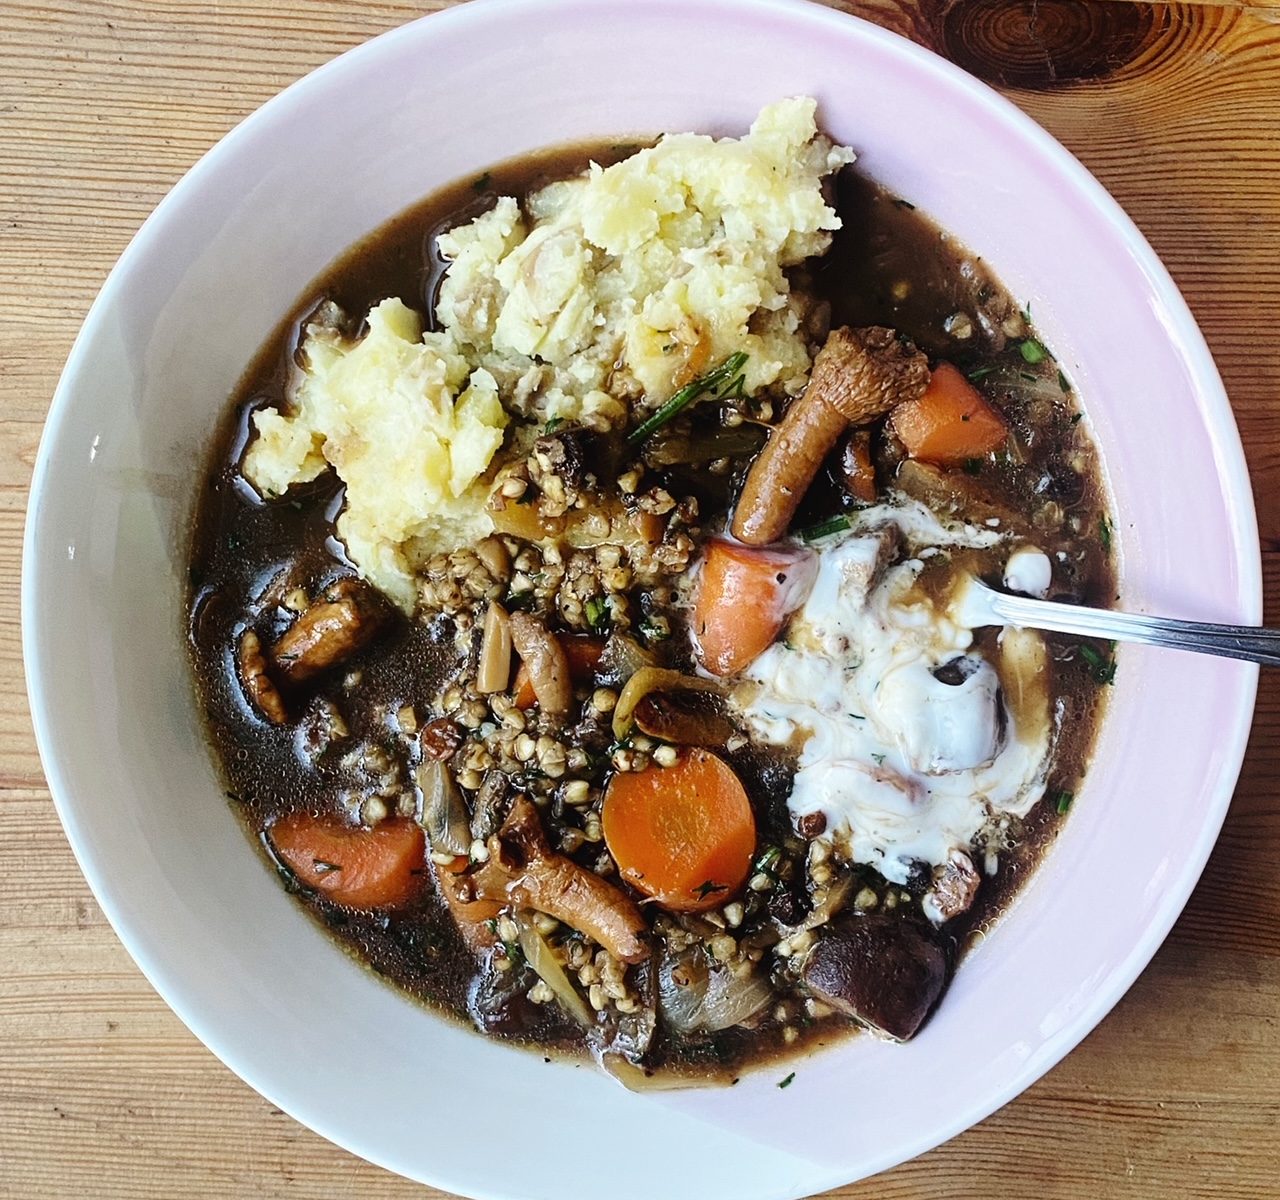
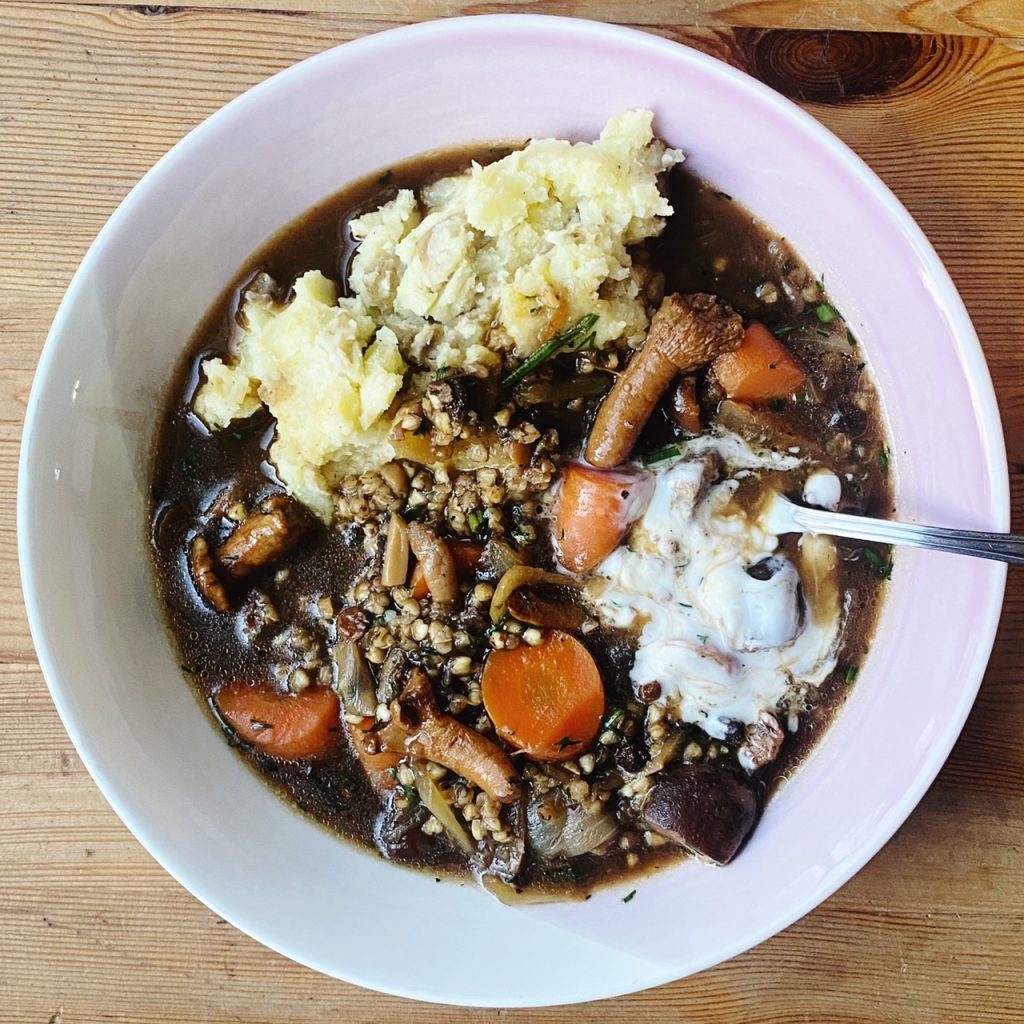
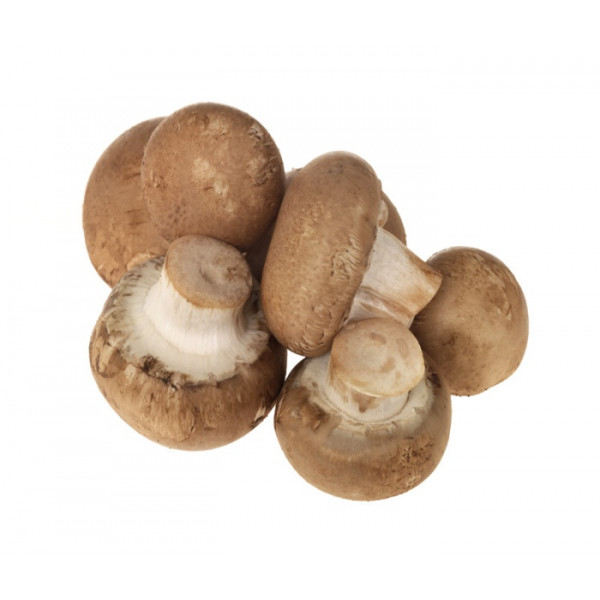
Here’s another Ukrainian recipe inspired by Olia Hercules. If you love mushrooms, you’ll love this broth. It packs a mighty umami punch and is dark and delicious. I serve is as it is for a lighter meal or for a more filling meal, with these stuffed buns or with creamy mashed potatoes. If you add a spoon of soured cream or crème fraiche when you serve, the flavour is really reminiscent of a stroganoff, and of course, these flavours of umami rich mushrooms, onions, pepper, dill and cream are popular in Eastern European and Scandinavian countries, post-Soviet states, Russia and more. We all have so much more in common than what separates us, and food is one of those things where we can clearly see our commonalities.
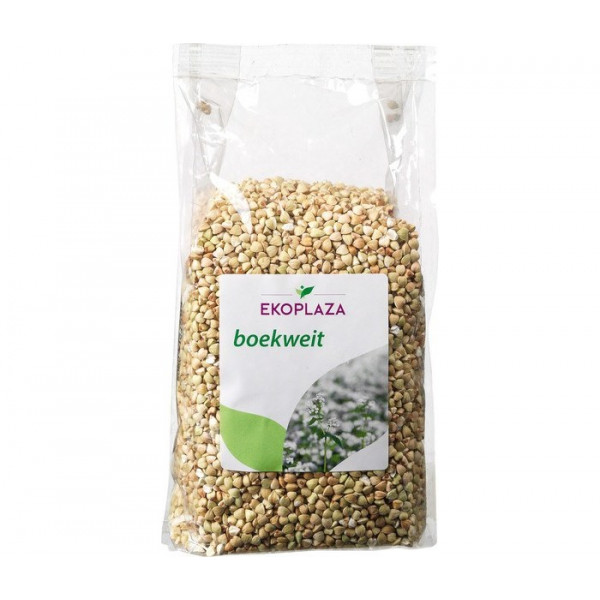
Buckwheat is a highly nutritious, gluten free whole-grain, a great source of protein, fibre, potassium, magnesium and energy. We sell the whole grain in compostable bags here (and also useful buckwheat flour and flakes). As well as extra nutrients, buckwheat brings a bit of body and texture to the broth but you can switch it with noodles, pasta or rice as you like. Happy cooking!
Liz x
Ingredients (serves 4)
200g buckwheat groats
3 bay leaves
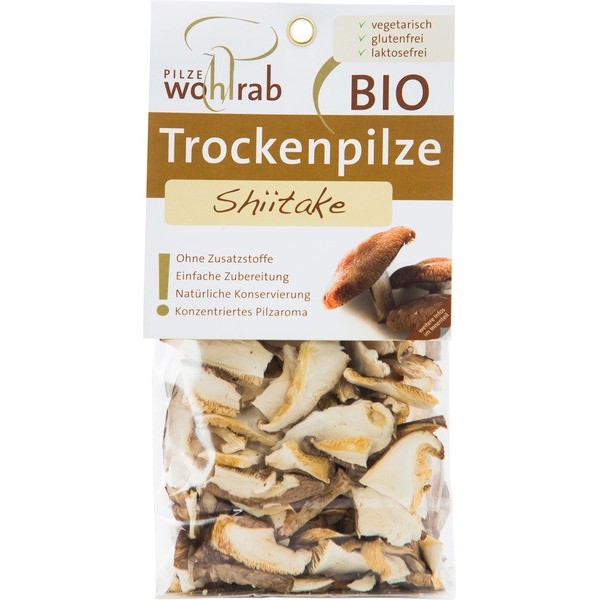
2 tbsp crumbled dried mushrooms
1 litre of boiling water
salt and pepper to taste
2 tbsp sunflower oil
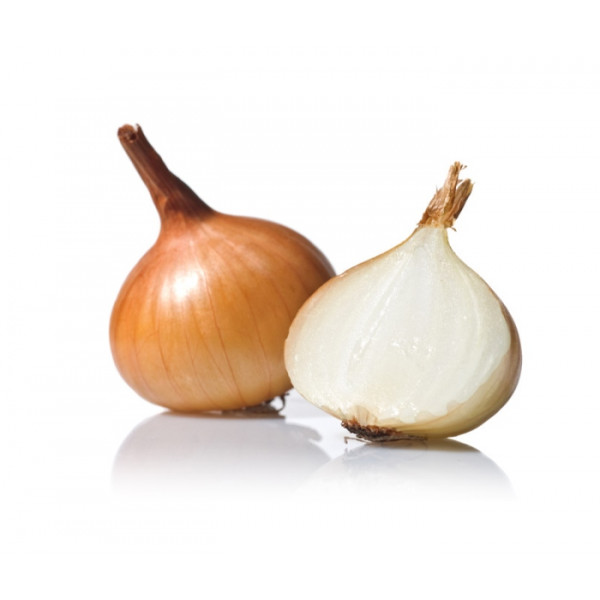
3 white onions, roughly diced
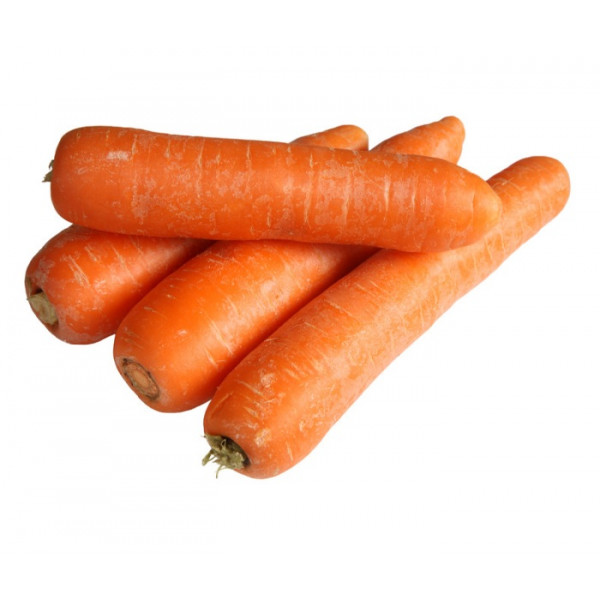
3 carrots, chopped chunkily
500g chopped mushrooms (a mix with some wild mushrooms is always more interesting, but chestnut mushrooms work well too)
a large handful or two of chopped dill
sour cream, yoghurt or creme fraiche to serve
mashed potatoes/cooked noodles/pasta/rice to serve or toast or stuffed buns…
Method
Start by making a mushroom stock. Put the bay leaves and dried mushrooms in a glass measuring jug and boil the kettle. Pour a litre of just-boiled water in and let the stock brew.
Next toast the buckwheat groats in your soup pot. Put the pot onto a medium high heat and tumble in the buckwheat. Stir or shake the pot regularly until the buckwheat is perfectly toasted. Then tip all the grains into a bowl to use later.
Now, in the same pot, add the oil and onion. Sauté with a big pinch of salt until the onions start to colour and soften. Then add the mushrooms and carrots, more seasoning and sauté again for another 5-10 minutes until the vegetables are cooked to your liking.
Add the mushroom stock and the toasted buckwheat and simmer with the lid on until the buckwheat is cooked through but still has some bite. Taste and adjust the seasoning as needed with more salt and pepper.
Just before serving, add the dill. Enjoy as is in bowls with a dollop of cremè fraiche or with toast, buns, mashed potatoes, pasta or anything you like.
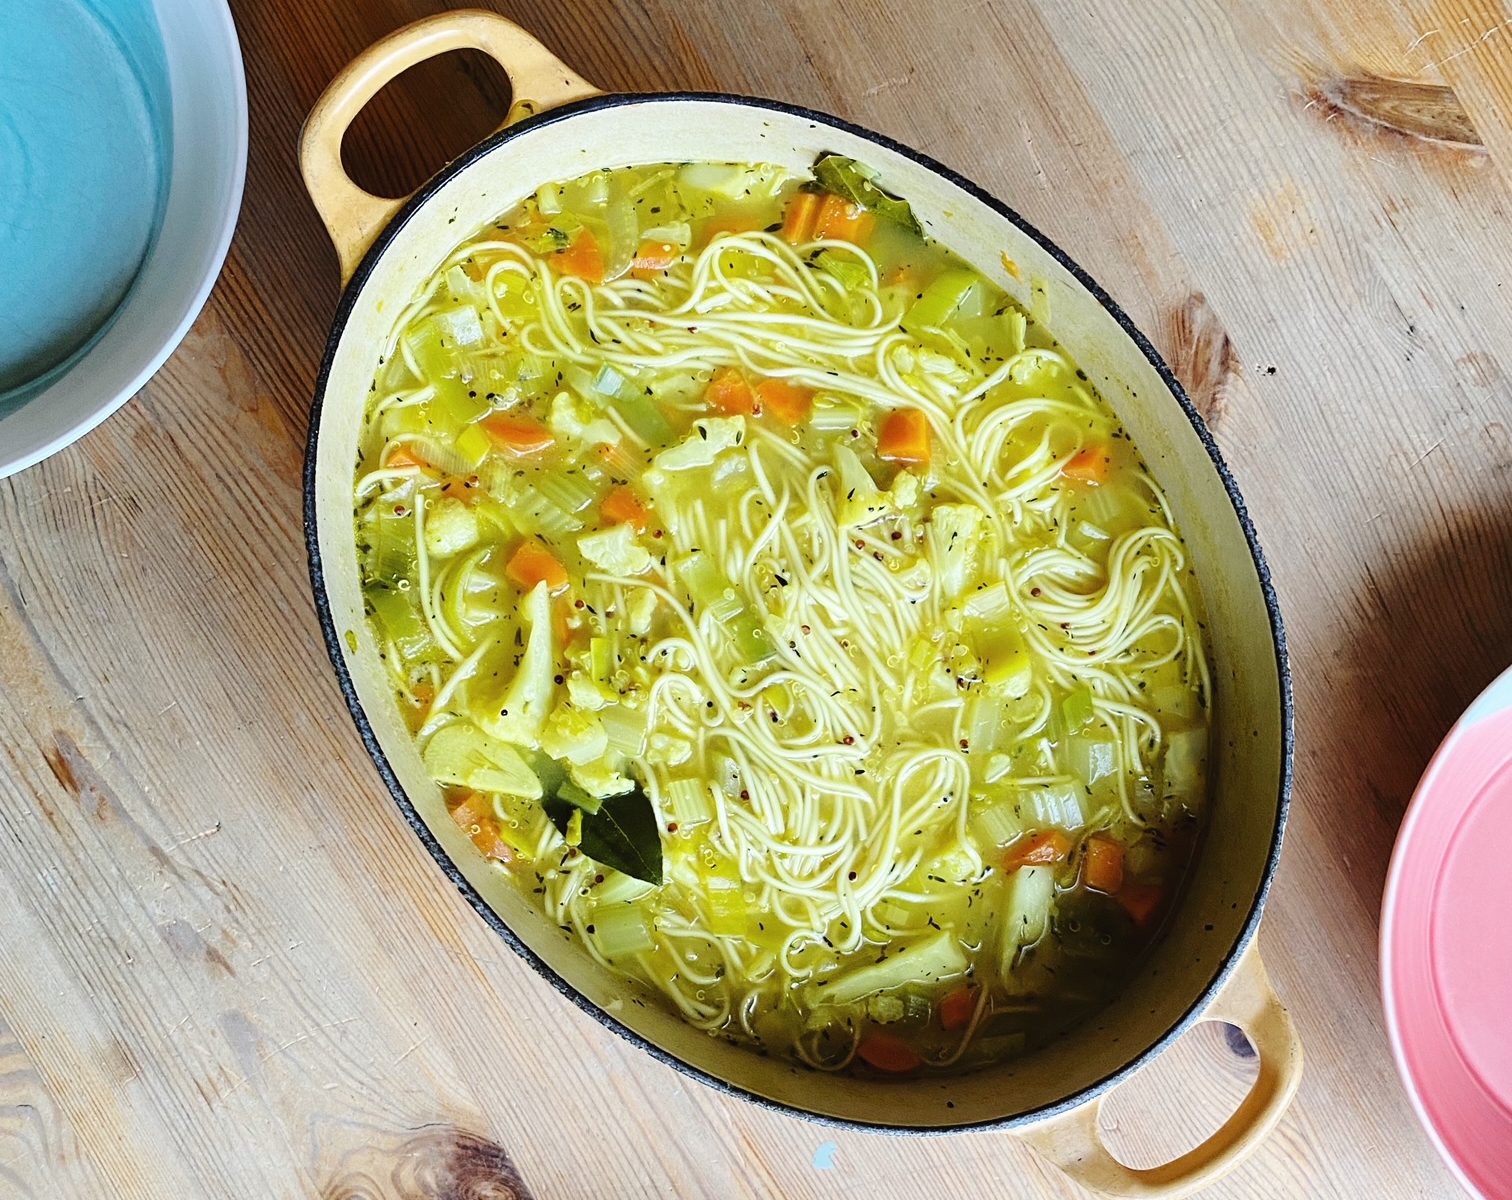
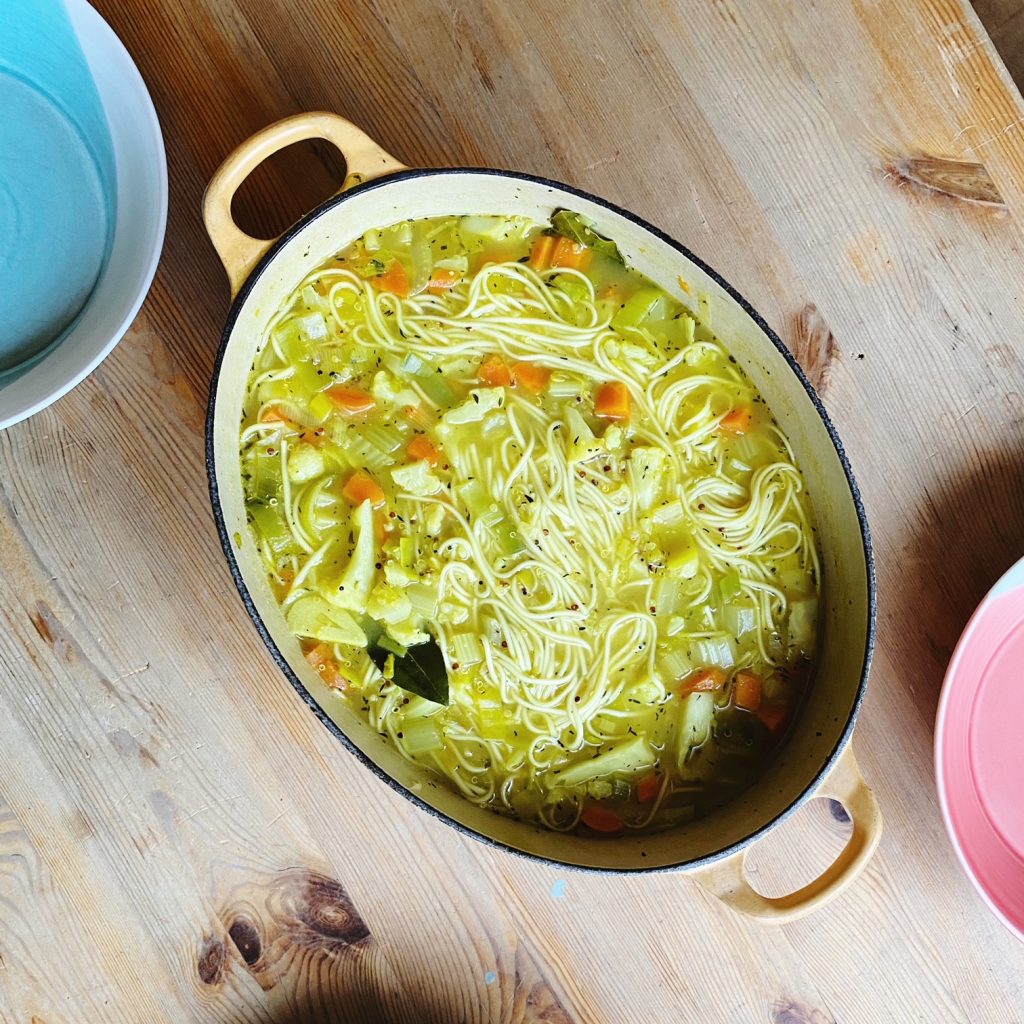
This is THE soup to make when you’re feeling under the weather. It’s a plant based take on that classic chicken noodle soup which brings so much comfort. It’s brothy and light, bursting with vitamins, but at the same time hearty and satisfying. I used bay leaves, lemon and thyme to flavour the broth with lots of garlic and a little turmeric for it’s sunny colour and medicinal properties. You’ll feel like a whole new human after a bowl of this. Happy slurping!
Liz x
Ingredients (serves 6)
3 tbsp olive oil
1 leek, sliced
4 sticks of celery, diced
3 carrots, diced
6 cloves of garlic, sliced
3 bay leaves
1 tbsp dried thyme
1 tsp turmeric
2 tsp salt
1 tsp ground pepper
100g quinoa, rinsed
1/2 a head of cauliflower, diced
120g noodles (I prefer quick cooking ramen or Thai rice noodles here but you can also use Italian style pasta in any shape you like. Just adjust the cooking times as explained below.)
1 lemon, juiced
Method
In a large, heavy bottomed pot, sauté the leek, garlic, carrots and celery with the olive oil. After 5 minutes the vegetables should be starting to soften.
Then add the bay leaves, thyme, turmeric and quinoa. Top up with a couple of litres of water, season with the salt and pepper then simmer. After 10 minutes, the vegetables should be soft and the quinoa just starting to release it’s tails.
Add the cauliflower and simmer for another 5 minutes. Taste the broth for seasoning and add more salt if necessary.
Then add the noodles* and give the soup a stir to ensure they’re not clumping together. If they are the quick cooking type, turn the heat off, put the lid on and let them cook and soften in the residual heat. If they are Italian style pasta noodles and need longer cooking then you should add them with the cauliflower during step 3.
Brighten the soup with the lemon juice and serve in large bowls. Enjoy!
TOP TIP – *only add the noodles/pasta if you’ll be eating this soup immediately. If you are making this in advance, add the noodles when you reheat it, otherwise they’ll get too soggy. You can even cook the noodles/pasta separately and put them into bowls, then ladle the soup over each portion.
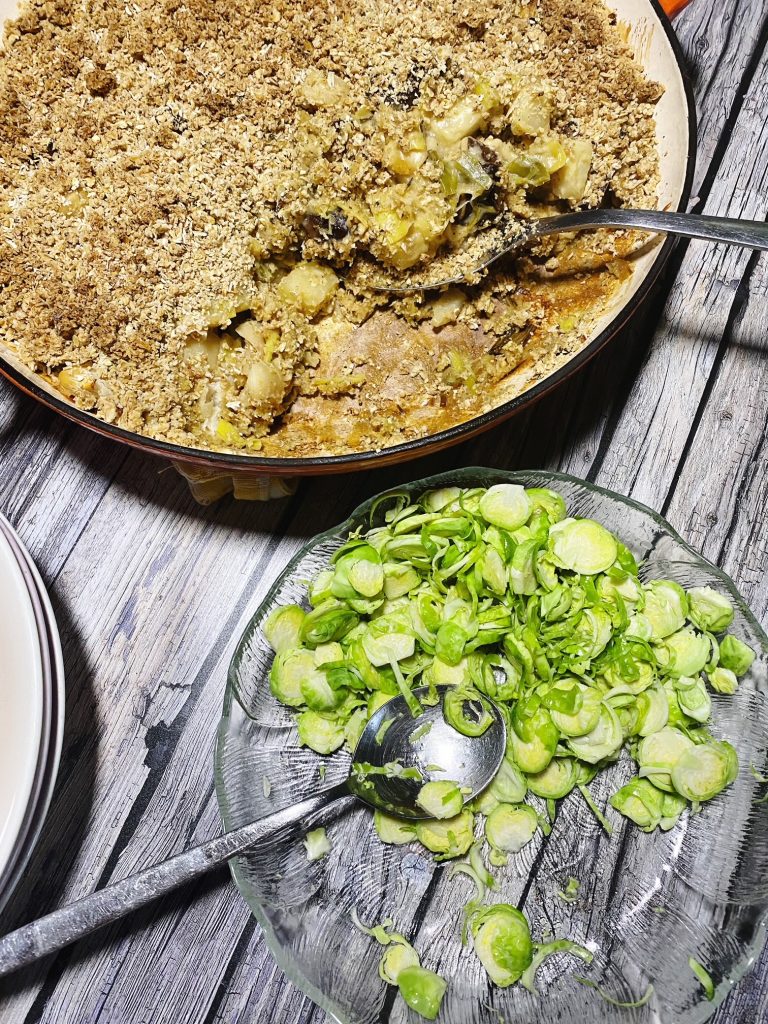
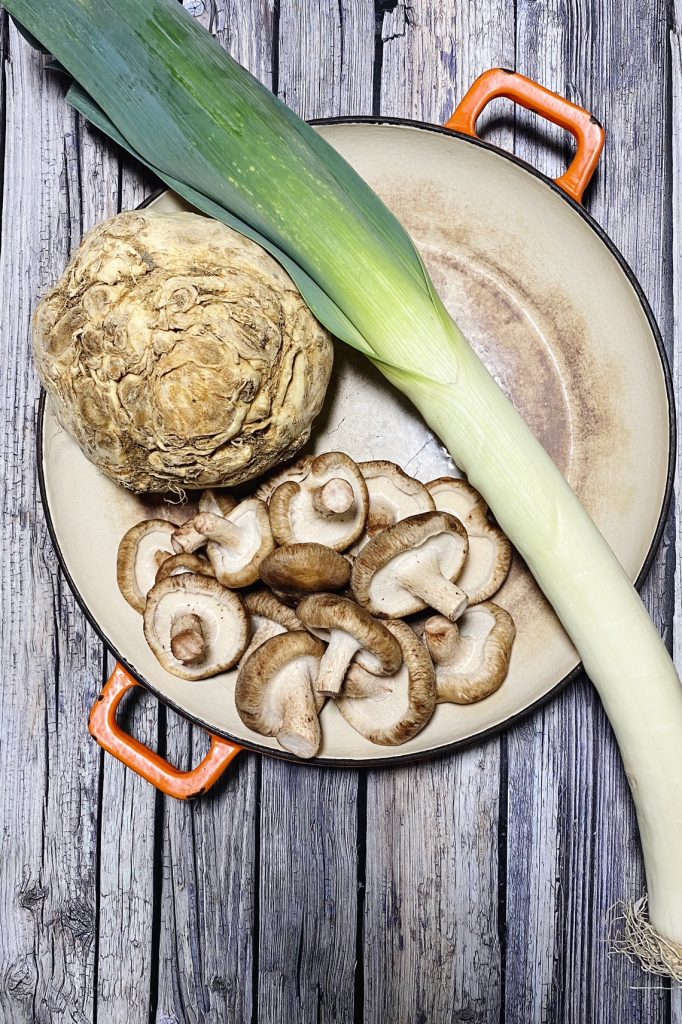
This savoury crumble is full of comforting winter vegetables and white beans. The creamy white sauce is made from seasoned oat milk thickened with a little cornflour. The oaty crumble is delicious and buttery (thanks to our new Naturli butter) and spiked with fragrant rosemary (use any winter herbs you like eg thyme or sage). Serve with a simple salad of shaved Brussels sprouts dressed with lemon and good oil. The not-so-secret ingredient which brings the dish together? Nutritional yeast! Fondly referred to as nooch, it brings a moreish, cheesy flavour to the party. What will you put in your savoury crumble?
As it’s gluten free day this week I’ve used certified gluten free oats in the crumble and gluten free Rude Health oat milk in the white sauce. If gluten isn’t an issue for you then of course you don’t need to worry about that, but if you are avoiding gluten then we can help with a range of gluten free groceries, conveniently delivered to your door.
Liz x
Ingredients (serves 6)
1/2 a celeriac, peeled and cubed
1 large leek, washed and chopped
300g mushrooms, halved or quartered
3 tbsp olive oil
salt & pepper to taste
2 tins of white beans, drained
White Sauce
2 tbsp cornflour (or flour of your choice)
2 tsp Dijon mustard
1/2 tsp ground nutmeg
a handful of nutritional yeast
salt and pepper to taste (about 1/2 tsp of each)
500ml gluten free oat milk (or any milk you like)
Crumble
250g gluten free porridge oats (or regular oats)
2 sprigs of fresh rosemary, stripped from stalk (or any winter herbs you like)
salt and pepper to taste – a generous pinch of each
a handful of nutritional yeast
100g butter (we use Naturli vegan blocks)
Method
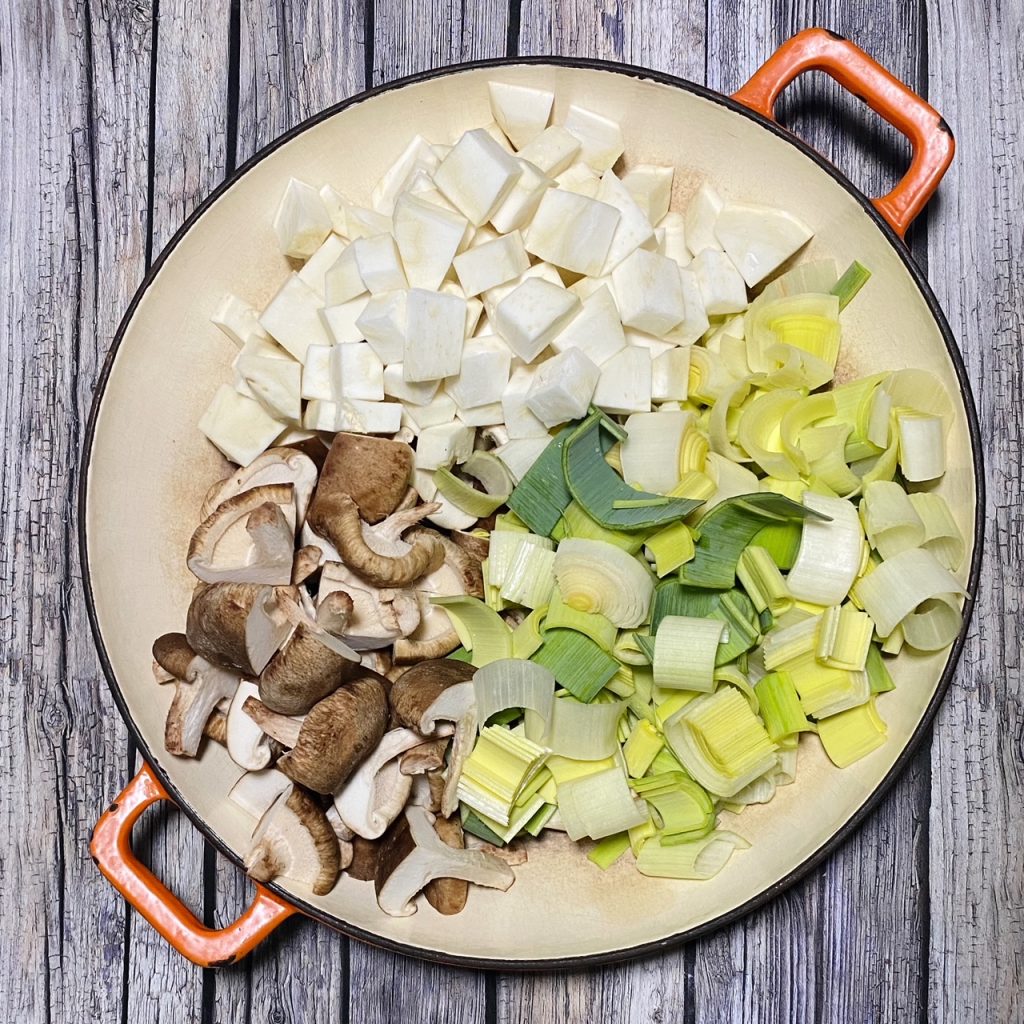
Preheat your oven to 200C. Find a baking dish and tumble in your chopped celeriac, leek and mushrooms.
Season with salt and pepper and drizzle with olive oil. Mix well then put the dish in the oven to roast the vegetables while you prepare the white sauce and crumble. Remove the dish every 10 minutes to stir.
In a mixing jug, whisk the cornflour, nutritional yeast, nutmeg, Dijon mustard, salt, pepper and a splash of the oat milk into a paste. Then add the rest of the oat milk and whisk into a thin sauce. This will cook and thicken up later in the oven. Put to one side for now.
Make the crumble in a food processor with the blade attachment. Put the oats, rosemary, nooch, salt and pepper into the processor and blend into a rough flour. Chop the butter into cubes, add to the flour mixture and pulse into a crumbly texture.
When the vegetables are cooked through (this should take around 30 minutes) add the drained white beans and sauce. Stir well then top with the crumble and return to the oven for another 20 minutes or until bubbling and golden on top.
Serve with some seasonal greens. We like thinly sliced Brussels sprouts simply dressed with good olive oil and a squeeze of fresh lemon juice for some acidity and freshness to cut through the creamy crumble.
It is Gluten Free day on the 13th of January. Check out our gluten free section here.
Coeliac disease affects 1% of the population, however it is estimated that only around 30% of those people are diagnosed. There’s a big difference between people with coeliac disease and people who are gluten intolerant. When a person with coeliac disease ingests gluten, even just a small amount from accidental cross contamination, their immune system will attack its own body’s digestive tissue causing pain and serious problems including the inability to properly absorb nutrients. Whereas, if a person is gluten intolerant, the consumption of gluten will cause short-term bloating and belly pain. Unlike coeliac disease, gluten intolerance doesn’t usually cause long-term harm to the body. Either way, if you are avoiding gluten, perhaps just to try and improve your gut health, here’s a quick summary of what to look out for and some tips. All the images in this post are gluten free, organic products that we stock alongside our fresh produce to make your gluten free journey a little easier.
What is Gluten?
Gluten is a general name for the proteins found in wheat, rye and barley. It acts as a glue and helps foods hold their shape. It’s what makes bread and pasta dough stretchy and bouncy. Luckily there are other natural ingredients which can be used as binding agents in place of gluten. Of course it is not quite the same but yes, you can still eat biscuits, cakes, pasta and breads with a little know-how.
What to Avoid
If you are avoiding gluten, it should be clearly labelled on packaging. But you should know this list of gluten containing ingredients to make sure you know exactly what to avoid.
Malt in various forms including: malted barley flour, malted milk or milkshakes, malt extract, malt syrup, malt flavoring, malt vinegar
Brewer’s Yeast
Regular Oats (although oats are technically gluten free, they are usually cross contaminated in fields and factories with wheat so look for gluten free oats!)
What To Eat
The good news is that if you are avoiding gluten there are loads of things you CAN eat! So let’s focus on those.
Fruits
Vegetables
Nuts and Seeds
Beans and Lentils
Certain Grains and Flours (including buckwheat and buckwheat flour, corn and it’s flours eg cornstarch and polenta, potato and it’s flour, rice and rice flour, amaranth, quinoa, millet, tapioca…oats, when labelled gluten free are fine too…)
You just need to avoid gluten which is found in certain grains and flours. Generic oats usually have been cross contaminated with wheat in the fields, whereas gluten free oats are grown carefully to avoid cross contamination and processed away from gluten containing products. This explains why gluten free oats are a little more expensive than regular oats.
Easy Alternatives
Ready made gluten free products are getting better and better. We stock a range of gluten free pastas, bread and even pizza dough in our shop. We also have gluten free oats available. Unfortunately a lot of ready made gluten free products contain lots of strange ingredients to help bind things together and imitate wheat gluten, so we recommend always reading the label, or looking into ways to make your own alternatives. We try to source the best, organic and natural products to make your choices easy. If you are avoiding eggs, be extra careful to read the labels as a lot of ready made gluten free products contain eggs to help things bind together.
Make your own
We stock many of the raw ingredients necessary to create your own gluten free alternatives. Research tried and tested gluten free recipes online and please do share your successes (and failures) with our supportive community facebook group here. There are loads of gluten free recipes, or recipes which can be tweaked to be made gluten free on our recipe blog here. In fact most of the recipes are naturally gluten free! Do you have any top tips on being gluten free? Do share them in the comments.
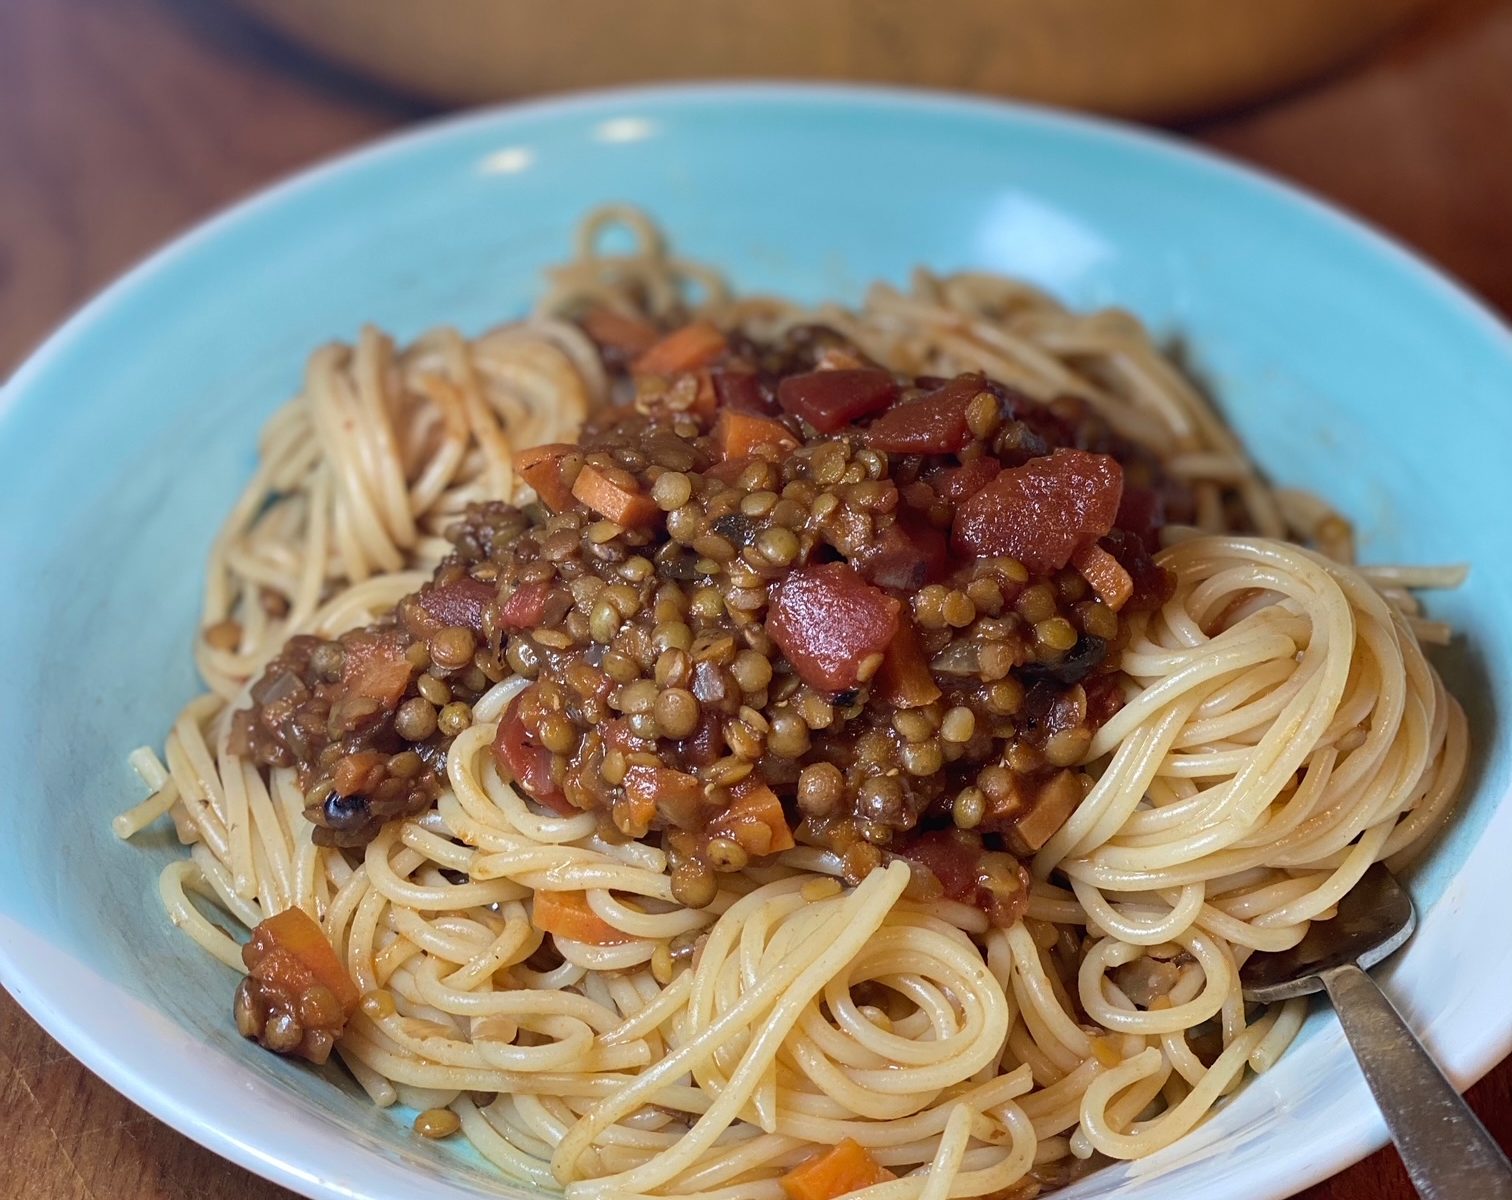
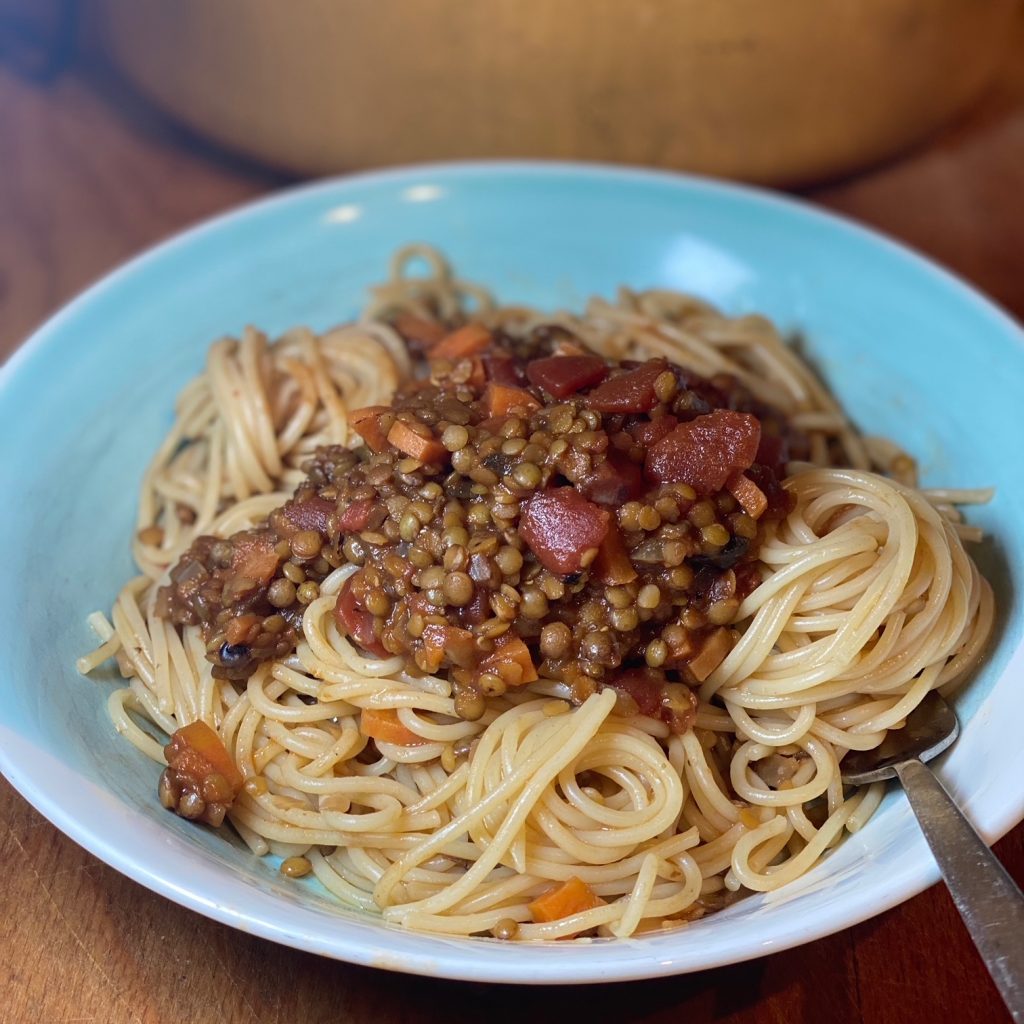
Lentil Bolognese is a store-cupboard staple. Lentils are full of nutrients, most notably fibre, protein, B vitamins, iron, magnesium, zinc and potassium. These humble and inexpensive seeds are well worth including in your diet regularly, and they make a great mince meat substitute.
Liz x
Ingredients
3 tbsp olive oil
2 white onions, diced
5 cloves of garlic, diced
2 bay leaves
3 carrots, diced
1 tbsp chopped dried mushrooms
200g dried lentils (a mix of green/red/brown is nice for different textures)
2 tbsp balsamic vinegar
2 tins chopped tomatoes
1 glass red wine
700ml+ water
salt and black pepper to taste
pasta and nutritional yeast to serve
Method
Sauté the onion, garlic and bay in the olive oil over a medium high heat until it’s soft and golden.
Add the carrots, mushrooms, lentils, vinegar and tomatoes. Stir then cover with the water and season well.
Simmer until the sauce is rich and thick and the lentils are cooked through. Test them after 15 minutes and add more water if necessary.
Taste and adjust the seasoning with more salt and pepper as you like. Then serve.
Stir some of the sauce through the drained spaghetti and loosen it with a little reserved pasta water. Then serve in bowls with extra sauce on top. Finish with a sprinkle of nutritional yeast flakes for a salty, cheesy topping.
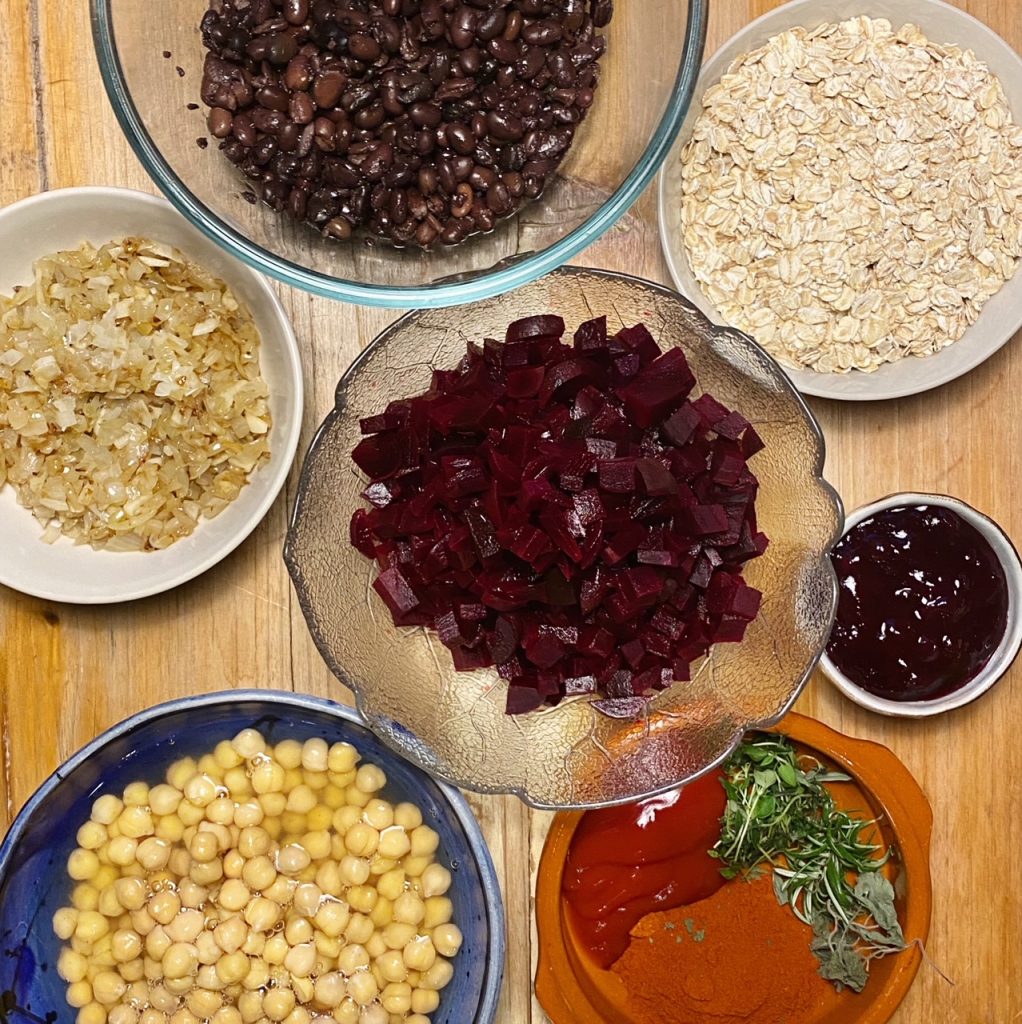
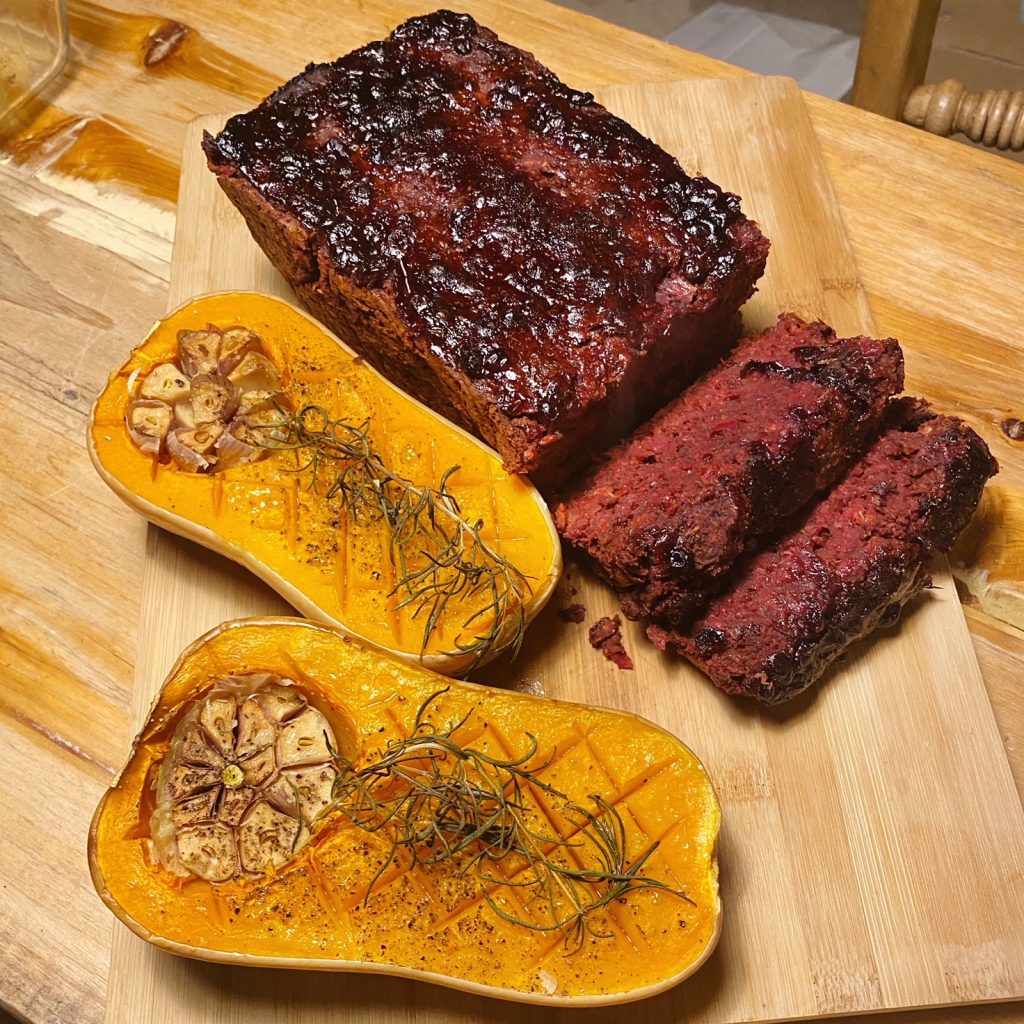
This is a really delicious and hearty veggie main for your festive feast, made with ingredients you probably already have in your kitchen. A great option if you need an alternative to a nut roast, this beetloaf is nut free, can easily be gluten free if you use gluten free oats, and is full of healthy fibre and protein from beans, chickpeas and oats. Make is Christmassy as I’ve done here with a cranberry sauce glaze, or use it for another occasion and switch the cranberry sauce for barbecue sauce, apple chutney or a mustard and maple glaze. Make it your own with your favourite herbs and spices. Happy Christmas!
Liz x
Ingredients
400g cooked beetroot
1 tin of chickpeas plus the liquid in the tin
2 tins black beans, drained
1 tbsp each: smoked paprika, sage, rosemary and thyme
2 tbsp tomato purée or ketchup
2 diced onions and 4 diced garlic cloves cooked in olive oil
150-200g porridge oats
salt and pepper to taste
cranberry sauce to glaze (around 6 tbsp)
Method
Pre-heat your oven to 200C and line a loaf tin with baking parchment.
In a food processor, blend the beetroot, chickpeas and their liquid, herbs and spices, seasoning and half the black beans into a thick purée.
Add the onion/garlic mix, 150g of oats and remaining black beans and pulse together to retain some texture.
Scrape the mixture into a bowl, taste and adjust the seasoning if needed and add more oats if a little wet.
Scrape into the lined loaf tin, cover with cranberry sauce (or any glaze you prefer eg barbecue sauce, mustard and maple…) and bake for around an hour or until cooked through.
Serve in slices with all the trimmings. Gravy, roast potatoes, greens…
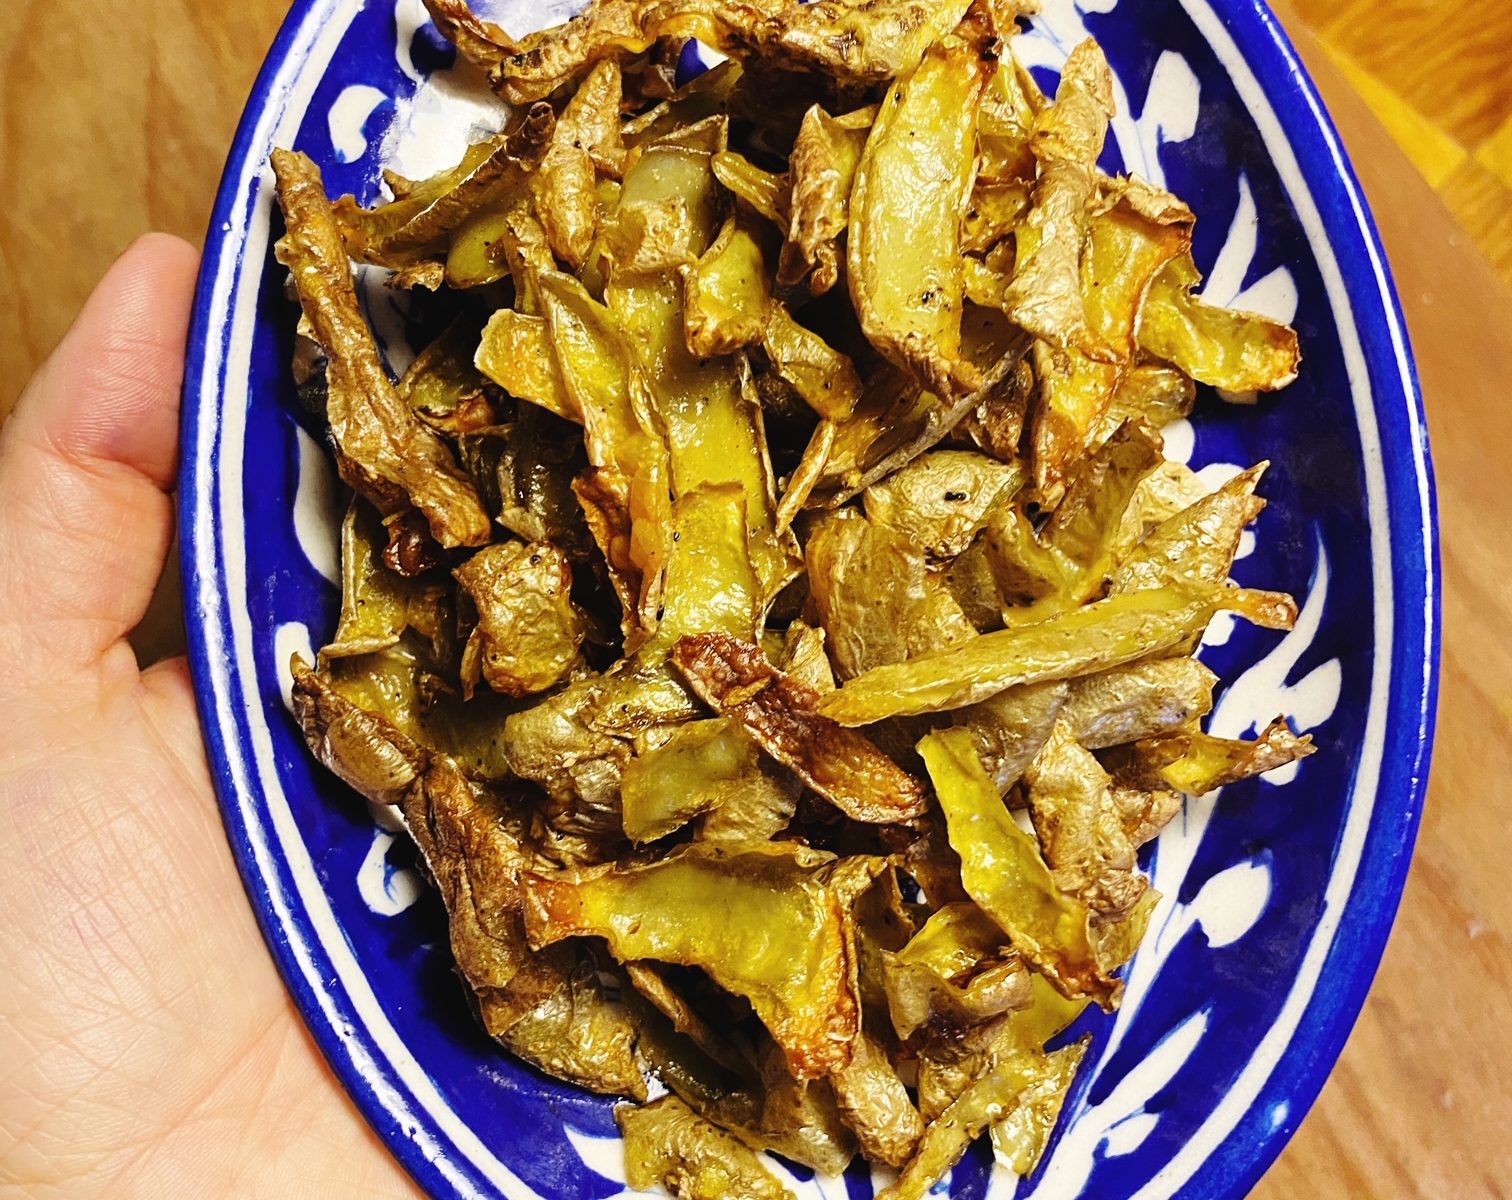
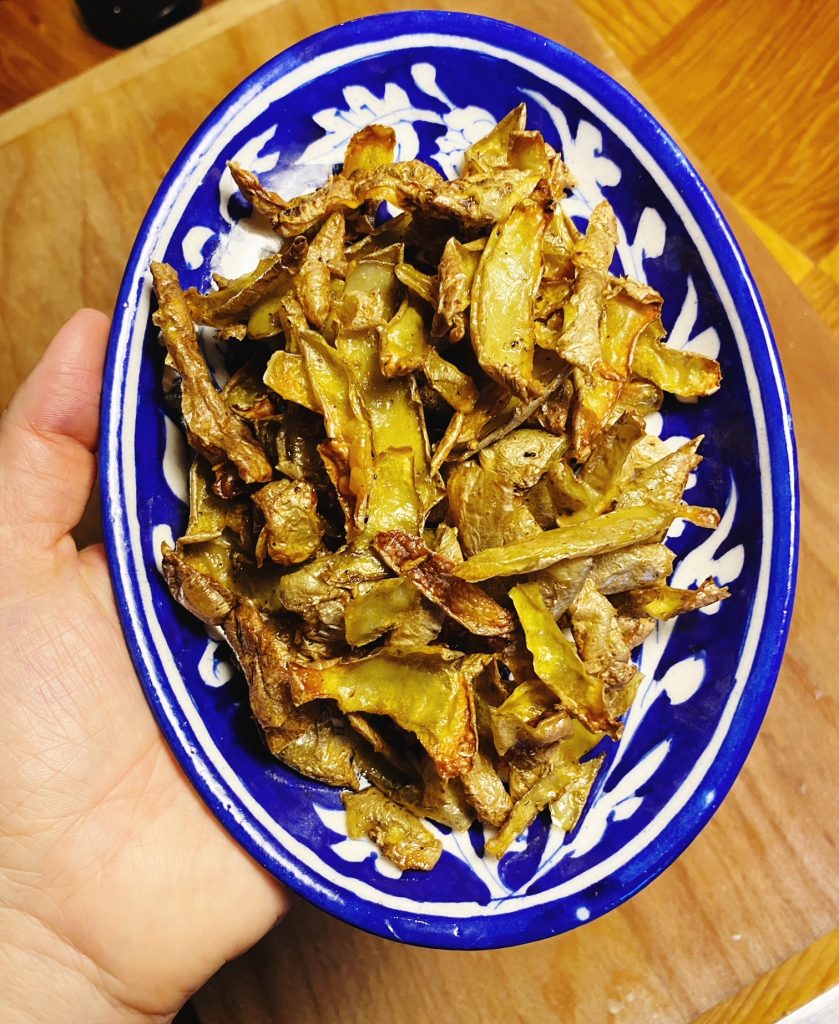
We very rarely peel our organic potatoes. It’s not just about being lazy, potato skins are delicious and very high in nutrients and fibre. Also, food waste is not just a waste of our hard earned money, it’s actually a huge emitter of green house gases. But sometimes, especially for Christmas dinner, we want ‘proper’ roast potatoes that are fluffy in the middle, golden and crispy on the outside. So we peel.
No need to waste the peels though! It makes no sense to throw out all that delicious, nutritious potato. I bet your granny had a good way of using potato skins up? This is my favourite way. What’s yours?
Liz x
Ingredients
Potato peels
Olive oil
Salt and pepper (or another seasoning you like eg: garlic granules, paprika, chilli, rosemary, lemon zest, nutritional yeast, onion powder…)
Method
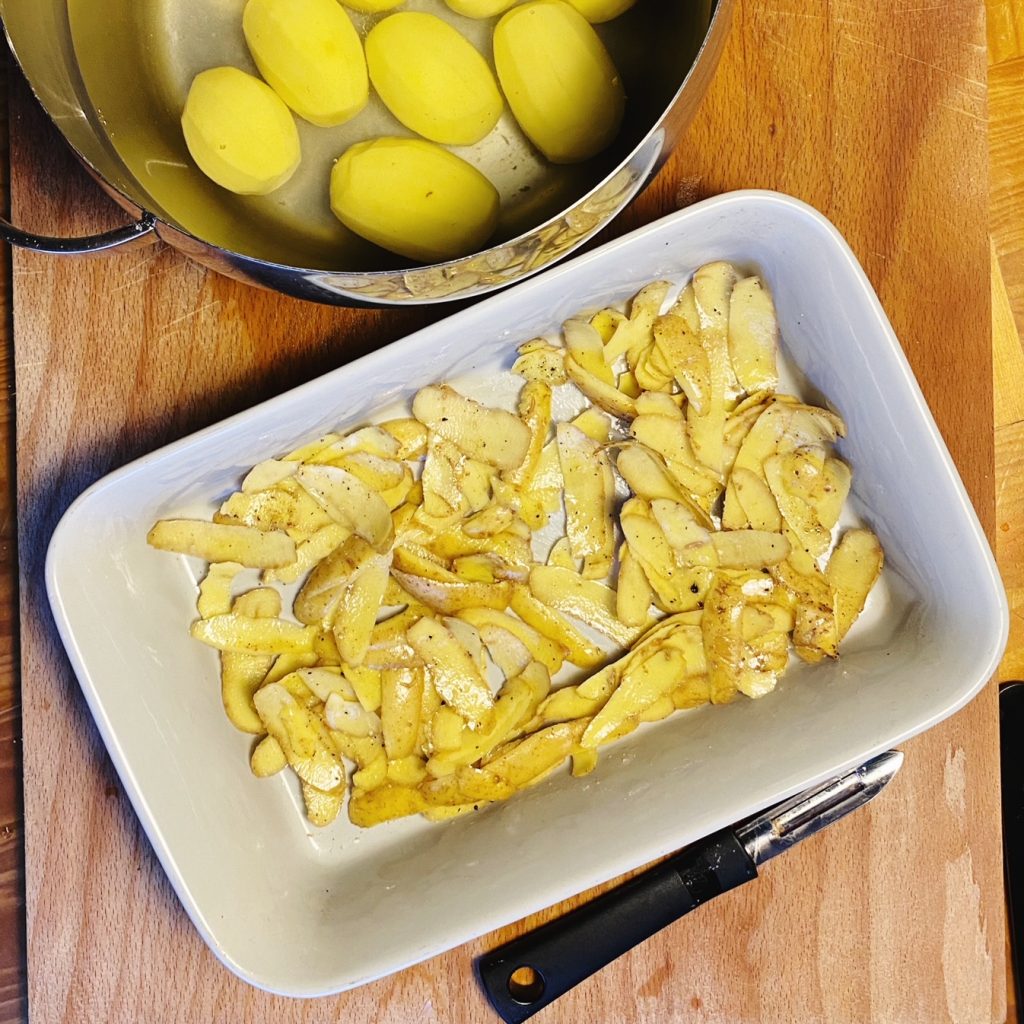
Pre-heat your oven to 200C. Scrub your potatoes and then peel them directly into a large roasting dish.
Drizzle over some good olive oil, a little goes a long way here.
Season with a little salt and whatever else you fancy. Be careful with the salt, a tiny pinch is usually enough, you can always add more salt after but you can’t take it away. Mix well to ensure each peel is coated in the oil and seasoning.
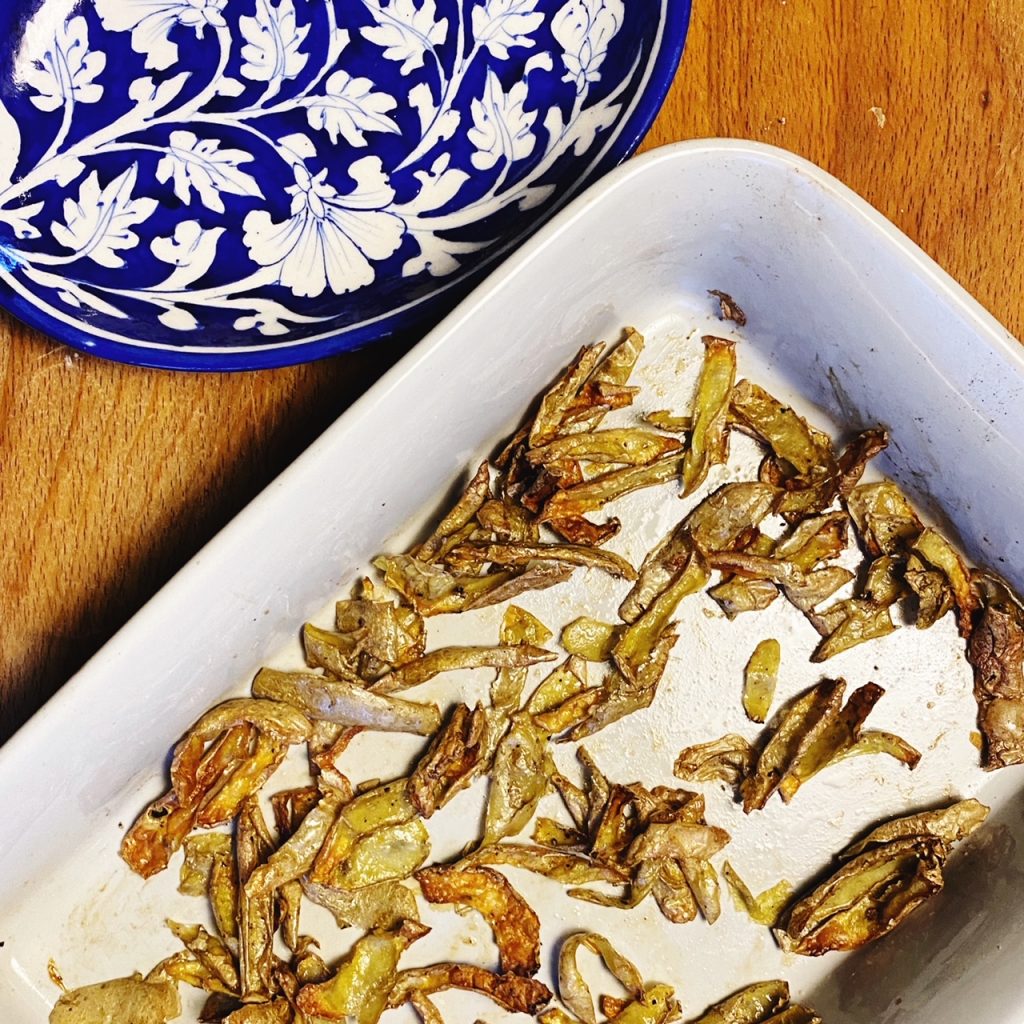
Bake in the oven until the peels have turned into crisps. Usually around 15 minutes. Keep an eye on them and take them out to stir every 5 minutes or so to ensure they are not sticking and they are cooking evenly.
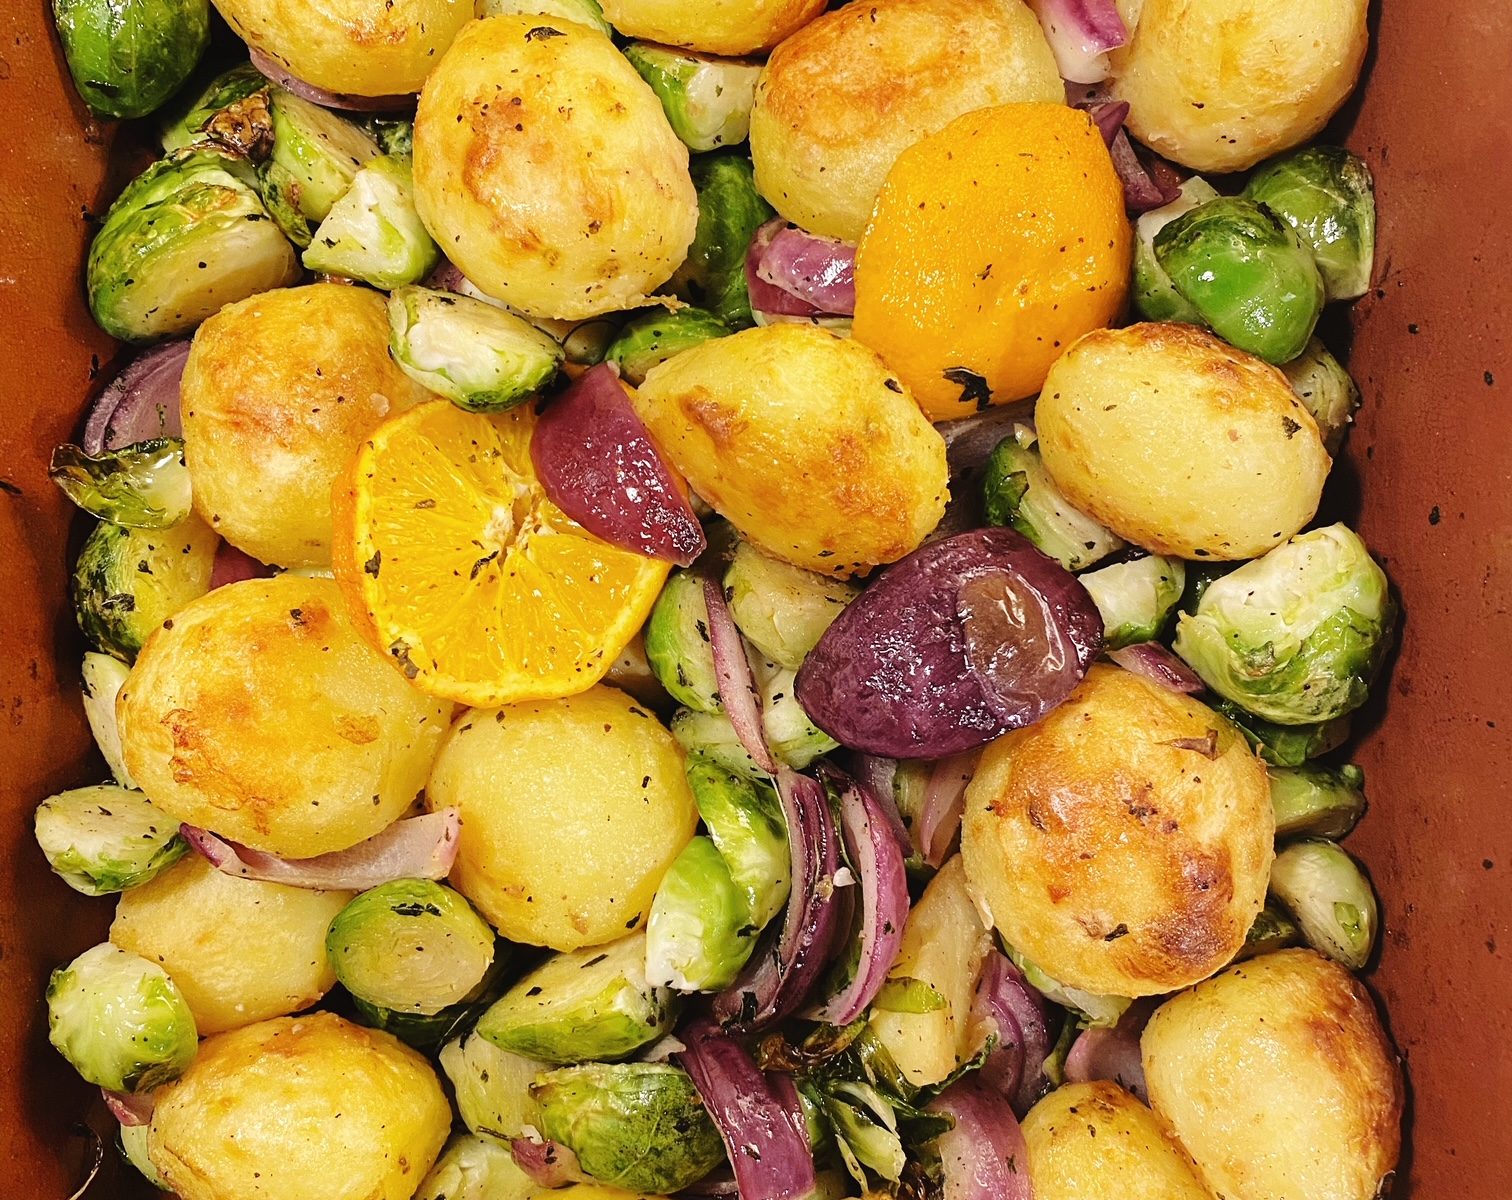
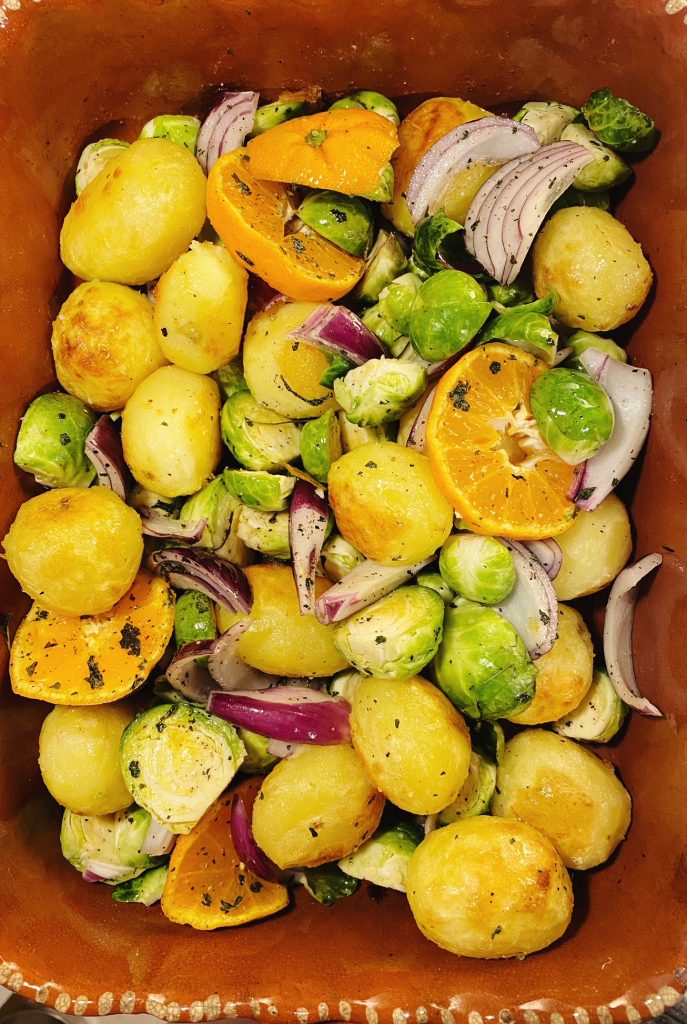
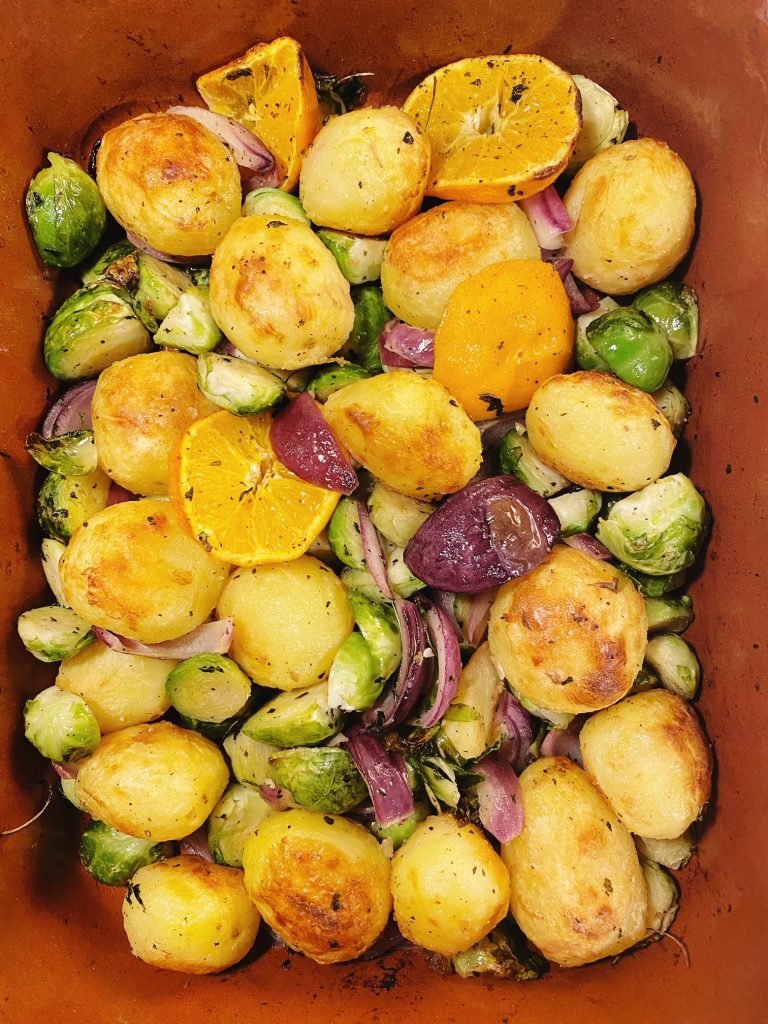
This is my favourite way to make really Christmassy roast potatoes. When the oven is full for a big roast dinner, it’s a great way to double up in one dish too. Brussel sprouts are best when roasted or sautéed rather than the traditional boil and flavouring them with red onion, sage and clementines just screams Christmas! Don’t forget to save the potato peels and make crisps! There’s a lot of flavour, nutrients and fibre in those organic peels.
Liz x
Ingredients
Potatoes – think X amount per person
Brussels sprouts – 6 or so per person
Clementines – 1 between 4 people
Red onion – 1 between 4 people
Sage – 3 leaves per person or 1 tbsp dried between 4 people
Vegetable oil – a generous slick in the roasting dish plus a drizzle for the bowl of sprouts
Salt and Pepper to taste
Method
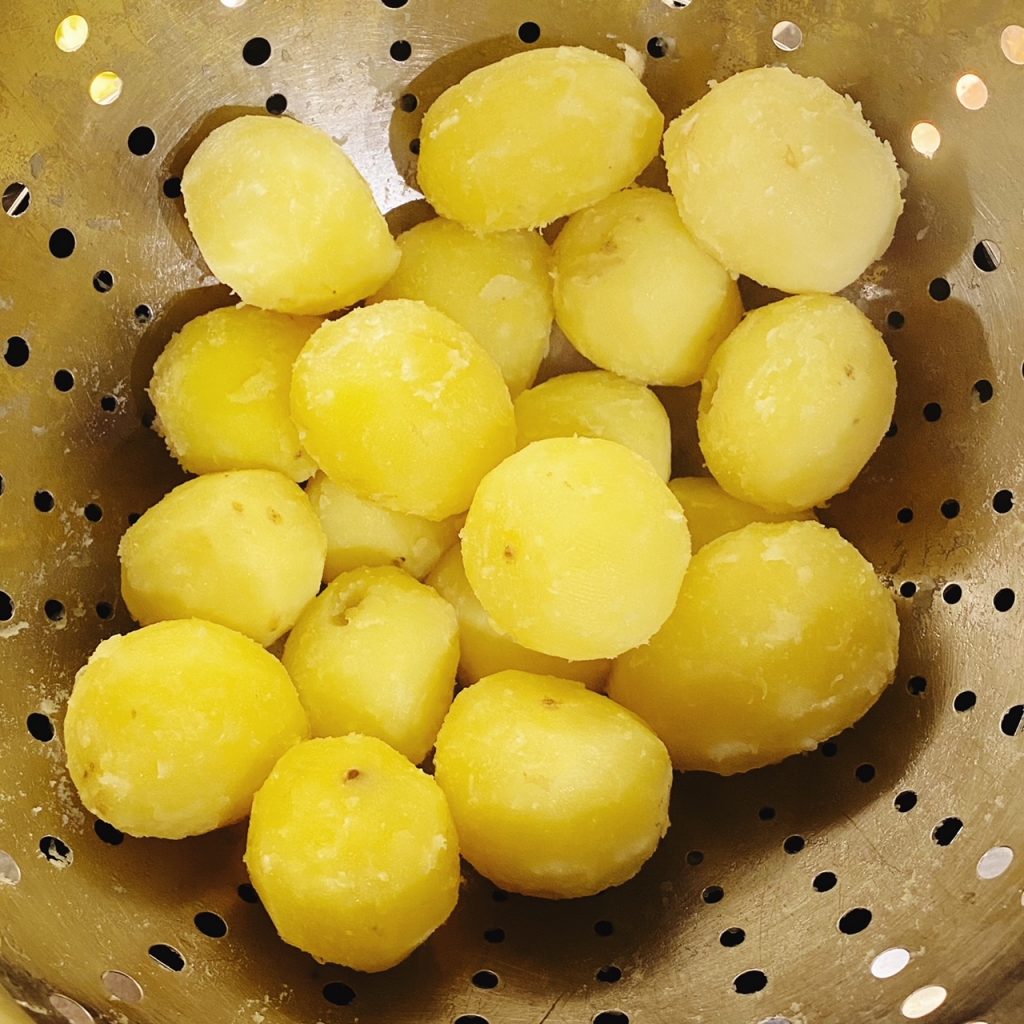
Pre-heat the oven to 200C. Peel your potatoes and leave them whole if they are small, or cut them into large, even chunks. Place the potatoes into a large pot of water and bring it to the boil.
Boil the potatoes until par-cooked. They should just be soft on the outside but still firm in the middle. Meanwhile pour a generous slick of vegetable oil into a roasting dish which will comfortably accommodate your potatoes and get it in the oven to heat up.
Drain your potatoes into a large colander. Give the colander a good shake. This will rough up the outsides of the potatoes which will make a gorgeous crispy exterior in the oven.
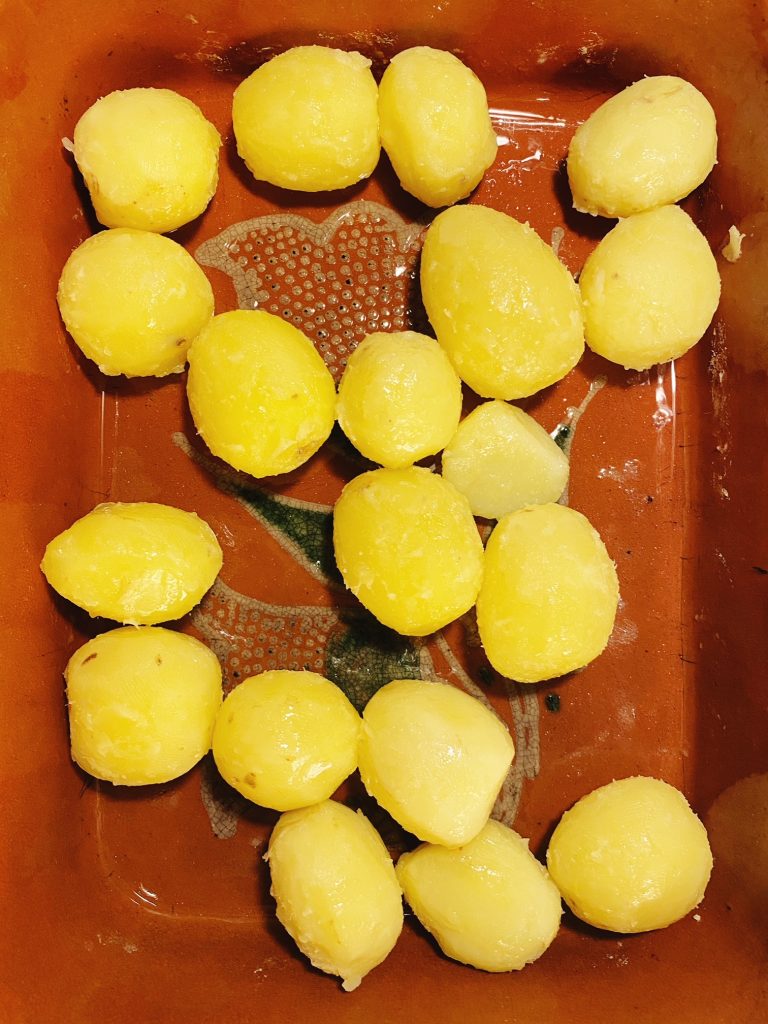
Carefully remove the roasting dish from the oven and tip in the roughed up, par-boiled potatoes. Use a spatular or tongues to turn the potatoes in the hot oil then pop the dish into the oven to continue cooking the potatoes while you prepare the rest of the ingredients.
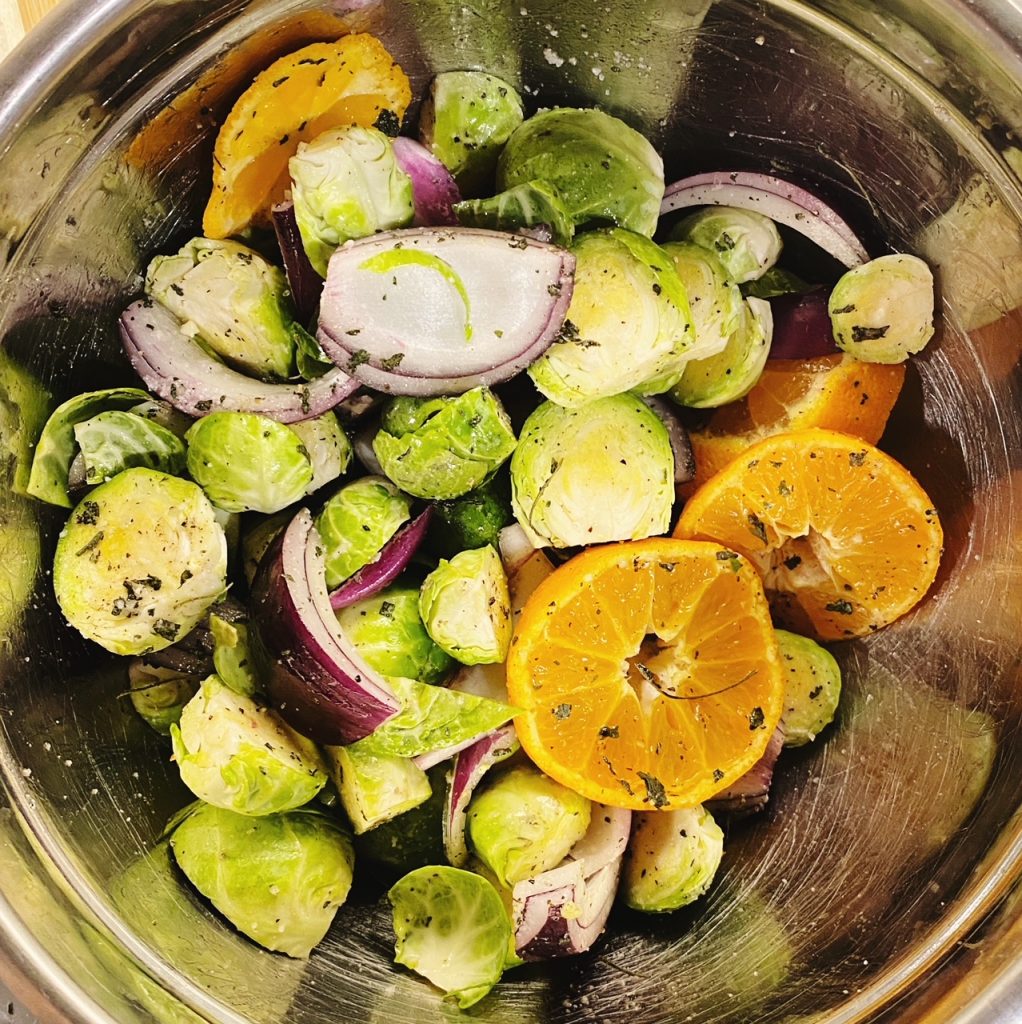
Cut the ends off the sprouts and cut them in half. Remove any damaged outer leaves as you go. Put all the cut sprouts into a large mixing bowl.
Slice the clementines into rounds and peel and slice the red onion. Add both to the bowl with the sprouts.
Season the bowl of sprouts, red onion and clementines with salt, pepper and sage and mix well with a drizzle of vegetable oil.
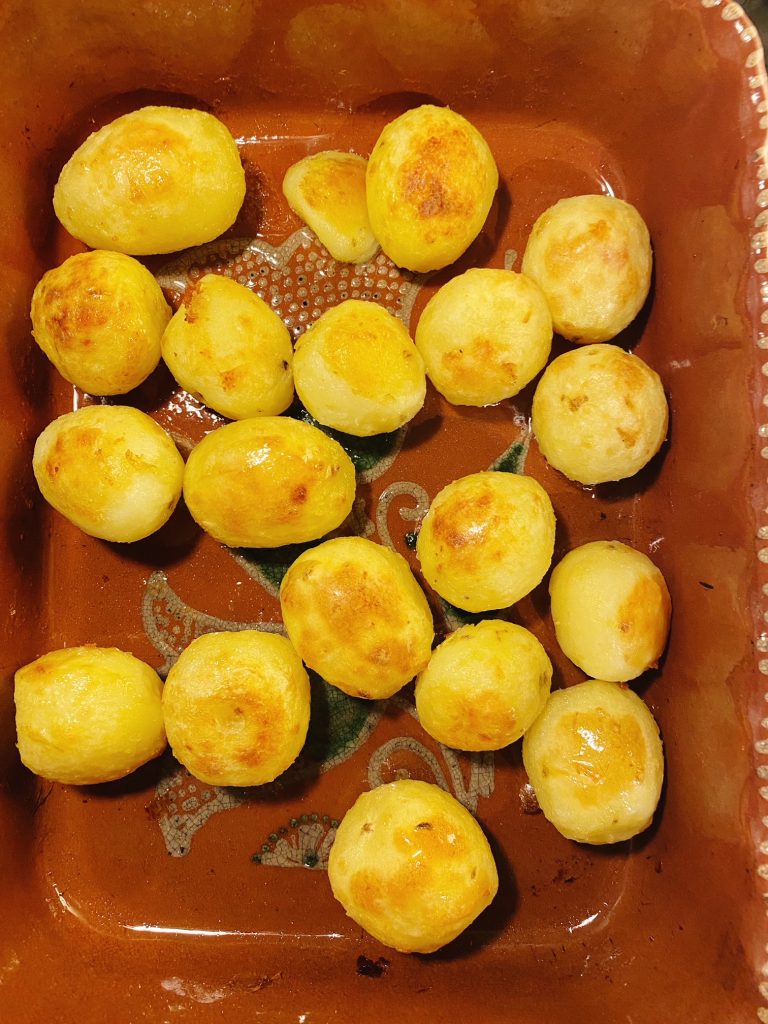
Keep an eye on the potatoes in the oven and turn them regularly to ensure they are cooking evenly. Once they are beautifully golden and crispy (after around 20-30 minutes) remove the dish from the oven. Carefully tip in the prepared sprouts, red onion and clementines. Mix carefully then return the dish to the oven.
After around 15 minutes, the sprouts and onions should be cooked through and the whole dish should smell amazing. Enjoy alongside your other roast dishes and gravy. Merry Christmas!
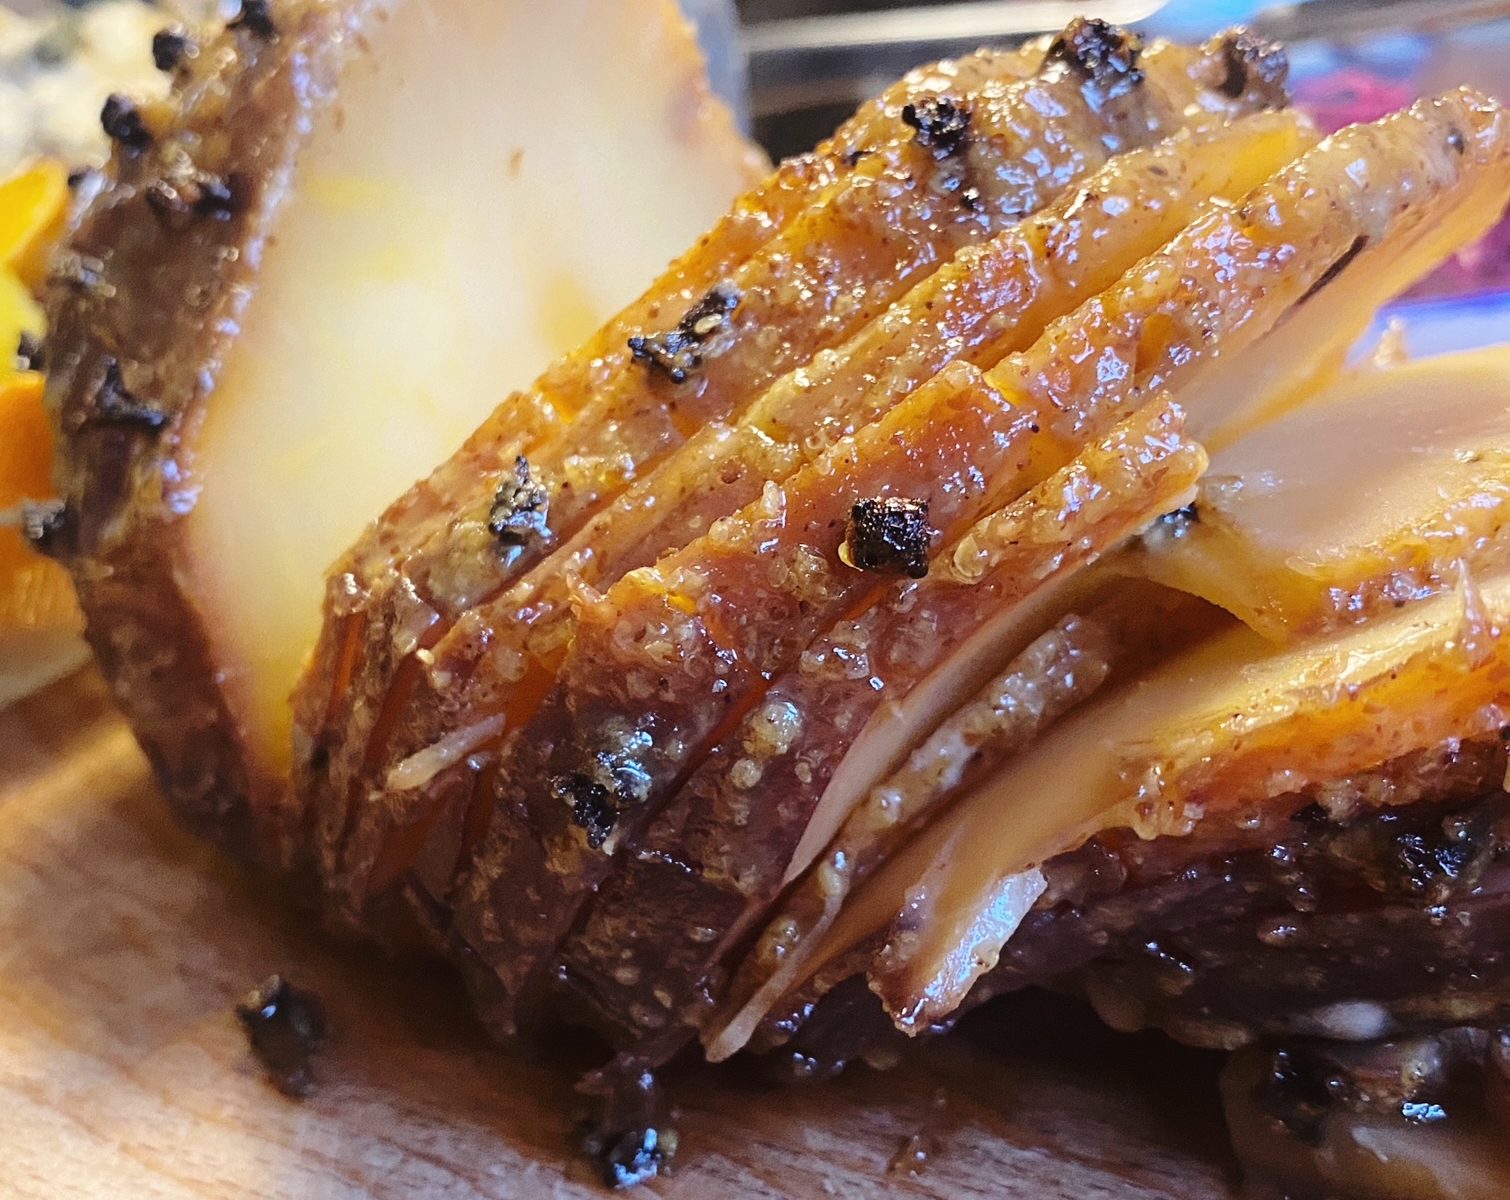
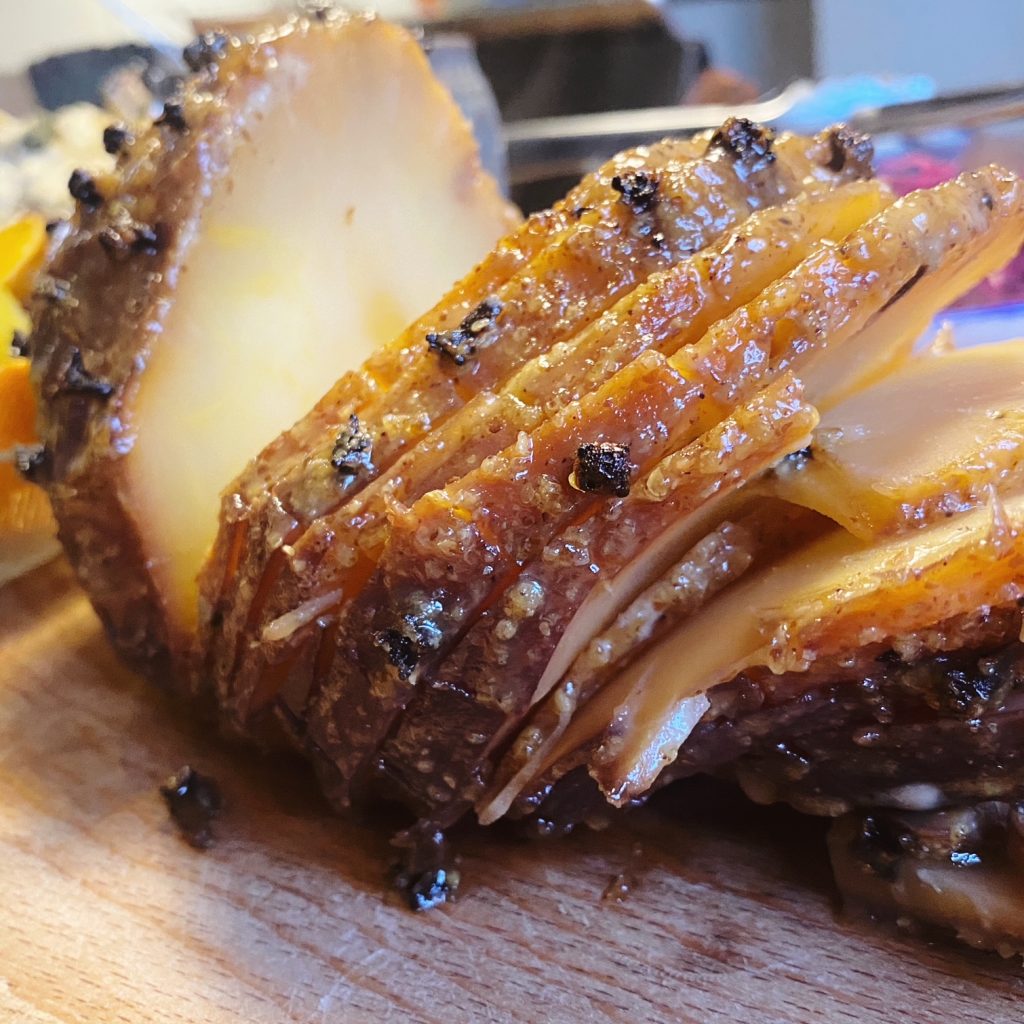
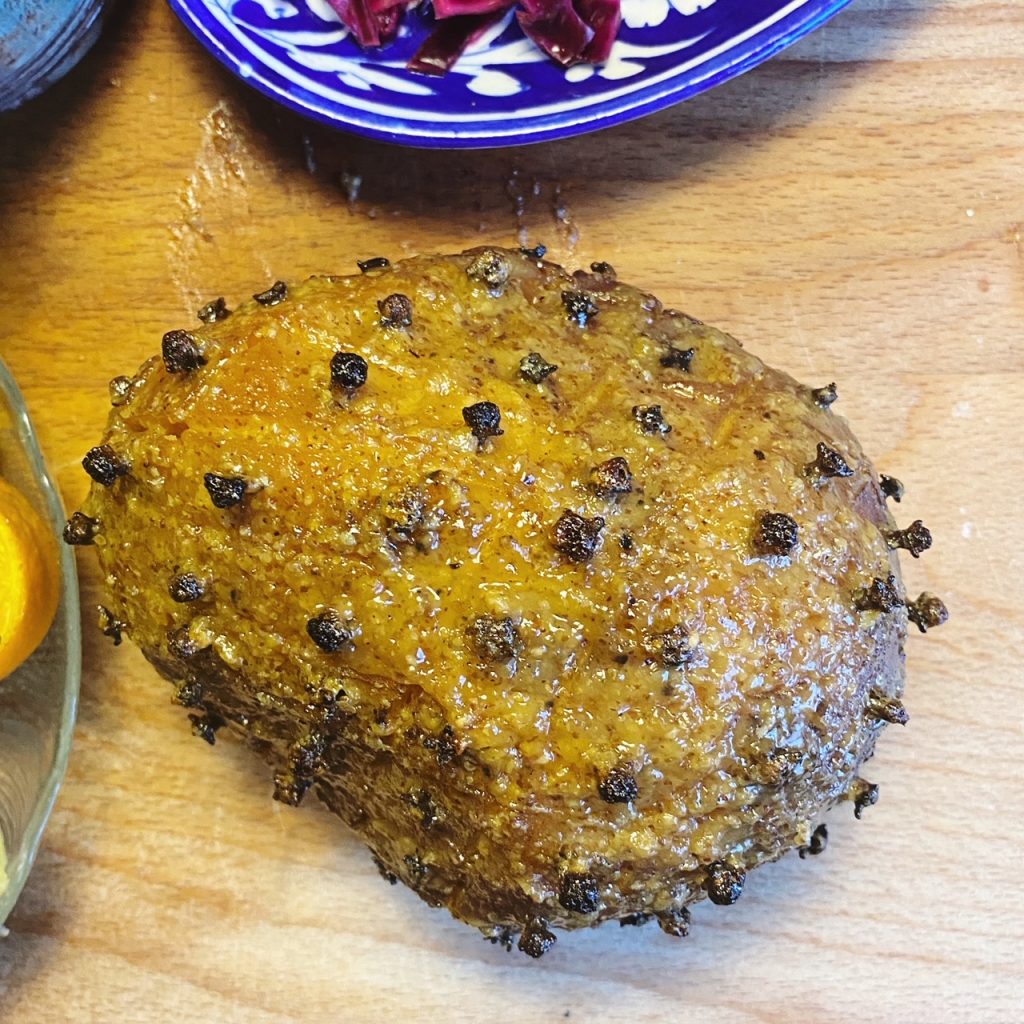
Whole roasted vegetables are one of my favourite things. The long roast means there’s always a sweet, juicy centre and interesting textures and flavours on the edges. This recipe for whole roast swede (pretending to be ham) is inspired by eco-chef Tom Hunt. It makes a fun festive centrepiece and it’s delicious too! Not ham flavoured of course, but a celebration of the humble-but-hearty swede. These bulbous roots are a real Irish staple and they are well overdue their time in the limelight. Swede is slightly peppery and sweet and the mustard-maple glaze works wonderfully. Delicious served in slices alongside pickled red cabbage, roasted potatoes and winter greens. The vegetable and red wine bed makes a brilliant base for a veggie gravy too.
What are you serving for Christmas dinner?
Liz x
Ingredients
2 onions
1 bulb of garlic
2 carrots
4 bay leaves
2 stock cubes
a large glass of red wine
a large glass of hot water
1 swede
whole cloves (approximately 50?)
4 tbsp olive oil
2 tsp salt
2 tsp ground black pepper
6 tbsp wholegrain mustard
6 tbsp maple syrup
Method
Turn the oven on to 200C. Find a casserole dish with a lid that your swede will fit comfortably in (alternatively use a deep roasting dish and a sheet of foil or a baking sheet as a lid).
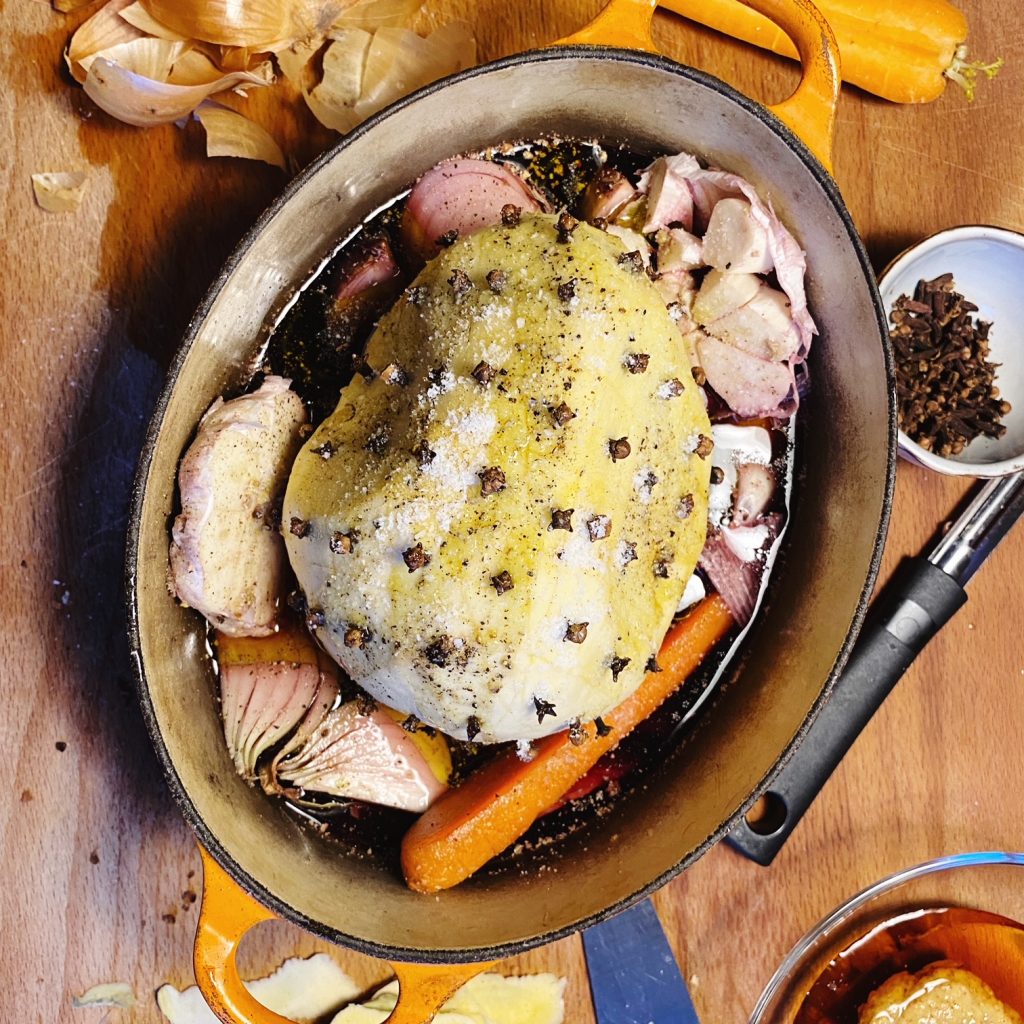
Start preparing your swede. Peel it with a potato peeler and trim off any unwanted bits with a large, sharp knife. Score it with shallow cuts, criss-crossing to make lots of diamond shapes. Using a toothpick or a skewer, push a hole into the centre of each diamond. Then push a whole clove into each hole to stud the surface of the swede.
Cut the bulb of garlic in half along its equator. Quarter the onions (leave the skin on) and the carrots. Put the vegetables in the casserole dish, these will impart lots of flavour to the juices in the bottom of the dish. Pour in the wine and hot water and crumble in the stock cubes. Add the bay leaves. Now place the prepared swede on top.
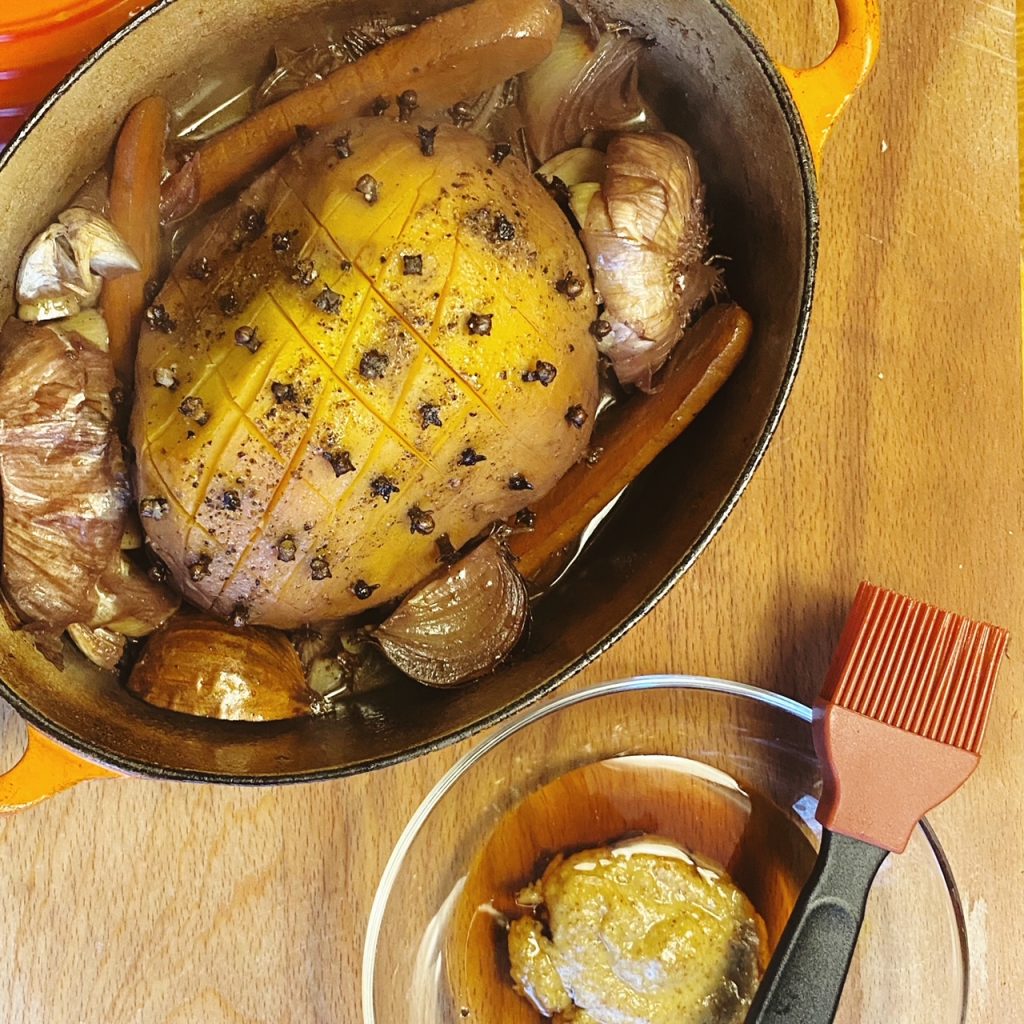
Drizzle the swede with the olive oil and season it with salt and pepper. Put the lid on and place the pot in the oven to steam-bake the swede for at least 1.5 hours (depending on the size of the swede) or until the swede is cooked through. You can test this with a skewer.
Remove the swede onto a clean baking dish. Mix the mustard and maple syrup together and brush half of it over the top and sides of the swede. Return it to the oven for 10 minutes. Then brush the remaining mustard and maple glaze over the swede and put it back in the oven for a final ten minutes. Then it’s ready to carve and enjoy!
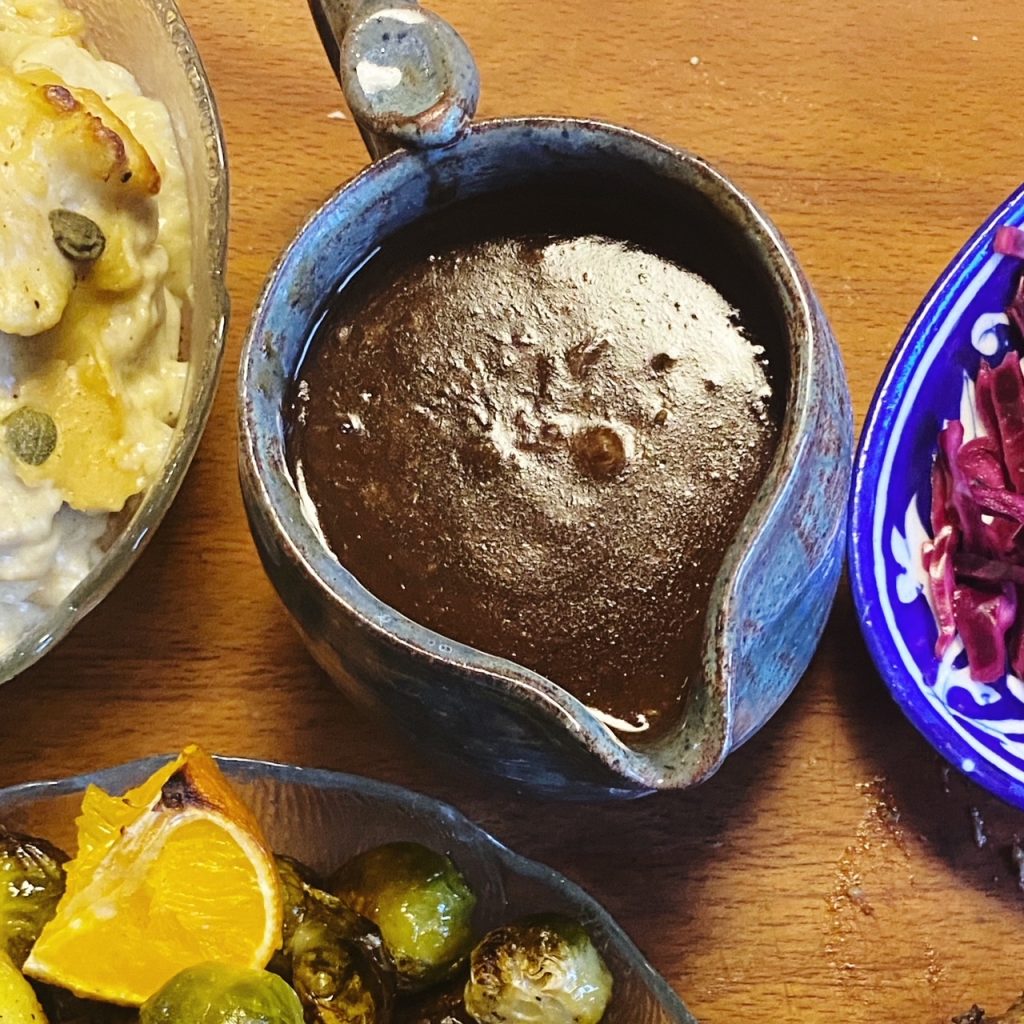
Roasted Garlic & Red Wine, Onion Gravy
You can make a gorgeous gravy from the juices left in the casserole dish. Remove the carrots, bay leaves and onions skins. Squeeze out the garlic and remove the skins from the pot. Then use a whisk to blend the roasted garlic into the sauce.
Add 2 tbsp of cornstarch that has been mixed with 3 tbsp of cold water. Whisk it into the gravy and simmer and stir until the gravy is a good consistency. You may wish to add more water.
Add a generous knob of butter and taste the gravy for seasoning. Adjust the seasoning with salt and pepper if needed. I usually add a splash of soy sauce to enrich and darken the gravy too.