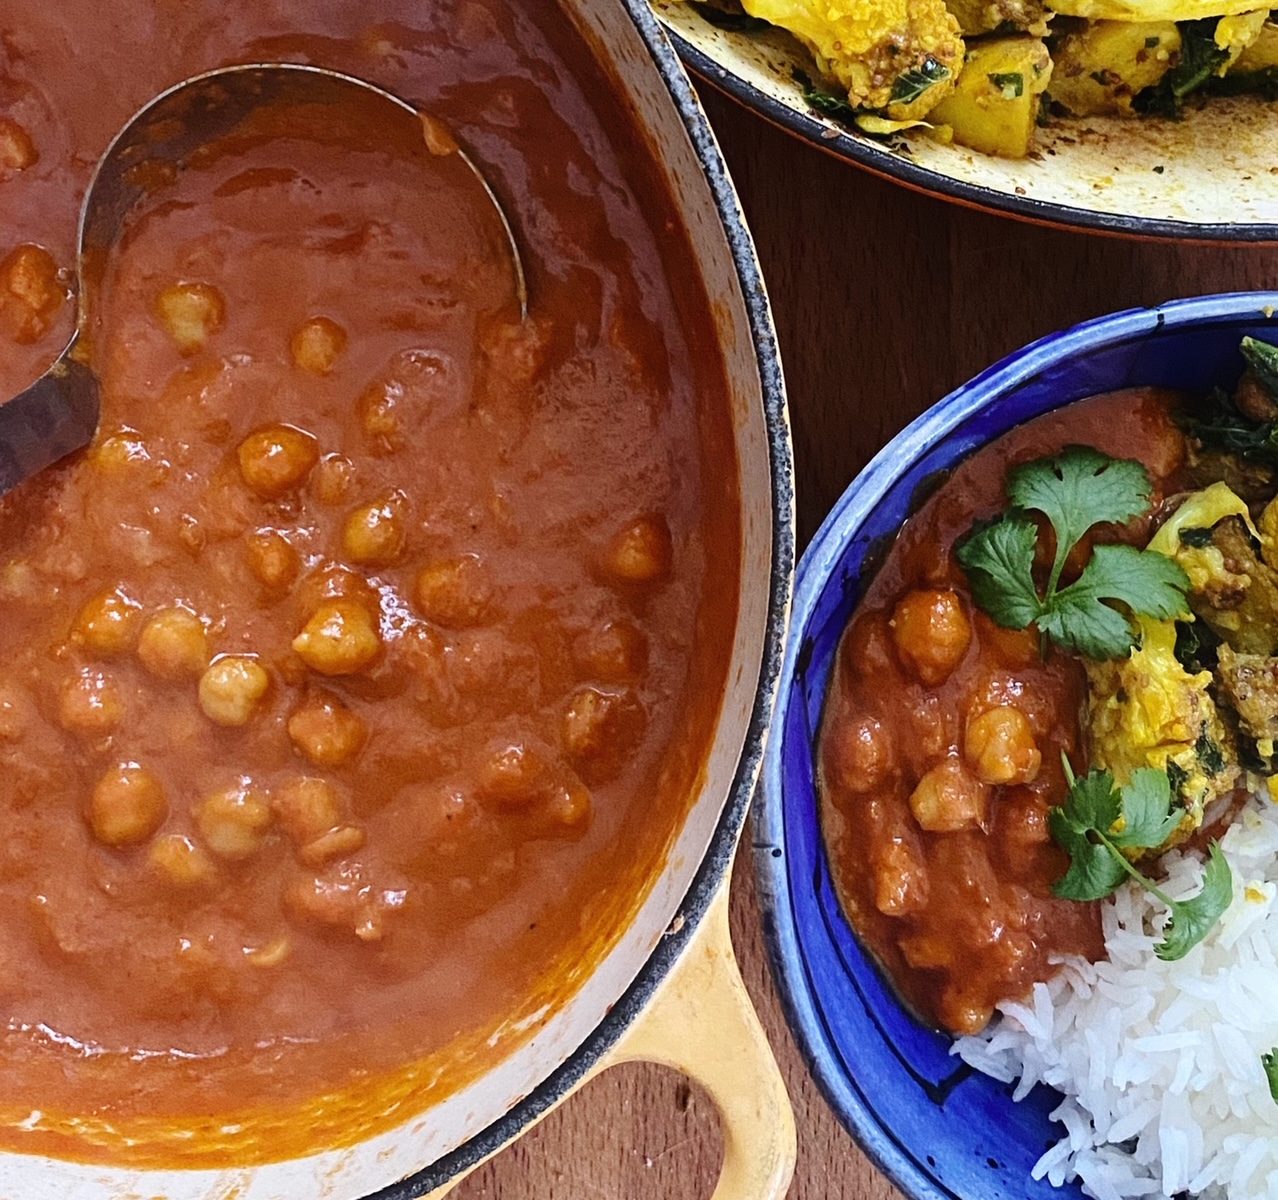
This rich, delicious and nutritious chickpea masala is a staple in our Indian-food-obsessed house. It’s thrifty, using just a few tins, a tbsp of spice blend, onion and garlic, and is fairly quick to put together. You could definitely make it in a slow cooker too if you like. I would not claim that this is an authentic chana masala recipe from the north of India, but this simplified version is the way we like to make it. I love making my own fresh and fragrant spice blends and have included my garam masala recipe at the end of this blog, but of course you should feel free to use a ready made blend or if you cant find one you can even substitute with curry powder. Garam masala is intensely fragrant, with warm and sweet notes, not really like the western invention ’curry powder’ which relies on turmeric and fenugreek for that classic ’curry’ fragrance, so if you do make a switch, it wont be a masala as such, but it will still be a gorgeous chickpea curry. No stress, either way you will really enjoy it with rice or flatbreads and coriander.
Liz x

Ingredients (serves 4)
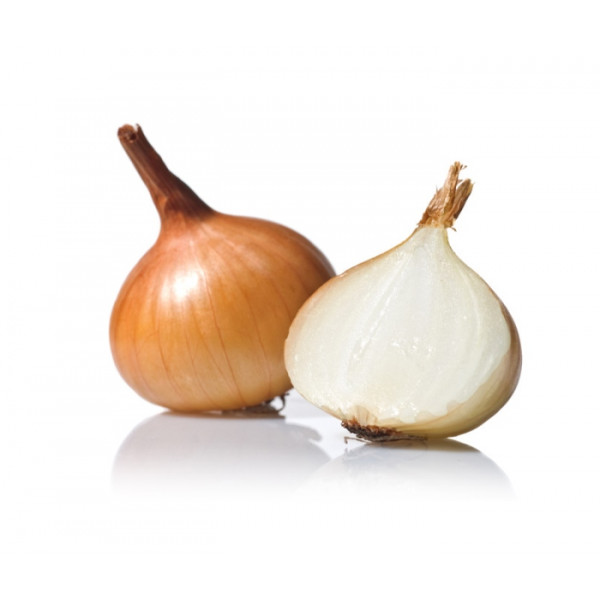
- 1 large or 2 small onions, peeled and cut into quarters
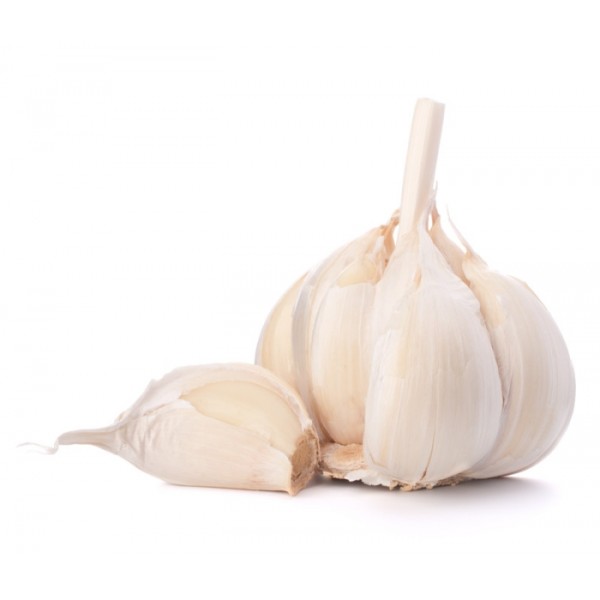
- 4 big cloves of garlic, peeled
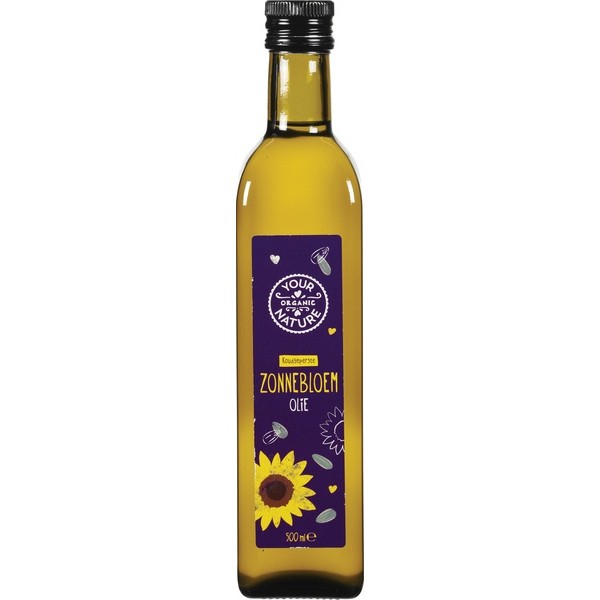
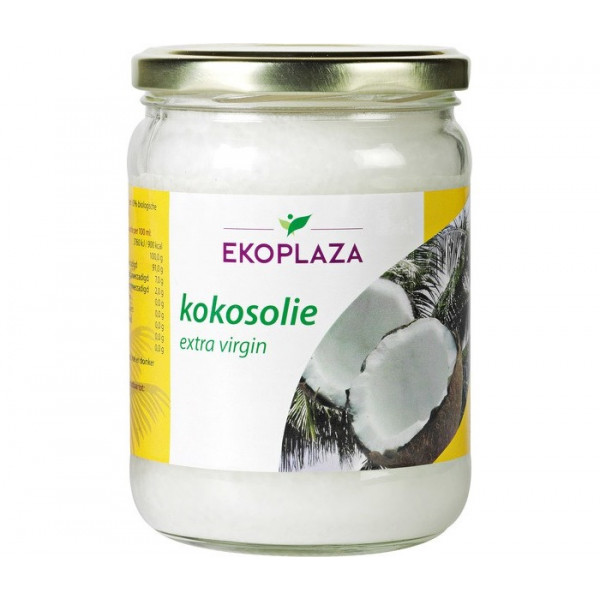
- 2 tbsp vegetable oil (or coconut oil or ghee)
- 1 tbsp garam masala (see recipe below or use ready made)
- 1 tbsp tomato purée
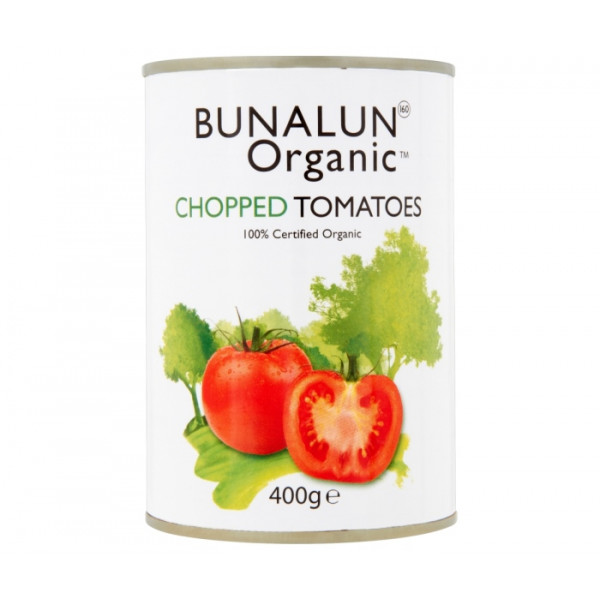
- 1 tin of chopped tomatoes
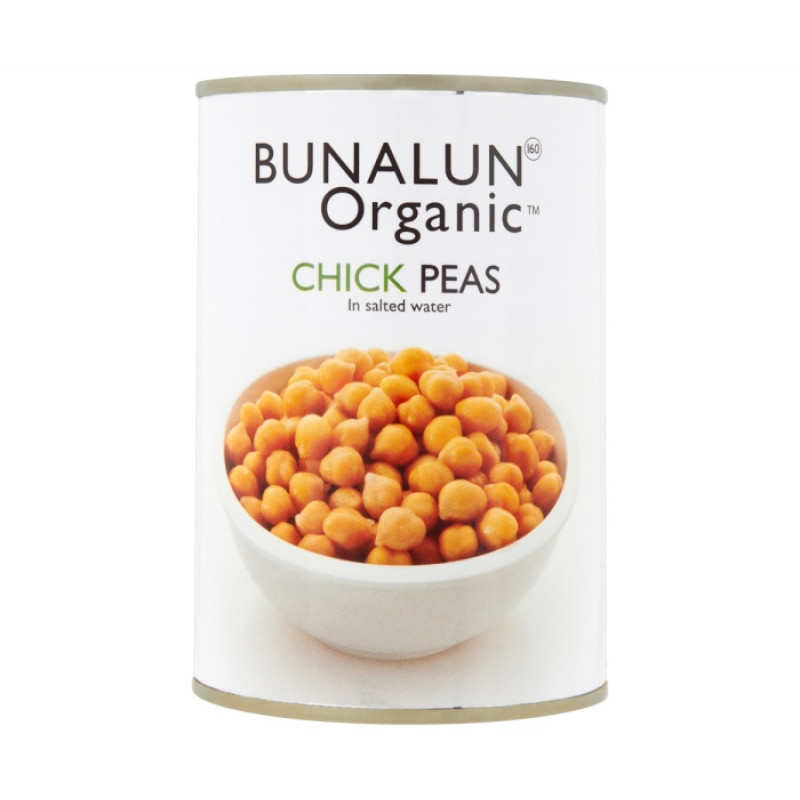
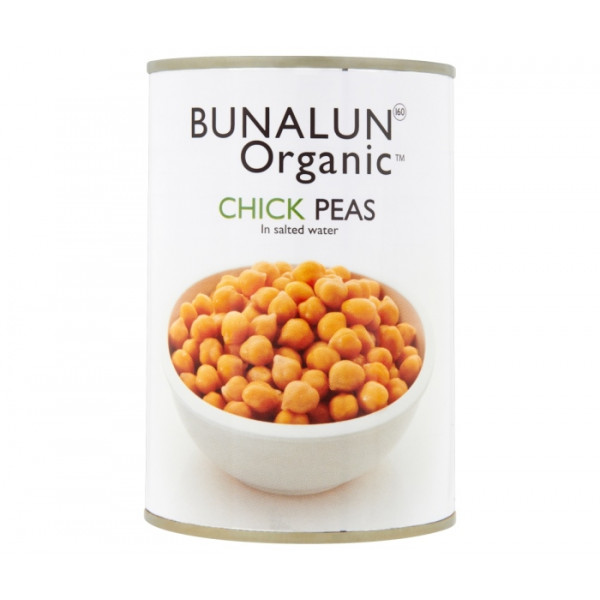
- 2 tins of chickpeas
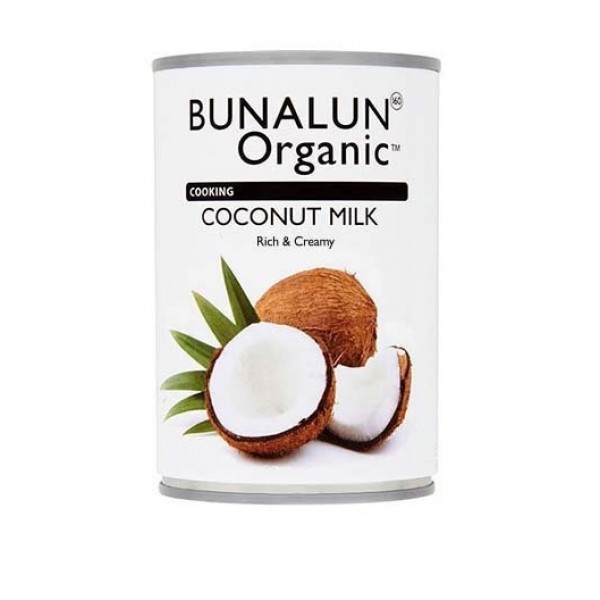
- 1 tin of full fat coconut milk
- salt to taste
- fresh coriander and cooked rice or naan bread to serve

Method
- Use a blender or smoothie maker to blend the onion and garlic into a paste. Fry the paste in a heavy bottomed pot with the oil and garam masala until browned. Over a medium heat, this should take around 8 minutes. Keep stirring, the spices and onion mix will start to stick on the bottom of the pot, that is a good thing. Simply loosen all that flavour with a splash of water and scrape up and stir into the sauce with a wooden spoon.
- Add the tomato purée, then briefly blend the tin of tomatoes and add that to the pot too. Simmer and stir for around 5 minutes to reduce this gravy.
- Drain and rinse the chickpeas and add them into the tomato gravy along with the solid coconut cream from the top of the tin of coconut milk. Season with salt to your taste, then simmer for another 10 minutes or so until the masala has thickened up and the chickpeas have absorbed the delicious flavours.
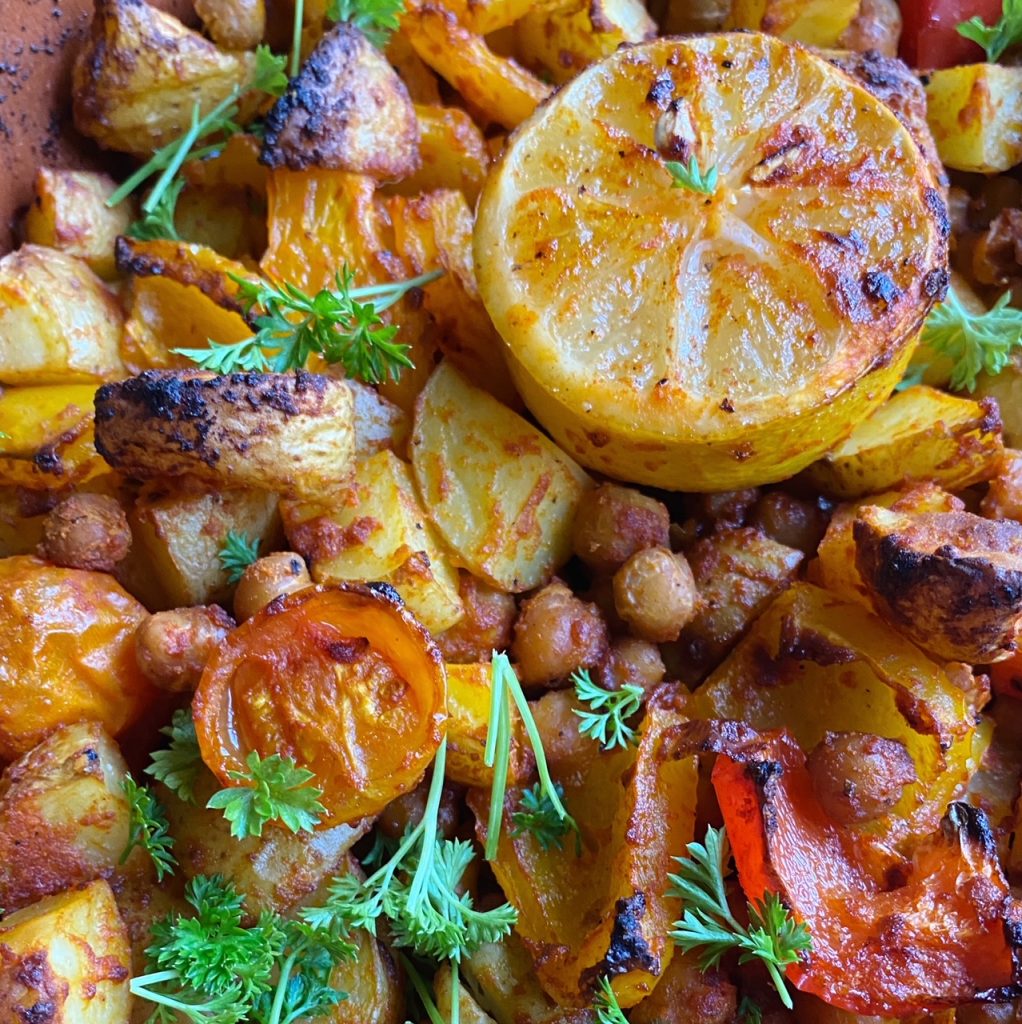
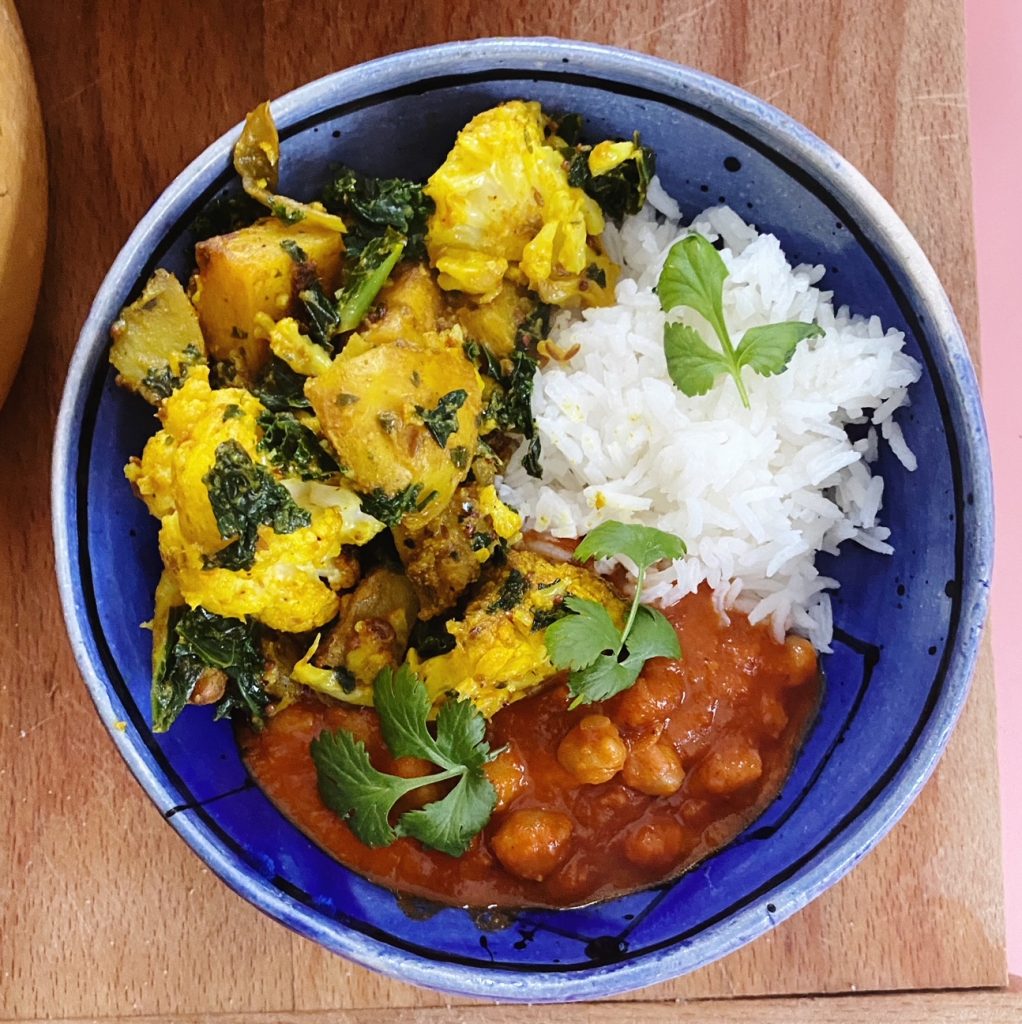
- Serve sprinkled with fresh coriander over rice or scooped up with naan breads. We also like ours served with a potato, cauliflower and kale side dish, recipe for that coming up next!
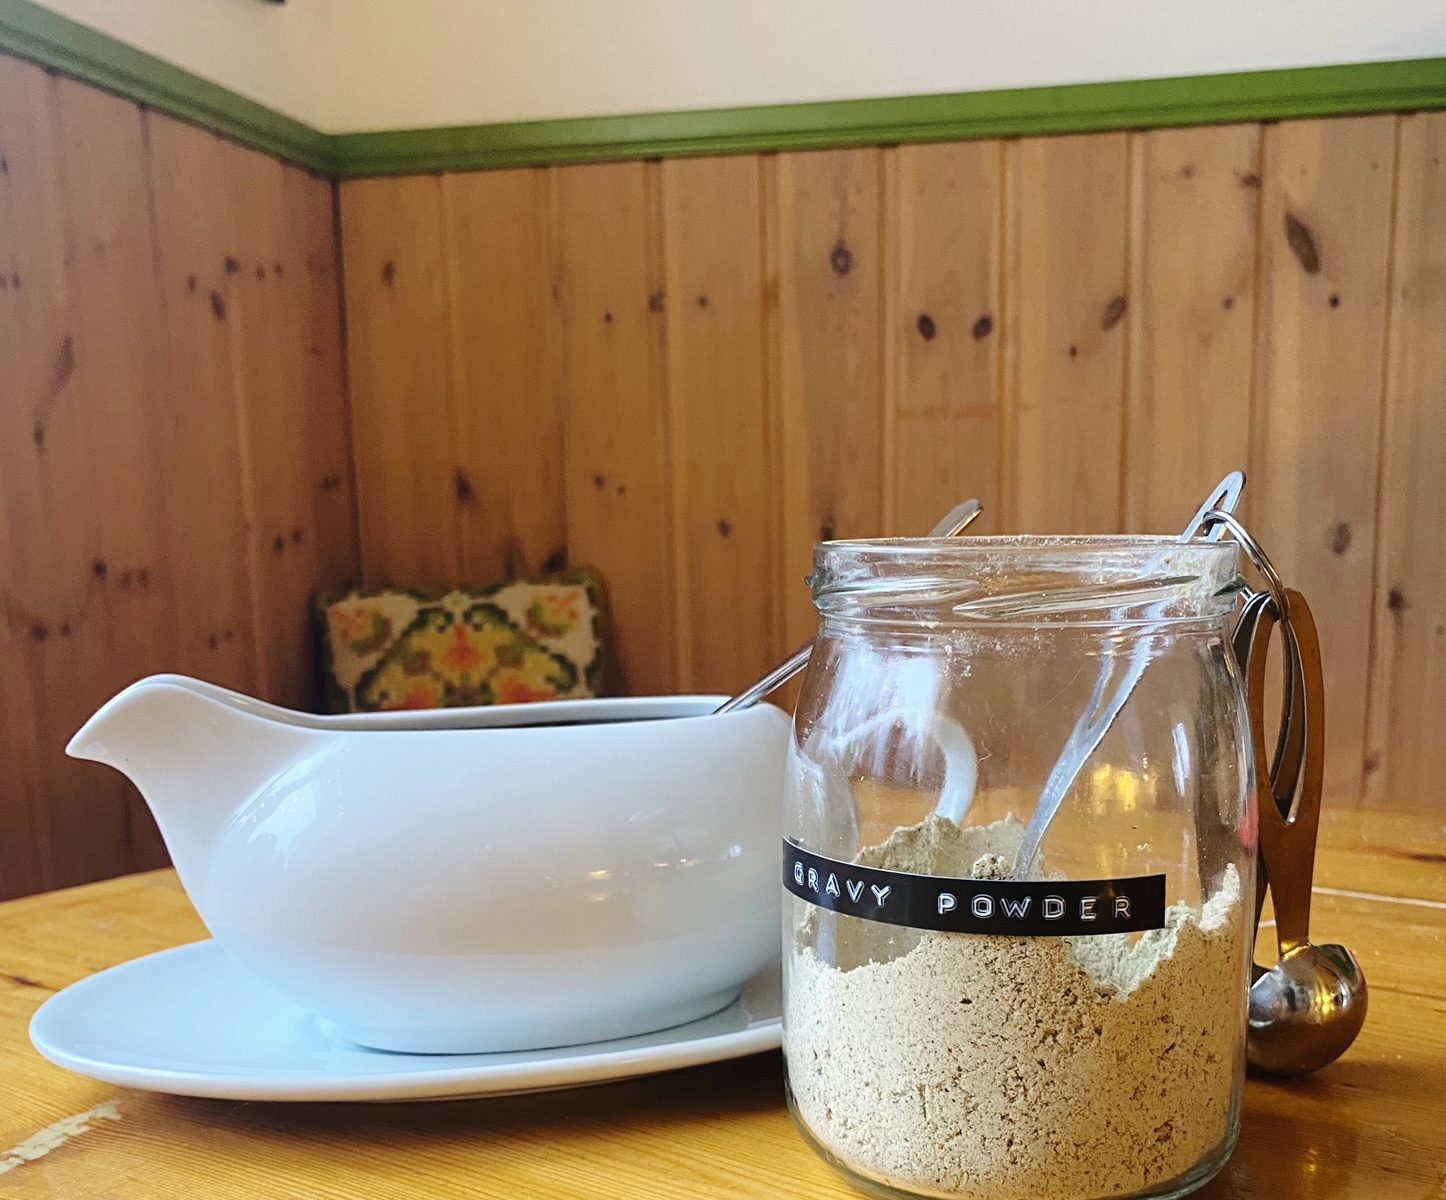
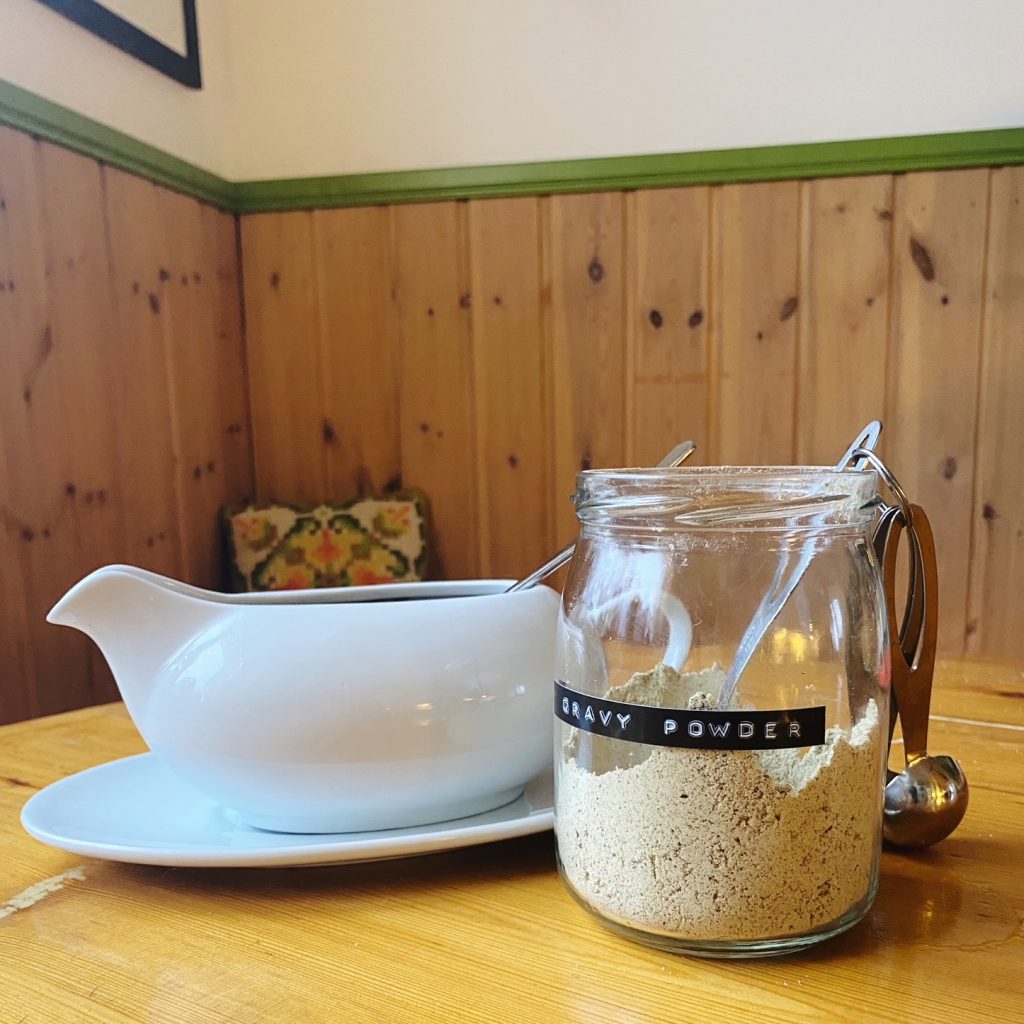
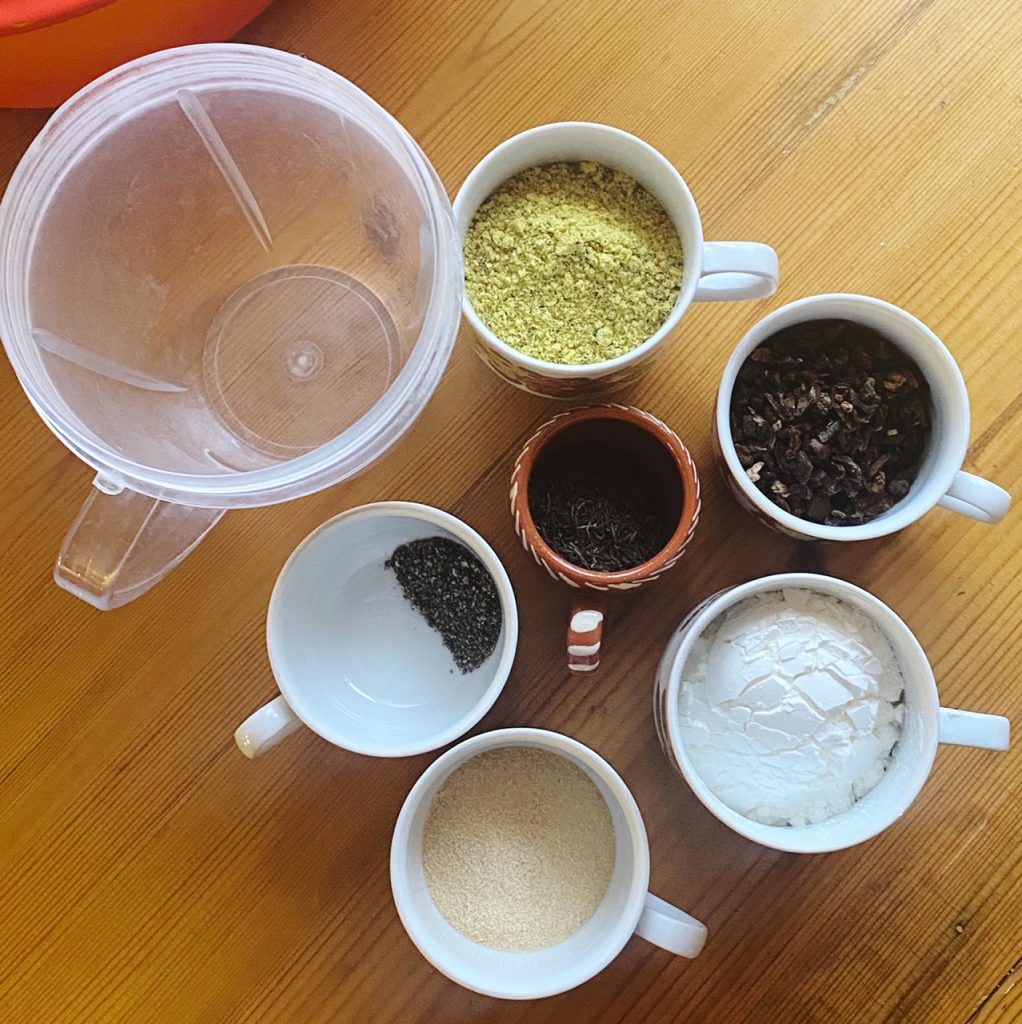
GARAM MASALA SPICE BLEND
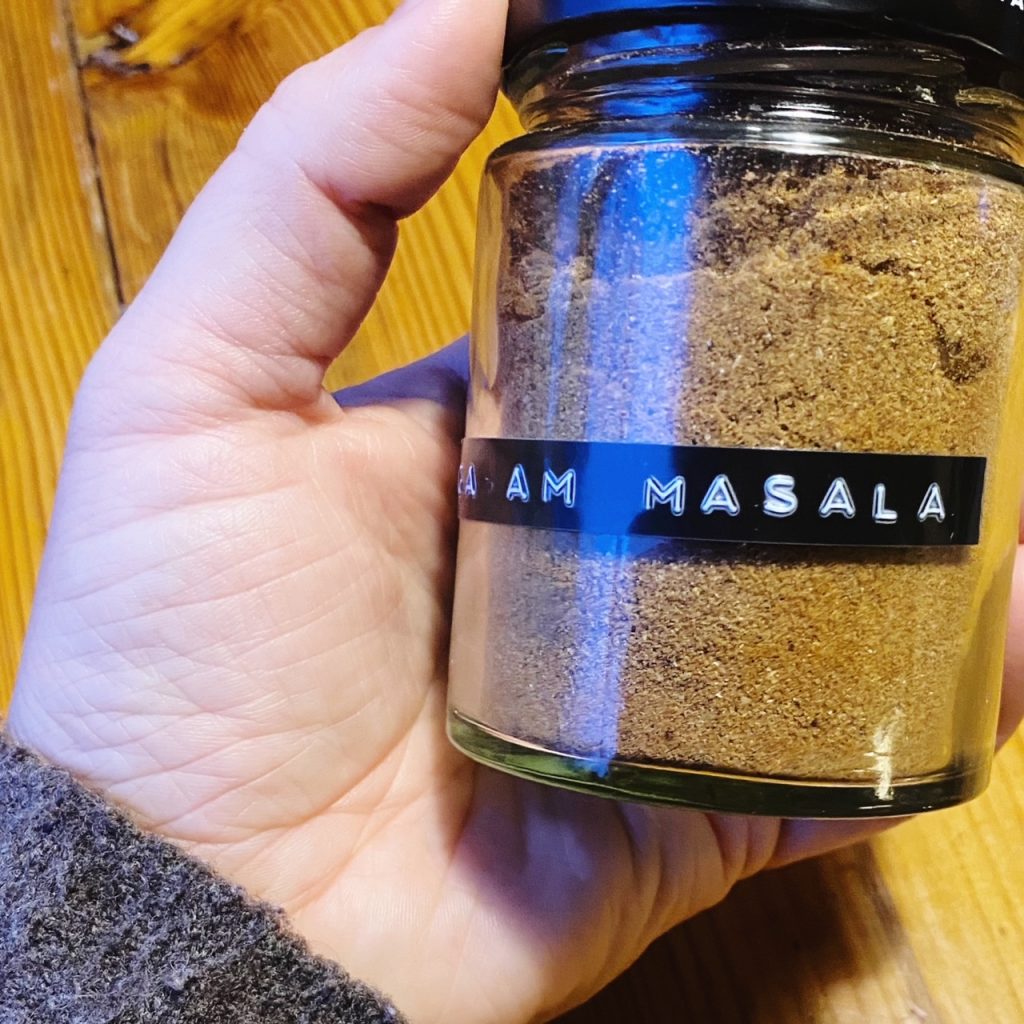
Garam masala is an intensely fragrant, warm and sweet, Indian spice blend, essential in many Indian recipes. There are many different regional (and household) variations and this is mine. Use it in the chana masala recipe above or to add extra flavour to your next pot of dal. It’s also a gorgeous rub or seasoning for anything you’d like to roast in the oven or grill. Garam masala fries are amazing!
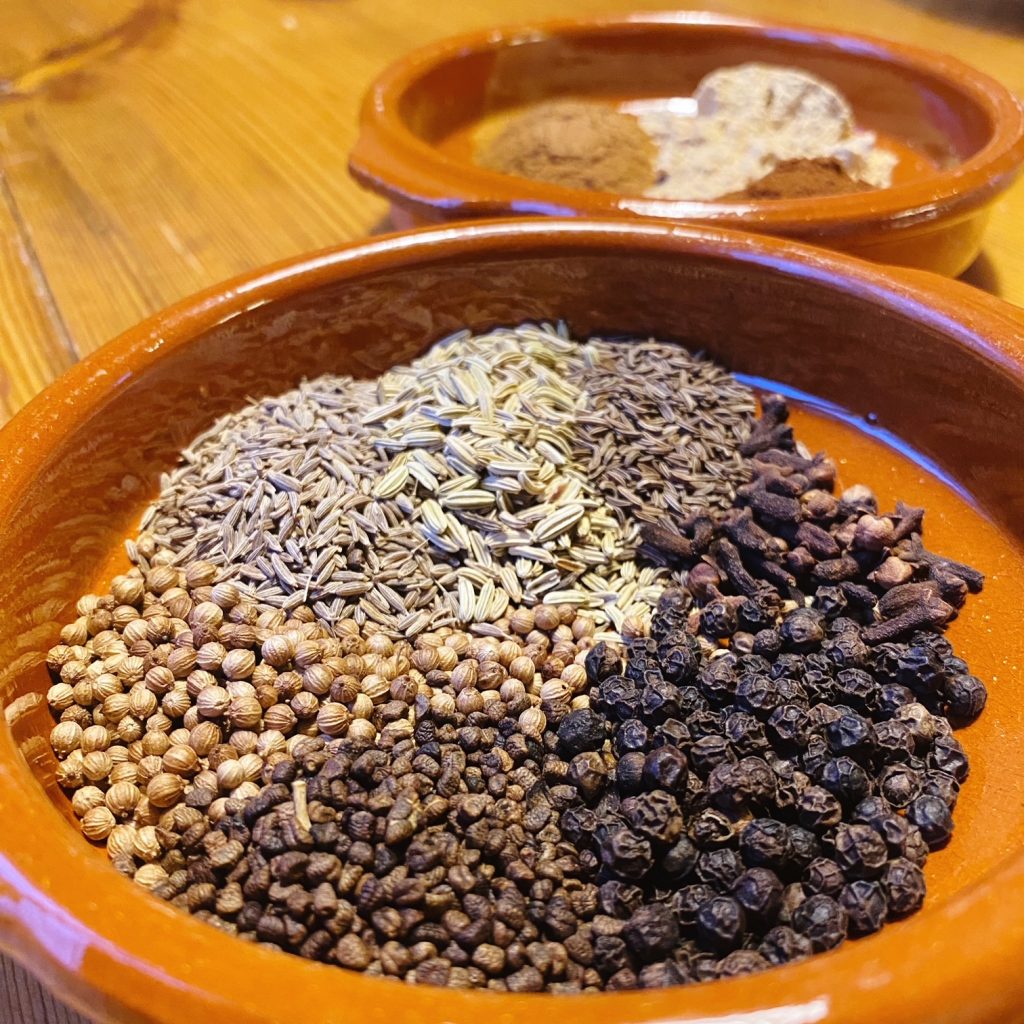
Measure these whole spices into a small blender or spice grinder and grind into powder:
- 2 tbsp coriander seeds
- 1 tbsp cumin seeds
- 1 tsp whole cloves
- 1 tbsp cardamom seeds (or whole pods)
- 1 tbsp black pepper corns
- 1 tsp caraway seeds
- 1 tbsp fennel seeds
Then add these ground spices and blend again to evenly combine:
- 1 tbsp ground cinnamon
- 1 tbsp ground ginger
- 1 tsp ground nutmeg
- 1 tbsp chilli powder
Store in a clean, dry, airtight container and don’t forget to label it. I like to reuse jars for my spices. It is best to make small batches and use whilst fresh, within 6 months.