4 Ways With…Butternut Squash

Butternut squashes are the most common squash that we deliver on repeat at Green Earth Organics and it’s no wonder. Organic vegetables just taste better! If you’ve ever been disappointed by a bland, watery supermarket squash, we urge you to try one of ours. These vibrant veggies are sweet and nutty and their fabulous flavour is more than matched by their incredible nutritional profile. Butternut squash is a great source of fibre, vitamins and minerals including A, B, C, E, calcium, magnesium and zinc.

Here are just 4 ways I cook a butternut squash regularly. Let us know your favourite butternut recipes in the comments or over on our friendly facebook group. We love to see what you’ve been making with our vegetables.

Head to our shop here to sign up for a veg box subscription or order from our wide selection of organic fruit, veg and groceries.

Liz x

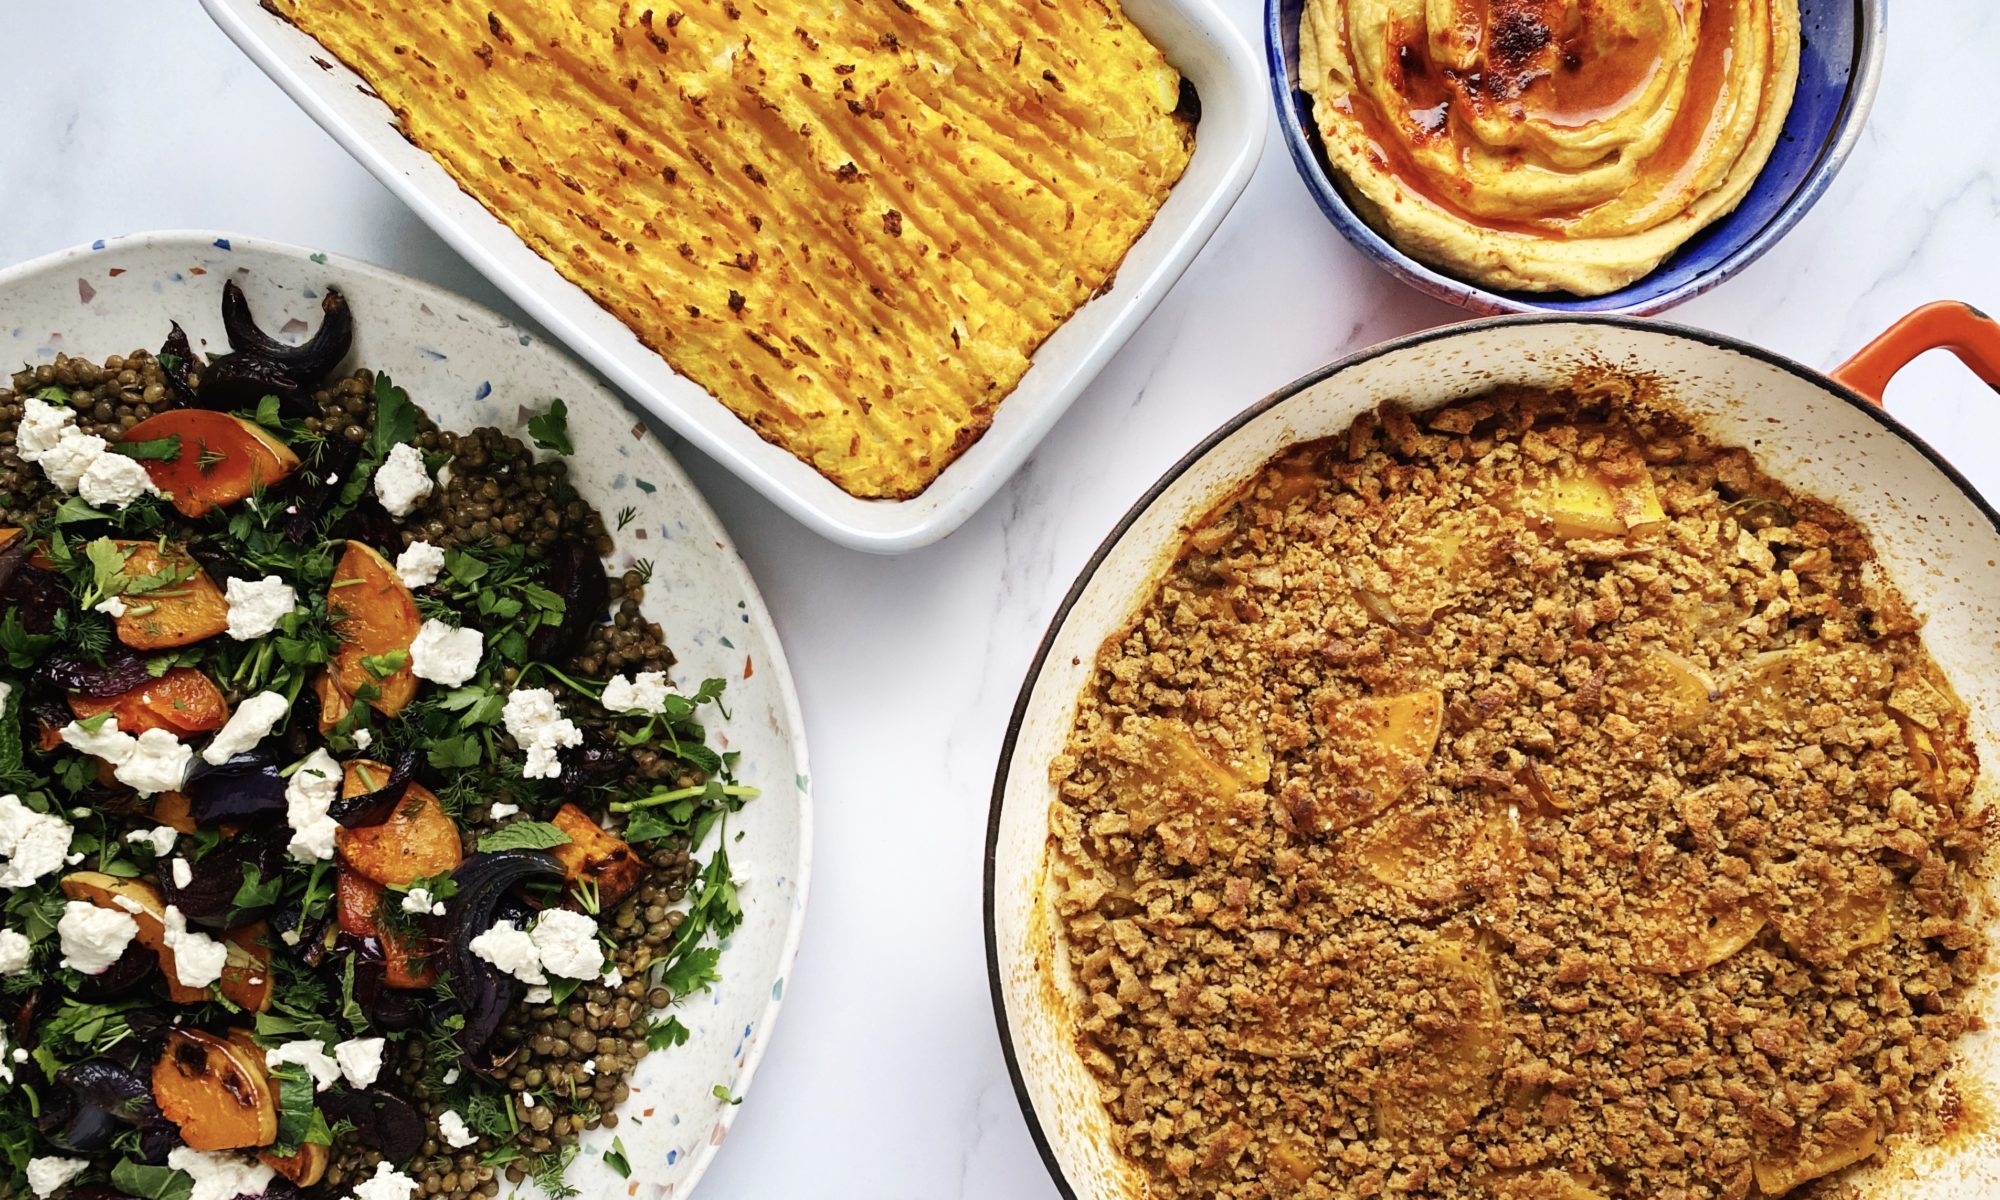
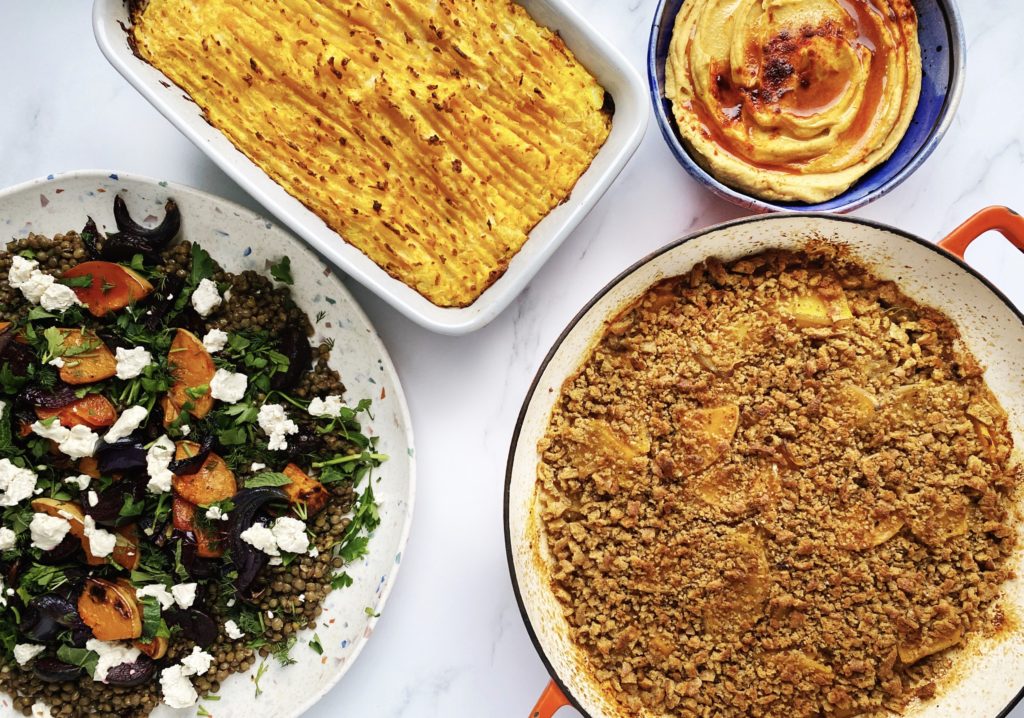
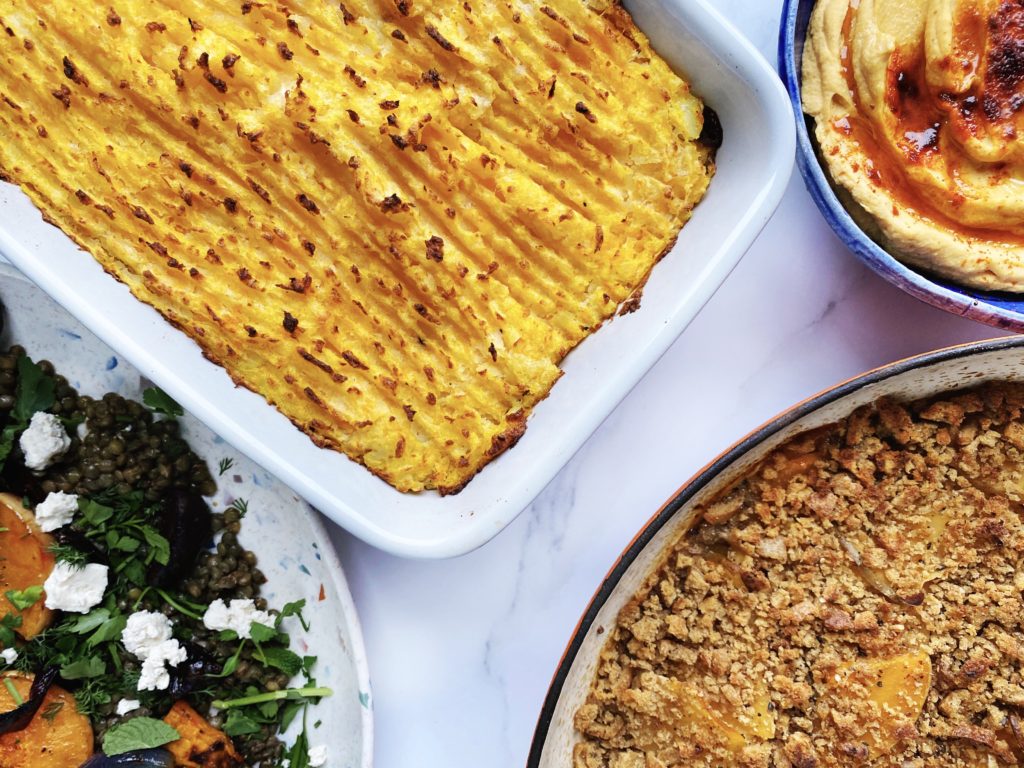
Lentil Pie with Squash Mash

Ingredients (serves 4)

  • 1 onion, diced
  • 3 cloves of garlic, crushed
  • 10 diced mushrooms or two grated carrots or beetroots (use any base veg that is in season or a combination of veg that you like, diced or grated)
  • 2 sticks of celery, diced
  • 2 tbsp olive oil
  • 1 vegetable stock cube or a big pinch of dried, crumbled mushrooms
  • 1 mug of green/brown lentils (or two tins of cooked lentils, drained)
  • 1 tsp dried/fresh wintery herbs eg thyme/rosemary/sage
  • 1/4 to 1/2 a butternut squash (or about 400g if you want to weigh it), peeled
  • a similar amount of potato as the squash, around 400g
  • salt, pepper and olive oil or butter for the mash – to taste

Method

Sauté the onion, garlic in a little olive oil over a medium-high heat until starting to soften and take on some colour.

Add the diced mushrooms/carrot/beetroot and celery and a big pinch of salt and sauté for a bout 5-10 minutes until they have cooked down a little.

If you are using raw lentils, add them now and the stock cub or dried, crumbled mushrooms and herbs if using. Cover with water and simmer and stir until the lentils are cooked through. Keep tasting and adding more liquid if needed.

If you are using pre-cooked lentils from a tin, add the stock/dried mushrooms/herbs and a mug of water and simmer the vegetables in that for 5 minutes first, then add the drained lentils to the pot and a touch more water if needed to make a nice (not too dry, not too wet) base for your pie.

Taste and adjust the seasoning if needed with salt and pepper. Pour the lentil pie mixture into a baking dish and preheat your oven to 200C.

Meanwhile peel, chop and boil the potato and squash together until soft. Drain and mash with salt, pepper and a little oil or butter. Taste for seasoning.

Top the lentil base with your sunny, butternut mash. Rough it up a little with a fork and drizzle with olive oil.

Bake for 20-30 minutes or until hot, bubbling and crisp and golden on top. Enjoy with seasonal greens.

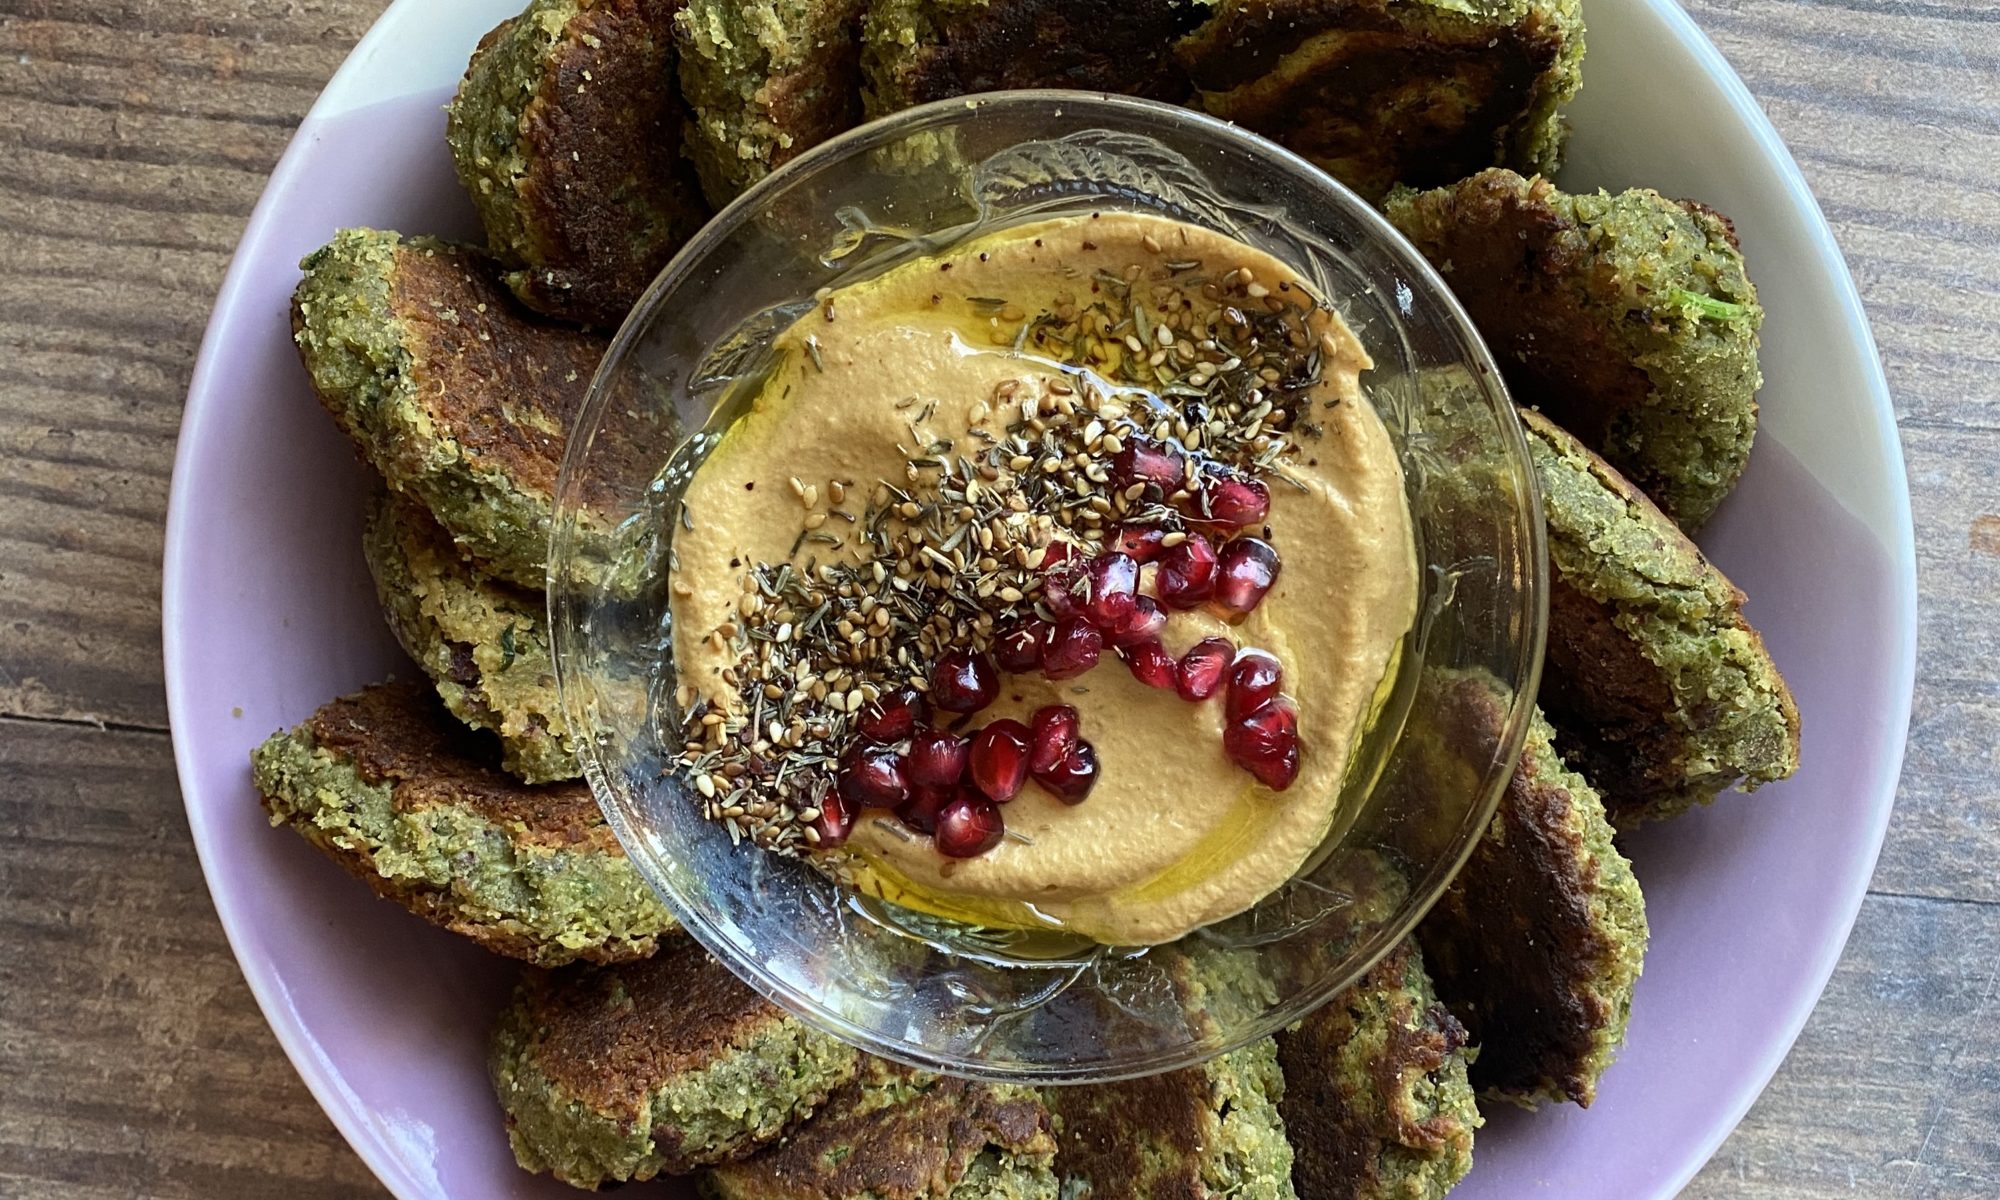
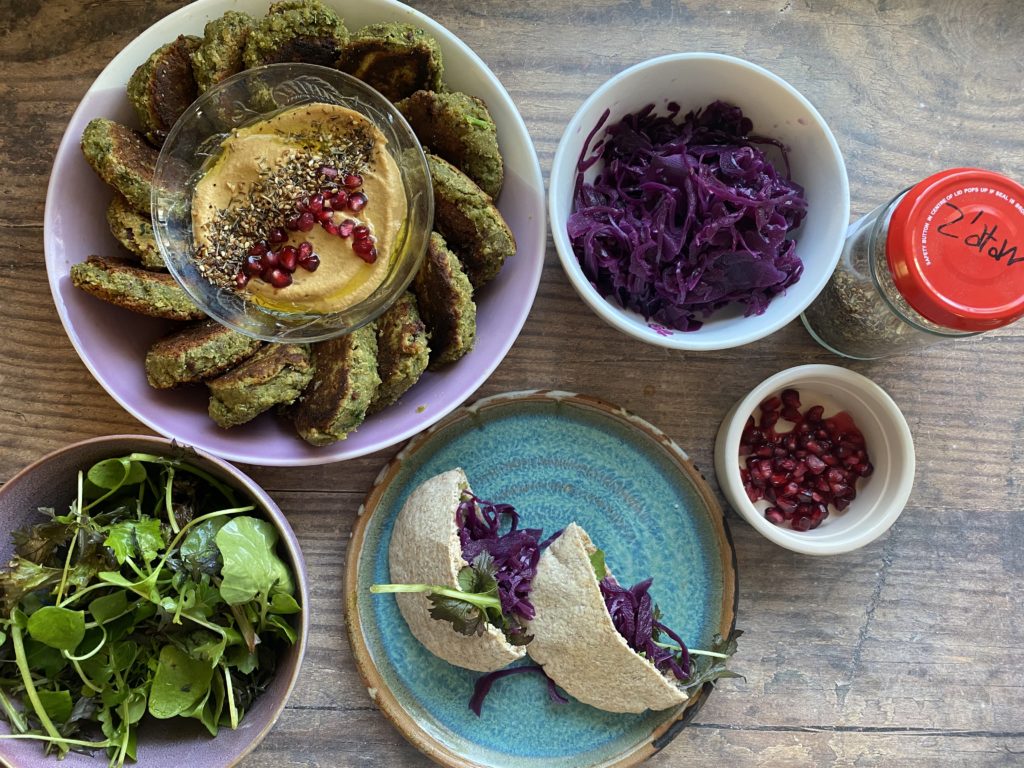
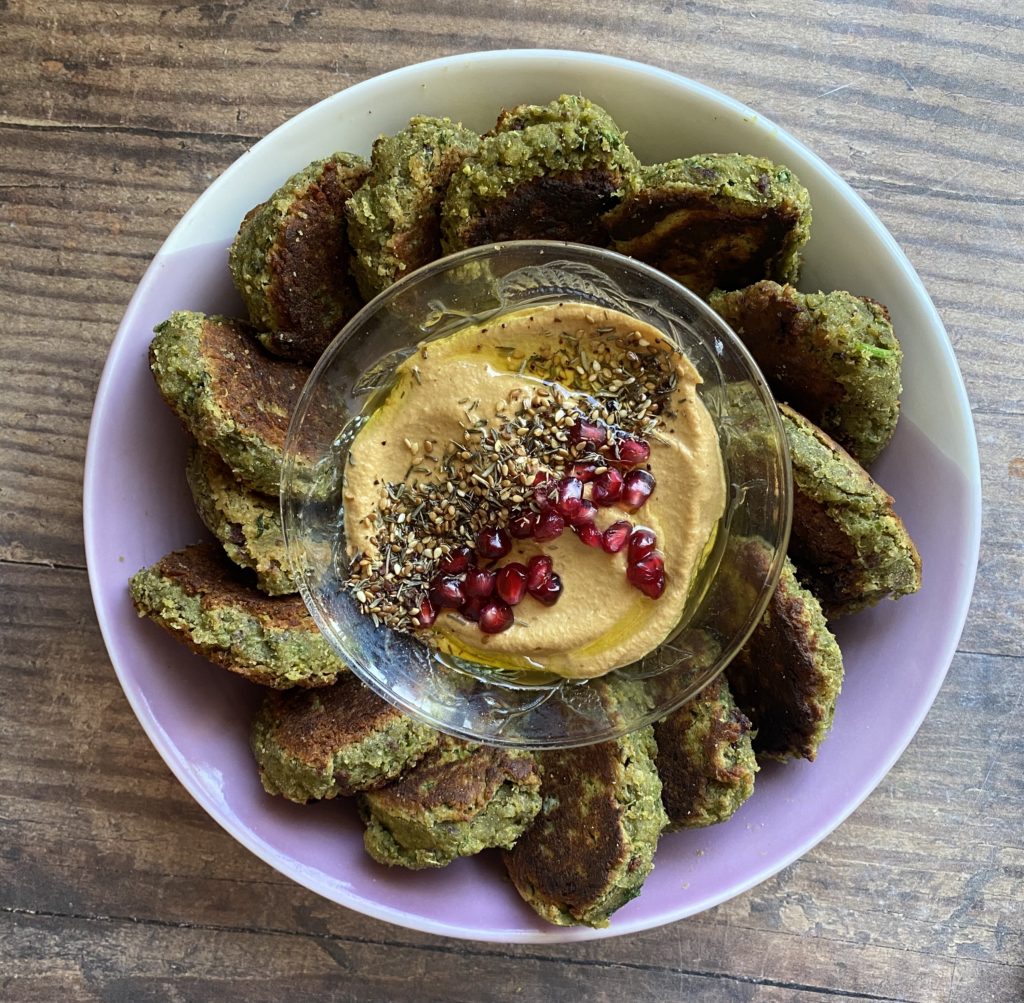
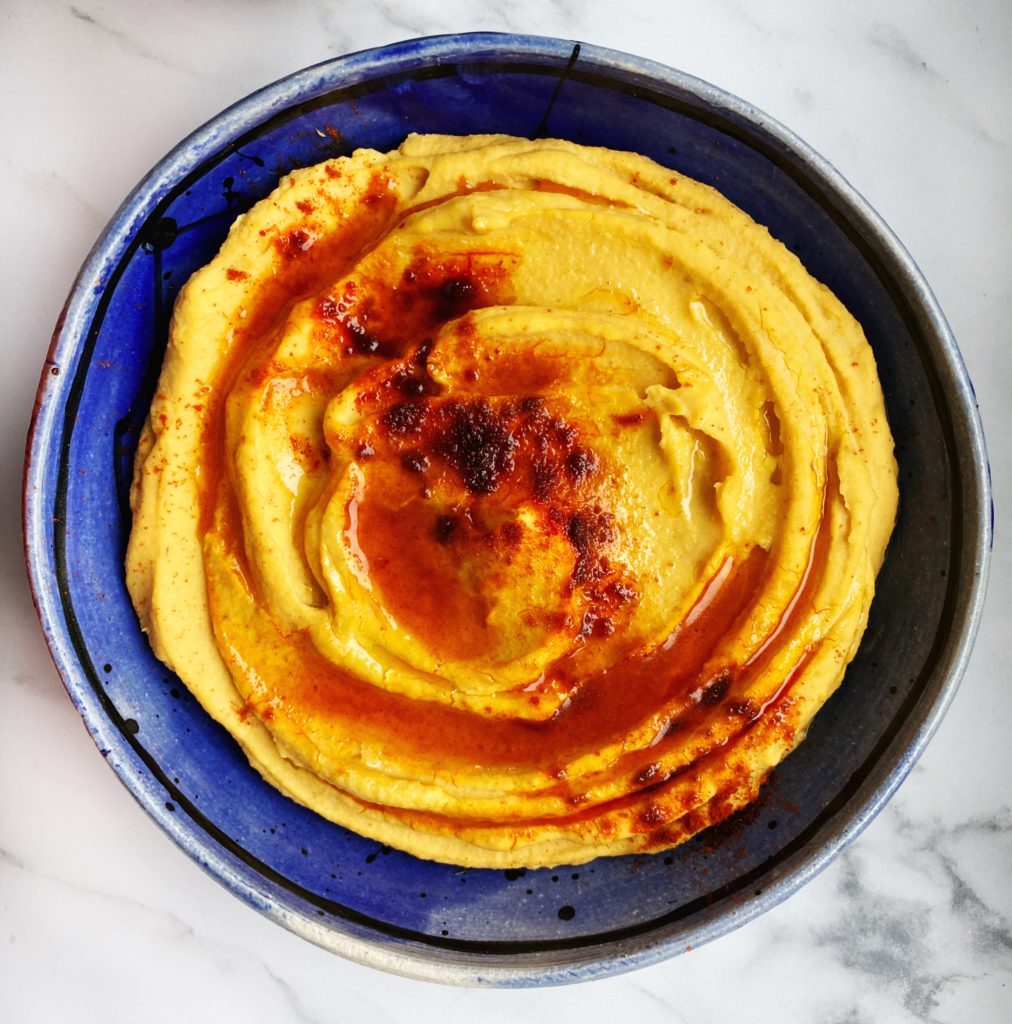
Butternut Squash Hummus

Ingredients (makes about 600g of hummus)

  • 1 tin of chickpeas, drained over a jug to reserve the aquafaba
  • 1 heaped tbsp tahini
  • 1 clove of garlic, crushed
  • 1/4 of a preserved lemon or the juice of 1 lemon
  • salt to taste
  • 1/4 of a butternut squash (about 400g or so)
  • 1 tsp cumin seeds
  • 1 tsp smoked paprika and olive oil to drizzle

Method

Roast the butternut squash with a drizzle of olive oil, a tsp of cumin seeds and a pinch of salt until soft. This could take 20-3- minutes at 200C depending on the exact size of your squash, just keep an eye on it.

Place the drained chickpeas, preserved lemon, crushed garlic, tahini and cooked butternut into a food processor. If you are using lemon juice, start with the juice of half the lemon and see how you go.

Add a splash of aquafaba and a pinch of salt and blend into a smooth paste.

Taste and adjust the seasoning as you like with more lemon, salt, tahini, garlic as you prefer. If you like a lighter, fluffier hummus, add an extra splash of the aquafaba or some cold water and blend again.

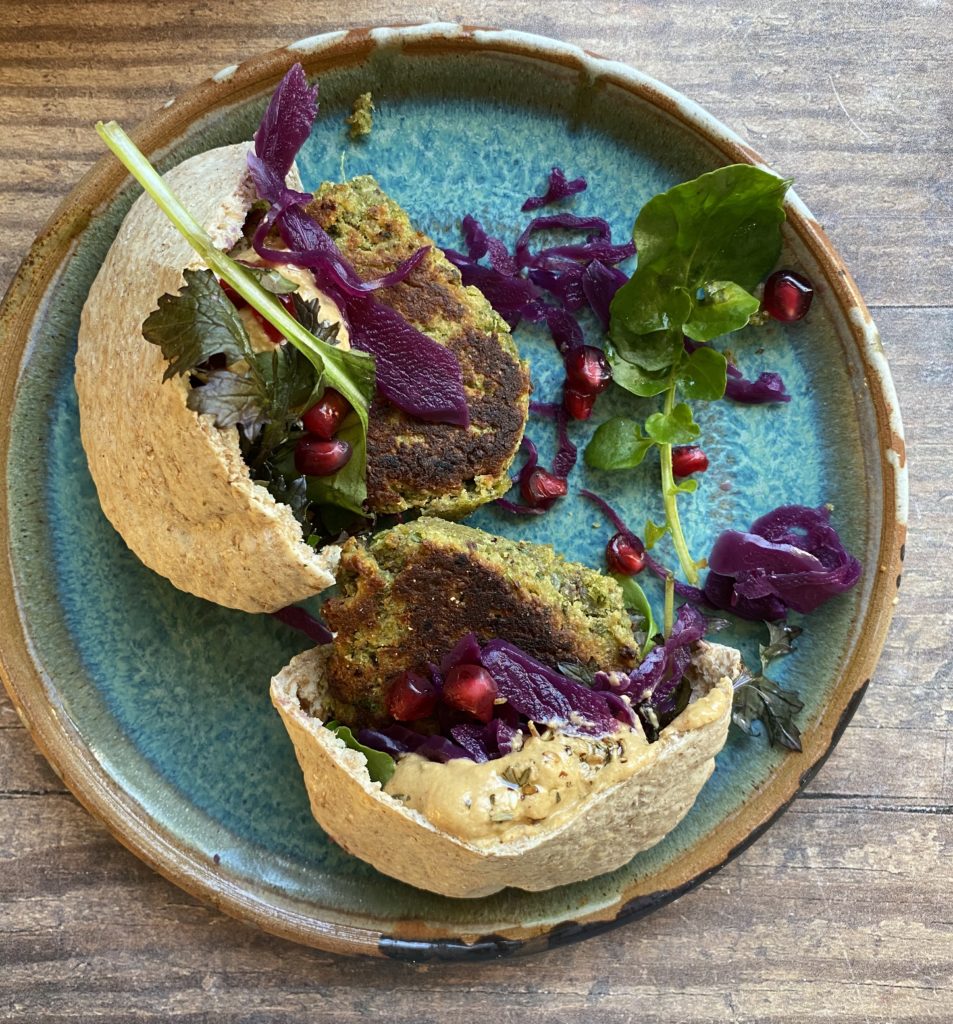
Serve drizzled with extra virgin olive oil and a sprinkle of smoked paprika.

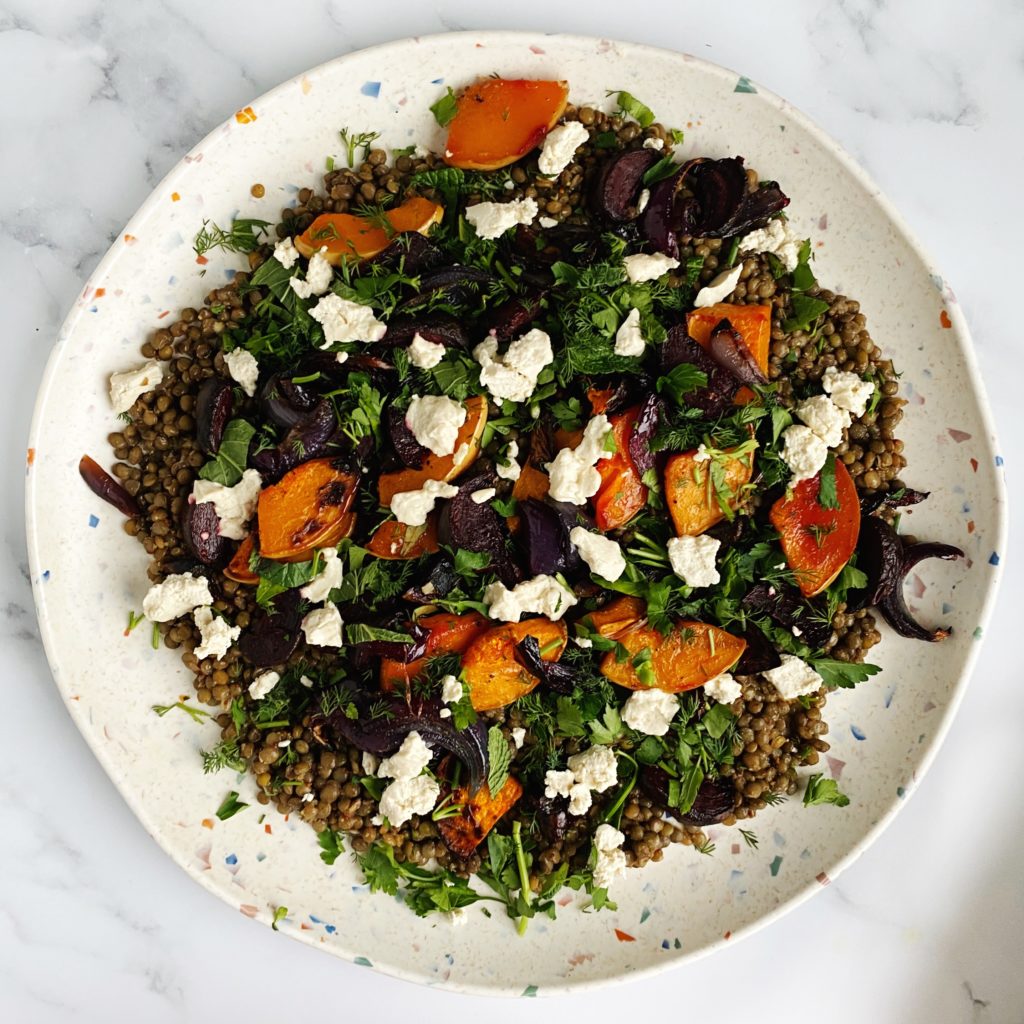
Butternut, Beetroot & Tofeta, Lentil Salad

Ingredients (serves 4-6)

  • 1/4 of a butternut squash
  • 2 beetroots
  • 1 red onion
  • olive oil, salt and pepper to taste to season the above
  • 1 mug of lentils boiled in 2-3 mugs of vegetable stock or water (or 2 drained cans of pre-cooked lentils)
  • dressing – 1 crushed clove of garlic, 1 tbsp wholegrain mustard, 1 tsp maple syrup, 2 tbsp apple cider vinegar, 3 tbsp extra virgin olive oil, pinch of salt
  • 3 handfuls of chopped fresh herbs (dill, parsley and mint?)
  • 6 tbsp crumbled tofeta cheese

Method

This dish is really special with the addition of my tofeta. You can find the easy recipe illustration in this bog post here or in my book which is available to add to your order here. Otherwise use whichever cheese you prefer or replace the feta with toasted nuts or seeds.

Pre-heat the oven to 200C and find a large baking dish.

Boil green lentils in stock or water until cooked through. Drain off any excess liquid and leave to cool while your prepare the vegetables, herbs and dressing.

Chop the squash, beetroots and red onion into slim wedges, season them with salt, pepper and olive oil, then roast them until they are soft and slightly charred.

Mix up the dressing ingredients and stir it through the cooked lentils.

Chop the fresh herbs then arrange the salad into a large salad bowl or platter.

Put the dressed lentils on the base, spoon over the roasted vegetables, scatter over the fresh herbs and crumble the tortes on top.

Enjoy warm or cold. This keeps well in the fridge for no more than three days. Keep the tofeta seperately and it will last longer.

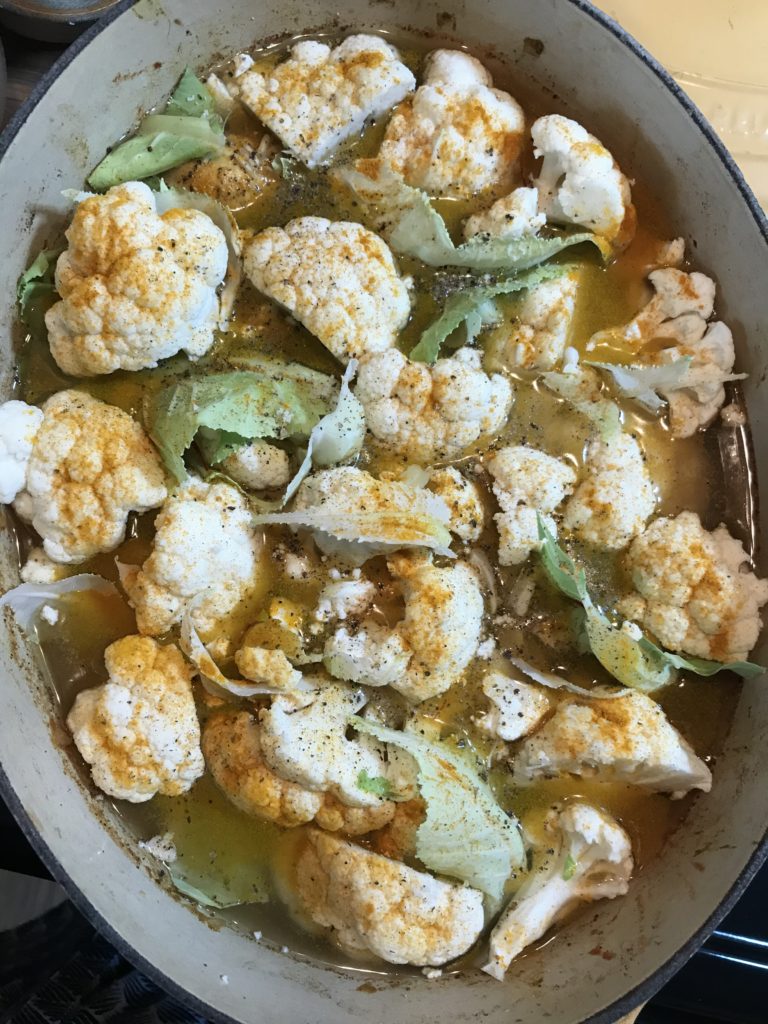
Butternut & Swede Gratin

Ingredients (serves 4)

  • 1/2 a butternut squash
  • 1 small swede or half a large one
  • 2 crush cloves of garlic
  • a small handful of wintery herbs like thyme/rosemary/sage
  • salt and pepper
  • olive oil
  • oat milk
  • 4 or 5 handfuls of breadcrumbs (add chopped herbs and nutritional yeast to your breadcrumbs to make them more flavoursome – or replace the bread crumbs with crushed nuts/seeds)

Method

Pre-heat the oven to 200C.

Thinly slice the butternut and swede and mix them together in a large, lidded baking dish with the crushed garlic, a generous drizzle of olive oil and salt and pepper to your taste.

Pour in enough oat milk (or use cream for a richer gratin) to cover about a cm of the base.

Put the lid on the dish and bake until the vegetables are soft all the way through. This should take about 30-40 minutes.

Remove the lid and add a little more oat milk. Scatter over a thin layer of breadcrumbs, drizzle with olive oil and return to the oven for a further 10-15 minutes, lid off, to brown on top.

Serve with seasonal greens or as a side to a roast.

Festive Falafel

An image from my cookbook, Cook Draw Feed (available to add to your cart here)

A classic vegan stalwart, the falafel, but this time with a festive twist. It’s perfect for Christmas sandwiches with some hummus, ruby red sauerkraut and peppery green leaves, or as part of a festive buffet. Middle Eastern food lends itself very well to festive flavours with its liberal use of sweet and warming spices. Or maybe it’s because baby Jesus hailed from that part of the world? Well, whatever the reason, I find myself craving lots of tangines, tabbouleh, hummus, harissa, falafels, baklava, pomegranates etc this time of year.

My festive falafel would make a nice little Christmas starter served on some leaves with a dip (a smokey baba ganoush or a spicy harissa perhaps), a sprinkle (some crunchy hazelnut dukka or a zingy z’atar) and some juicy red pomegranate seeds.

My kids also love a falafel as a burger. Just make them into burger sized patties and serve them in a bun with whatever toppings you like and with a side of potato wedges. Here I’ve served it as a lovely lunch with toasted pitta breads, salad, babaganoush, z’atar and sauerkraut.

Enjoy! Liz x

Ingredients (makes around 15 – 20 falafels)

Method

Pulse all the ingredients except the gram flour and sunflower oil together in a food processor until combined into a rough paste then taste for seasoning. Add more salt, pepper or spices if needed.

Stir through enough gram flour to make a manageable dough. Be careful not to make the dough too dry though.

Then heat up a heavy bottomed frying pan with a generous slick of sunflower oil.

Form the dough into little balls – I find the easiest way to do this is to use two dessert spoons – and drop them into the pan of hot oil.

Turn the heat down to medium-high and once the falafels are cooked on the bottom, flip them over with a spatular and squish them down into little discs. Cook them on the other side until golden brown. You may wish to flip them once more to cook the first side a little longer.

Repeat until all the dough is used up and keep the falafels warm. Then serve with salad, dips and breads to your liking.

Baba Ganoush

I often have an aubergine in my weekly large veg box from the farm so I made a baba ganoush this time. It’s very easy. Simply roast the aubergine in a very hot oven until it’s beautifully charred, smokey and silky soft all the way through. Then once it’s cool enough to handle, remove the skin and pop the flesh in a food processor with a small clove of garlic, a tbsp of tahini, a tbsp or two of lemon juice, a big pinch of salt, a small pinch each of smoked paprika and ground cumin and a drizzle of extra virgin olive oil. Then blend until smooth, taste for seasoning and adjust as needed.

Z’atar

Z’atar is a stunning Middle Eastern sprinkle, so perfect with falafel and dips. I make my own very simply with an even blend of toasted sesame seeds, dried thyme and sumac. The combination of toasty sesame seeds, herby thyme and zingy sumac is so delicious. It’s well worth hunting down some sumac and making some yourself.

Did you make this recipe? Let us know how it went in the comments. Don’t forget to share the recipe with your friends and tag us if you take a photo of your creations on Instagram or in our Healthy Eating facebook page. We love to see our recipes leave the screen.

If you like this recipe you’ll love my book! Add it to your next veg box delivery here.

Biryani

Illustration from my cookbook, Cook Draw Feed – available to add to your next order here.

Biryani is a very special Indian dish, traditionally reserved for big celebrations like weddings and festivals. The elaborate layering of marinated meats, par cooked rice, whole and ground spices, nuts, fruit and caramelised onions take a long time to prepare and would feed a big gathering from one large pot. My version is not exactly authentic, being plant based, and I’ve simplified the method to suit my relaxed style of cooking. But, it doesn’t hold back on the flavours and textures. It’s a crowd pleaser in my house and I love it because I can assemble it fairly quickly in one pot on the stove top, then let it bake in the oven while I get on with something else. It always gets some ‘oohs’ and ‘ahhs’ when it emerges from the oven, good enough for dinner parties but also quick enough to rustle up mid-week.

You’ll need an oven and hob safe pot with a lid. If you don’t have one, you can always use a baking dish and cover it with foil (or to avoid single use foil, try use a baking sheet weighed down with an oven safe bowl as a lid). I hope you give it a try. Let me know in the comments or on our Facebook group or Instagram if you do. We love to see what you’re up to in the kitchen with the wonderful produce from the farm.

Liz

If you like this recipe, you’ll love my book. Add it to your regular order from the farm here. As always, thank you for your support, we really appreciate it.

Ingredients (serves 4)

Method

Pre-heat the oven to 200C. In an oven and hob safe pot, sauté the diced onions and chopped garlic in the vegetable oil until they start to colour.

Roughly chop the mushrooms then add them to the pot with a little salt and the ginger and curry powder. Sauté until fragrant.

Add the chickpeas and the tin of chopped tomatoes. Swirl the juices out of the tin, into the pot by filling it 3/4s with water. Season the curry with salt and pepper and taste. The curry should be slightly on the too salty side as this will permeate and flavour the rice too.

Turn the heat off and then evenly sprinkle over a mug of basmati rice to cover the whole top of the curry. Don’t stir it in! Let it sit on top of the curry in an even, separate layer. Then carefully add two mugs of water to the pot without disturbing the rice. I do this by pouring the water in slowly over the back of a wooden spoon.

Flavour the water which the rice will cook in with some whole star anise or saffron strands, or both! You can also add other aromatics like cardamom pods or cinnamon sticks if you like. I used ground star anise this time as I didn’t have any whole. At this stage you can also add a handful of sultanas or other chopped dried fruit to the rice if you like. It will rehydrate as the rice cooks and add little sweet pops of flavour to the dish.

I like to add an extra layer on top of the rice here by carefully placing cauliflower florets into the pot, then sprinkling them with turmeric and black pepper. But if you like, you can stop short of that and just add a little turmeric and black pepper to the rice layer. Then put the lid on the dish and pop it in the oven to bake until the rice has absorbed all the liquid. This normally takes around 20-30 minutes.

Once the rice has absorbed the water it should be perfectly cooked through and fluffy. You can then sprinkle over the flaked almonds or other chopped nuts or seeds of your choice – cashew nuts are a good choice. Return the pot to the oven with the lid off for just 4 or 5 minutes to gently toast the nuts. Serve with spicy Indian chutneys or a cooling natural yogurt.

Why not try seasonal variations of this dish? I love a roast squash biryani with a tin of coconut milk instead of the tin of tomatoes. Or in summer, a silky aubergine biryani topped with tomato and red onion slices in place of the cauliflower is so delicious. What combinations will you try? Let me know in the comments. Enjoy!