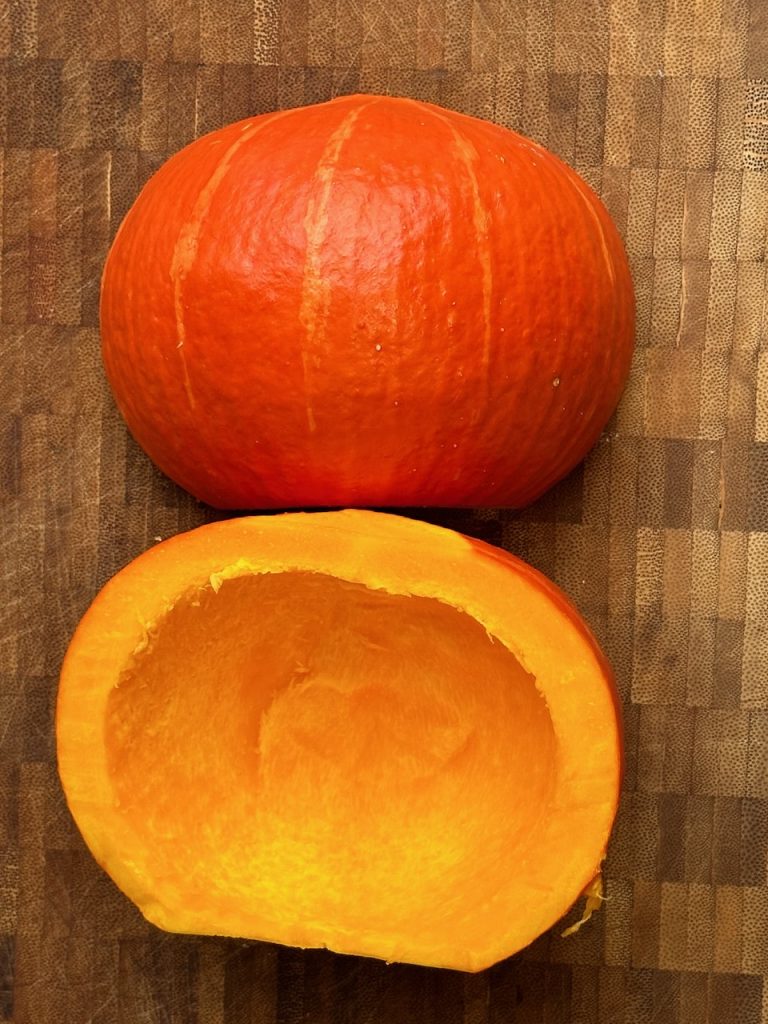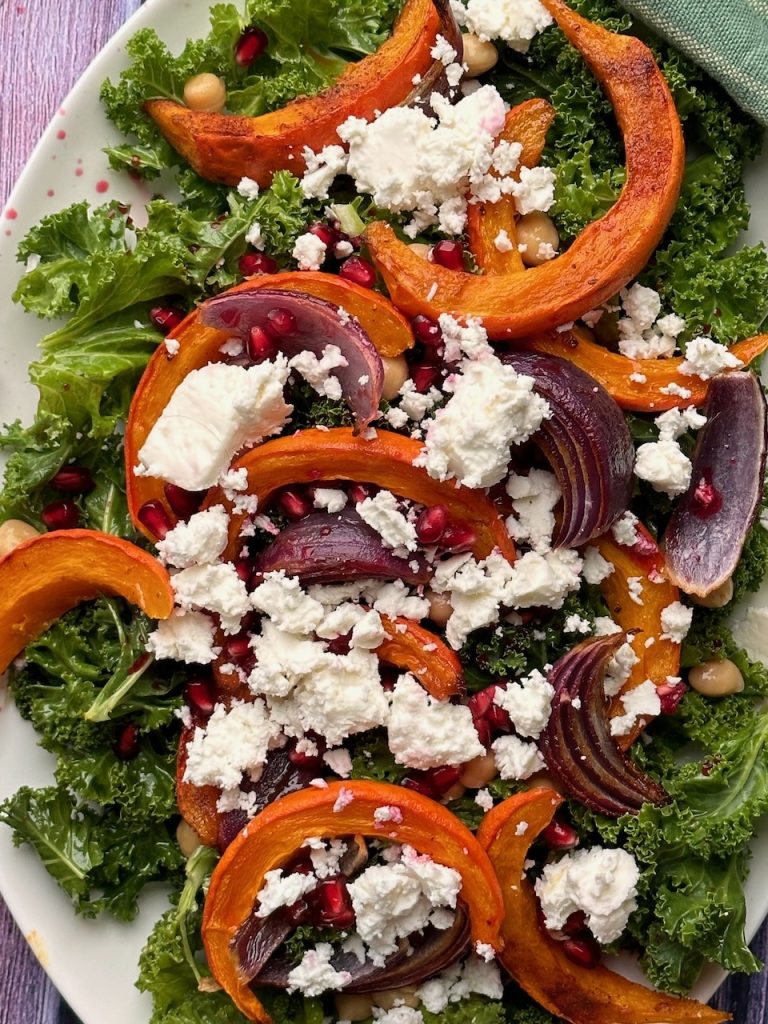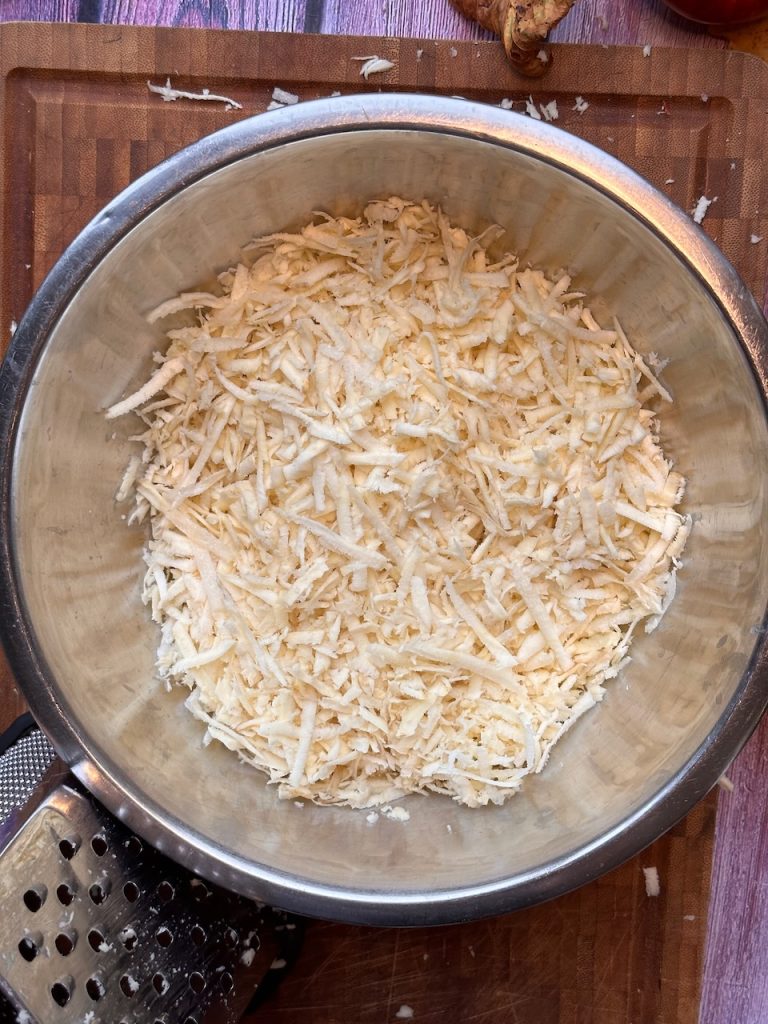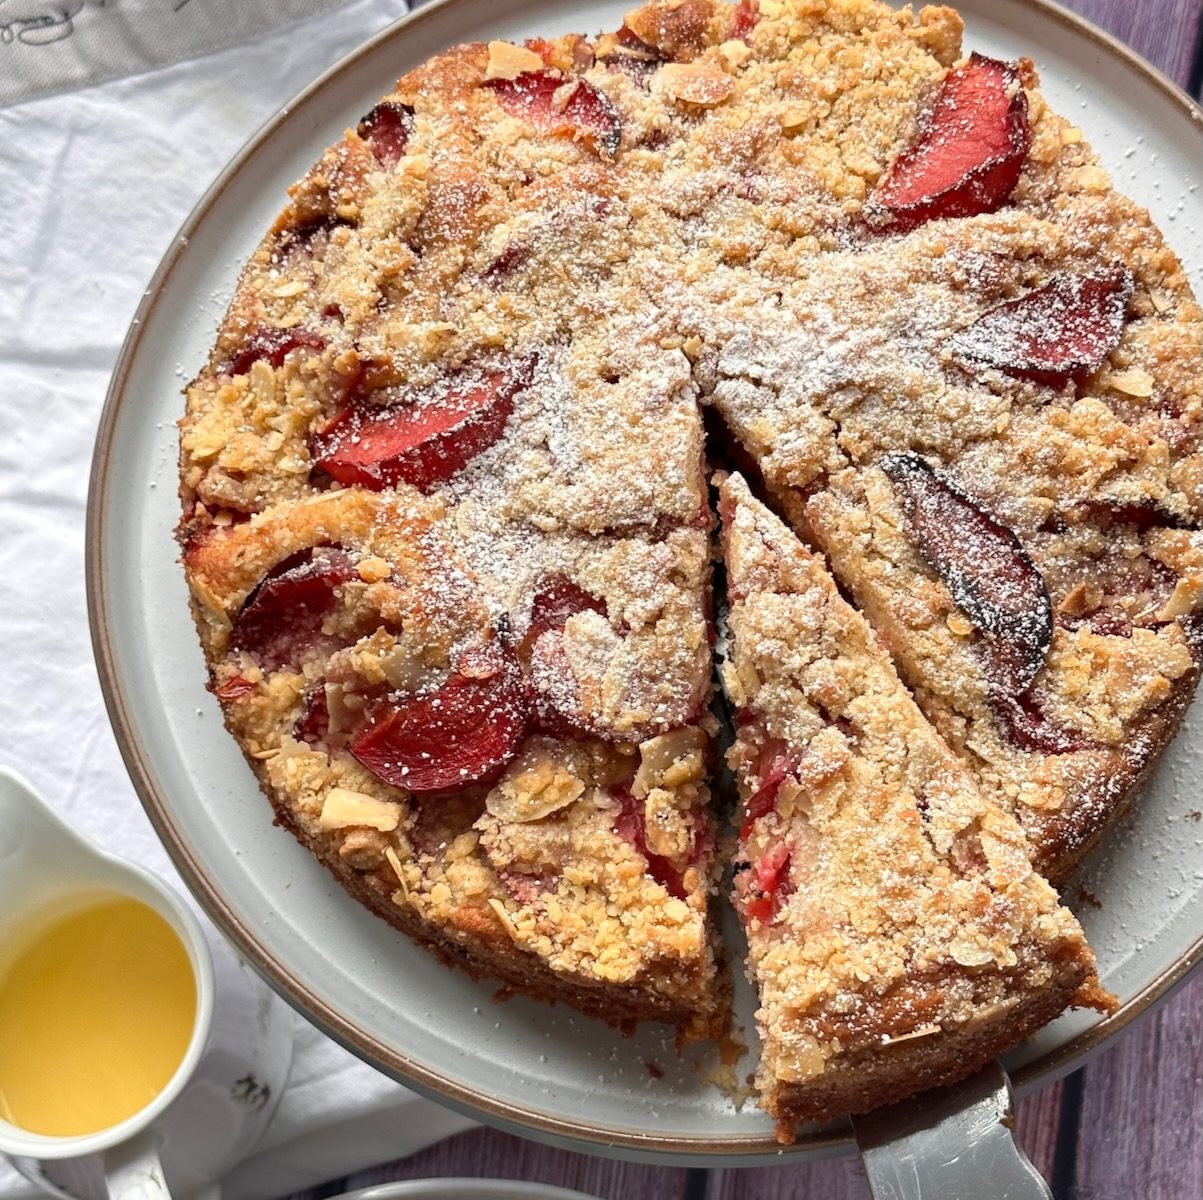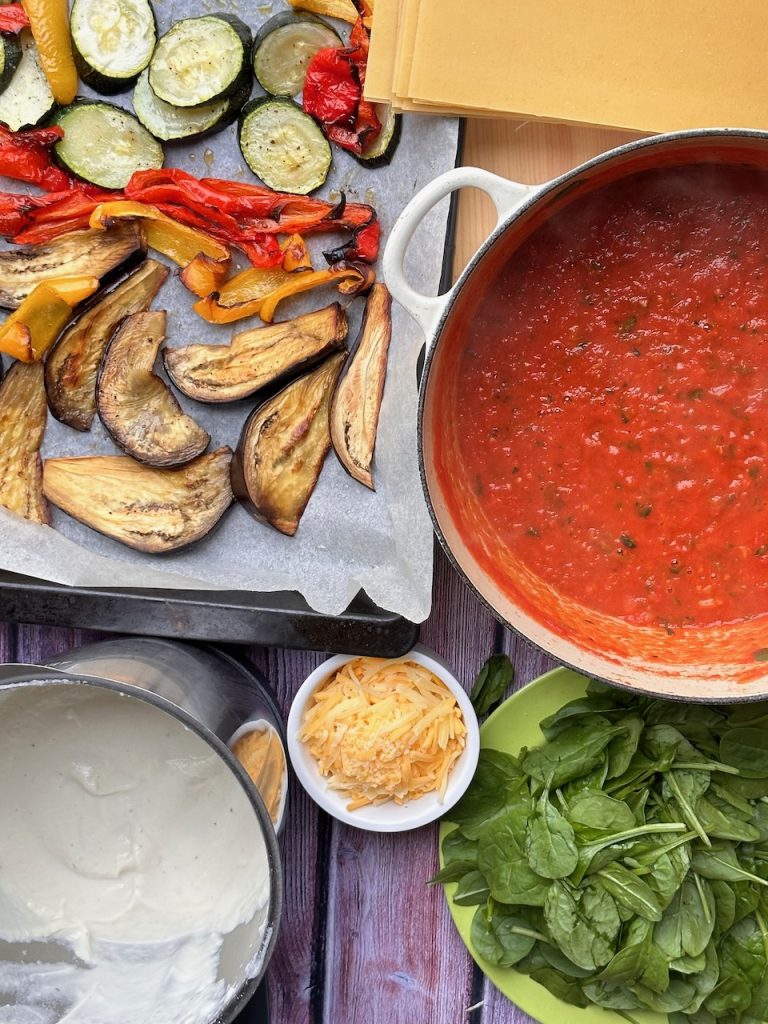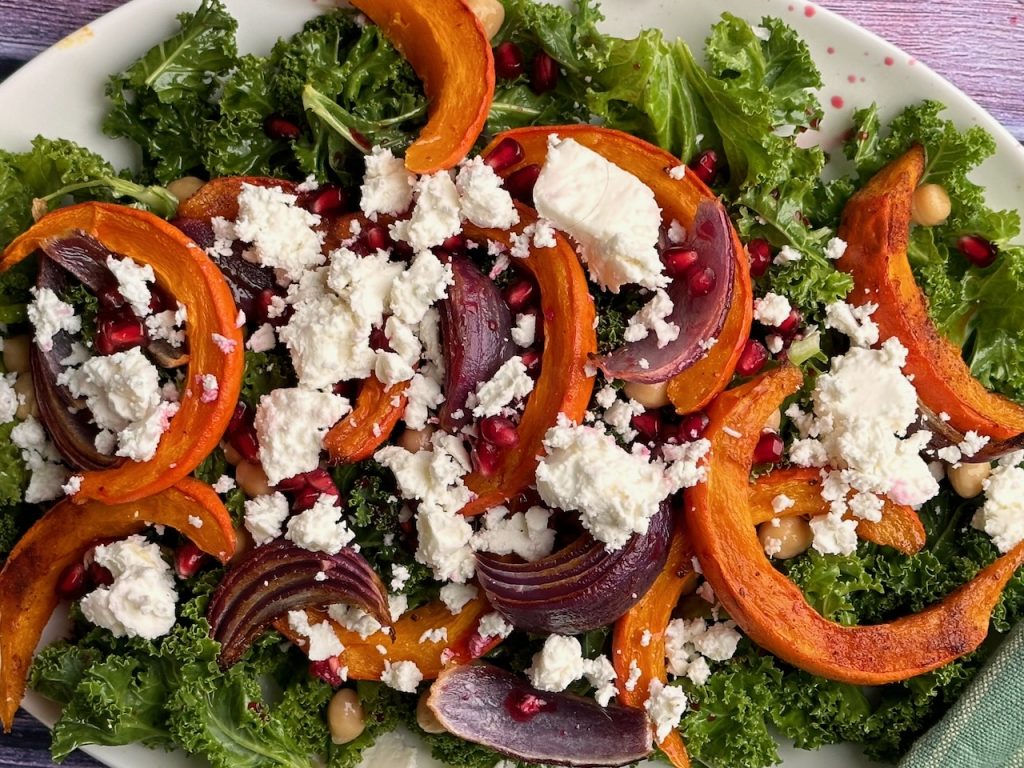
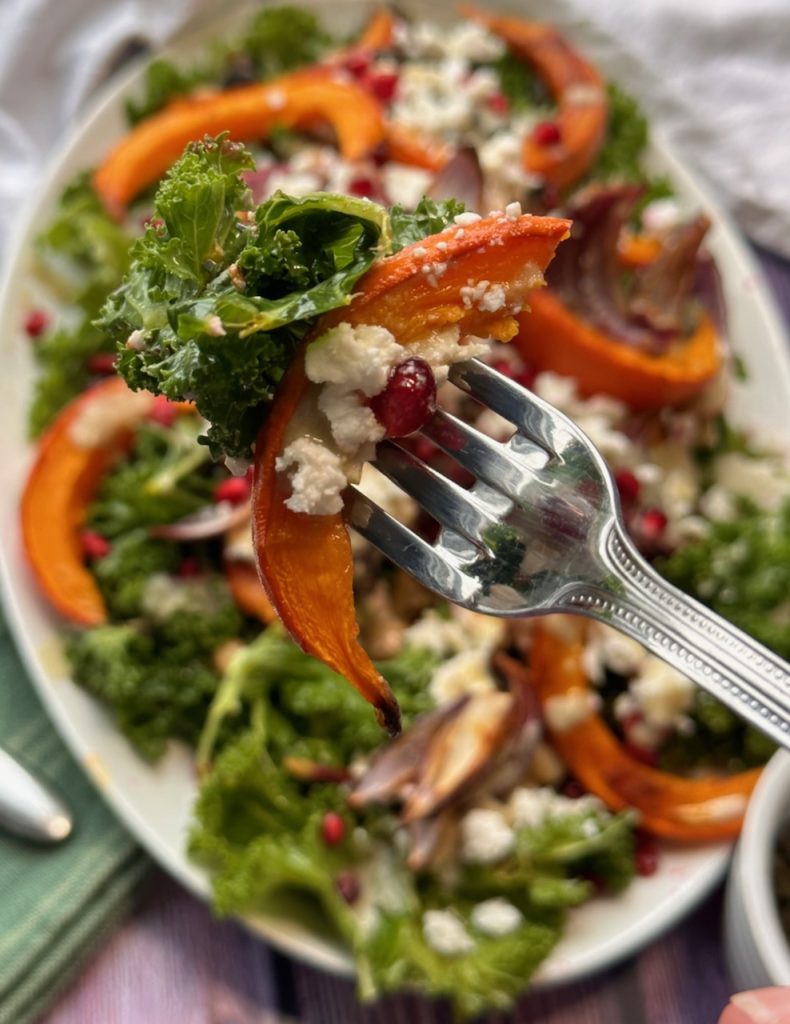
You can have your Pumpkin and Eat it!! Pumpkins are not just for decoration around Halloween they are sweet, earthy and delicious to eat. The skin is edible too, just wash them well and slice into thin wedges. You can make this salad with butternut squash too if you wish, it will be equally delicious.
Salads are not exclusive to the warmer months. We like to serve the pumpkin and roast red onions warm from the oven with shredded kale and crumbled feta. Pomegranate is recommended for colour and pops of sweet and sourness.
Organic ingredients are “Better for you and Better for our Planet”.
Lou 🙂
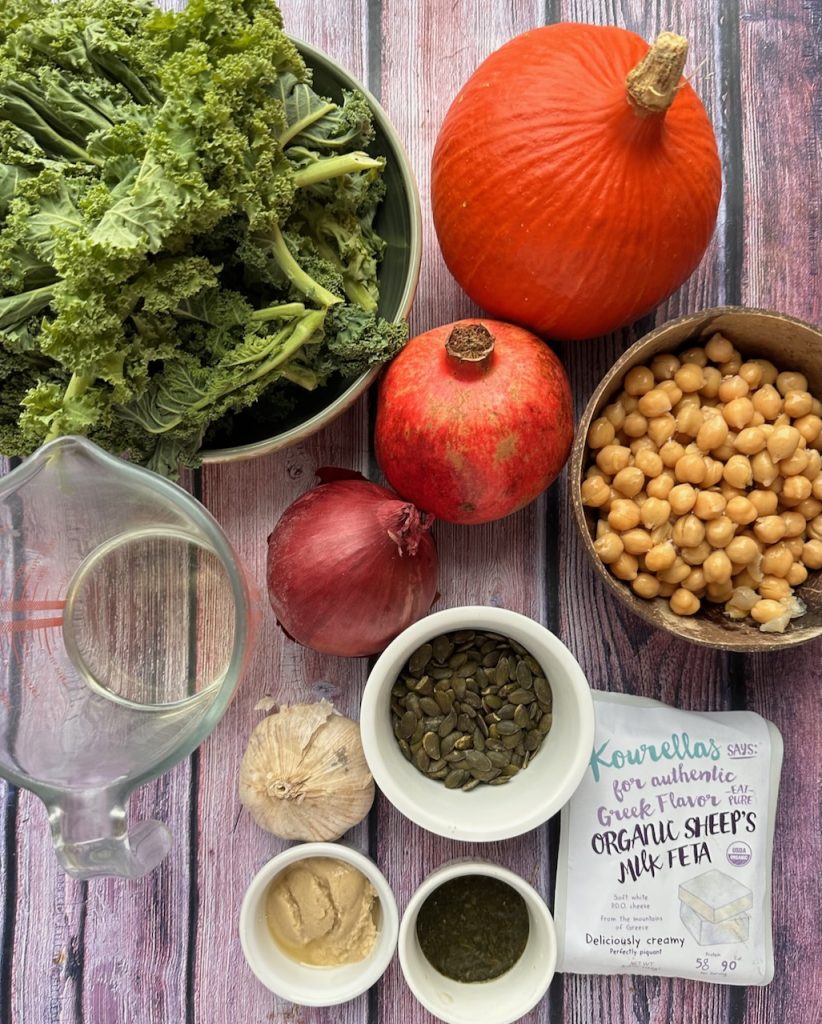
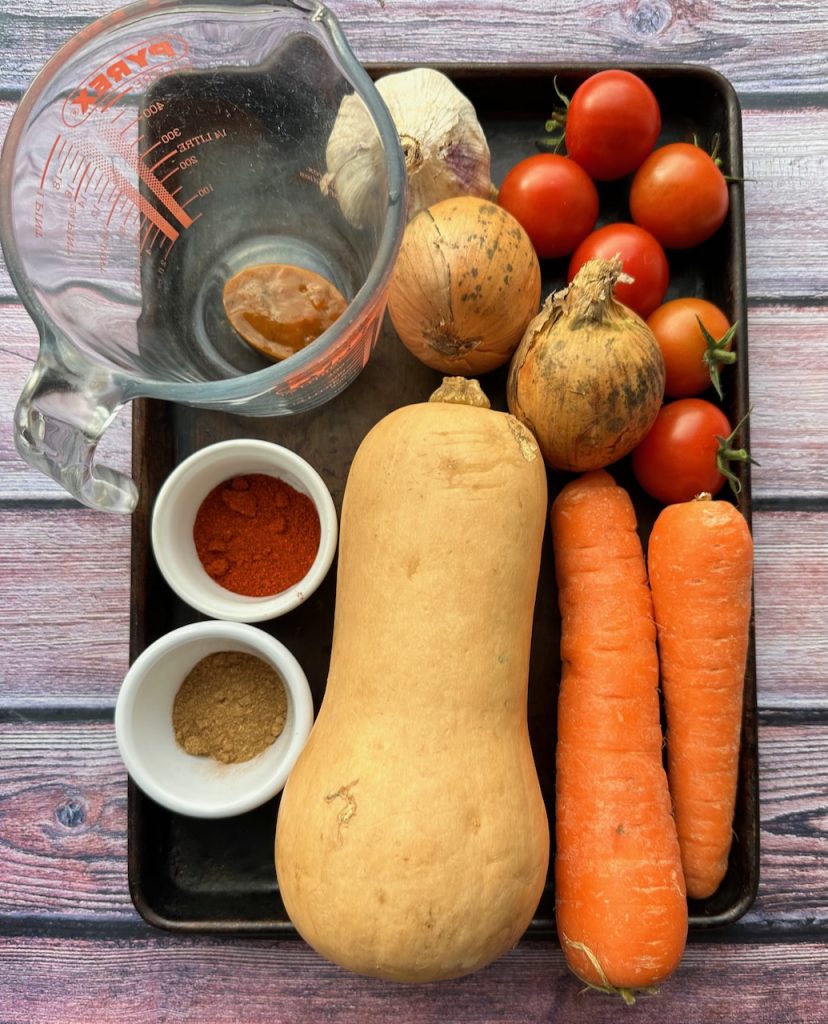
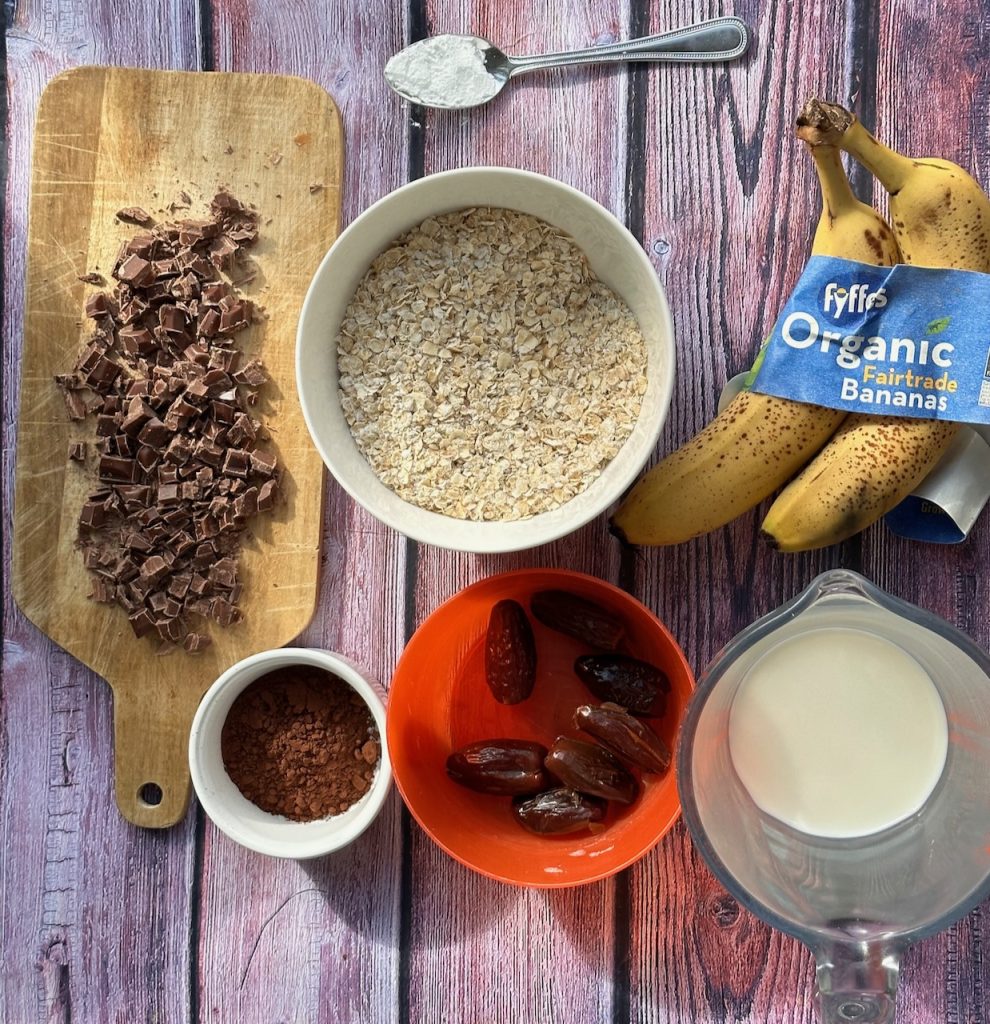
Ingredients: serves 4
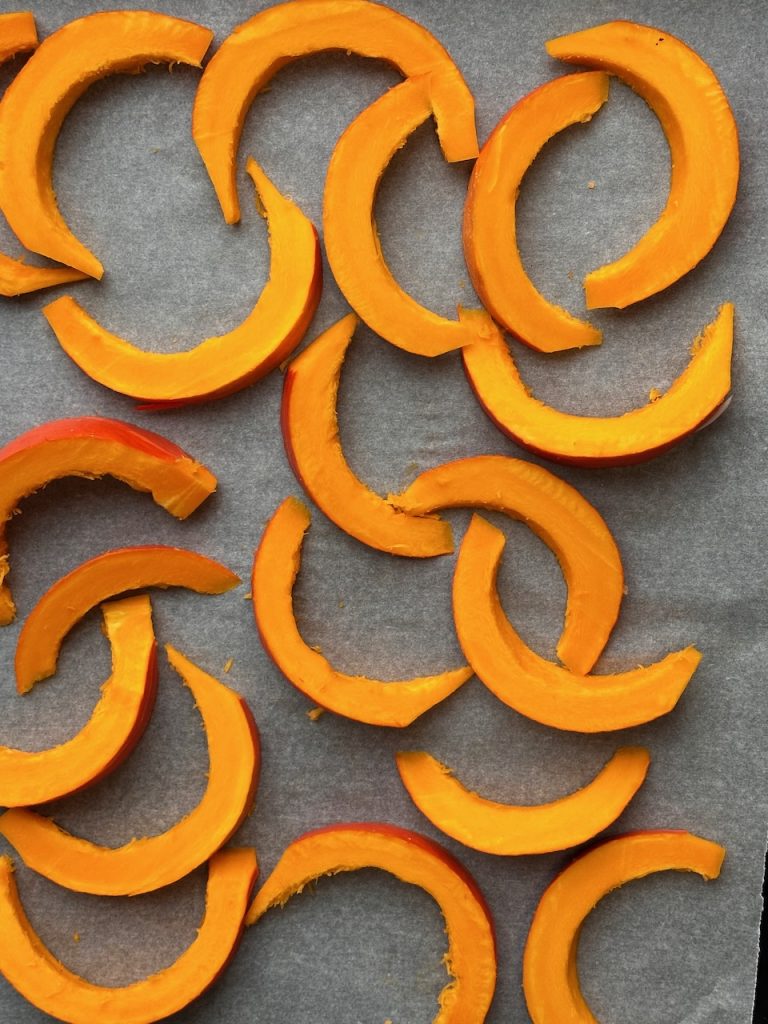
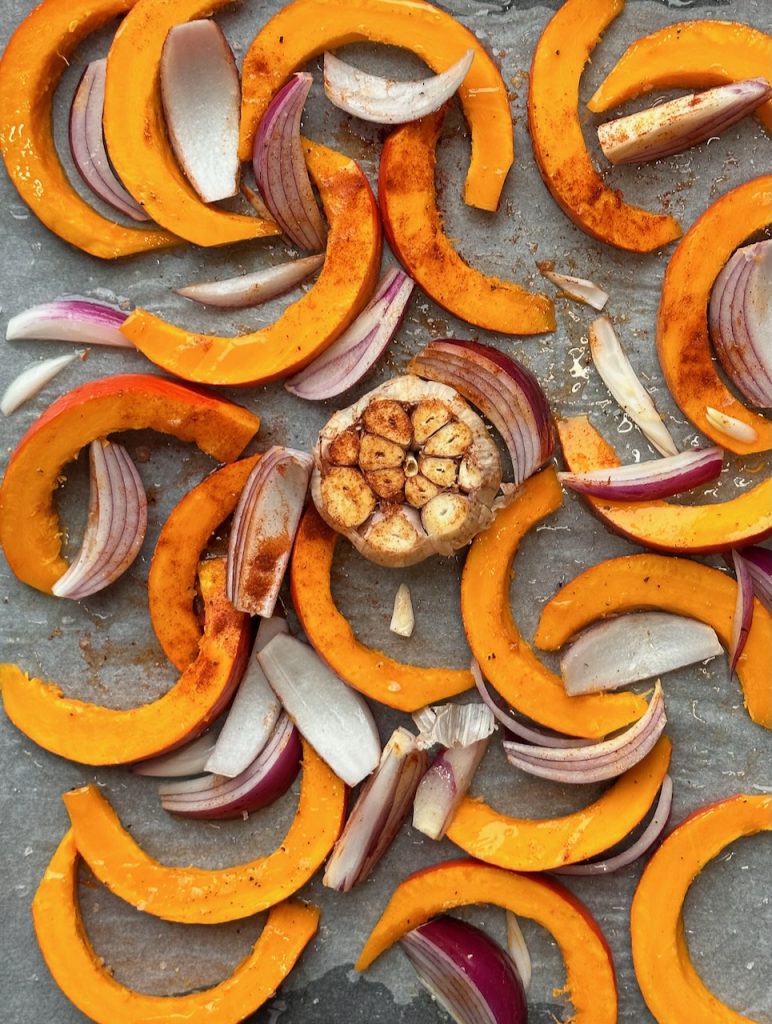
- 1 small pumpkin, chopped deseeded, sliced into wedges
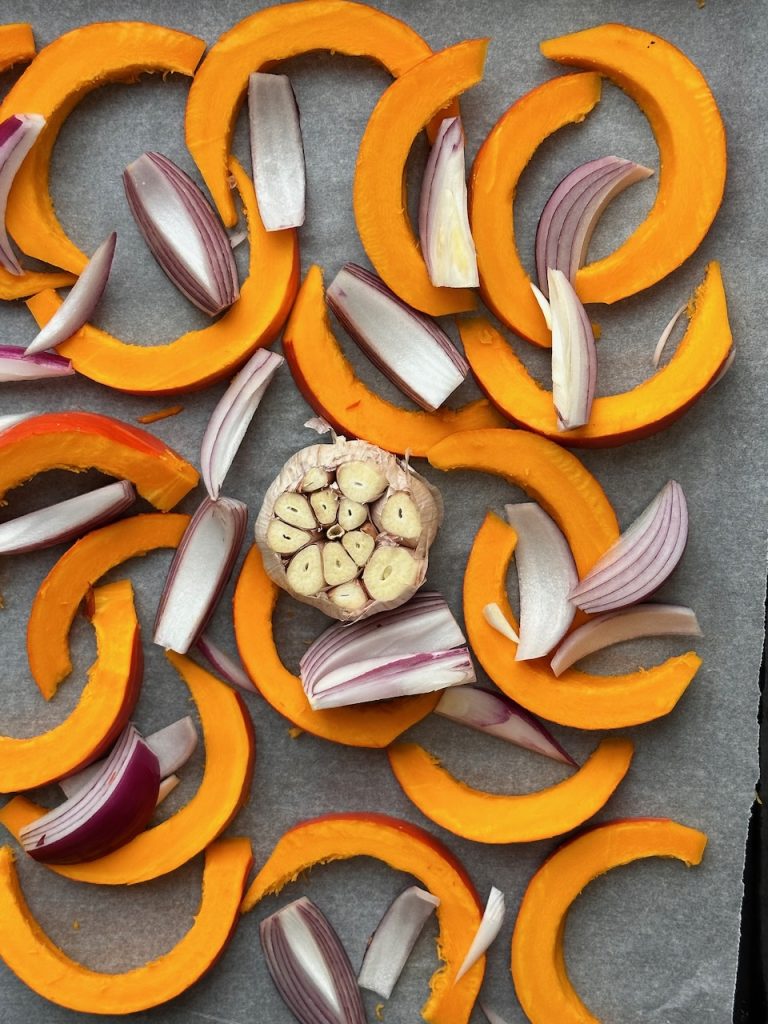
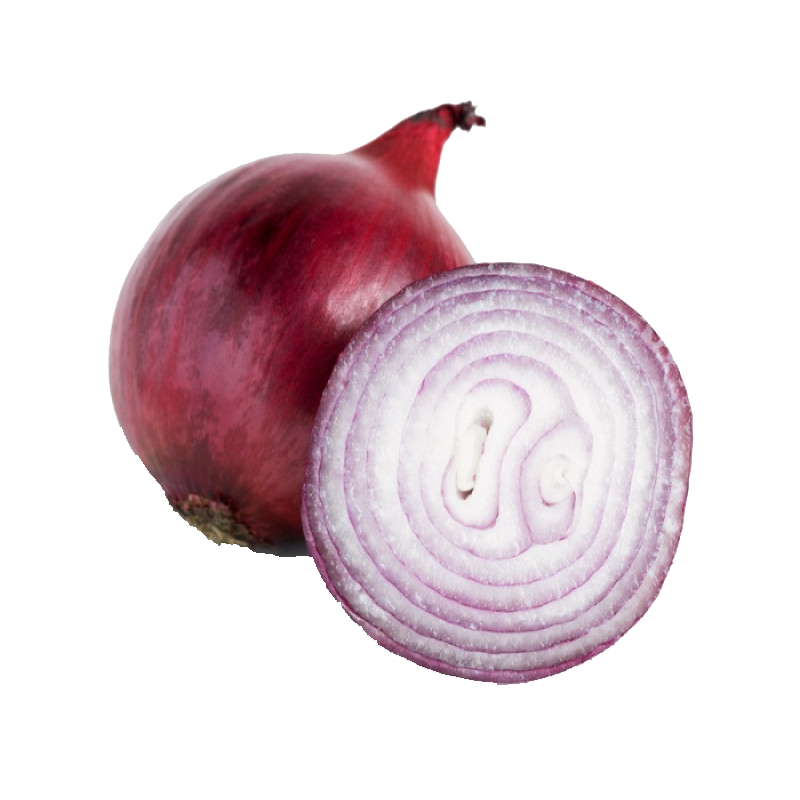
- 1 medium red onion, sliced into wedges
- pinch salt/pepper/paprika
For the dressing
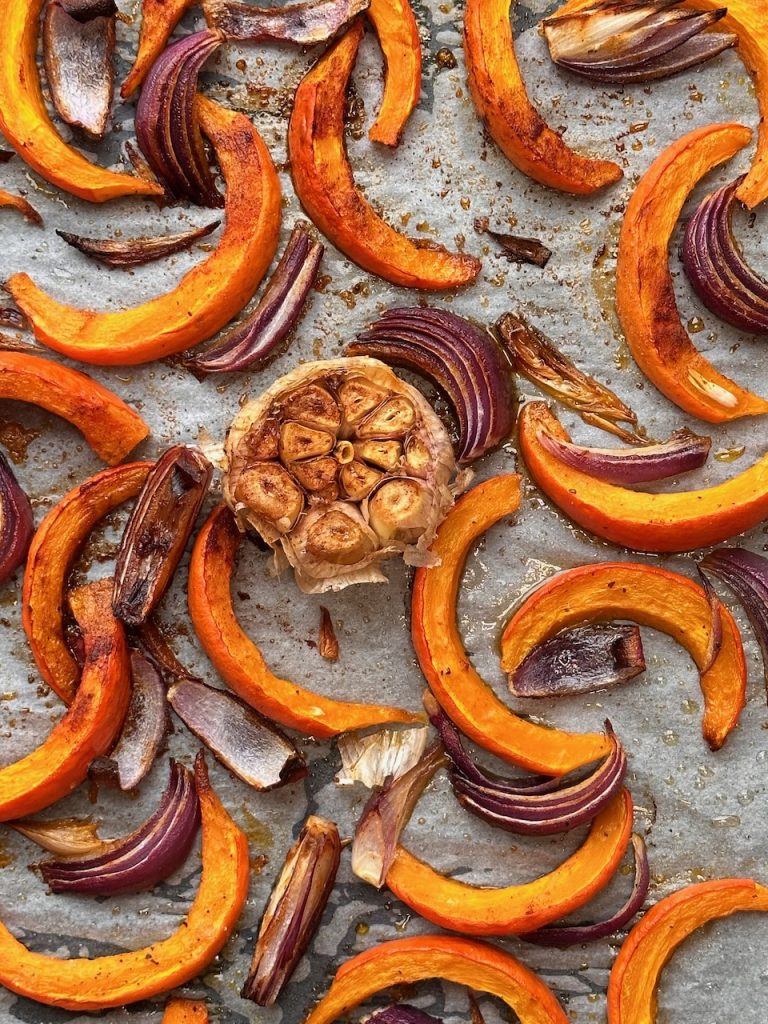
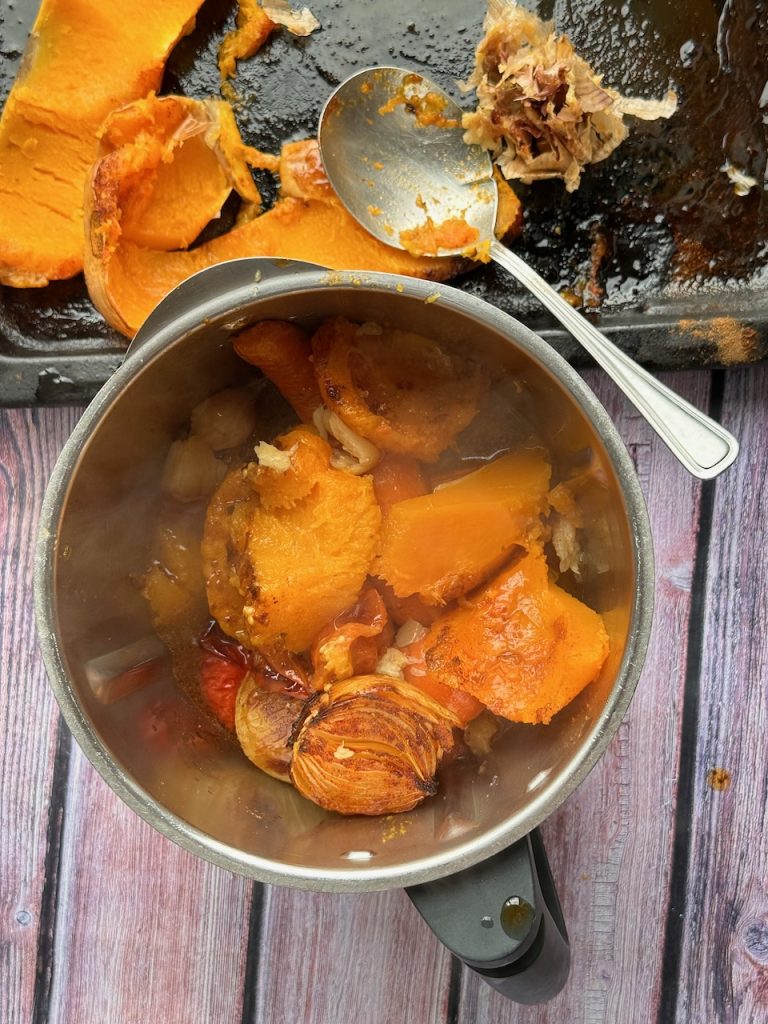
- 1 bulb of garlic – roasted until soft
- 1 tablespoon light tahini
- 100ml neutral oil
- 1 tablespoon cider vinegar
- salt and pepper
To finish
- 1/2 pomegranate, deseeded
- 100g kale, washed, stripped off the stalk & very finely chopped
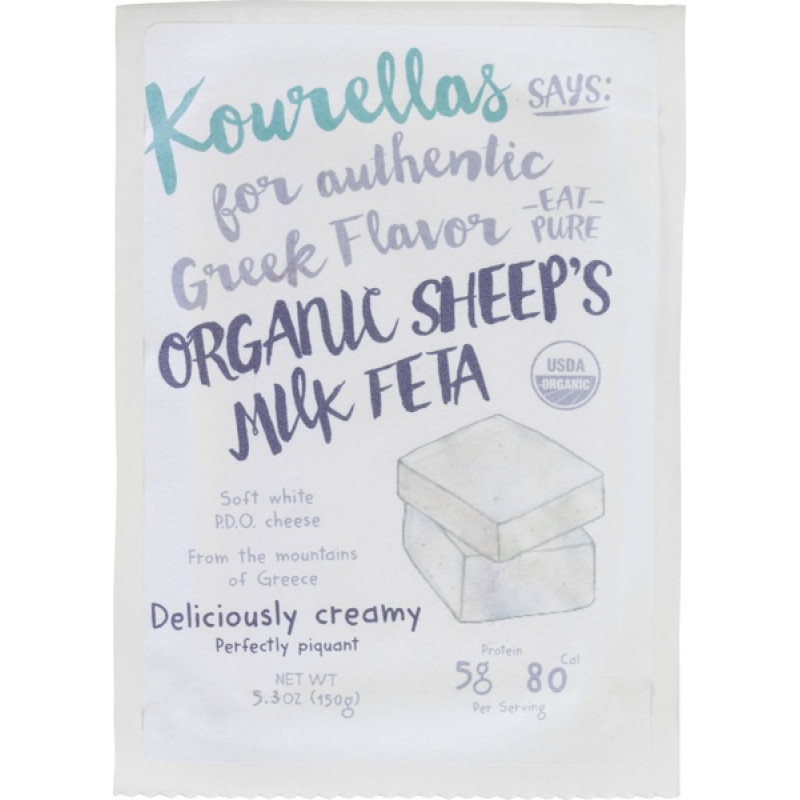
- 180g feta- sheep’s cheese feta used here
- 1/2 tin chickpeas – drained (200g)
- 2 tablespoons toasted pumpkin seeds
Method:
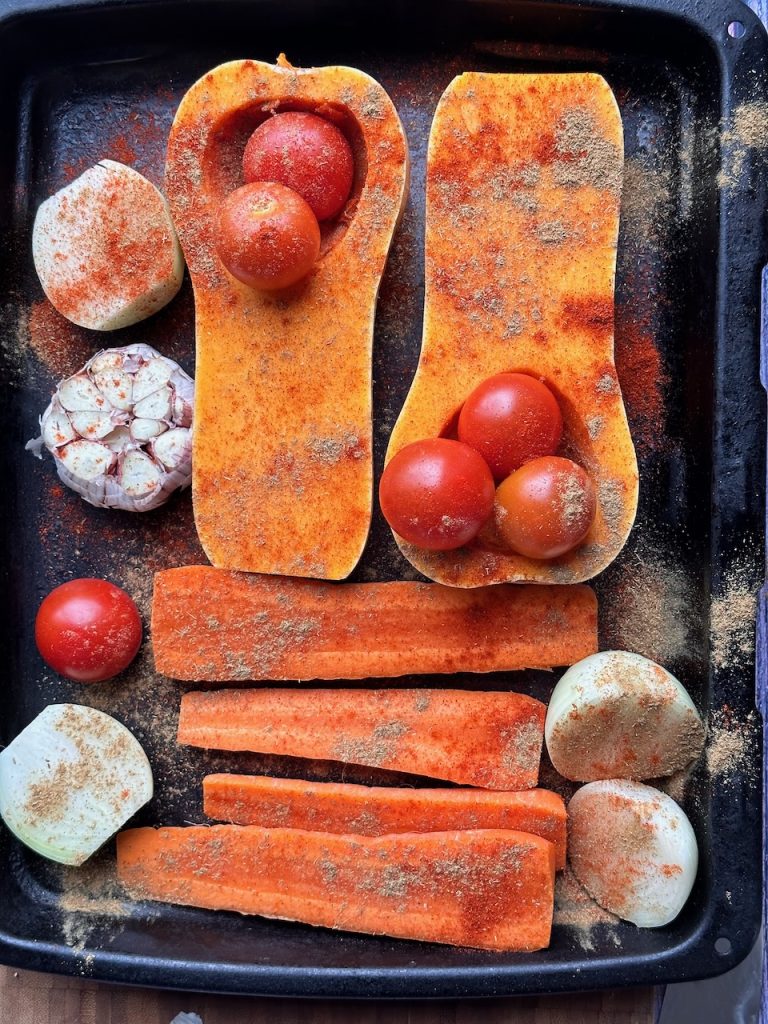
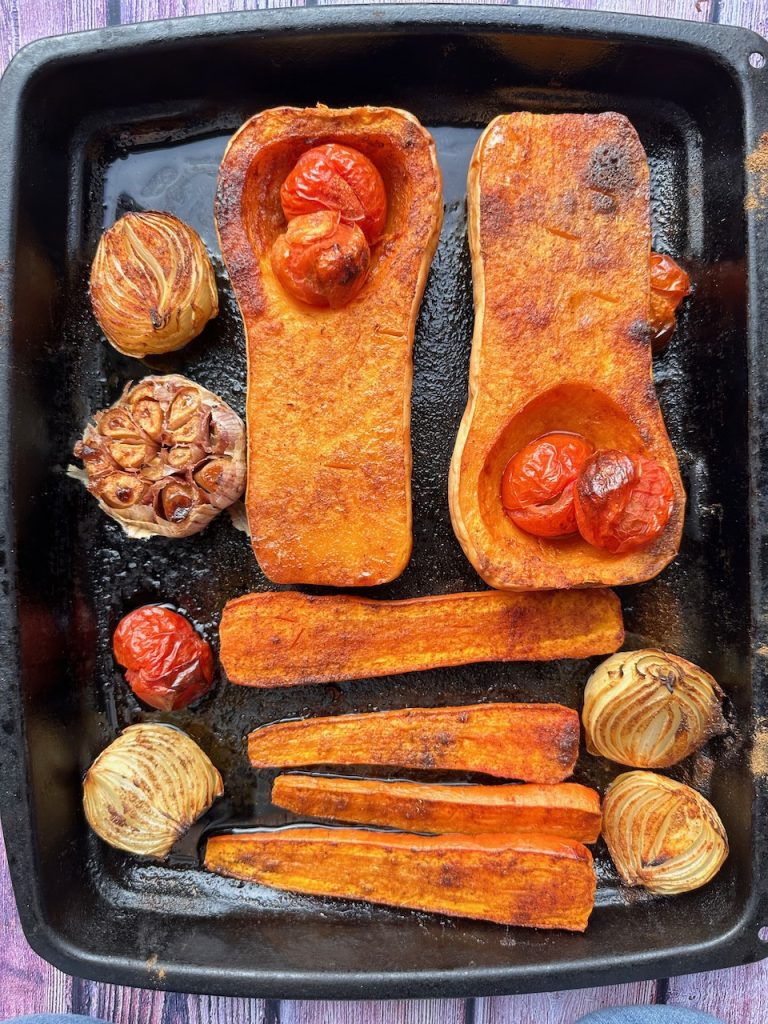
Step 1: Preheat the oven 180ºC. Prepare the garlic bulb, chop off the top of the bulb to expose the cloves. Put the pumpkin wedges, red onion wedges and garlic bulb on a baking tray. Sprinkle with salt, pepper and a bit of paprika drizzle with oil, rub the veg to coat in the oil and seasoning. Roast veggies for 30 minutes. the garlic may take 10 minutes longer.
Step 2: Add the finely chopped kale to a mixing bowl, drizzle with a small amount of olive oil, season with salt and pepper and massage with your hands to tenderise.
Step 3: To make the dressing add the soft roasted garlic to a small blender along with the tahini, oil, cider vinegar, salt and pepper. Blend until completely smooth. Taste and adjust if needed.
Step 4: Build the salad. Add the kale to a big serving plate, top with the chickpeas, layer on the roast pumpkin, red onion, break over the feta. Roll the pomegranate to loosen the seeds, with a wooden spoon to dislodge the seeds and scatter over the salad. Sprinkle with pumpkin seeds and top with the roast garlic dressing.