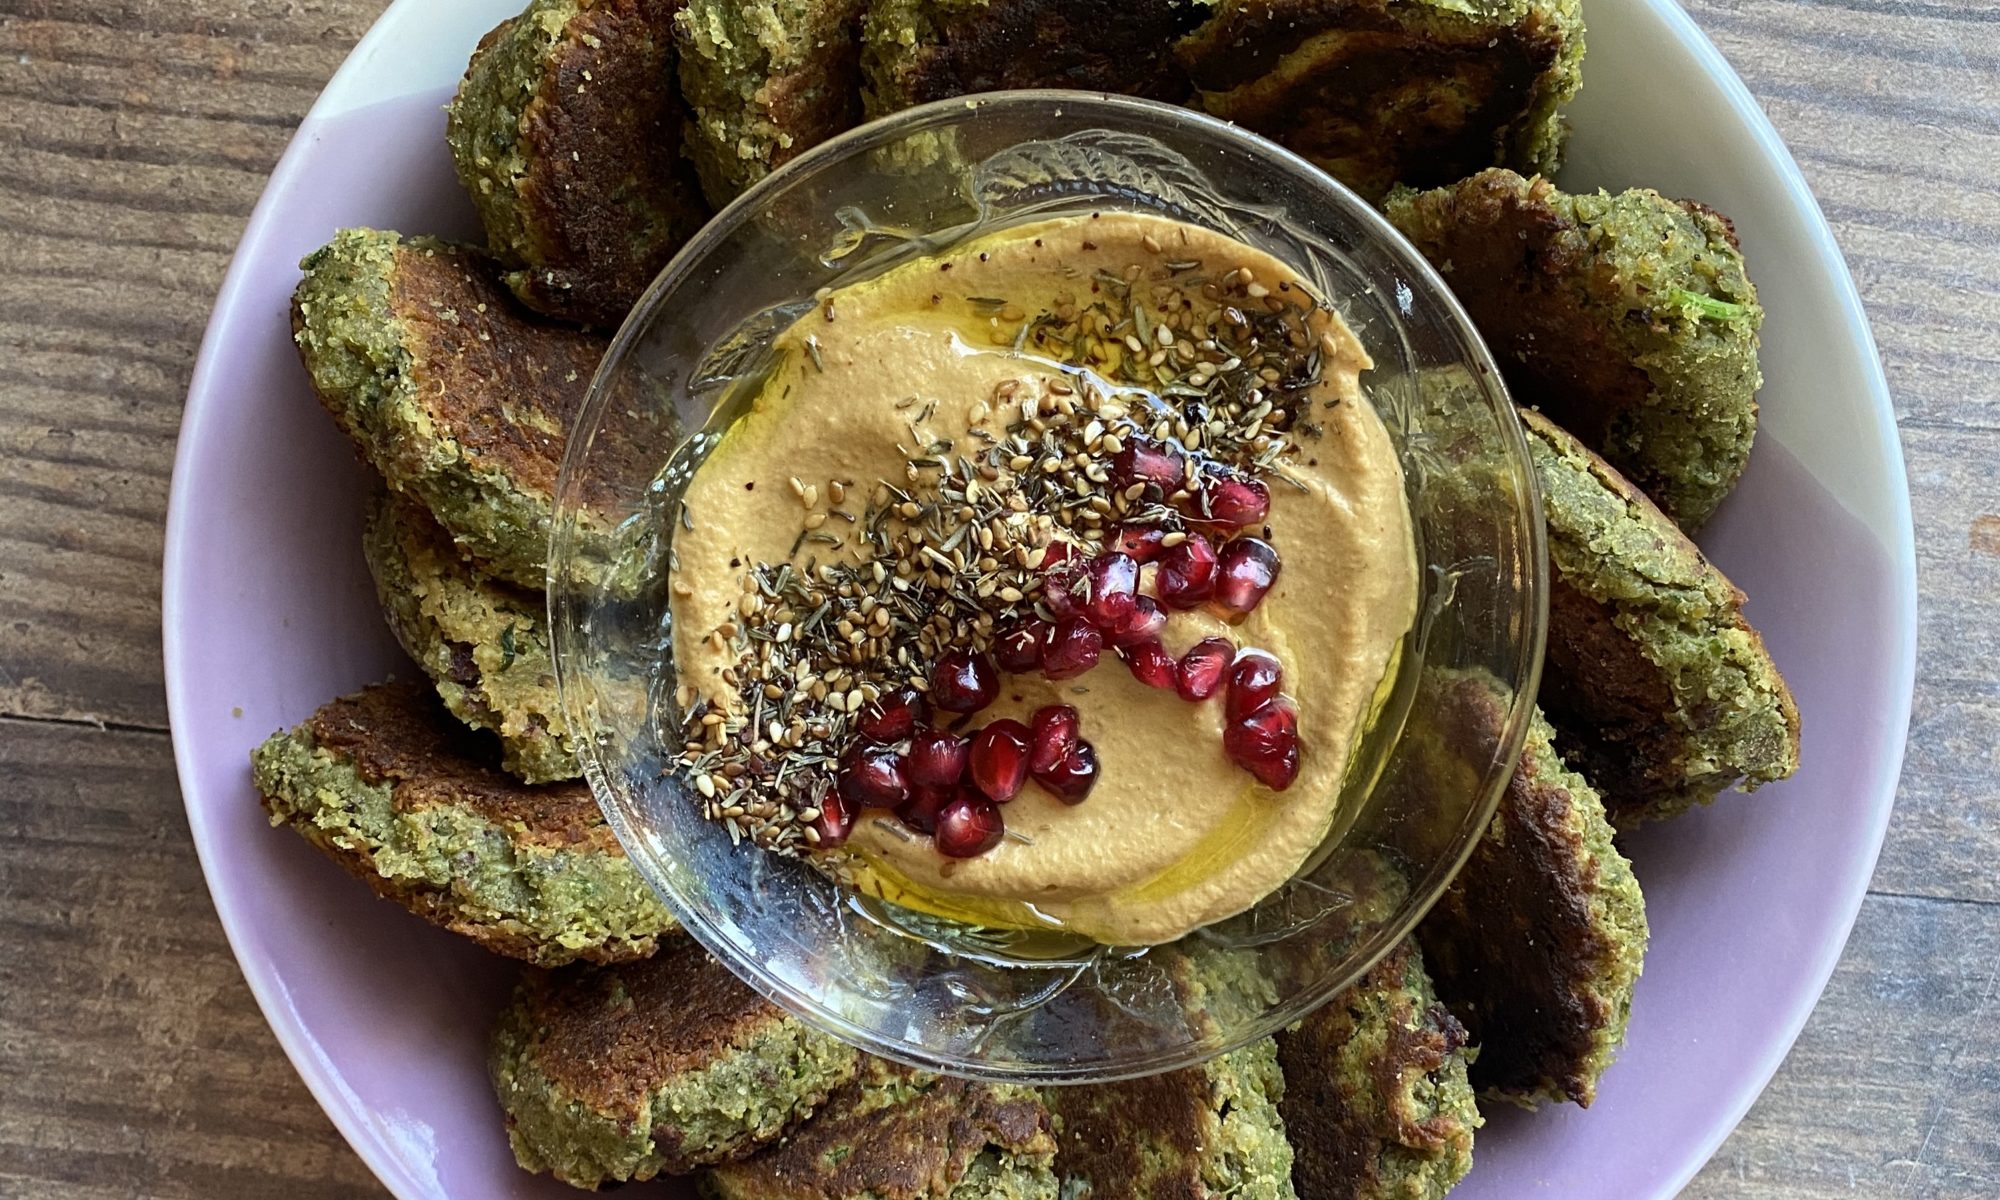

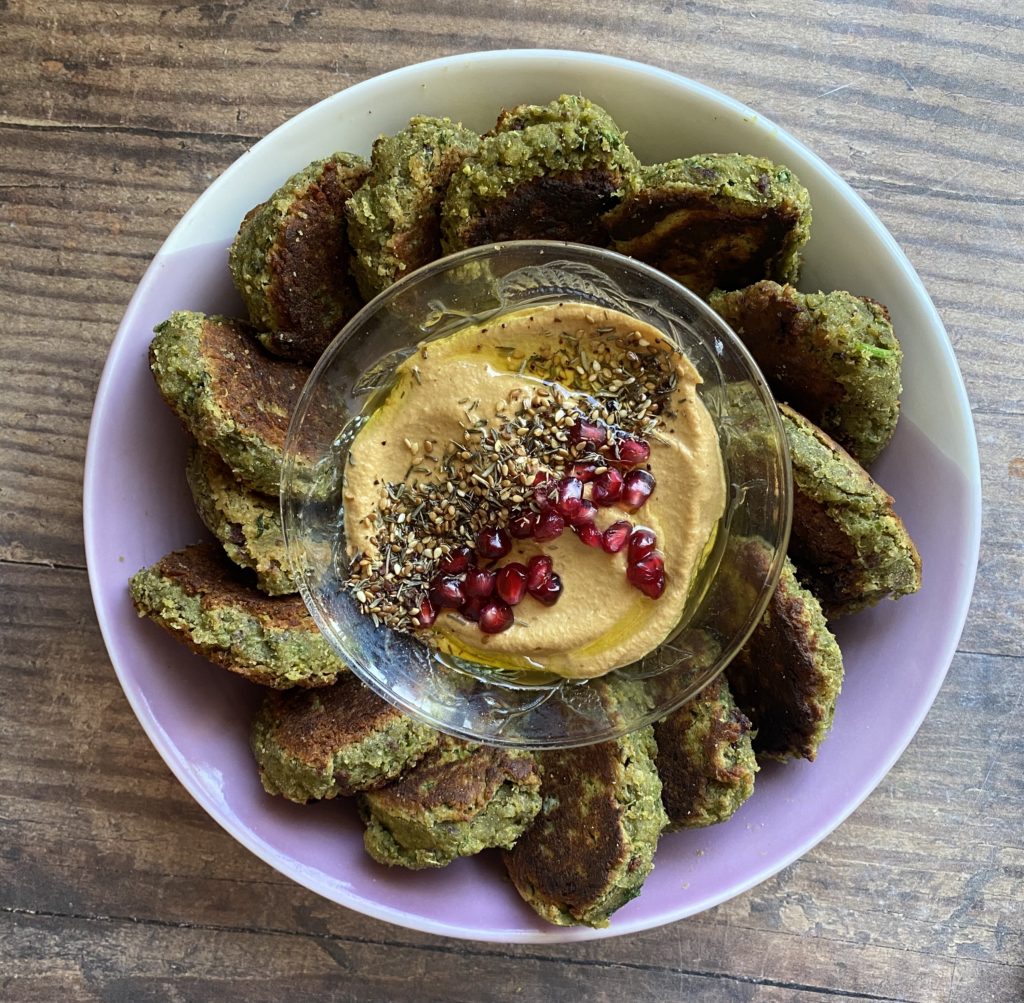
A classic vegan stalwart, the falafel, but this time with a festive twist. It’s perfect for Christmas sandwiches with some hummus, ruby red sauerkraut and peppery green leaves, or as part of a festive buffet. Middle Eastern food lends itself very well to festive flavours with its liberal use of sweet and warming spices. Or maybe it’s because baby Jesus hailed from that part of the world? Well, whatever the reason, I find myself craving lots of tangines, tabbouleh, hummus, harissa, falafels, baklava, pomegranates etc this time of year.
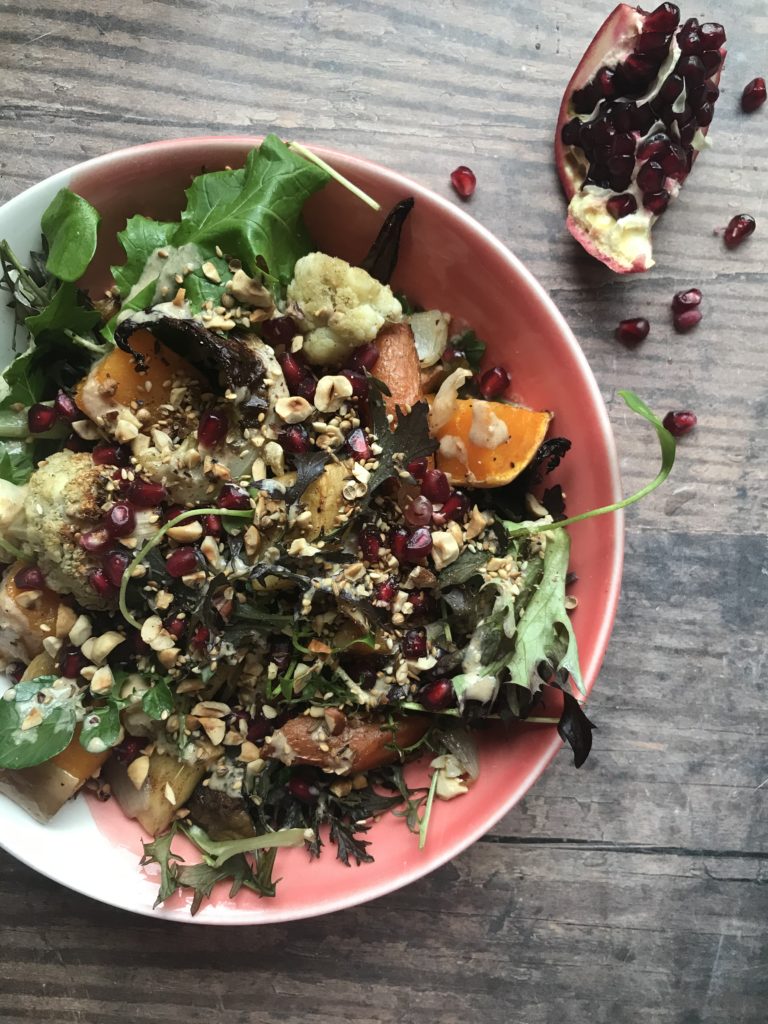
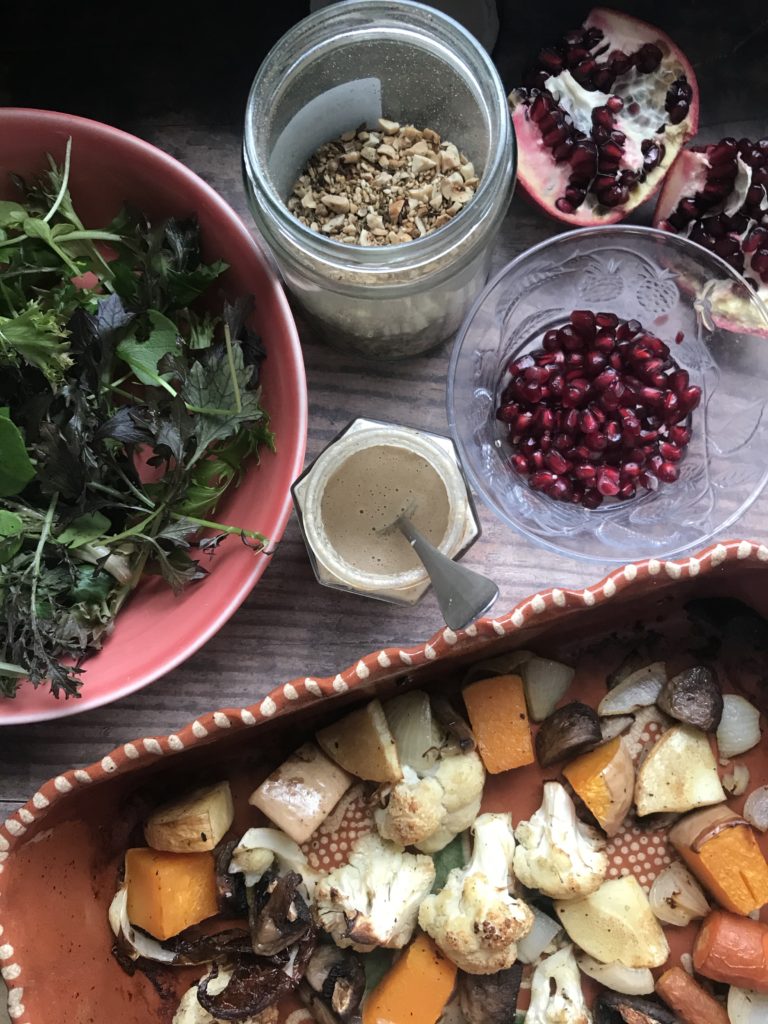
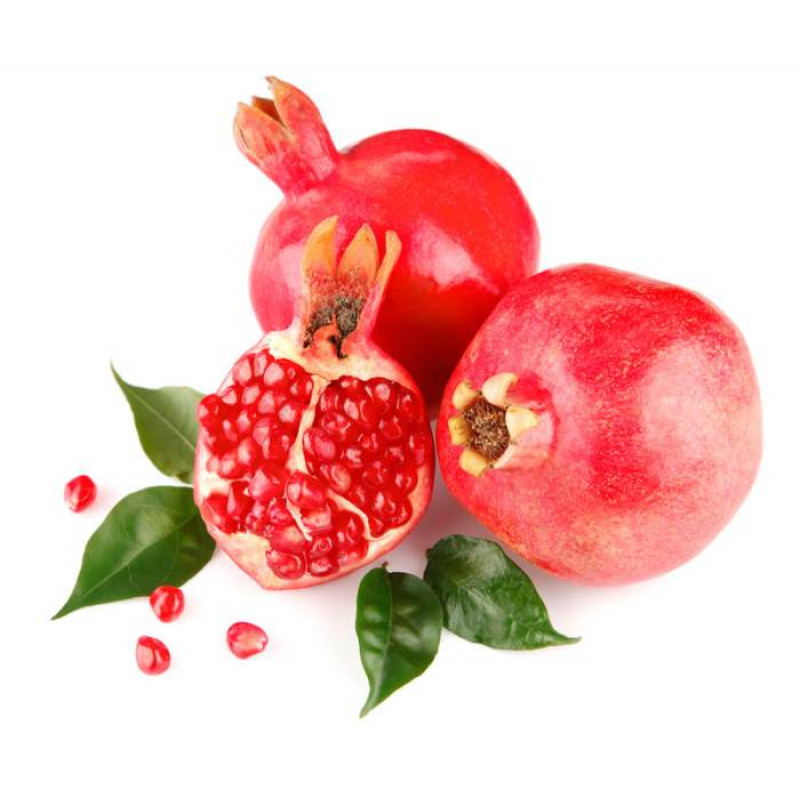
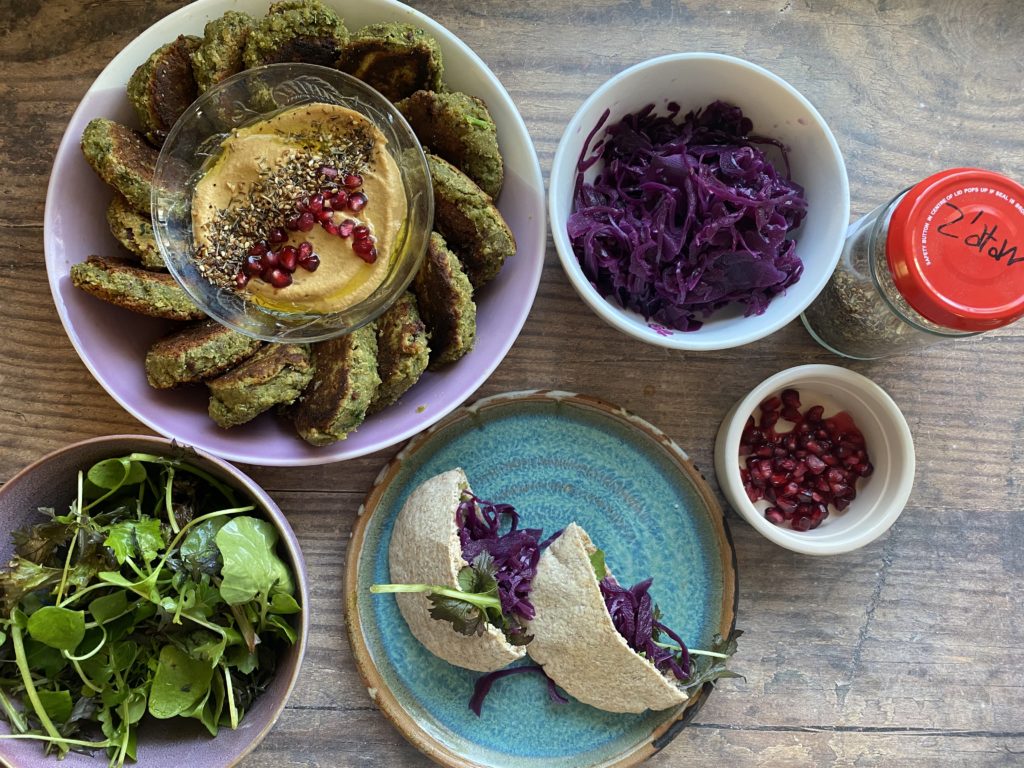
My festive falafel would make a nice little Christmas starter served on some leaves with a dip (a smokey baba ganoush or a spicy harissa perhaps), a sprinkle (some crunchy hazelnut dukka or a zingy z’atar) and some juicy red pomegranate seeds.
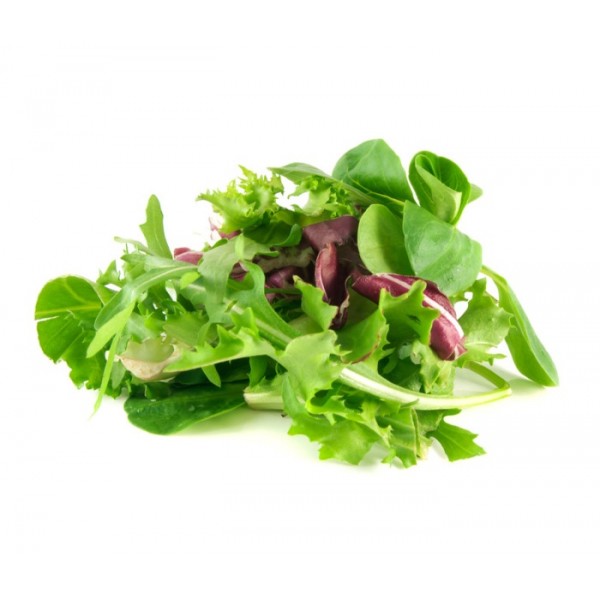
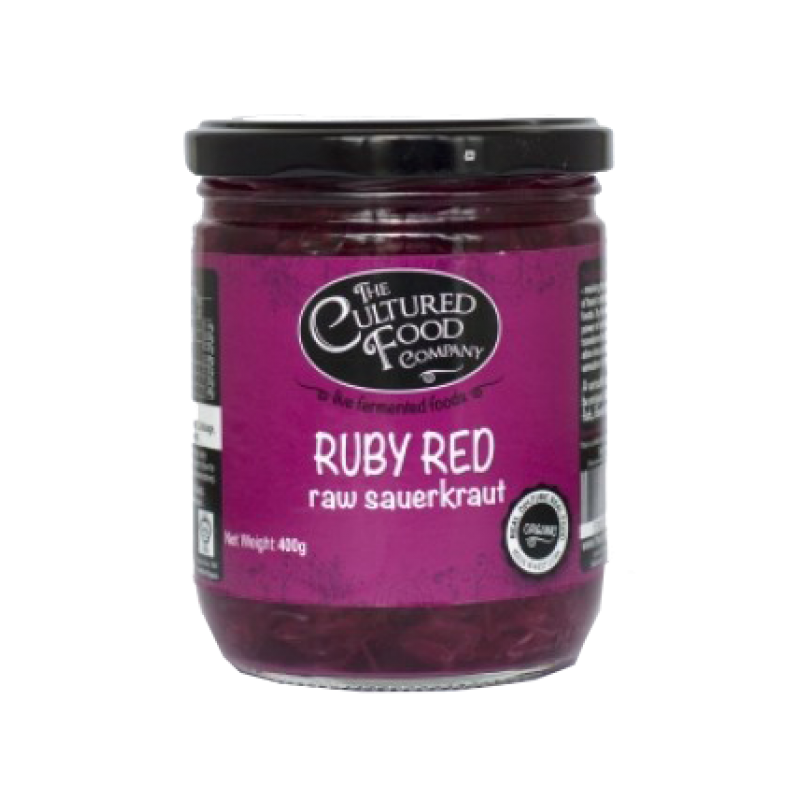
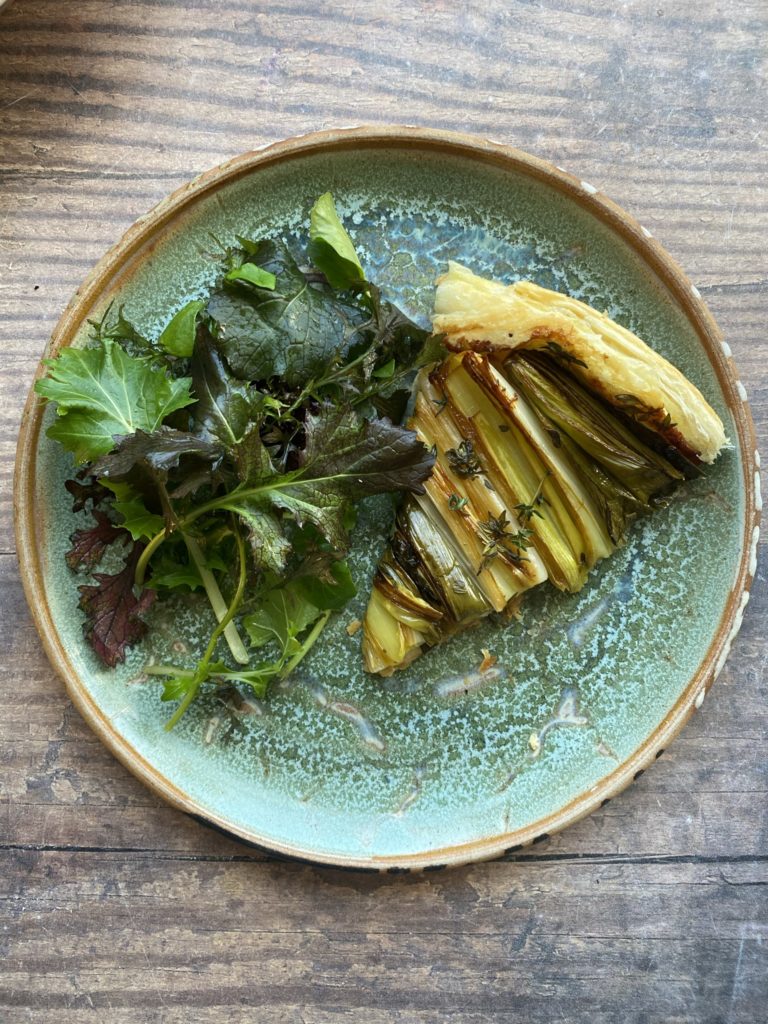
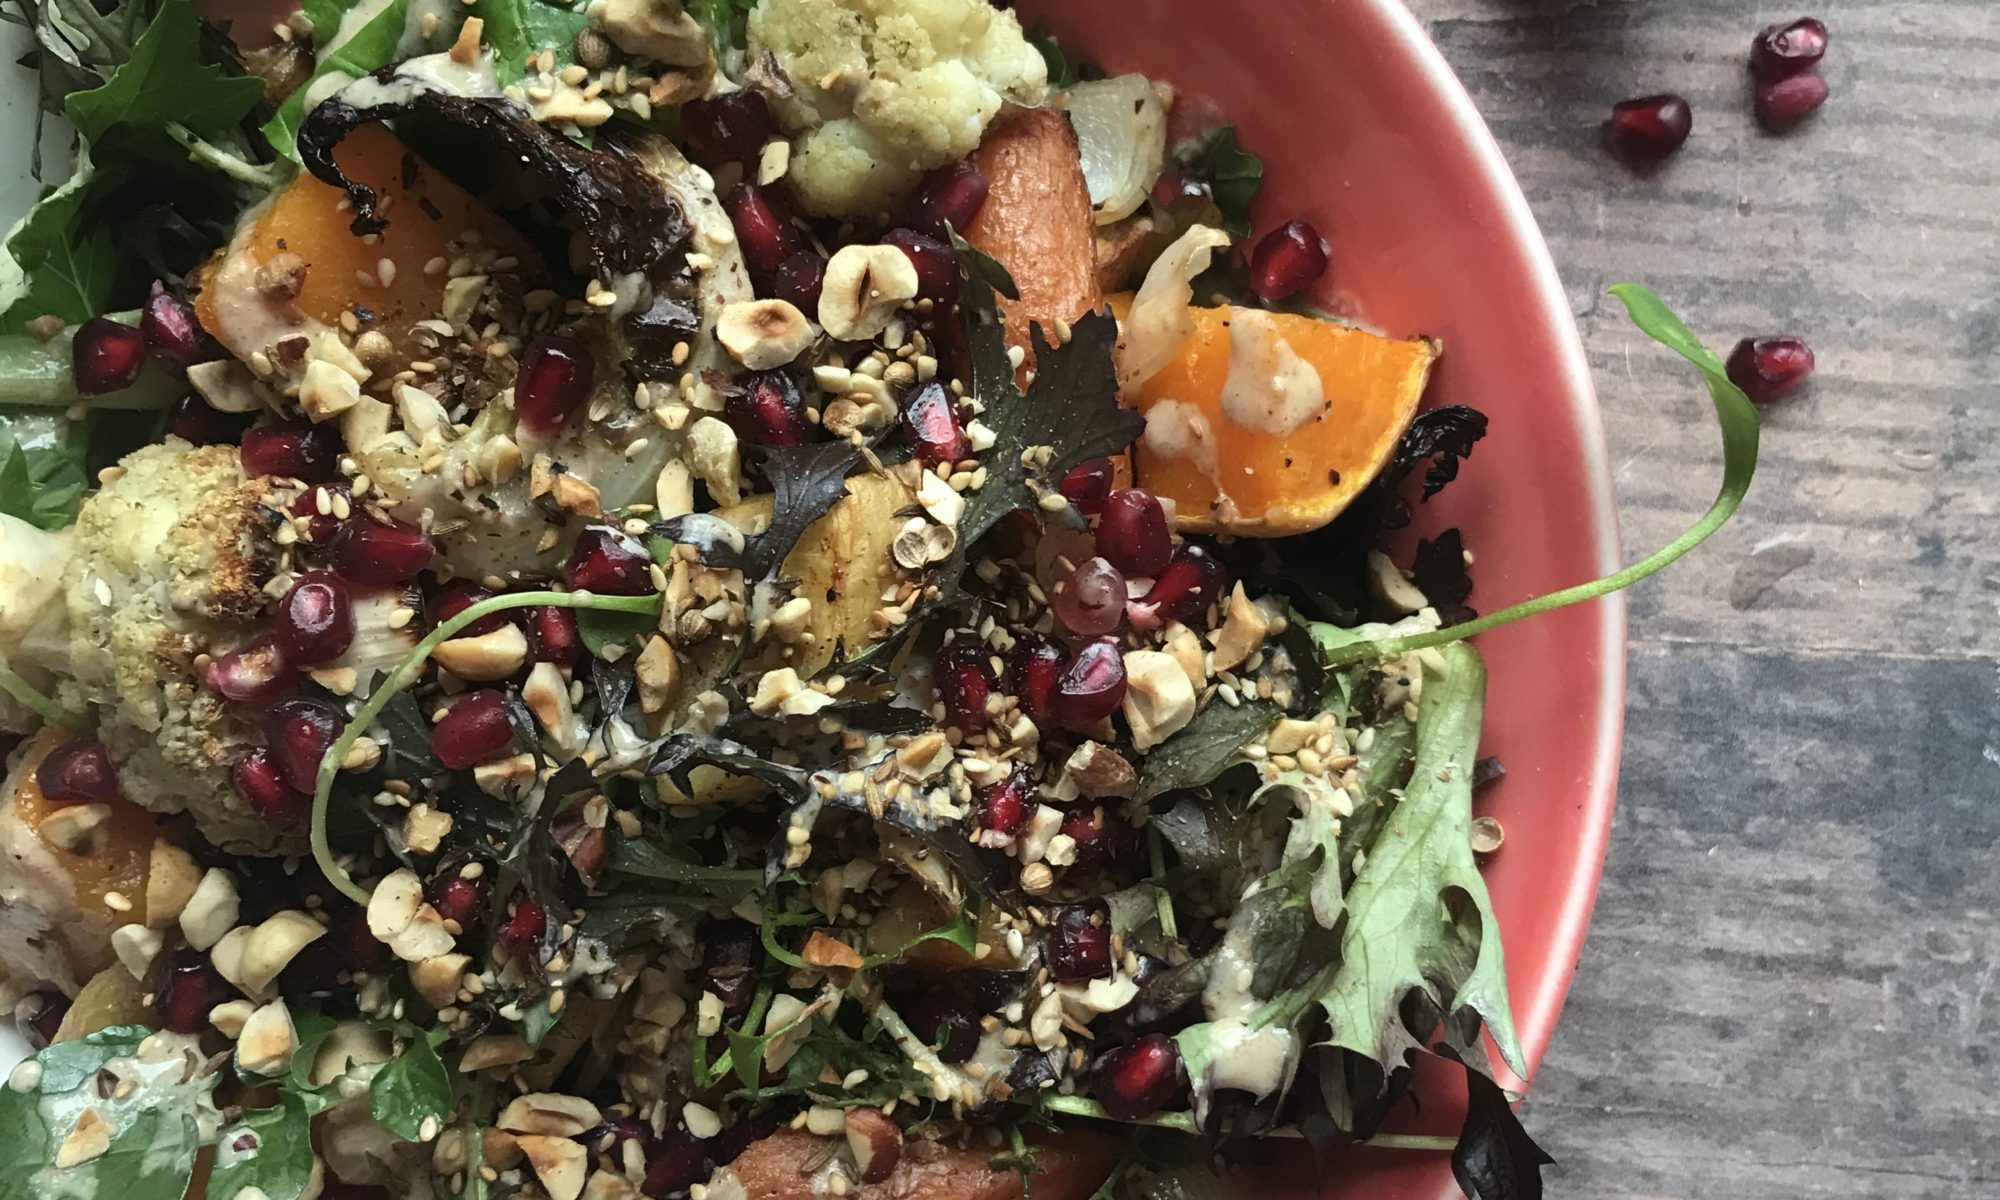
My kids also love a falafel as a burger. Just make them into burger sized patties and serve them in a bun with whatever toppings you like and with a side of potato wedges. Here I’ve served it as a lovely lunch with toasted pitta breads, salad, babaganoush, z’atar and sauerkraut.
Enjoy! Liz x
Ingredients (makes around 15 – 20 falafels)
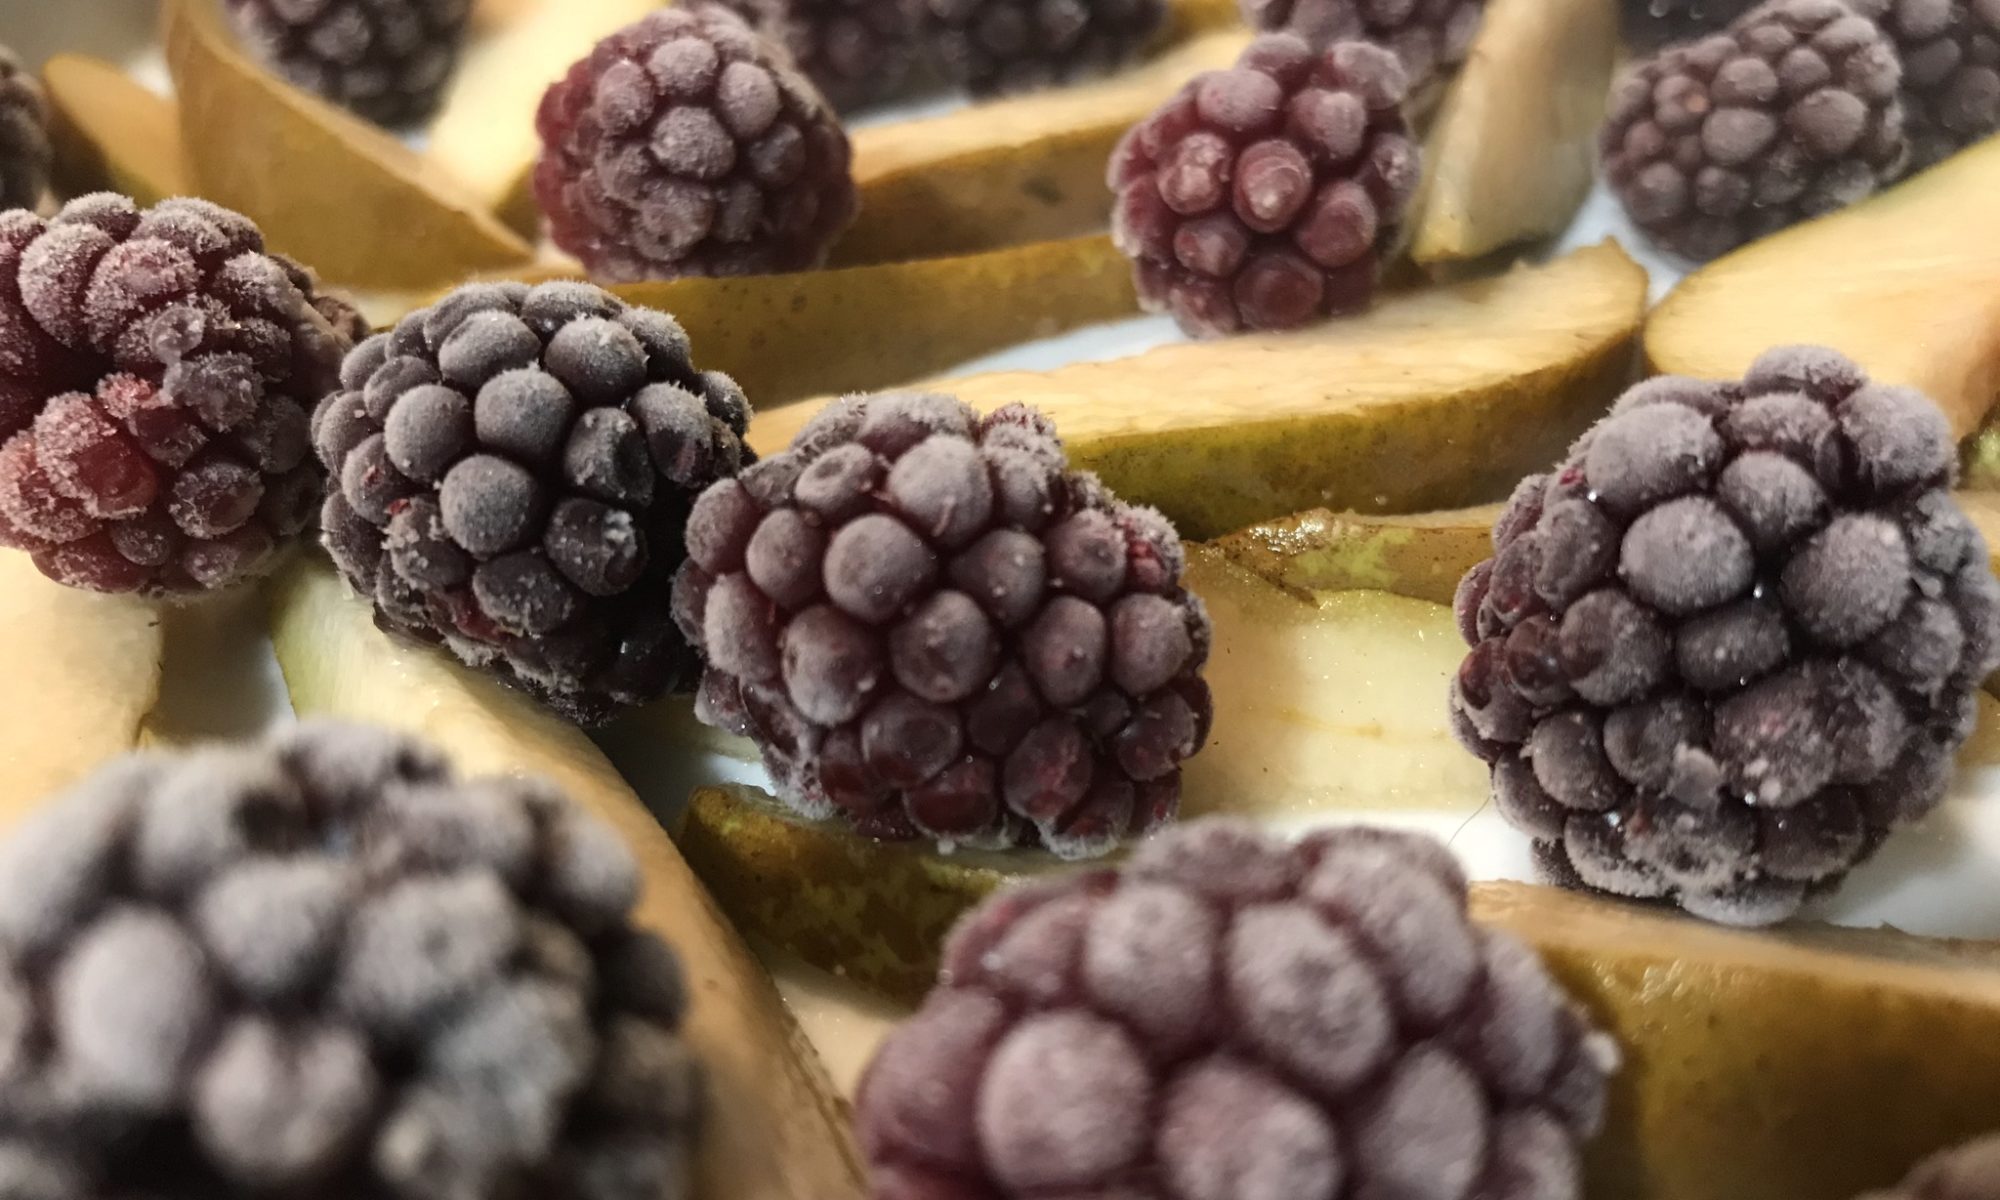
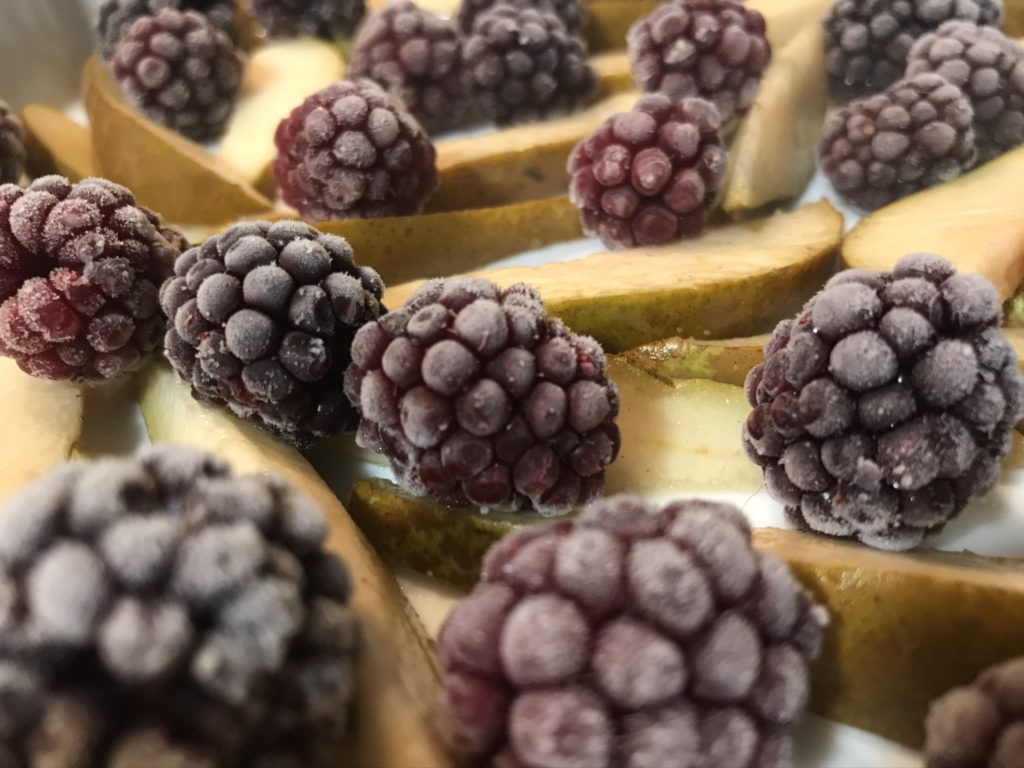
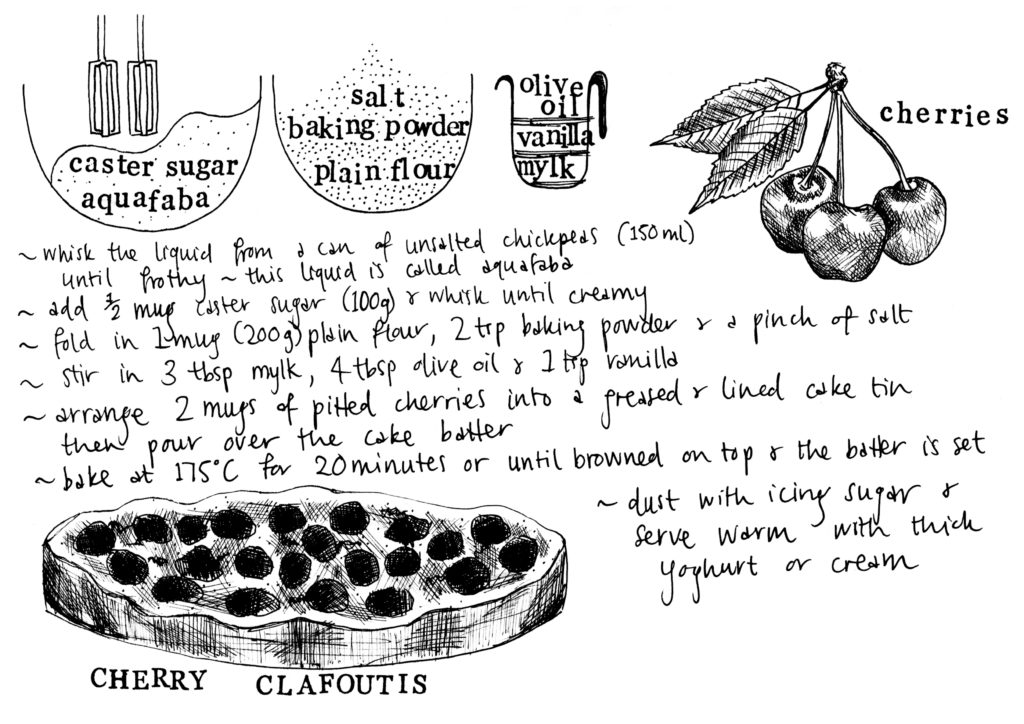
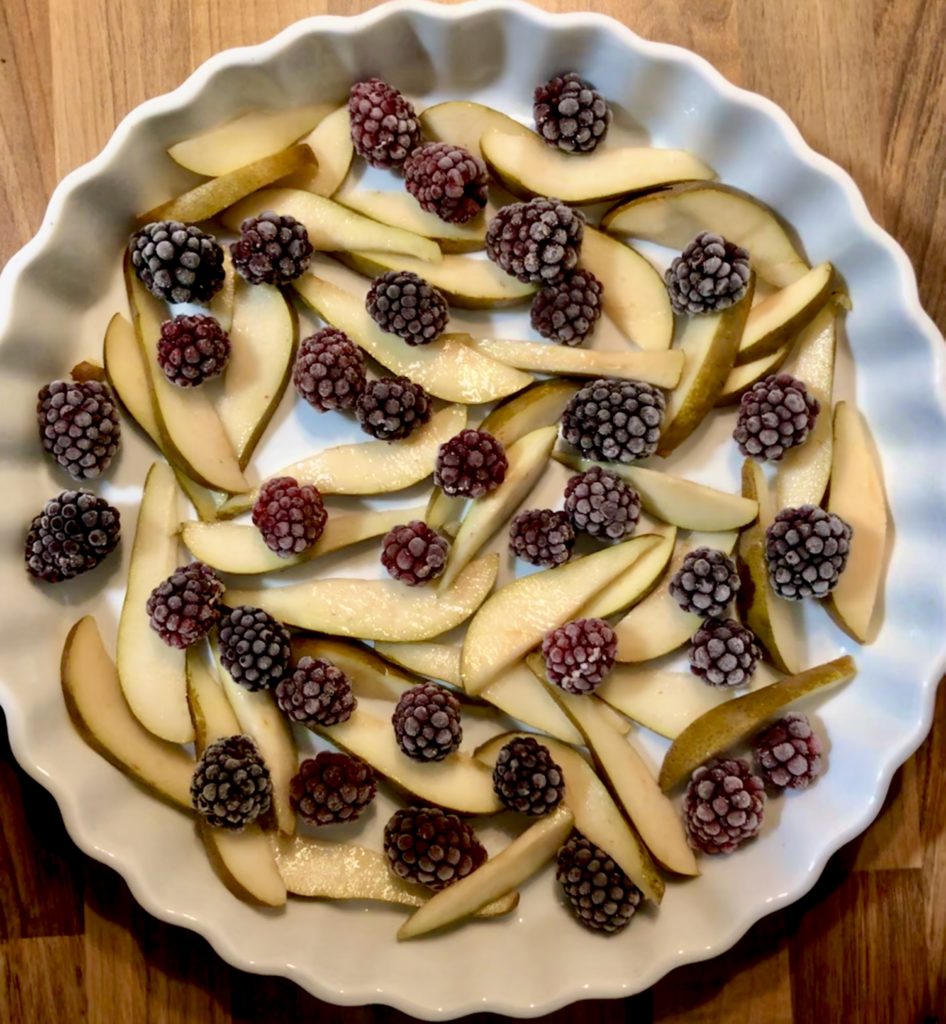
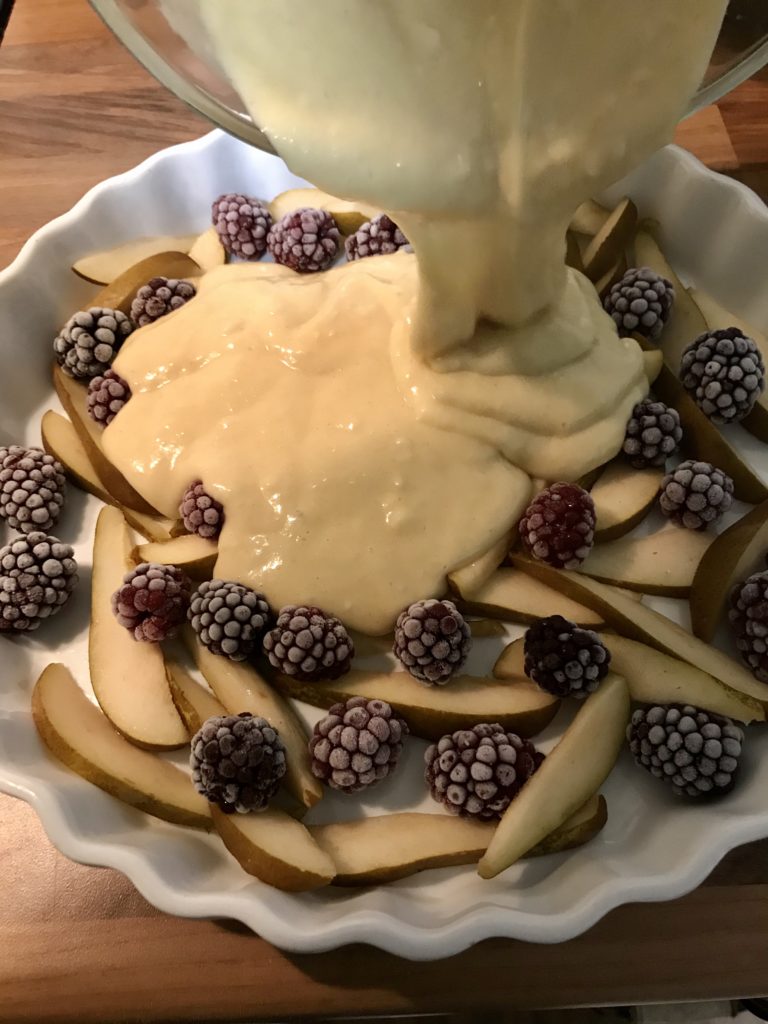
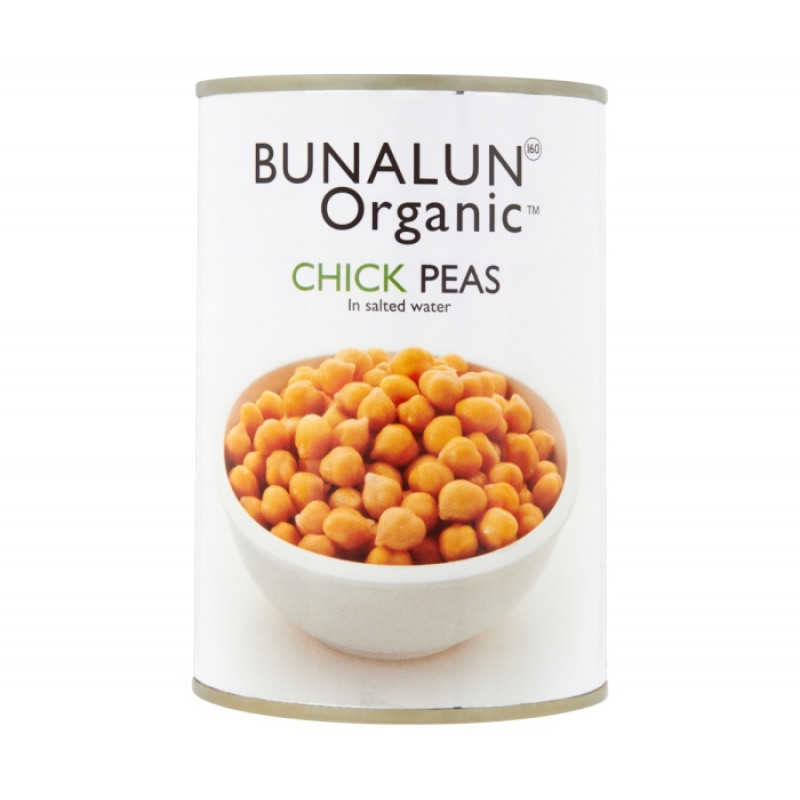
- 1 can of chickpeas – drained (reserve the aquafaba to make this cake?)
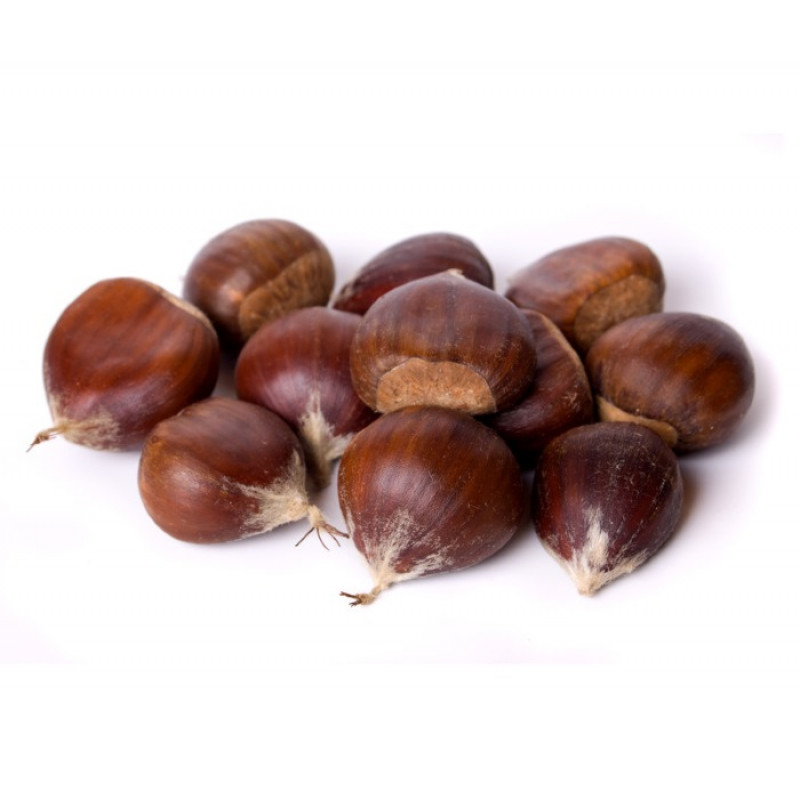
- 180g cooked, peeled chestnuts (carefully pierce each nut and roast or boil until soft, then cool and peel)
- 1 diced red onion
- 1 handful dried or fresh cranberries
- 2 garlic cloves – crushed
- 1 bunch of chopped parsley – stalks and all, around 30g
- 10 chopped sage leaves (or sub with another bunch of parsley or fresh coriander)
- a pinch of ground cloves
- 1/2 tsp ground cinnamon
- 1 tsp ground cumin
- 1 tsp ground coriander
- 1 tsp salt
- 1 tsp ground black pepper
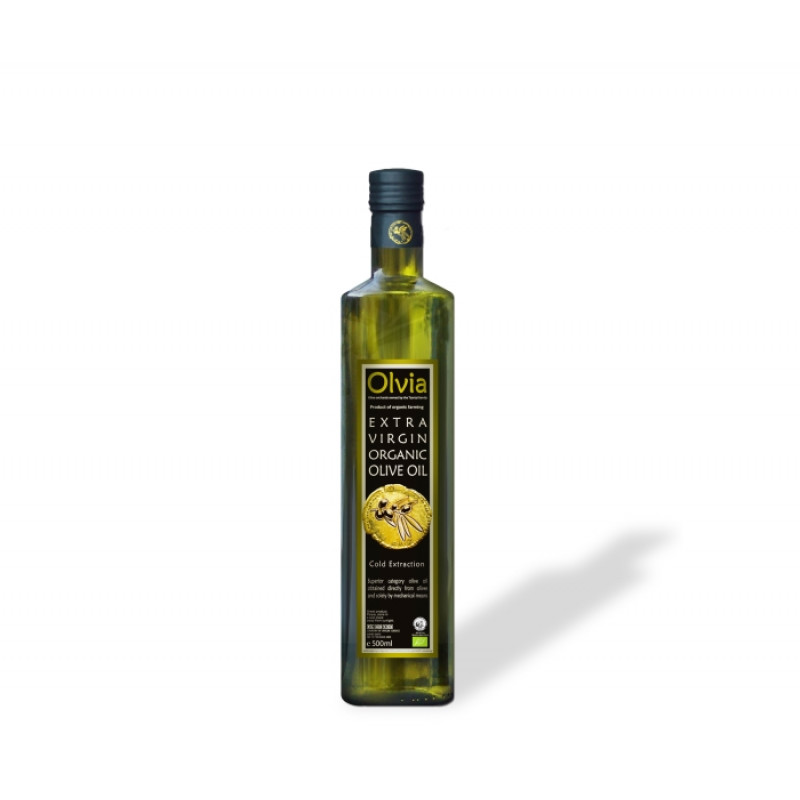
- generous drizzle of olive oil
- enough gram flour to bring the mixture together (around half a mug or so)
- sunflower oil for cooking
Method
Pulse all the ingredients except the gram flour and sunflower oil together in a food processor until combined into a rough paste then taste for seasoning. Add more salt, pepper or spices if needed.
Stir through enough gram flour to make a manageable dough. Be careful not to make the dough too dry though.
Then heat up a heavy bottomed frying pan with a generous slick of sunflower oil.
Form the dough into little balls – I find the easiest way to do this is to use two dessert spoons – and drop them into the pan of hot oil.
Turn the heat down to medium-high and once the falafels are cooked on the bottom, flip them over with a spatular and squish them down into little discs. Cook them on the other side until golden brown. You may wish to flip them once more to cook the first side a little longer.
Repeat until all the dough is used up and keep the falafels warm. Then serve with salad, dips and breads to your liking.
Baba Ganoush
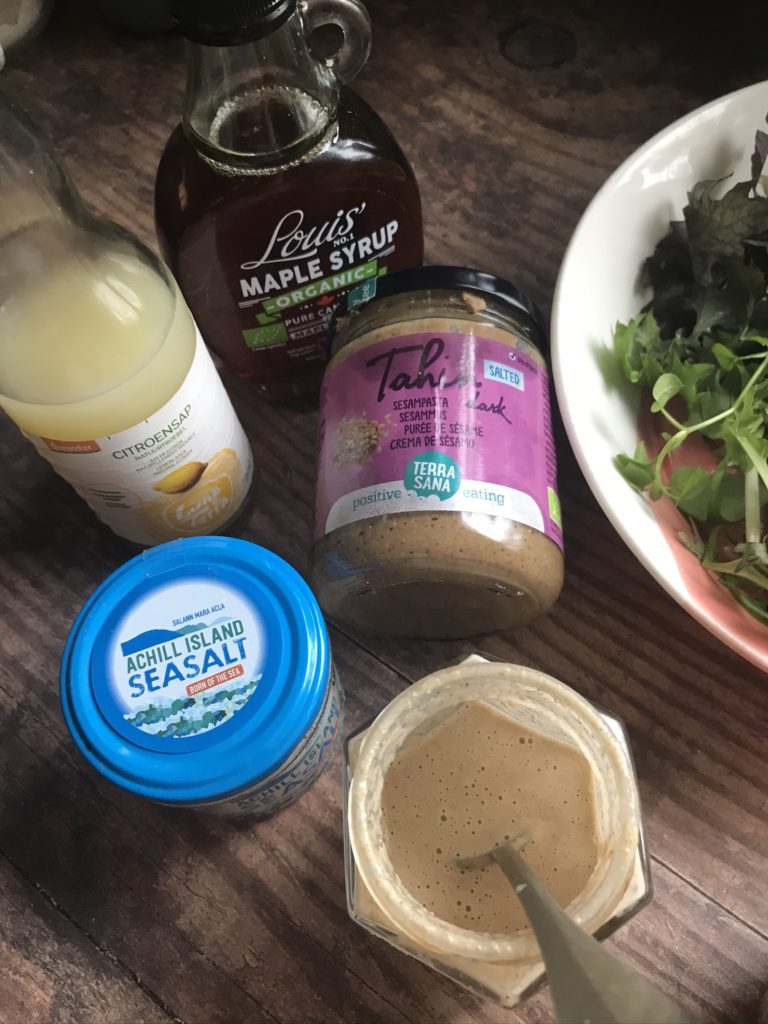
I often have an aubergine in my weekly large veg box from the farm so I made a baba ganoush this time. It’s very easy. Simply roast the aubergine in a very hot oven until it’s beautifully charred, smokey and silky soft all the way through. Then once it’s cool enough to handle, remove the skin and pop the flesh in a food processor with a small clove of garlic, a tbsp of tahini, a tbsp or two of lemon juice, a big pinch of salt, a small pinch each of smoked paprika and ground cumin and a drizzle of extra virgin olive oil. Then blend until smooth, taste for seasoning and adjust as needed.
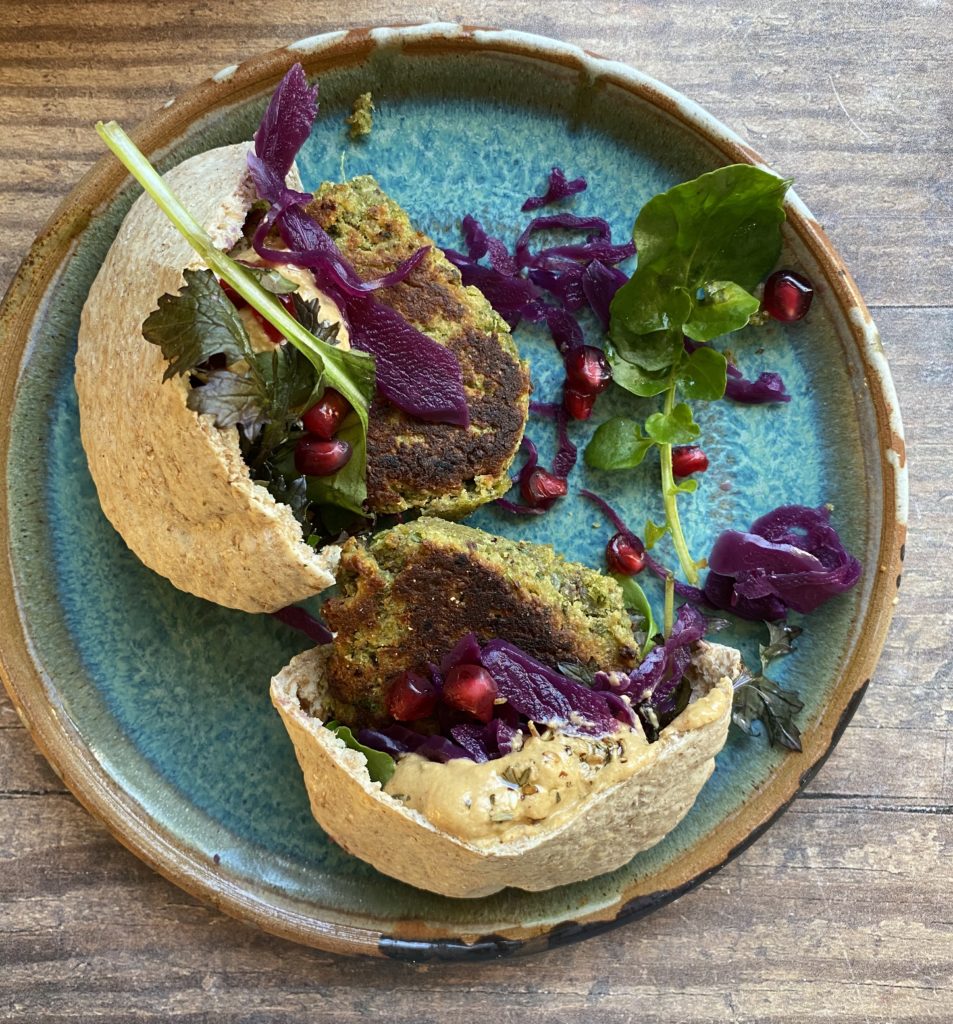
Z’atar
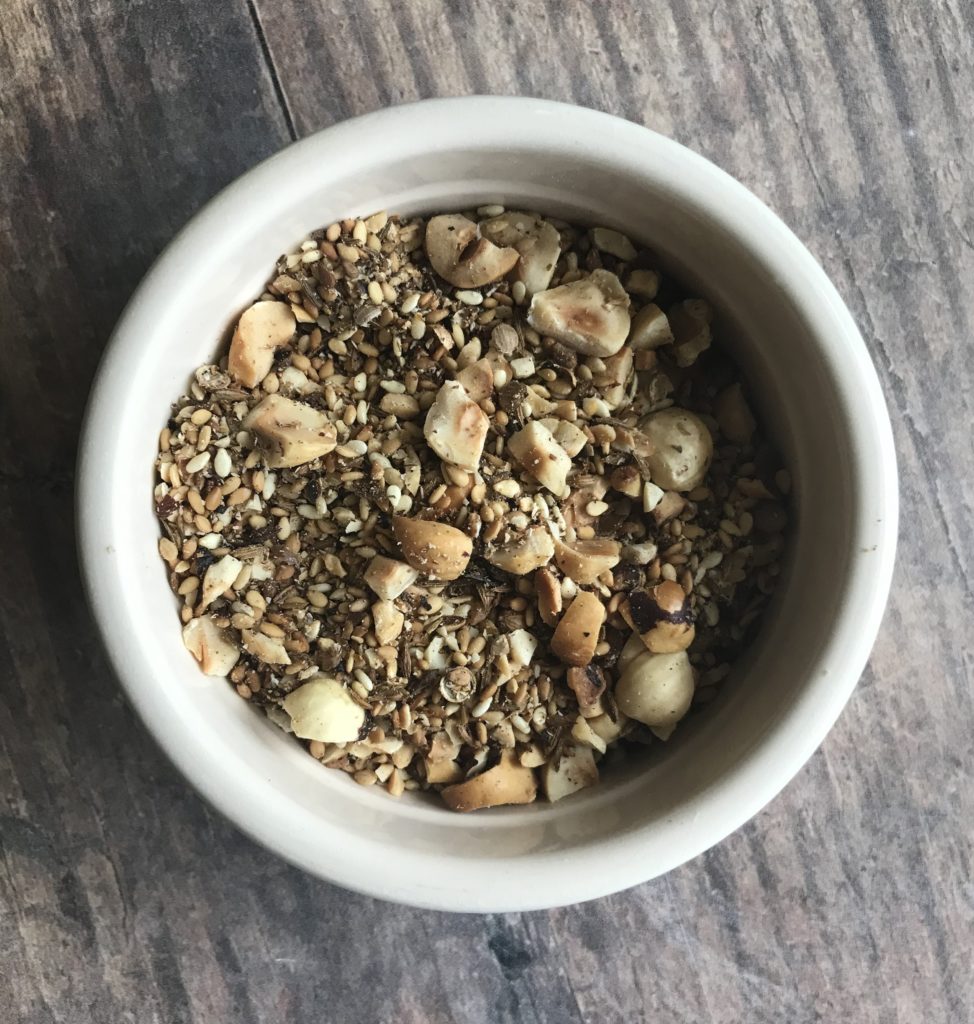
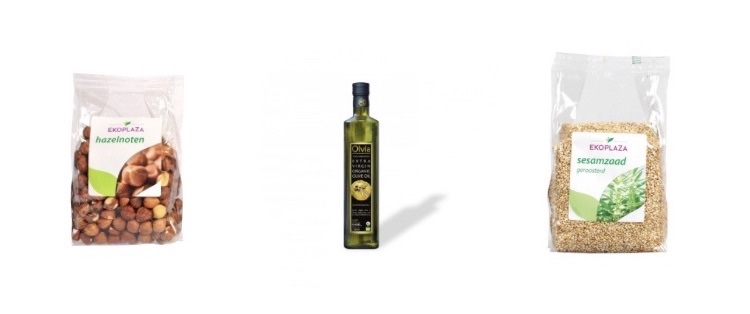
Z’atar is a stunning Middle Eastern sprinkle, so perfect with falafel and dips. I make my own very simply with an even blend of toasted sesame seeds, dried thyme and sumac. The combination of toasty sesame seeds, herby thyme and zingy sumac is so delicious. It’s well worth hunting down some sumac and making some yourself.
Did you make this recipe? Let us know how it went in the comments. Don’t forget to share the recipe with your friends and tag us if you take a photo of your creations on Instagram or in our Healthy Eating facebook page. We love to see our recipes leave the screen.
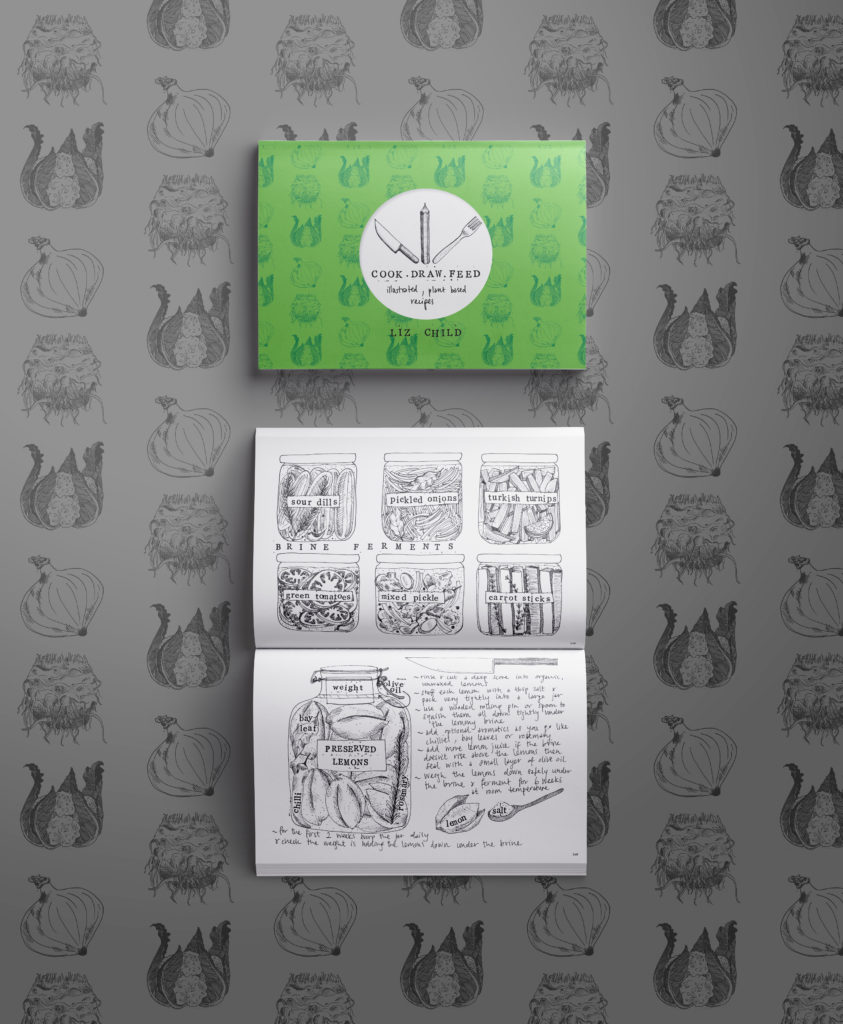
If you like this recipe you’ll love my book! Add it to your next veg box delivery here.