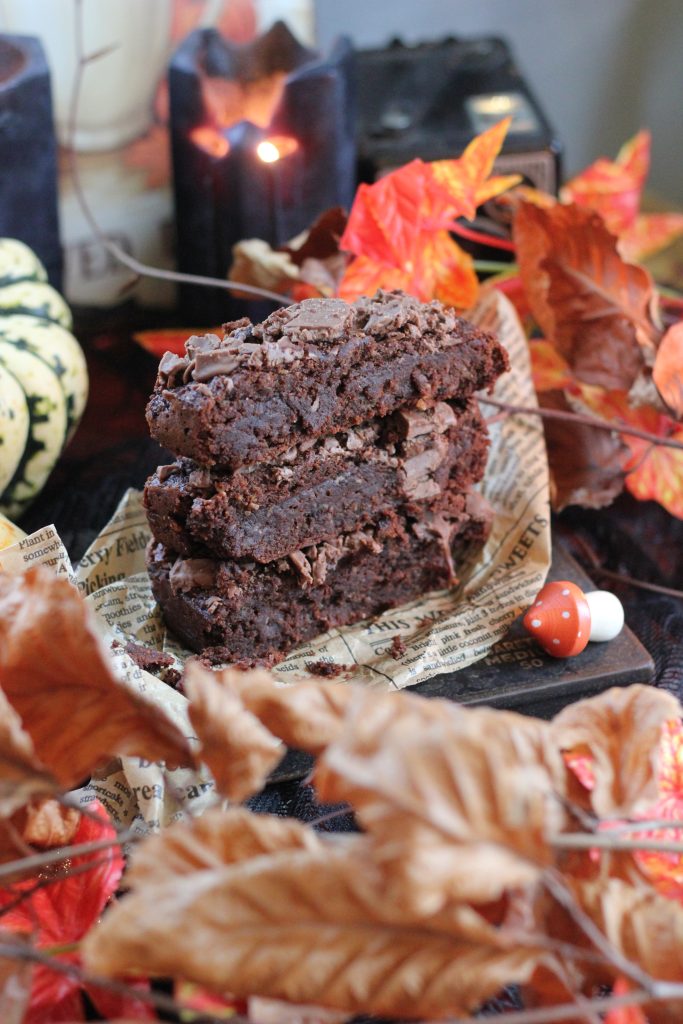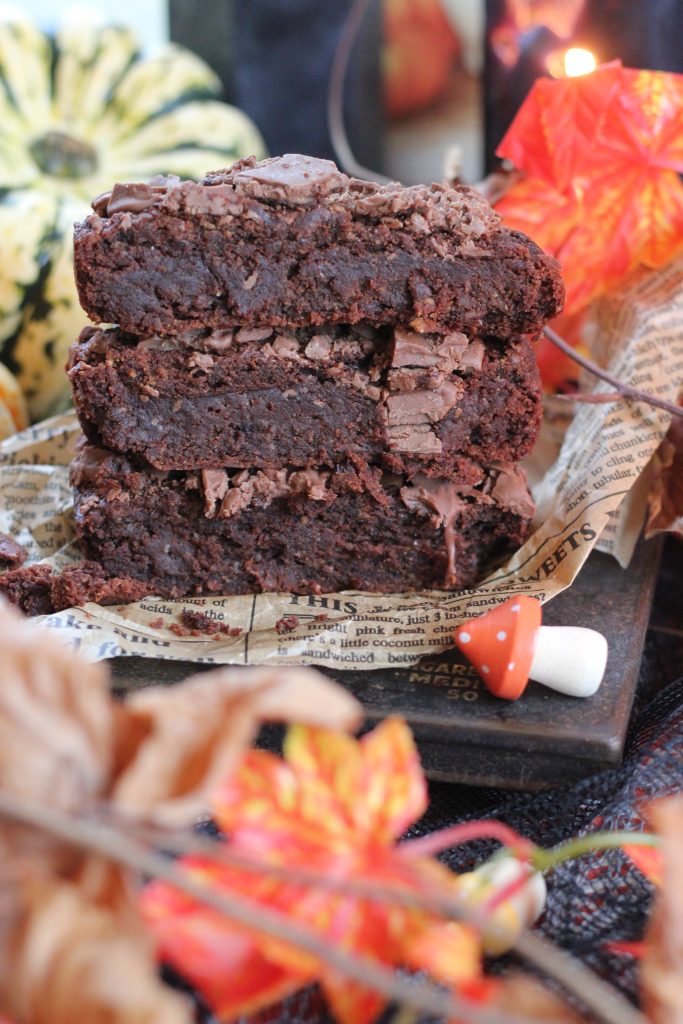
These Chocolate Orange Pumpkin Brownies make for the ultimate autumn treat. They are rich, fudgy, and bursting with flavour. Made with wholesome ingredients, they’re gluten-free, vegan, and come together in minutes. This seasonal snack is packed with flavours of deep chocolate, zesty orange, and velvety pumpkin in every bite.
Enjoy!
Nessa x

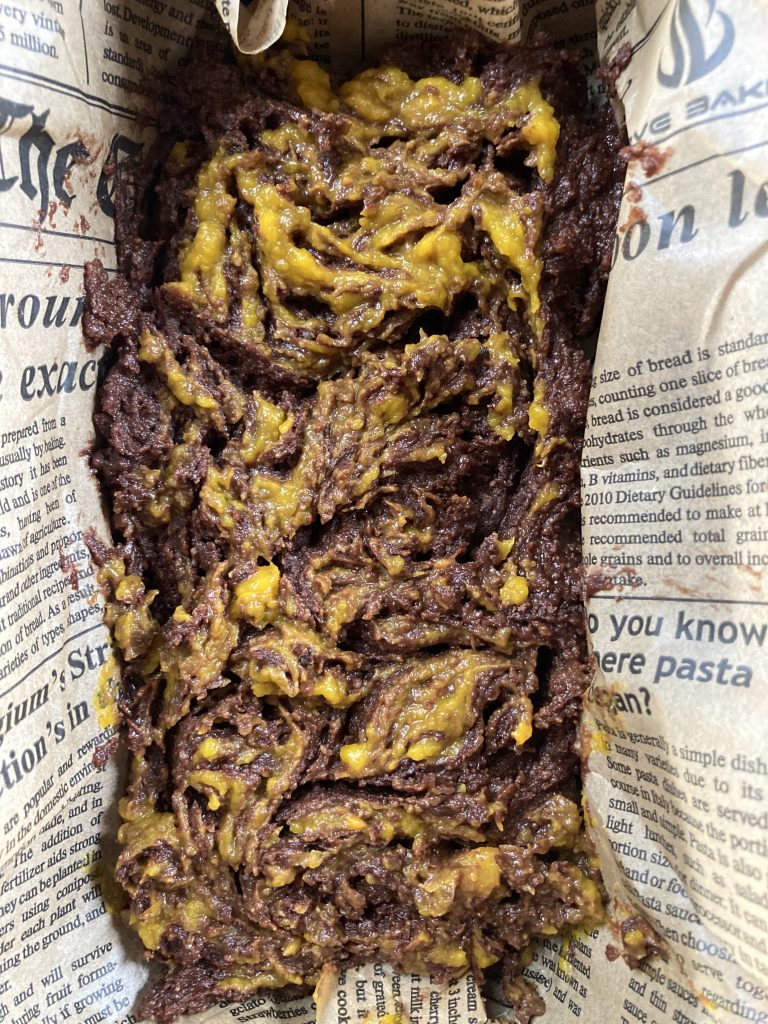
Chocolate Orange Pumpkin Brownie
Ingredients
- 175g peanut butter
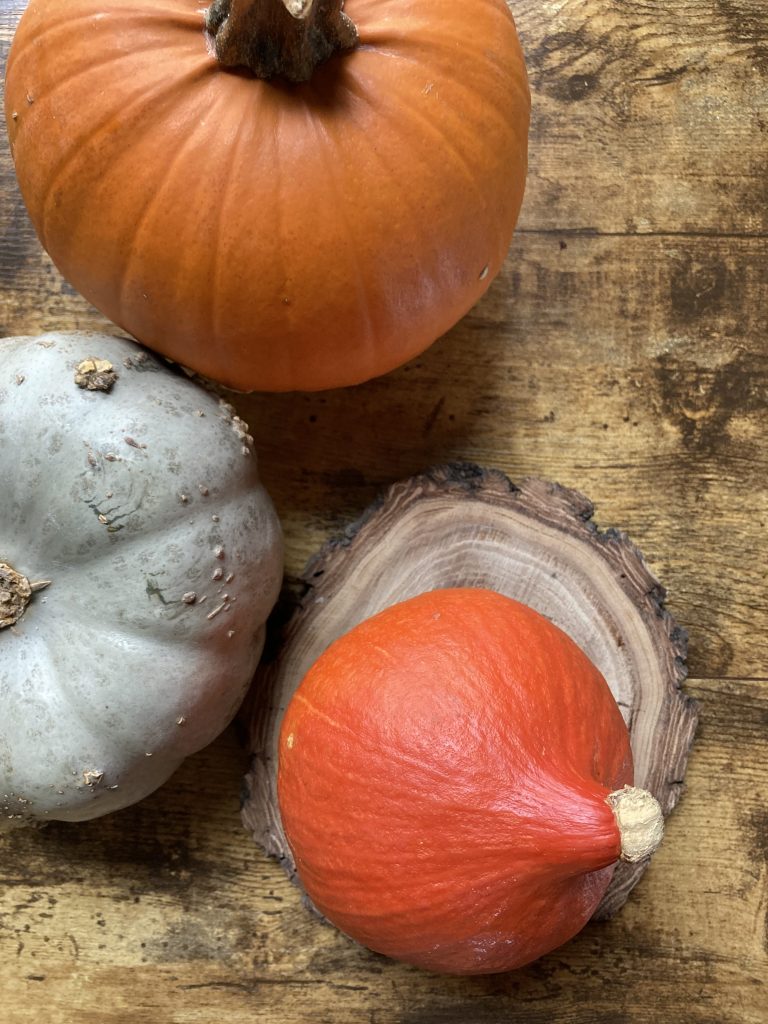
- 100g pumpkin purée (see below)
- 100ml maple syrup
- 50g ground almonds
- Zest of 1 orange
- Juice of ½ orange
- 25g cacao powder
- 1tsp baking powder
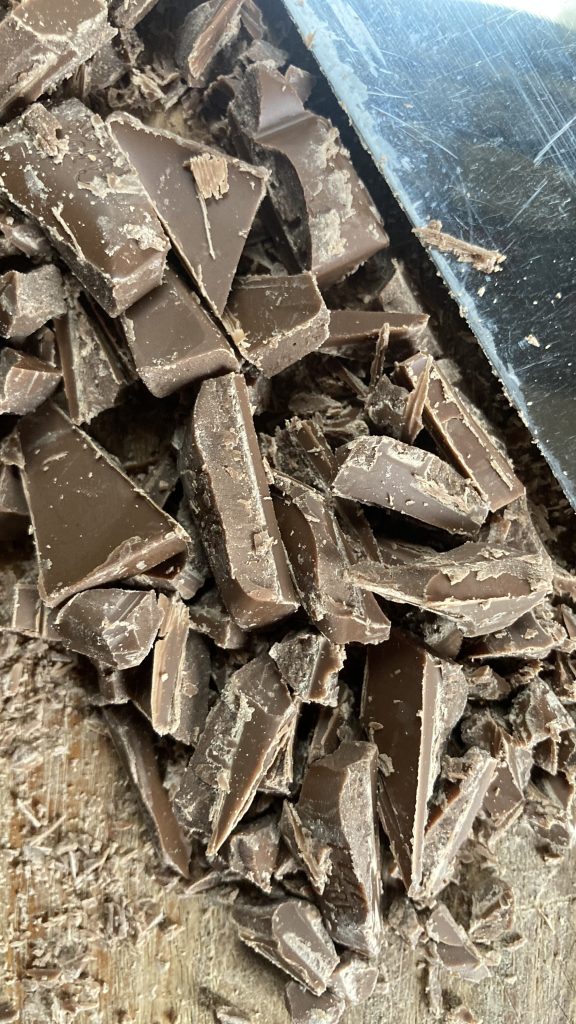
Topping
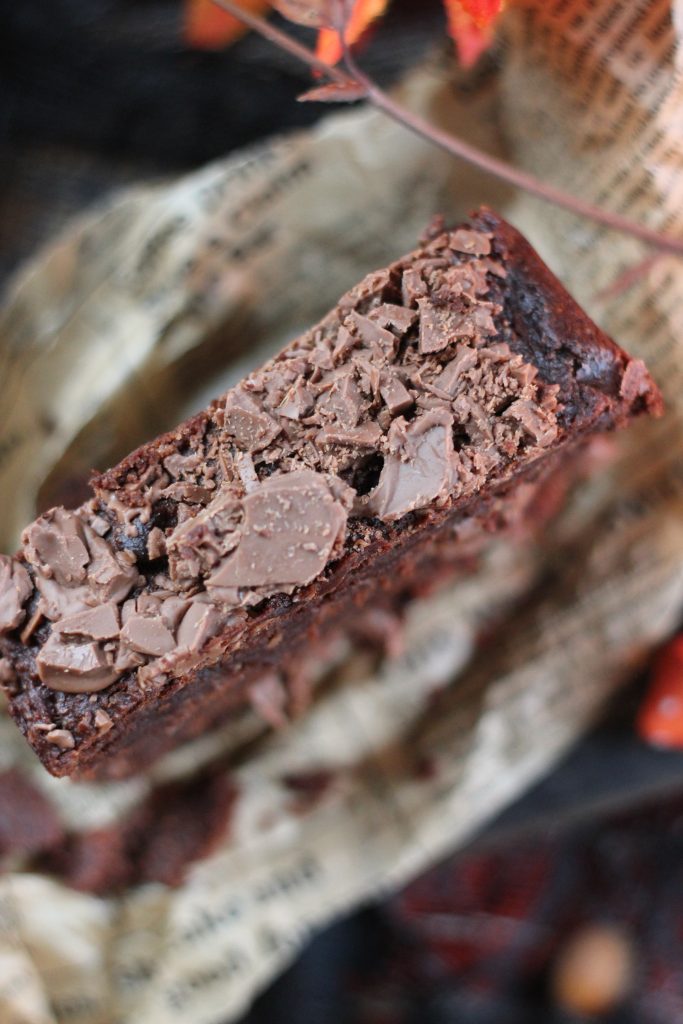
- 50g chocolate, of choice, roughly chopped
Method
- Preheat the oven to 200°C/fan 180°C /Gas Mark 6. Line a 2lb loaf tin with greaseproof paper.
- Add all the ingredients, apart from approx. 1 tablespoon of the pumpkin purée to a large bowl. Mix to combine. Add to the lined tin. Dot the saved purée on top and using a skewer combine with the chocolate mixture.
- Place in the preheated oven for 25 minutes.
- When hot from the oven, scatter over the chopped chocolate. Leave to cool fully before cutting. Store in an airtight container for up to 3 days.
Pumpkin Purée
Method
Preheat the oven to 200°C/fan 180°C/Gas 6. Cut one small pumpkin into half. Place the pumpkin pieces on a large baking tray, skin side up, and place in the hot oven for about 40 minutes. Take from the oven and once it has cooled a little, scoop out the seeds, peel away all the skin, and any bits that may have charred, and pop the pumpkin pieces in a food processor. Blend until smooth. Transfer to a bowl and allow to cool before using. The pumpkin purée will keep well for 3 days when covered in the fridge.