One Pot Baked Orzo Pasta

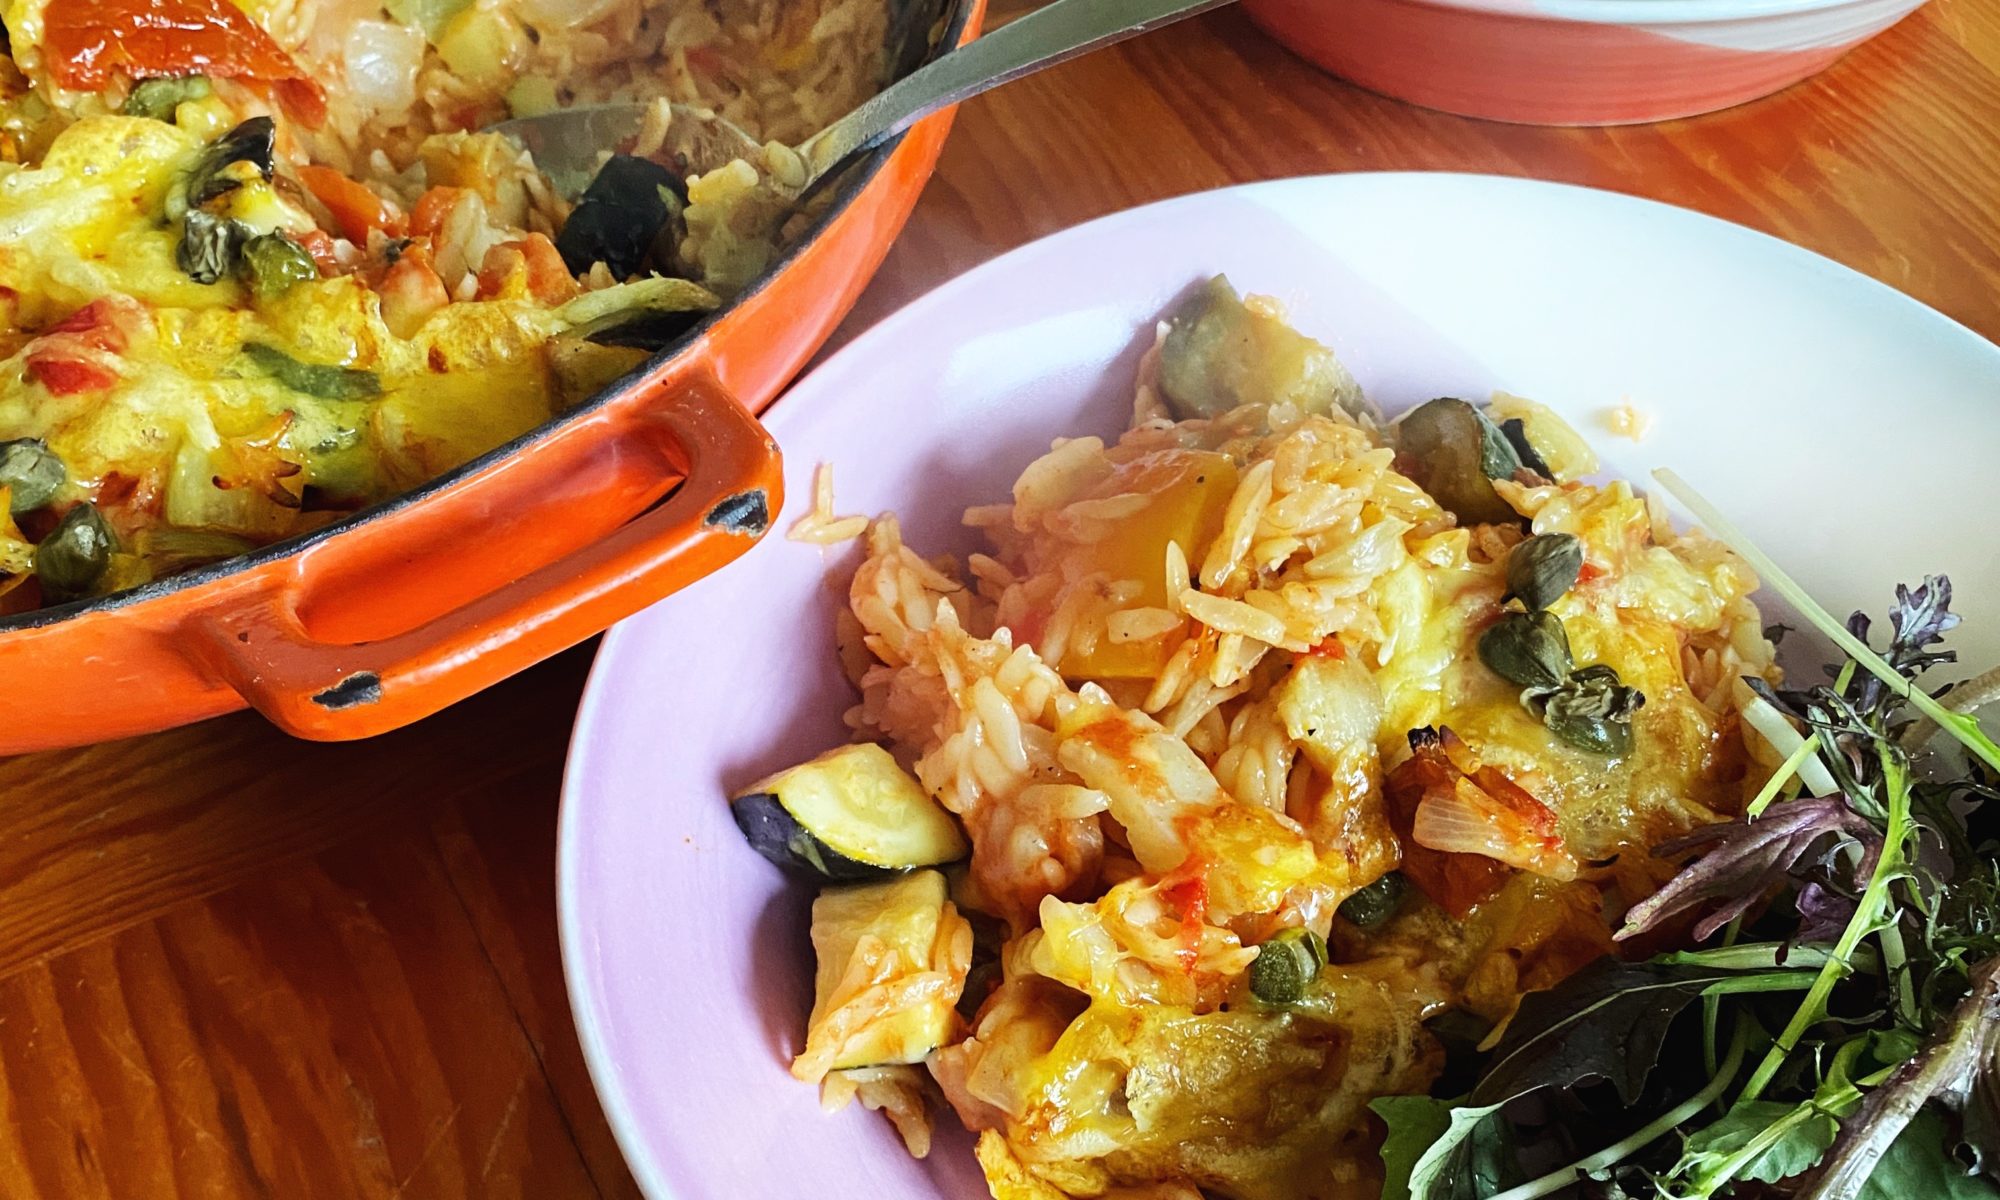
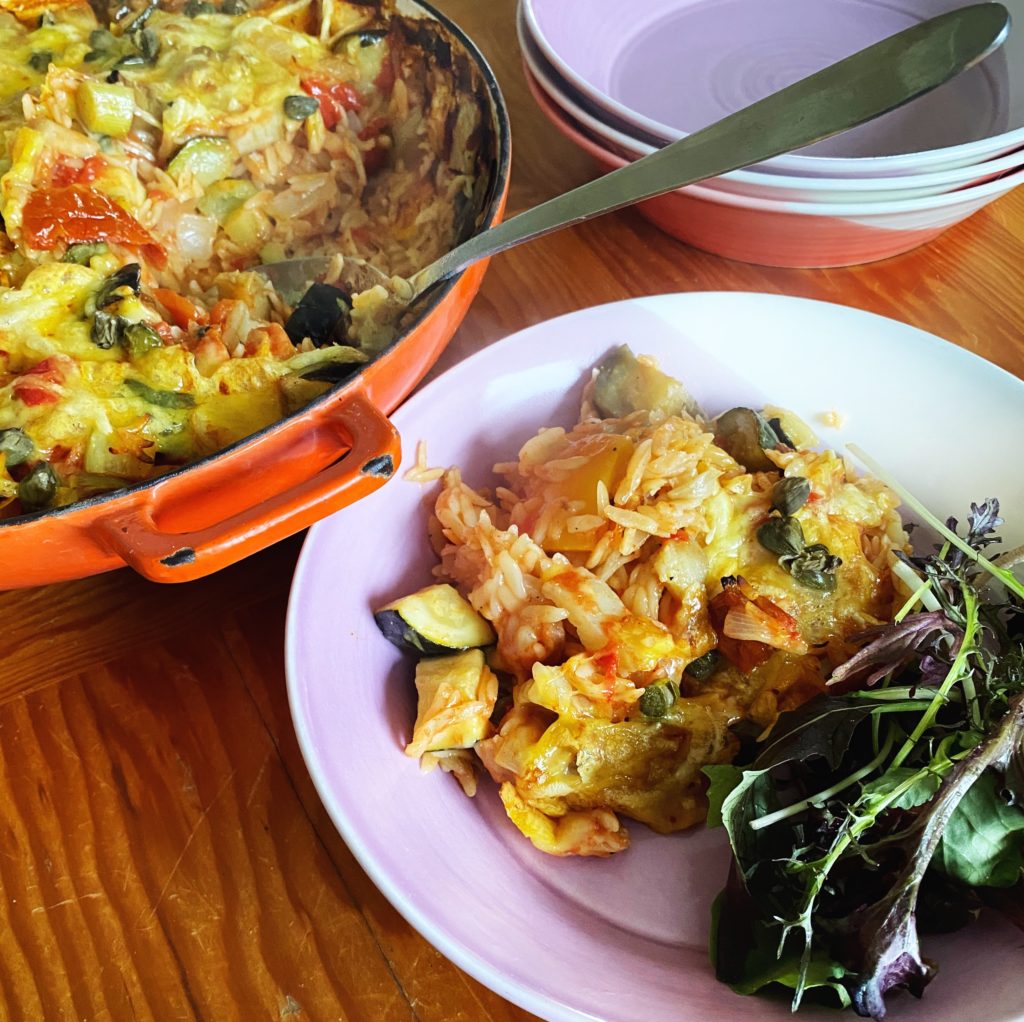
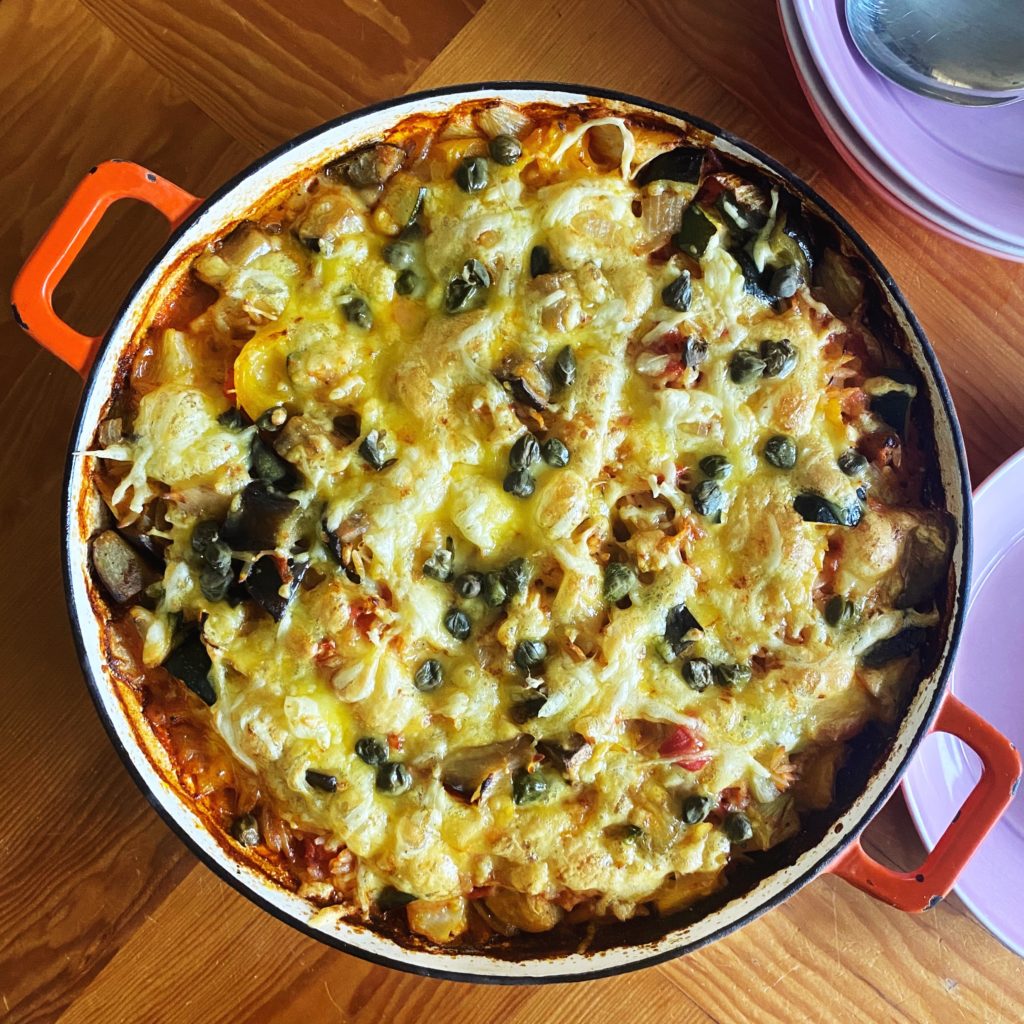
One pot suppers are my favourite types of suppers. Not just for the lack of pots and pans to scrub, although let’s be honest, that is the main reason, but also because it’s just so satisfying, pulling a dish out of the oven and onto the centre of the table and watching everyone tuck in. This baked orzo recipe, like pretty much all of my recipes, is super-flexible. Use it as inspiration rather than instruction and tweak it with any vegetables you have in your box this week. Orzo is simply rice shaped pasta. I often pop a drained tin of beans or lentils into the mix too for some added fibre and protein. Let us know how your version went in the comments.

Liz x

Ingredients (serves 4-5)

  • 4 tbsp olive oil
  • 2 onions – diced
  • 6 cloves of garlic – diced
  • roughly chopped vegetables of your choice (I went ‘Med-veg’ style and used – 1 aubergine, 1/2 a fennel bulb, 2 courgettes, 1 yellow pepper)
  • 500g orzo pasta
  • the juice of a lemon (or a tbsp of preserved lemon paste)
  • 1 tin of chopped tomatoes
  • 500ml water
  • salt, pepper and herbs to taste
  • added extras to taste – olives, capers, sun-dried tomatoes, a drained tin of beans/lentils/chickpeas…
  • grated cheese (or vegan cheese – we sell a range or make my tofu-feta recipe) to finish

Method

  1. Pre-heat your oven to 200C and find a large oven and hob safe pan with a lid. If you don’t have one, you could use a roasting dish and some tin foil – roast rather than sauté the vegetables.
  2. Sauté the diced onion and garlic with the olive oil for 5-10 minutes or until starting to soften and colour.
  3. Add the chopped vegetables, season with salt and pepper and sauté for a further 10 minutes until not fully cooked through, but just starting to caramelise on the outsides.
  4. Pour the orzo into the pan along with the lemon and tin of chopped tomatoes. Swirl the juices out of the tin into a measuring jug until you have 500ml of water and add that to the pan too.
  5. At this point you may wish to add some extra ingredients like herbs, olives, capers, chopped sun-dried tomatoes, a drained tin of butterbeans etc…
  6. Stir well to combine the ingredients then place the lid on the dish and put it in the oven to bake for 20-30 minutes or until the pasta has absorbed all the liquid.
  7. Remove the lid and add a generous sprinkle of grated cheese. Return the dish to the oven with the lid off for 5 minutes or until bubbling and starting to take on some colour.
  8. Enjoy with a simple green salad.

Preserved Lemons

A preserved lemon from my last batch which I made about 9 months ago.

Preserved lemons are a very North African/Middle Eastern thing and so go well in tagines, whizzed into hummus and blended into spice pastes or marinades. They are absolute flavour bombs and once you get a taste for them you’ll be hooked. Luckily they are cheap and easy to make yourself. Apart from the stunning flavour, what I really love about them is that they are a great example of compleating (a waste free principle of eating the whole fruit/vegetable). The rind of the lemon softens during fermentation and is then the best bit! Although don’t waste the flesh and the liquor, all that can be used to pep up dressings, risottos, soups, stews…anything that needs some salty, lemony goodness.

Here’s a quick video explaining the process, it’s one of those recipes which is easier to learn through watching. Liz x

Ingredients

  • organic lemons (unwaxed)
  • natural salt
  • olive oil (optional)
Just after jarring. These need 4 weeks fermenting at room temperature before they are ready.

Method

Rinse the lemons and prepare a clean chopping board, knife, tablespoon and large jar. They don’t need to be sterilised, but make sure everything is well cleaned and rinsed. Clean your work surface well too.

Slice the ends off a lemon (just a small sliver from the end that was attached to the tree, and the other end if it looks like it needs it. If it’s fresh and in good condition then just leave the bottom end on) then cut a deep score into the lemon about 3/4s of the way down.

Stuff the lemon with a tbsp of salt and press it firmly into the jar using the rolling pin to help.

Repeat until you have filled the jar or run out of lemons.

There should be enough juice in the lemons to create a brine to cover them all when pressed down. If not, add some extra lemon juice.

Weigh down the lemons under the brine using a small glass or a glass weight. Then add an optional layer of olive oil to float on top of the lemons and seal them from exposure to air.

Put the lid on (I like to make sure my jar is full enough so that the action of putting the lid on top of the weight pins down the lemons under the brine) and place the jar on a shelf at room temperature to ferment for 4 weeks.

During the first week of fermentation you may notice bubbles forming. Just open and close the lid to release any gases that have formed. Keep an eye on the jar and if any lemons start to rise about the brine just push them back under and re-arrange the weight.

After 4 weeks you should notice a change in texture, colour and aroma. They are done. Keep the jar in the fridge and use within a year.

For ease of use, you could purée the fermented mixture in the jar and then just take out a spoon or so to add salty lemony flavour to many dishes.

Puréed preserved lemons for easy use.