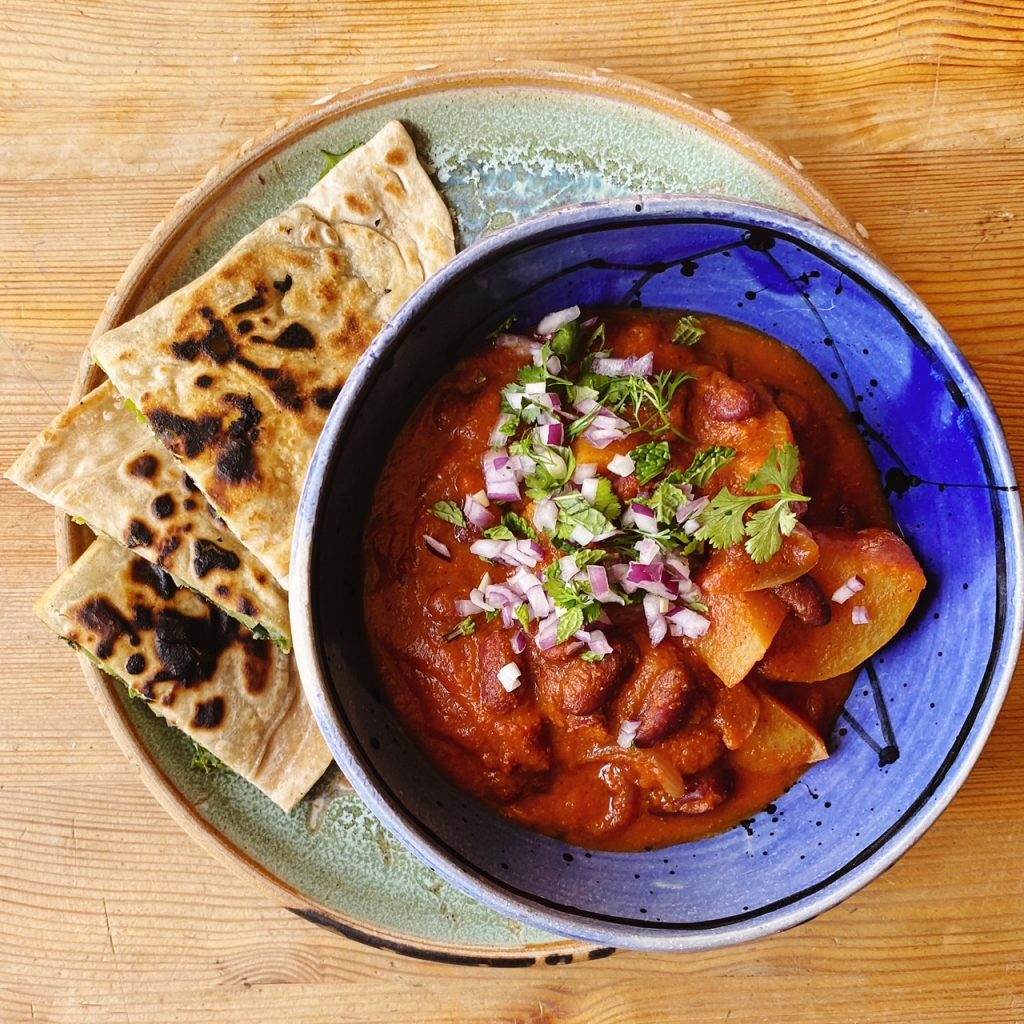

Afghan Kidney Bean Curry

We are always looking for new ways to eat beans. They are so good for us! An affordable and healthy source of protein and fibre. Good news is they are also great for the environment. Legume crops improve soil fertility naturally by working with bacteria to fix nitrogen into the soil.

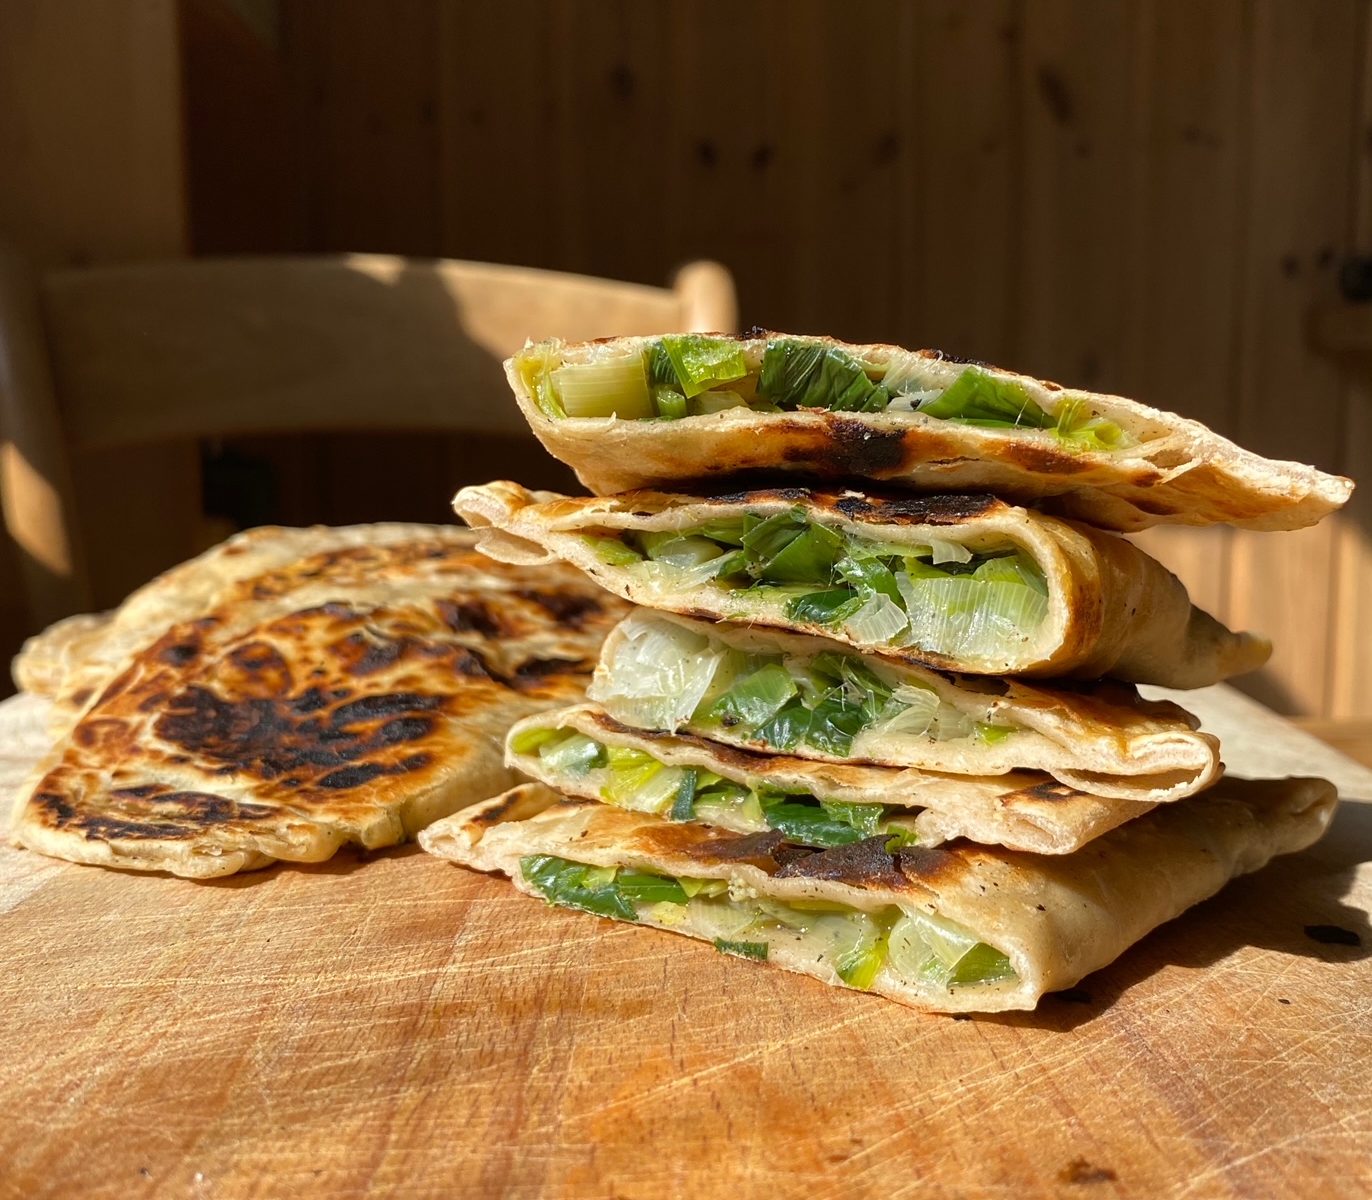
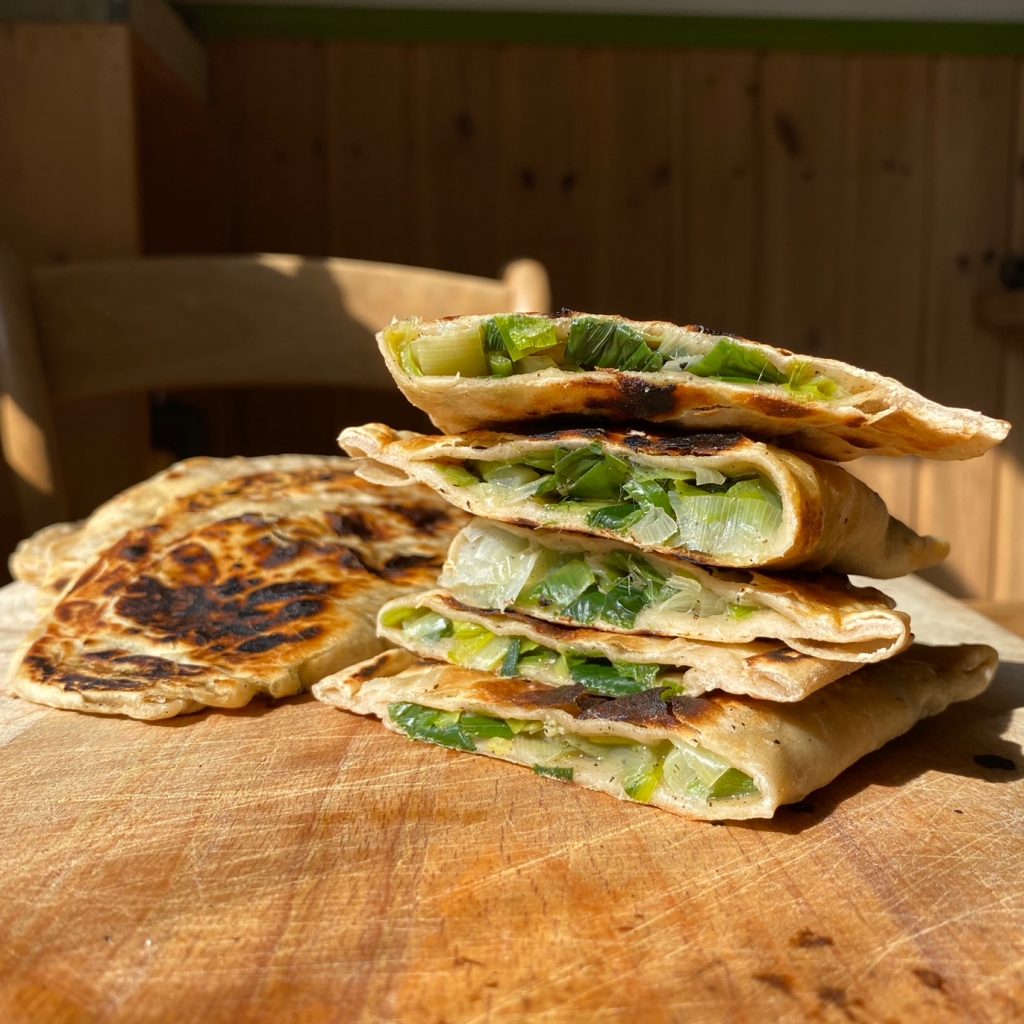
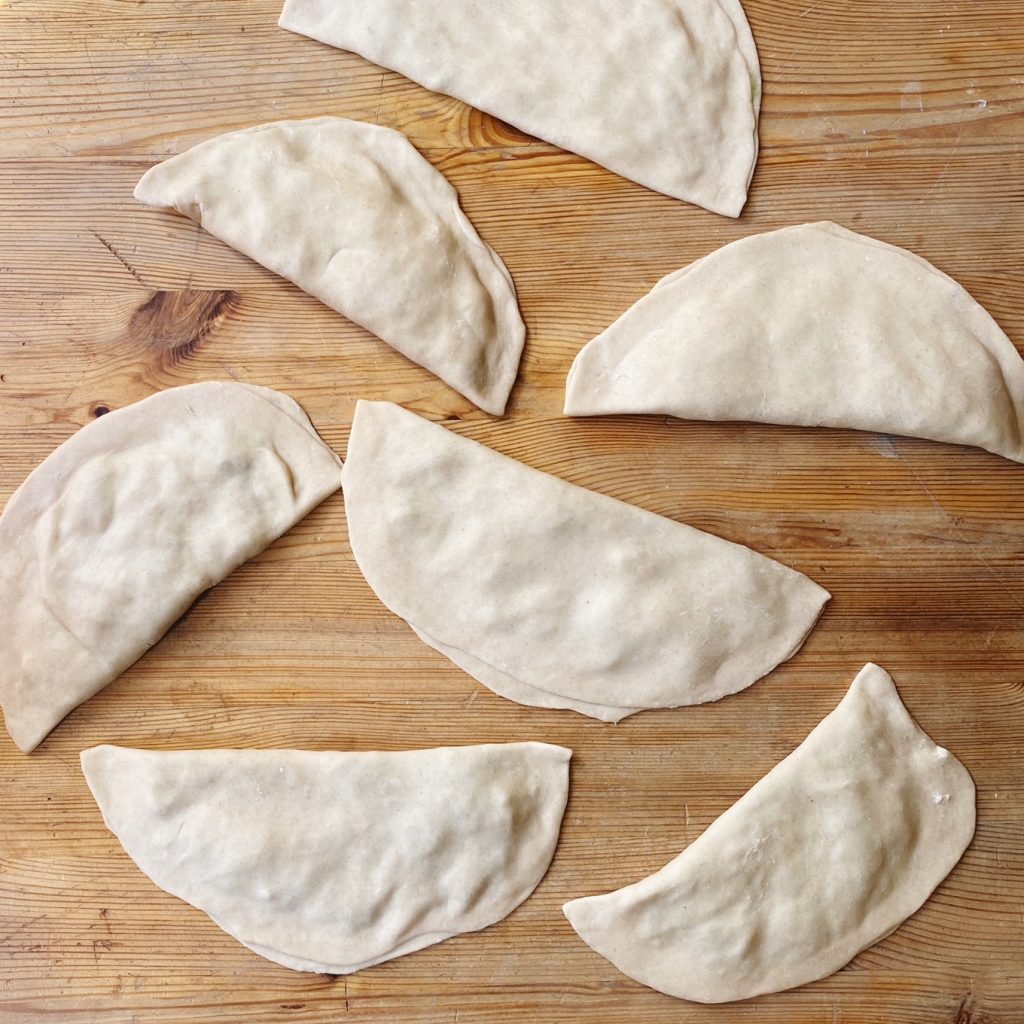
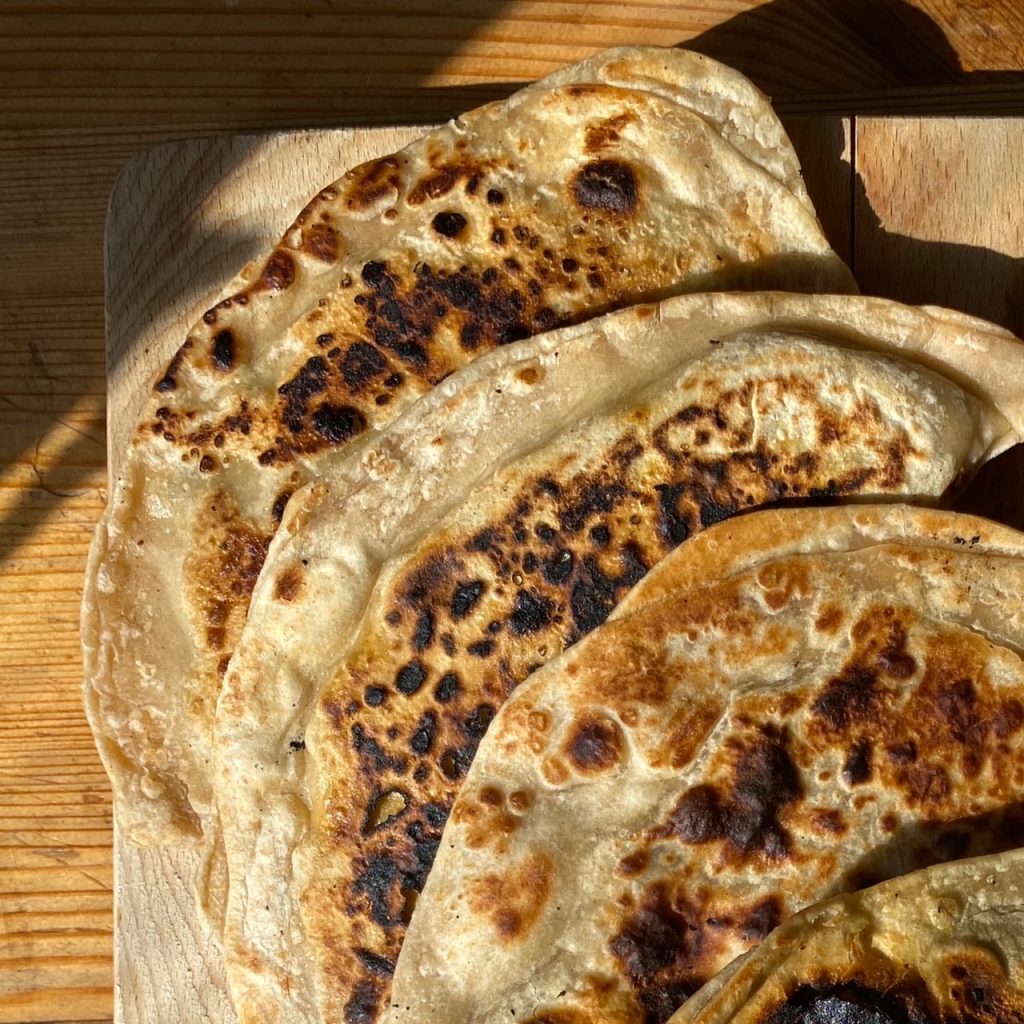
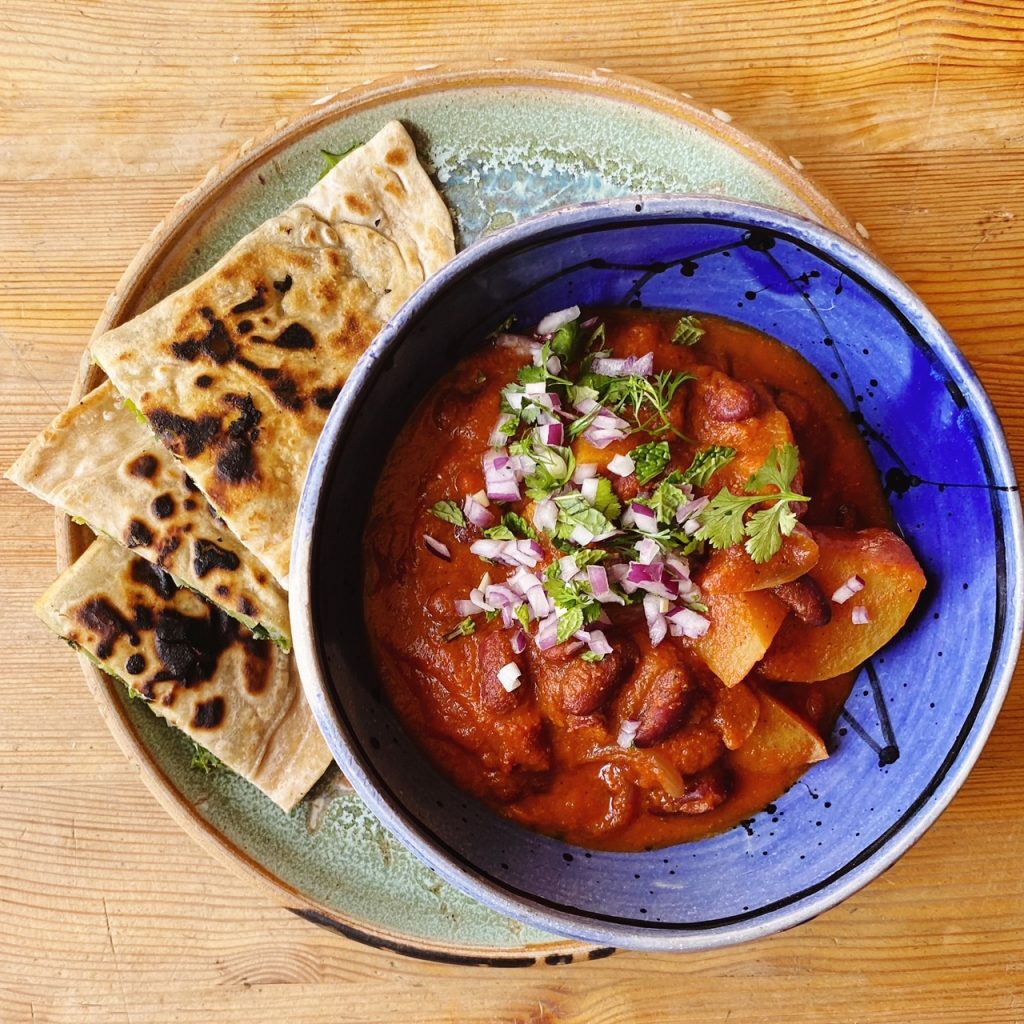
So when we tried this delicious Afghan curry, we just had to share it! This is probably not an authentic recipe but it’s our quick and easy version. We love that the heat just comes from the generous use of black pepper. We’ll share the stuffed flatbreads recipe soon too. Watch this space!

Liz x

Ingredients (serves 4)

  • 3 tbsp vegetable oil
  • 1 tsp ground ginger
  • 1 tsp ground turmeric
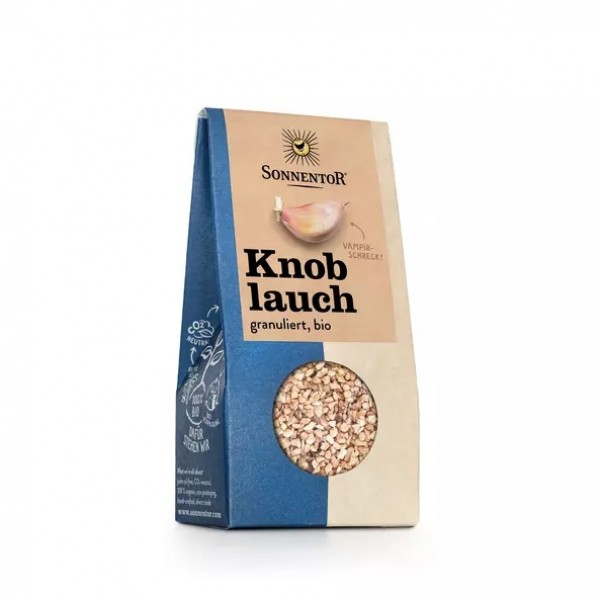
  • 2 tsp garlic granules
  • 2 tsp salt
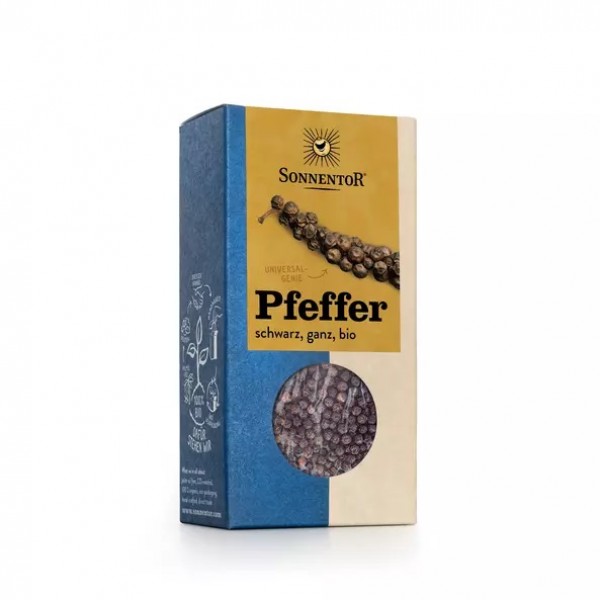
  • 2 tsp ground black pepper
  • 2 tsp ground cumin
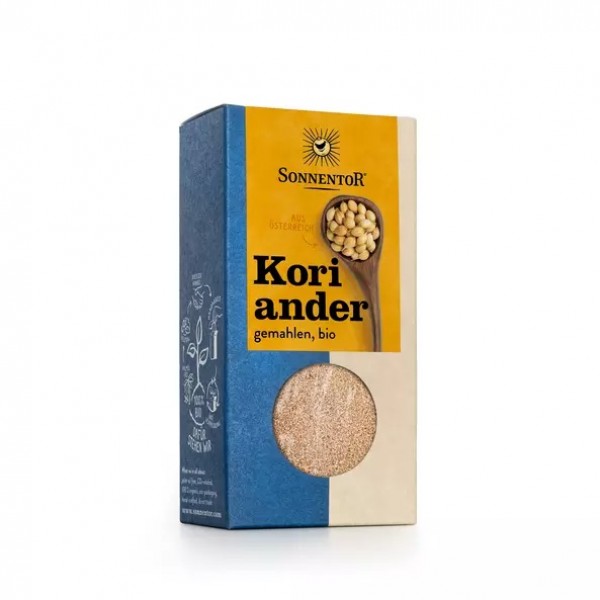
  • 2 tsp ground coriander
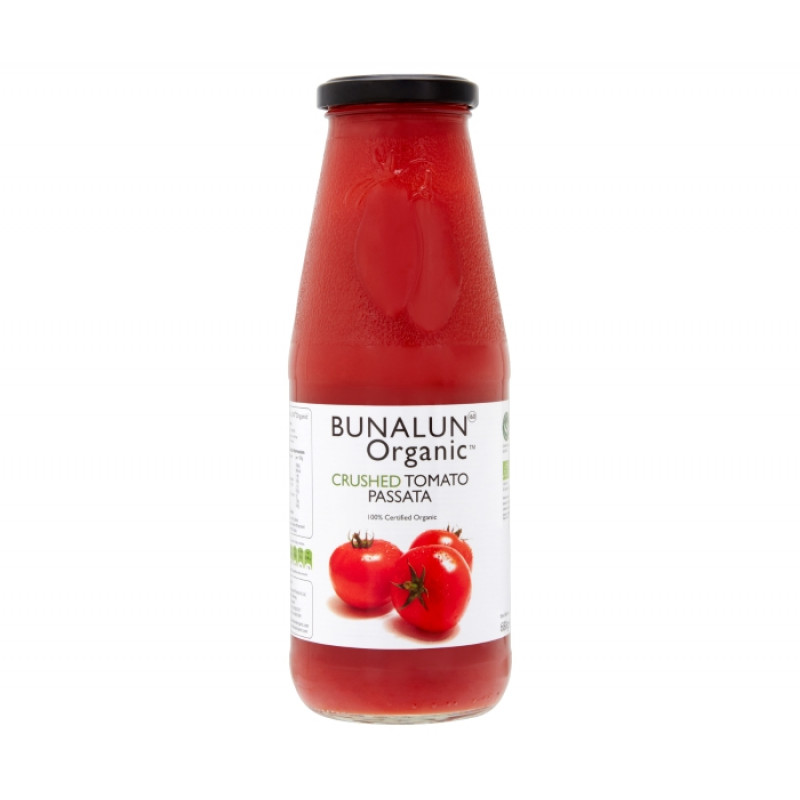
  • 1 bottle of passata
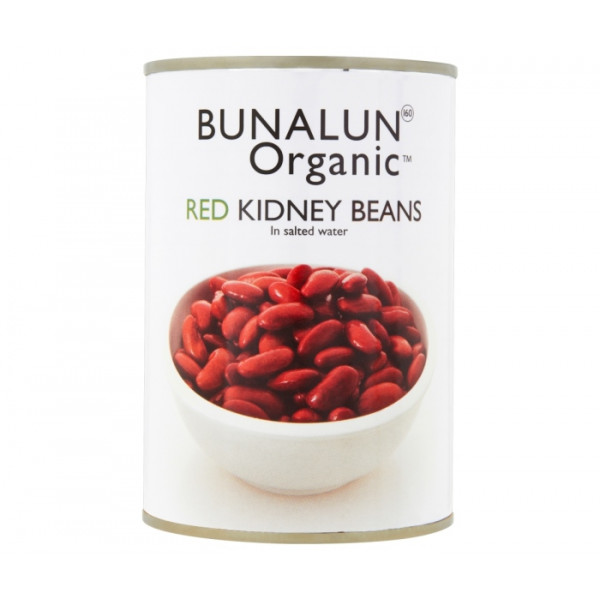
  • 2 tins kidney beans
  • 2 red onions
  • 4 medium potatoes
  • (drizzle of veg oil, sprinkle of salt, pepper & ground coriander to roast the onions & potatoes)
  • diced red onion, fresh coriander & mint to taste

Method

  1. Turn your oven to 200C. Chop the potatoes into bites sized pieces and the onions into slivers and toss in a roasting dish with a drizzle of oil and sprinkle of salt, pepper & ground coriander. Roast for 20-30 minutes or until soft while you make the curry sauce.
  2. Heat the vegetable oil in a large pot & tip in the spices and seasoning. Stir fry in the oil until the spices are very fragrant and starting to darken.
  3. Pour in the passata and the drained and rinsed kidney beans & simmer for 10 minutes or so until the curry is rich and delicious.
  4. When the potatoes and onions are cooked through and starting to colour, scrape them into the curry and warm through.
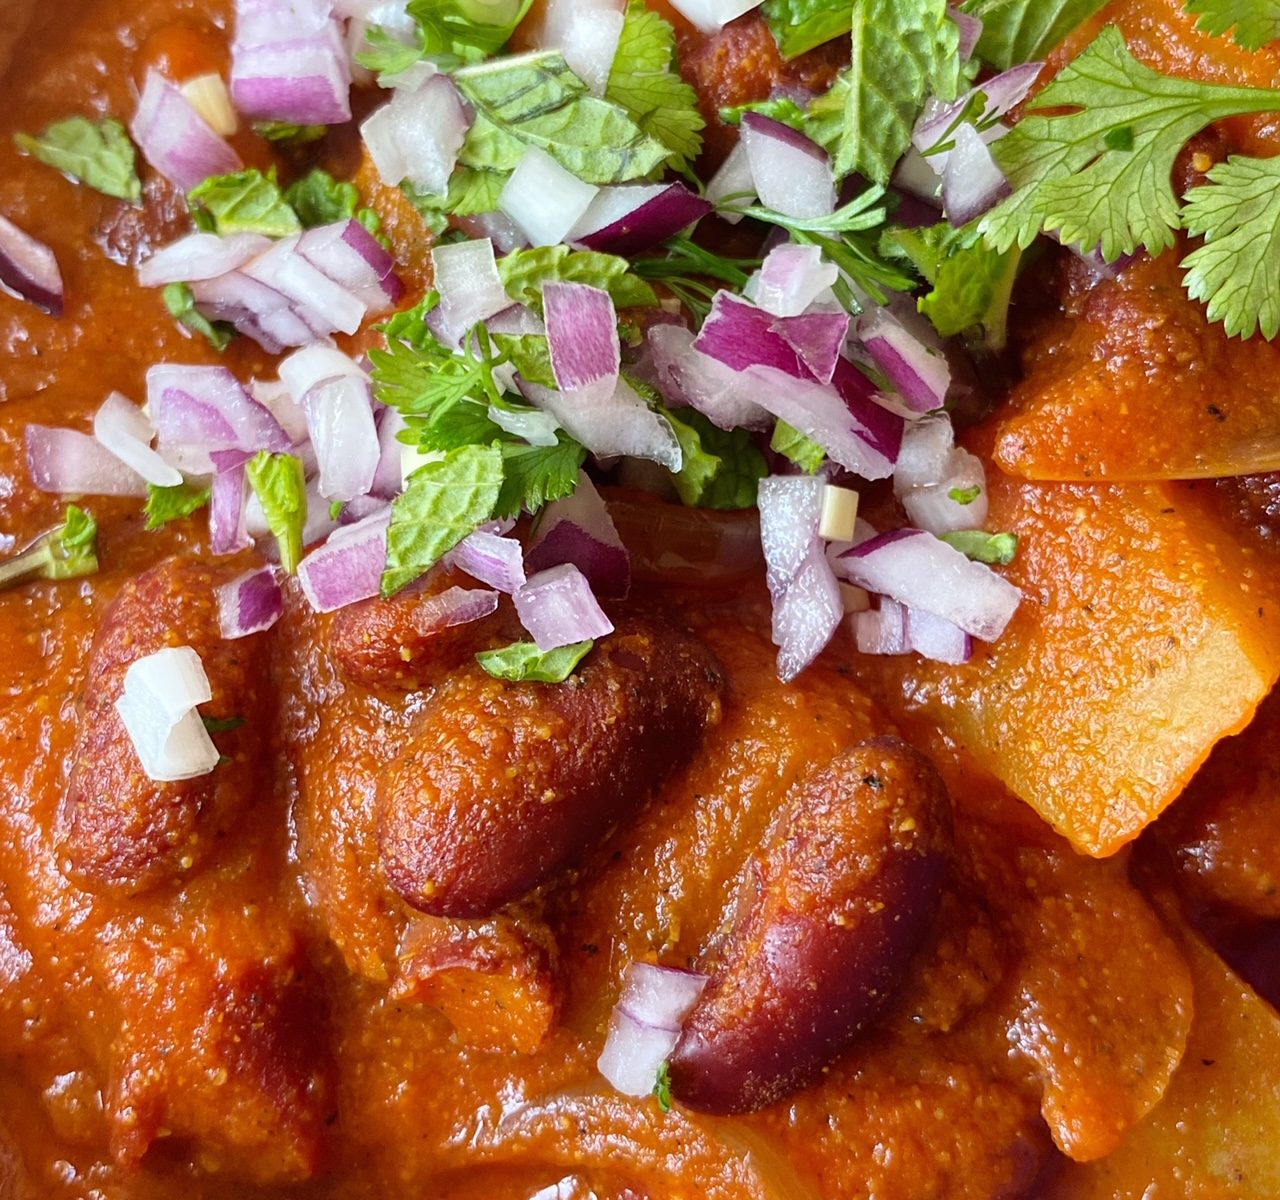
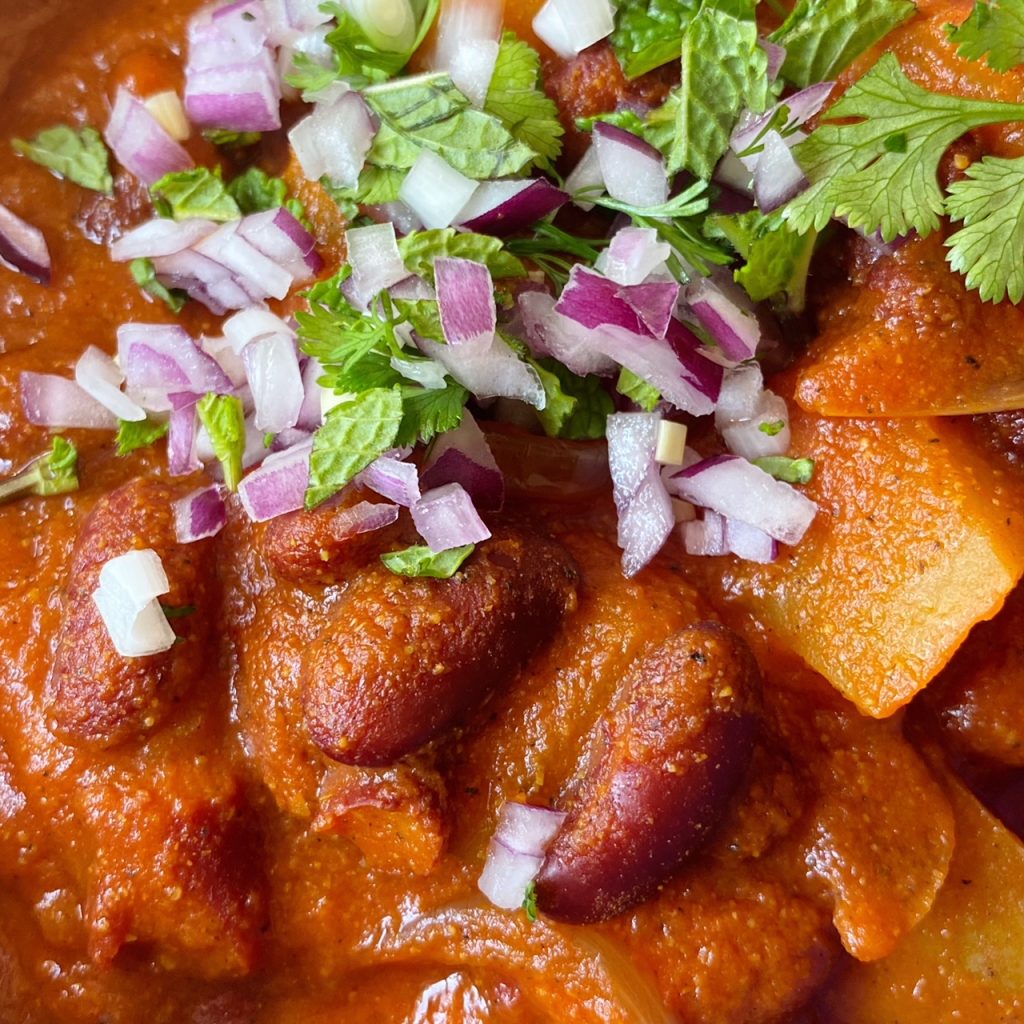
  5. Serve in bowls topped with diced red onion and chopped mint and coriander. Scoop up with flatbreads or rice & enjoy!

Wonky Veg, Food Waste & Great Crops

Over the last 16 years we have seen a fair bit and although generally things are never black and white, one thing stands out for us as being just that: food waste. Whatever way you look at it wasting food based on aesthetics is immoral. We work really hard to reduce food waste, it is one of our core values. There are times when the quality just is not good enough and we will never ever compromise on the quality of what we send out. We will give food we cannot sell to our team members, or you may get a freebie or two in your boxes sometimes.

Stuff that really is not good for eating, either goes to our compost heaps to make fertiliser for our new food, or goes to Florence and George’s bellies (our two pet rescue pigs in case you didn’t know). But we grow our own food and so we have a very good understanding of what is ok and what is not. We make sure we harvest as close to packing the boxes as possible, we work with other growers to ensure we have the freshest best produce.

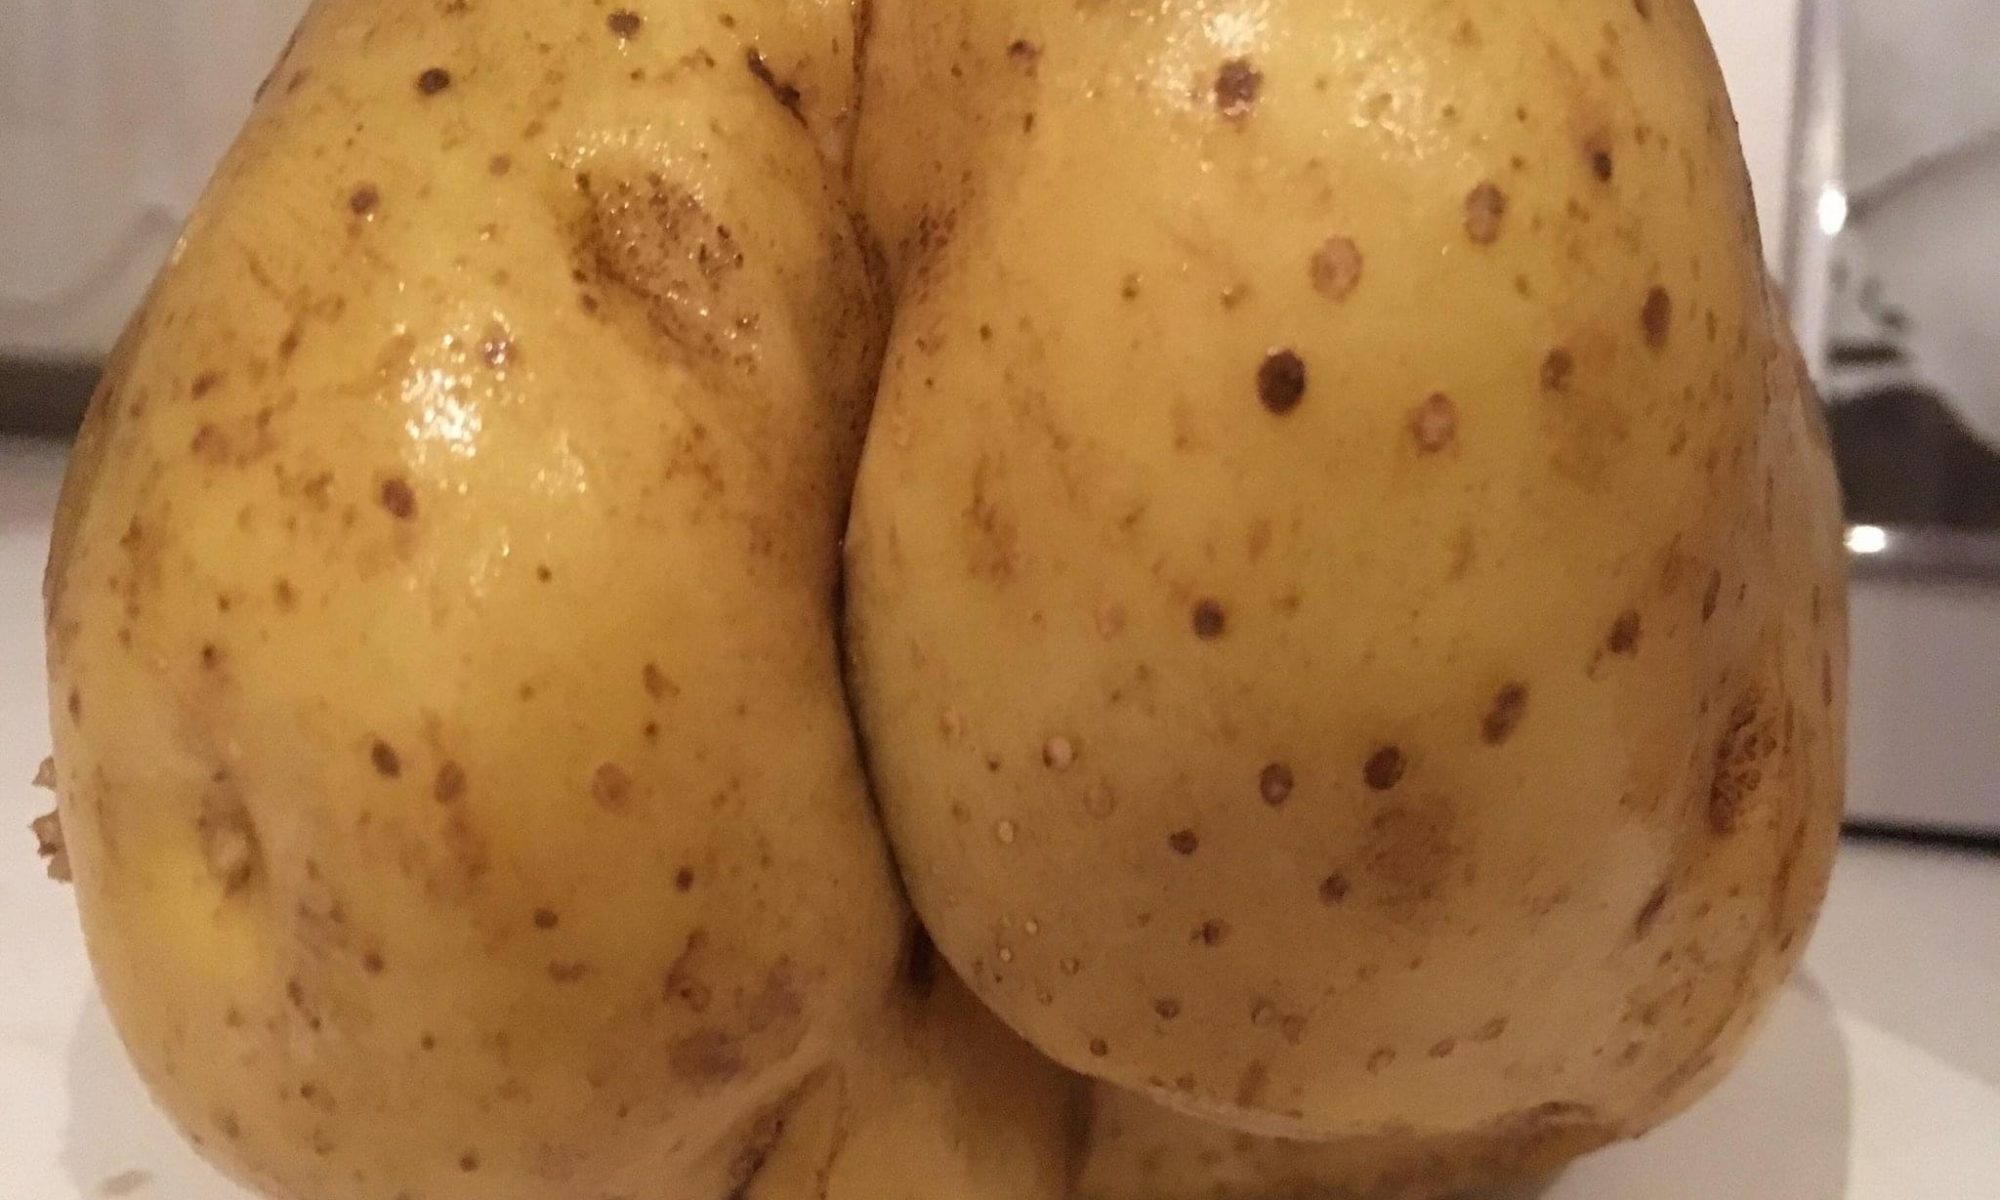
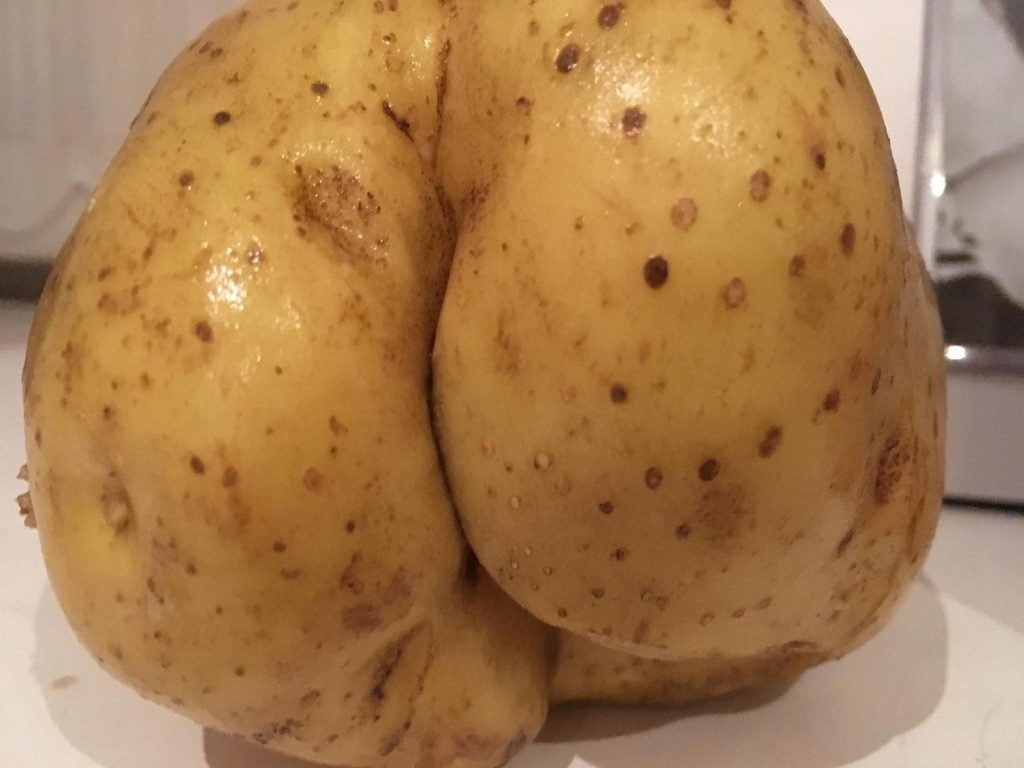
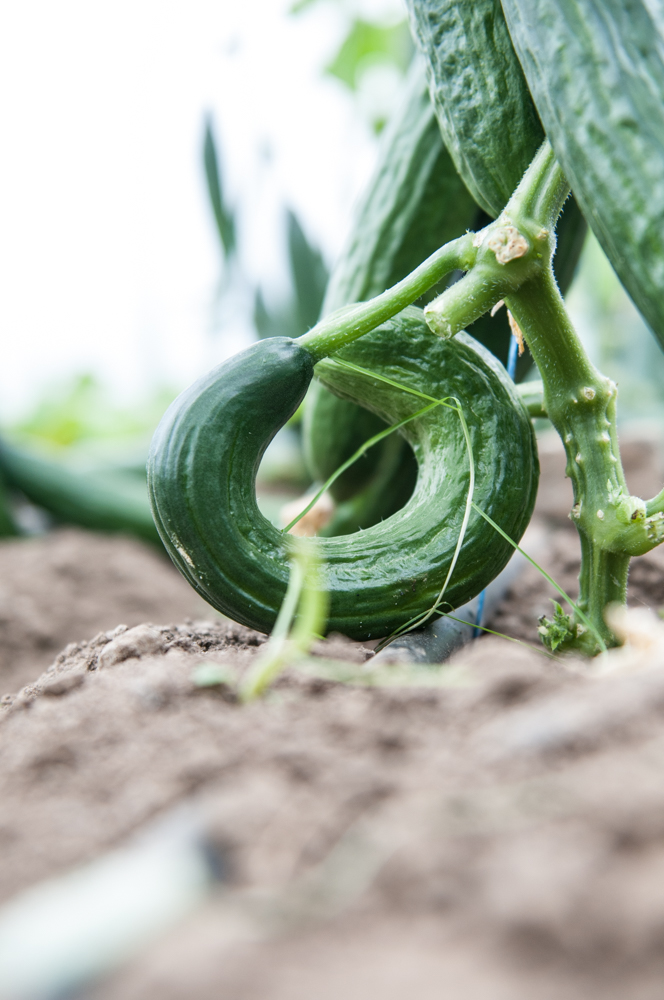
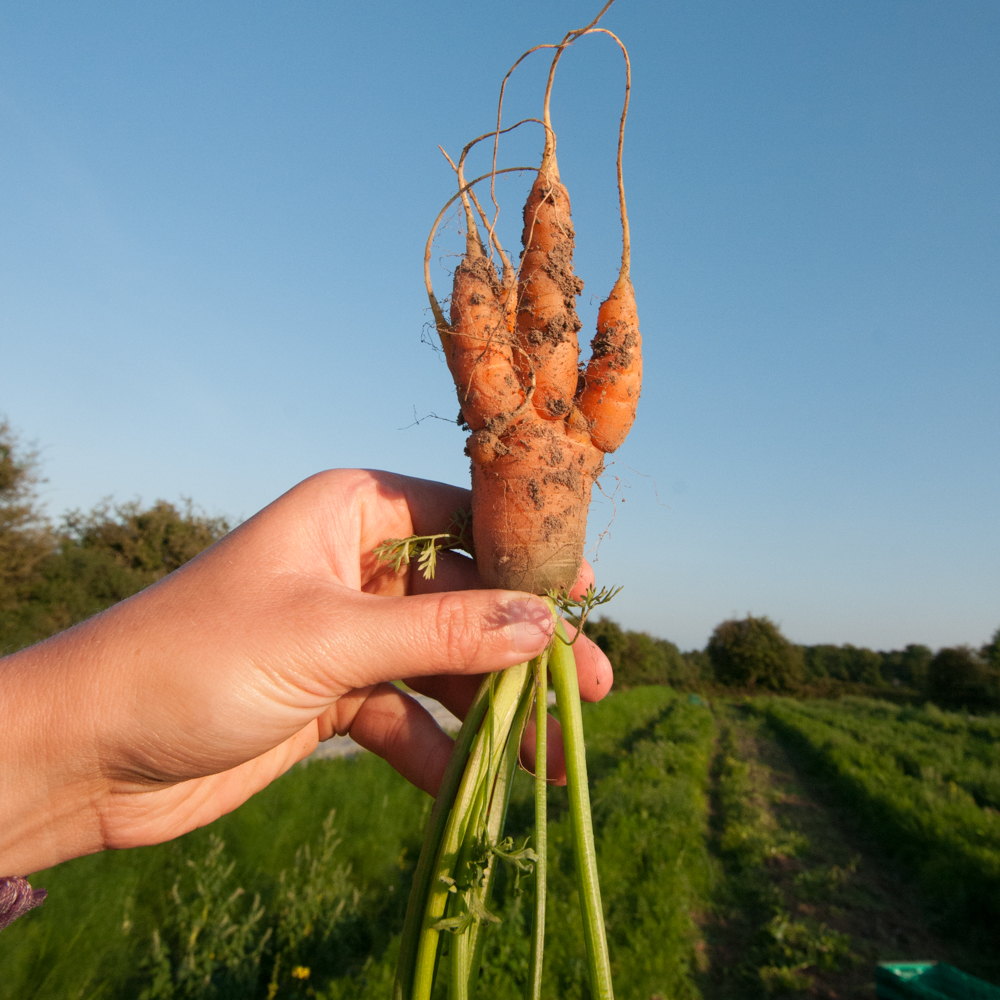
But there is one thing we never do, we never discriminate based on looks, on wonkiness. If a carrot is wrapped around another carrot, will we grade it out? Absolutely not, we will CELEBRATE it, If a potato is showing a little cheekiness well that is absolutely ok with us. In fact, we want vegetables like that. This ‘WONKY’ food tastes the same, it has the same nutritional value, it looks the same on our plates it has been grown sustainably on organic land.

It makes a lot of sense to us NOT to grade out vegetables like that. I guess we are pretty lucky that we do not have to conform to supermarket standards, that we set our own standards and we can do this because we know you our customers are ok with getting cheeky potatoes every now and again.

We know how hard it is to grow food and it is crucial to our planet to make the best use of the land available to us, and not throwing away food based on looks is a good start, at least we think so.

Last year we got our planting plan wrong, it is difficult to guage the market a year in advance, and ended up having to turn crops back into the ground. This year we have been a little more cautious and we hope a bit smarter with our time and energy.

This evening as I write, the sun is shining I have just finished my farm walk of checking the crops. The crops are progressing so well, the tomatoes look amazing as do the cucumber plants and the first lettuce, salad, celery, courgette, broccoli, kale, Romanesco and cabbage are well on their way, even the first parsnips, carrots, beetroot and outdoor spinach are poking their little heads above the soil.

Thank you for supporting our farm and know in doing so, not only are you contributing to reducing your carbon footprint, and reducing your waste burden on our planet, you are also contributing to reducing food waste and giving these cheeky potatoes a good home!

Thank you

Kenneth

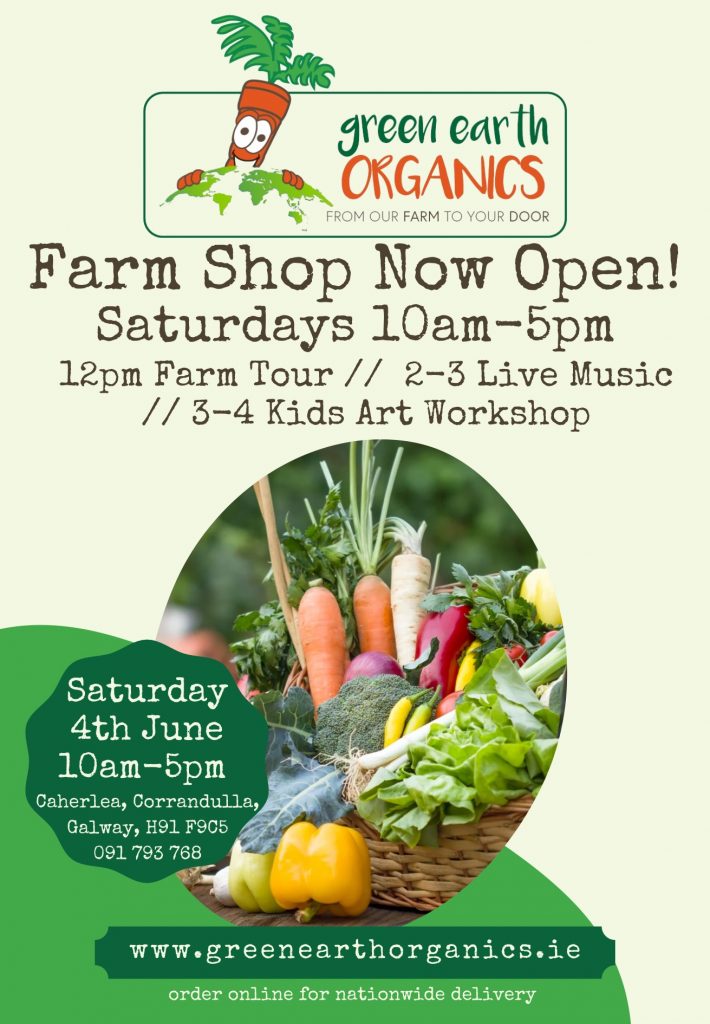
PS we have some very exciting news! Our farm shop is finally opening next Saturday the 4th of June at 10am, we will have a farm tour at 12pm, and music, and children’s art, so come along!

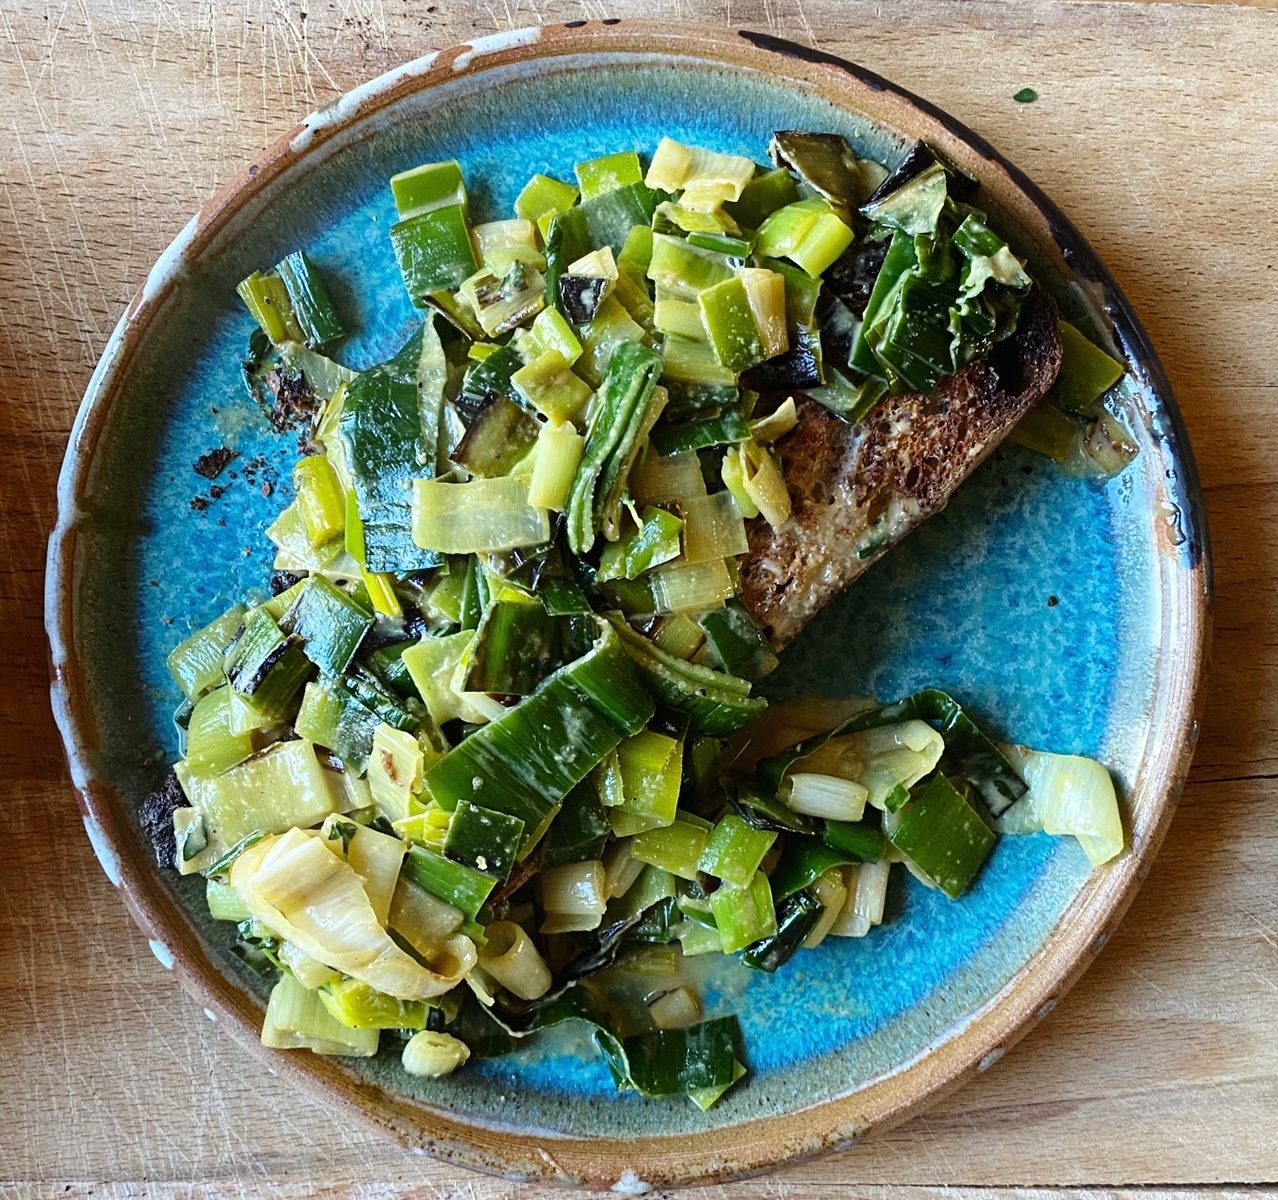
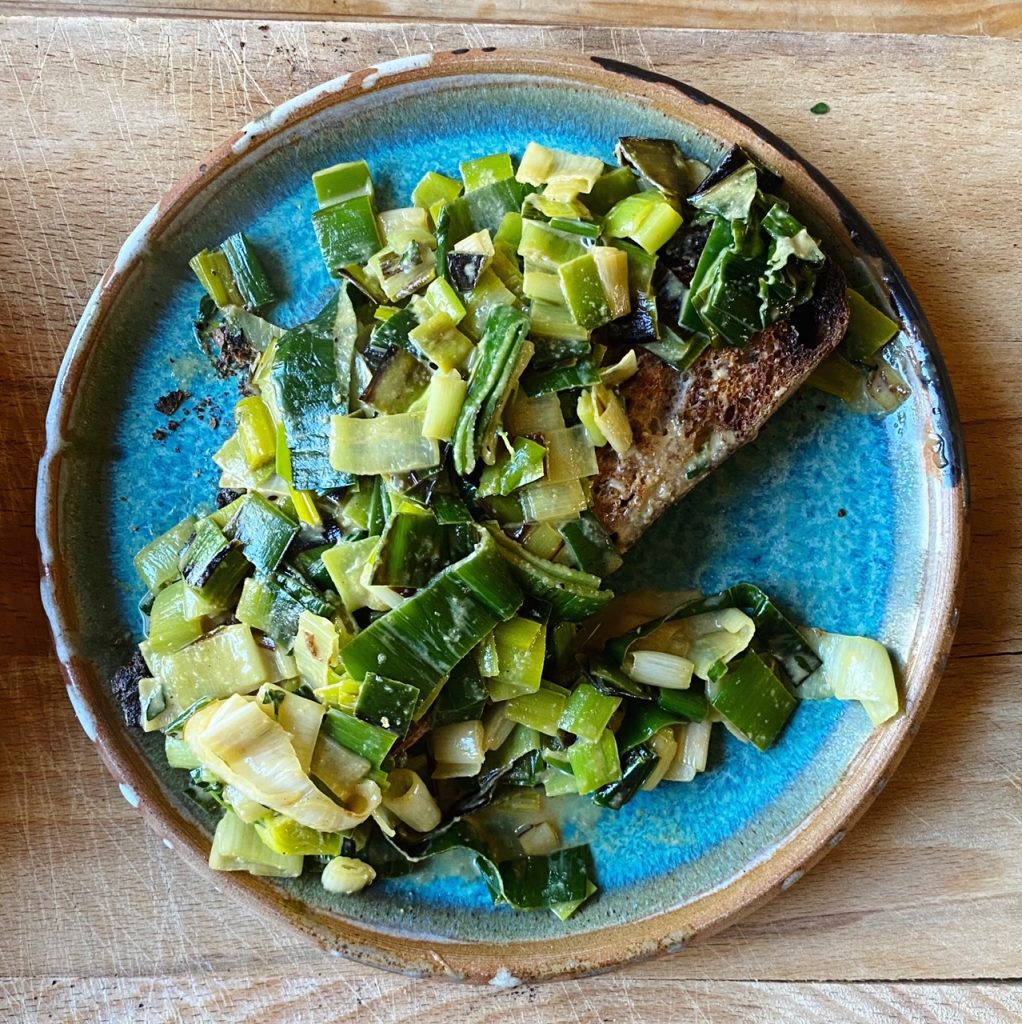
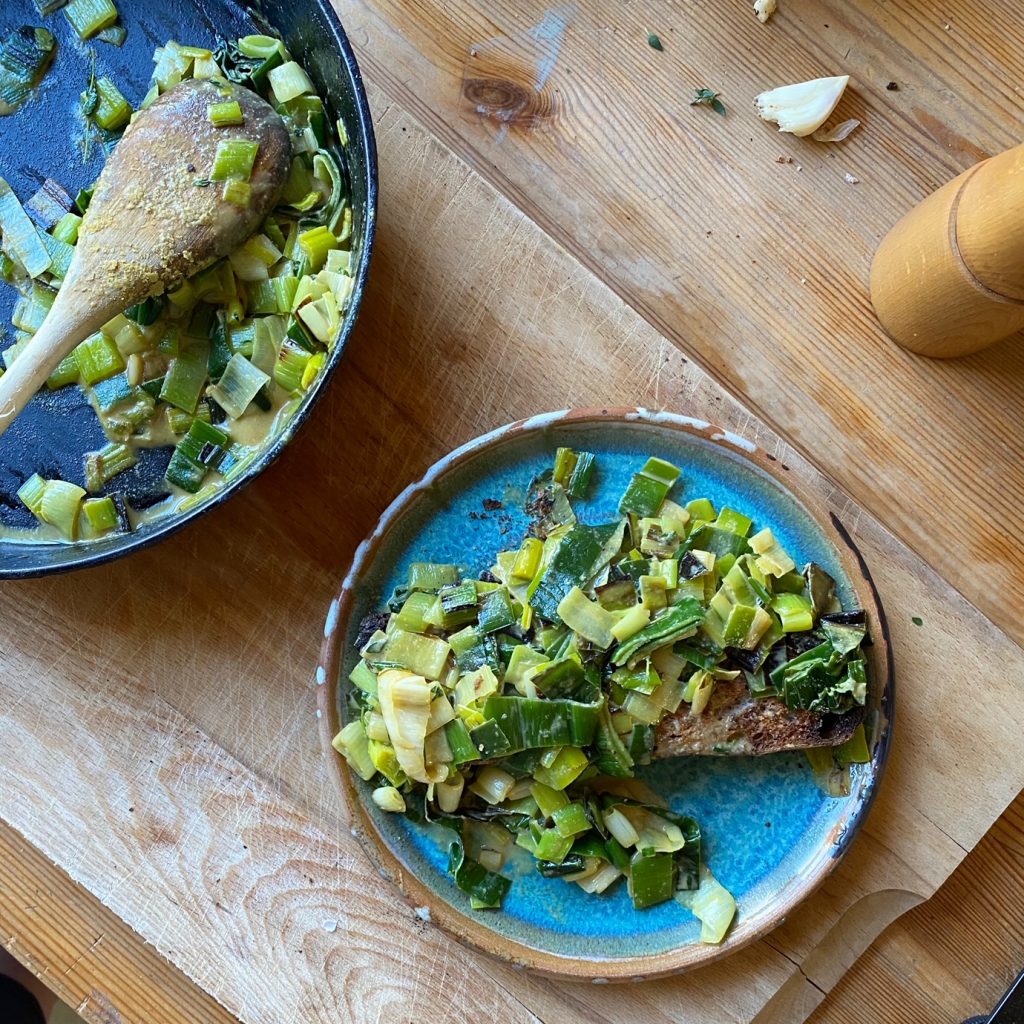
Leeks on Toast

I don’t know about you, but for mid-week meals (or even manic weekend meals), I am always after something fast – but, it has to also be satisfying, healthy, affordable and delicious! This super simple supper ticks all the boxes. We have just completed a massive leek harvest and they are so sweet and delicious. Leeks have got to be one of the most underrated vegetables out there. They are exceptionally delicious when made the star of the show. Don’t just loose them in soups and stews, try them as the main ingredient.

Liz x

Ingredients (serves 2)

  • 2 slices of sourdough bread
  • 1 small clove of garlic
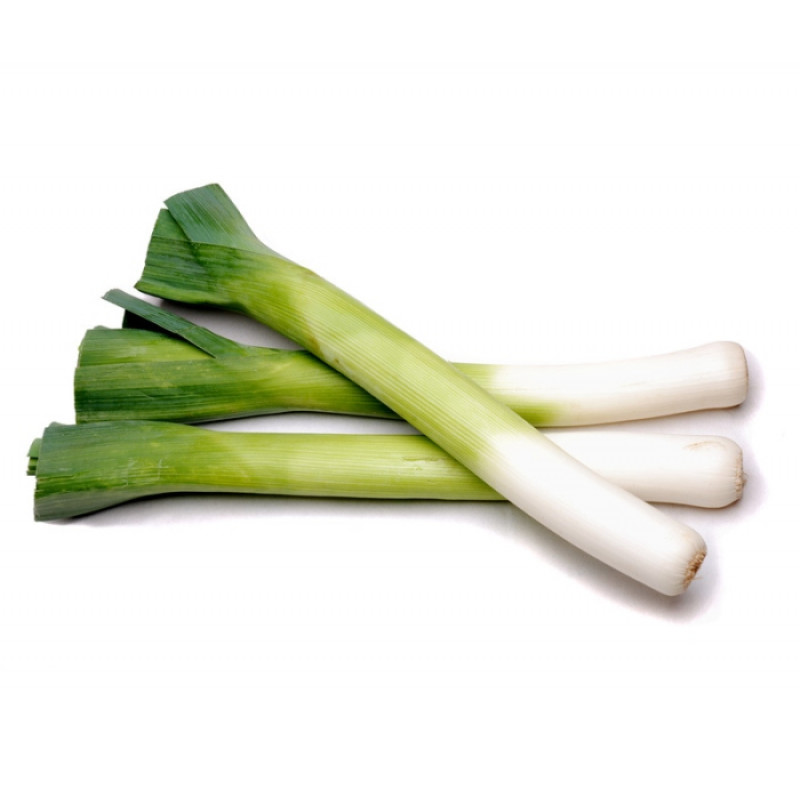
  • 1 leek
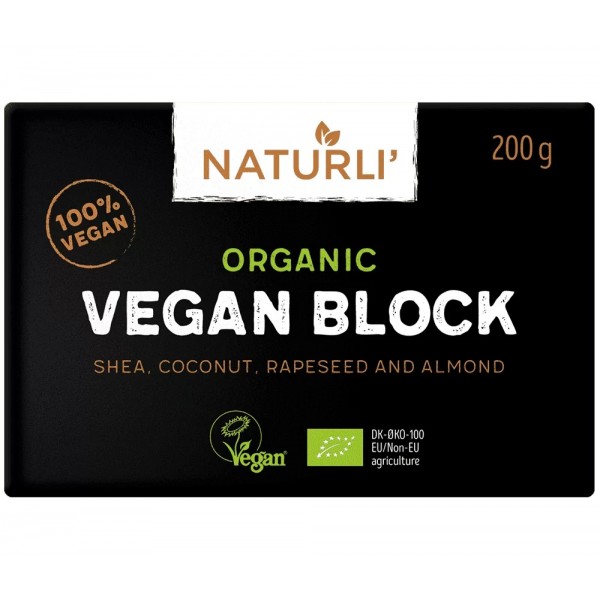
  • 1 tbsp butter (we use this vegan one)
  • salt and pepper to taste
  • a few sprigs of thyme
  • a heaped tsp of mustard – Dijon or wholegrain…or any mustard you like
  • a splash of milk (we use creamy oat milk)
  • a handful of nutritional yeast flakes (or you can use grated cheese)

Method

  1. Toast the bread to your liking then peel the garlic clove and rub it over the toast on both sides.
  2. Slice the leek in half, lengthways, keeping the root end intact. Then rinse out the mud in the layers. Slice the very end off the leeks which will have dried out a bit, but keep as much as possible. The green part of the leek it just as delicious as the white – it just needs a touch longer cooking time. Then cut the leek into cm slices.
  3. Melt the butter in a wide pan over a medium-high heat. Then tip in the green bits of leek and stir fry for 3 minutes or so until they soften. Then add the rest of the chopped leek, some salt and pepper and stir fry again until the leeks start to collapse and colour lightly.
  4. Add the thyme, mustard, splash of milk and nutritional yeast (or cheese) and stir fry for another 3 minutes or so until you have a bubbly, silky mixture which can then be poured over the garlicky toast and devoured!

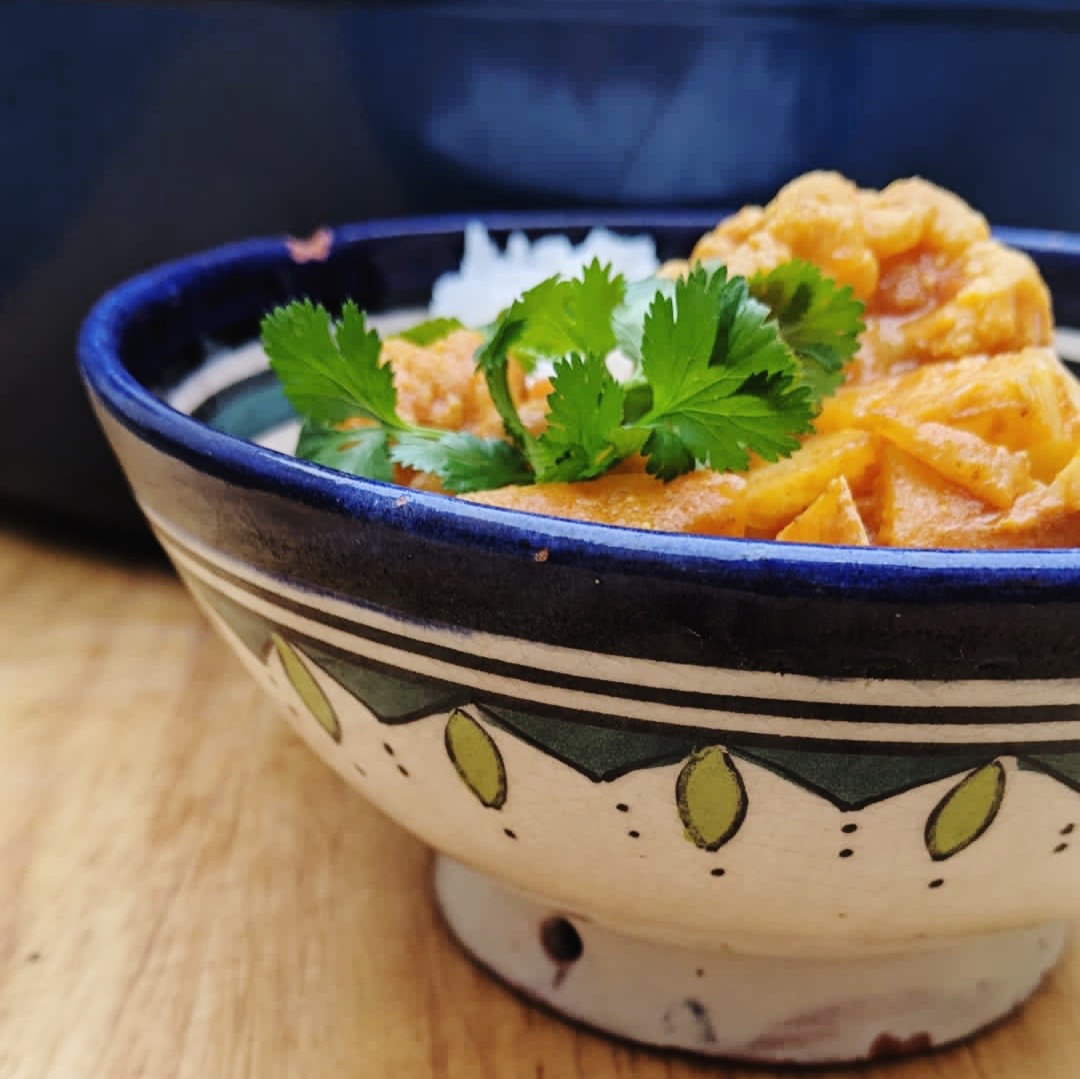
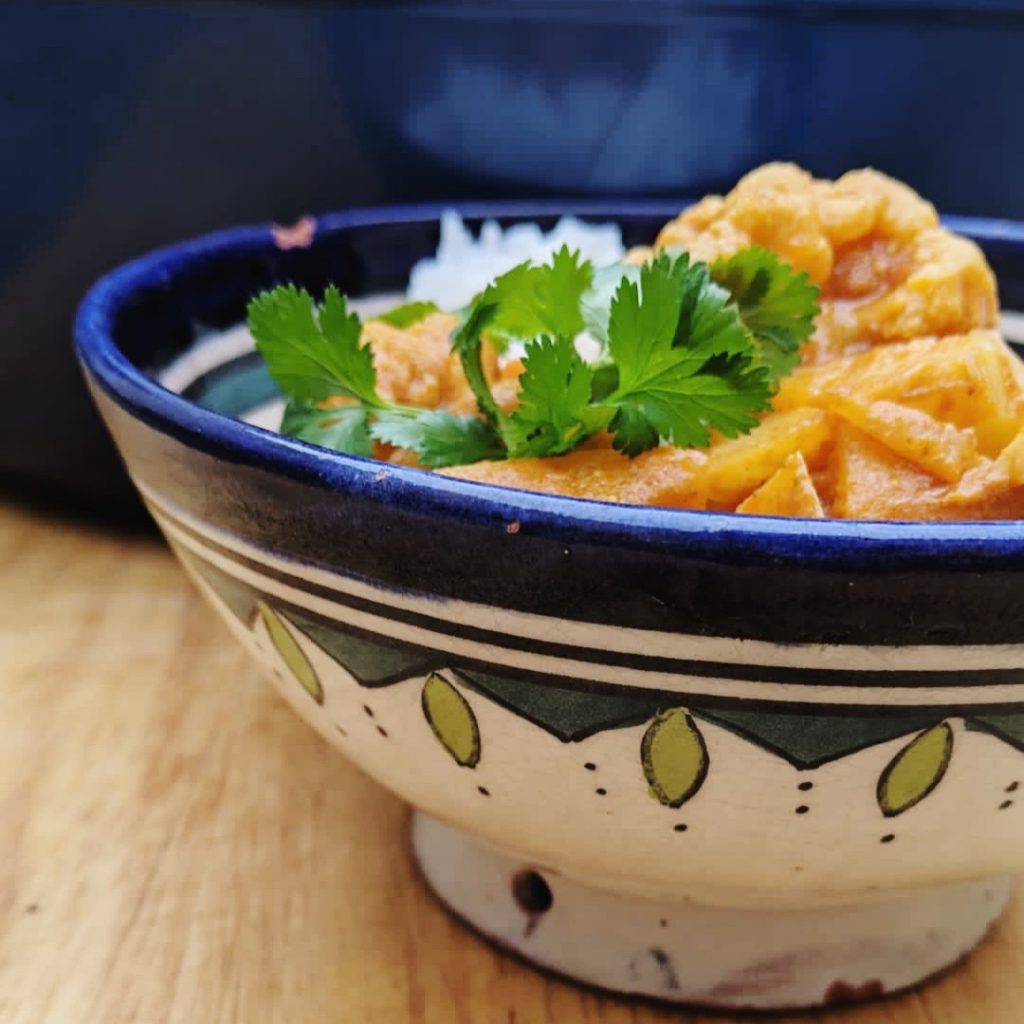
Chickpea Tikka Masala

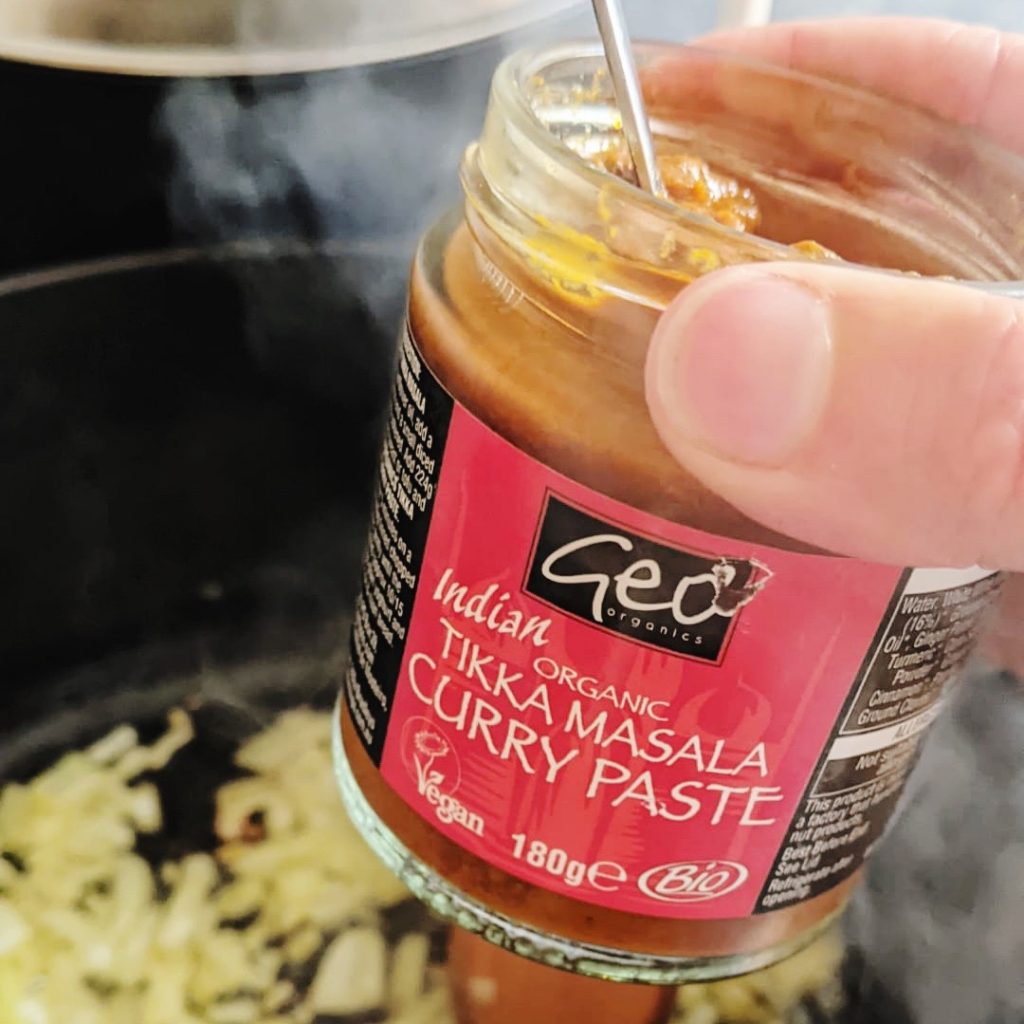
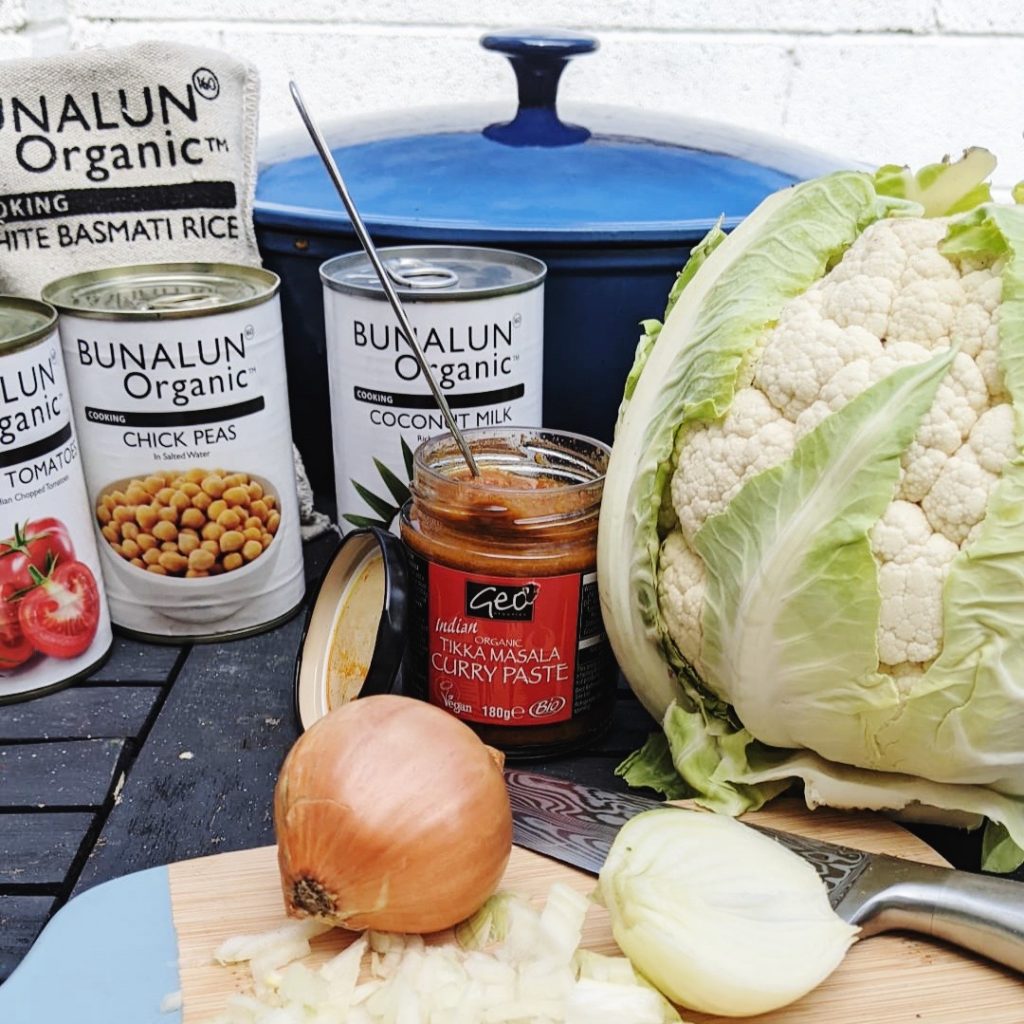
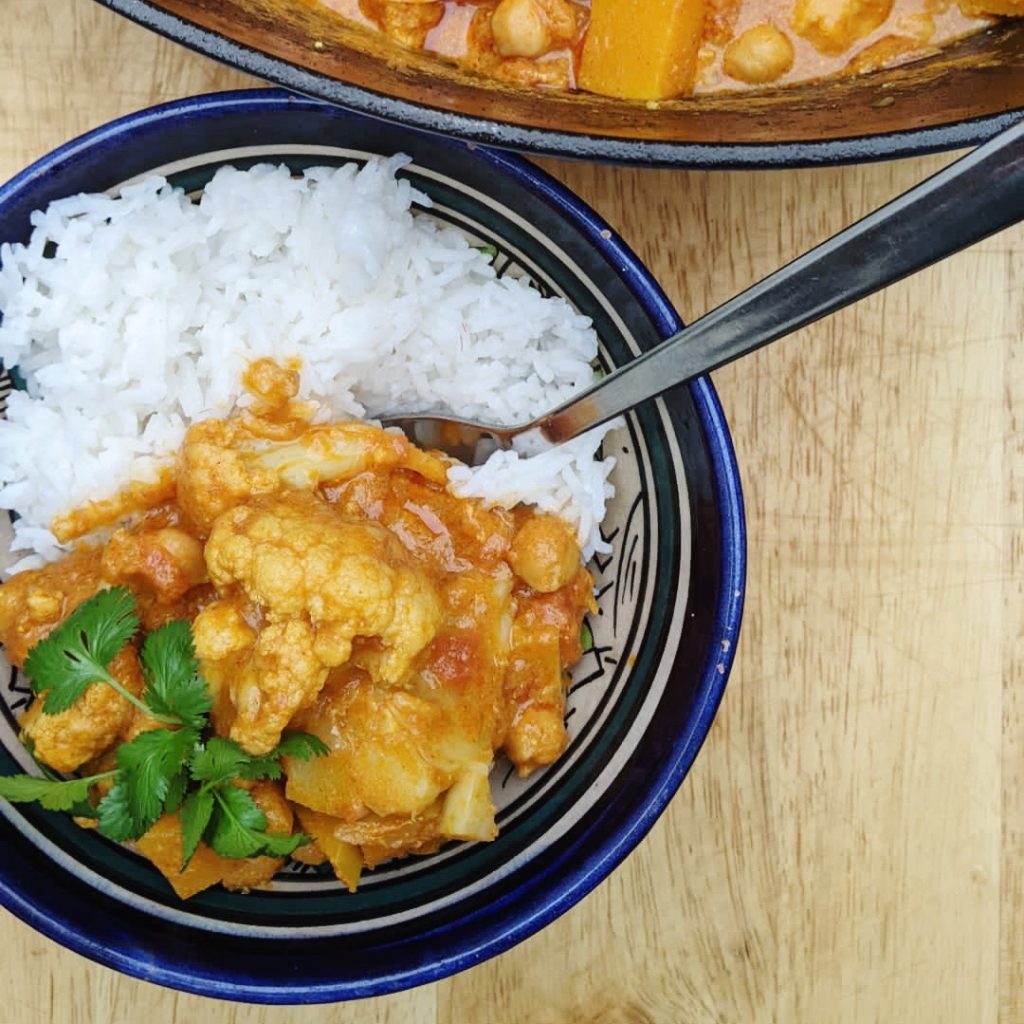
Our new range of curry spice sauces make it easy to put together a delicious dinner in minutes! We tested the Tikka Masala paste last night and it was so good. Here’s what we did but of course it’s totally flexible and you should use whatever vegetables you prefer or have in the house. We love the range of Bunalun organic tins too. So useful!

Liz x

Ingredients (serves 2)

  • 1 onion, diced
  • 1 tbsp vegetable oil
  • 2 tbsp tikka masala curry paste
  • 1/4 cauliflower, chopped
  • a couple of handfuls of diced butternut squash
  • 1 tin of chopped tomatoes
  • 1 tin of chickpeas, drained
  • 1 tin of coconut milk
  • salt and pepper to taste
  • rice and coriander to serve

Method

  1. Get your rice on to cook and find a large pot to cook the curry in.
  2. Fry the onion in the oil over a medium-high heat until it softens and starts to turn golden brown.
  3. Then add the curry paste and chopped vegetables and stir until fragrant.
  4. Pour in the tin of tomatoes and a half tin of water (swirl to get all the tomatoey juices out of the tin). Then add the chickpeas and simmer until the butternut squash is soft.
  5. Add the tin of coconut milk and warm through. Taste and adjust the seasoning if needed with salt and pepper. Then serve over rice with some fresh coriander.

Bees, Wild Flowers & Chemicals

Do you remember all the insects you used to see on the car windscreens when you were younger? Where have they all gone? 

I came back from Dublin on Wednesday evening and my windscreen was clean, once upon a time that same windscreen would have been covered in poor little deceased insects, where are they now?

Flying insect numbers have plunged by 60% since 2014 a new British survey has shown, by measuring insect splats on cars. 

By 2015 each hectare of land in the UK received 3.9 kg of pesticides in 17.4 applications and eighty-seven percent of the total toxicity being applied to fields in 2015 was due to neonicotinoids.
A damning indictment of the way we manage our countryside is the fact that it is now safer to keep bees in cities than in the countryside.

A six-fold increase in potential toxicity to insects in the period 1990–2015 corresponds closely with the timing of the 76% decline in flying insect biomass recorded in Germany in the period 1989–2014.

This very large increase in toxicity was mainly due to the introduction and widespread adoption of neonicotinoid insecticides from 1994 onwards.

On the 27th of April 2018, this class of pesticides was banned from all outdoor use in the EU and will give our bees and insects a fighting chance at survival, at least you would think. However in the years since, “emergency authorisations” for the use of these chemicals has been granted,  many cases these authorisations were granted repeatedly, or without any apparent evidence of an unusual or ‘emergency’ situation as justification. 

Banning the use of these chemicals was a fantastic and positive step. 

There are so many other positive steps that we as farmers and gardeners can take now to improve biodiversity and help the bees and insects.

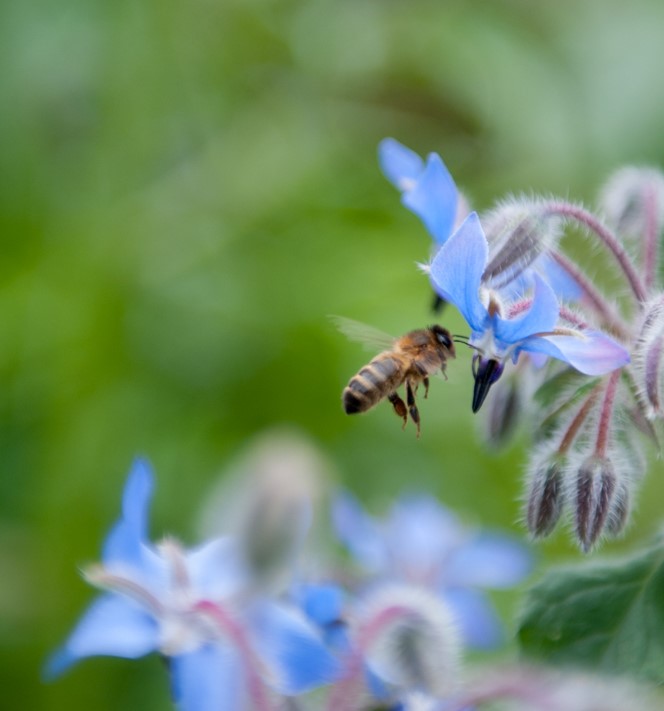
We have beehives on our farm and they give us so much, bumper crops of courgettes for one. It is only right that we sow wildflowers and leave our kale to flower to feed them.

We purposely leave brambles along all our walls, their flowers are an early food source for the bees (as are dandelion flowers), we leave wild areas where plants can go to flower. Obviously, we are not spraying any bee killing chemicals. This has meant that the bees and so many other insects have a better chance of surviving and thriving.

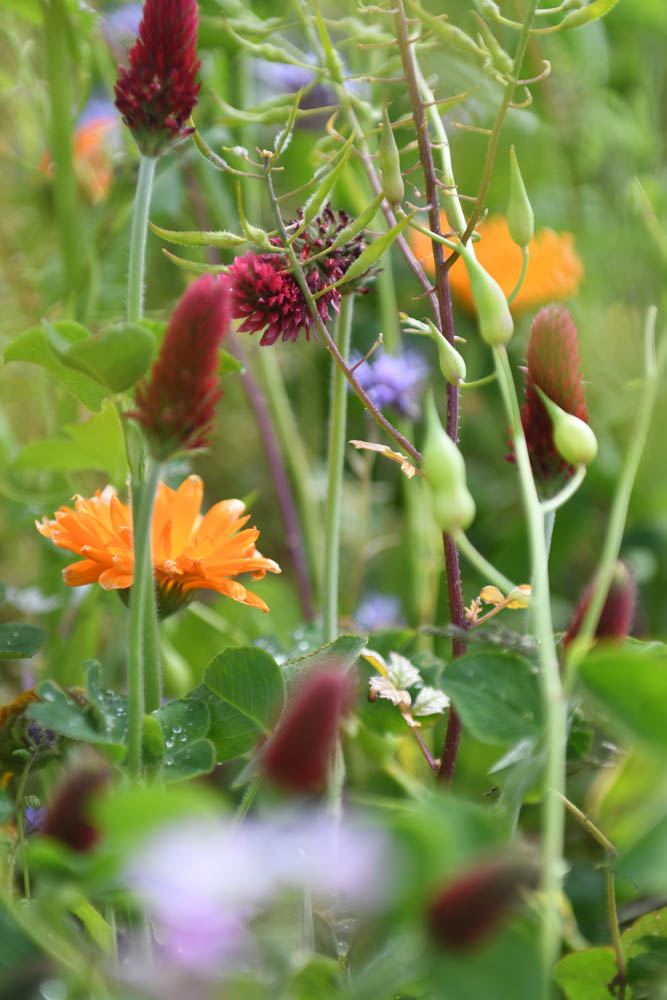
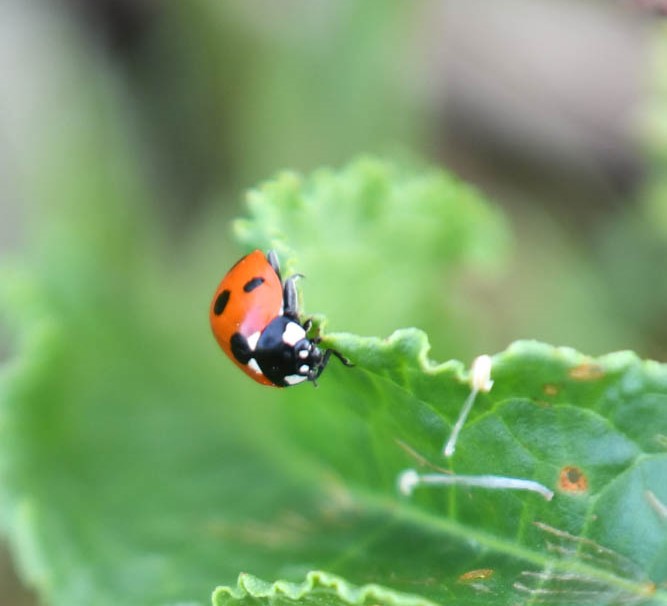
But it was when we started planting wild flower strips that we noticed an astounding level of bee life. There were honey bees and several different types of bumble bee, and all sorts of other flying insects. We had created a farm reef for bees! On a sunny evening there are thousands of bees and insects humming away, and it is not until you look closely that you notice. 

These steps have meant that we have an abundance of insect life on our farm and I think it may be working in our favour. 

It seems that if we look after biodiversity, it will look after us and a more integrated approach to food production does work very well indeed.

Here’s to sustainable food and to the bees and to hopefully a return to the insects on our windscreens.

Kenneth

PS We are really excited, we have launched a new website please take a look here, and if you haven’t spotted it already to celebrate there is 10% off the build your own box this week.

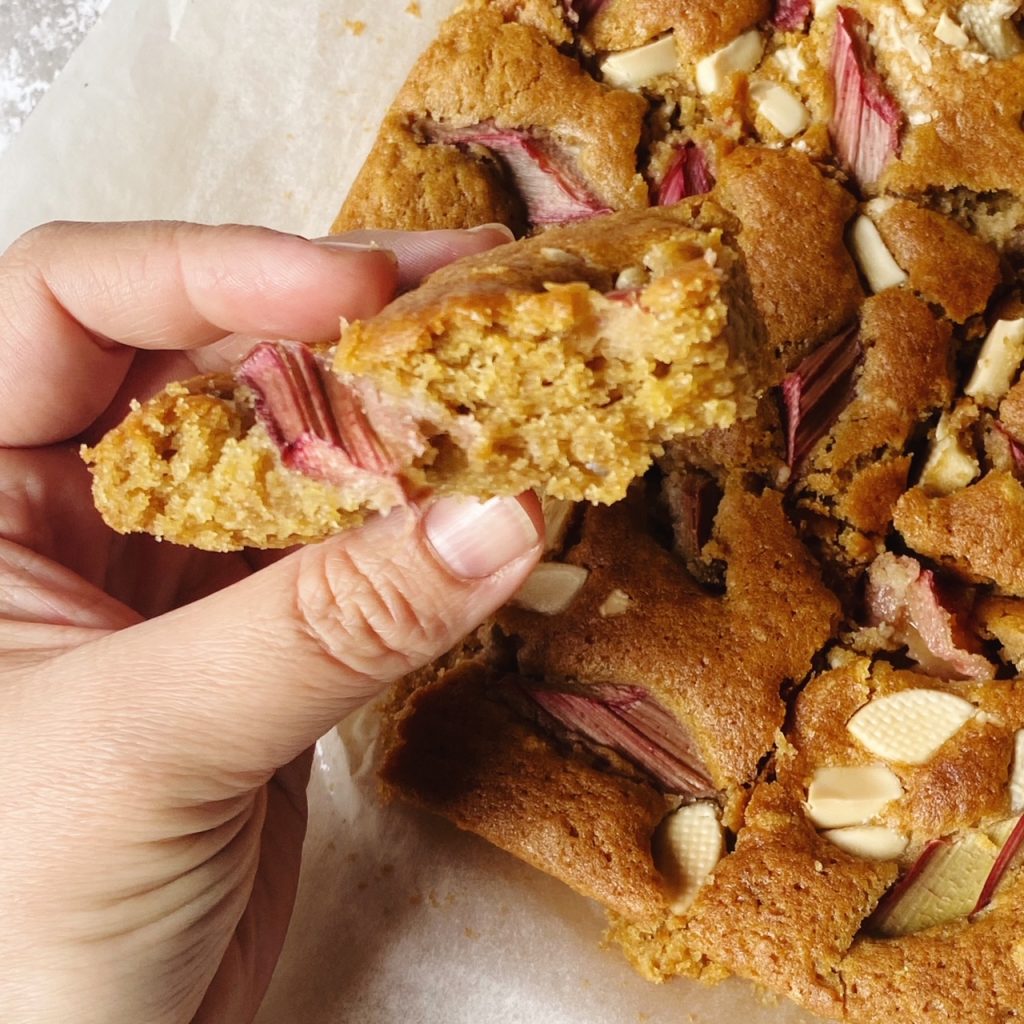
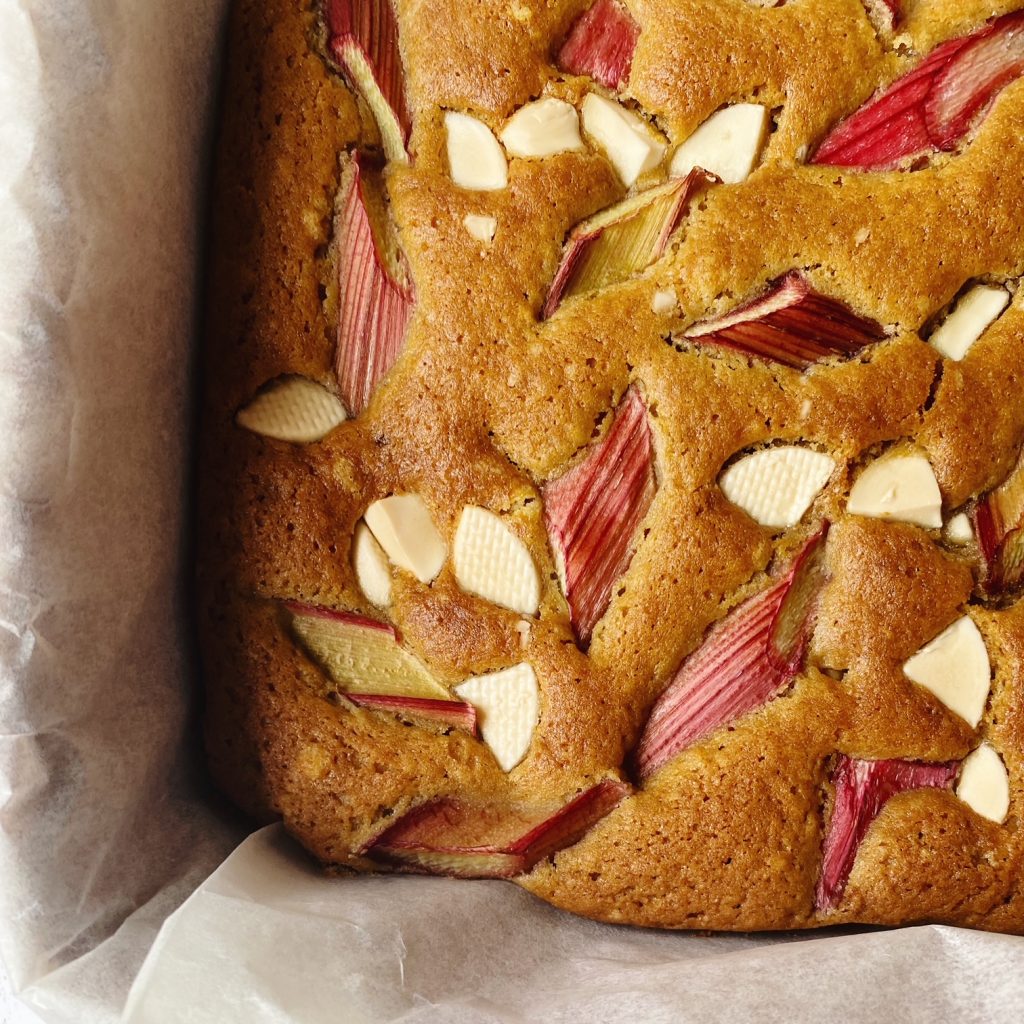
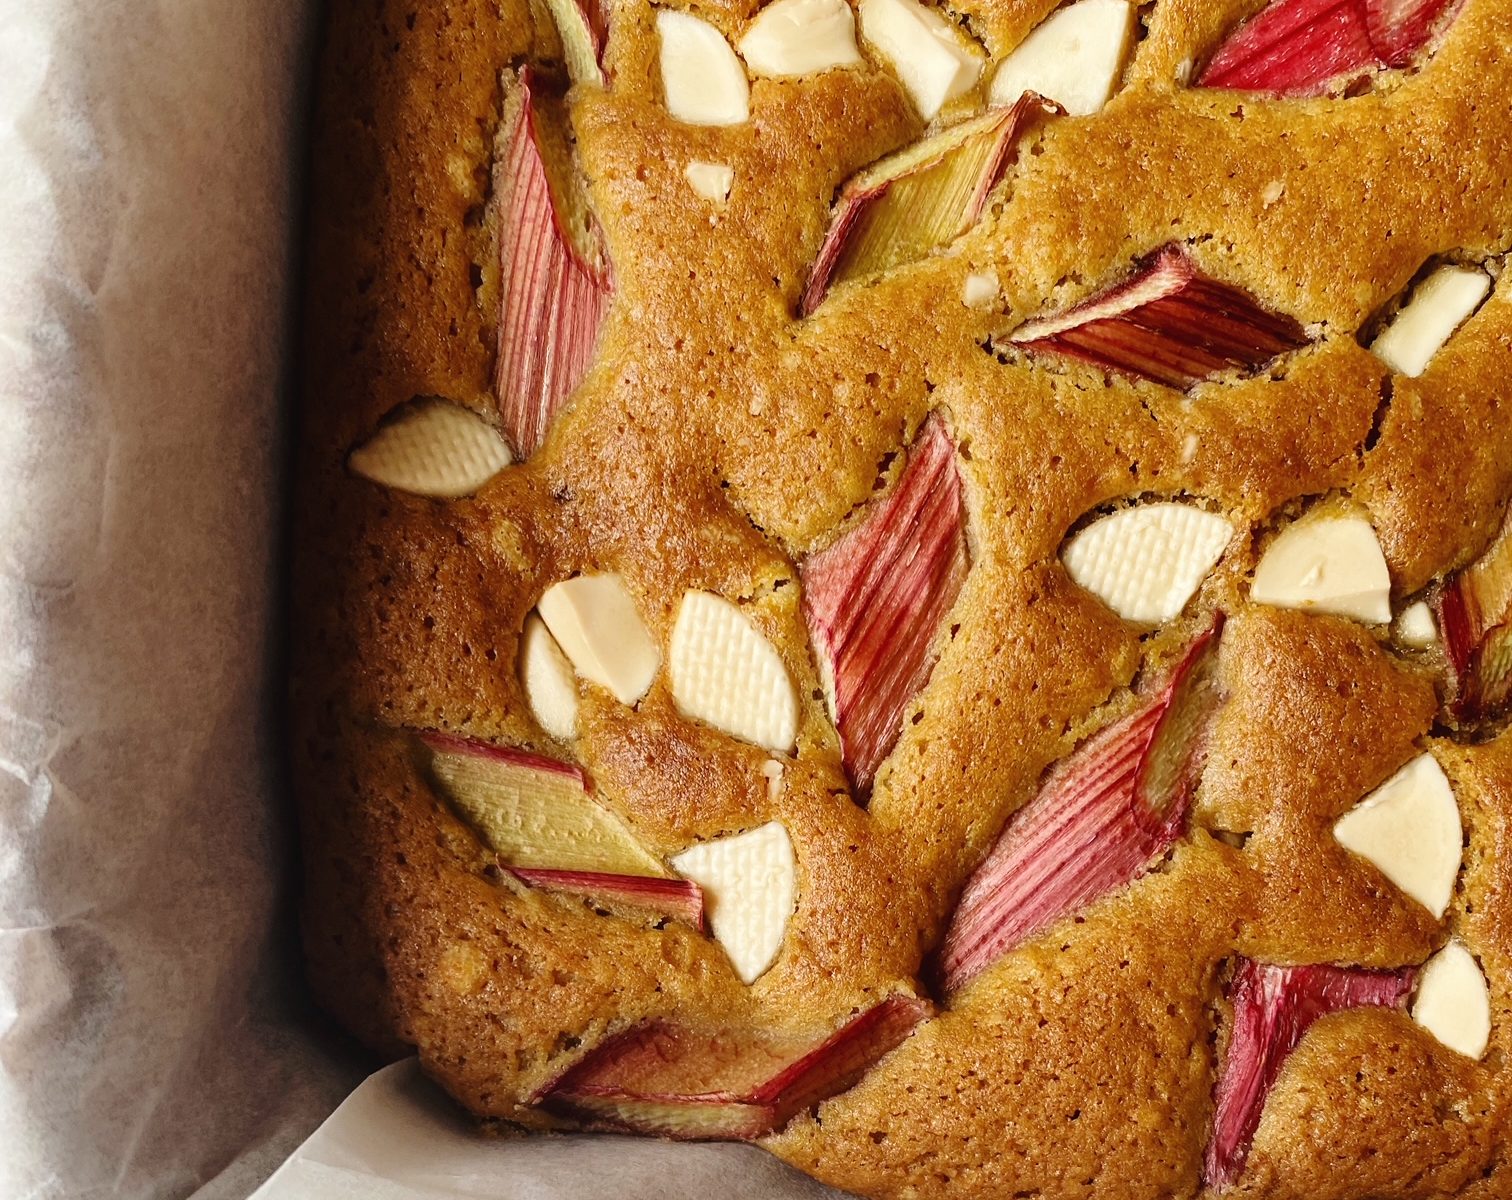
Rhubarb & White Chocolate Blondie

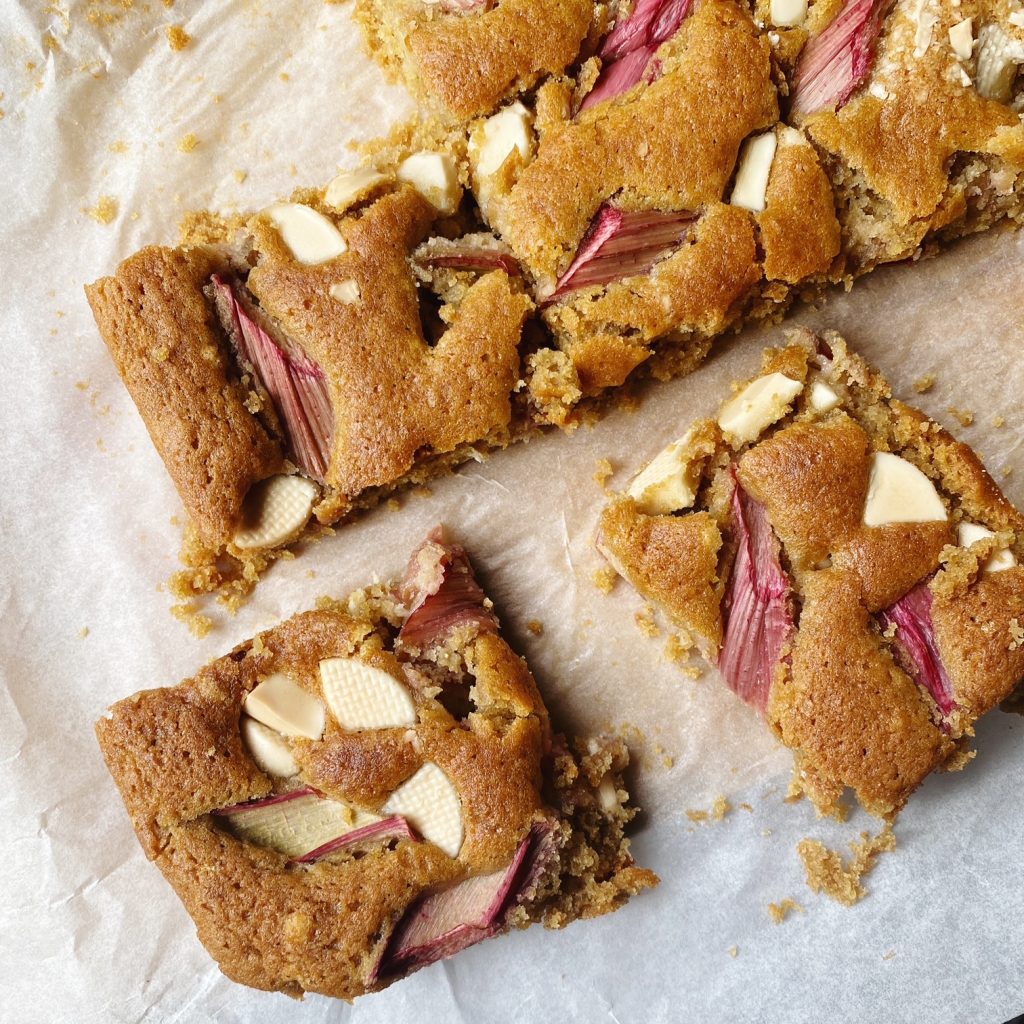
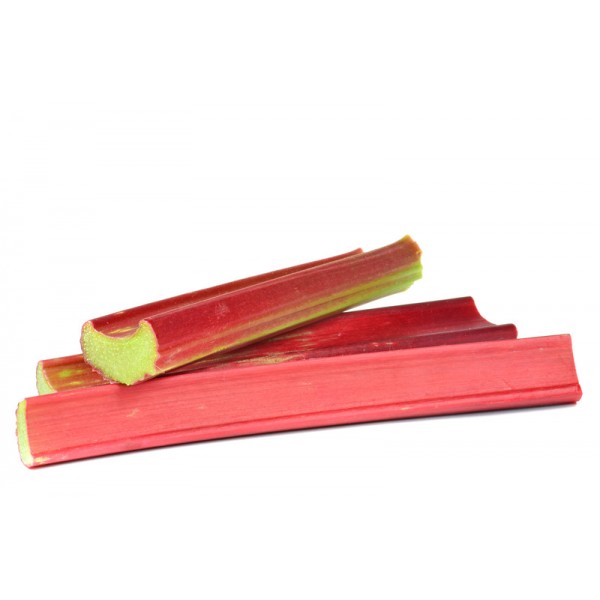
Beautiful, pink rhubarb is in season now and it’s tangy flavour pairs perfectly with sweet white chocolate. We tried baking it into blondies and oh yes, it works! There is some debate as to what blondies are, but to me, the best blondies are simply a white chocolate version of brownies. I’ve based this recipe on my classic vegan brownie recipe and it’s a fairly straight swap – brown chocolate for white chocolate – but the lack of cocoa powder means you must add some starch or the texture is all wrong. So don’t skip the cornstarch (you can replace cornstarch with arrowroot, potato or tapioca flour if you don’t have cornstarch).

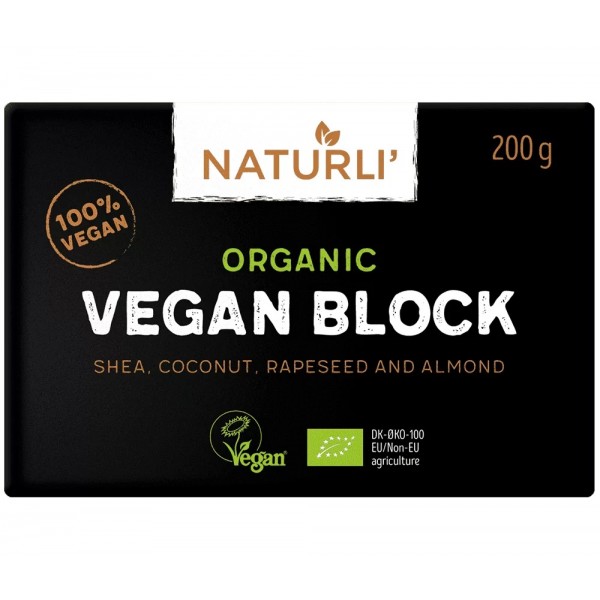
Good blondie recipes call for browned butter, but if you are making this recipe vegan as I am below, then you’ll need to use Naturli butter as other vegan butters do not brown like dairy butter due to the lack of certain proteins and sugars. Naturli contains almond butter so has the right proteins to brown beautifully. Give it a try, I think you’ll agree it adds a delicious nutty, caramelised depth of flavour to the blondies that help to balance out the sweetness of the white chocolate. If you don’t have Naturli in the house you can just use another vegan butter or coconut oil and simply melt it rather than browning.

Here’s my easy recipe, enjoy!

Liz x

Ingredients (makes 12 slices)

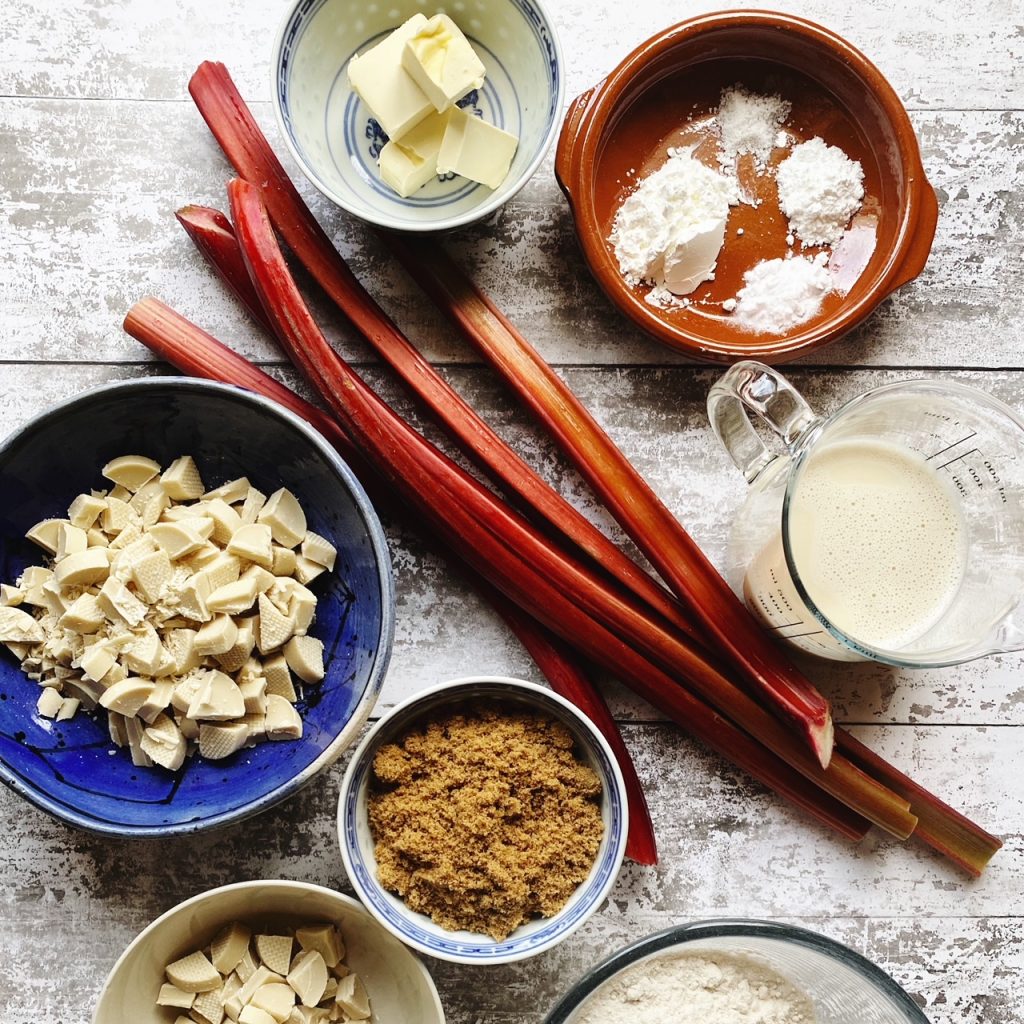
  • 50g Naturli vegan butter block, browned (see method)
  • 250g chopped white chocolate (50g kept aside to decorate)
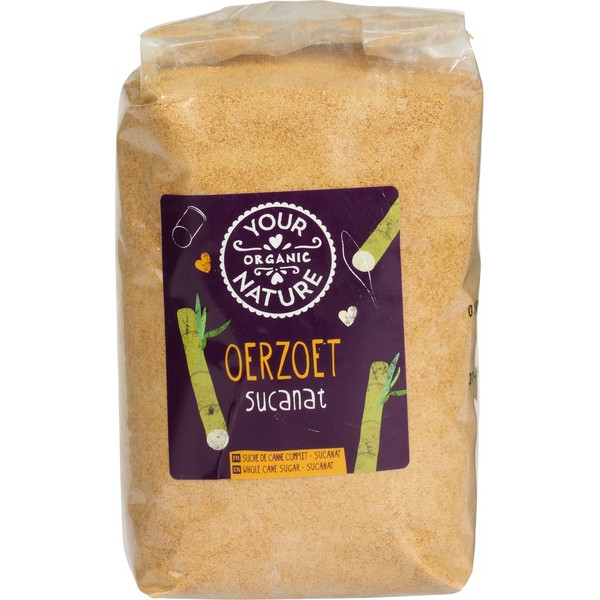
  • 100g brown sugar (our whole cane sugar works perfectly here)
  • 230ml oat milk
  • 175g plain flour
  • 1 tbsp cornstarch
  • 1/2 tsp bicarbonate of soda
  • 1 tsp baking powder
  • 2 rhubarb stalks, cut into bite sized pieces

Method

  1. Pre-heat your oven to 180C and line a baking tin with baking parchment (I used a 20x28cm one).
  2. If you have our vegan block of Naturli butter in, you can brown it to create a nutty, caramel depth of flavour. If you are using another brand of vegan butter then just melt the butter, it will not brown. To brown the butter simply melt in a small pan, keep it swirling/stirring until it goes a gorgeous hazelnut colour.
  3. Then turn off the heat and tip in 200g of the white chocolate. Allow it to melt in the heat of the butter BEFORE stirring. Then add the sugar and milk and stir into a smooth, shiny caramel coloured sauce.
  4. In a large mixing bowl, whisk the flour, salt, cornstarch, bicarbonate of soda and baking powder. Then pour in the melted butter, chocolate, sugar and milk and slowly whisk to just combine. Careful not to over-mix as that would activate the gluten in the flour and create tough blondies.
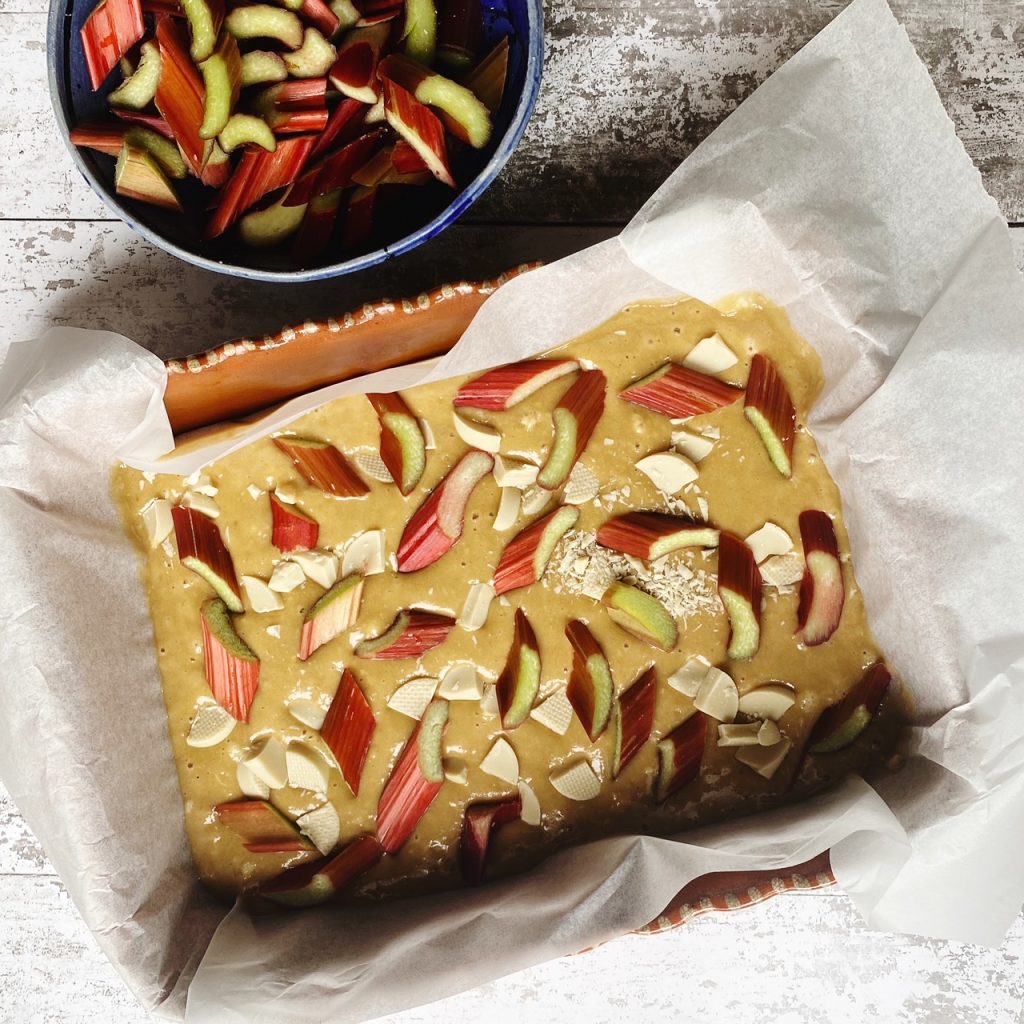
  5. Pour the batter into the lined baking dish and smooth out so that the corners are evenly filled. Then scatter over the reserved white chocolate and chopped rhubarb.
  6. Place the dish in the oven to bake until risen and golden. This should take around 30-35 minutes but ovens vary so check on it after 20 minutes. It is done when it is mostly set but still has a little wobble when gently shaken.
  7. Allow the blondie to cool in the tray then pop the tray in the fridge to set for a few hours or overnight (this requires heroic patience). Cut into 12 pieces and enjoy!

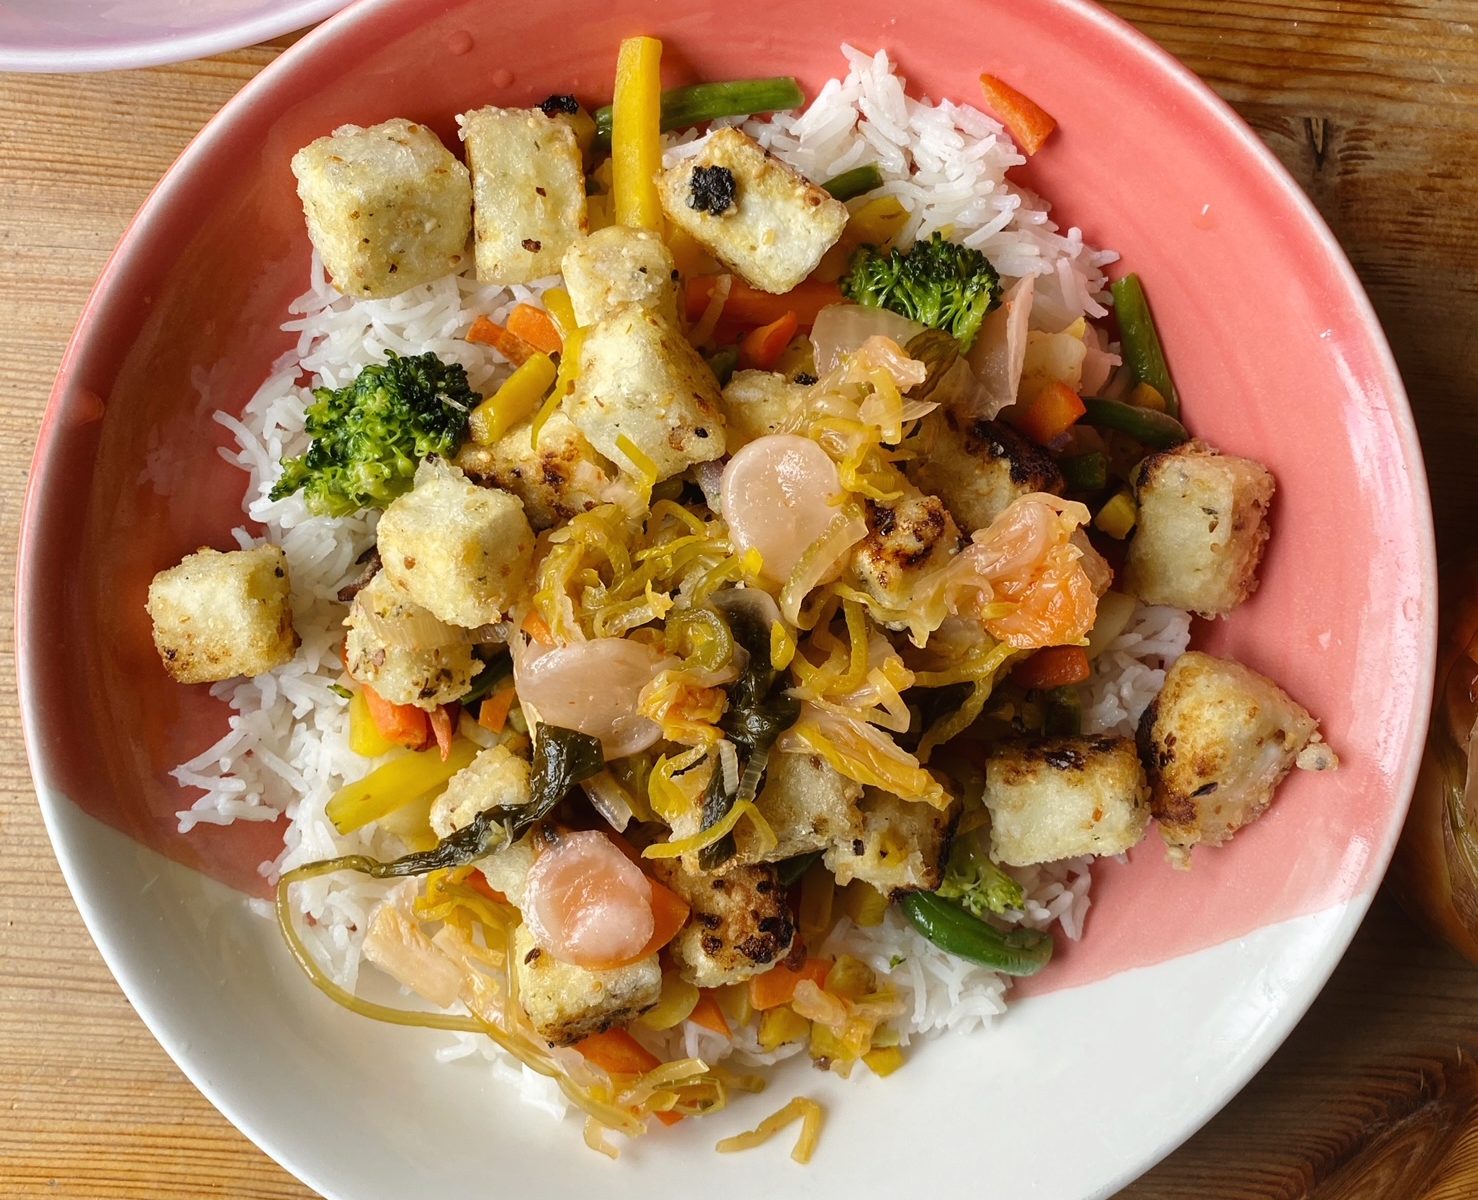
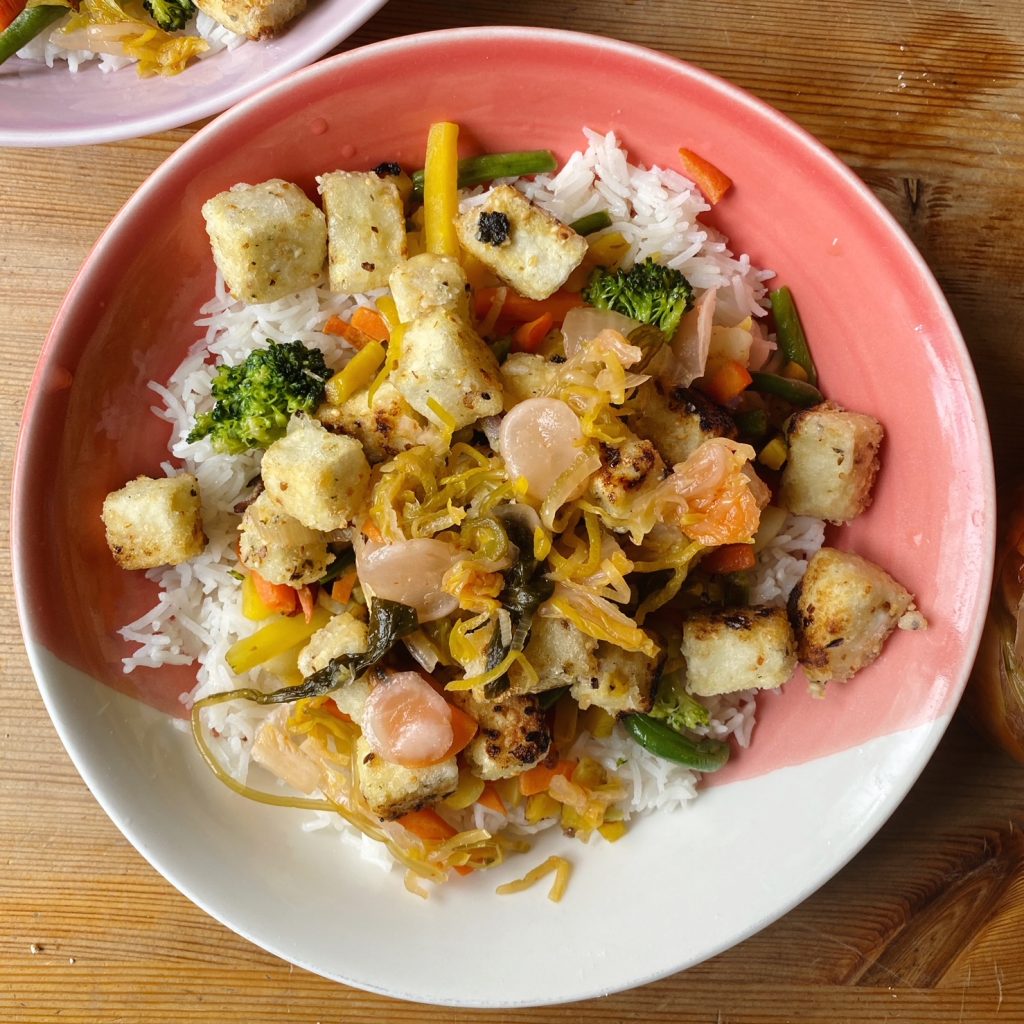
The Best Crispy Tofu

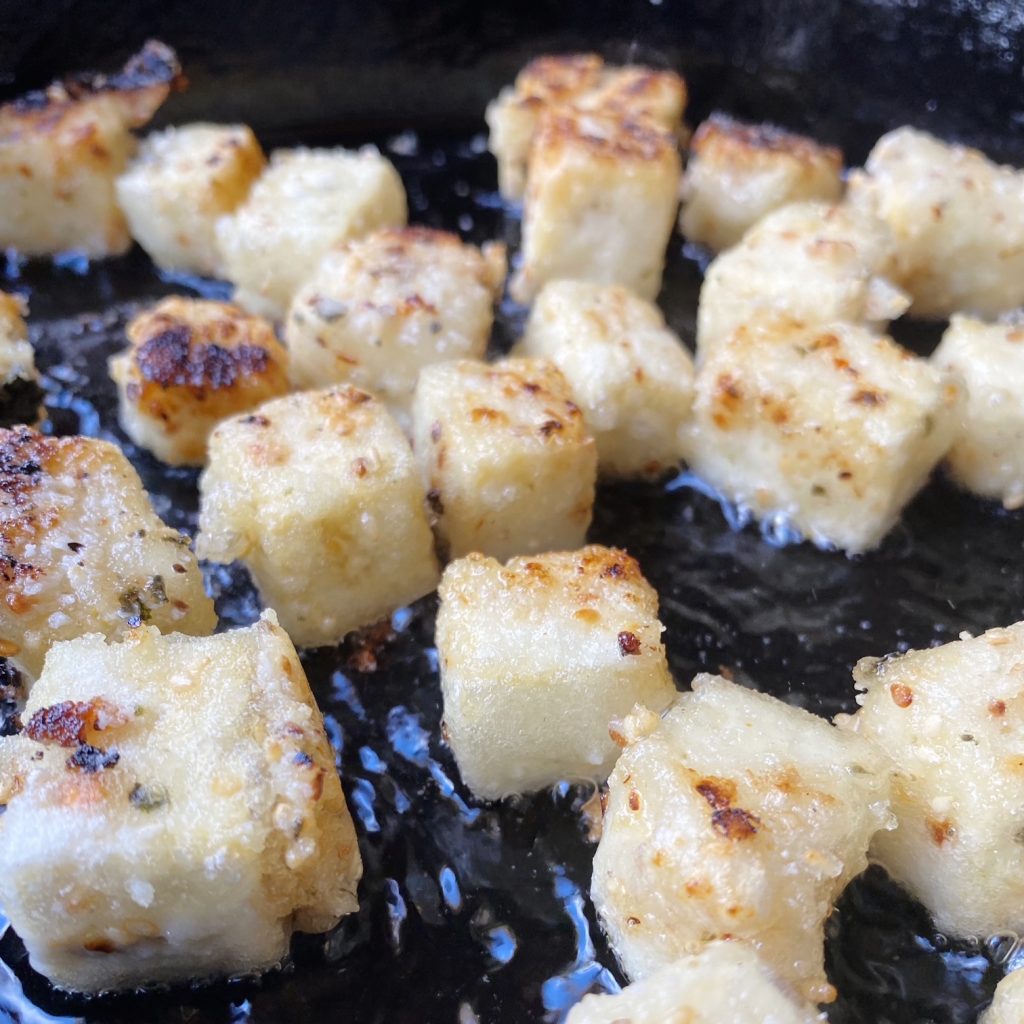
Tofu is an amazing, versatile and healthy ingredient. We love using silken tofu to make scramble for breakfast or to place in wobbly cubes in a miso soup, it’s also great scored and dressed with soy sauce and sesame oil. We stock a delicious range of ready to eat tofus which are brilliant in sandwiches and salads or warmed up to go with your supper (our favourite is the wild garlic one and we also really rate the smoked one). But extra firm tofu is a brilliant blank canvas with a meaty texture. We love it thinly scored at an angle and cooked like a firm piece of fish with lemon, butter, salt and pepper. Our kids favourite way is like this, coated in well seasoned cornflour and fried until crisp. It’s just the thing to top noodle or rice bowls. Give it a try and let me know what you think.

Liz x

Ingredients (serves 2)

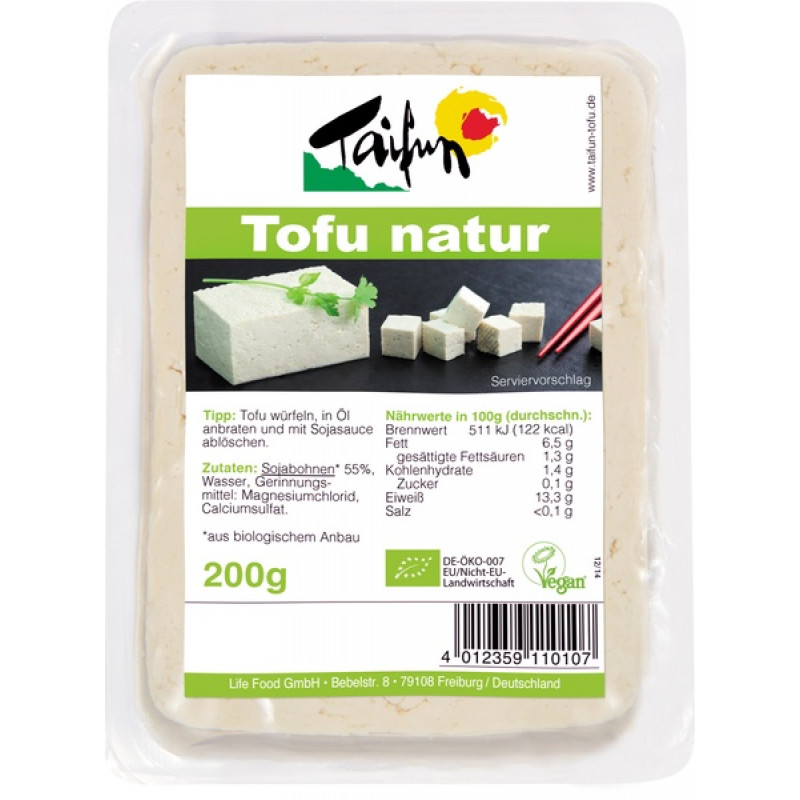
  • 1 x 200g block extra firm, natural tofu
  • 6 tbsp cornflour
  • 1 tsp salt
  • 1/2 tsp chilli flakes
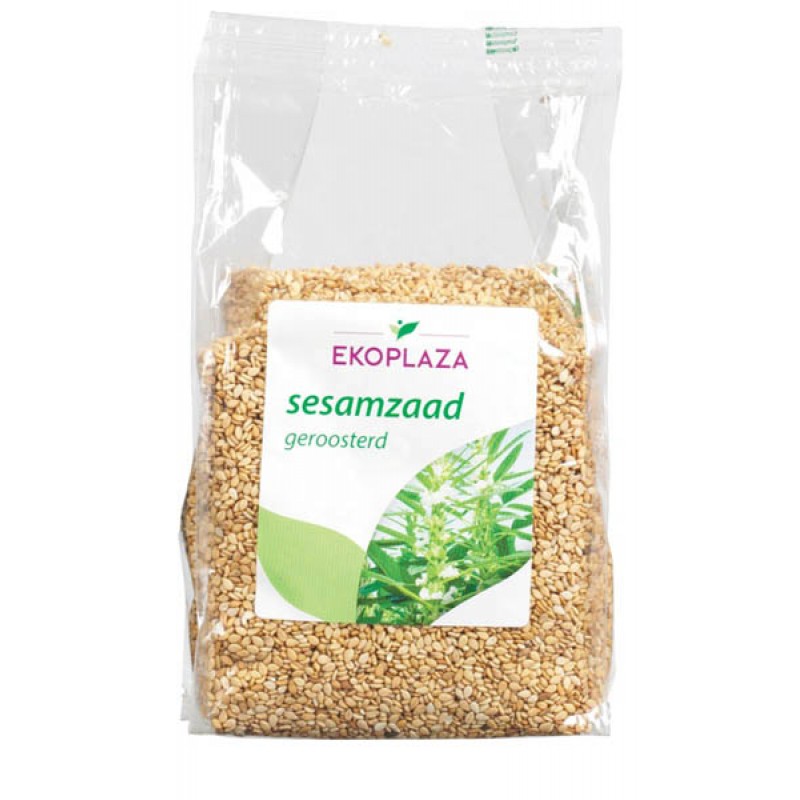
  • 3 tsp toasted sesame seeds
  • 2 tsp seaweed flakes
  • vegetable oil for frying

Method

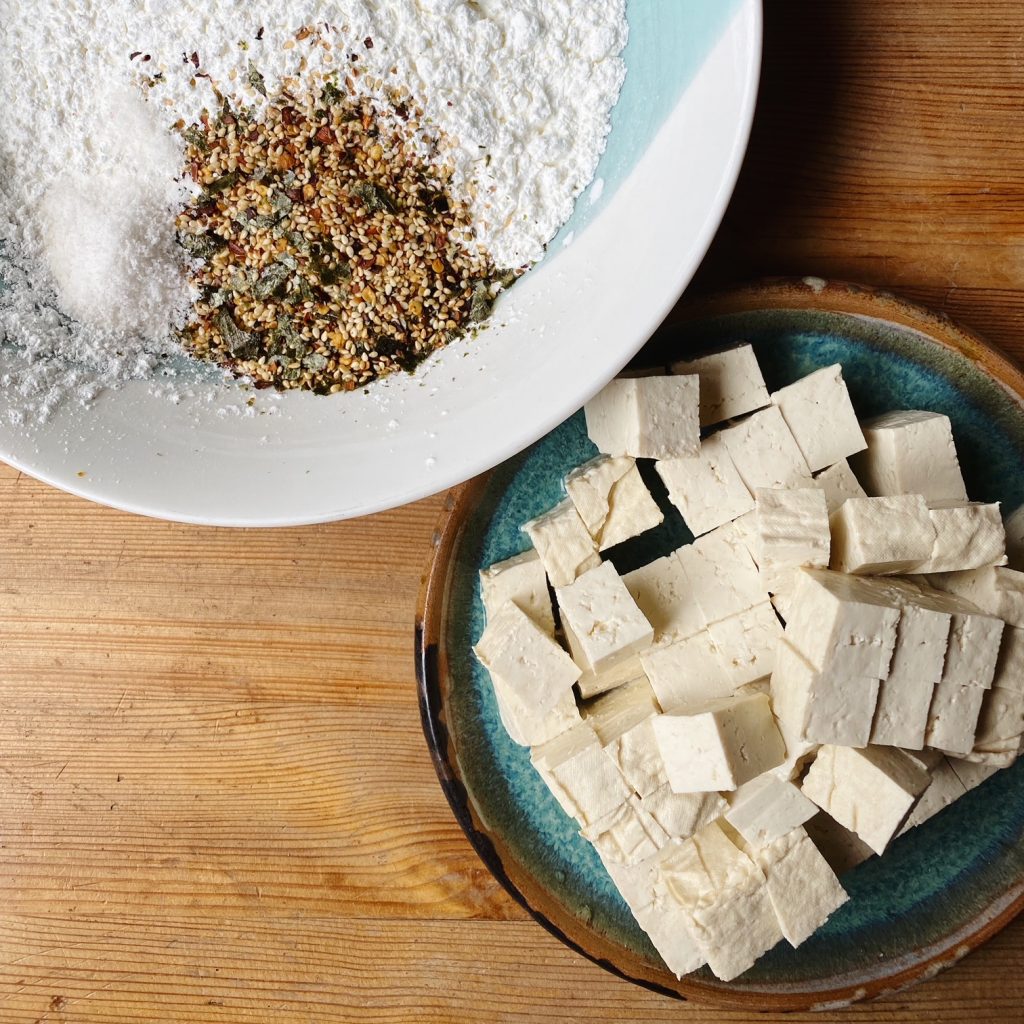
  1. Drain the tofu and cut it into cubes.
  2. In a wide bowl, mix the cornflour, salt, chilli flakes, sesame seeds and seaweed flakes (if you don’t have seaweed flakes you can leave them out or snip up a sheet of sushi nori).
  3. Tumble the cubed tofu into the seasoned cornflour and mix it well ensuring each piece is coated.
  4. Coat the base of a wide frying pan with a generous layer of vegetable oil, then heat to medium high.
  5. Add the tofu but space it out so that the pieces are not touching each other (you may need to cook in batches). Turn the pieces regularly so that they cook on all sides. They should be golden brown and beautifully crispy.
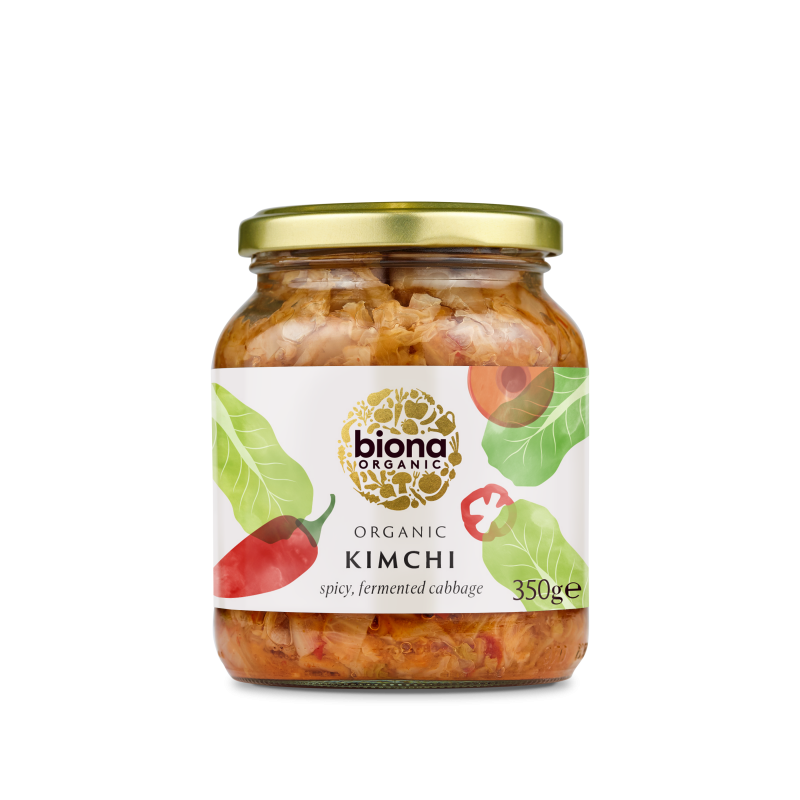
  6. Serve as you like. We topped a rice bowl and vegetable stir fry and added a drizzle of soy sauce and some kimchi.

Wild Flowers, Leased Land & Glyphosate

It was one of those rare occasions, you know the ones, where you get a chance to take a break from your life for a day, to get away and do something that wakes you up again.  Sometimes it is from these breaks that you catch moments of clarity, that can be elusive during the busyness of life.  

Yesterday, myself and Jenny took a day and went exploring in the beautiful landscape of the Burren, which is only 40 minutes from our farm.

It had been some time since I had been up in the hills of the Burren. We got away from everything and it was truly amazing. It may be my maturing years, (last time I was up there I was on a mountain bike) but this time I was walking, and I noticed the abundance of flora. The Burren is renowned worldwide for the diversity of plant species that grow there, and on this particular day it was resplendent in its natural beauty.

Field after stony field were full of flowers, most of which I didn’t know or recognise. But suddenly as we rounded one corner a field of cowslips came into sight. It was a sight that transported me back in time, to a time when the fields next to our family home were full of these beautiful flowers. 

Sadly, today, these flowers are not to be found in most farm grasslands, they have all but disappeared (as have the button mushrooms that also used to be commonly found in meadows). The Burren is a haven for these flowers and one of the key reasons is the absence of chemicals. Those mountains are never sprayed, the land just gets to be.

Enroute to Clare we passed some land which up until last year we farmed. The sight of the fields was shocking, it had taken on a bright iridescent chemical hue.  

Earlier this year we finished the lease on that land.  We had been the custodians for the previous 5 years. Over those five years we treated that land very well, we increased the organic matter content, we brought up its fertility levels, we sowed red clover and left it under clover for two years, we picked truckloads of stones, but crucially we kept it alive, it was always alive while we were the guardians. 

This time last year, the last of the kale plants were flowering and those fields were alive with millions of insects and bees. Contrast that with what we saw yesterday. 

The land is only out of our care less then a month. The whole 9 acres is dead. It has been sprayed with glyphosate and it has a sickly bright yellow/orange tinge of chemical intoxication, all life is gone, all the plants are dead, all the bees are gone, all the insects are gone, and all the birds are gone.

As I reflected on the natural beauty of the Burren and what had happened to that land it was like an epiphany, it was a blinding shock at the glaring difference between the path of food production we follow and the chemical laden path of conventional food production. They couldn’t be more different. 

We came back to our normal lives and passed those fields again on the way home. I was sad that all our good work of five years had been undone in an afternoon. But anger and determination followed, and it made me even more committed to ensuring that we continue to do things right on our home farm, that we never ever use chemicals, and we protect nature at every turn.

Your support supports that mission. 

Kenneth

Sun-Dried Tomato & Herb Braised Beans

We lean heavily on our pantry this time of year during the hungry gap (that time when Irish winter veg are finished and the summer harvests are still a little way away). Beans and lentils are so nourishing, cheap and filling – and they are climate friendly crops too. This is our favourite way to make a pot of white beans. We sometimes make it with dried beans when we have the time, but here is a quicker version with tinned beans for you. You can customise it as you like with greens wilted in at the last minute, top with roasted vegetables or just scoop it up with some good bread. So so delicious!

Liz x

Ingredients (serves 4)

  • 2 sweet potatoes – scrubbed & chopped into chunks
  • 2 tbsp olive oil
  • 1/2 tsp chilli flakes
  • 6 fresh sage leaves, sliced
  • 1 jar of sun-dried tomatoes in oil
  • a whole bulb of garlic – cloves separated, peeled & sliced
  • 3 bay leaves
  • a large handful of rosemary
  • 2 tins butterbeans or cannellini beans
  • a large handful of fresh thyme
  • a large glass of white wine
  • salt & pepper to taste
  • chopped spinach or kale or another leafy green you like

Method

  1. Turn the oven to 200C and tumble your sweet potatoes into a roasting dish. Drizzle with the olive oil, season with salt and sprinkle over the chilli flakes and chopped sage. Shake the dish to evenly coat the potatoes in the seasoning then pop it in the oven to bake while you make the beans. Depending on your oven and the size of your chunks, they should take around 20-30 minutes to cook through.
  2. Drain the oil from the sun-dried tomatoes into a pot. Then, using kitchen scissors, chop the sun-dried tomatoes up into strips. Then turn the heat under the pot to medium-high and add the sliced garlic, bay leaves and rosemary. Cook until the garlic is softening and starting to colour.
  3. Then tip in the 2 tins of beans and their liquid too. Add the white wine, thyme and chopped sun-dried tomatoes. Season with a little salt and pepper then simmer gently for 15 minutes or so until the flavours have developed. Careful not to overcook the beans as they will turn to mush. Turn the heat off and let the beans rest while you wait for the sweet potatoes to cook through.
  4. Once the sweet potatoes are cooked through and you are ready to serve, add the greens to the beans and warm them through. Serve in wide bowls topped with the roasted sweet potatoes and scoop up with bread if you like.

Carrot & Coriander Fritters

Chickpea flour (aka gram flour) is such a useful store-cupboard ingredient. Have you tried it yet? In Indian cuisine it is used to make savoury pancakes called dosas and to the make the batter for deep fried onion bhajis. At home we love to use it to make nutritious, delicious, protein-rich fritters all year round. Fritters are a great lunch option with a simple salad and a dip, or you can use them as sandwich fillers or burger alternatives. You can really make them your own with different vegetables and herbs/spices. Here’s one of our favourites, carrot and coriander.

Liz x

Ingredients (serves 2)

  • 1 espresso mug of chickpea flour (around 8 tbsp)
  • 1 espresso mug of water
  • 1/2 tsp salt
  • 1/2 tsp pepper
  • 1/4 tsp turmeric
  • 1 tsp ground coriander
  • 2 grated carrots
  • a handful of fresh coriander
  • around 2 tbsp vegetable oil for frying
  • natural yogurt, lime wedges and salad leaves to serve

Method

  1. Start with the batter. In a mixing bowl, whisk together the chickpea flour, seasoning and water into a smooth batter.
  2. Grate the carrots and add them to the batter along with the coriander leaves. Stir well to coat the veggies in the batter.
  3. Heat a frying pan to medium with the vegetable oil. Make sure your pan is not too hot, chickpea flour batter can taste a little bitter if it is not cooked through so you want to cook it slowly so it’s not burned on the outside and raw in the middle.
  4. Dollop the batter into the pan in four even scoops. Fry the fritters for 5 minutes or so on each side or until they are golden brown on the outside and firmed up and hot inside.
  5. Then serve with salad, natural yoghurt and a good squeeze of lime.