Kale Pesto Pasta – with spicy roasted pumpkin & chickpeas

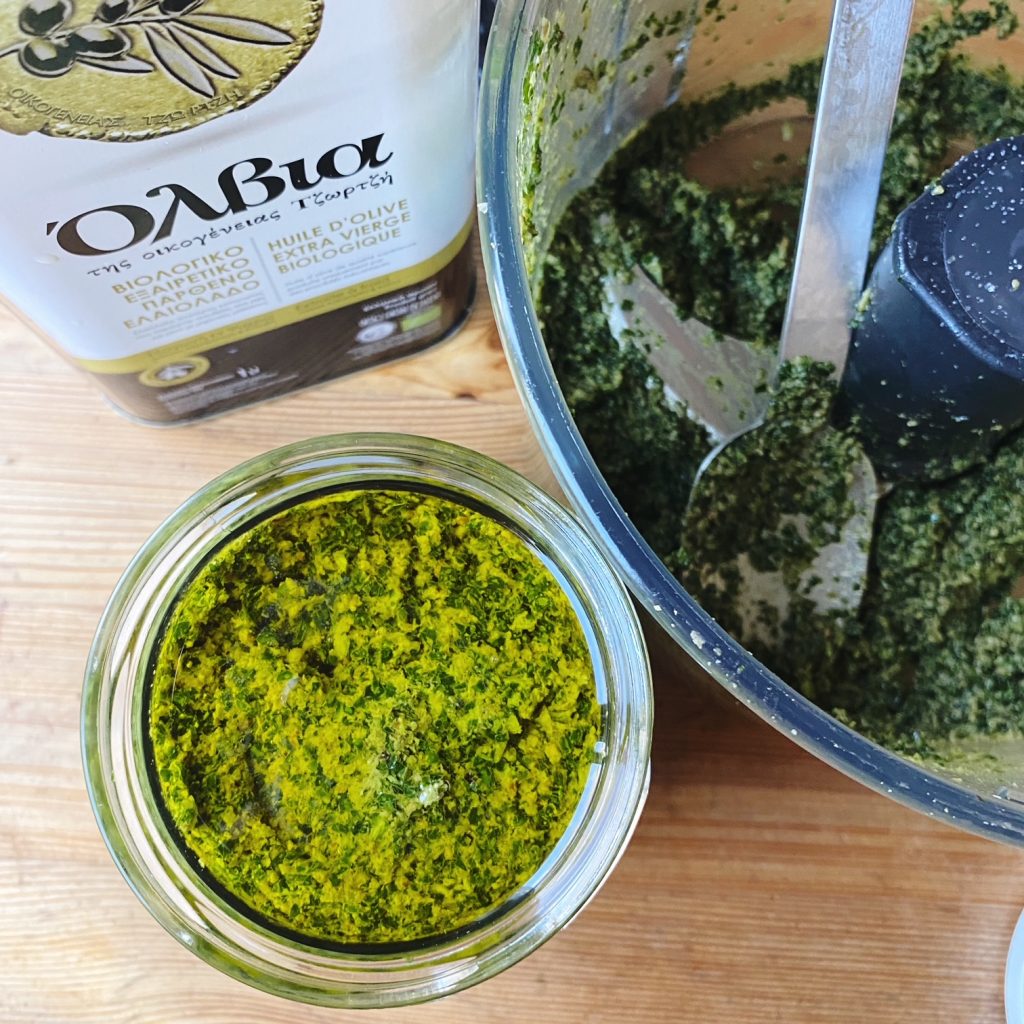
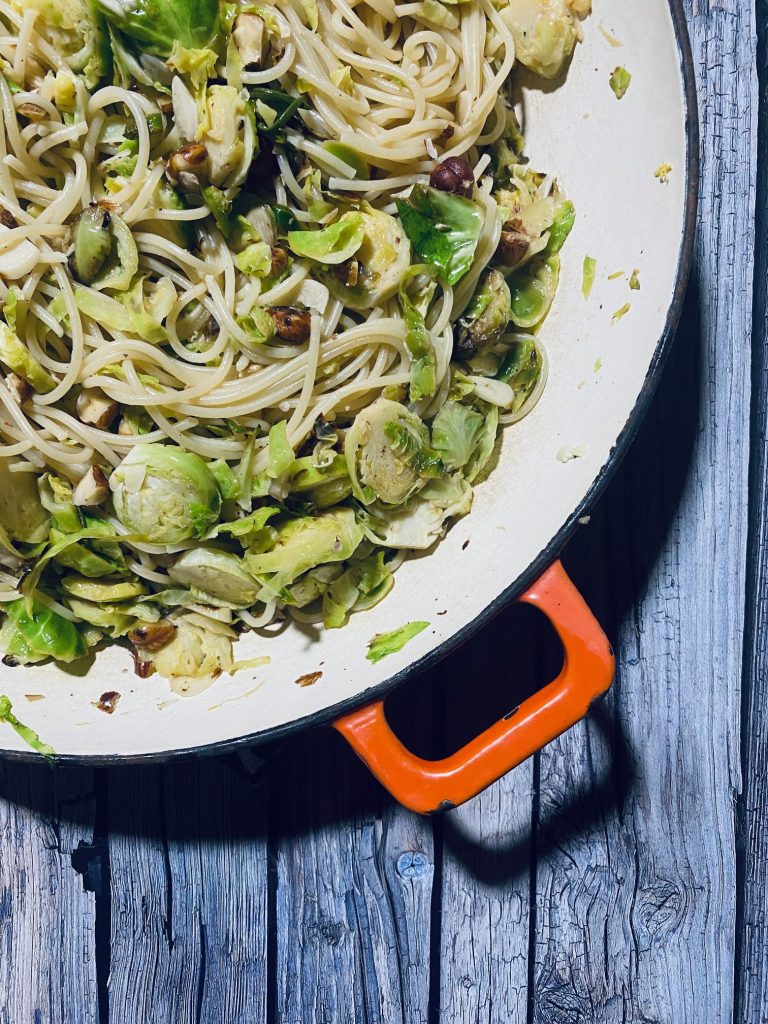
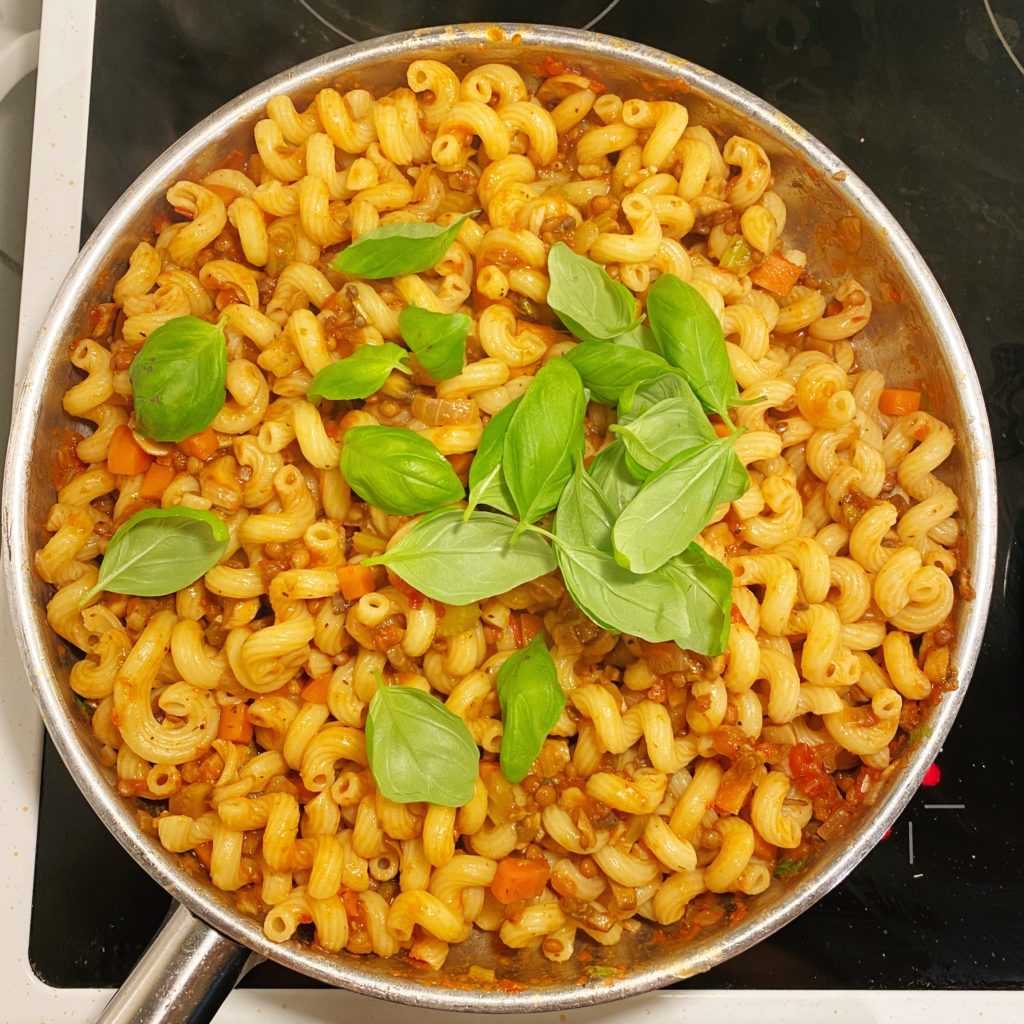
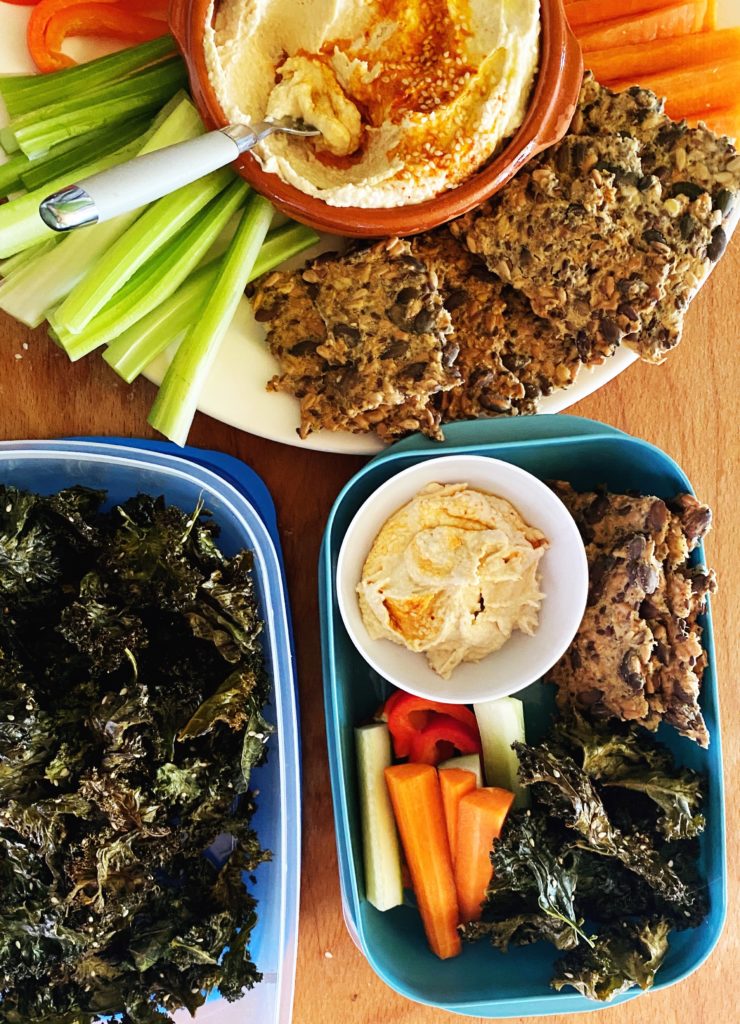
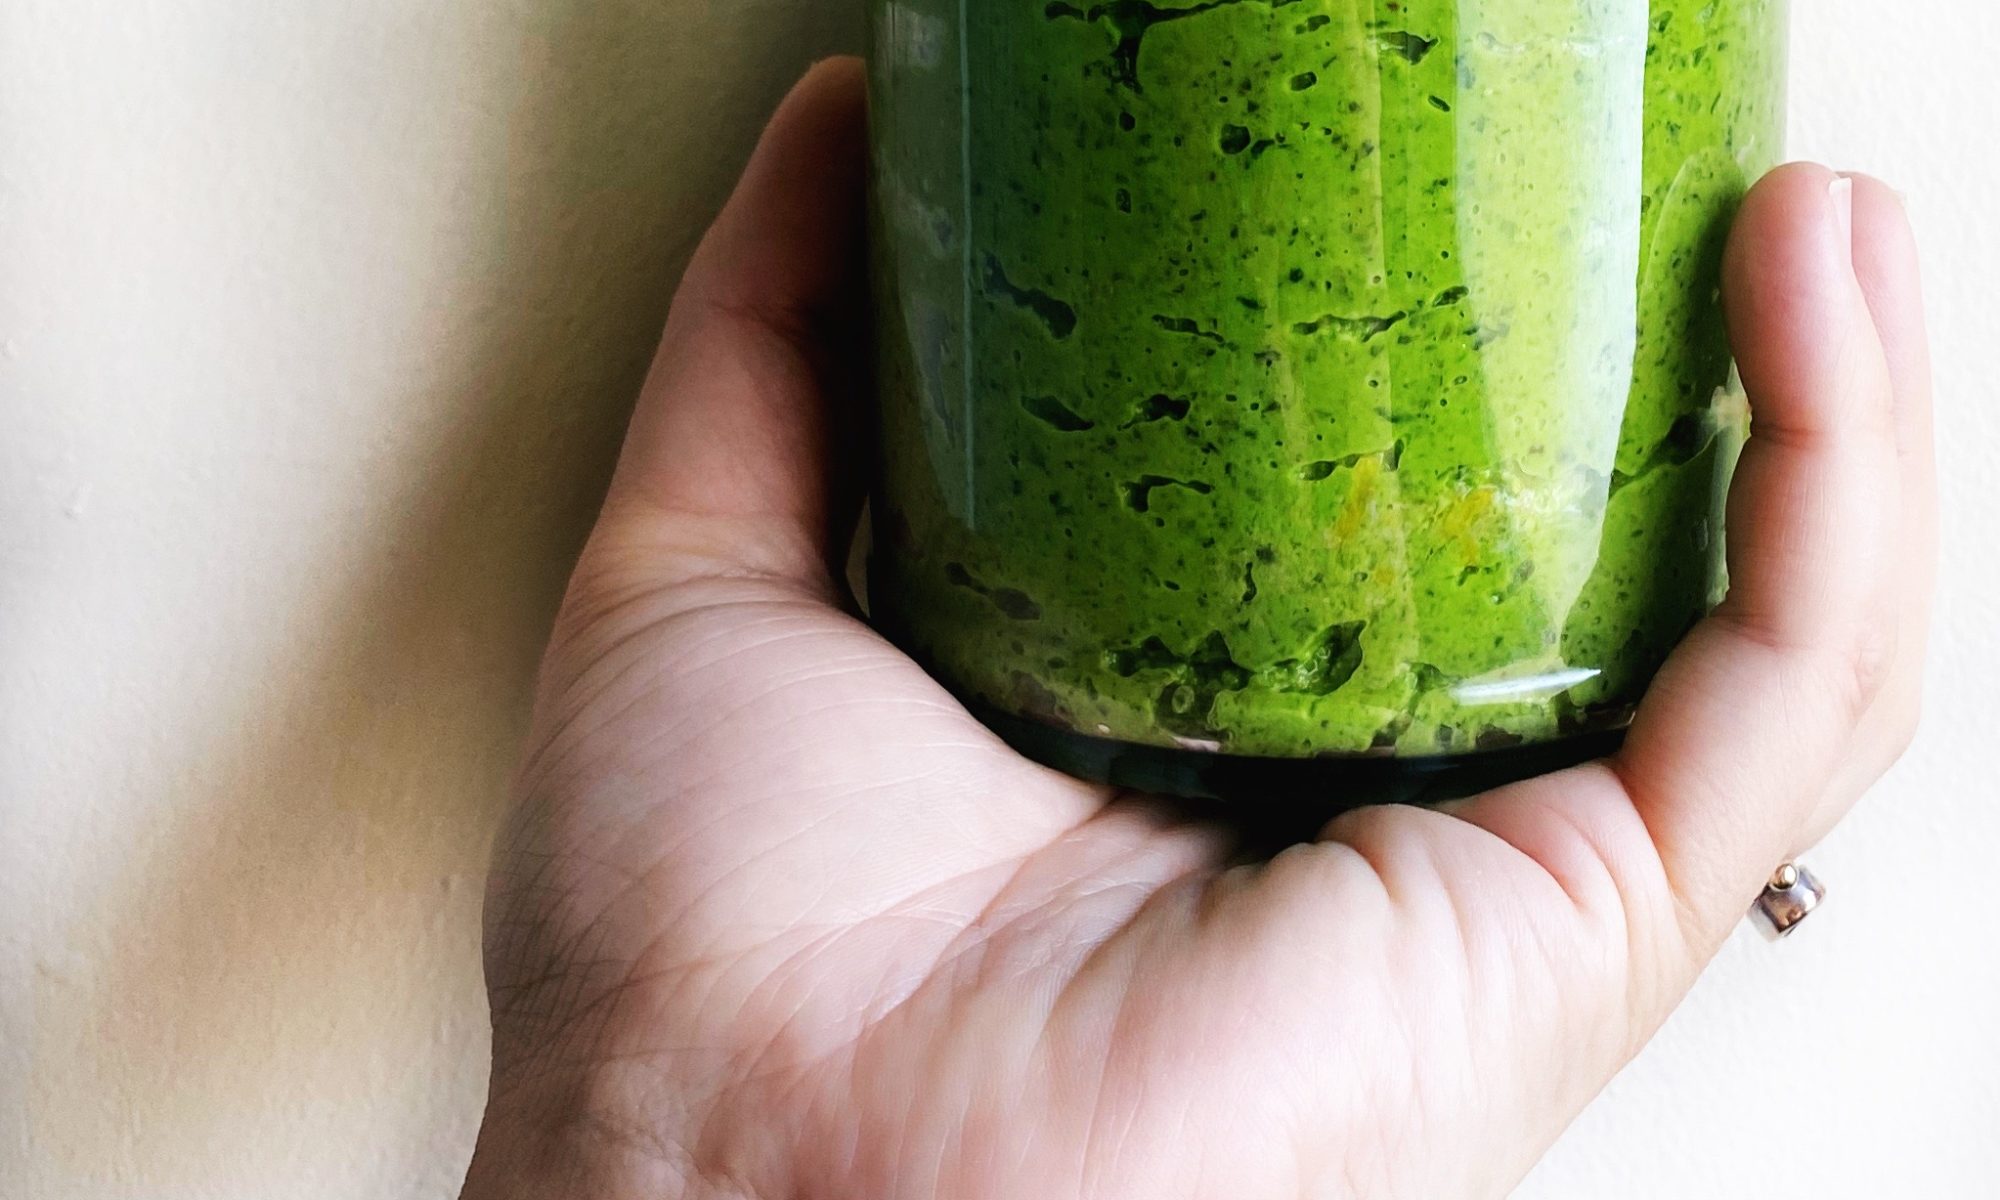
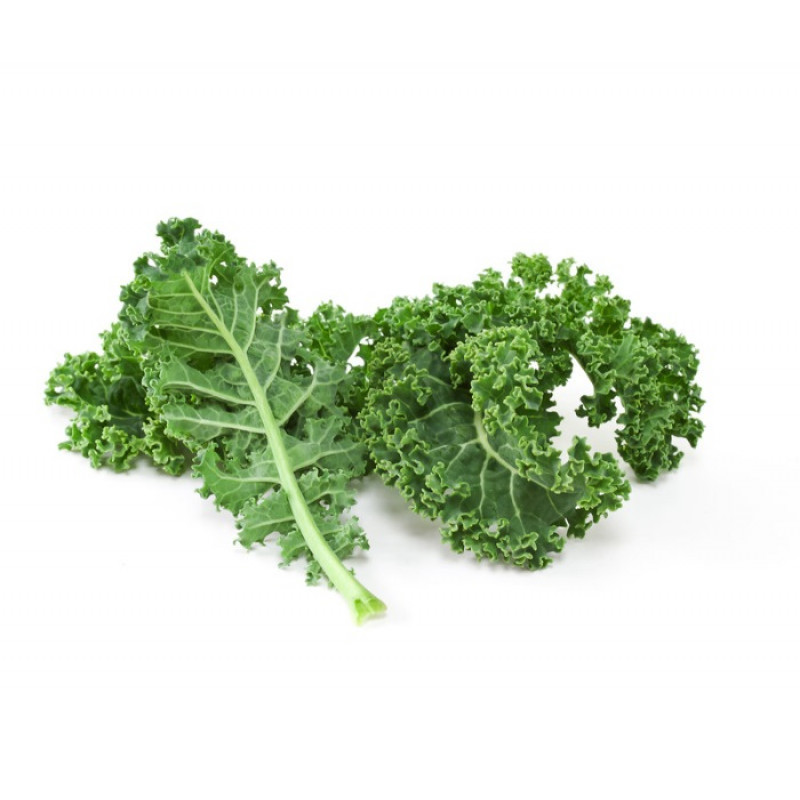
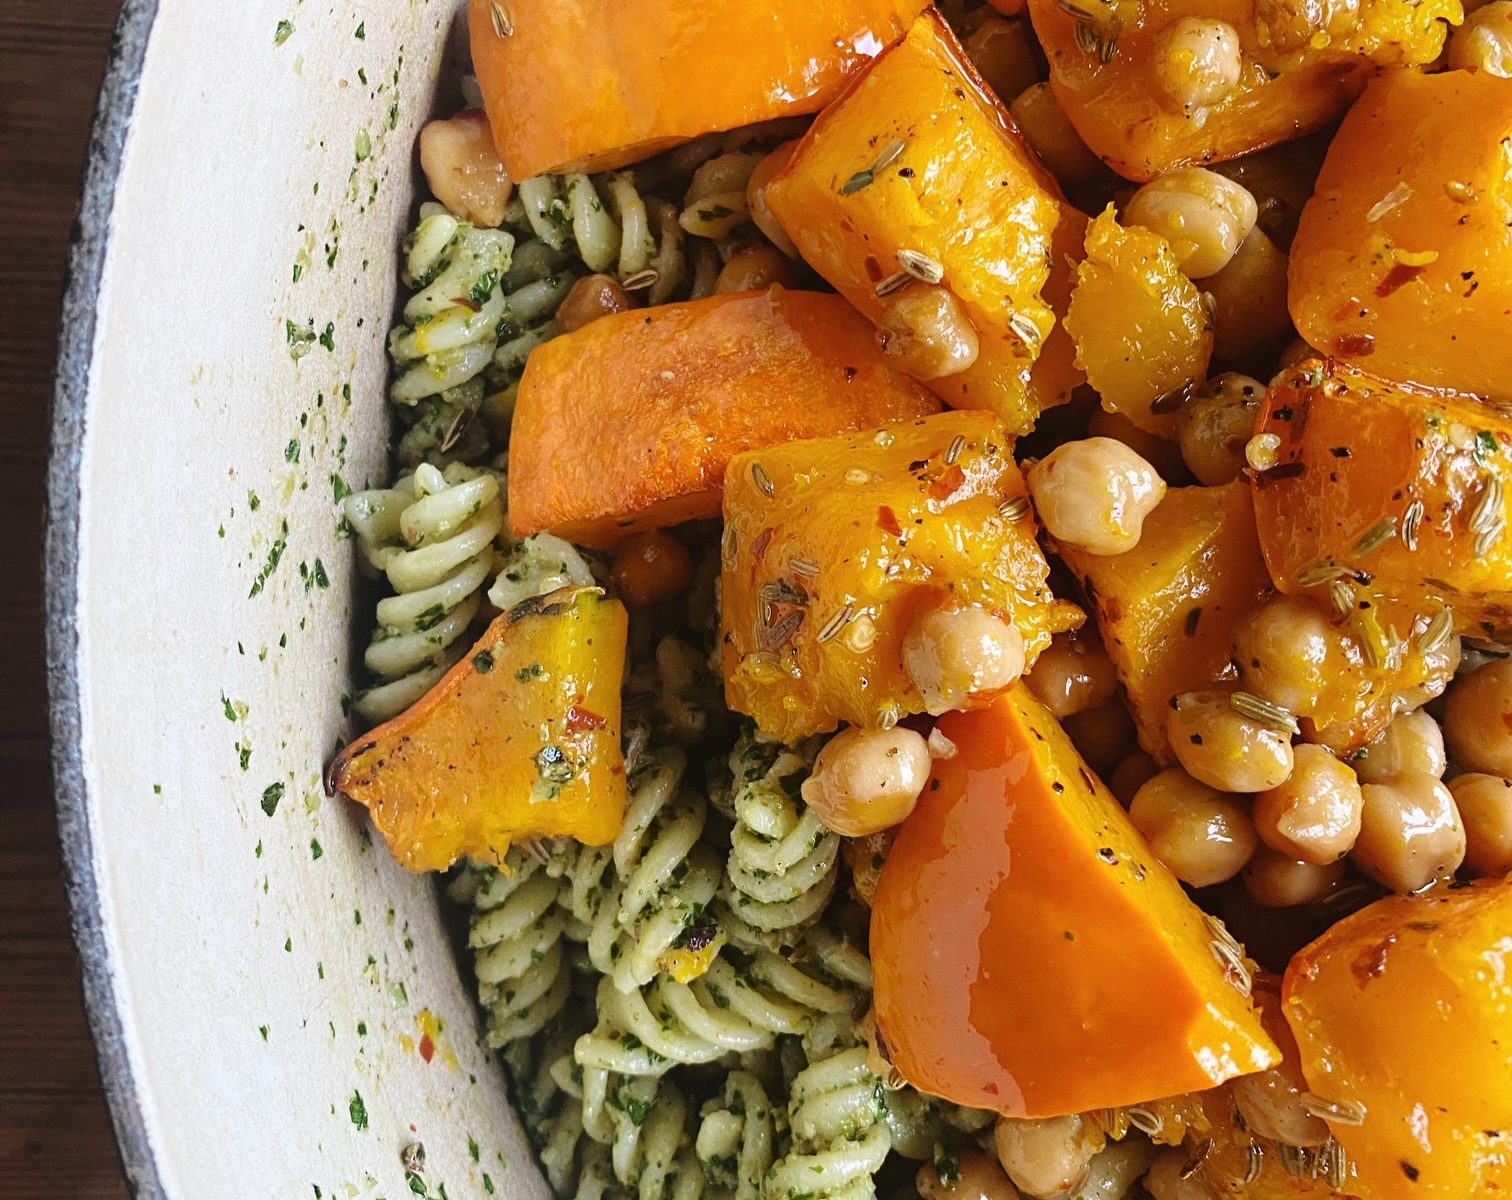
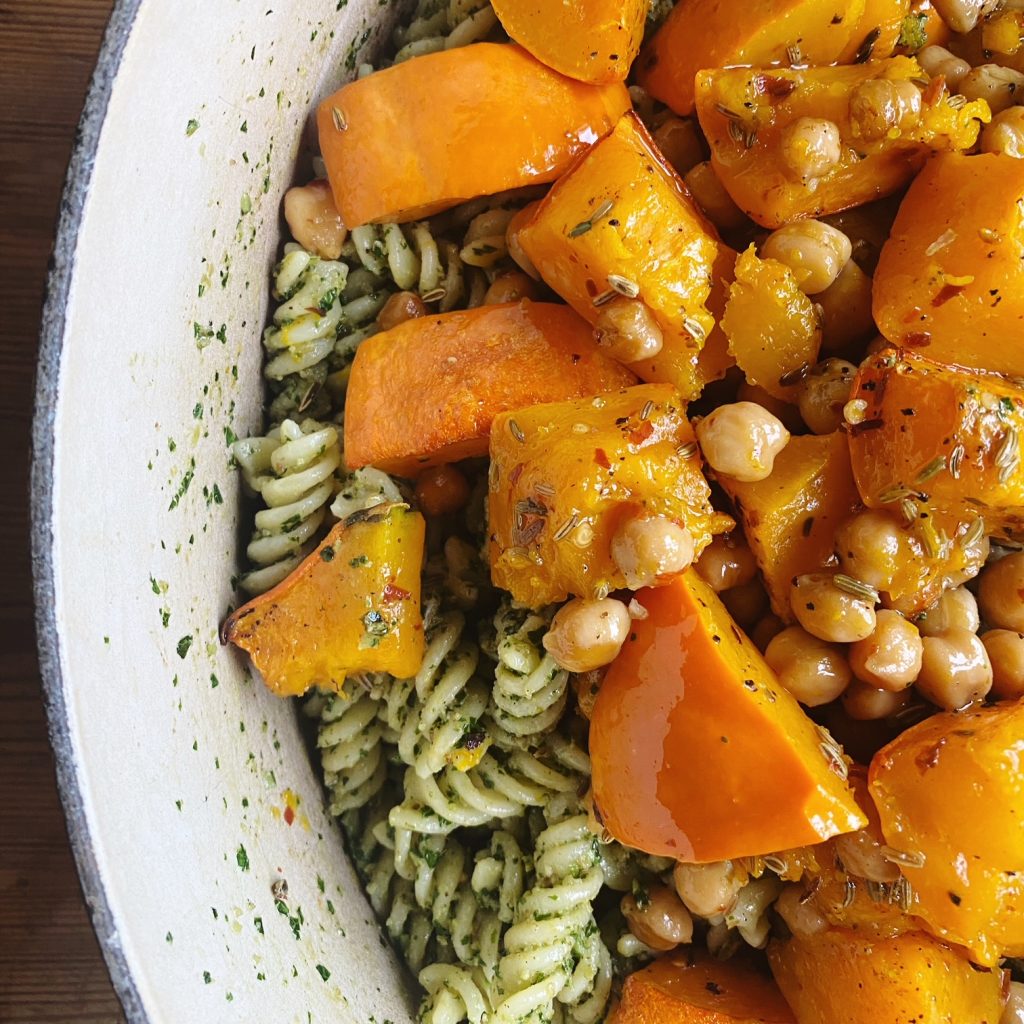
Lots of you have told us that you don’t like kale but wish you did so you could enjoy the many health benefits of this mighty, Irish green. Here’s how we get our kids to eat loads of it, in pesto! If we have fresh herbs in the house we mix those in too for extra flavour. Doesn’t have to be basil either, you could make kale/parsley pesto or kale/dill pesto etc to go with whatever you are making for dinner. Here’s our basic pesto recipe which you can tweak to your liking. Pesto pasta is a quick, mid-week staple in our house and we love to top it with seasonal vegetables and chickpeas – this week’s pumpkin with chilli and fennel seeds was particularly delicious, find the recipe below.

Liz x

Ingredients (serves 4)

For the pesto:

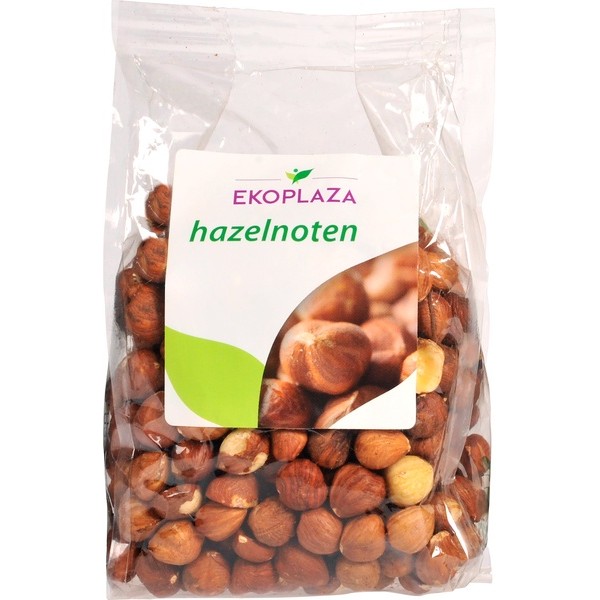
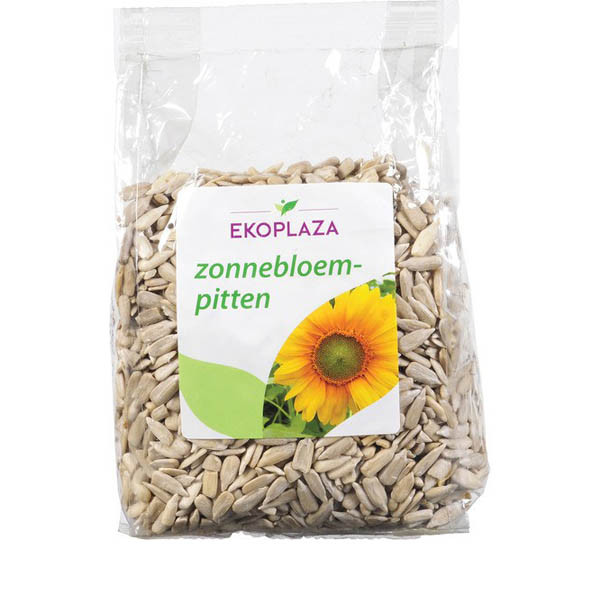
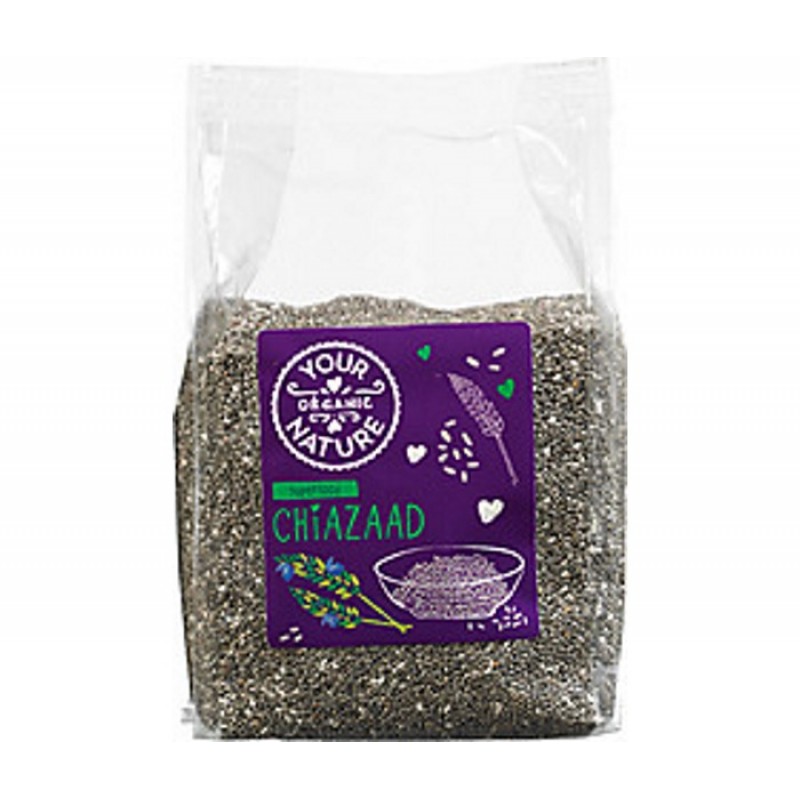
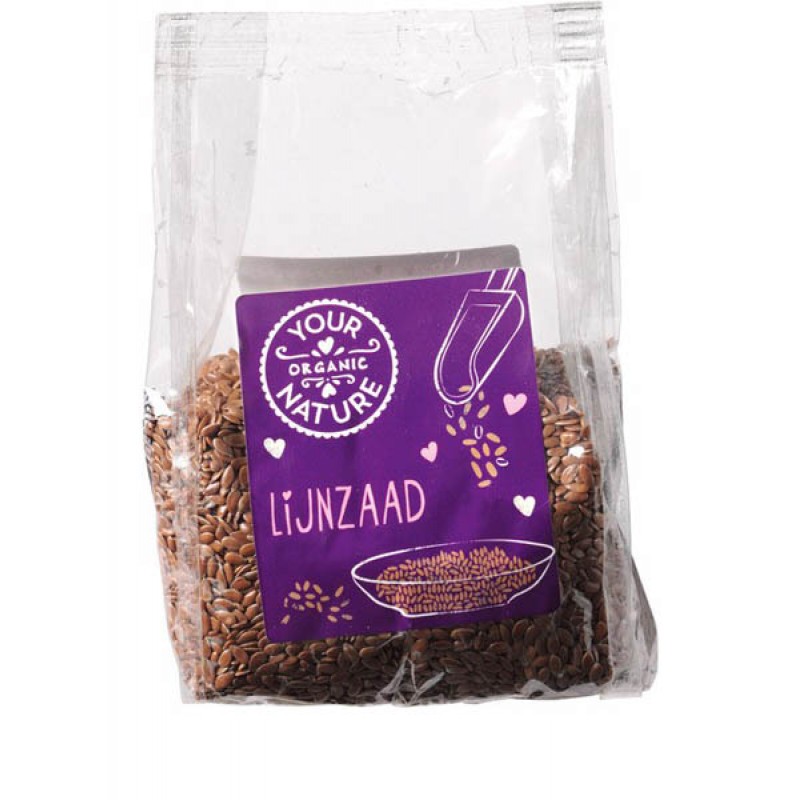
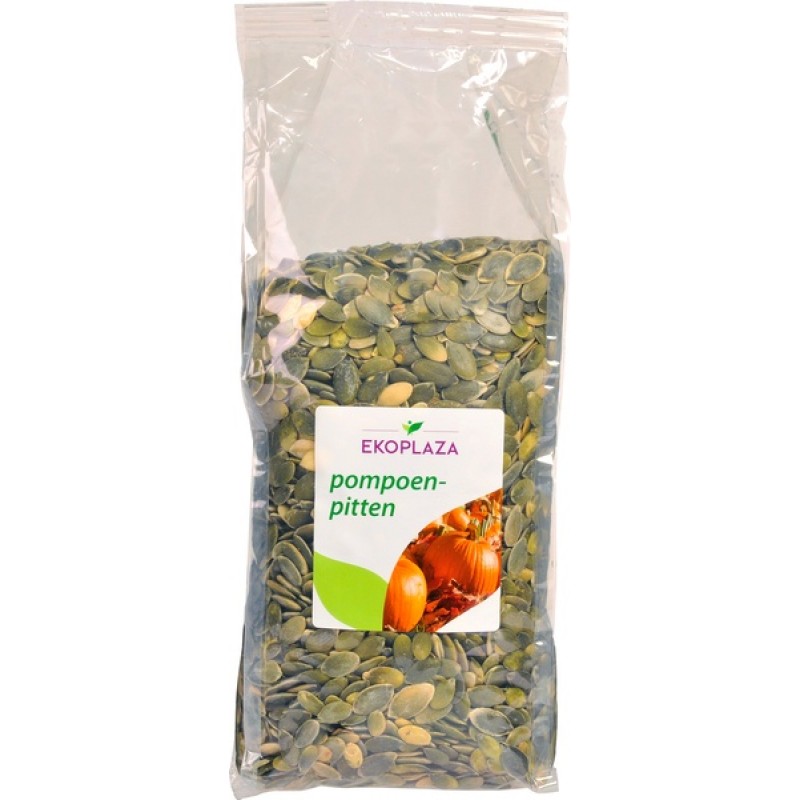
  • 100g nuts/seeds (toasted for extra flavour)
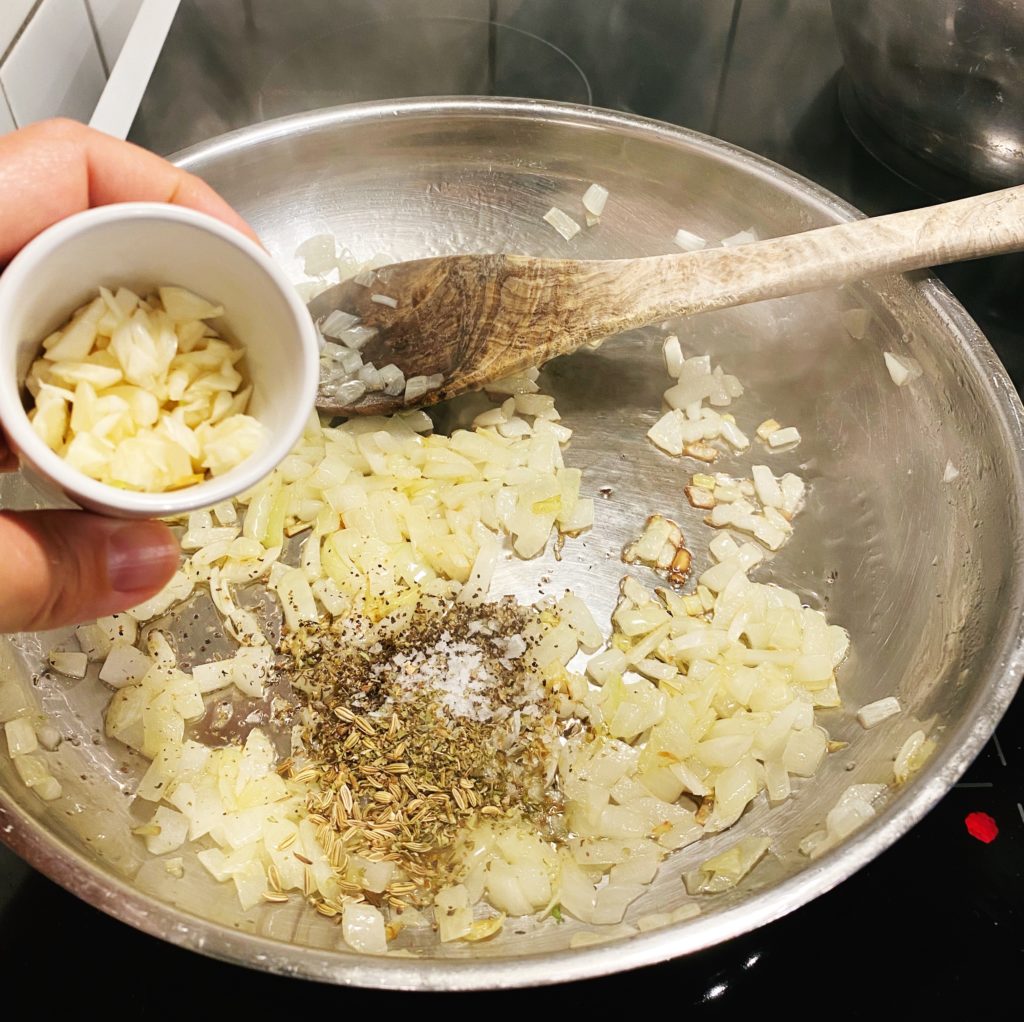
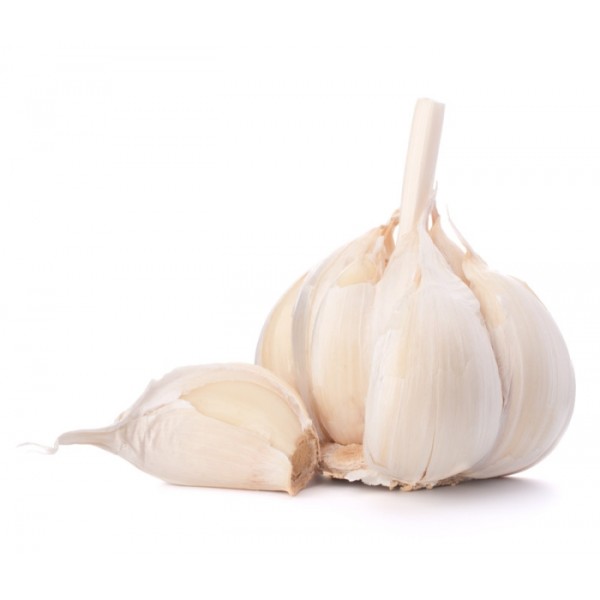
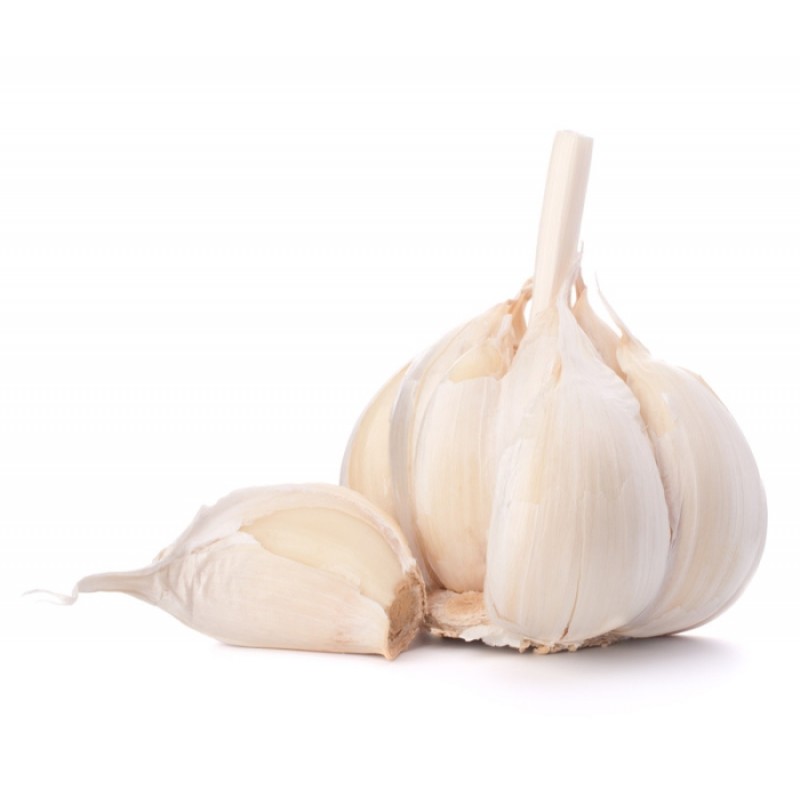
  • 1 clove of garlic
  • a big pinch of salt
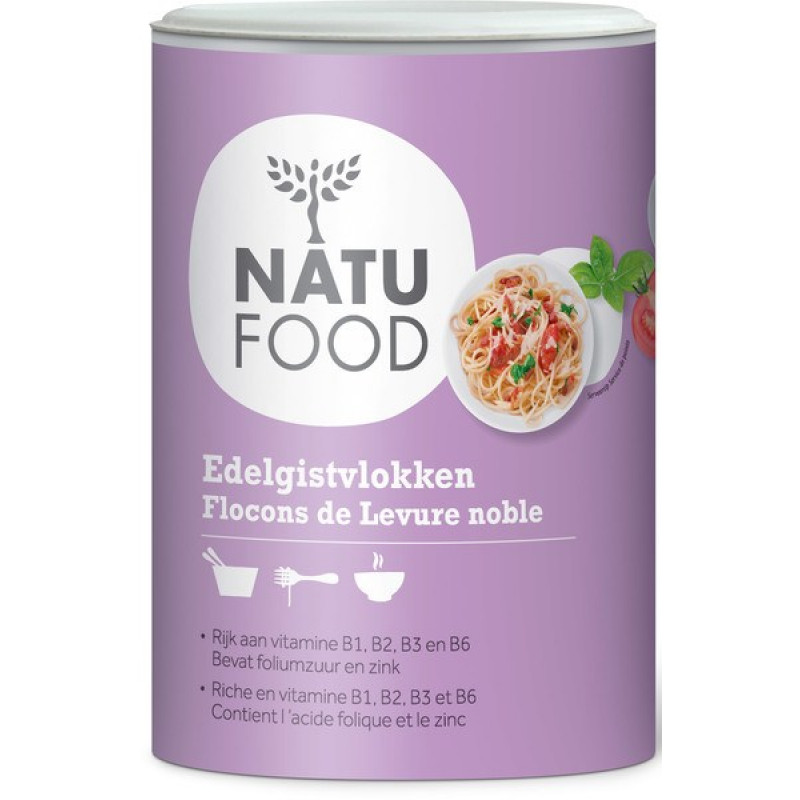
  • 2 tbsp nutritional yeast (for cheesy flavour – you could sub with hard cheese or leave it out if you like)
  • 100g greens (kale/spinach/fresh herbs) – washed and shaken dry
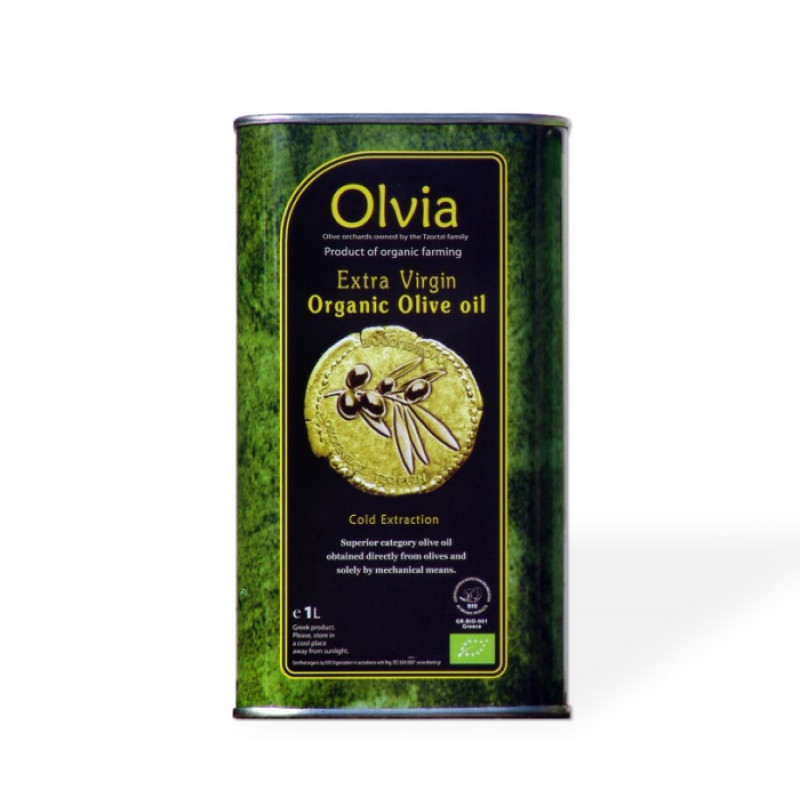
  • 100ml olive oil (plus extra for topping off the jar)
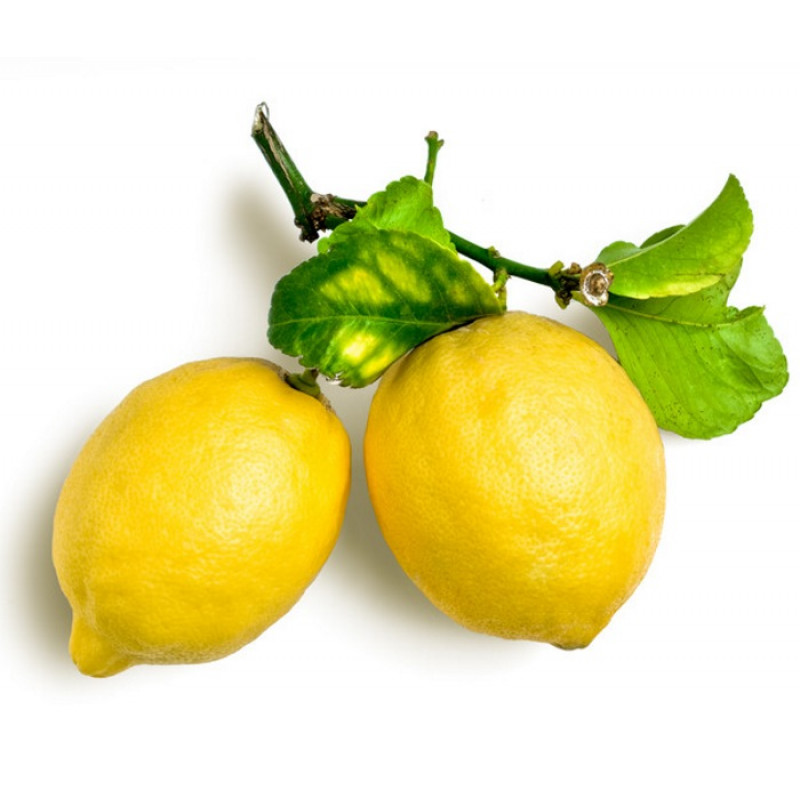
  • the zest & juice of 1/2 a lemon

Pumpkin & Chickpea topping:

  • 1/2 a kuri squash or butternut squash (seeds scooped out and flesh cut into bite sized chunks – you can leave the skin on)
  • 1 tin of chickpeas, drained
  • 2 tbsp olive oil
  • salt and pepper to taste
  • 1 tsp chilli flakes
  • 2 tsp fennel seeds
  • cooked pasta and an extra drizzle of olive oil to serve

Method

  1. Pre-heat your oven to 200C. Toss the chickpeas and pumpkin in a baking dish with the olive oil, salt, pepper, chilli flakes and fennel seeds, mix well. Place the dish in the oven to roast while you boil pasta and make the pesto – around 20 minutes or until the pumpkin is soft.
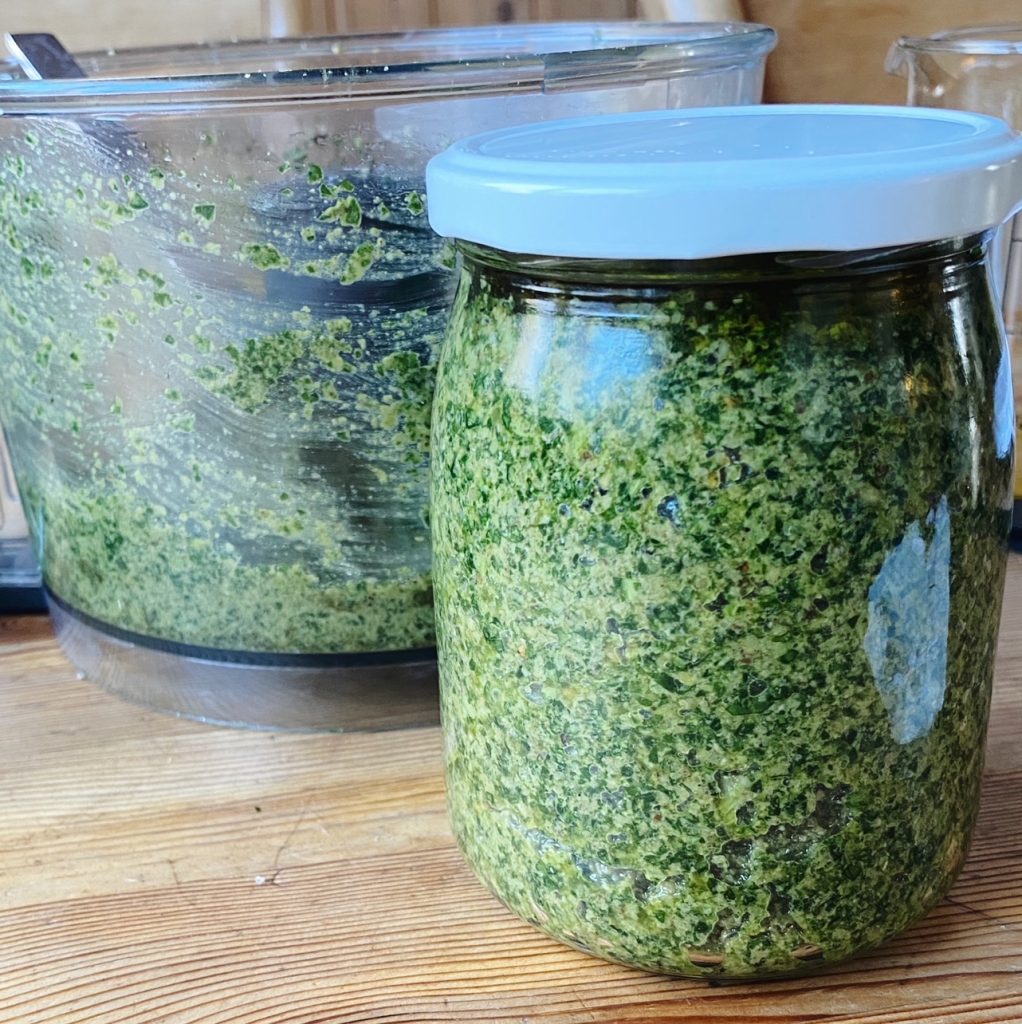
  2. In a food processor, pulse the nuts/seeds (we used toasted sunflower seeds here) with the garlic, salt and nutritional yeast until crumbly.
  3. Tear in half of the kale (stalks and all) and pulse again to roughly chop. Repeat with the other half of the kale.
  4. Then add the oil and lemon and blend into a pesto consistency. Taste and add more salt or lemon if needed.
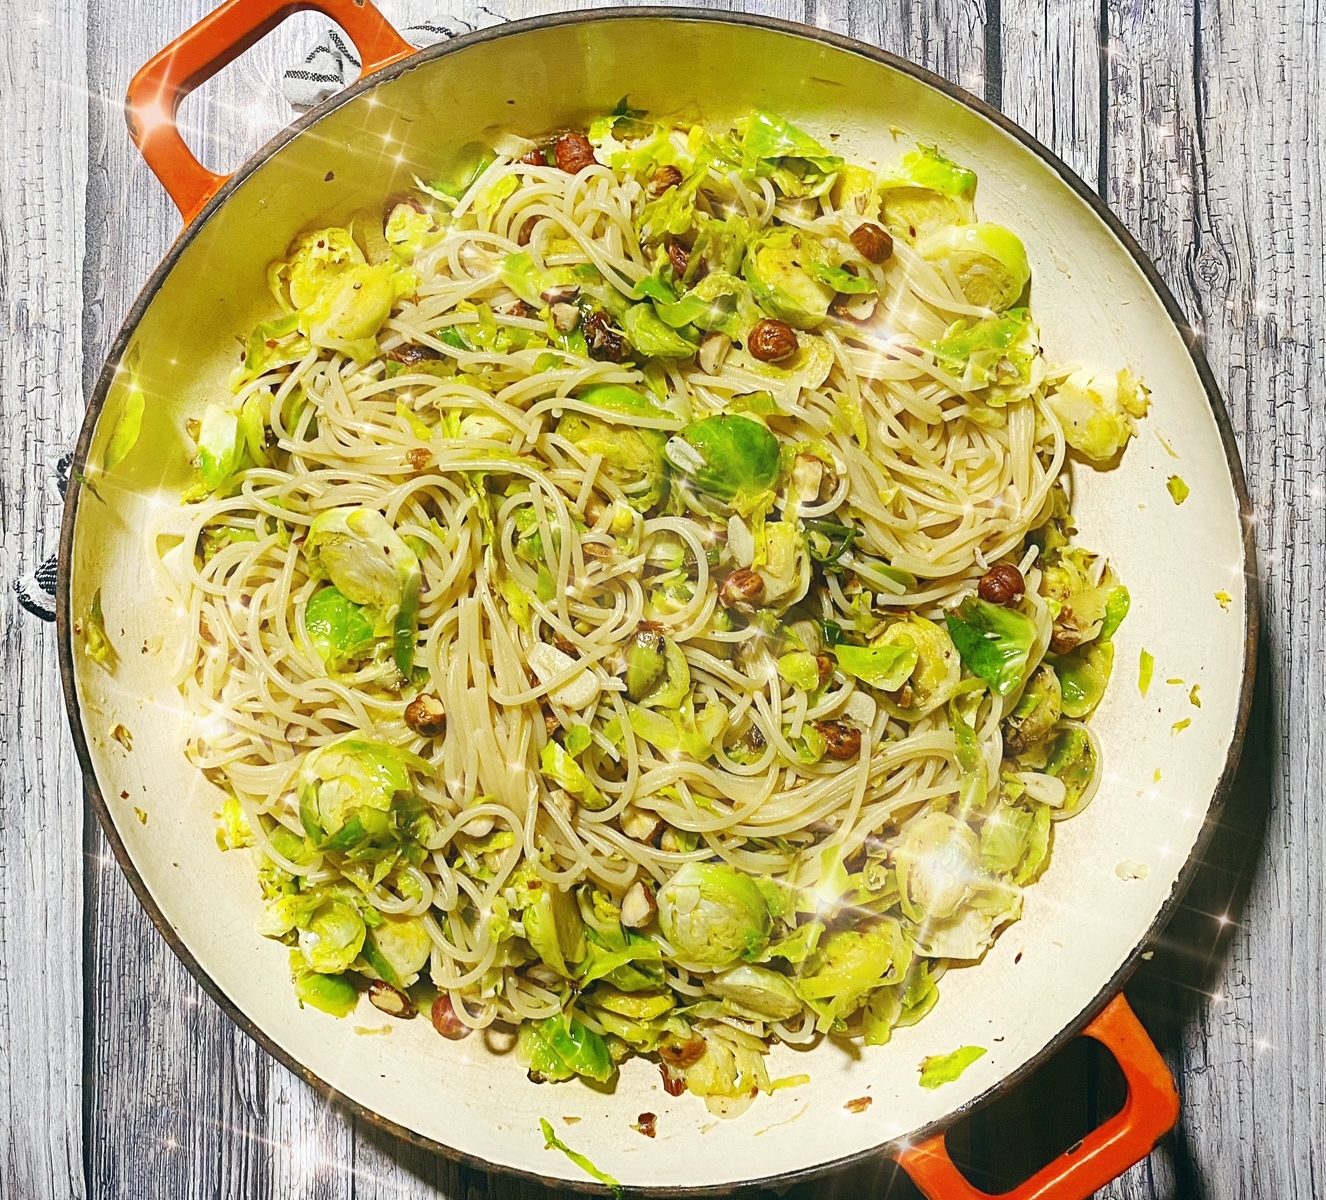
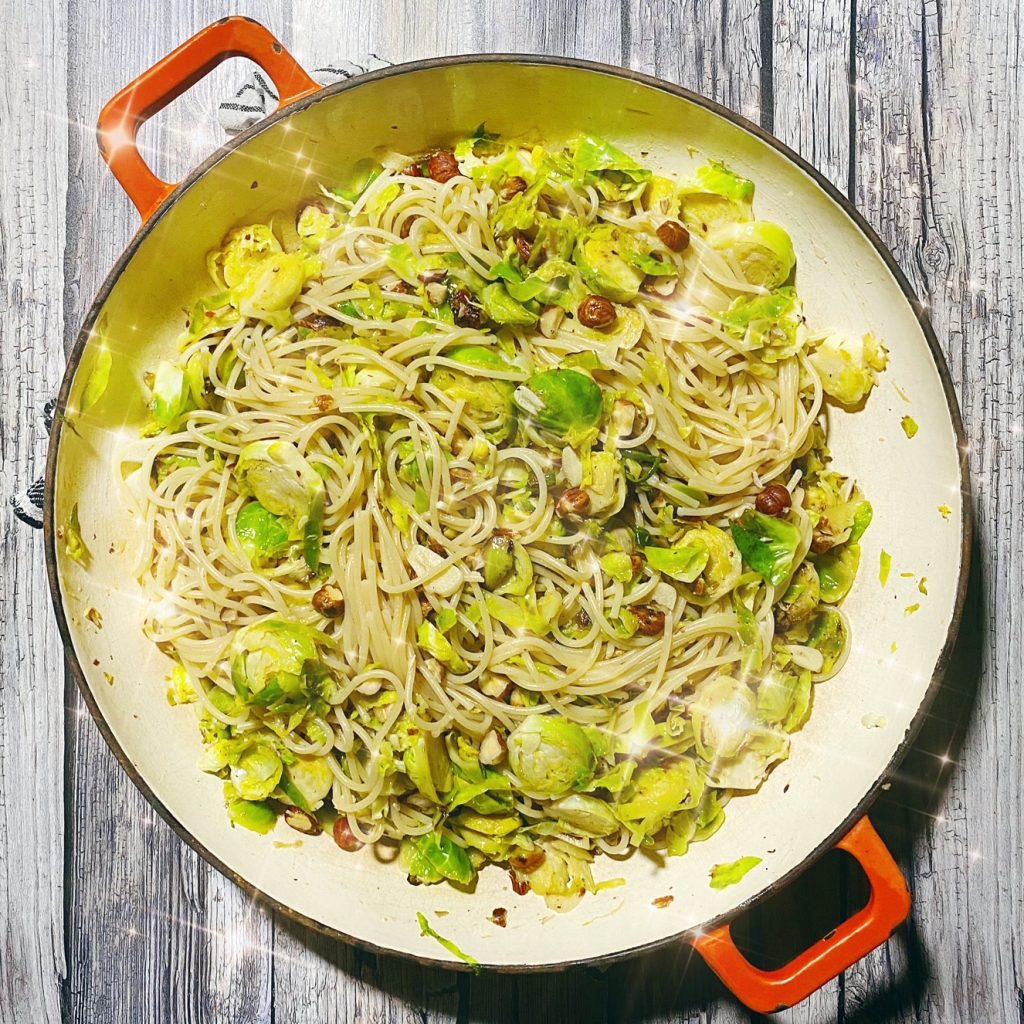
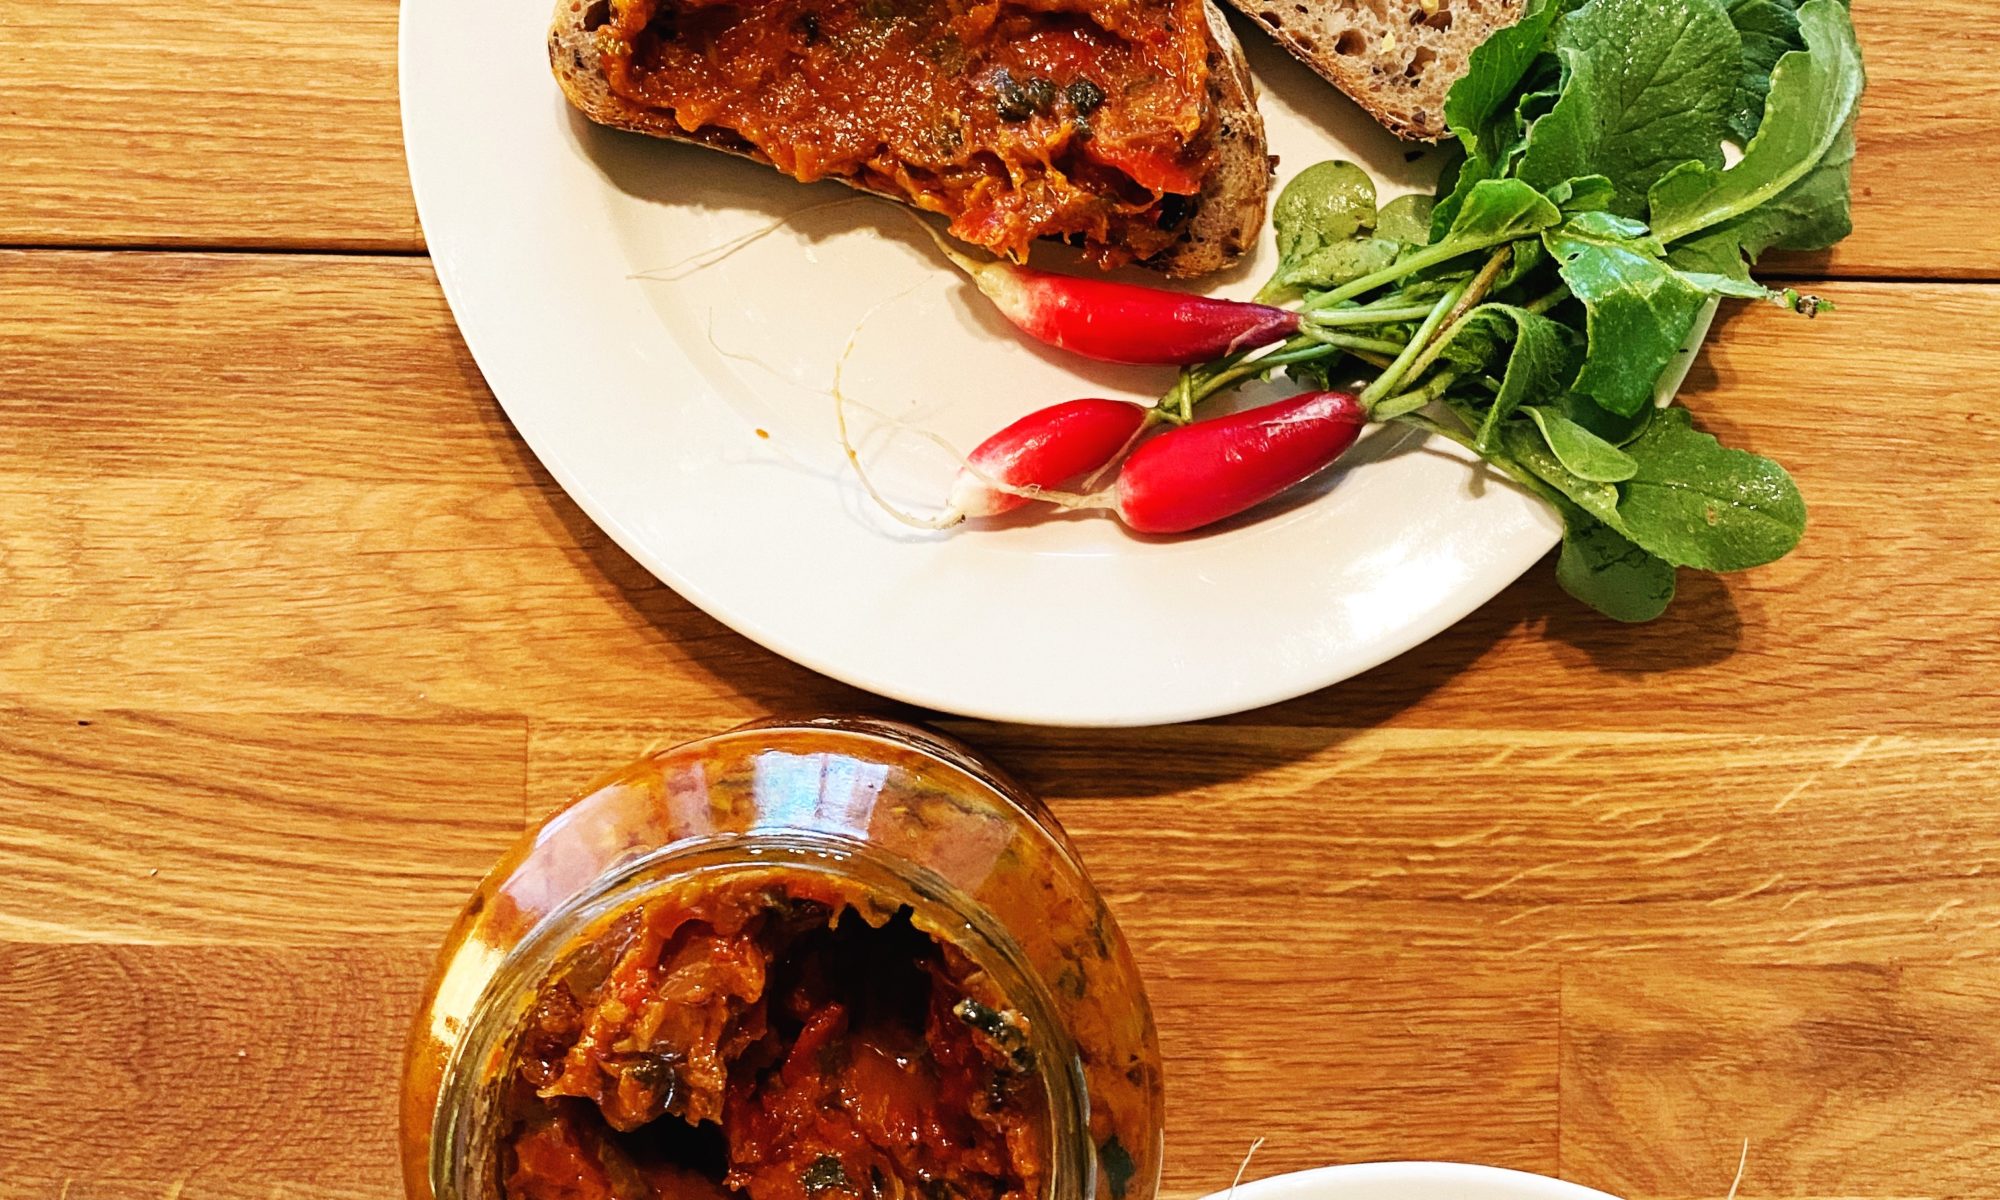
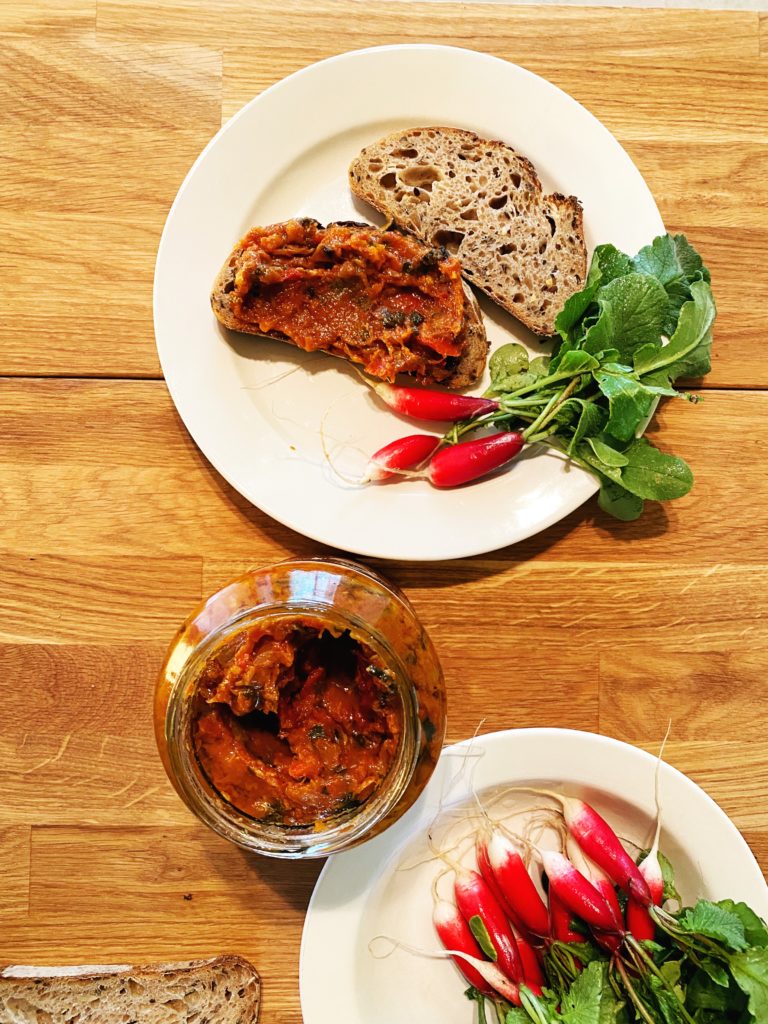
  5. Drain your pasta and while it’s still hot, stir through a generous amount of the pesto, we usually go for a couple of heaped tbsp per person. Drizzle with extra olive oil if you like for more healthy fats and flavour. Serve the pasta in bowls topped with the spicy roasted pumpkin and chickpeas and enjoy!
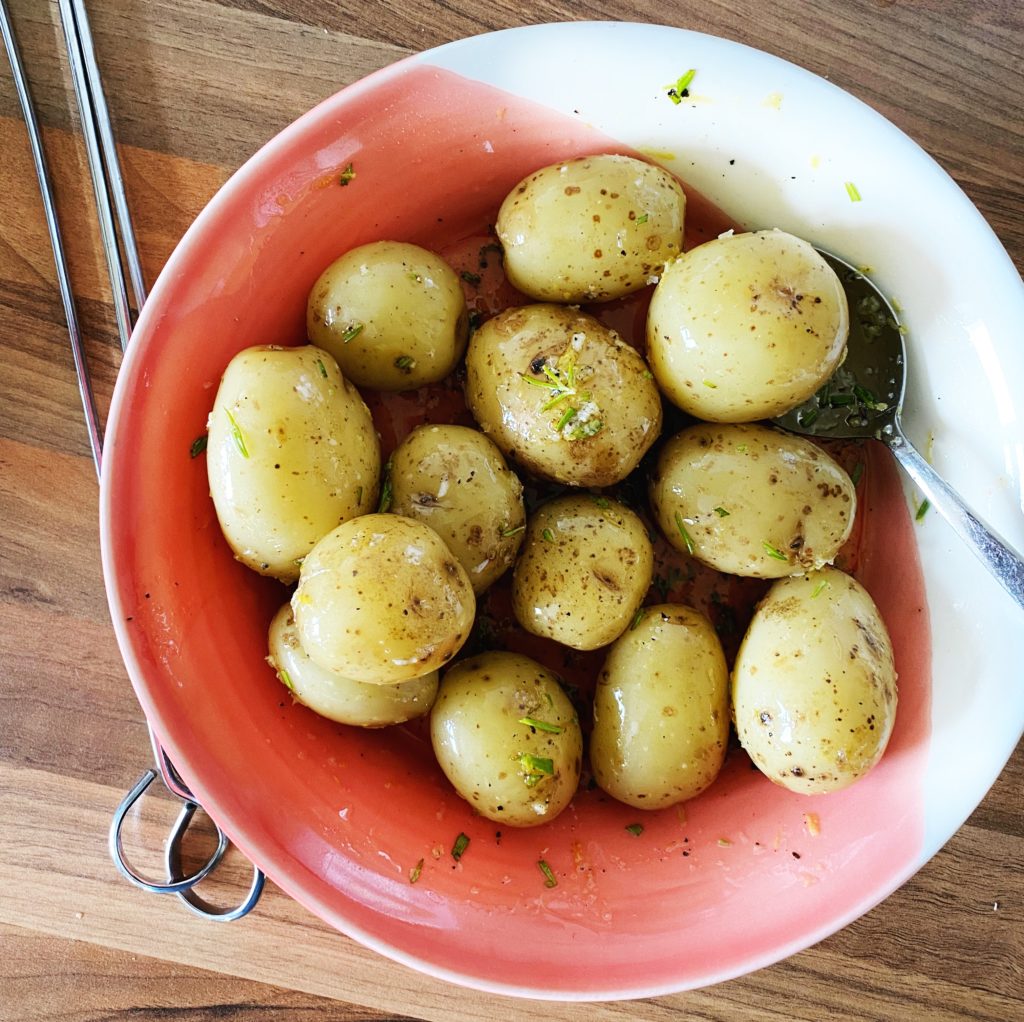
  6. If you are not using all the pesto right away, spoon it into a clean jar and protect the top from air with a little layer of olive oil. Lid on and store in the fridge. Enjoy within a week – stirred through pasta, spread into sandwiches, tossed through boiled potatoes or steamed greens…

Sprout Spaghetti

Brussels sprouts are in season and are certainly not just for Christmas Day. Have you been adding them to your boxes? What’s your favourite sprout recipe? I love sautéing them like this with garlic, herbs, nuts and citrus, then folding them through pasta. They’re also brilliant stirred through rice or another cooked grain like barley, quinoa, buckwheat etc for a gorgeous warm salad. Here’s my sprout spaghetti recipe, it makes a stunning mid-week meal and will only take as long as the time to boil your pasta. Quick, festive and delicious!

Liz x

Ingredients (per person)

  • 70-100g dry spaghetti (depending on appetite) or other grain/pulse of your choice eg quinoa, rice…
  • 1 heaped tbsp butter (I use our new dairy free Natruli blocks)
  • 2 tbsp extra virgin olive oil
  • 1 clove of garlic
  • 7 Brussels sprouts, thinly sliced
  • a small handful of hazelnuts, roughly chopped
  • 3 sprigs of rosemary
  • 1/2 tsp lemon zest
  • 2 tbsp lemon juice
  • salt and pepper to taste (it’s extra good with lots of black pepper!)

Method

  1. Bring a large pot of water to the boil, meanwhile chop your sprouts, garlic and hazelnuts.
  2. Generously salt the boiling water and drop in the pasta. Give it an occasional stir to prevent it from clumping or sticking to the bottom. While the pasta cooks, prepare the rest of the dish.
  3. In a wide pan, melt the butter, add the oil and sprouts, hazelnuts, garlic and rosemary. Stir fry for a few minutes then season well with salt and pepper.
  4. Add the zest and juice of the lemon when the sprouts turn bright green and are mostly cooked through. Stir well, taste and adjust the seasoning if need with more salt, pepper or lemon. Turn off the heat for now.
  5. Drain the pasta but reserve a mug or so of the starchy cooking water. Add the pasta to the sprouts and turn the heat back on. Add a few splashes of the cooking water and mix the pasta and buttery sprouts together. The pasta water and butter should create a delicious, light, lemony sauce. Taste again and you’ll probably want to add more black pepper.
  6. Serve in bowls and top with grated cheese or nutritional yeast flakes if you like. Enjoy!

Ribollita

This classic Tuscan soup is just gorgeous. A hearty combination of white beans, tomatoey broth and seasonal vegetables, most notably kale. What makes this soup extra delicious for me is the combination of garlic, lemon zest, really good olive oil and fragrant rosemary and sage. This is one of those stew-like soups that is better the next day. Once you’ve done all the chopping, it’s really simple to make. Leave it brothy if you like or thicken the soup with torn chunks of stale bread or blend a portion of the beans before adding them. I prefer to leave it brothy then serve the soup over torn bread. Let us know your favourite way of eating ribollita.

Liz x

Ingredients (serves 6)

  • 6 tbsp extra virgin olive oil
  • 2 onions, peeled and diced
  • 3 sticks of celery, diced
  • 3 large carrots, diced
  • 6 cloves of garlic, peeled and diced
  • the zest of a lemon
  • 1 tbsp chopped rosemary
  • 1 tbsp chopped sage
  • 2 stock cubes
  • 1 tin chopped tomatoes
  • 2 tins white beans, drained
  • 8 kale leaves, stems finely chopped, leaves torn
  • the juice of a lemon
  • salt and pepper to taste
  • stale bread to serve, optional

Method

  1. In a large, heavy bottomed pot, sauté the onion with the olive oil on a medium-high heat until soft and starting to colour. This should take at least 5 minutes.
  2. Then add the diced carrot and celery and the thinly sliced kale stems, season with salt and pepper and stir for a couple of minutes.
  3. Add the chopped garlic, lemon zest and chopped herbs. Stir for another minute or two, your kitchen should smell really really good now.
  4. Crumble in the stock cubes and tip in the tin of chopped tomatoes. Fill the tin with water 4 times and pour that water into the pot.
  5. Add the drained beans then bring the soup up to a boil, turn the heat down and simmer for 15 minutes with the lid on.
  6. Then add the torn kale leaves and the lemon juice to the pot, pop the lid back on and let the leaves wilt for just 3-5 minutes. Taste and adjust the seasoning if needed. Add more water if you’d like a brothier soup, blend some of the soup if you’d like it thicker.
  7. Serve in generous bowls, as it is or with torn pieces of stale bread.

Lentil Ragu

This lentil ragu is a firm family favourite. It’s quick and easy to make, full of flavour and nutrition (lentils are a powerhouse of fibre, protein, potassium, iron and folate) and it can be frozen in portions to use on busy days. I use this as a ‘base’ recipe but often add or switch the vegetables with the seasons. For example, the carrots can be swapped with swede, beetroot or squash, the mushrooms could be replaced with aubergine or crumbled walnuts. We usually stir it through pasta or layer it up in a lasagne but it also makes a great cottage pie when topped with mash and baked.

You can also tweak the seasoning and turn this Italian-style ragu into a Tex-Mex-style chilli non-carne! Just use chilli, cumin, coriander, bay, oregano and smoked paprika in place of the herbs, and add a drained tin of kidney beans and peppers to the mix too. This adaptable lentil ragu recipe is just thing to add to your repertoire for hearty family meals.

Liz x

Ingredients (serves 4)

  • 2 tbsp olive oil
  • 1 onion, diced
  • 4 cloves of garlic, diced
  • 2 carrots, diced
  • 3 sticks of celery, diced
  • approx 10 chestnut mushrooms, diced
  • 1x 400g tin of chopped tomatoes
  • 1x 400g tin of green lentils, drained
  • 2 bay leaves
  • 1 tsp each: fennel seeds, thyme and oregano
  • optional splash of red wine…
  • salt and pepper to taste (roughly a tsp of each)
  • pasta to serve (100g dried weight per person) we stock a range of organic wheat, wholegrain and gluten free varieties

Method

  1. Gather and prepare your ingredients and find a large pan to cook your ragu in. Get a big pot of water on to boil for the pasta.
  2. Sauté the onion with the olive oil for roughly 6 minutes over a medium-high heat until softening and starting to take on some colour.
  3. Then add the salt, pepper, fennel, oregano, thyme and garlic and stir for a minute to release and wake up the flavours.

4. Add the diced vegetables and sauté for 5-10 minutes until they start to soften and cook in their own juices. Then add the chopped tomatoes and bay leaves.

5. Swirl the juices out of the tin into the pan by filling the tin with water. Then add the drained lentils and simmer for about 10 minutes or until the sauce is rich and delicious. You may need to add a splash of water (or red wine) to loosen the sauce if it is starting to look a bit dry. (This is a good time to get your pasta into the now-boiling water).

6. Taste and adjust the seasoning if needed with more salt or pepper. Then stir through the cooked and drained pasta and enjoy! Serve with fresh basil leaves and an extra drizzle of good olive oil.

Super Seedy Crackers

My super seedy crackers are easy to make and packed full of toasty, nutty flavour and incredible nutrients. They contain all these amazing ingredients which can be added to your next veg order. Did you know that our nuts and seeds come in compostable bags?

  • pumpkin seeds (protein, fibre, healthy fats, magnesium, zinc)
  • sunflower seeds (protein, healthy fats, selenium, vitamin E)
  • linseeds (fibre, healthy fats including omegas, protein)
  • chia seeds (fibre, protein, omega fatty acids, minerals and antioxidants)
  • oats (fibre, protein, manganese)
  • flour (you can use any flour you like, plain wheat flour or try our buckwheat or spelt flour)
  • salt (minerals)
  • olive oil (antioxidants and healthy fats).

So you can see why I love including these crackers in my diet and in my kids lunchboxes. They make a brilliant afternoon snack too! Scoop up hummus with them (find the recipe here), pop on a slice of cheese (we stock an amazing range or organic dairy and vegan cheeses here), or eat with soups.

Liz x

Ingredients (makes around 32 crackers)

  • 50g sunflower seeds
  • 50g pumpkin seeds
  • 50g porridge oats
  • 50g flour
  • 25g chia seeds
  • 25g linseeds
  • 1 tsp salt
  • 2 tbsp extra virgin olive oil
  • 250ml water

Method

  1. Turn your oven on to 150C and find your largest baking sheet. You may need to use two depending on the size of your oven. I used one sheet approximately 38x46cm as a guide. You’ll also need to line your tray with a sheet of baking parchment and have another sheet of parchment ready. Find a mixing bowl and wooden spoon or spatular.
  2. Measure the seeds, oats, flour and salt into your mixing bowl. Stir well to evenly disperse the ingredients.
  3. Then add the olive oil and water and mix well until there are no dry clumps. Leave the bowl to stand for about 20 minutes to allow the chia seeds and linseeds to absorb the liquid.
  4. After 20 minutes your mixture should be thickened and spreadable. Scrape it out onto the lined baking tray and use the spoon/spatular to spread it as evenly as you can. A good tip is to avoid the edges, don’t worry about getting it perfect yet, the next step will ensure your crackers are thin and even.
  5. Place the second piece of baking parchment over the sticky cracker dough. Use your hands to spread the dough out into a thin, even layer. Make sure there are no thicker bits anywhere as these will take longer to cook. The layer should be about 3mm thick all over.
  6. Then carefully peel off the top layer of parchment and use a knife to score the cracker dough to the size and shape you prefer.
  7. Put the tray in the oven and bake for 30-40 minutes or until toasty and dried out. Allow the crackers to cool completely before snapping them apart from each other and storing them in an airtight container. They should stay fresh at room temperature for 2 weeks, in the fridge for 1 month or frozen for 3 months.
Kale crisps, hummus, crackers and raw veggie sticks – a colourful and nutritious snack box.

Ratatouille

Ratatouille is a classic one pot celebration of summer vegetables. Although it’s a simple recipe, with humble ingredients, it’s all about timings and getting the vegetables cooked just right. Spongey, undercooked aubergine is the reason many people don’t like it. Aubergine should be silky and soft, and almost melt in the mouth and then it’s absolutely stunning! Serve with some good bread and a glass of red. We often add a drained tin or two of white beans or lentils to this summer stew to boost the protein and make it an even heartier meal.

Why not make a double or triple batch and get some in the freezer for a busy day? You could even blend some for a quick summery soup or a flavoursome pasta sauce.

Liz x

Ingredients (serves 4-6)

  • 4 tbsp olive oil
  • 2 aubergine
  • 2 courgette
  • 2 red pepper
  • 4-6 tomatoes (or 12 cherry tomatoes, or a couple of tins of chopped tomatoes)
  • 6 cloves of garlic – peeled and diced
  • 3 tbsp red wine vinegar
  • salt and pepper to taste
  • basil to taste

Method

  1. Pre-heat your oven to 200C.
  2. Chop the aubergine and peppers into bite sized pieces. Put them in a deep roasting dish and drizzle with the olive oil.
  3. Season well with salt and pepper, mix with your hands to evenly coat the vegetables in the seasoning. Then put the dish in the oven to roast for 20 minutes.
  4. After 20 minutes, remove the dish from the oven and add the courgettes and tomatoes, also cut into bite sized pieces.
  5. Add the garlic, red wine vinegar and a little more salt and pepper. Mix well and return to the oven for another 20 minutes or until everything is well cooked.
  6. Stir through lots of freshly torn basil and serve in bowls with fresh bread. Or it’s lovely with pasta or potatoes. Bulk it out and add protein with a drained tin of white beans or green lentils.

Slow-Cooked Courgette Caviar

Courgette caviar is a Russian/Ukrainian spread made from slowly cooking summer vegetables down into a rustic and delicious purée. The long, slow sauté reduces and caramelises the vegetables together, elevating these humble ingredients into a stunning jar of flavour. This is so much more than a stew. Slow cooked courgettes have the most wonderful texture, you can also use aubergines or a combination of the two. It’s just a brilliant way of using up a glut of courgettes and other summer veggies. If we are having a barbecue, I sometimes chuck a few courgettes and aubergines (also peppers, whole bulbs of garlic, carrots…) on to get smokey and soft then make this purée with those. It’s amazing, the smokiness really comes through. Just peel off any very blackened bits of skin and sauté and crush the vegetables together in the pan until reduced.

Enjoy cold on good bread or with crackers. It’s delicious as part of a picnic spread with cheese, pickles, ferments etc. Or heat it up and loosen it with some pasta water for a quick pasta sauce. It’s an incredible pizza sauce base too! I have never tried making a huge batch and keeping the jars in a cellar, but if you have the know-how and the right equipment, that’s a great way to preserve the fruits of summer. But making the recipe as per the method below, the jar should last well in the fridge for two weeks.

Liz x

Ingredients* (makes a large jar approximately 1 litre)

*don’t worry too much about amounts and the ingredients can vary too! Leave out the pepper, add aubergine, use fresh tomatoes, add more or less garlic… it’s more about the technique of slowly cooking down and caramelising the vegetables together than getting the proportions and ingredients exact. I suppose starchy vegetables like potatoes wouldn’t work here, but most other vegetables will be fine. Use any combination that you like. Here’s what I did this time:

  • 1 onion
  • 6 cloves of garlic
  • a generous slick of olive oil to coat your pot/pan, plus extra to to top the jar
  • 2 carrots
  • 1 red pepper
  • 2 courgettes
  • 1 tin of chopped tomatoes
  • salt to taste
  • optional extras like black pepper, dill or fennel seeds, coriander seeds, chilli…

Method

  1. Start by dicing or grating all your ingredients.
  2. In a large, heavy bottomed saucepan or pot, heat up a generous slick of olive oil and add the diced onion. Keep the pot at medium high and stir fry the onions until they start to soften and colour.
  3. Add the garlic, courgettes, carrots, pepper and a big pinch of salt. Sauté, stirring regularly for at least 30 minutes. You will need to lower the heat as you go. It’s nice if the vegetables caramelise and slightly catch on the bottom of the pan. Just keep scraping the base of the pan with a wooden spoon.
  4. Crush the vegetables together with the back of the wooden spoon, or use a masher to help you along.
  5. When the vegetables are reduced and drying out, add the tomatoes and keep cooking, stirring and reducing. You should end up with a rich, thick purée. You can keep it rustic or blend it smooth.
  6. Pack the mixture while it’s still hot into a large, sterilised jar. Add a layer of olive oil and put the lid on. This should make it last longer.
  7. Keep it in the fridge. It should last well for 2 weeks.

Grilled Peaches

Have you ever tried grilled peaches? They’re amazing on the barbecue but this morning I tried them in my little panini grill and they were really good so I thought I’d share.

No real recipe. Just slice them in half and twist out the stones. Our delicious flat peaches tend to de-stone quite easily but use a small knife if you’re having trouble. Then brush them with a 50:50 mix of olive oil and maple syrup and place on a hot grill until nicely charred, smokey, sweet and sticky. Serve on natural yoghurt with granola for the best summery breakfast! Or serve with ice cream after a barbecue for a refreshing dessert.

Liz x

BBQ’d New Potatoes

This is my simple and adaptable method for BBQing our gorgeous new potatoes! I have fond memories of pricking large jacket potatoes, wrapping them in foil and packing them in with the food for camping trips. Then we would carefully tuck them into the BBQ coals to bake while the rest of the grilling was done, they’d often come out perfect if we remembered to turn them occasionally, but more often than not, half the potato would burn and half would be raw, or the coals would burn out before the potato was done and there’d be some disappointment… So this way of par-boiling, dressing then skewering little salad potatoes provides a much more consistent result.

Start by boiling scrubbed new potatoes until they are nearly cooked through. Test a few larger ones with a sharp knife or skewer. Then drain the potatoes and allow them to cool in the colander while you prepare a tasty marinade or dressing!

I love potatoes with garlic and herbs. This time I mixed olive oil, salt, pepper, crushed garlic, rosemary and lemon zest in a large bowl. Then toss the par cooked new potatoes in the dressing.

Push the potatoes on skewers (or cook in a BBQ basket) and get them onto a plate or tray ready to pop over the coals.

Cook on the BBQ, turning often until soft, smokey and delicious!

Then push them off the skewers, back into the dressing bowl and toss again to get any last bits of dressing and flavour back over the delicious, charred potatoes. Enjoy!

Kale & Pumpkin Seed Pesto

The new season kale coming out of our fields and tunnels is so stunning! We are adding it to all our meals. Don’t forget to add some to your next order! Here’s a quick and easy kale pesto recipe which is so handy, not just for pesto pasta, but for sandwiches and wraps, to spread on toast and top with scrambled egg/tofu, to toss through freshly boiled new potatoes… My recipe is dairy and nut free to make it allergen friendly (I use pumpkin seeds which are incredibly nutritious and ours come in compostable bags), but as always, tweak it to your liking with different nuts/seeds and cheese. And do share how you love to eat your pesto in the comments below.

Liz x

Ingredients (makes a jar like the one pictured above)

  • 100g kale – rinsed
  • 100g pumpkin seeds – toasted
  • 1 clove of garlic – peeled
  • 1 pinch of salt
  • 1/2 a lemon – zest and juice
  • 2 tbsp nutritional yeast
  • 100ml extra virgin olive oil (plus extra for a thin layer on top at the end)

Method

  1. Put all the ingredients into a blender or food processor.
  2. Pulse until the ingredients come together into a rough, textured sauce.
  3. Taste for seasoning and add more olive oil, lemon juice or salt as desired.
  4. Spoon into a clean jar and top with a layer of olive oil to keep it fresher for longer.
  5. Keep in the fridge and use within a week, or freeze for longer storage.