Homemade Roast Tomato Sauce – Preserve for the winter

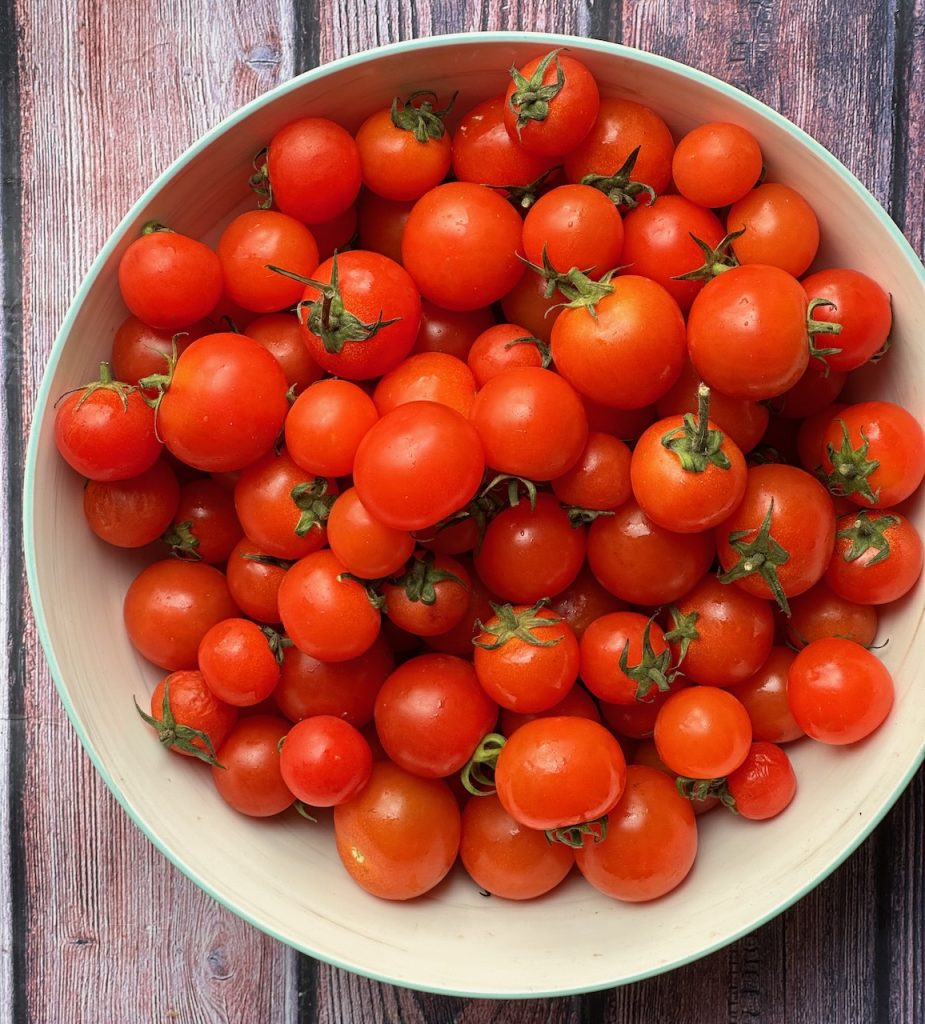
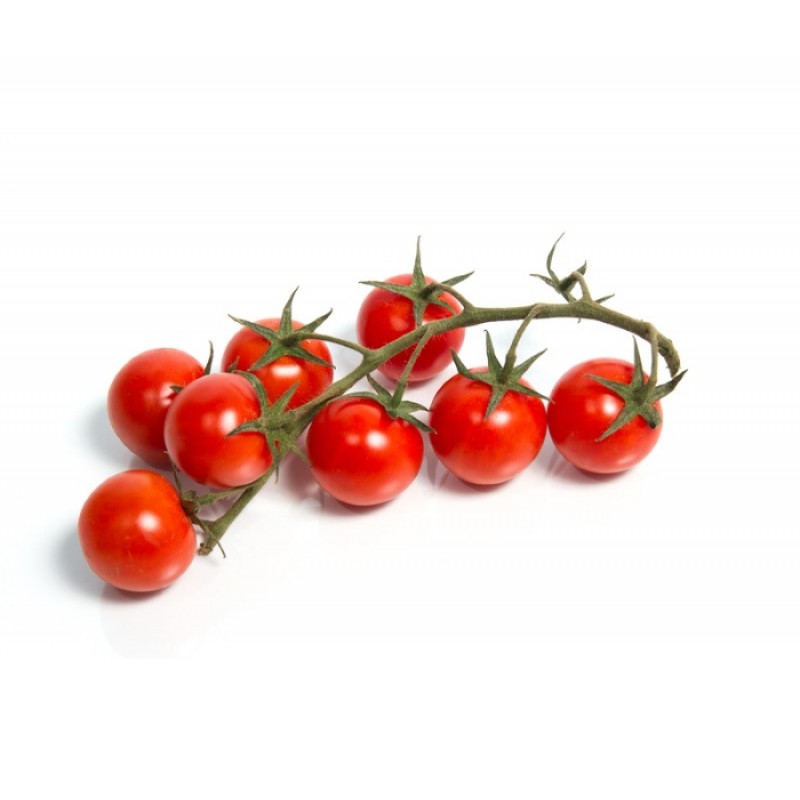
Need an incredible tomato sauce? Just 4 ingredients needed for this deep, sweet, intense sauce. We grow the sweetest cherry tomatoes in the summertime. During peak season the vines are heaving with juicy fruit just waiting to be picked, packed and delivered to homes all over Ireland. And while we can’t grow them in the colder Irish months we can find ways to preserve them just like this simple recipe that only requires a few ingredients.

The joy of pulling your own organic tomato sauce from the freezer is truly satisfying. And the sweetness remains to add to your stews, soups and sauces all through the winter.

This recipe could not be easier, we hope you try it.

Lou 🙂

Ingredients: makes 1kg of sauce (1 big jar or 4 small jars)

Method:

Step 1: Preheat the oven 200ºC. Have 2 large baking trays ready to go.

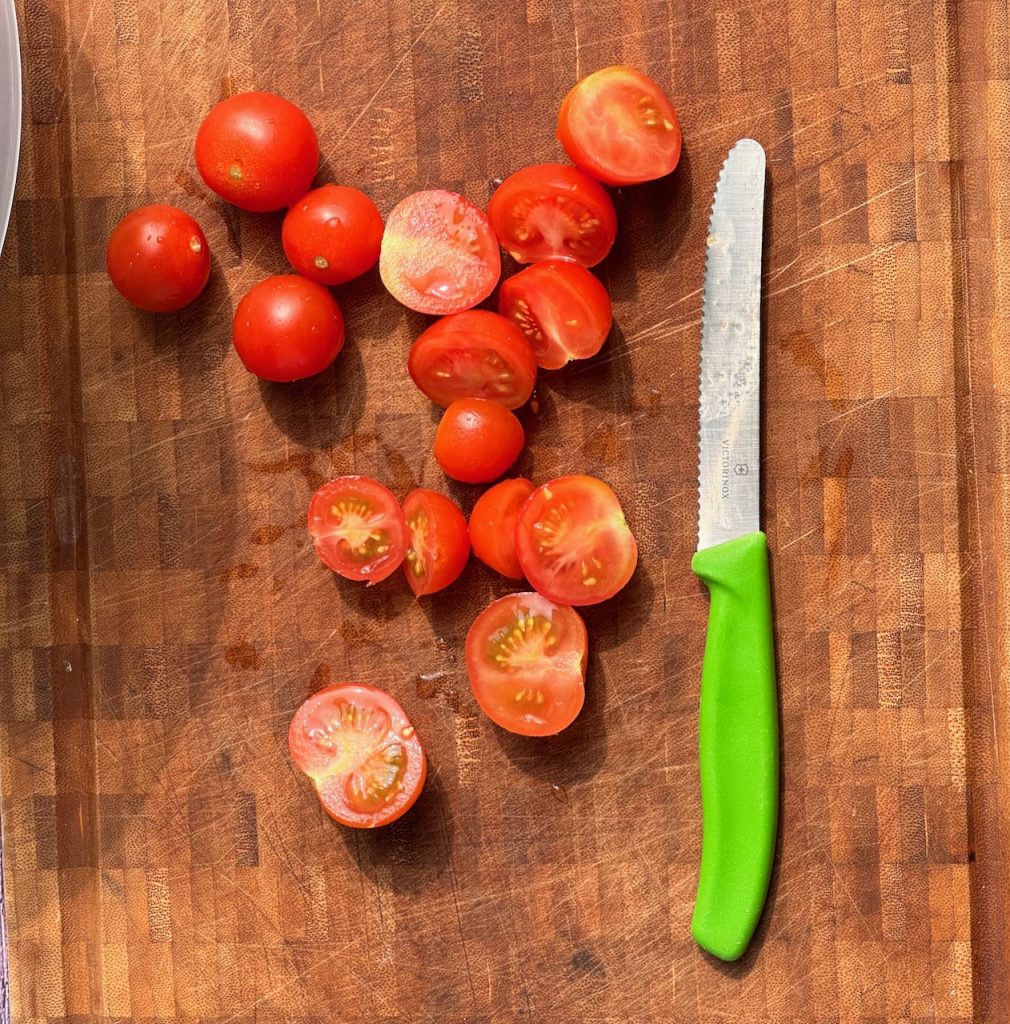
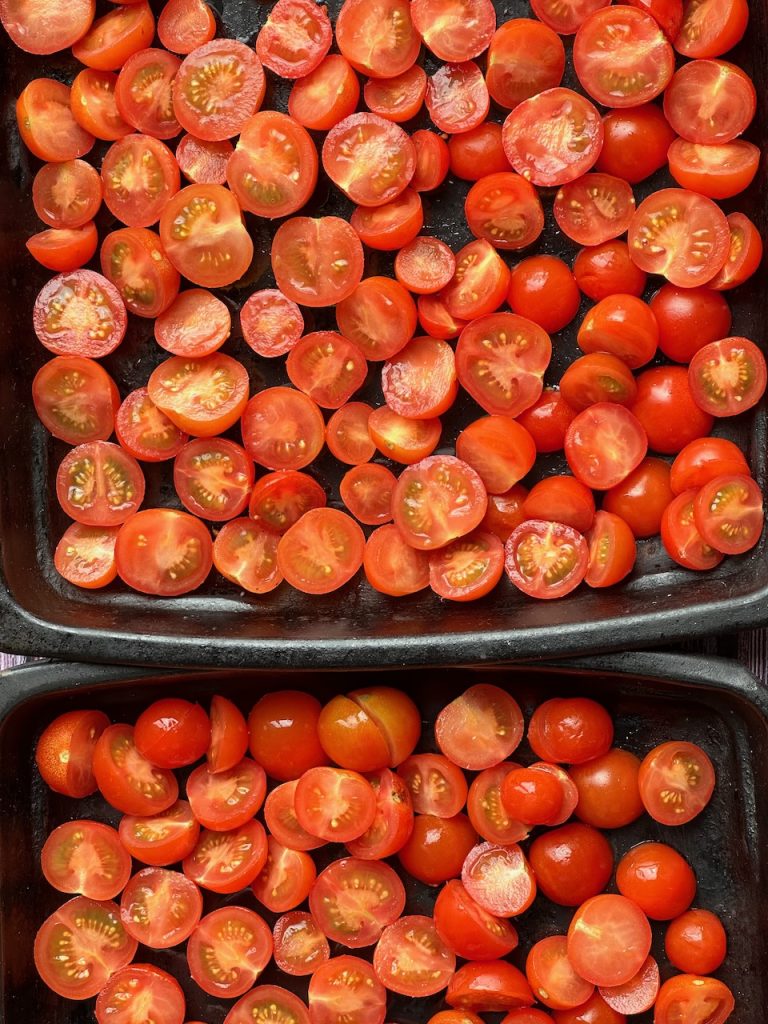
Step 2: Wash the cherry tomatoes and discard the green stems. cut in half, place them on the trays cut side up.

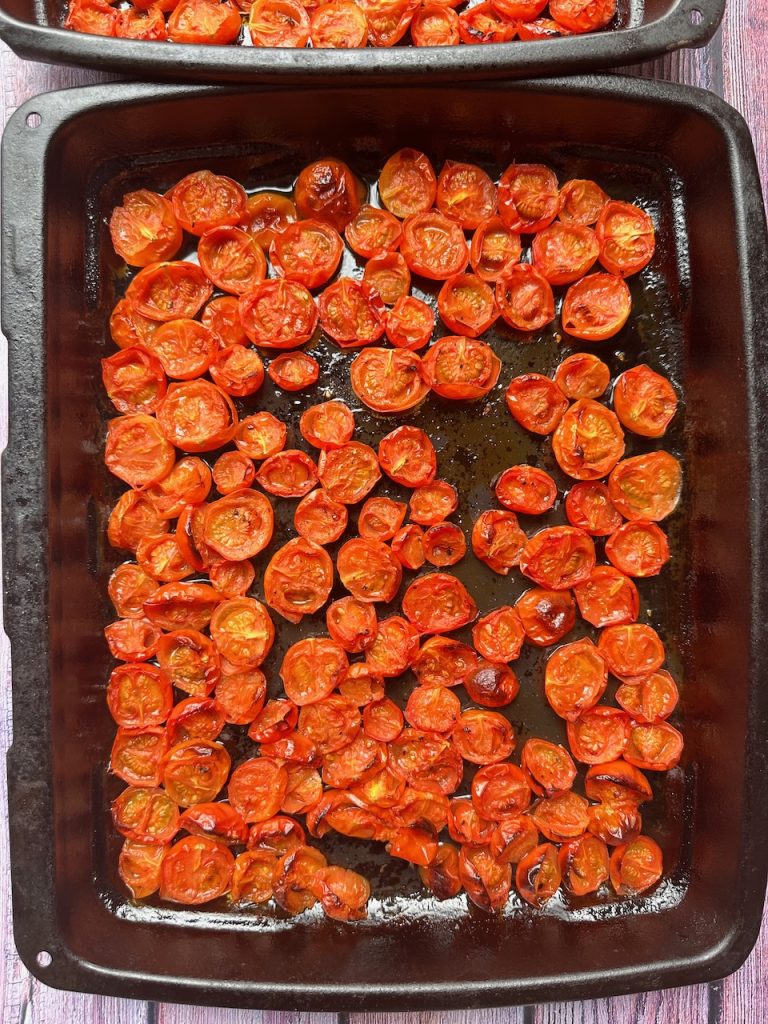
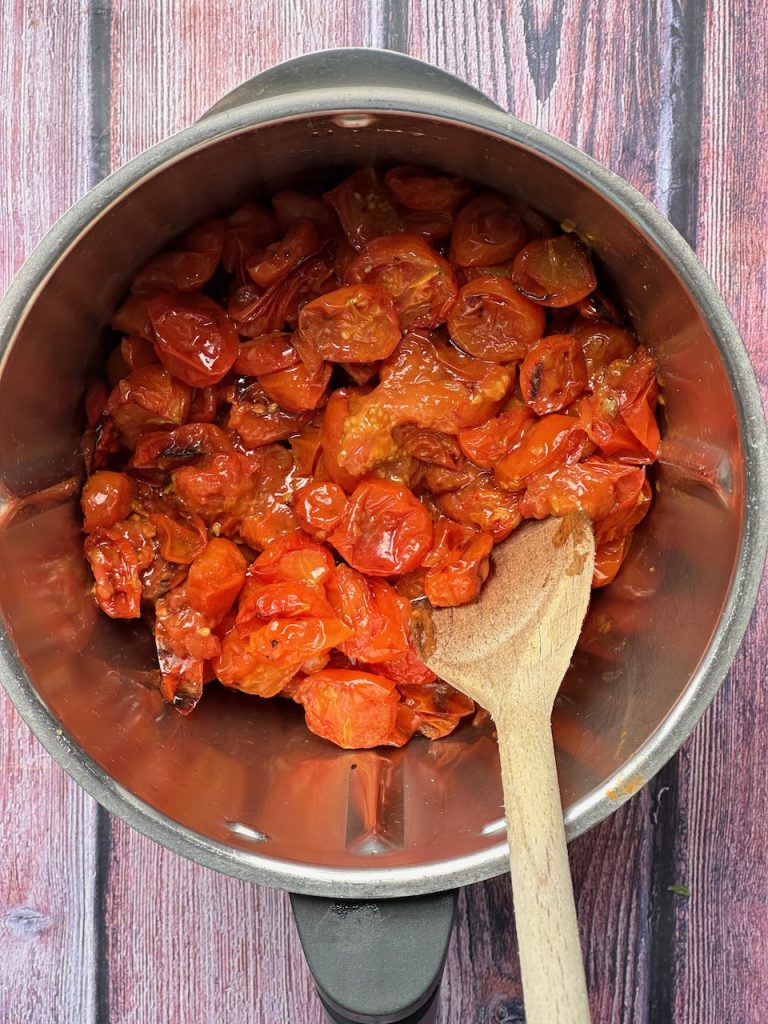
Step 3: Drizzle with a small bit of oil, and season lightly with salt and pepper. Roast in the oven for about 45 minutes, until they are soft and char around the edges.

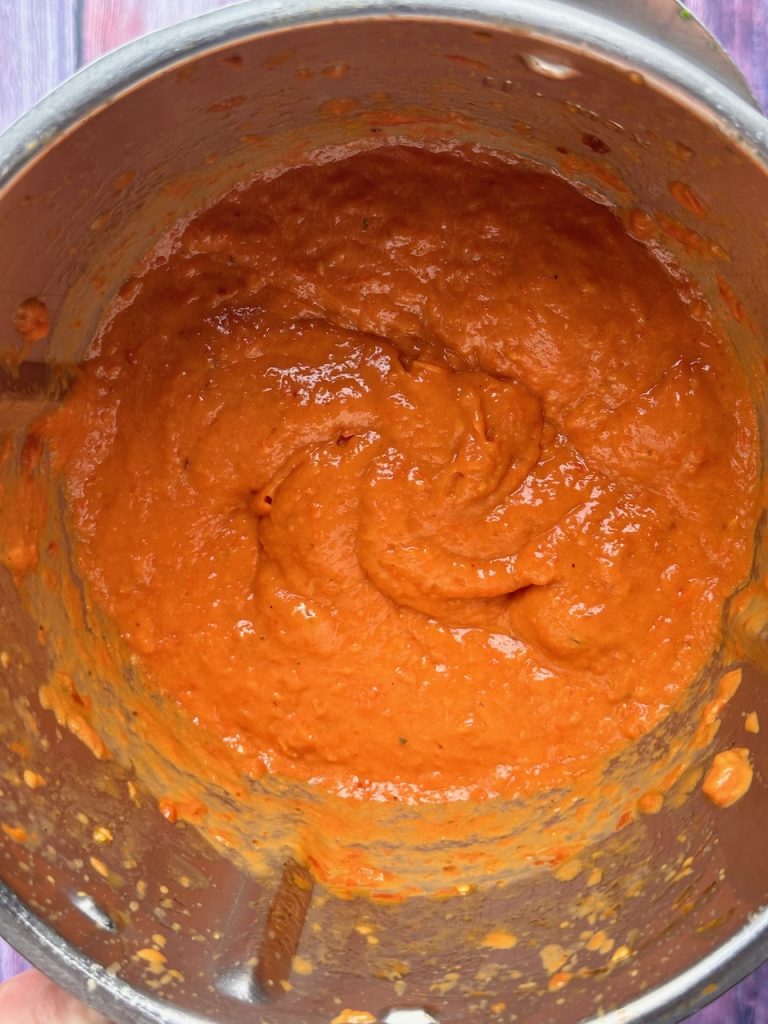
Step 4: Scoop into a blender and blend until the desired consistency. Keep it chunky or smooth if you prefer.

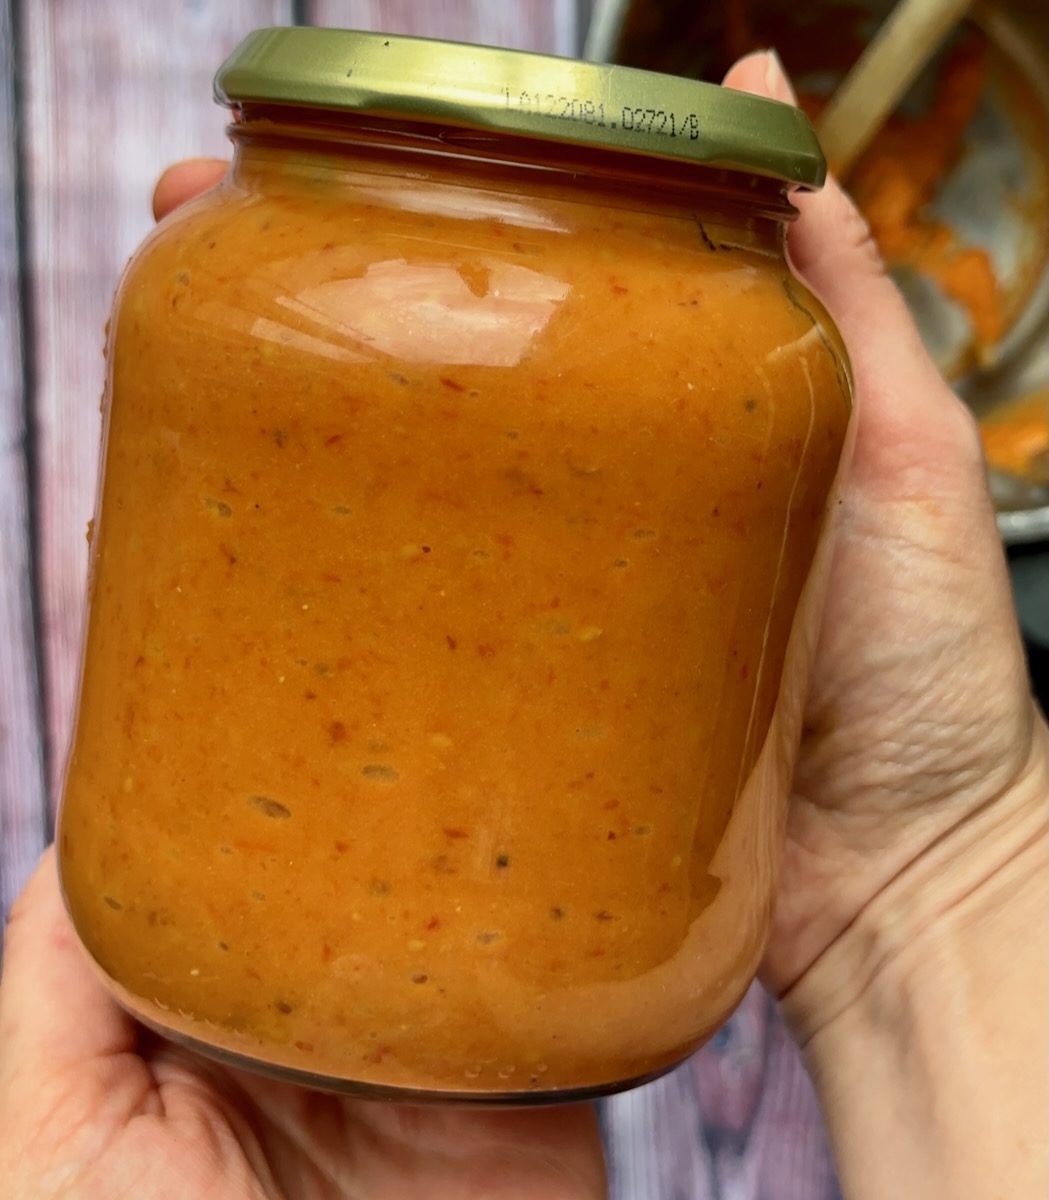
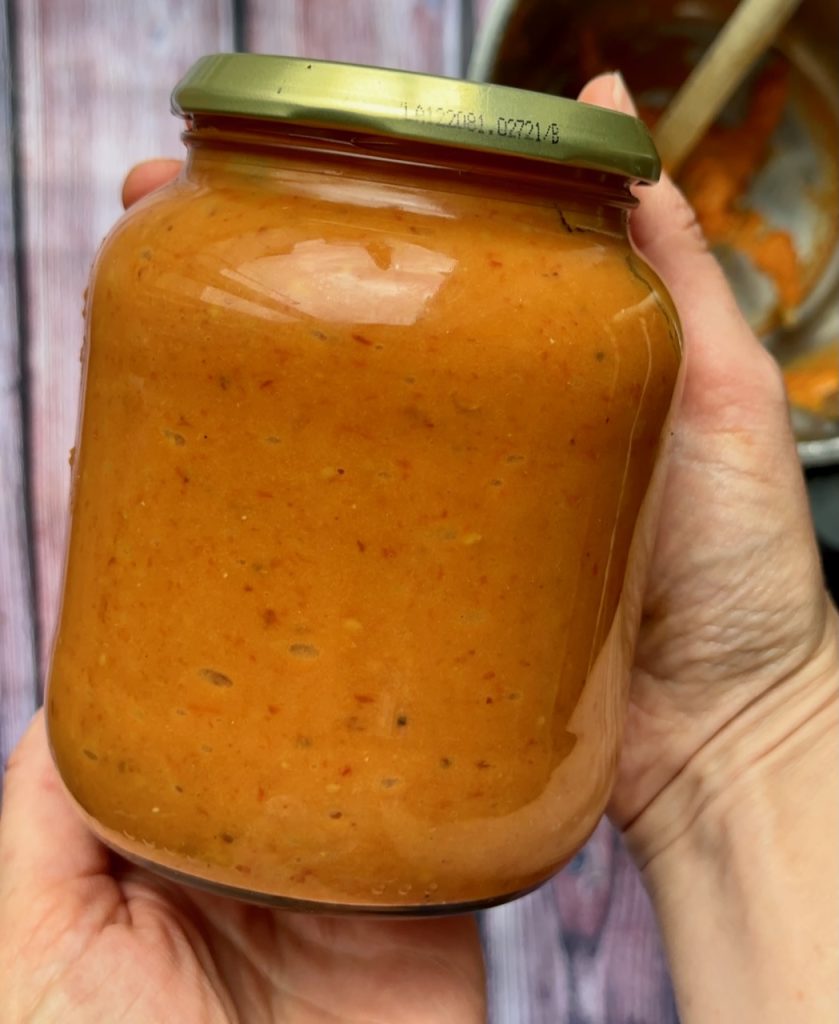
Step 5: While warm pour into freezer safe jars or containers. Date and label for the freezer.

Defrost your preserved homemade organic roast tomato sauce in the winter months, when fresh ones are not available. Use it for soups, sauces, stews and more.

5 “Back to School” Lunchbox Snacks

The summer months seem to fly by in a flash! The kids will be back to school really soon and that means the return of the lunch boxes too! We will be making lots of yummy homemade snacks to help fill them. We love using wholesome organic ingredients to keep little tummies fuller for longer and help add some much needed nutrition for their growing bodies and minds.

Theres a few reasons why love to make homemade snacks for the lunchbox. They are cheaper to make than buying pre-made shop bought snacks. We know exactly whats gone into them, we can make them mostly organic and they are not individually wrapped in plastic. We can get our kids to help make them and thats pretty special too!

Here’s 5 recipes for you to save and try. They include healthy oats, dates, seeds, fruit and veggies, our online shop stocks most of the ingredients you need. We hope you give them a go, please let us know if you do, we love to hear from you.

Lou 🙂

Just click on the link below to bring you to each recipe:

  1. Blueberry Crumble Bars
  2. Energy Balls – Nut Free
  3. Carrot Cake Bliss Balls – swap the walnuts or pumpkin or sunflower seeds to make them nut free
  4. Sugar Free Flapjacks
  5. Carrot & Courgette Muffins

Mushroom Gravy Powder

This homemade gravy powder is so handy to have on standby in your kitchen cupboard. It will bring bags of flavour to your festive feast and can also be used to thicken up and flavour stews and pies. To make this powder into gravy, we like to use a nutty browned butter and rich red wine base. Read on below to see how it comes together.

Liz x

Gravy Powder

  • 6 tbsp corn starch (or potato starch or tapioca)
  • 3 tbsp crumbled dried mushrooms
  • 6 tbsp vegetable bouillon powder
  • 1 tbsp garlic or onion powder/granules
  • 2 tsp dried thyme
  • 1 tsp ground black pepper

Method

  1. Simply measure the ingredients into a strong blender and process until they come together into a fine powder. Then store in a clean, dry, labelled jar.

Ingredients to Make Gravy:

  • 1 tbsp butter
  • 100ml red wine (white wine works well too)
  • 300ml milk
  • 3 tbsp gravy powder (above)
  • salt to taste if needed

Method

  1. Add a tbsp of butter to a hot pan (we use Naturli vegan butter which browns beautifully) and cook for a couple of minutes on a high heat until it foams then starts to brown. (Browning the butter creates a complex, nutty flavour and the butter also gives the gravy a shiny and silky texture.)
  2. Next add 100ml of red wine and boil for a few minutes to cook off the alcohol and reduce slightly.
  3. Meanwhile whisk 3 tbsp of the gravy powder with 300ml of milk (we use delicious, creamy oat milk). When the red wine has reduced, add the milk mixture to the pot, then whisk and simmer until the gravy is thickened. If you’d like a looser gravy, add a splash more milk or water.
  4. Taste and season if needed with a pinch of salt. Serve hot and enjoy!

Marmalade

There’s nothing like homemade marmalade is there? The gorgeous scent of oranges filters through the house and brings some much needed sunshine into our winter kitchens. Citrus season is in full swing now and we have organic bitter marmalade oranges in stock now. Alway choose organic citrus fruit to avoid waxes and sprays.

Here’s the classic recipe I always stick to as it’s easy to remember by heart and never fails. But of course you can make it your own with different citrus. I’ll be making a batch of blood orange marmalade for sure (I may reduce the sugar a little for that batch as they are so naturally sweet), and maybe a kumquat one too!

Will you be making marmalade this season?

Liz x

Ingredients

  • 1kg Seville oranges (bitter marmalade oranges)
  • 2 lemons
  • 2 litres of water
  • 2 kg sugar

Equipment

  • a large, heavy bottomed pot
  • a cloth bag (I use a nut milk bag) or a square of muslin and some string
  • a medium sieve
  • 3 or more small plates
  • a wooden spoon
  • a jam funnel
  • jars – I reuse old jars
  • a ladle or small glass jug

Method

  1. Put the little plates into the freezer. Pour the water into your pot. Place the sieve over the pot and then open out the bag or muslin into the sieve. Scrub the oranges and lemons.
  2. Cut the fruit in half and juice them into the pot, ensuring you catch all the seeds and pith in your cloth bag or muslin. You want to keep all the seeds and pith as that’s where the pectin is which will make your marmalade set. Use a spoon to scrape out any remaining bits of pith and other citrus innards into the bag. Now tie the bag and place it in the liquid with the string attached to the pot handle to make it easier to extract later.
  3. Cut the skins in half again and then into thin strips. (You can leave out the lemon skins if you like but I like to add them in so nothing is wasted.) I use a serrated knife but any sharp knife should work. Take your time and get all the skins cut as evenly as possible. Enjoy the process. Place the cut skins into the pot.
  4. Bring the pot to a rolling boil then turn down the heat and simmer at a gentle bubble, for 2 hours or until the skins are soft. You can test them for doneness by squeezing one between your fingers. It should easily break apart. You should also notice that the liquid has reduced quite a bit too, that’s good.
  5. Now remove the bag of seeds and piths and put it in a bowl to cool down. Turn the pot to the lowest temperature.
  6. Pour the sugar into the pot, it will seem like an obscene amount but oranges are very bitter so it is needed I’m afraid. Gently melt the sugar on the lowest setting, take your time. Don’t stir too much, just a few times with a wooden spoon. Once the sugar is completely melted you will notice it doesn’t feel grainy on the bottom of the pot and when you pick the spoon out of the liquid you will not see any sugar crystals. It’s important to melt the sugar on a low temperature before turning the heat up to boil and set the marmalade. Don’t skip this step or your marmalade will come out grainy rather than the desired shiny jelly.
  7. Your bag should hopefully be cool enough to handle now. Pick it up and squeeze it over the pot. You want to extract as much of the cloudy, gelatinous stuff out through the bag as possible. Use a spatular or the wooden spoon to help scrape off the gel as you squeeze. Then stir it into the marmalade.
  8. Turn the heat up and bring the marmalade to a rolling boil. Boil hard for 15 minutes, keep an eye that it doesn’t boil over. Then turn the heat off, give the marmalade a stir and scoop off any unwanted scum that is stubbornly not re-incorporating into the mixture.
  9. Take one of the plates out of the freezer and place a spoon of the hot marmalade on it. Put it in the fridge for 3 minutes then do ‘the wrinkle test’. This is where you push your finger slowly through the marmalade to see if it has set. It should feel like jam and look wrinkly. If it has not set yet then return the marmalade to the boil and try again every 5 minutes until you are happy with the set.
  10. Sterilise your jam funnel, ladle, jars and lids. Then fill the jars with the marmalade whilst it is still hot. Screw the lids on tightly and leave them to cool and seal on your counter top overnight. Then label them with the date and keep in a cool, dark place for up to 12 months. Once opened, keep in the fridge. Enjoy!

Crumbly, Melt-In-The-Mouth Fudge

I have a childhood memory of the best homemade fudge. Every shop-bought fudge I’ve ever purchased has never lived up to that memory. It’s usually too close to caramel or toffee, too chewy or sticky. To me, fudge should hold together in blocks, but when you bite into it, it should have a buttery, sweet flavour and a slightly grainy, melt-in-the-mouth texture. It should crumble and be short and snappy rather than chewy and stretchy. I’ve been experimenting in the kitchen and I’m really happy with this recipe.

Our new Natruli butter blocks make it easy to recreate a dairy free version. This recipe works just as well with dairy/dairy-free ingredients so you do you. A jar of fudge is definitely going in all my homemade Christmas hampers to friends this year. Do you make homemade Christmas gifts? I’d love to hear about them in the comments.

Liz x

Ingredients

  • 150g butter
  • 300g sugar (our whole cane sugar is perfect for this recipe, otherwise use an even mix of soft brown and white sugar)
  • 250ml milk (I use oat milk but any milk will work)
  • a large pinch of Achill Island sea salt flakes
  • 1 tsp vanilla essence

Method

  1. Put all the ingredients except the vanilla into a heavy bottomed pot.
  2. Melt them together over a medium-high heat, stirring regularly with a wooden spoon.
  3. Bring the mixture up to a bubbling boil. Stir frequently and let it bubble and thicken for 20 minutes or until it reaches 115C.
  4. Take the pot off the heat, add the vanilla then beat with a whisk for around 8 minutes or until the sugars start to crystallise. You should notice the mixture change from glossy and smooth to thick and grainy.
  5. Scrape the mixture into a small baking tray lined with baking parchment (did you know we sell compostable baking paper?), level it out and score/cut it into 32 squares using a blunt knife or the edge of a spatula.
  6. Cover the tray with a clean tea towel and let it set at room temperature for a few hours.
  7. Once it’s completely cool you can pull it out and snap it into squares. Pack the fudge into an airtight container and enjoy within 2 weeks! It will store well at room temperature in an airtight container. It is prone to dry out in the fridge so it’s best to keep it at room temperature.

Hummus

A lunchbox essential! Spread into a wrap or a sandwich, or packed in a little tub with some sweet, crunchy carrot sticks, everyone loves hummus! Hummus is not only delicious but incredibly nutritious too! Who knew this humble spread contains all of the following:

👉Chickpeas provide fibre, protein and essential, energy-giving carbohydrates.
👉Tahini is rich in healthy fats and minerals including copper, selenium, calcium, iron, zinc and phosphorus.
👉Raw garlic retains more beneficial compounds (like allicin) than cooked garlic.
👉Olive oil is a healthy fat and contains vitamins E and K and is rich in antioxidants.
👉Lemon is a great source of vitamin C.

It’s so easy to make your own hummus from scratch. Especially using our organic tins of cooked chickpeas. We also sell organic tahini, garlic, lemons and olive oil! Add some of our organic pantry essentials to your next veg order here.

Liz x

Ingredients

  • 1 tin of chickpeas
  • 1 clove of garlic, peeled
  • the juice from 1/2 a lemon
  • 2 tbsp tahini
  • 1 tbsp extra virgin olive oil
  • 1/2 tsp salt
  • optional extras like more olive oil, smoked paprika and sesame seeds to top the hummus

Method

  1. Drain your tin of chickpeas over a bowl to reserve the aquafaba. (You can use some of it in this recipe and the rest to make vegan meringues, mayonnaise or cakes. Use the search bar above to find our aquafaba recipes.)
  2. Put the drained chickpeas into a food processor with the S blade attachment. Add the garlic, salt, tahini, lemon juice and olive oil then pulse into a thick, rough paste.
  3. Taste the paste and decide if you’d like to adjust the seasoning. Perhaps more lemon juice or salt?
  4. Then loosen the paste into a creamy hummus by blending again with a couple of spoons of the reserved aquafaba or a couple of ice cubes. Ice cubes make a really fluffy, creamy hummus.
  5. Spoon into a jar, tub or bowl and either enjoy immediately or refrigerate and eat later. Homemade hummus should be eaten within 3 days.