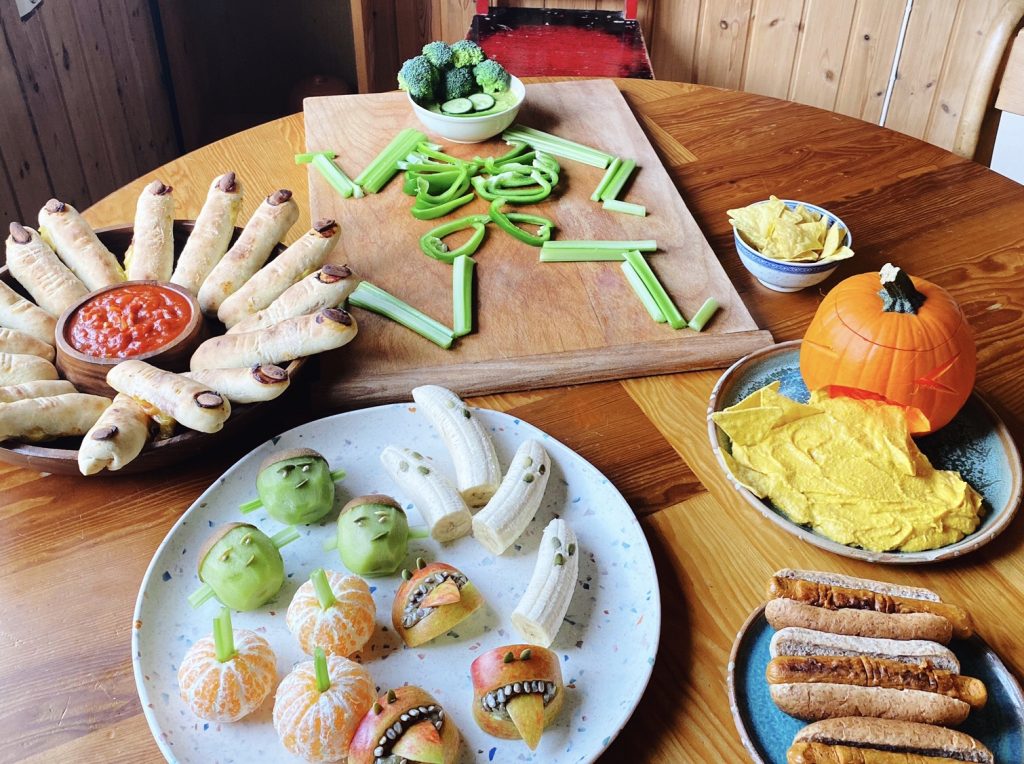
Here are some fiendishly fun and easy ideas for your Halloween table. There is a 100% guarantee that there will be a LOT of sweets being guzzled at the weekend, so this table is a fun way to balance out all that sugar. Delight and disgust your guests with this grisly spread of ‘finger food’. See what I did there?
Liz x
Freaky Fruit
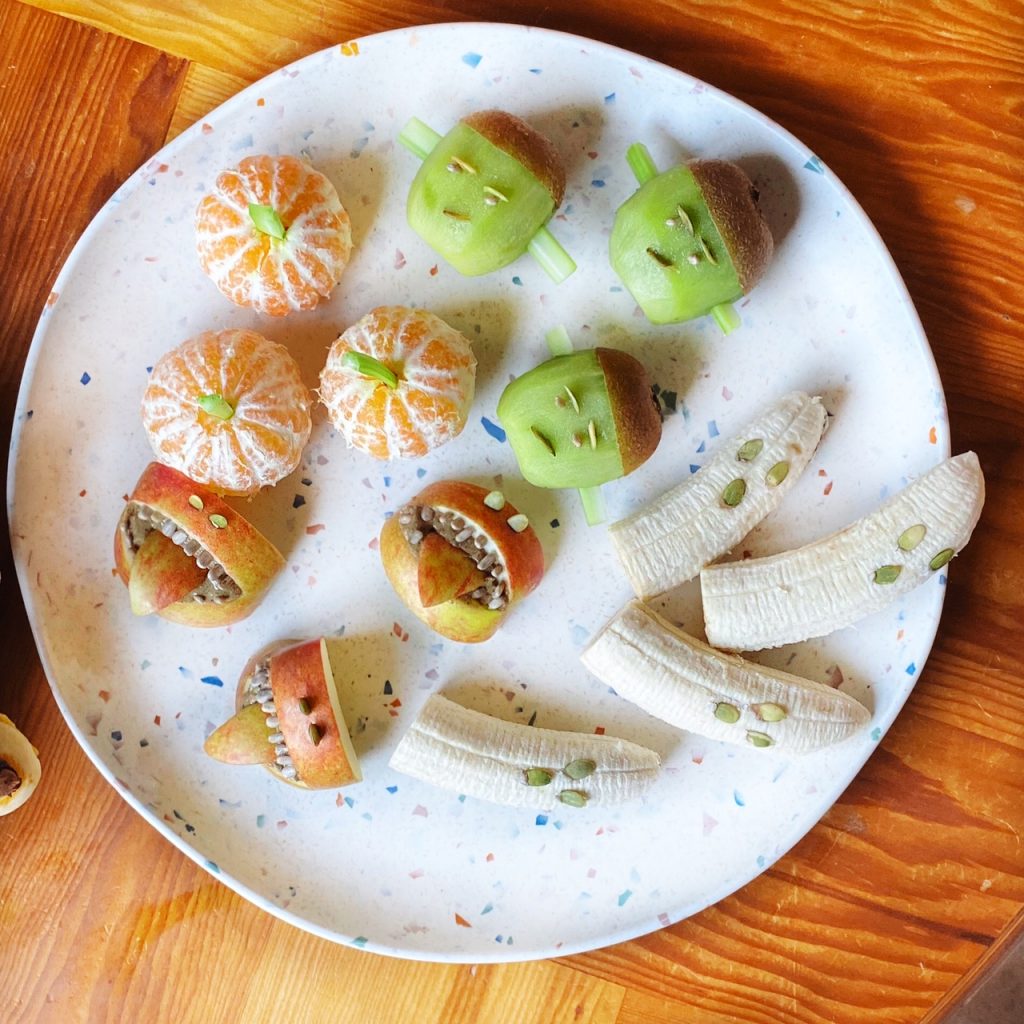
This is so fun to make with the kids:
– Peel clementines and poke little slivers of celery through the centre to make ‘pumpkins’.
– Use pumpkin seeds to make the faces on banana ghosts.
– Make apple monsters. Cut apples into quarters and remove the core. Then carefully cut a wedge out for the mouth. Fill with nut or seed butter, sunflower or pumpkin seed teeth and eyes and return a bit of the apple for the tongues. To stop the apples turning brown, rub the cut sides with a wedge of lemon.
– The kiwi Frankenstein’s monsters are so cute. Carefully peel off the bottom 2/3rds of the kiwi leaving a head of ‘hair’. Poke thin celery sticks into the sides for bolts and use pumpkin seeds to make the face.
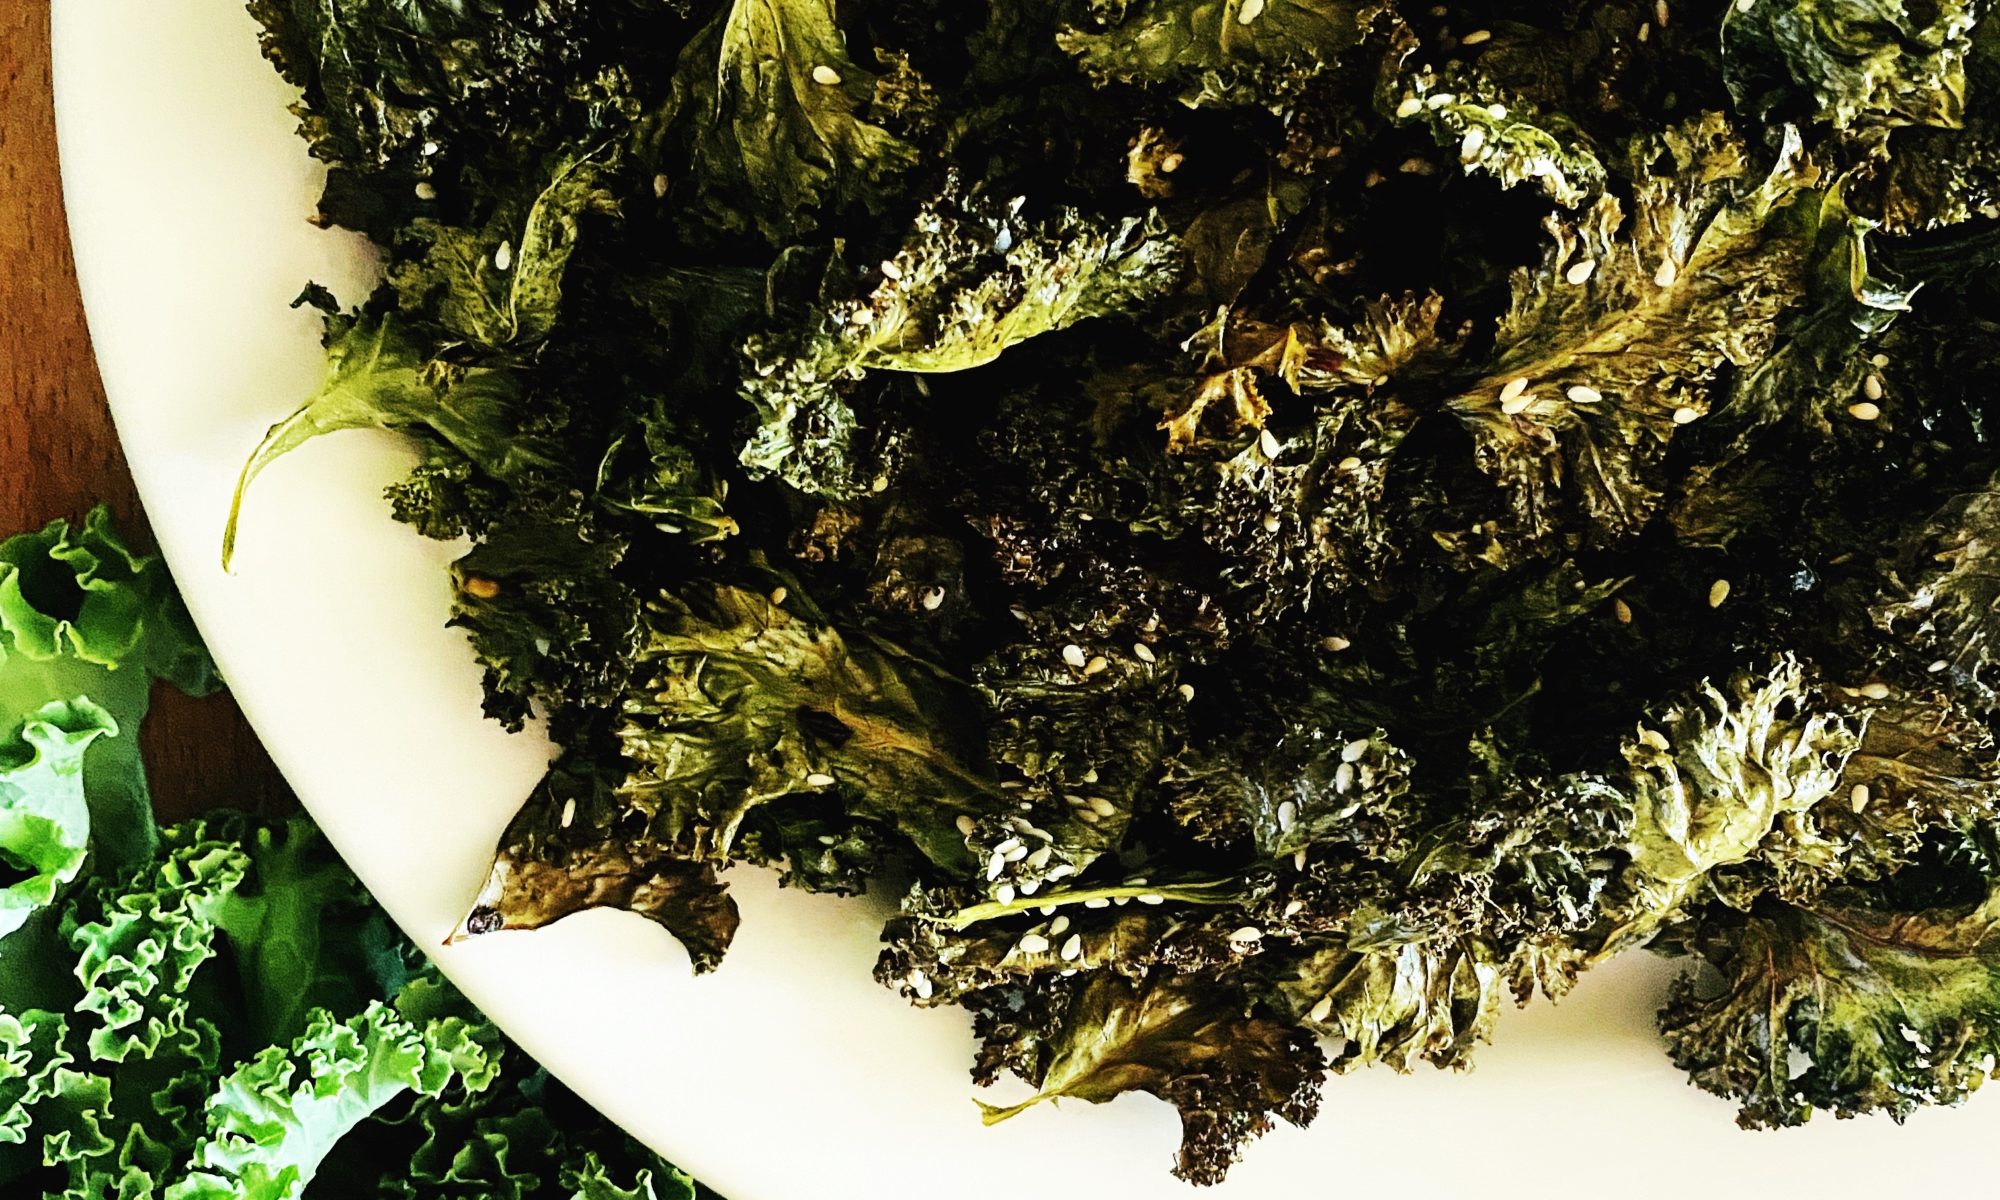
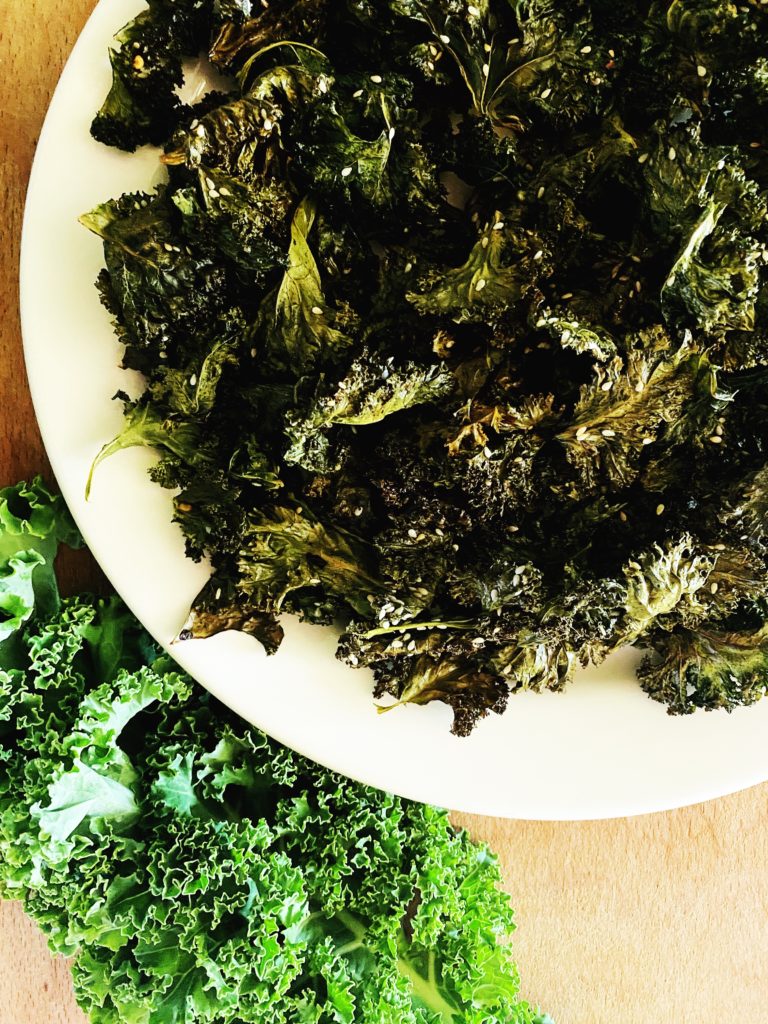
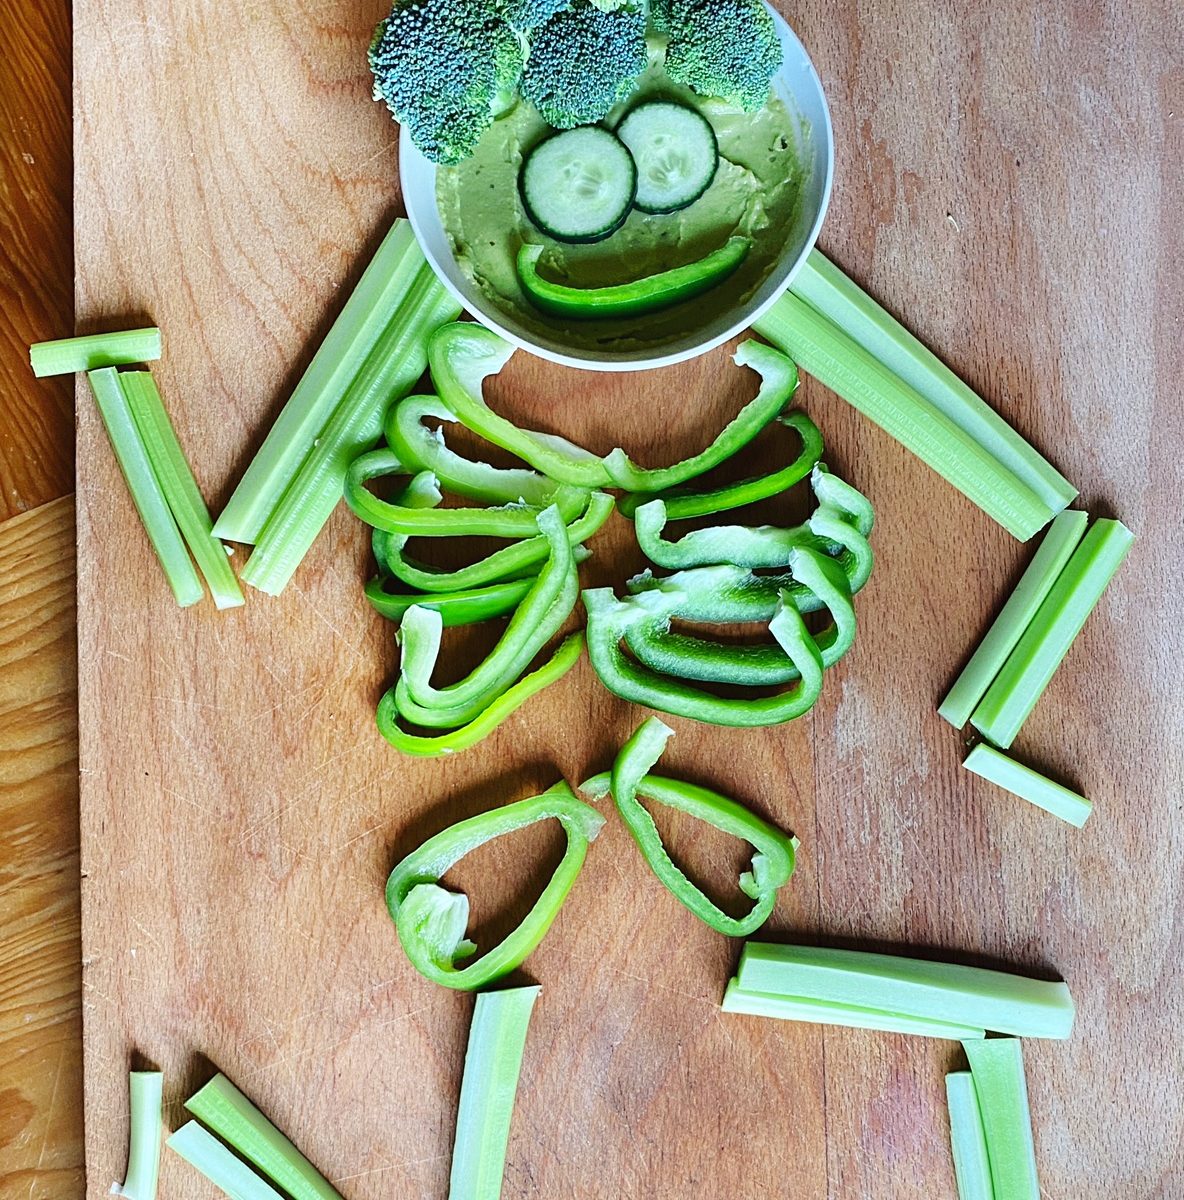
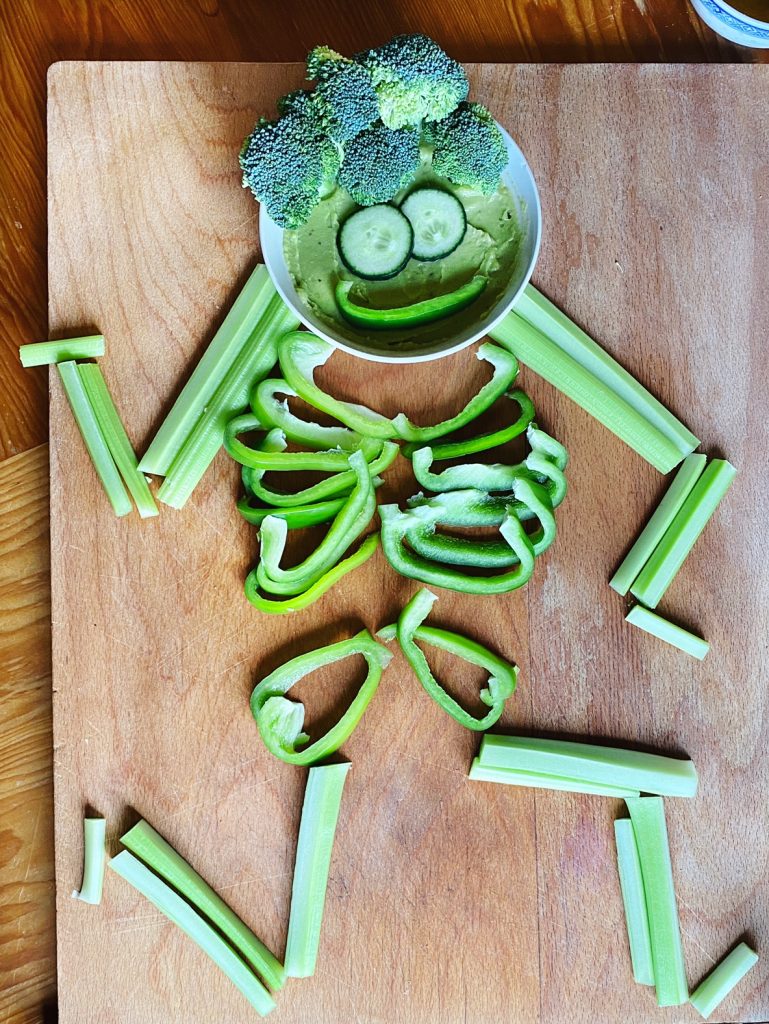
Green Skeleton Man
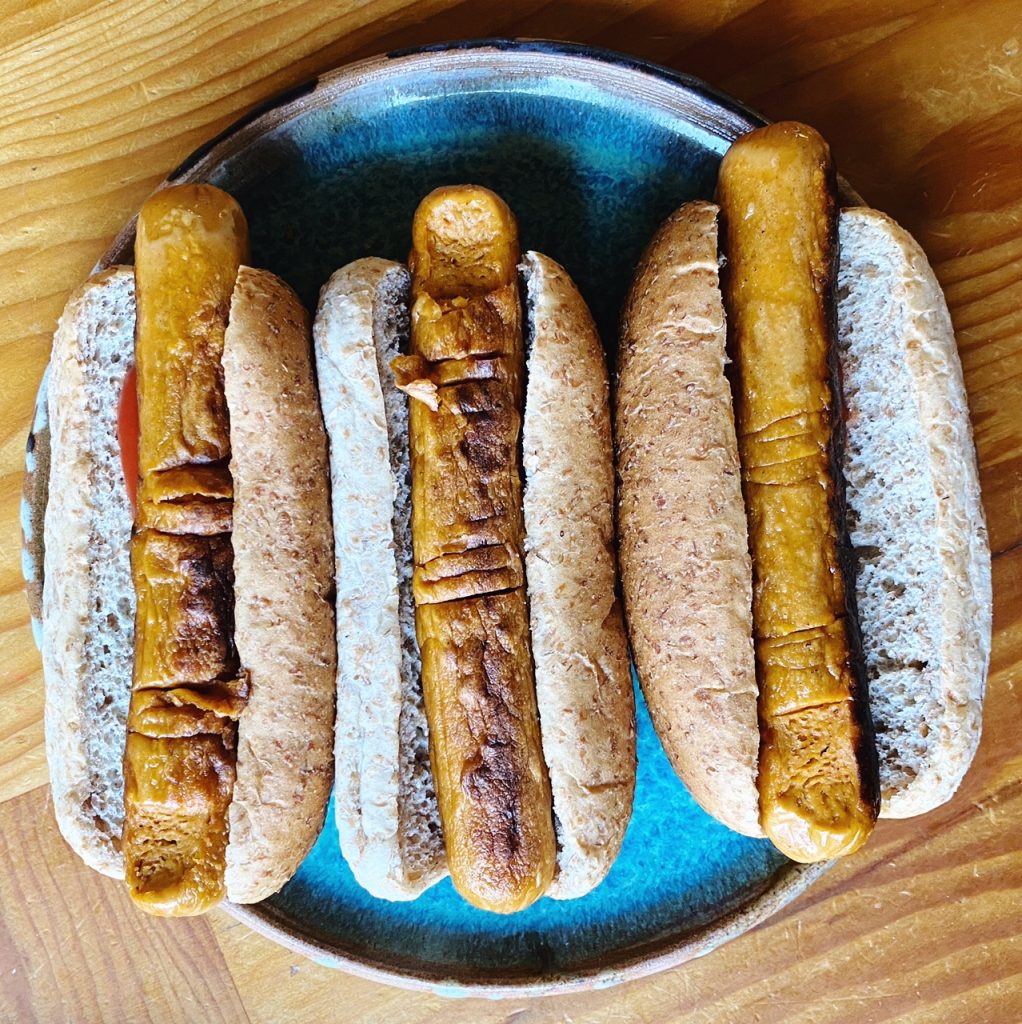
Finger Rolls
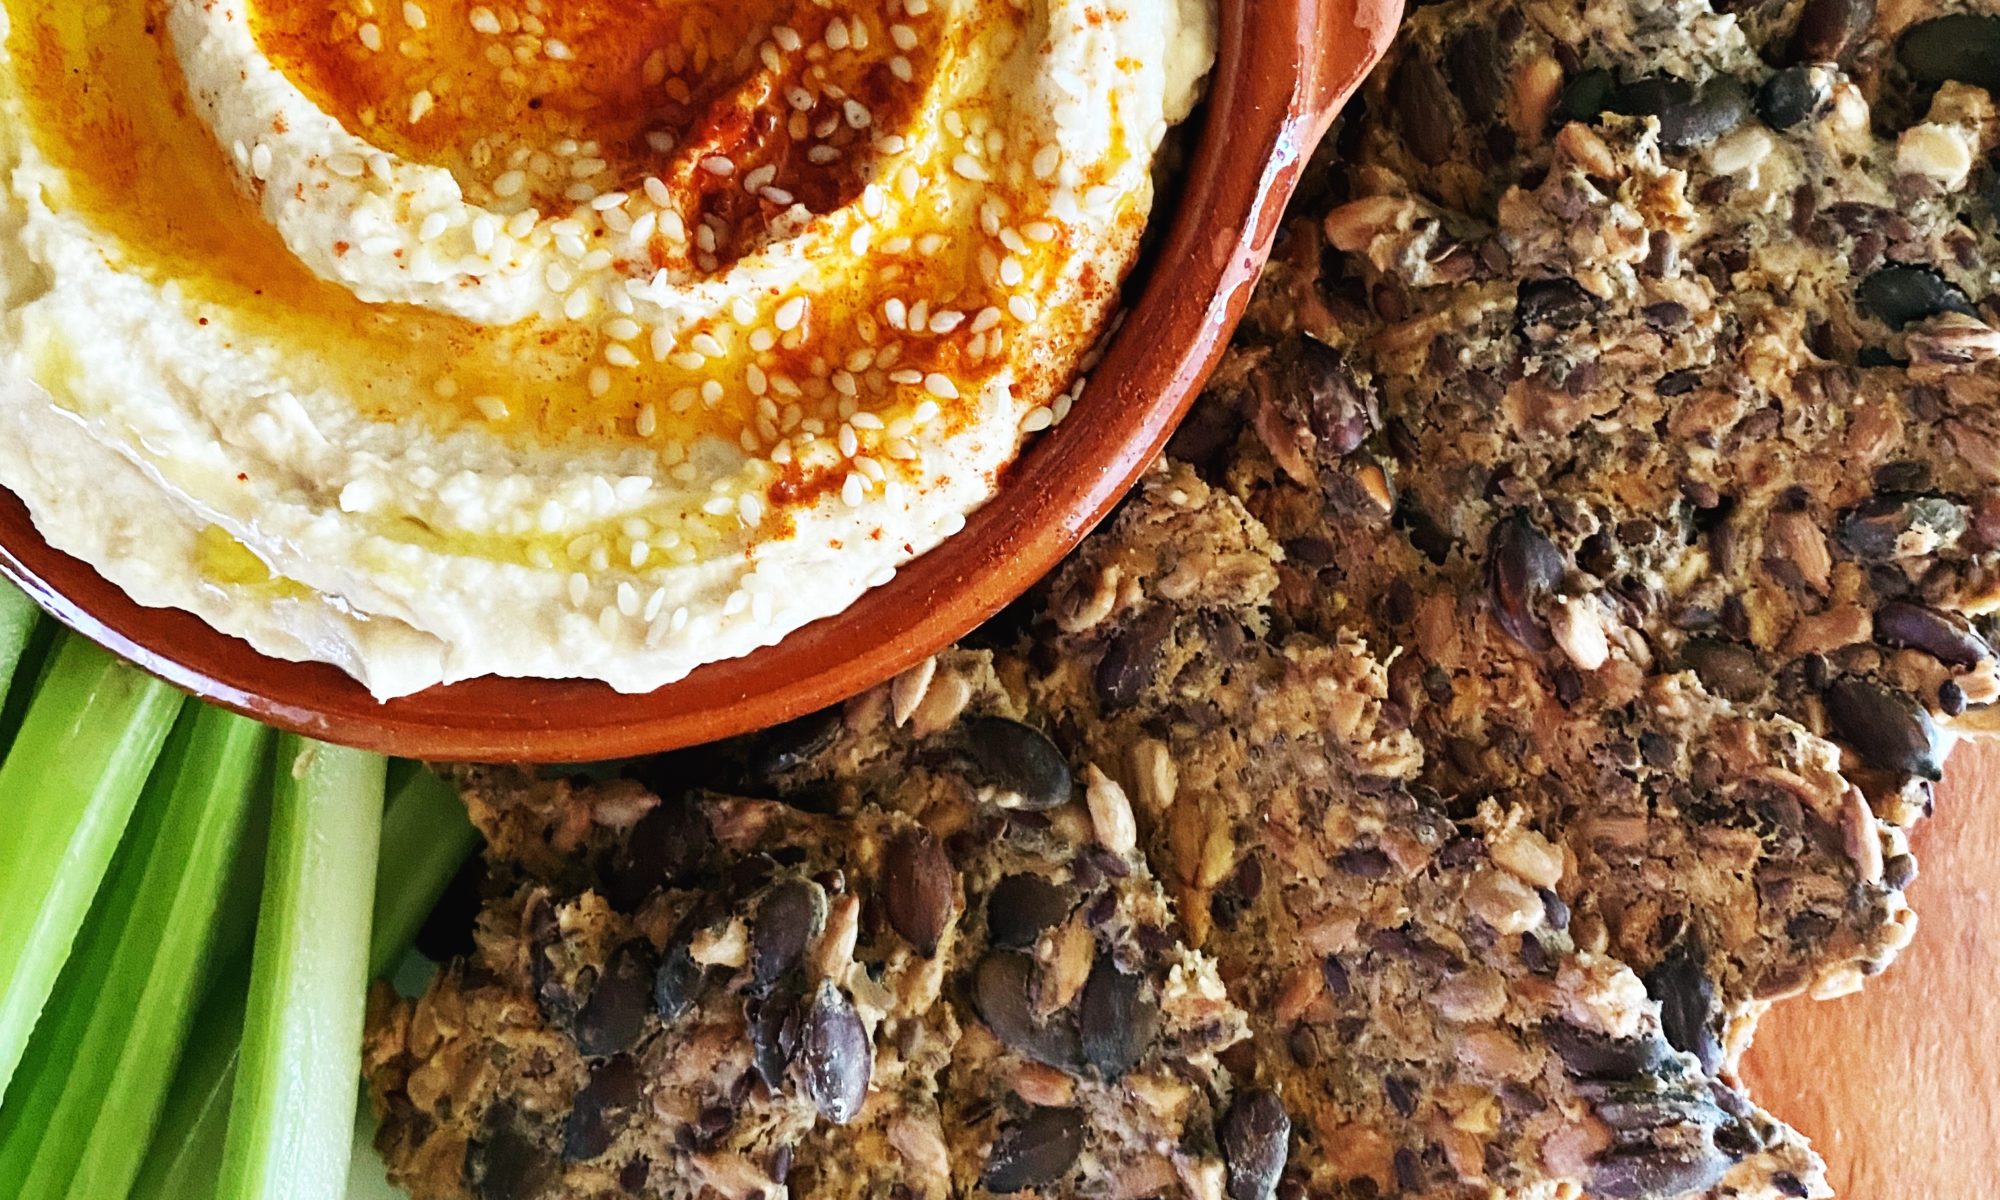
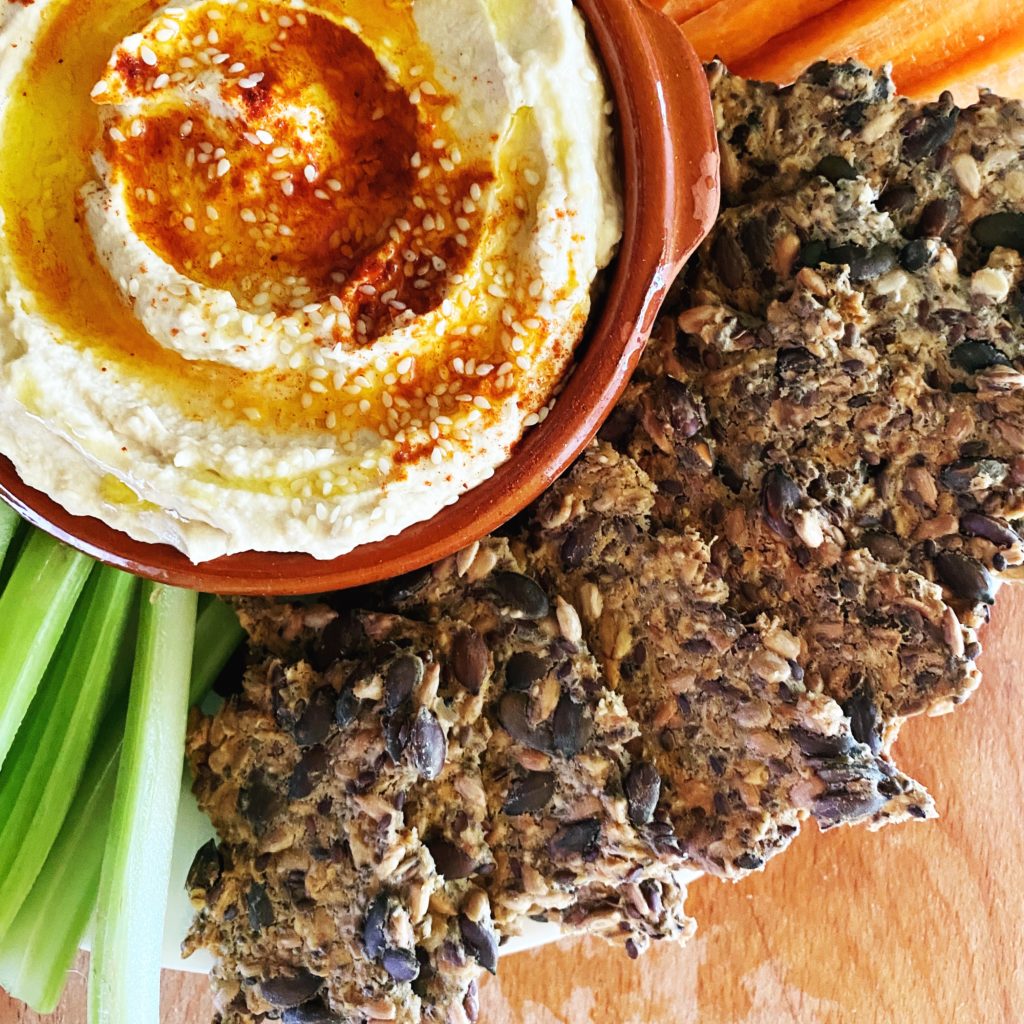
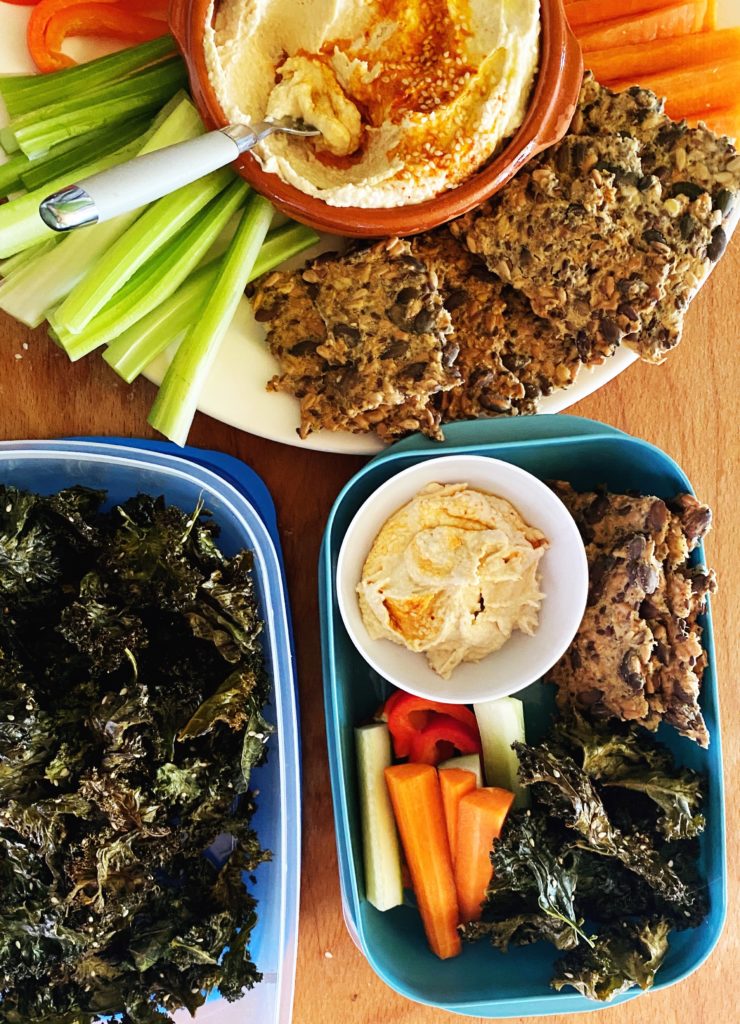
Pumpkin Puke (Hummus)

Ingredients
- 1 x 400g tin of chickpeas, drained (reserve the aquafaba for another recipe)
- 250g roasted pumpkin (use a kuri or butternut squash for extra flavour, or use up the flesh from a carved pumpkin)
- 1 clove of garlic, peeled
- 3 tbsp tahini
- the juice of 1/2 a lemon
- 1 tbsp ground cumin (optional)
- 1 heaped tsp of salt
- 2 tbsp extra virgin olive oil
- 2 ice cubes
Method
- Place all the ingredients except the olive oil and ice cubes into a food processor and blend until pretty smooth.
- Taste and adjust the seasoning if needed with more salt or lemon juice.
- Then add the ice cubes and olive oil and blend again until silky smooth. The ice cubes are a secret ingredient which really helps lighten and whip the hummus into a gorgeous texture.
- Keep the hummus in a container in the fridge until you are ready to serve. It should last for 3 days maximum.
Pizza Fingers
Here’s how to make 16 pizza fingers:
Dough
- 500g spelt flour
- 7g quick yeast
- 10g salt
- 2 tbsp olive oil
- 325ml warm water
Filling
- 16 sticks of cheese
- tomato puree
- 16 almonds
- Mix the ingredients above into a sticky dough then knead on a clean work surface until smooth. You may need to add an extra dusting of flour if your dough is too sticky to handle.
- Form into a ball and cover with a clean, damp tea towel. Leave to rise until doubled in size – depending on the temperature in your kitchen, this should take around 1 hour.
- Divide into 16 even balls. Turn the oven on to 200C. Find a large baking tray and line it with baking parchment.
- Stretch each ball of dough into a rectangle. Smear a 1/4 tsp of tomato purée along the middle then add a cheese stick. Fold the dough around the cheese and pinch to seal. Roll the parcel into a finger and pop it seal-side-down onto a lined baking tray. Repeat with all the balls of dough.
- Then dip the almonds into tomato purée and stick them on the ends of the doughy fingers. Use a butter knife to make knuckle marks.
- Then pop the tray into the hot oven for 20 minutes or until the fingers are golden brown and cooked through. Serve with a simple tomato dipping sauce (recipe below).
Sauce
- 1 onion, peeled and diced
- 4 cloves of garlic, peeled and diced
- 3 tbsp olive oil
- Italian style herbs (I use a bay leaf, a few fennel seeds and a pinch of dried oregano)
- 1 tin of chopped tomatoes
- salt and pepper to taste
Sauté the onion in the oil until soft and starting to take on some colour. Add the garlic and herbs and stir until very fragrant. Then add the tin of tomatoes and season well. Simmer until the sauce is rich and delicious. At least 10 minutes but the longer the better. Alternatively use pesto as the dipping sauce or a jar of ready made pasta or pizza sauce. We stock a few option in the shop which can be added to your veg order.
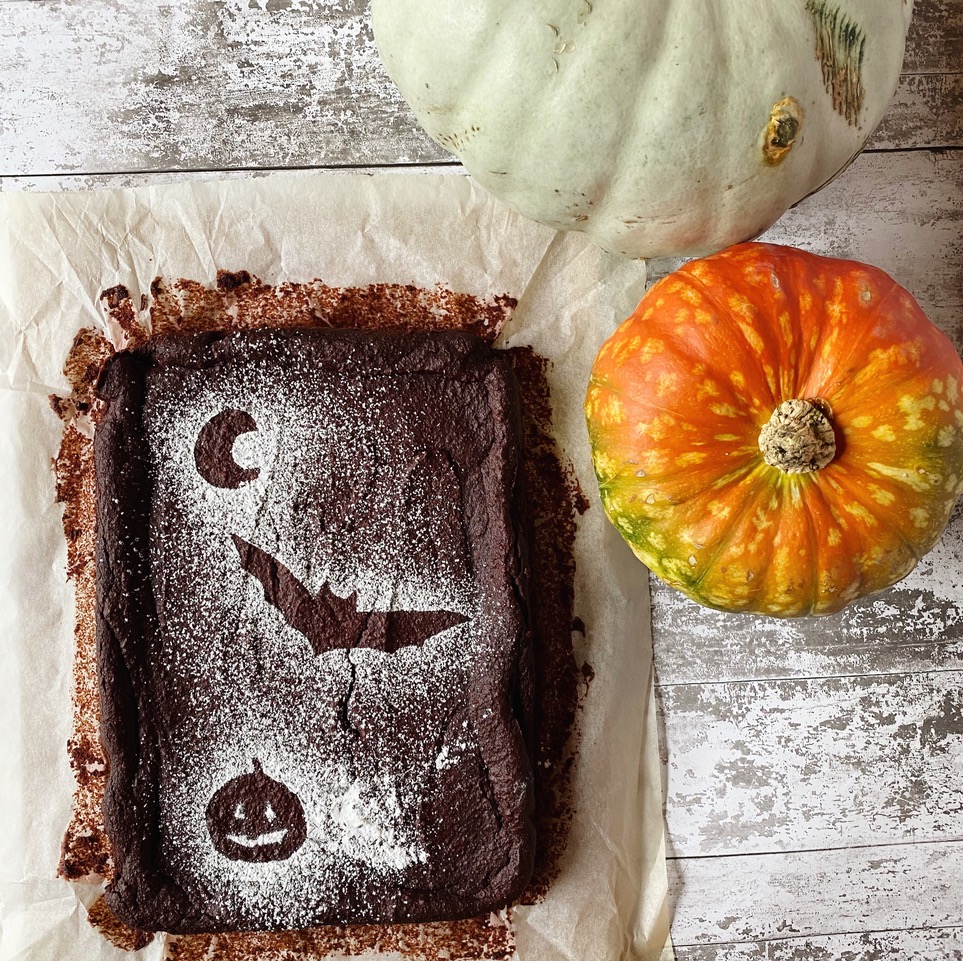
Trick AND Treat Brownies