We thought we were finally emerging from a relentlessly wet spring. I don’t know why but I am always surprised by rain, you would imagine at this stage after 20 years of farming and living in the West of Ireland it wouldn’t come as such a shock!
This week we had rain that can only be described as monsoon like, giant water droplets that have again saturated the ground and delayed further progress on the farm. There is little doubt now that climate chang is impacting food production globally.
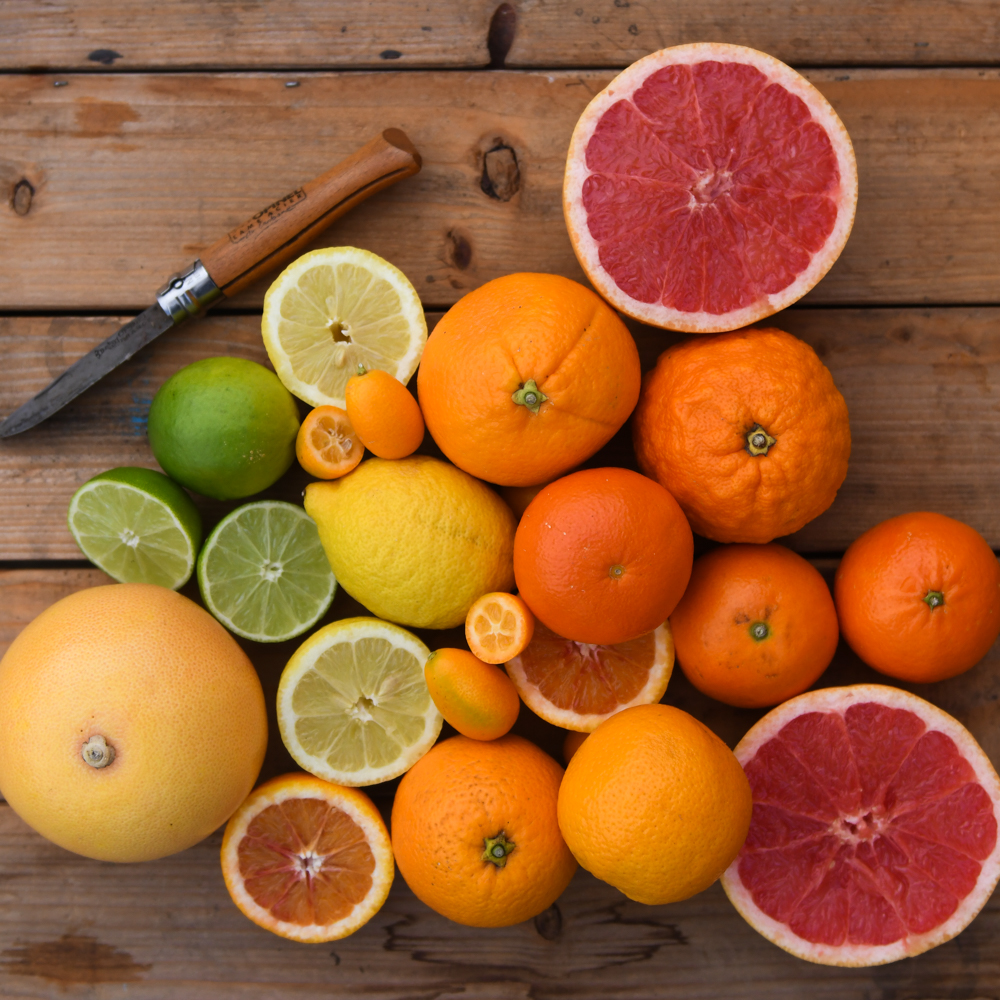
We are right in the middle of the hungry gap, and we import fruit and more veg at this time of the year, and we can see form talking to other farmers in Spain, France and Holland that the weather has put massive pressure on growing systems in these countries as well as our own and has delayed and reduced harvest, it is proving difficult to get produce at present from anywhere.
This, I think makes it even more urgent to have the discussion around our own food security especially with the closure of one of our largest carrot growers two weeks ago.
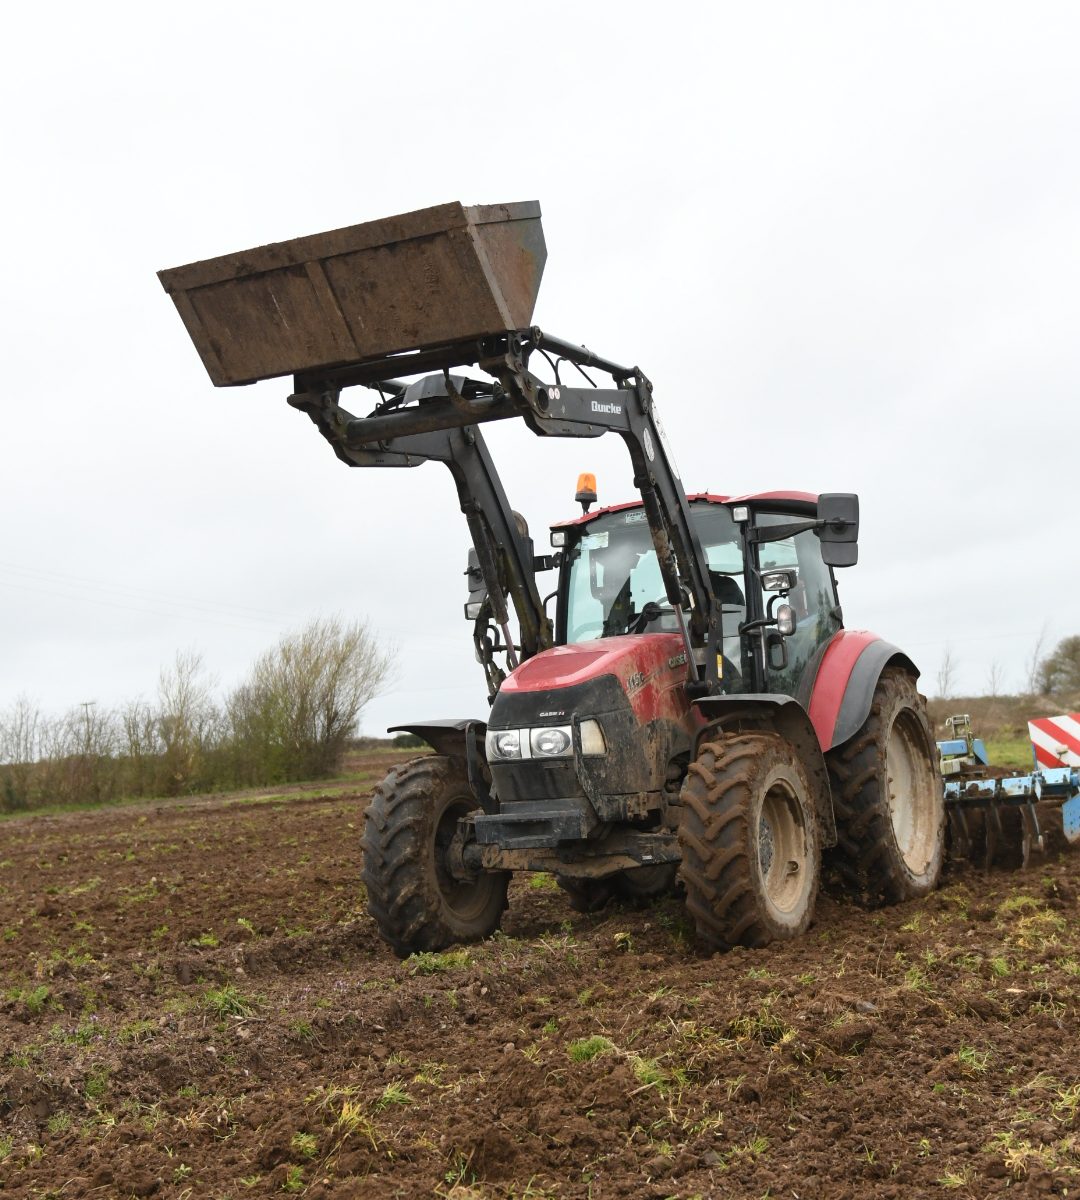
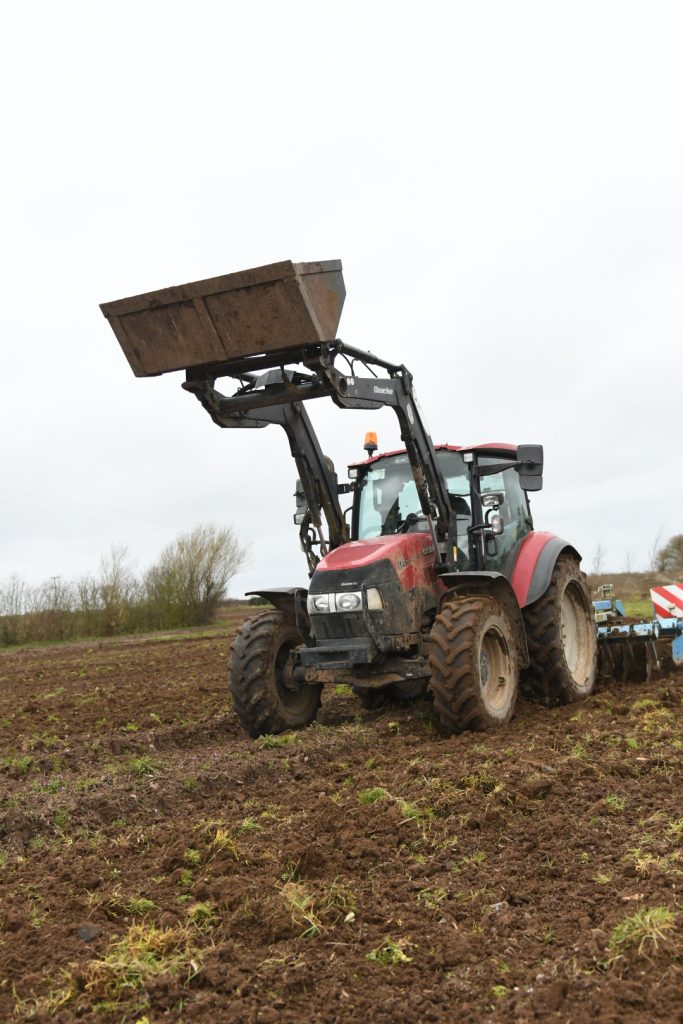
But back on the farm we have had a few days of sunshine and the three days of fine weather we got last weekend we took full advantage of. We have spread all our compost, ploughed the land and tilled some of it.
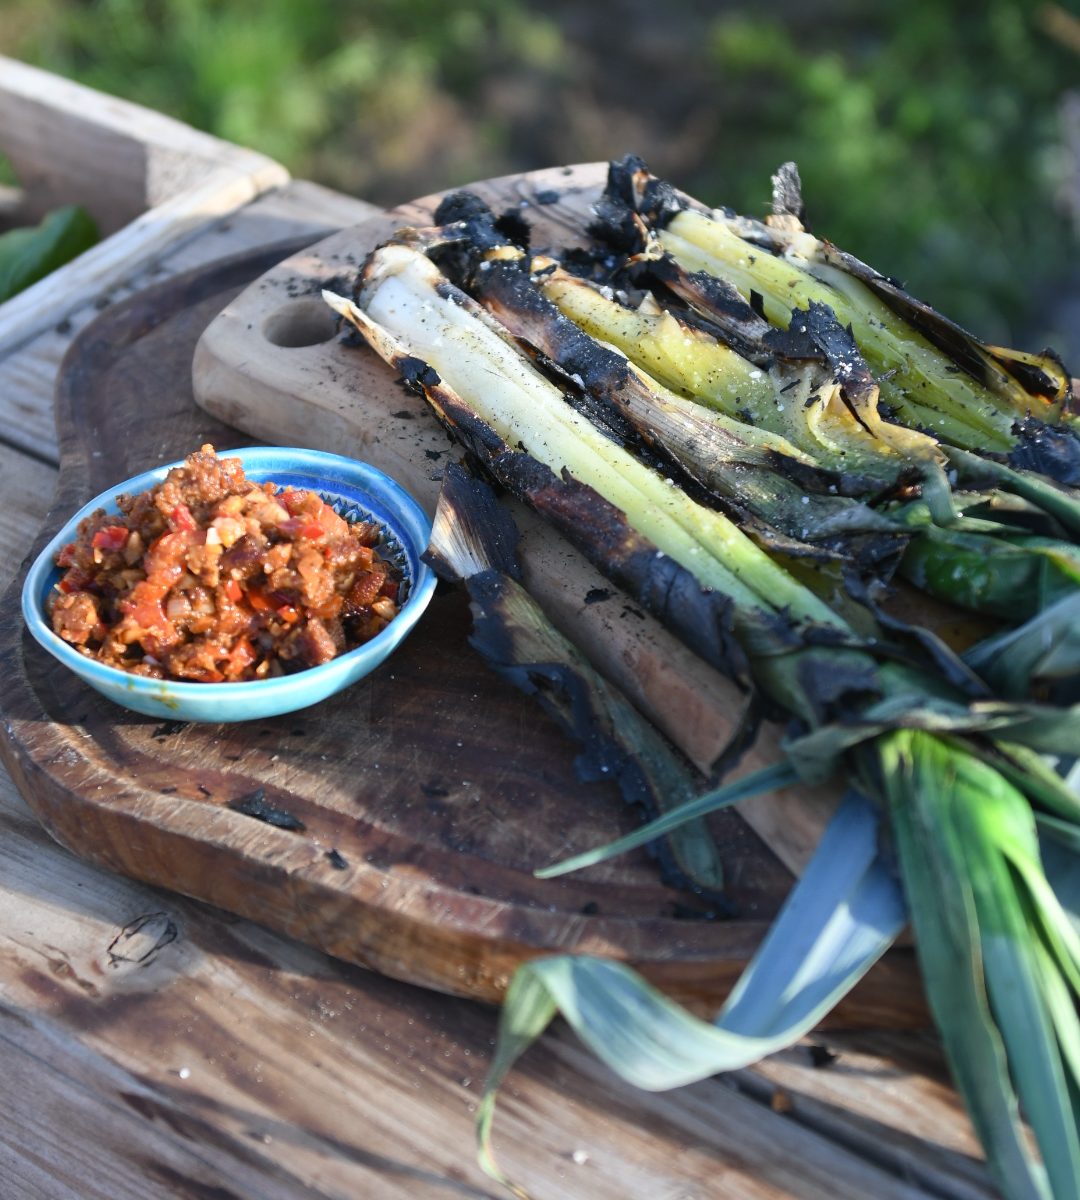
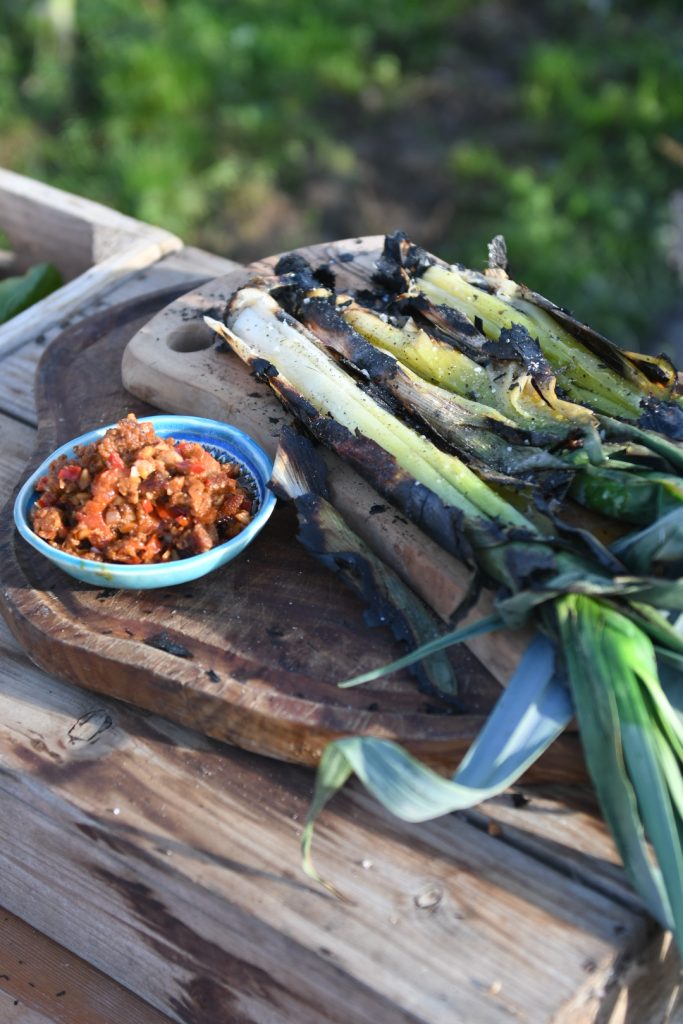
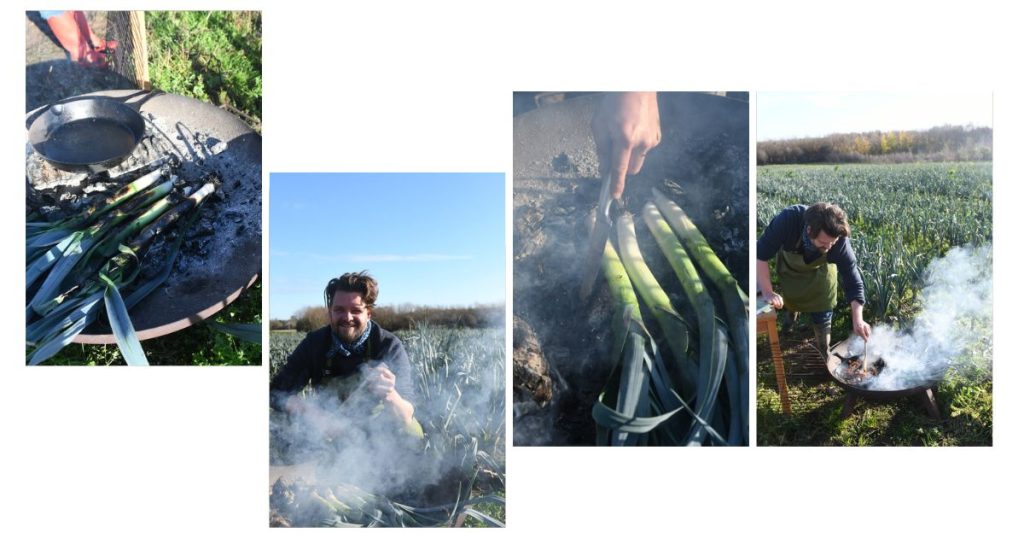
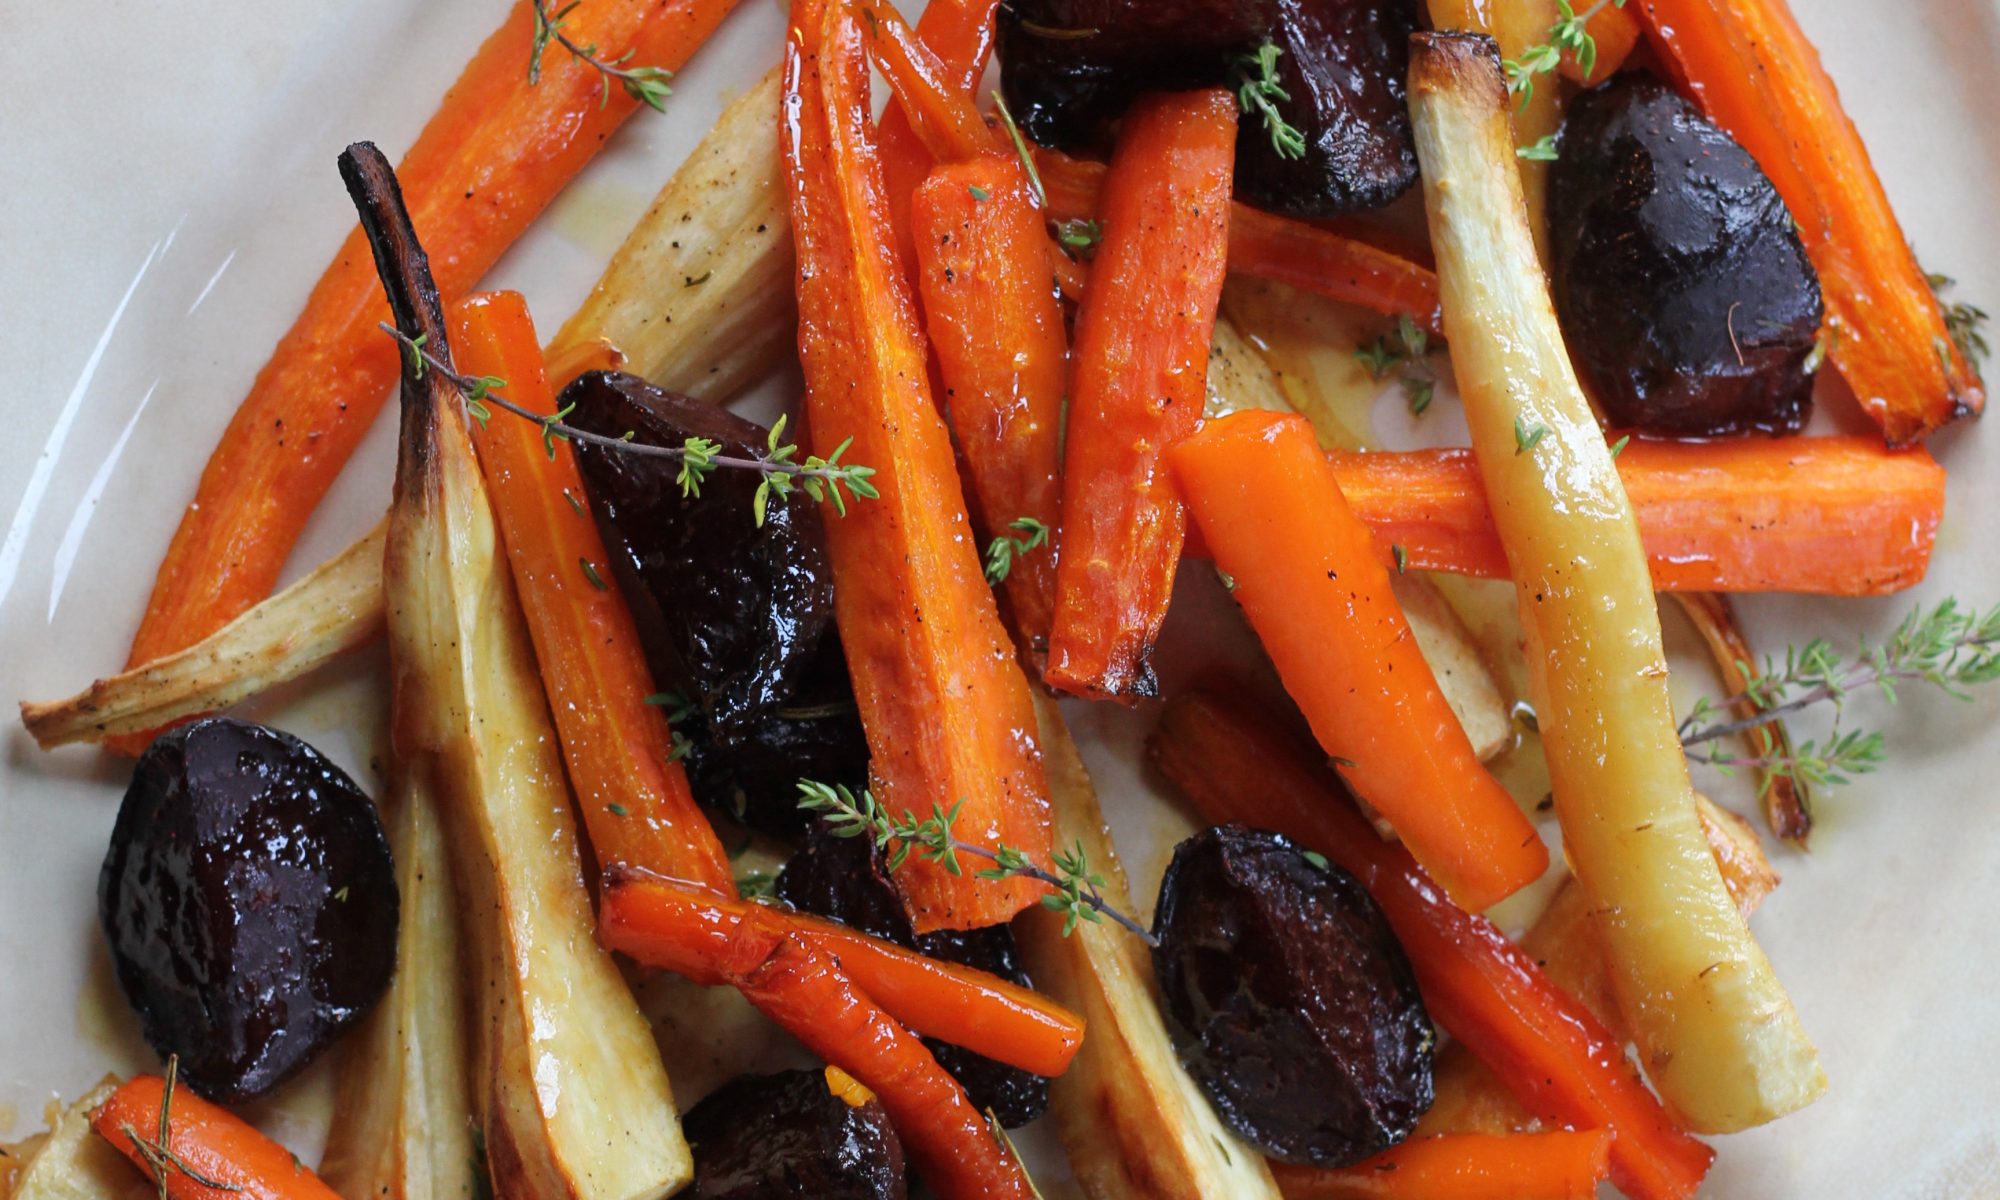
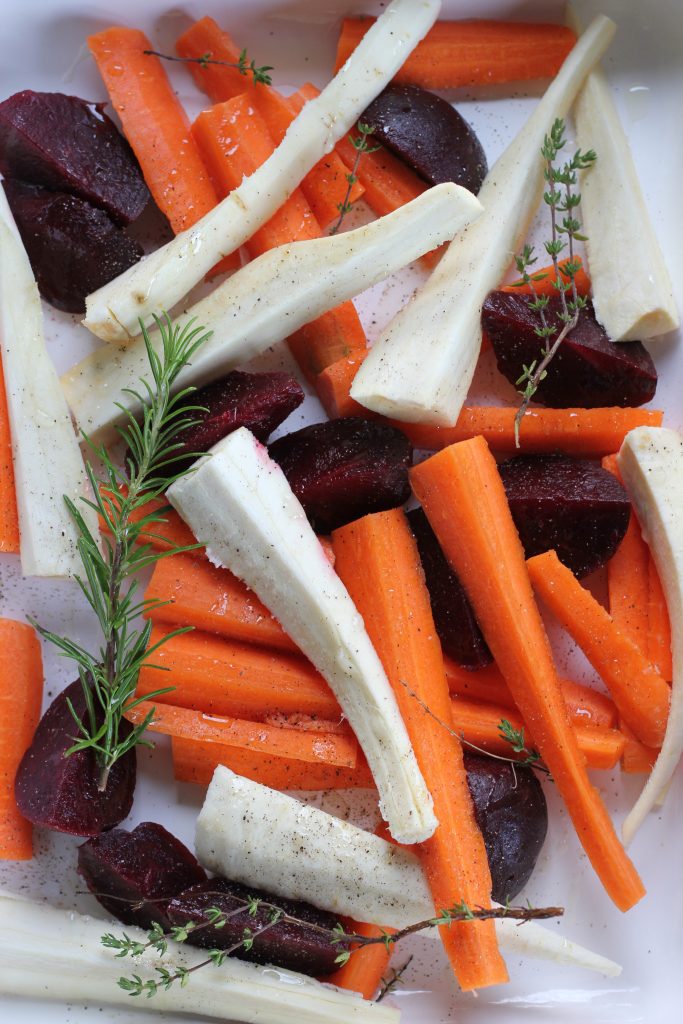
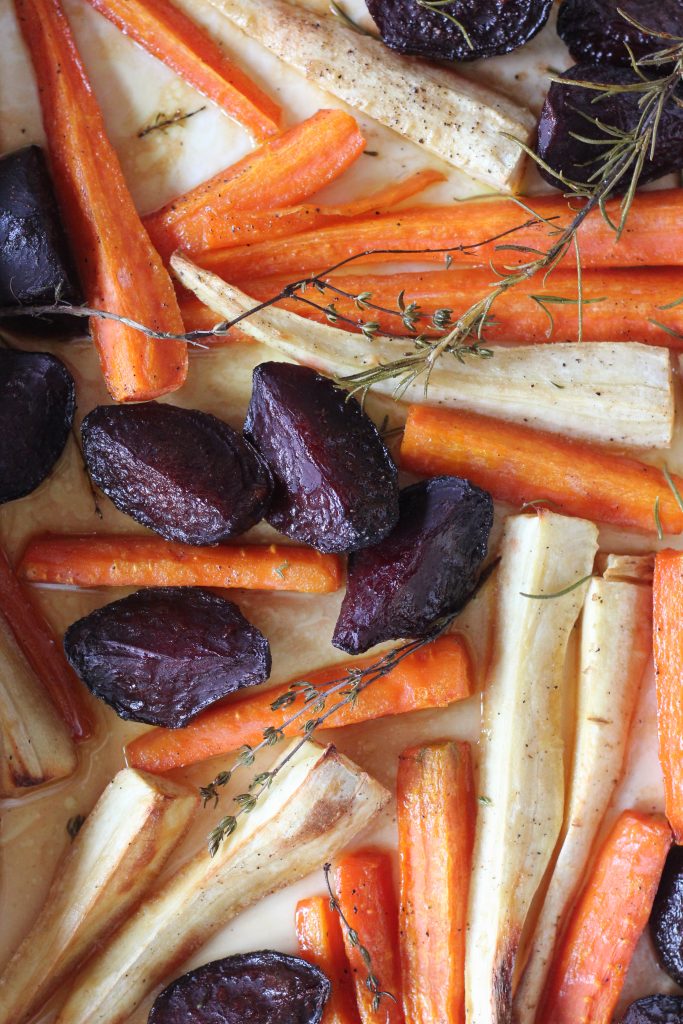
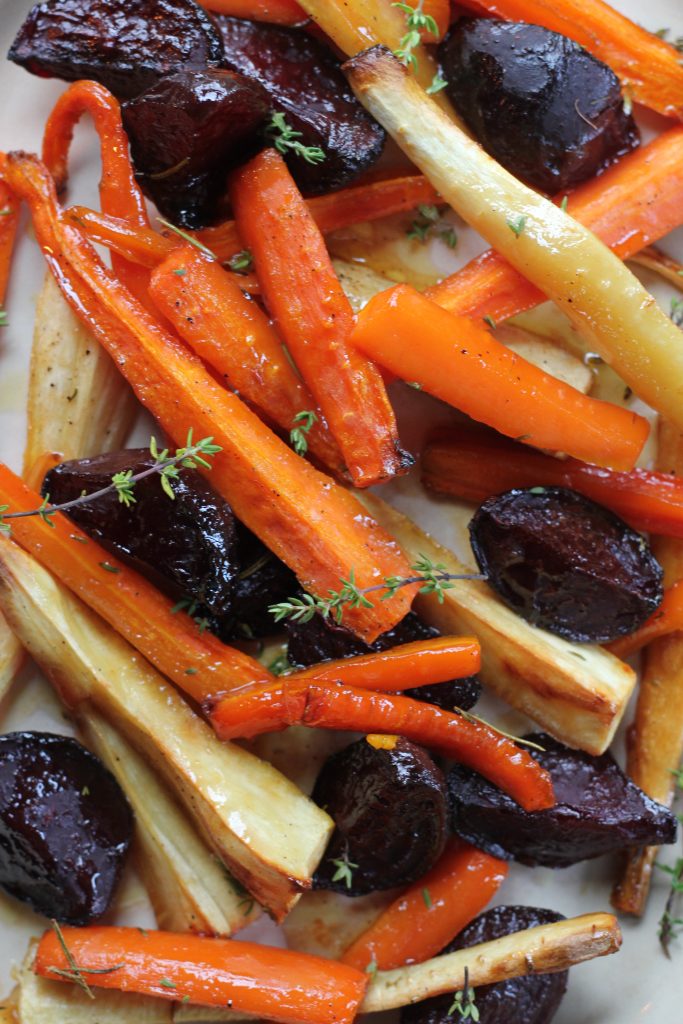
We are still harvesting on the farm too. The last of our own farm parsnips are still available, we are harvesting our own leeks and from the tunnels a bumper crop of rocket and spinach and chard, we will also be harvesting loads of green kale this week and this is the crop I wanted to talk about.
Some of the green kale is on the cusp of going to flower and if the temperature gets back to over 12C then we will have our native Irish honeybees flying all over the farm. The first place they will go is to these beautiful flowers, which we will leave until the first aphid infestation begins.
But here is a couple of facts you may be interested in. In conventional systems up until relatively recently many brassica plants were sprayed with neonicotinoid pesticides to destroy amongst other things, aphids.
These chemicals are thankfully now banned in the EU. 1 teaspoon of Thiamethoxam alone can decimate over 1.25 billion bees. But this is not the end of the story. These chemicals and this one in particular is still manufactured in the EU, in Belgium by Syngenta and is exported all over the world, it is hard to get accurate data but somewhere in the region of 10,000 tonnes of the stuff is exported to other countries. If you assume that one teaspoon is 3g, then is a lot of teaspoons, it is enough to wipe out the global population of honeybees and wild bees 10 times over.
Not only that, and here is the real dark side of this (as if it was not already dark enough) Syngenta knew and did not release data that their chemicals decimated bee population, they kept this from regulators knowing the damage these chemicals did.
So, when we are told by the companies that manufacture pesticides that they are safe, and where they stand to earn billions of dollars in profit. I error on the side of caution and tend not to put too much trust in what they say.
As always, your support, protects and supports a way of farming that keeps these toxic chemicals out of our food chain and helps protect biodiversity and in this instance our native Irish honey bee too.
Thank you.
Kenneth