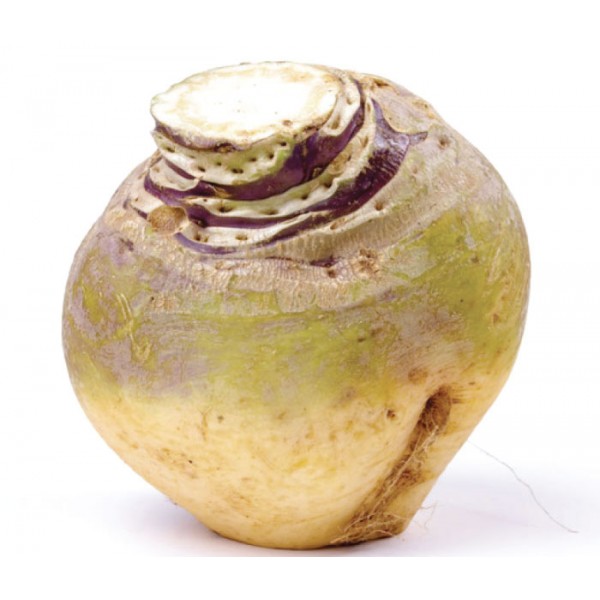
This knobbly ugly root vegetable is seriously underrated, and I think people sometimes struggle finding ways to use it – well look no further, here are some recipes using celeriac!
Click on the bold text to go directly to the recipes.
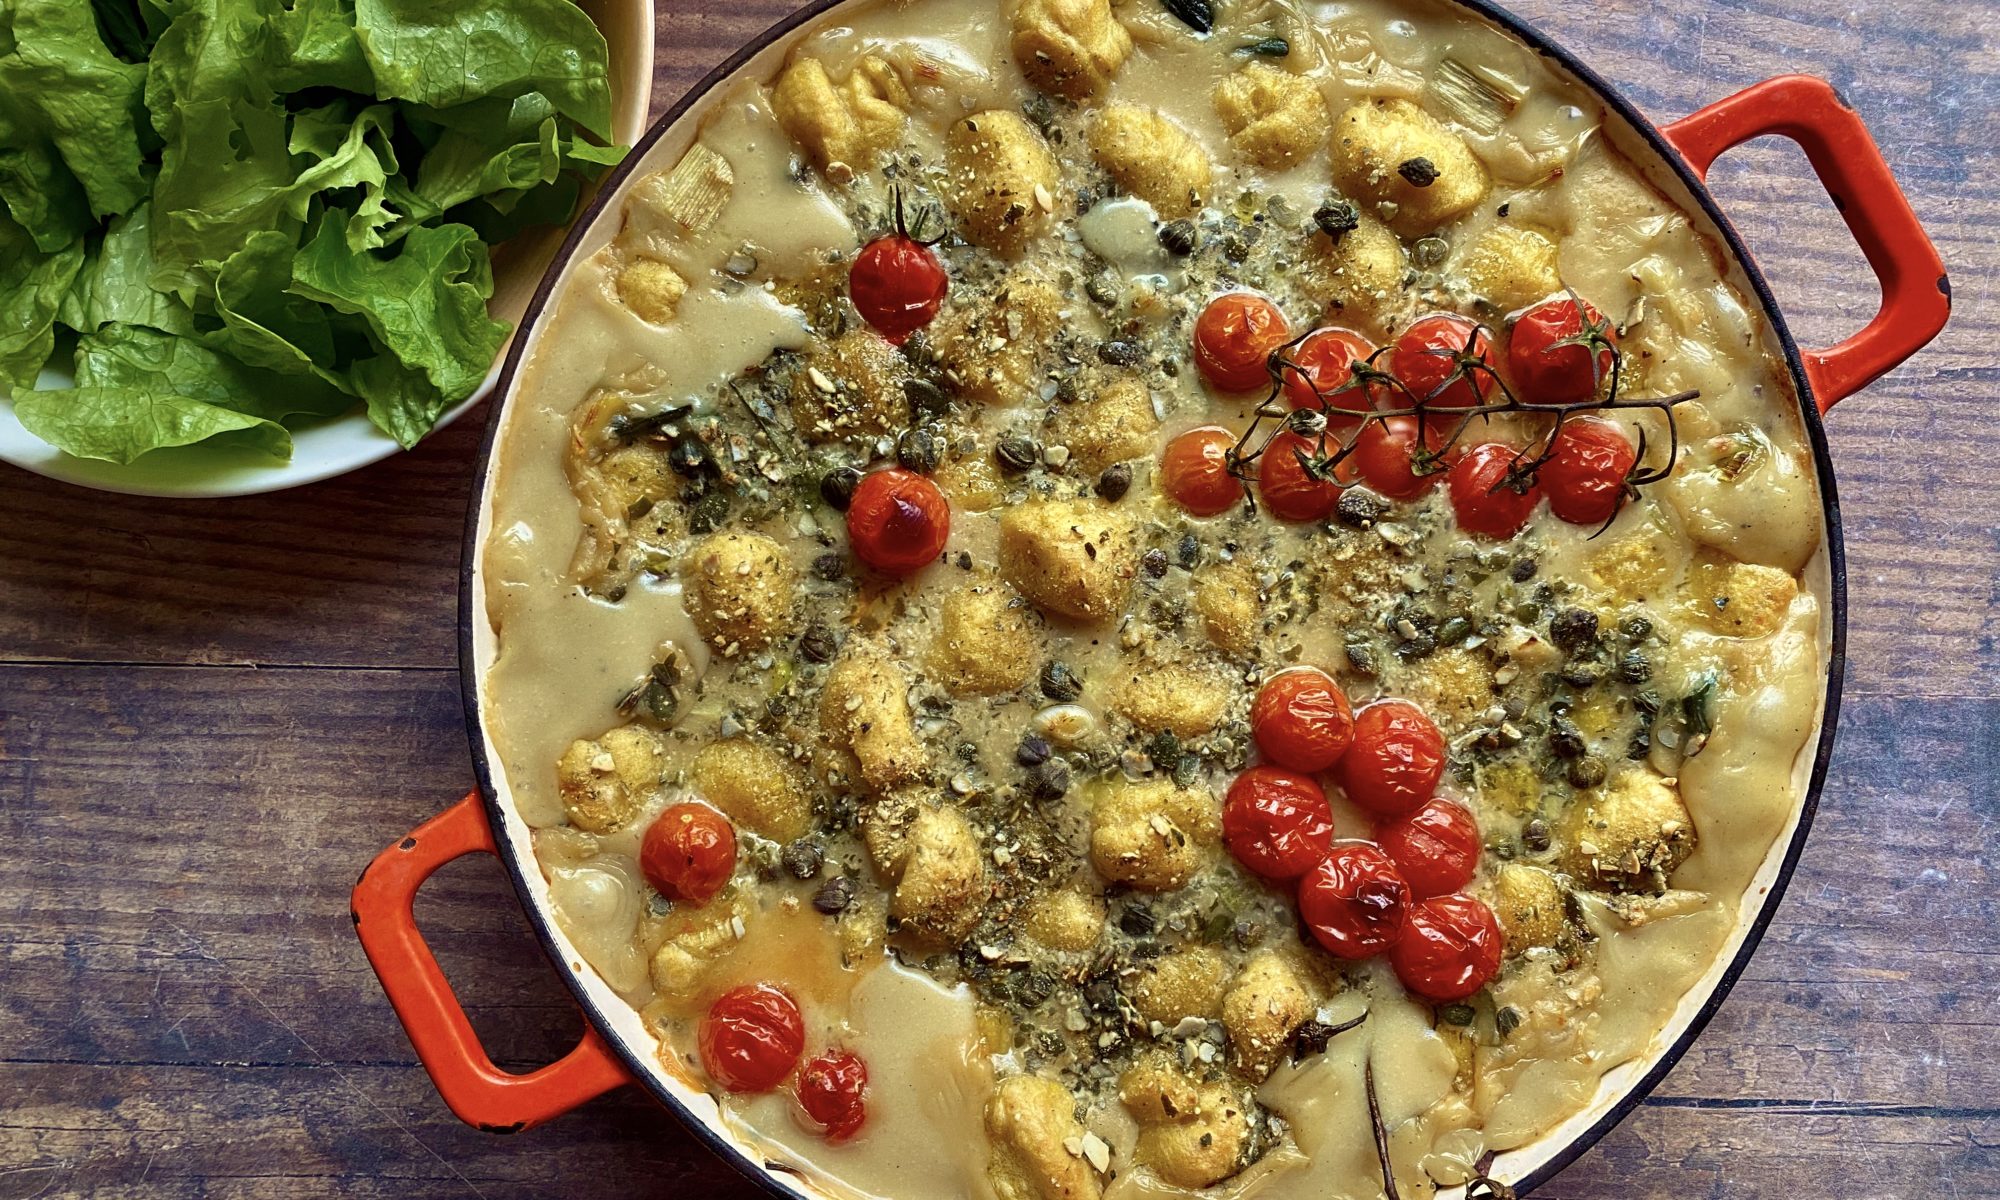
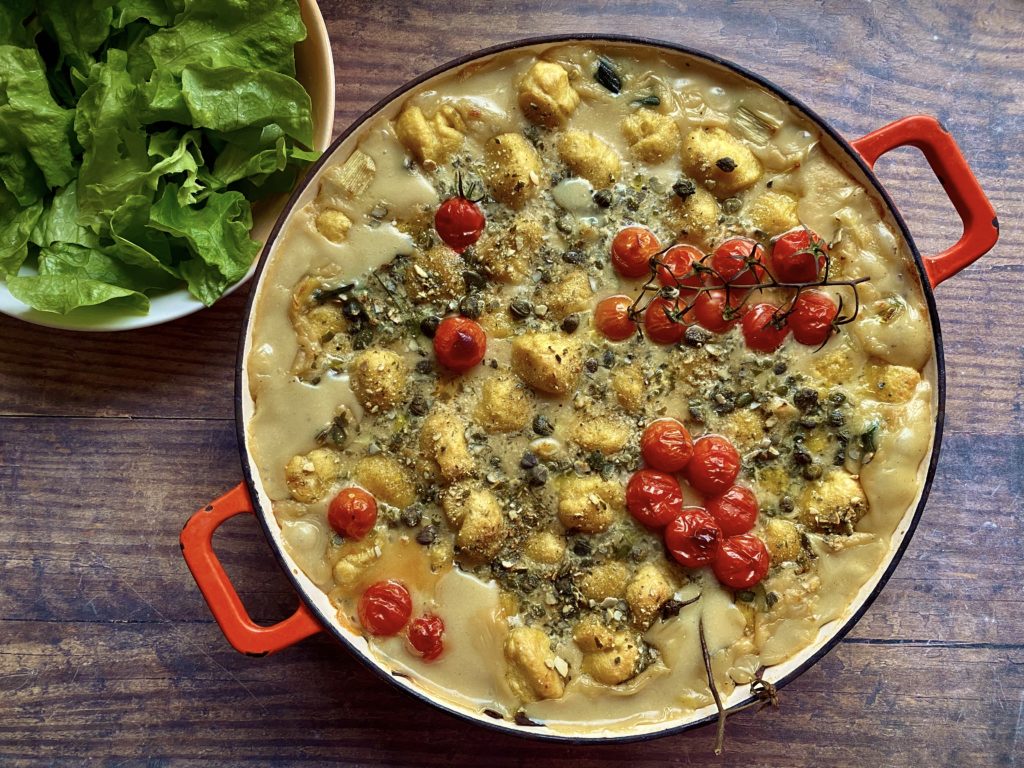
Introducing the slightly more laborious, but much more exciting cousin of macaroni cheese! Béchamel Baked Butternut Gnocchi! This is comfort food at it’s finest.
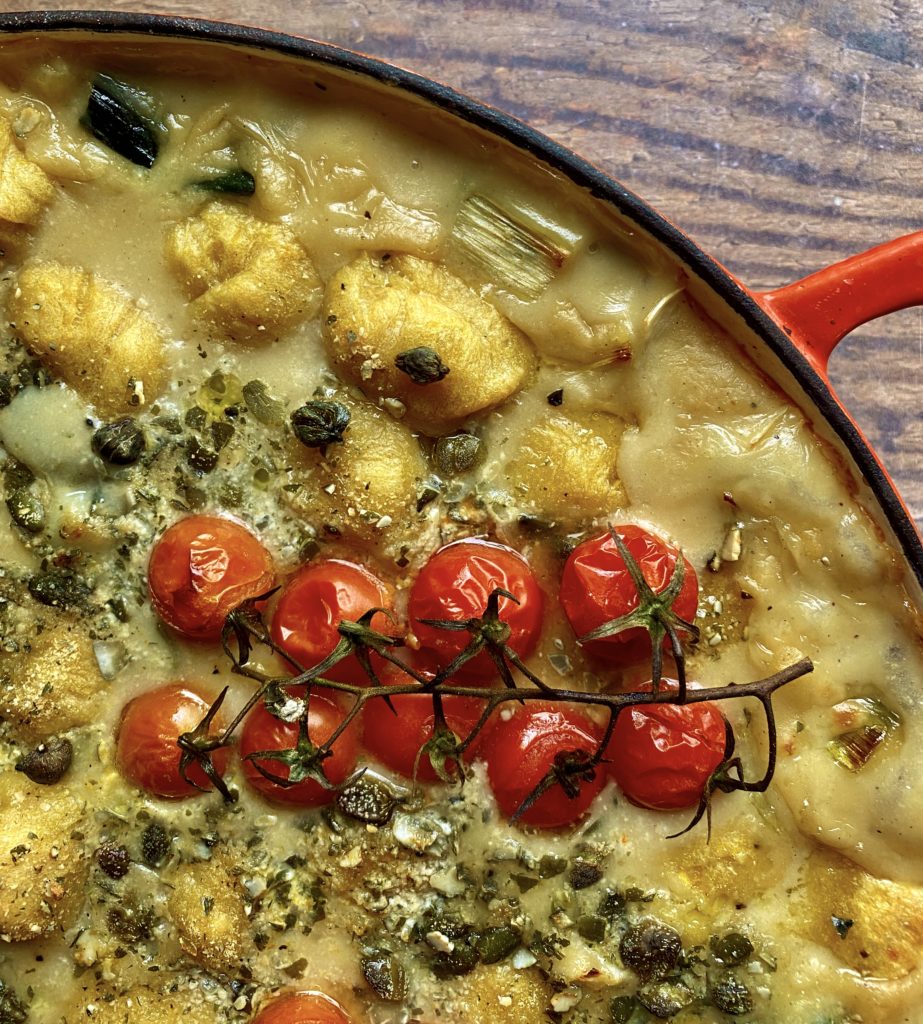
My vegan béchamel sauce is very simple to put together, and for this I’ve simply whisked it up and poured it over sautéed celery and leek. Then I popped in lots of freshly boiled butternut gnocchi (not as tricky to make as it seems), scattered over some tangy capers and crushed pumpkin seeds and baked it until the béchamel was bubbling and thickened! I got some gorgeous cherry tomatoes in my box last week so I placed them on top to roast in the oven. Their bright acidity is the perfect foil to the creamy richness of the béchamel and gnocchi.
I’d love to see your photos if you make this dish. Share them with us over on our friendly facebook group or tag us @greenearthorganics1 on Instagram and don’t forget to share this blog post with your friends. Liz x
enough plain flour to bring it into a dough (this varies depending on the water content and size of your squash)
salt, pepper and optional herbs or spices (sage/rosemary/thyme/chilli flakes…)
Method
Pre-heat your oven to 200C.
Cut a small butternut squash in half, scoop out the seeds and bake it – cut side down – in a hot oven (200C) until the flesh is soft all the way through. Test it with a small knife, it should easily slide into the soft, roasted butternut. (This normally takes 30 minutes or so. While it’s in the oven, get on with the sauce and preparing the toppings below.)
Allow the squash to cool to the point where you can easily handle it, then scoop out all the roasted flesh and mash or blend it into a smooth purée.
Find your biggest pot, 2/3rds fill it with water and get it on the stove to heat up to a rolling boil while you make the gnocchi.
Season the purée with salt and pepper and taste to check the seasoning. It should be slightly too salty as you are going to fold in a fair bit of flour. You can also add optional extra flavours at this stage. For example chilli flakes and sage or rosemary and lemon zest… or just leave it plain, that’s delicious too!
Then stir in enough flour to turn the purée into a soft dough. You can use plain flour (make sure there are no raising agents in it) or strong bread flour or even a gluten free plain flour blend. Gnocchi works best with white flour rather than wholemeal.
The amount of flour varies depending on the size and moisture content of your squash. Just start with a mug or so, gently fold it in and keep going until it’s the right consistency to be tipped out onto a floured work surface and very briefly kneaded. You want to work it as little as possible to keep it tender, but just enough to bring it together into a manageable ball of dough. It should be soft and sticky, get a helper to keep dusting the work surface and your hands with flour to make it more manageable.
Cut the ball of dough into 4, then roll one of the quarters into a thick snake. Chop the snake into little bites. If you want to make little traditional looking grooves in the gnocchi you can stamp each bite with a fork or you can roll them over a gnocchi board if you have one… or simply roll them into balls.
Then drop the gnocchi into the now boiling water in batches. Gently loosen them from the bottom of the pot with a slotted spoon. When they rise to the top of the water they are done and can be scooped out and placed in the sauce below. I do them in batches of one snake at a time, then while that batch is boiling I get the next snake ready.
Keep going until all your gnocchi dough is used up. If you make too much for the bake, then you can cool down and keep the excess boiled gnocchi in the fridge/freezer and use it another day (pan fry it with a little olive oil or butter and serve with pesto and salad?)
In an oven and hob safe, large, wide pan, sauté the sliced celery, leek and garlic with the butter or olive oil and some salt and pepper until soft. Then turn off the heat. (If you don’t have an oven and hob safe large dish like this, you can just sauté the veg and tip it into a roasting tray instead.)
Then whisk the flour, milk, mustard, nutritional yeast, nutmeg, salt and pepper in a large jug or mixing bowl and pour the mixture over the sautéed celery and leeks.
Boil the gnocchi in batches as above and pop them into the dish on top of the sauce.
In a small blender or large pestle and mortar, crush/blend the handful of pumpkin seeds with a small handful of nutritional yeast for a crunchy, savoury topping. Scatter this over the gnocchi and sauce.
Sprinkle over the capers and cherry tomatoes then pop the dish into the oven (with an optional drizzle of olive oil) to bake until the gnocchi are burnished golden brown and the sauce is thick and bubbling. This should take around 20-30 minutes.
Serve with a simple green salad and an ice cold glass of white wine and enjoy!
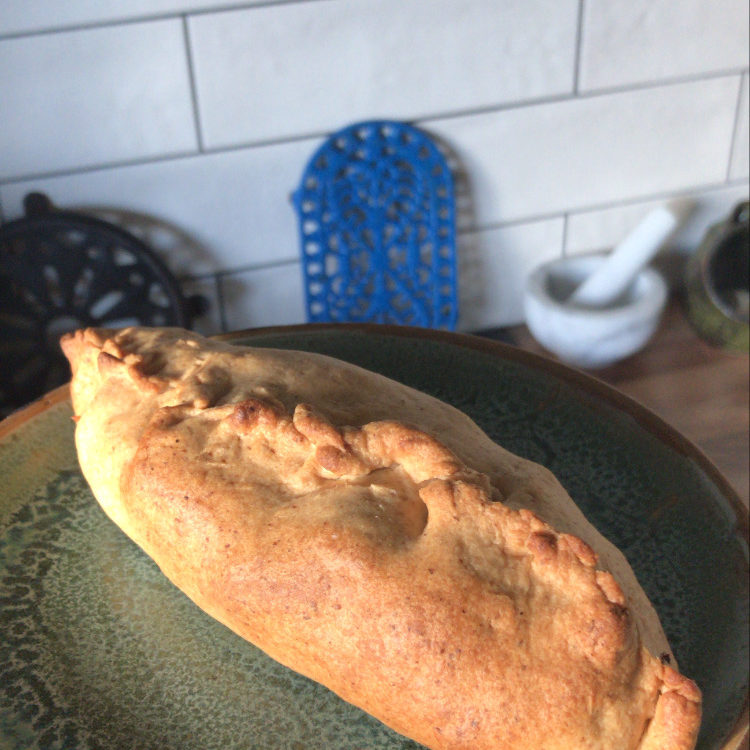
These hand held pies are so good, I’m confident that even a local Cornish person would accept my plant-based knock-offs as the real deal. According to the Cornish Pasty Association, which champions and protects the authenticity and distinctiveness of the genuine Cornish pasty, the pastry should be shortcrust (traditionally they use a mix of lard and butter, I use a quality plant based butter) and the filling should be diced beef, potato, swede and onion. I simply replace the beef with gorgeous umami chestnut mushroomsand add some deep, dark miso to bring out those mouthwatering savoury notes (if you don’t have miso, substitute it with a little splash of soy sauce). November is the perfect time to make these delicious pies. Most of the ingredients can usually be found in my weekly veg box from the farm at this time of year, but of course feel free to substitute ingredients as you like. Any root veg or squash would work well, you could even up the protein with a drained tin of beans or chickpeas.
The photos below are from my instagram stories where I often take my followers through a simple step-by-step as I’m making dinner. Don’t forget to tag @greenearthorganics1 on Instagram or share your photos on the Green Earth Organics Healthy Eating facebook page if you make this recipe. We love to see your creations!
For the pastry:
500g strong flour (I like to use a 400g of white and 100g of brown)
enough cold water to bring the dough together (usually only a couple of tbsp)
Method
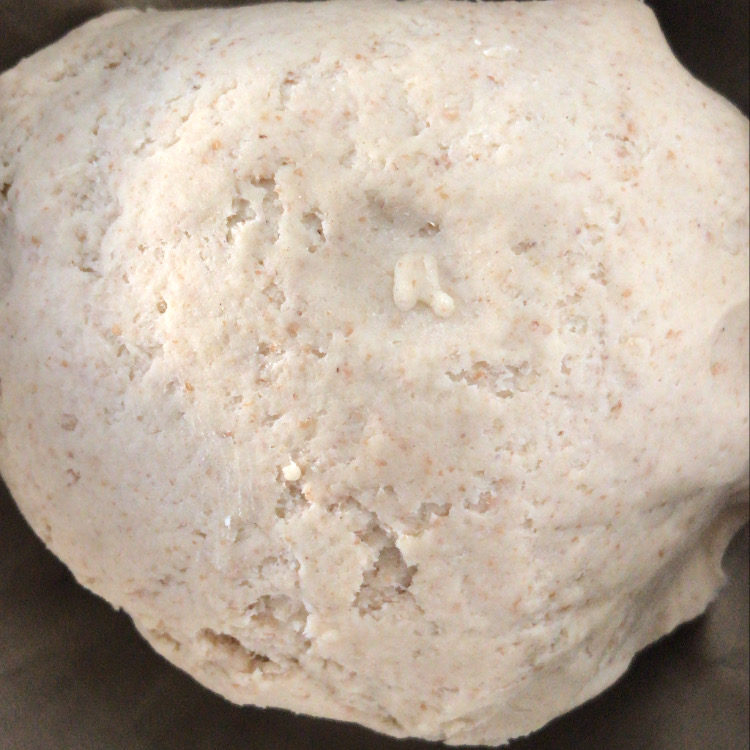
Either use the tips of your fingers to crumble the butter into the flour and salt, or pop all the pastry ingredients (except the water) into a food processor with the blade attachment and pulse it together, until it resembles wet beach sand. Then add a small splash of cold water and blend if using a food processor, or gently knead the dough, just until it comes together into a ball. Be careful not to add too much water, be patient with it. Don’t overwork the dough, you want it to be tender, not hard. Then wrap the pastry with a damp tea towel and let it rest while you prepare the filling. Turn the oven on to 175C.
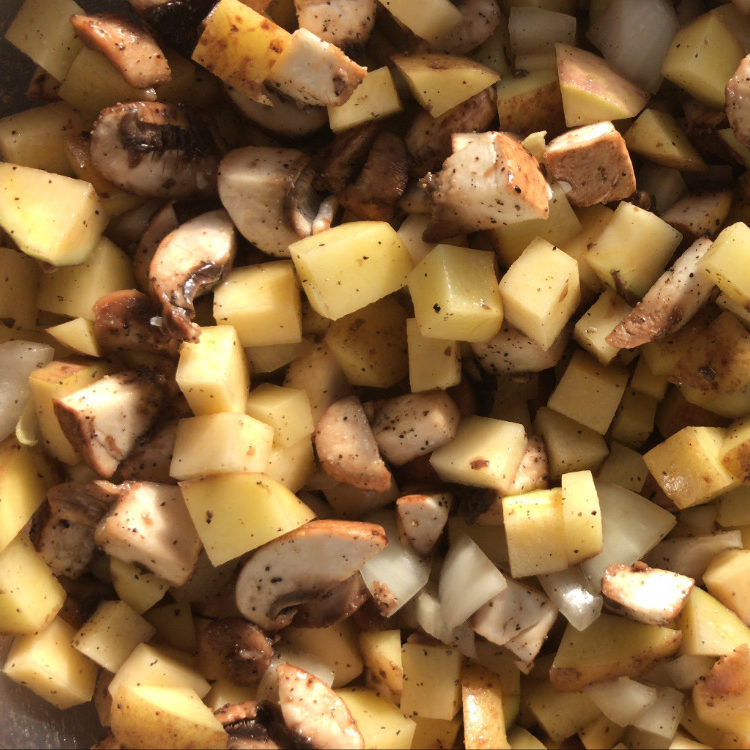
One of the many beauties of buying organic is that there is rarely a need to peel your vegetables. Just give them a thorough scrub and you’re good to go. As is the way with many of my recipes, no need for exact measurements for the filling. I like an equal balance of swede, potato, mushroom and onion in my pasties. Once you have your veg all diced up fairly small (around a cm squared is good) into a large mixing bowl, season it generously with salt and black pepper. If you have miso, stir a tbsp of that through the mix, if not, either add a touch more salt or a splash of soy sauce.
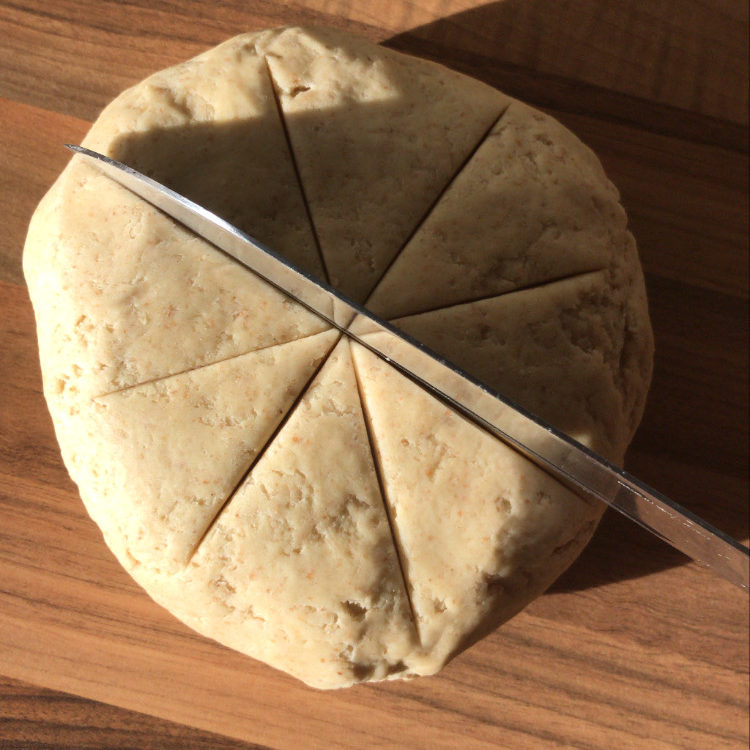
Then you need to sort out the pastry. Tip it out onto a clean work surface and slice it into 8 equal pieces.
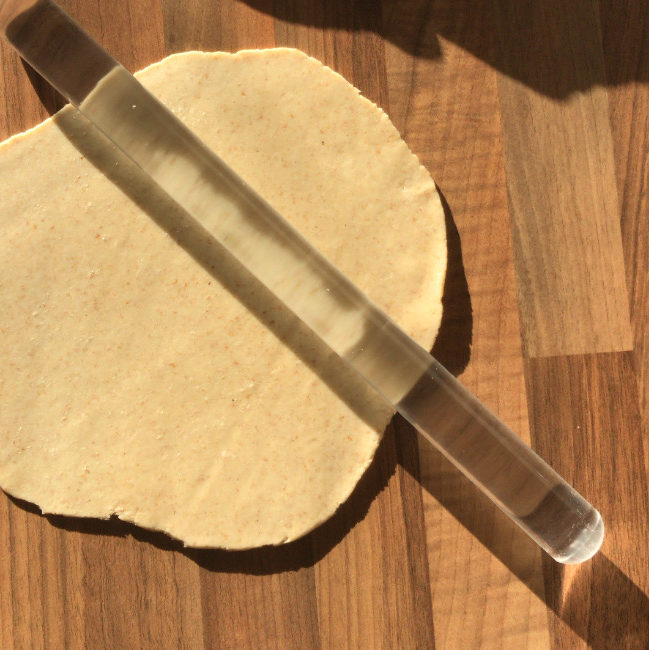
Then roll each piece into a ball and flatten it into a disc with your hand. If you need to, you can lightly flour your work surface to stop sticking and roll each ball into a thin circle. Aim to get the pastry around 4mm thick.
Then pile a generous amount of filling onto each piece of pastry, carefully gather up the sides and seal and crimp as best as you can.
Pop the pasties onto a baking sheet and bake in a preheated oven (175C) for 40 minutes or until the pastry is golden brown and the filling is cooked through and steaming.
I always encourage creativity and this recipe is no exception. Although this is as close to a traditional Cornish pasty as you can get making it plant based, feel free to let your tastebuds run free. Why not try a curried pasty? Add some turmeric and black pepper to the pastry and some curry powder to the veg. And while you’re at it switch the veg for diced potato, cauliflower and onion with a drained tin of chickpeas. Or go mediterranean in the summer? Switch the veg for peppers, aubergine, tomato and courgette and add some basil, pop a sprinkle of fennel seeds through the pastry. What combinations will you try? Let me know in the comments. I’d love to see your creations.