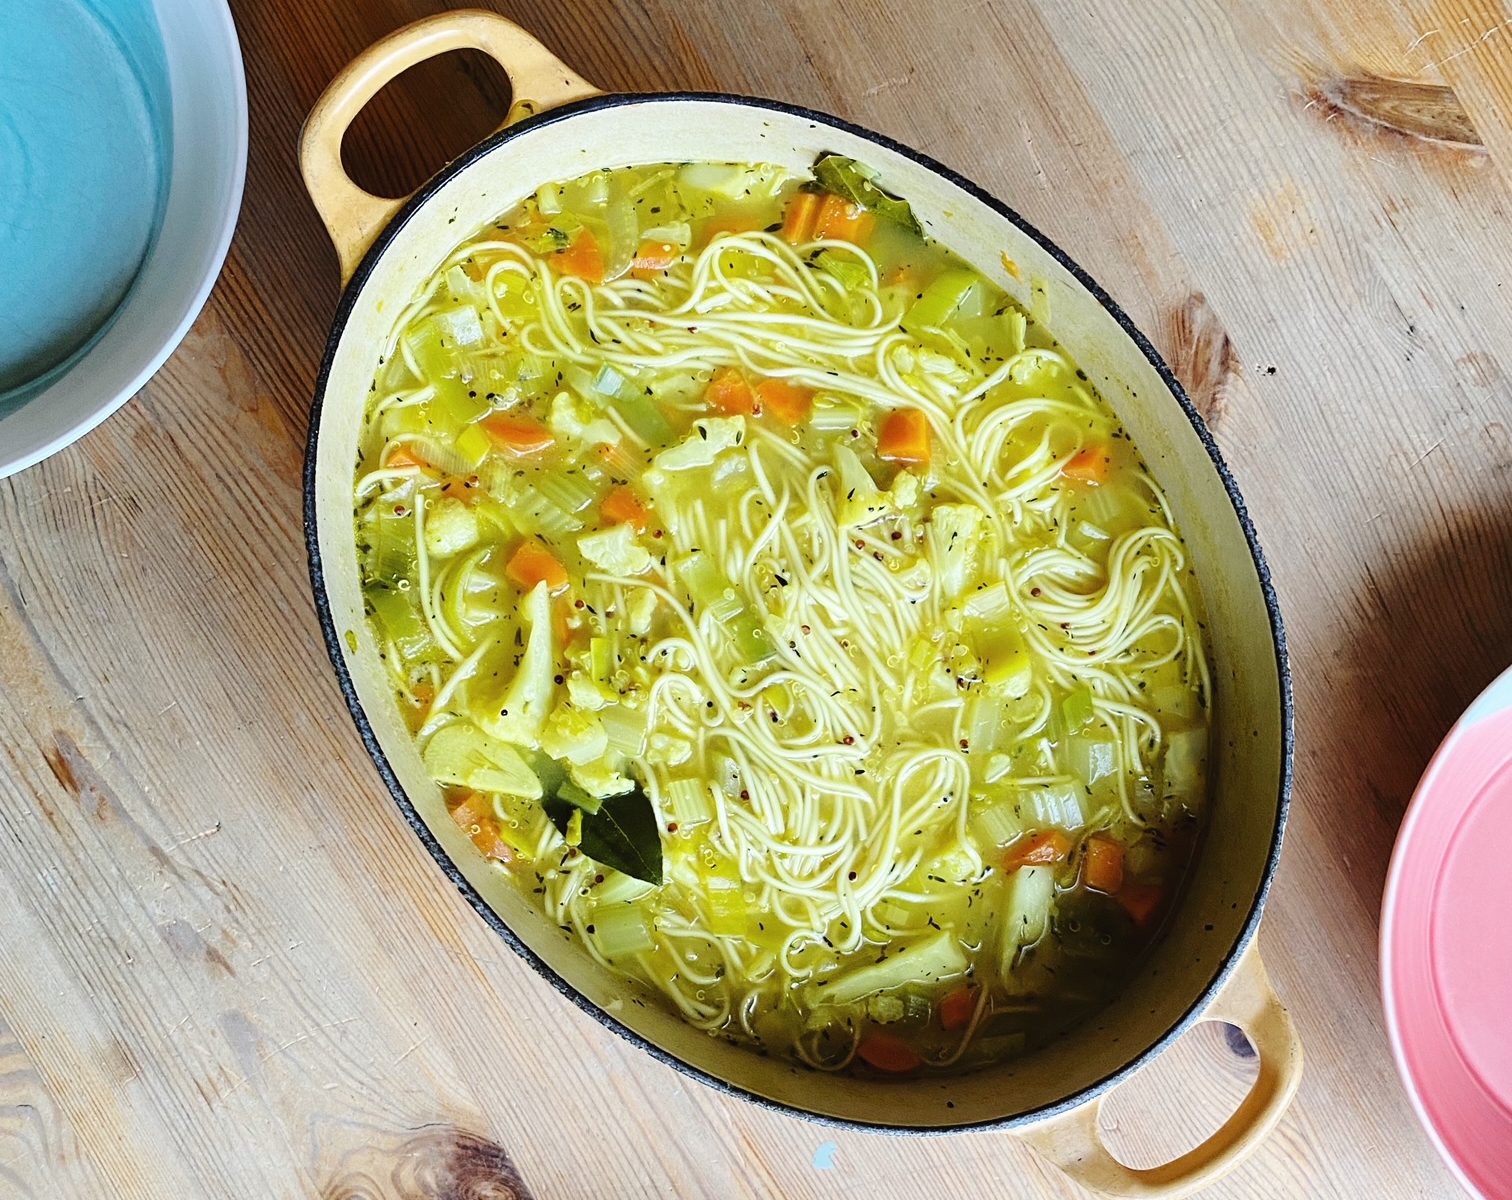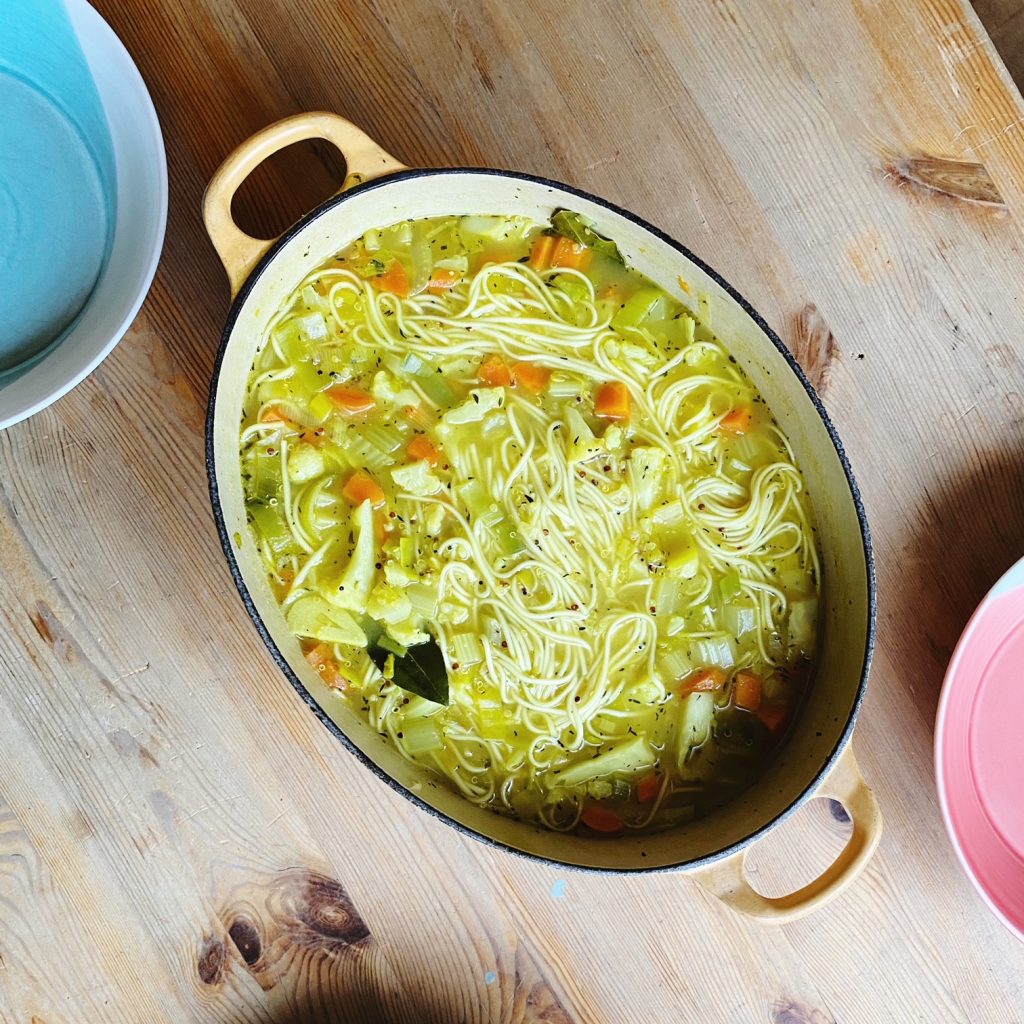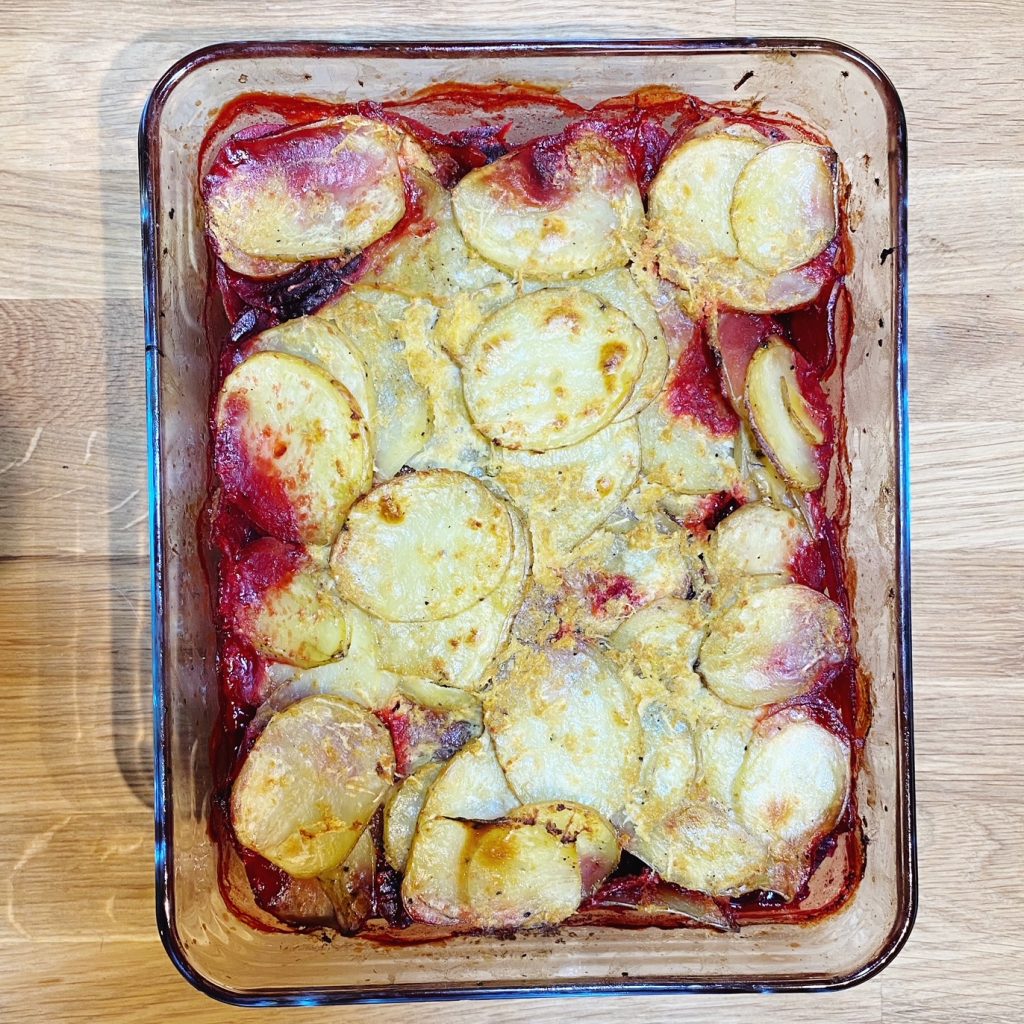

It’s Chinese New Year today and we will be celebrating with this homemade sweet and sour dish, a favourite from the takeaway. Delicious sweet and sour sauce is usually packed full of sugar and food colouring, this version uses maple syrup, still sugary but in a less refined-sugar way. The sourness is from vinegar and there is lots of delicious umami in the tomato puree and soy sauce. Crispy roasted tofu and cauliflower bring welcome texture and meatiness to the dish. Simple and delicious, enjoy!
Liz x
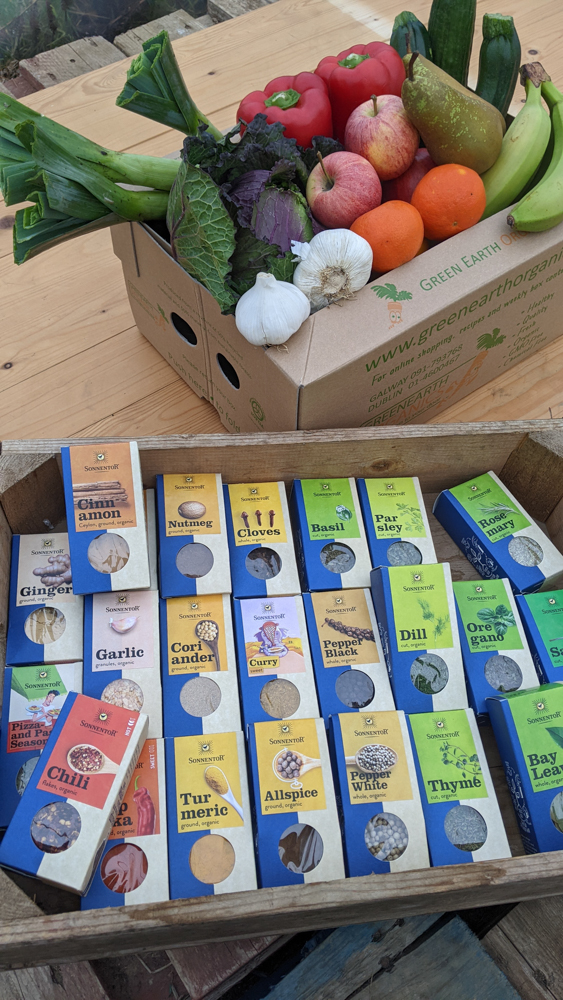
PS – get all the organic ingredients delivered to your door here.

Ingredients (serves 2)
- 1 block extra firm tofu
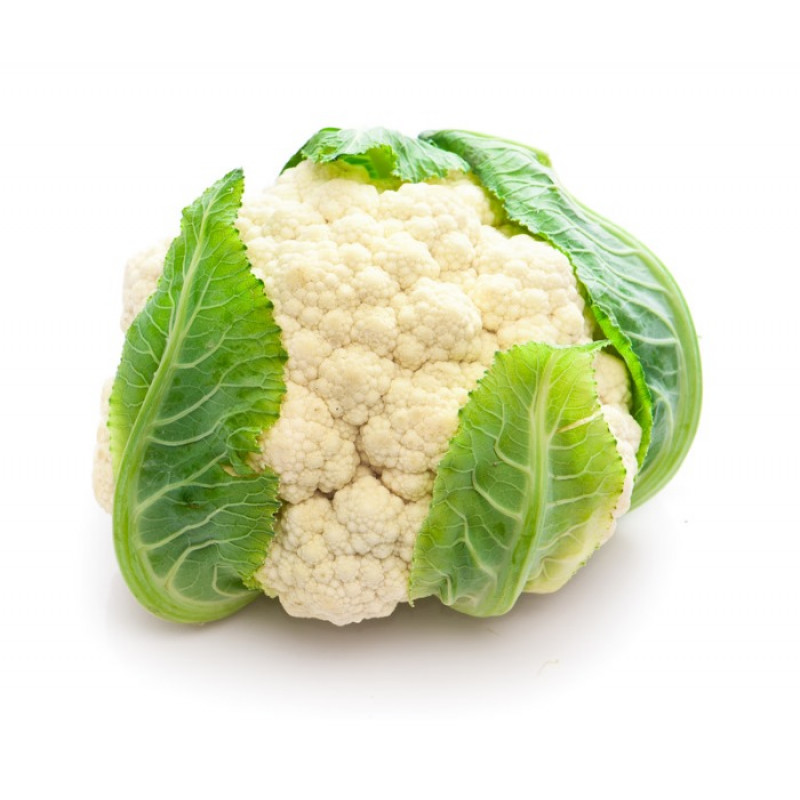
- 1/2 a small cauliflower
- 1 tbsp vegetable oil
- 1 tsp salt
- 2 tsp Chinese 5 spice
- 4 tbsp cornstarch
- 5 tbsp maple syrup
- 4 tbsp soy sauce (or tamari for gluten free)
- 3 tbsp vinegar (rice wine or apple cider)
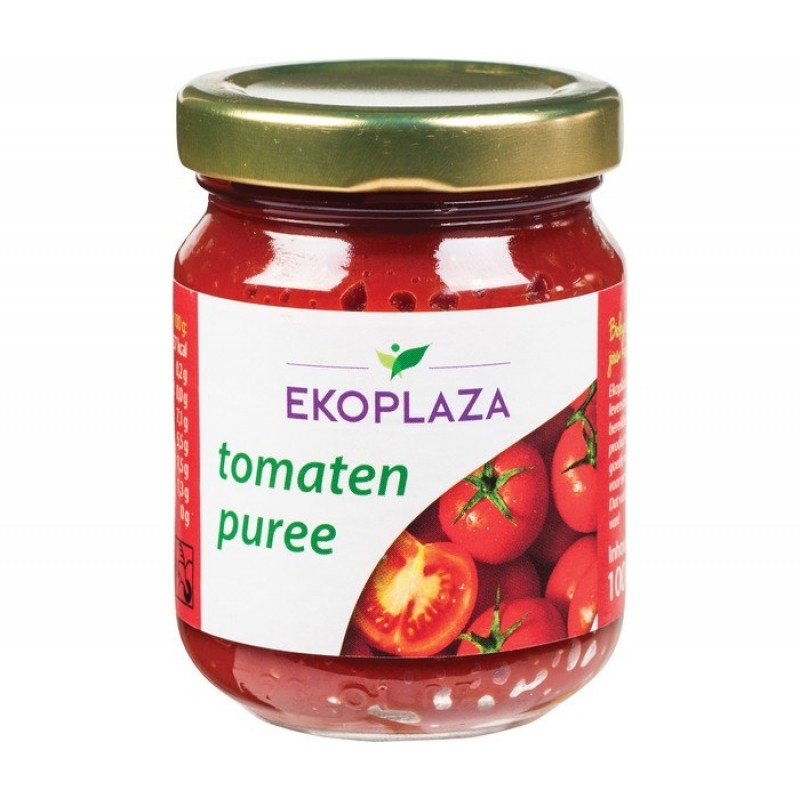
- 2 tbsp tomato puree
- 1 tsp ground ginger
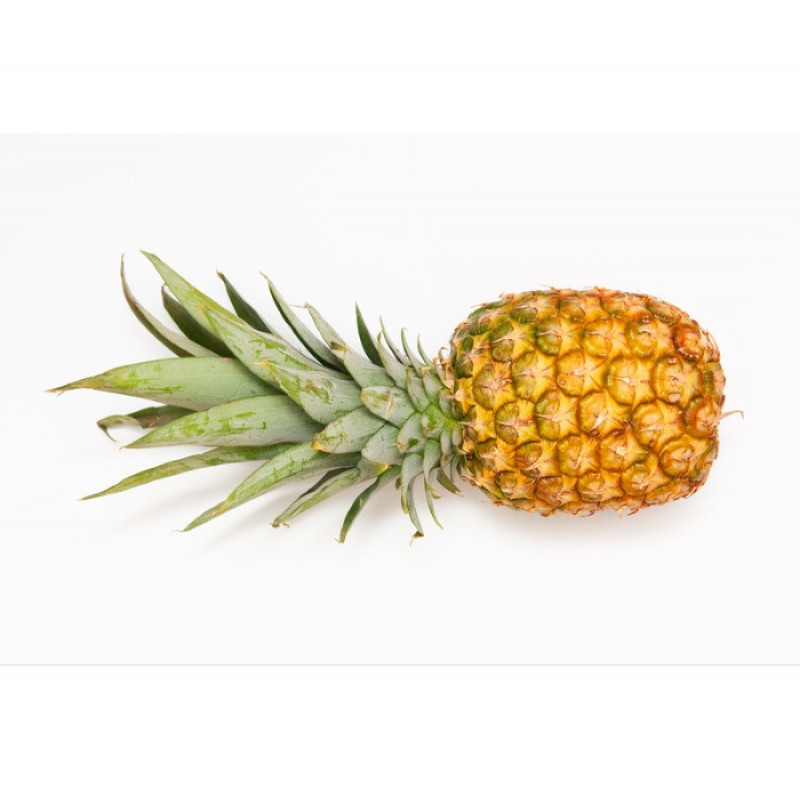
- 1/4 pineapple, peeled, cored & chopped
- 1 red pepper, deseeded & chopped into a chunky dice
- 1 red onion, peeled and chopped into a chunky dice
- 1 tbsp vegetable oil
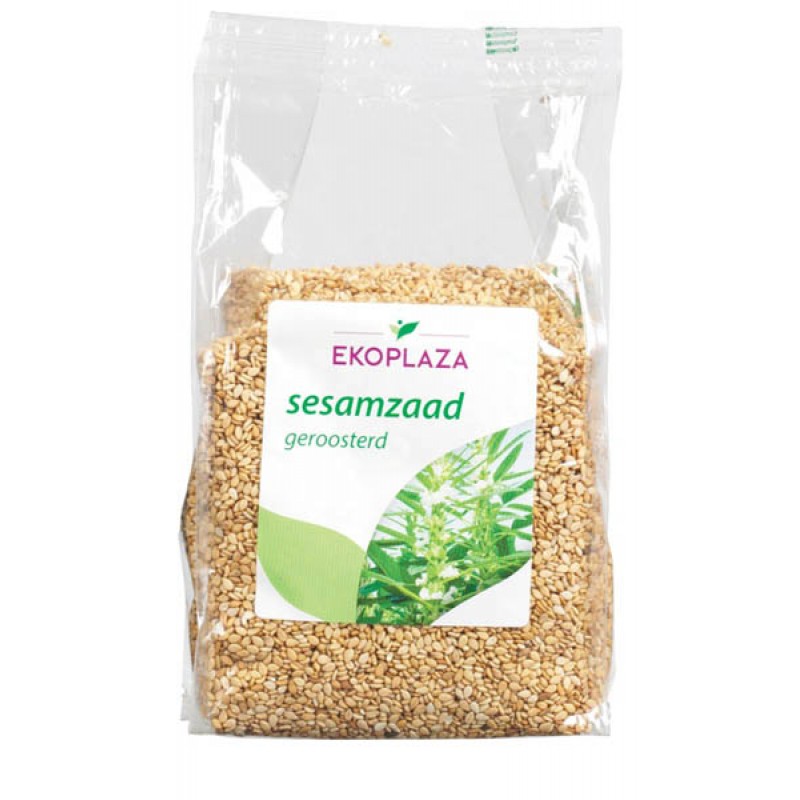
- sesame seeds
- cooked rice or noodles to serve


Method
- Preheat the oven to 200C. Find a large roasting dish and line it with baking parchment.
- Put the chopped cauliflower and firm tofu in a large mixing bowl. Drizzle with 1 tbsp of veg oil, sprinkle over the salt and 5 spice. Use a wooden spoon to mix well. Then sprinkle over the cornstarch and mix again ensuring all the pieces are coated in the floury seasoning. Tumble onto the lined tray, spread out evenly then pop it into the oven to bake and get crispy while you cook the sauce, stir fry and rice/noodles.
- The cauliflower and tofu should take no more than 20-30 minutes so time cooking you rice or noodles accordingly.
- In a small bowl, whisk together the sweet and sour sauce ingredients – the maple syrup, soy sauce, vinegar, tomato puree and ground ginger. Taste and tweak if you like with more of any of the ingredients.
- Heat the tbsp of veg oil in a large frying pan/wok. When it’s nice and hot, add the chopped pineapple, pepper and red onion and stir fry until hot and starting to caramelise. Add the sauce and heat through.
- Then remove the cooked cauliflower and tofu from the oven and stir them through the stir fry and sauce. Add a generous sprinkle of sesame seeds just before serving over rice or noodles and enjoy!