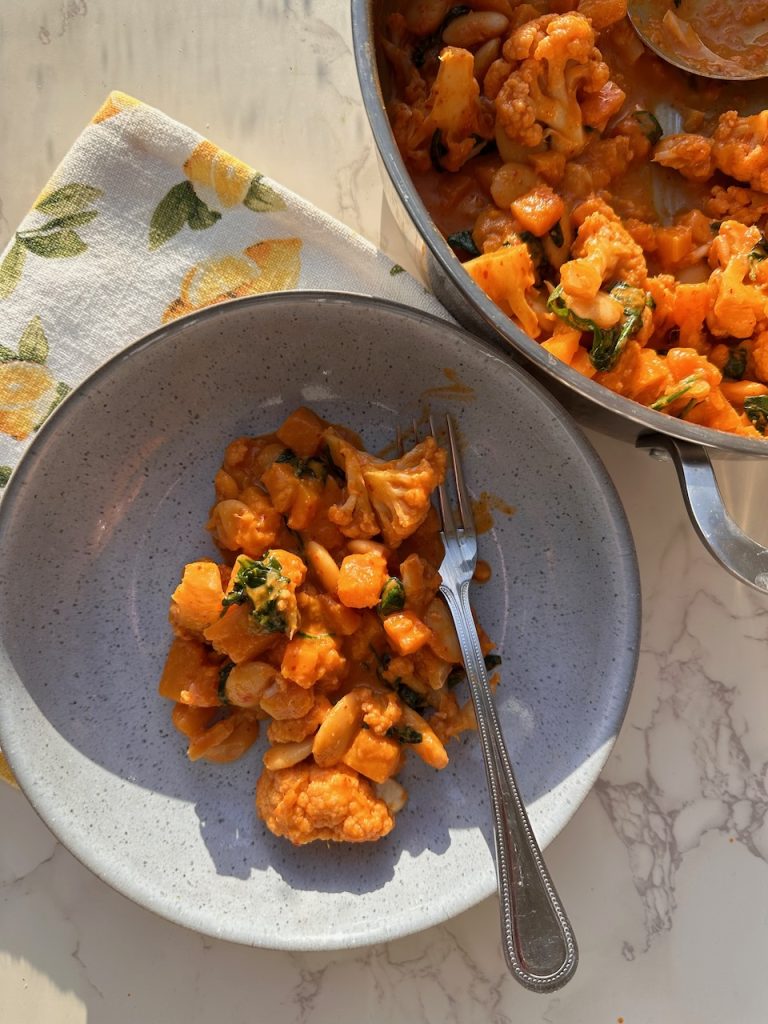
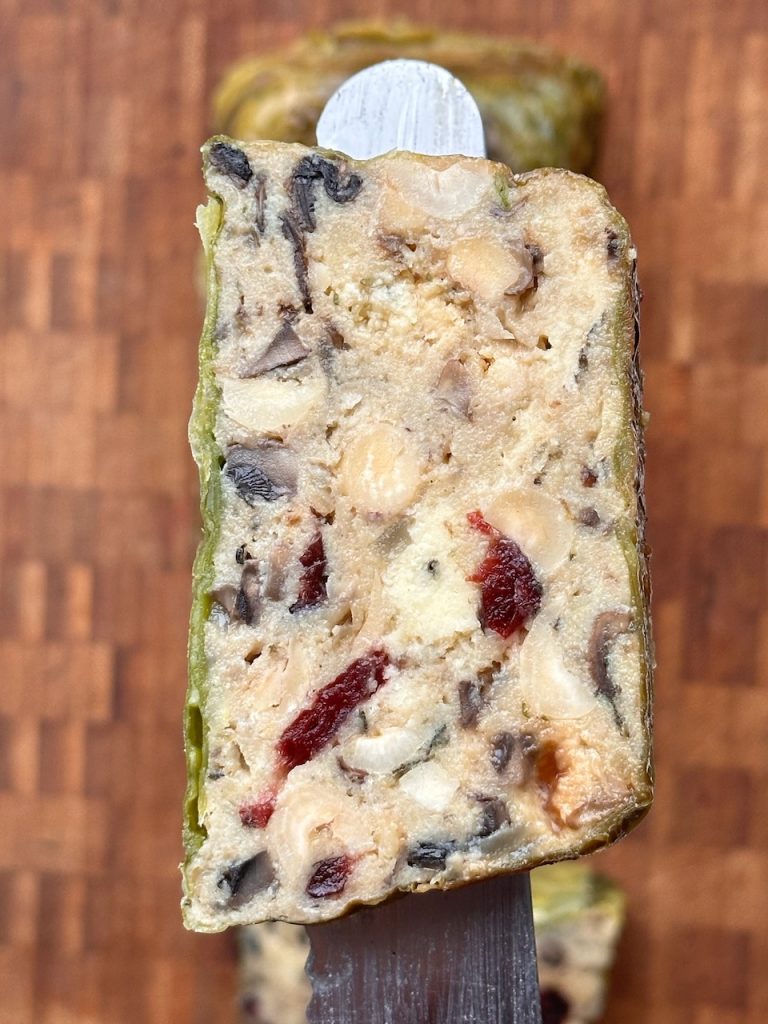
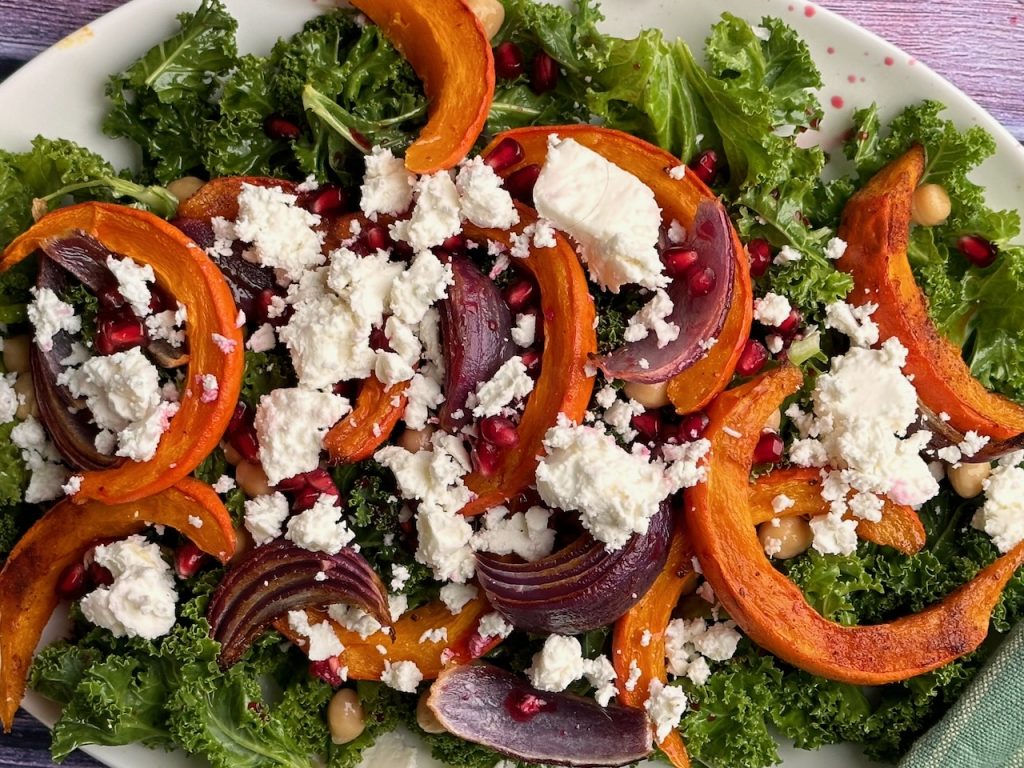
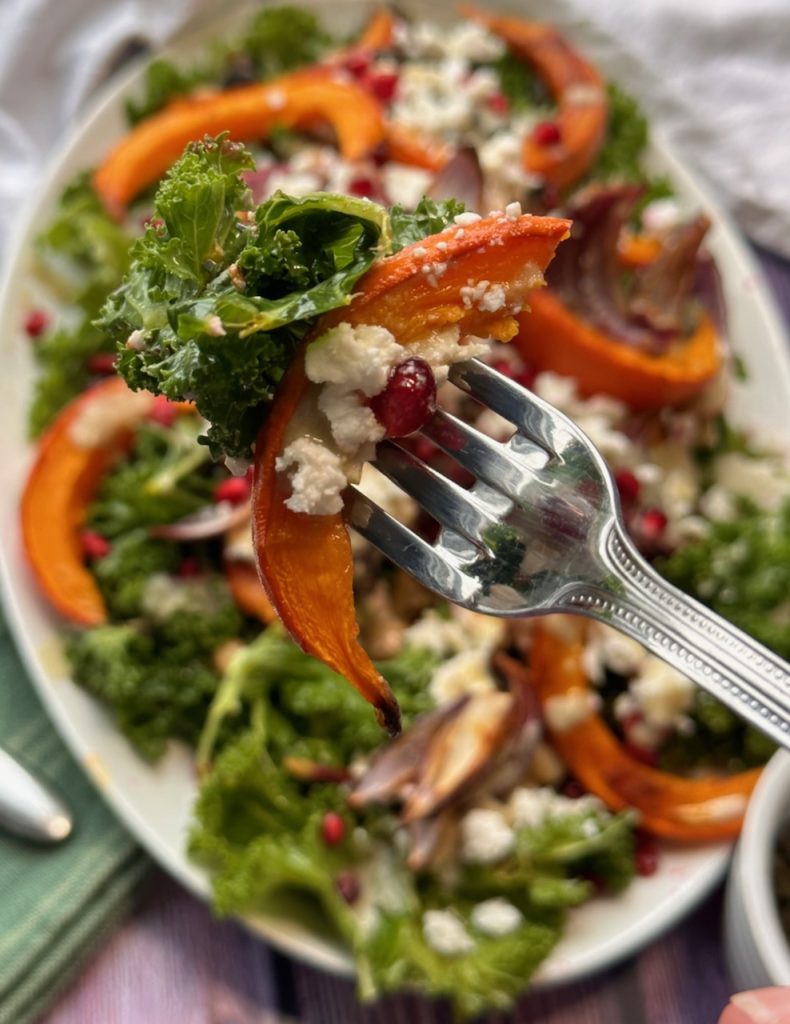
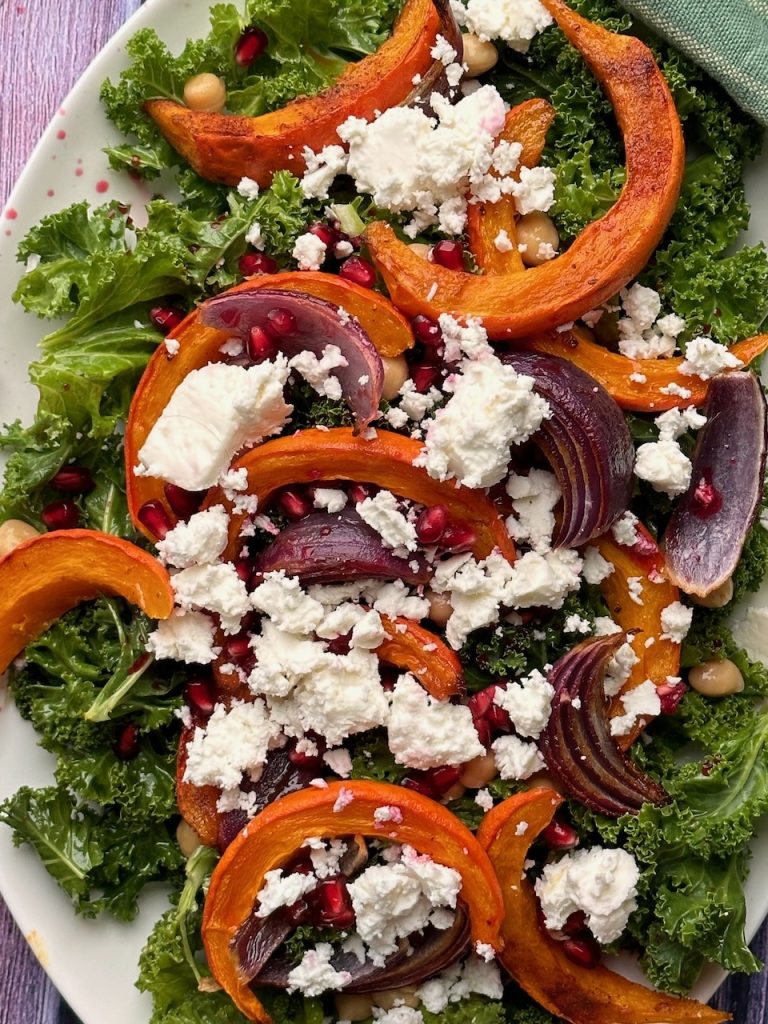
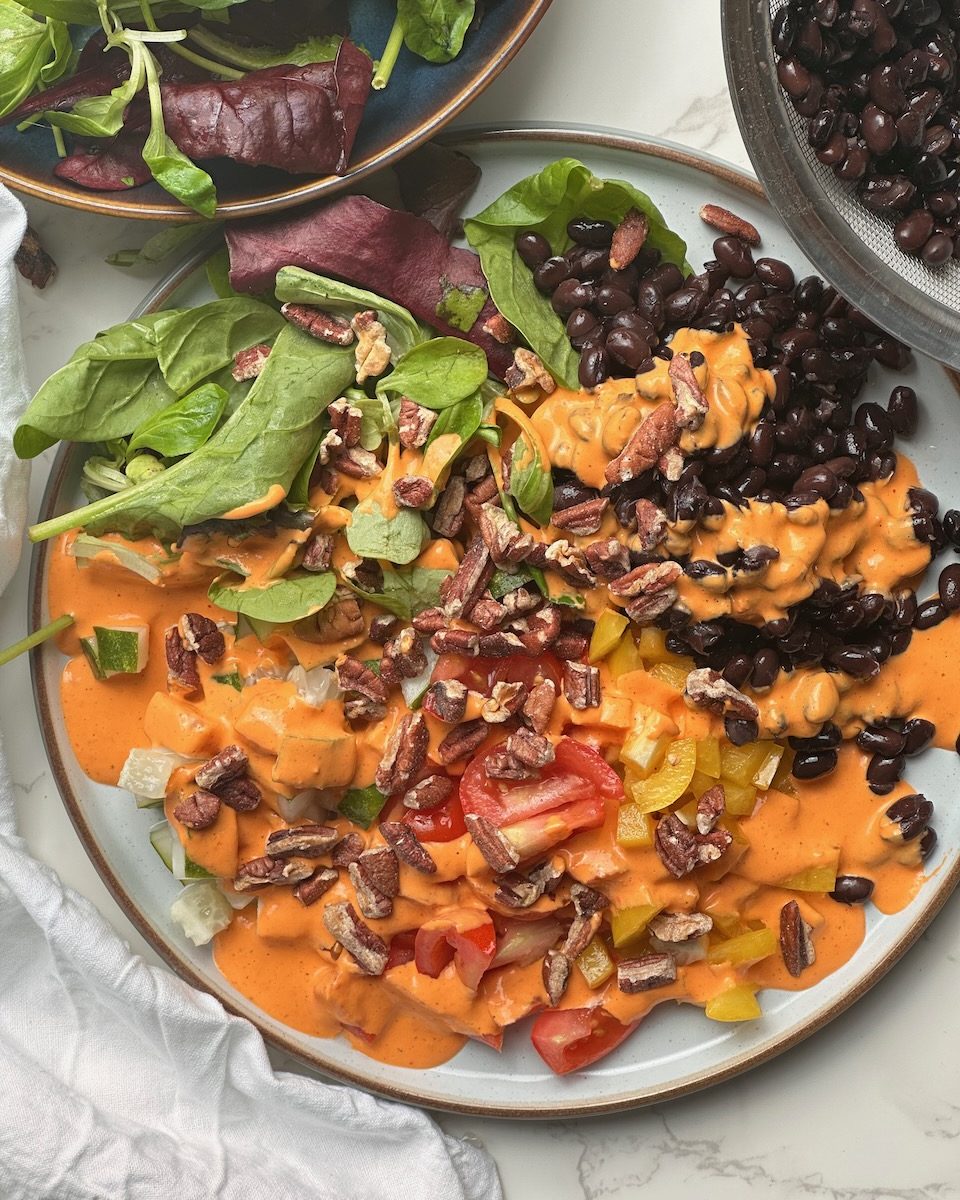
This is such a great way to make and serve salad this summer. Your choice of roast veggies, chickpeas, halloumi and seeds on a tray then on the same tray toss through green leaves and dressing and serve into a big salad bowl! I think these roast and serve salads will be very popular this summer.
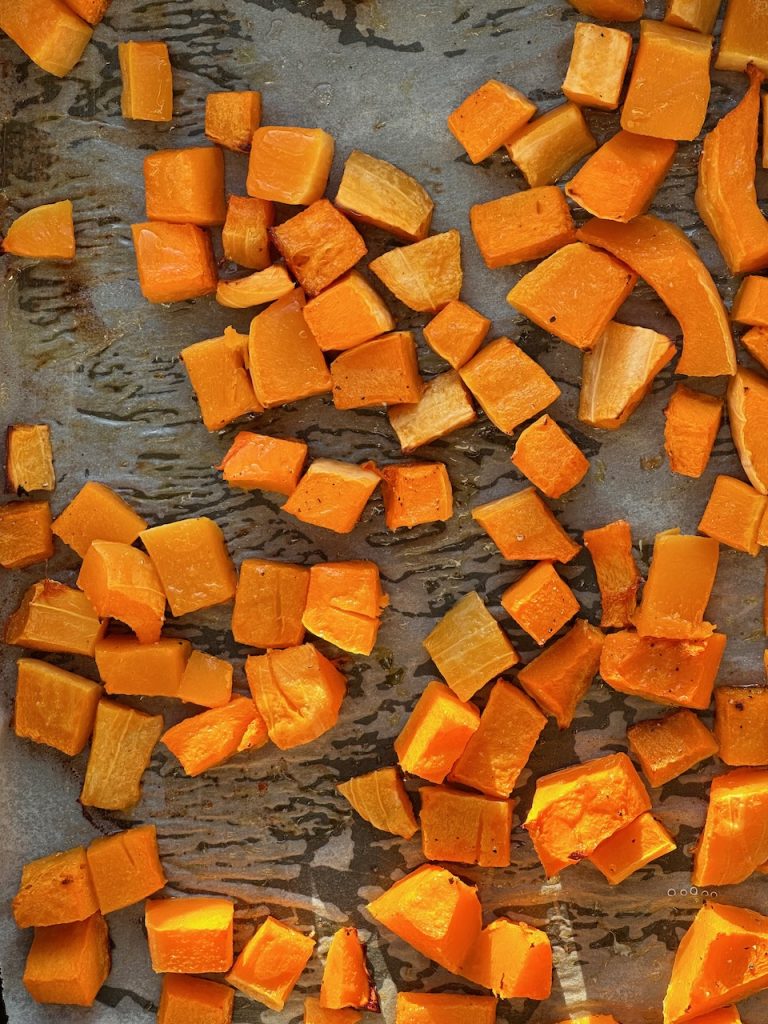
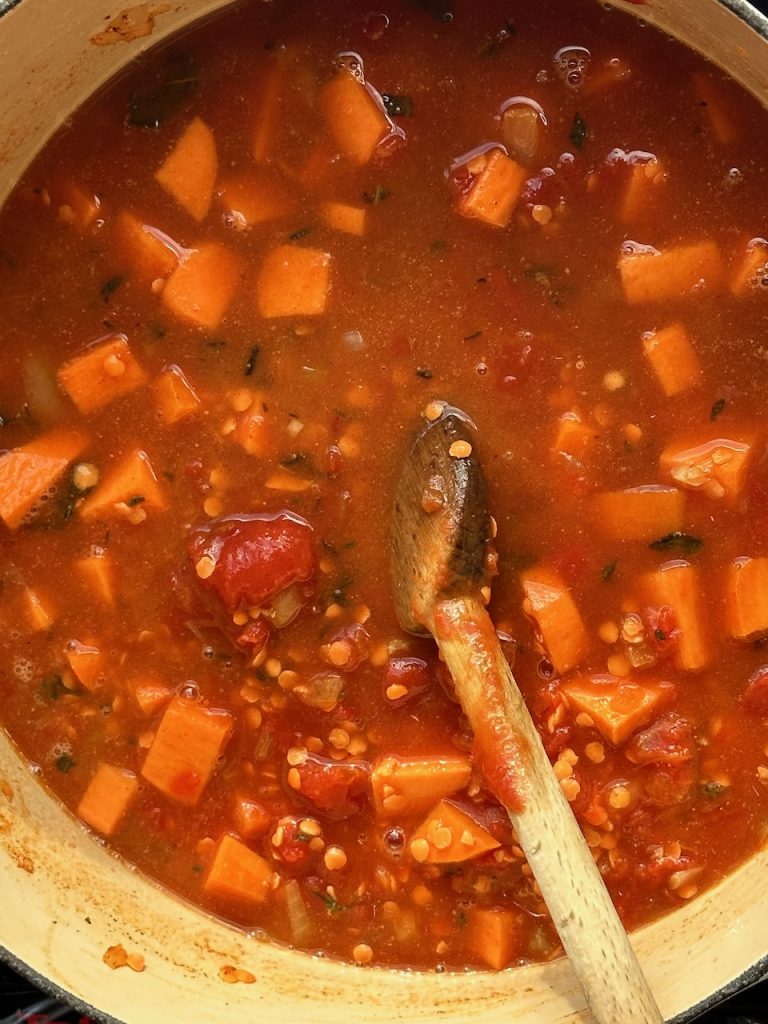
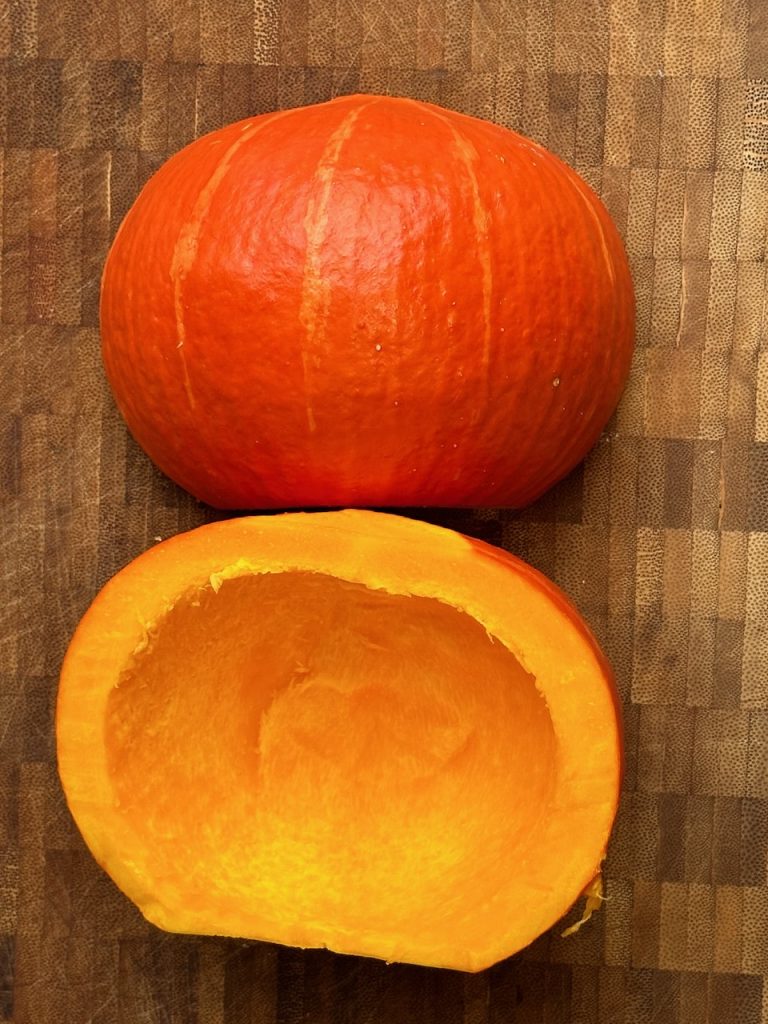
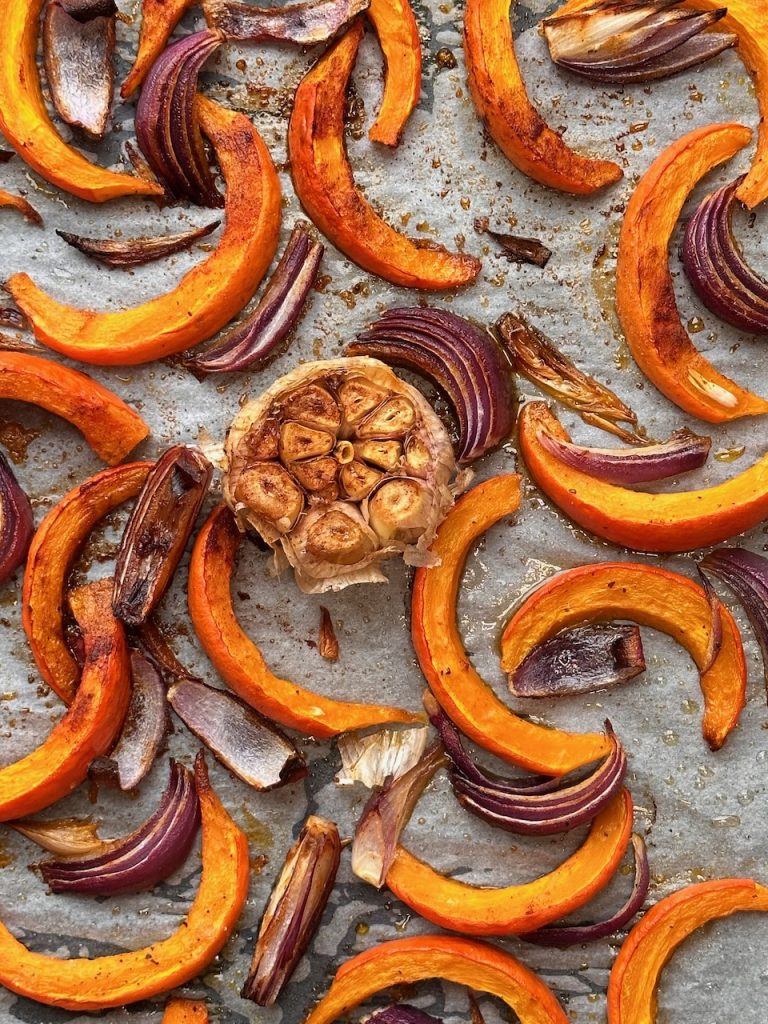
You can roast up any root veg you have in your veg box, parsnip, carrot, beets, even potatoes, cauliflower or broccoli, add some cheese if you wish and a delicious dressing to finish.
Will you try it? Let us know.
Lou x

Ingredients
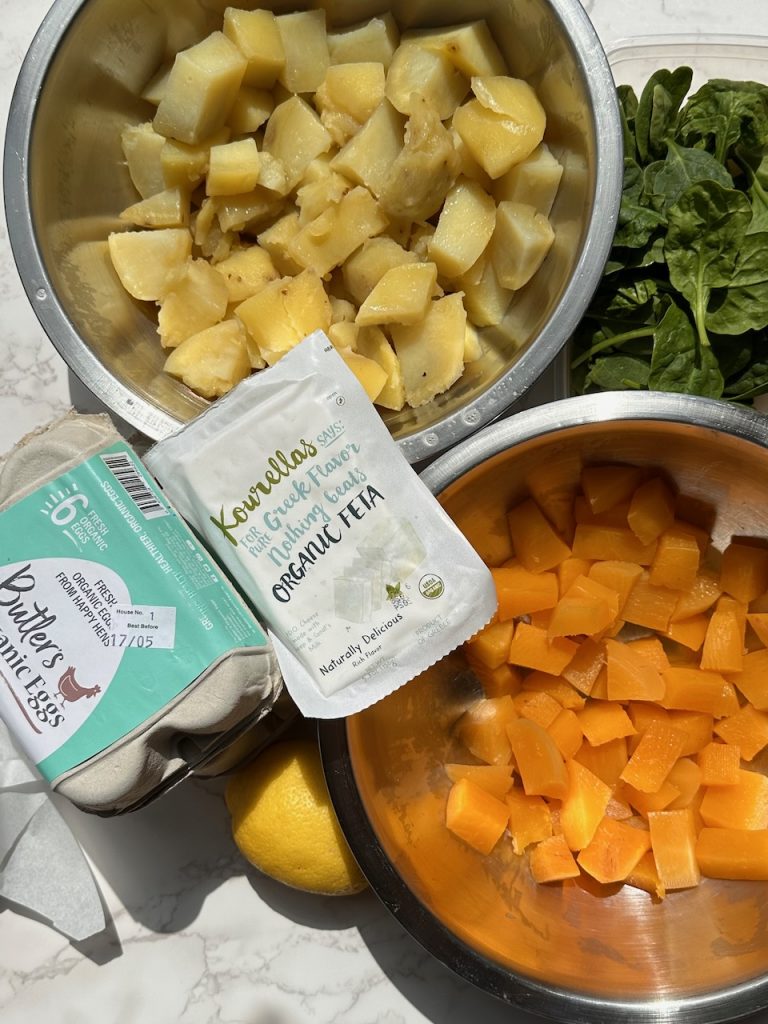
- 1 large or 3 small sweet potatoes, peeled and diced
- 1 yellow bell pepper, washed and diced
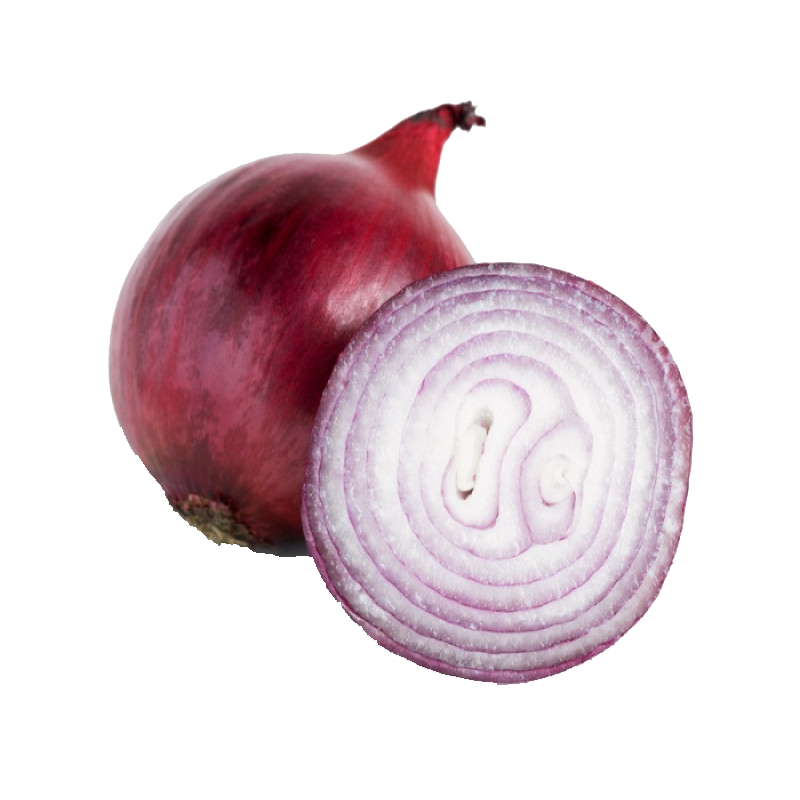
- 1 red onion, peeled and diced
- 1 x 400g tin chickpeas, drained
- salt, pepper, oil
- 1 pack halloumi (225g), diced
- 1/2 cup pumpkin seeds (70g)
- 50g spinach/rocket or lettuce leaves
For the dressing
- juice 1/2 orange
- juice 1/2 lemon
- 1/4 cup olive oil
- 1 heaped teaspoon mustard
- 1 teaspoon maple syrup
- small pinch salt
Method:
- Step 1: Preheat the oven 180ºC fan. Line a large baking tray with parchment paper. Put the sweet potato, chickpeas, red onion and diced pepper on the tray. Drizzle with salt, pepper and oil, shake or rub to coat everything. Roast in the oven for 20 minutes, checking half way through. After this time add the diced halloumi and roast for a further 15-20 minutes.
- Step 2: Put the pumpkin seeds on a separate tray and toast in the oven, along with the veg, for about 10 minutes, check half way through- they may need more or less time.
- Step 3:Make the dressing, add all the ingredients except the oil to a bowl, whisk well, then slowly pour the oil in while whisking to emulsify the dressing. Taste it and adjust if needed.
- Step 4: Let the veg cool for 20 minutes then top with the green leaves, pour over the dressing, gently toss together. Lift the parchment paper and tip into a serving dish.
- Enjoy!