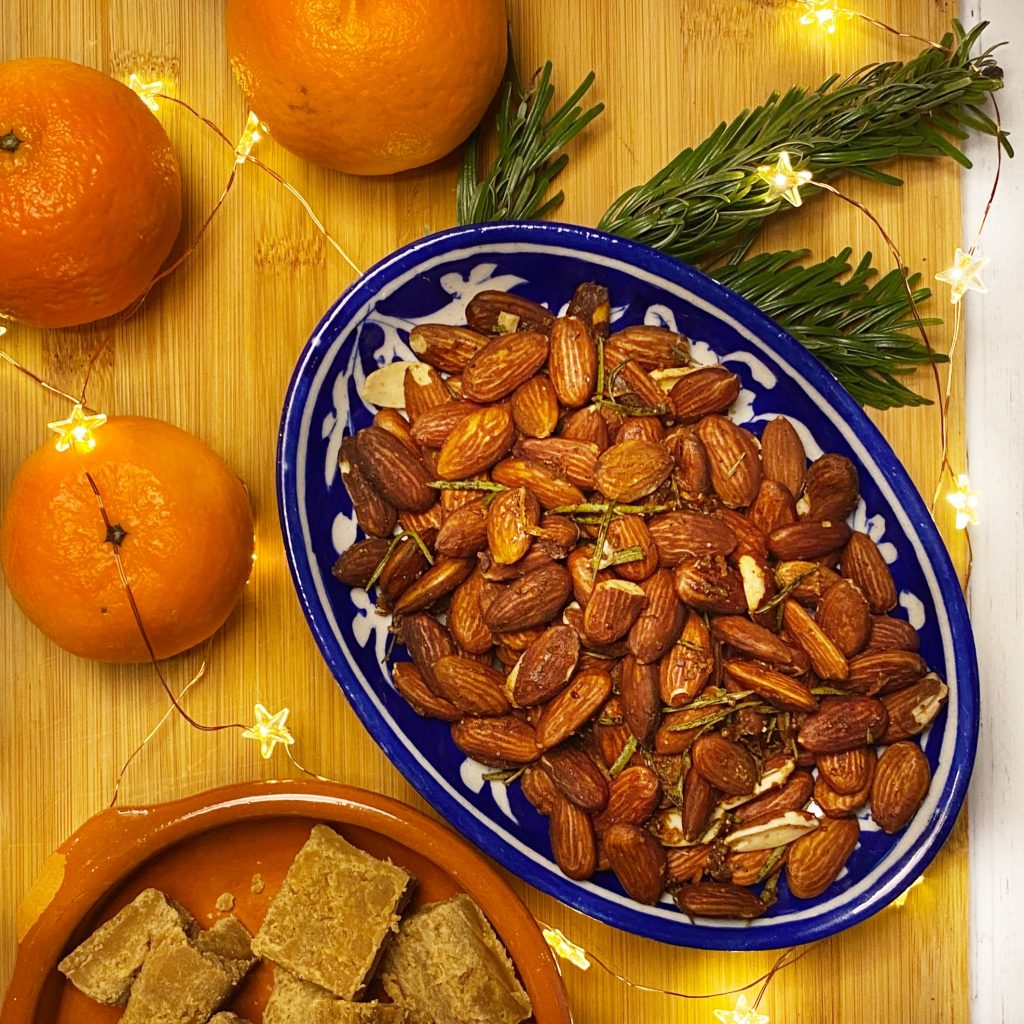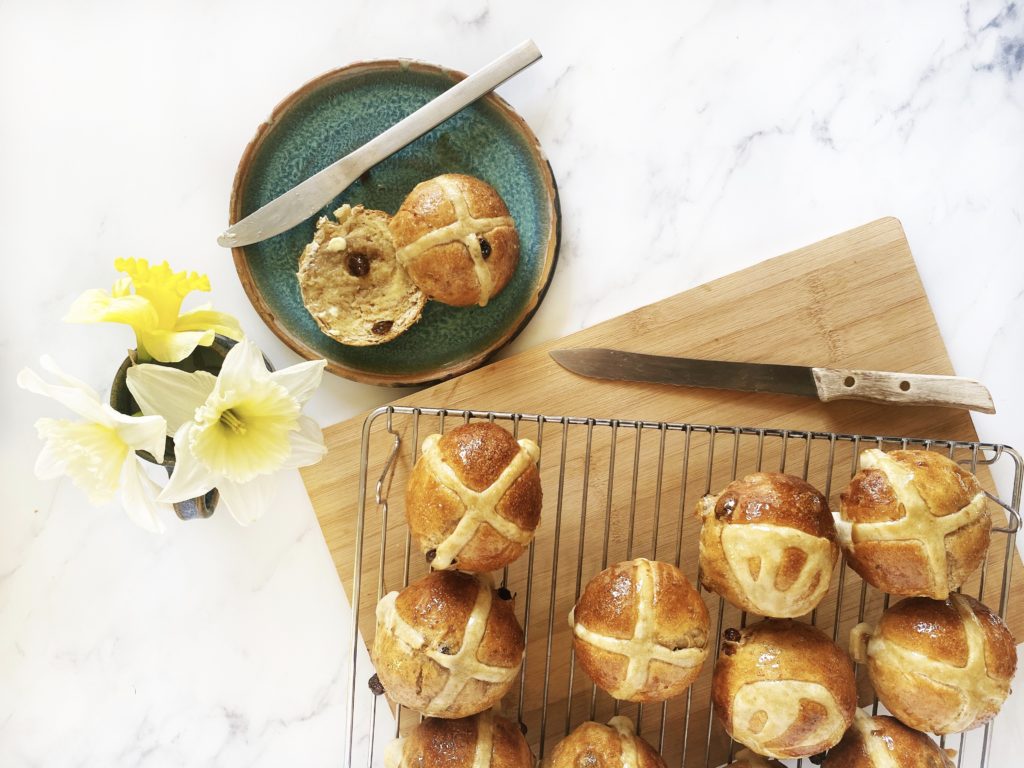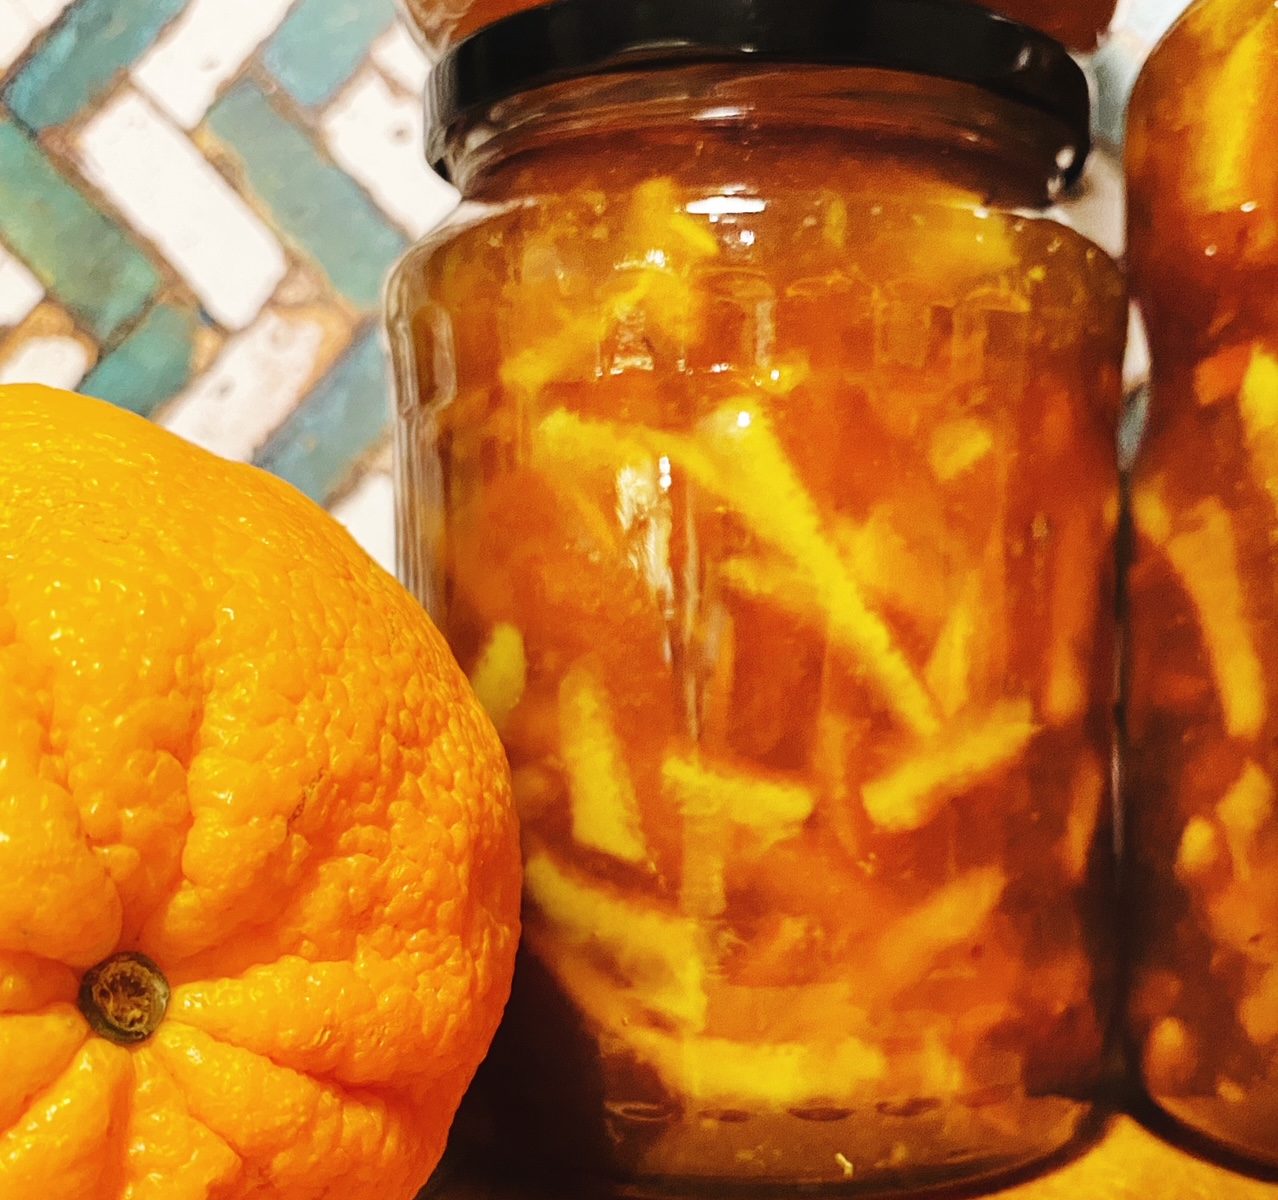
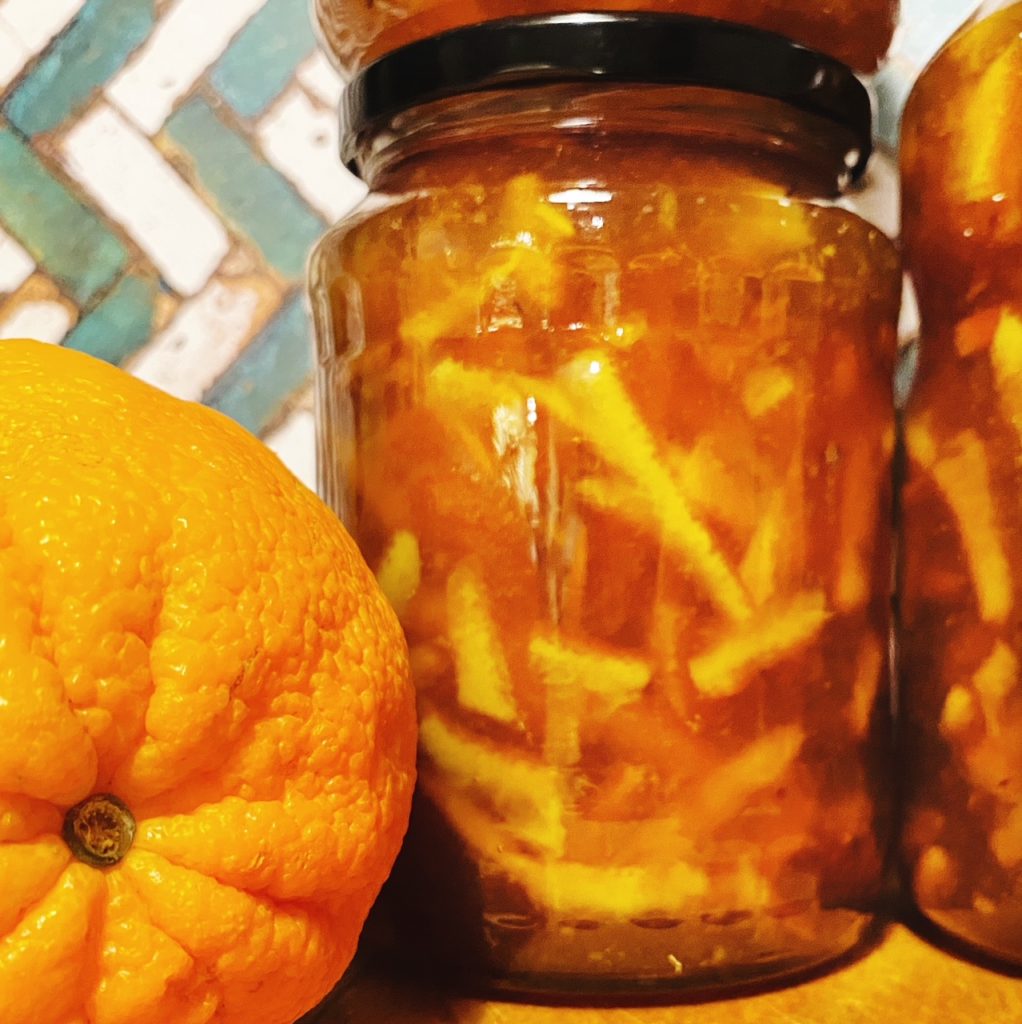
There’s nothing like homemade marmalade is there? The gorgeous scent of oranges filters through the house and brings some much needed sunshine into our winter kitchens. Citrus season is in full swing now and we have organic bitter marmalade oranges in stock now. Alway choose organic citrus fruit to avoid waxes and sprays.
Here’s the classic recipe I always stick to as it’s easy to remember by heart and never fails. But of course you can make it your own with different citrus. I’ll be making a batch of blood orange marmalade for sure (I may reduce the sugar a little for that batch as they are so naturally sweet), and maybe a kumquat one too!
Will you be making marmalade this season?
Liz x

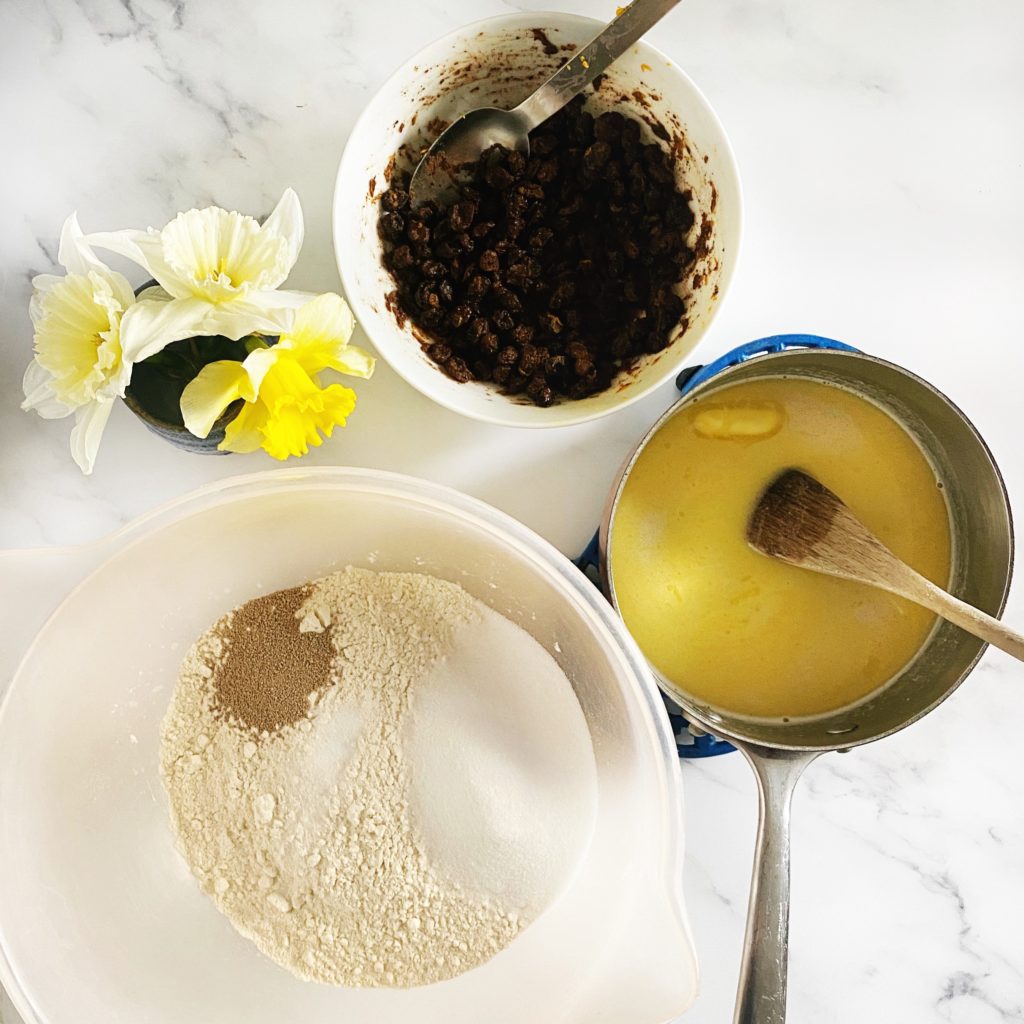
Ingredients
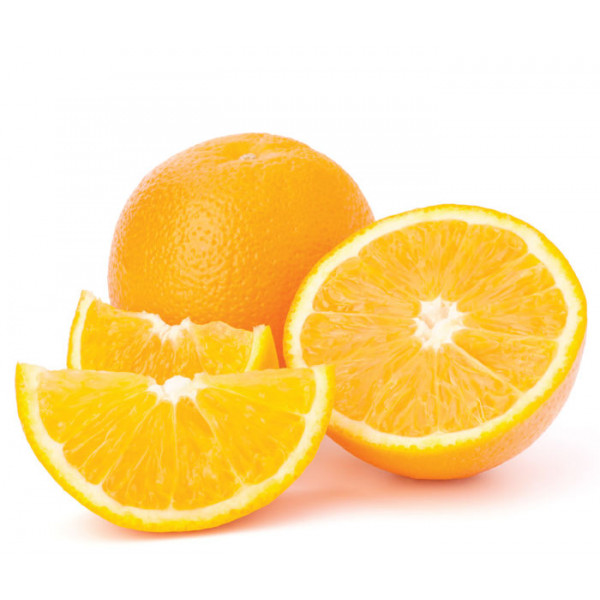
- 1kg Seville oranges (bitter marmalade oranges)
- 2 lemons
- 2 litres of water
- 2 kg sugar
Equipment
- a large, heavy bottomed pot
- a cloth bag (I use a nut milk bag) or a square of muslin and some string
- a medium sieve
- 3 or more small plates
- a wooden spoon
- a jam funnel
- jars – I reuse old jars
- a ladle or small glass jug
Method
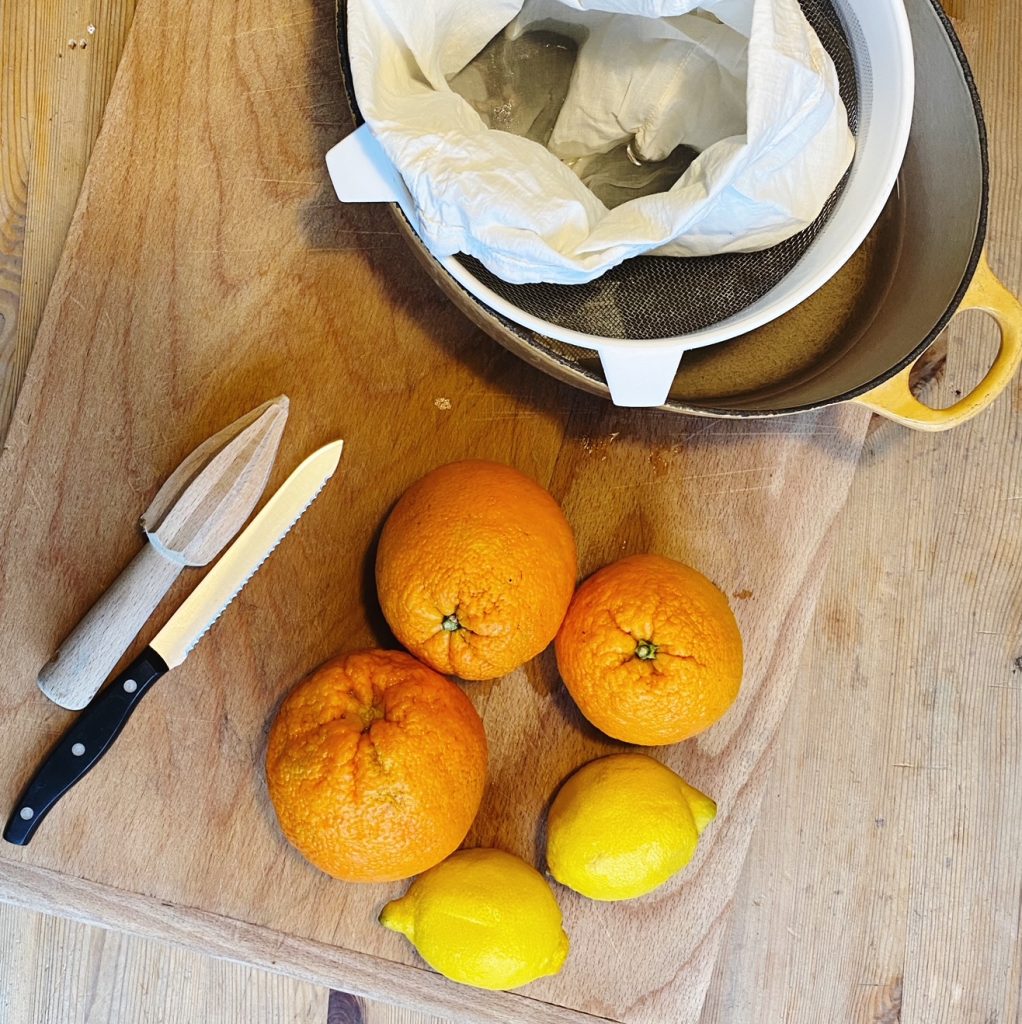
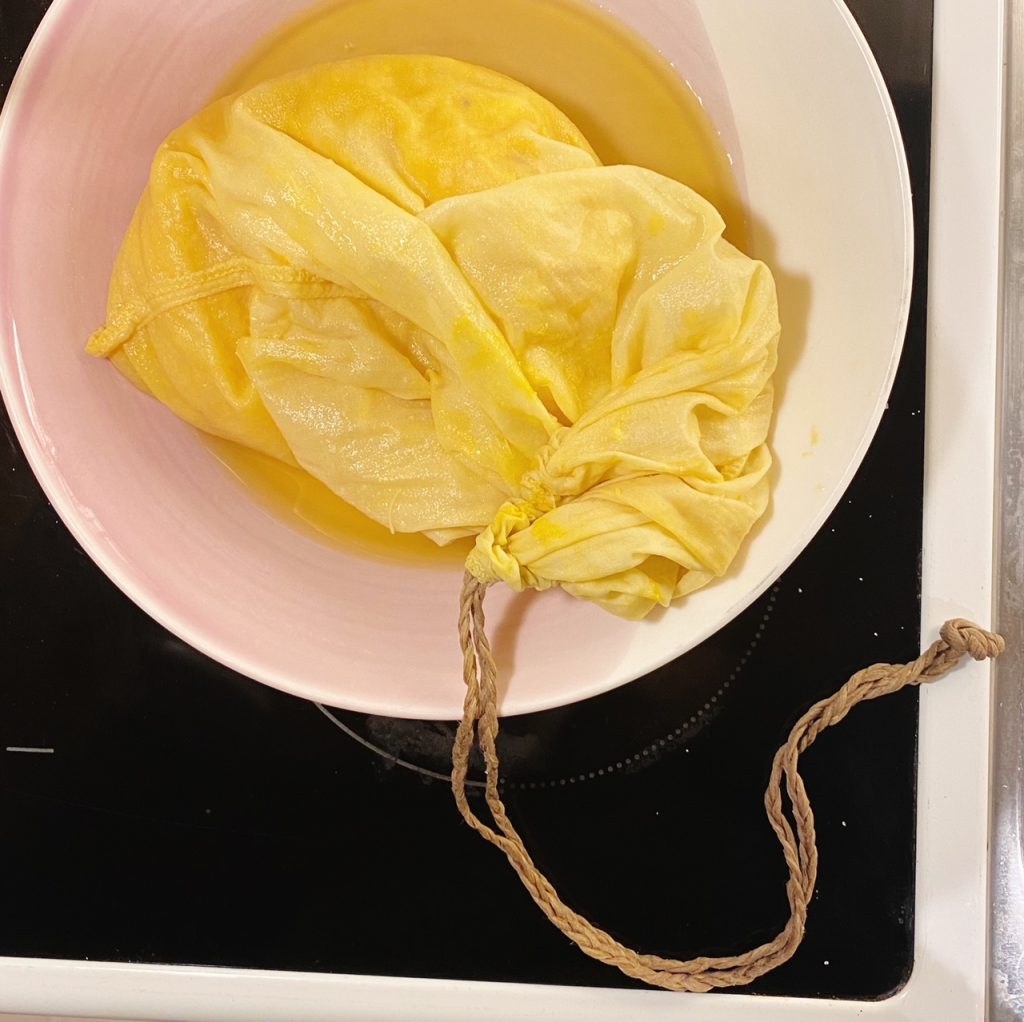
- Put the little plates into the freezer. Pour the water into your pot. Place the sieve over the pot and then open out the bag or muslin into the sieve. Scrub the oranges and lemons.
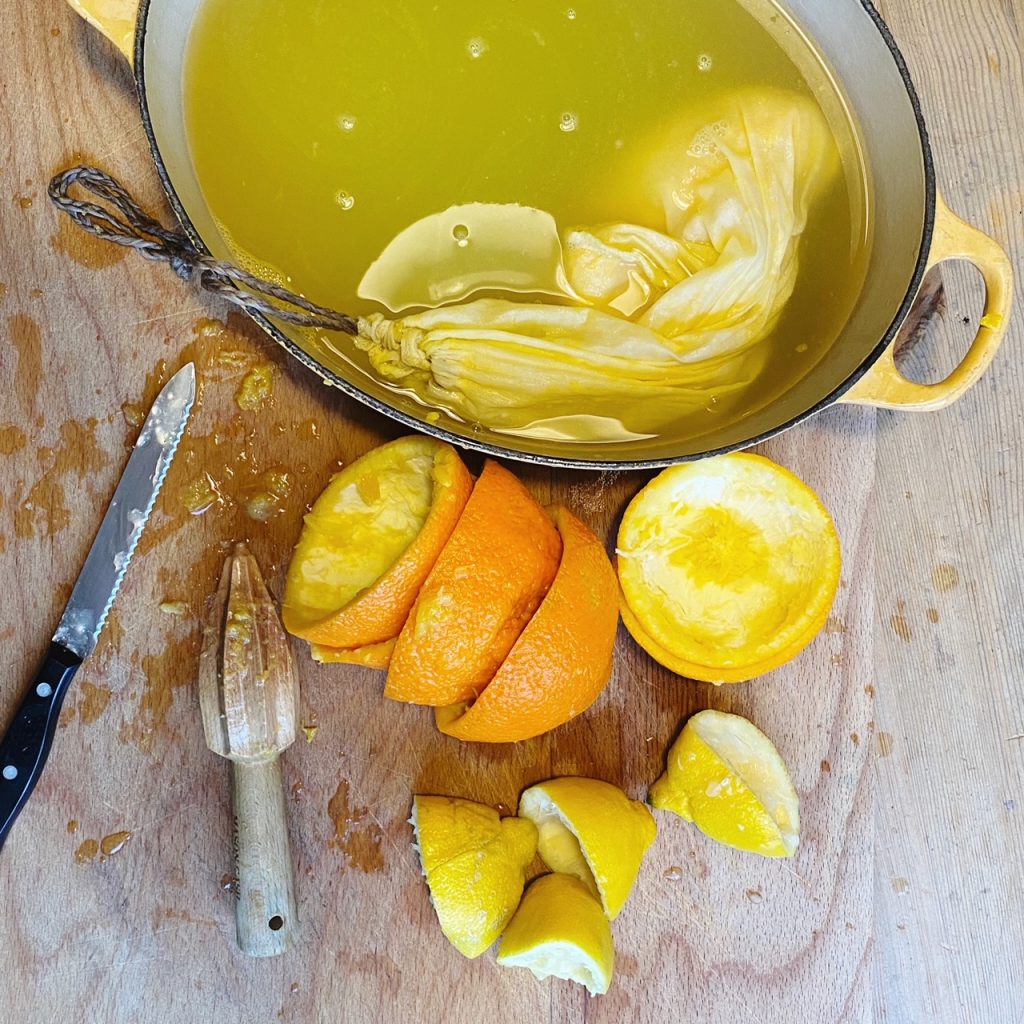
- Cut the fruit in half and juice them into the pot, ensuring you catch all the seeds and pith in your cloth bag or muslin. You want to keep all the seeds and pith as that’s where the pectin is which will make your marmalade set. Use a spoon to scrape out any remaining bits of pith and other citrus innards into the bag. Now tie the bag and place it in the liquid with the string attached to the pot handle to make it easier to extract later.
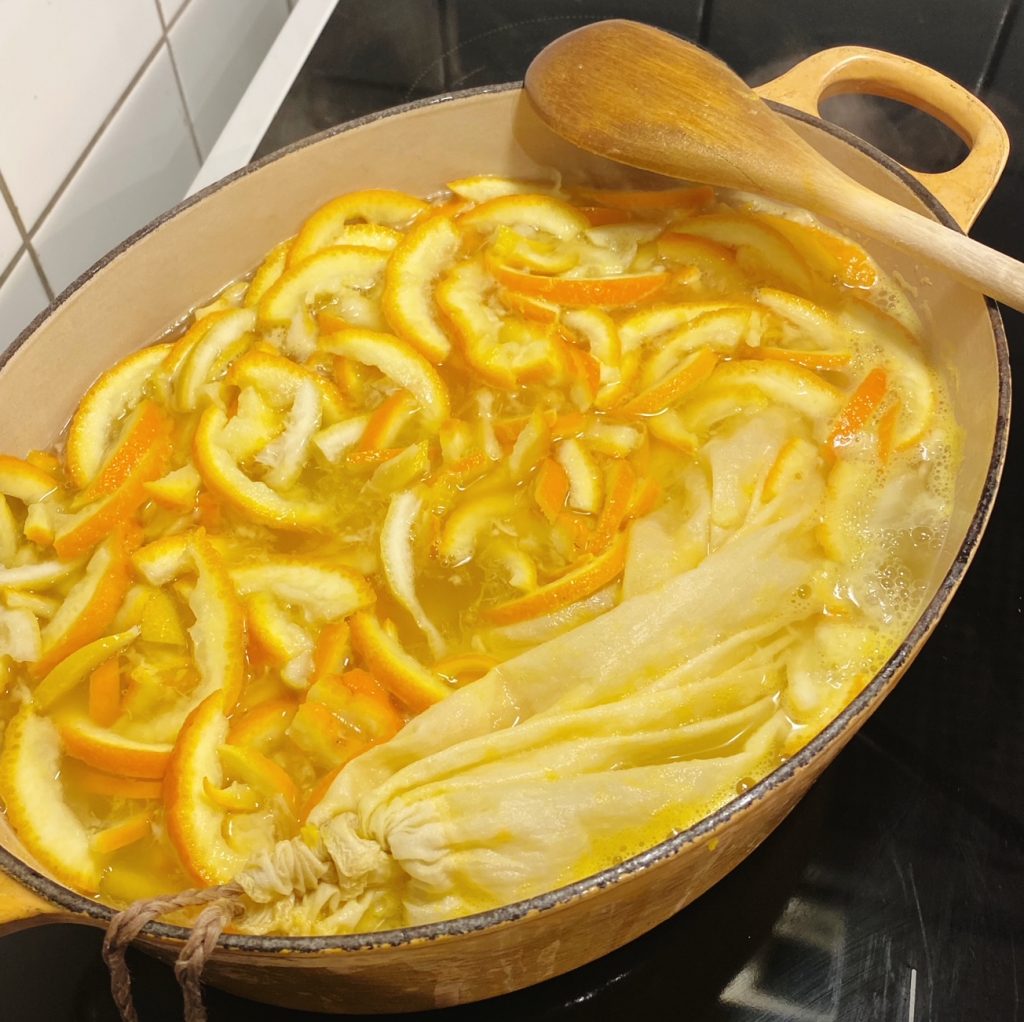
- Cut the skins in half again and then into thin strips. (You can leave out the lemon skins if you like but I like to add them in so nothing is wasted.) I use a serrated knife but any sharp knife should work. Take your time and get all the skins cut as evenly as possible. Enjoy the process. Place the cut skins into the pot.
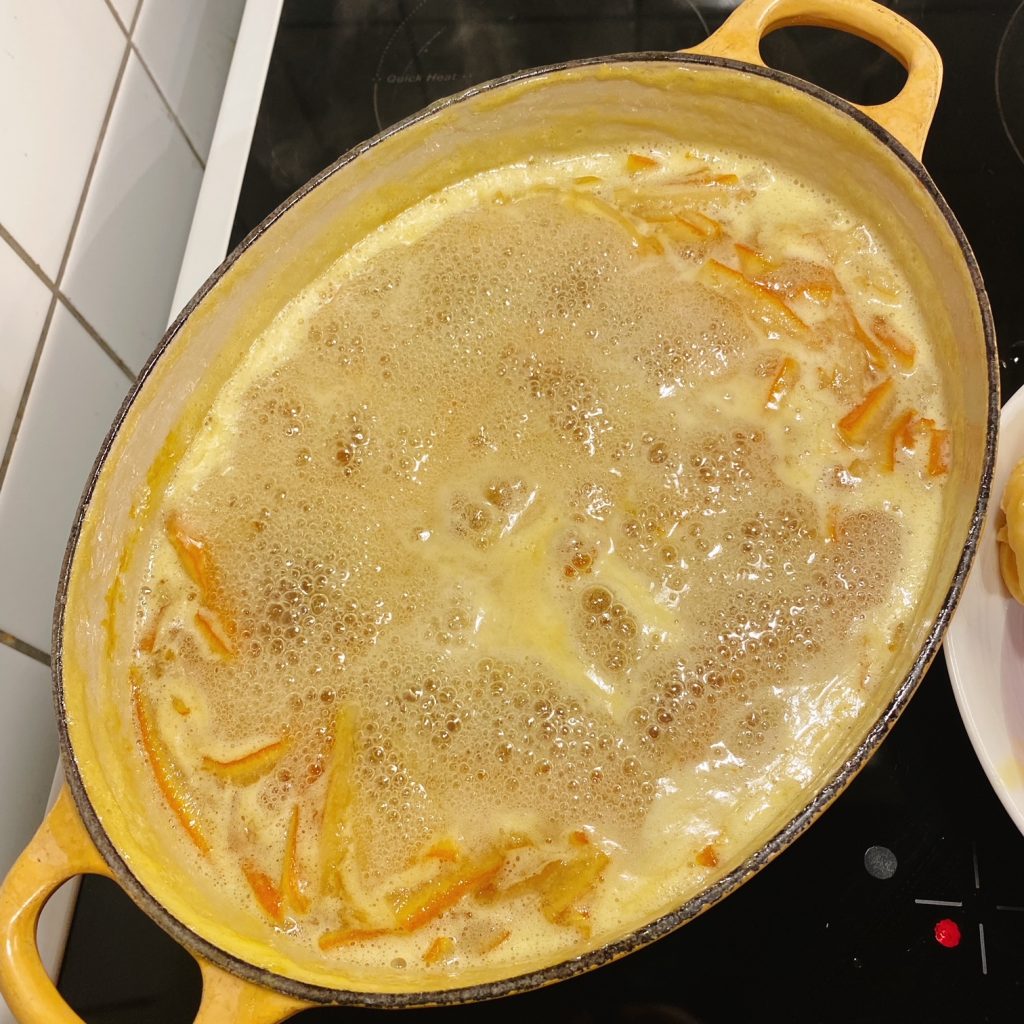
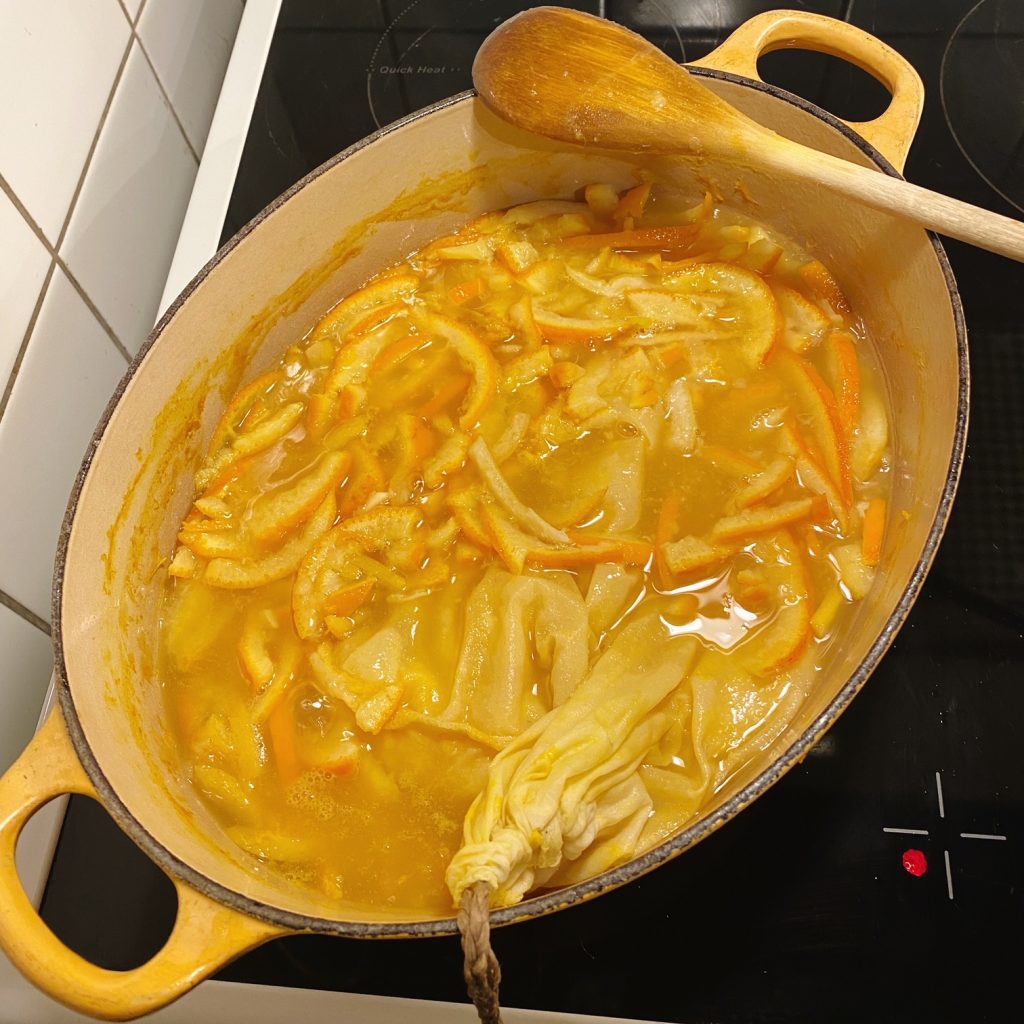
- Bring the pot to a rolling boil then turn down the heat and simmer at a gentle bubble, for 2 hours or until the skins are soft. You can test them for doneness by squeezing one between your fingers. It should easily break apart. You should also notice that the liquid has reduced quite a bit too, that’s good.
- Now remove the bag of seeds and piths and put it in a bowl to cool down. Turn the pot to the lowest temperature.
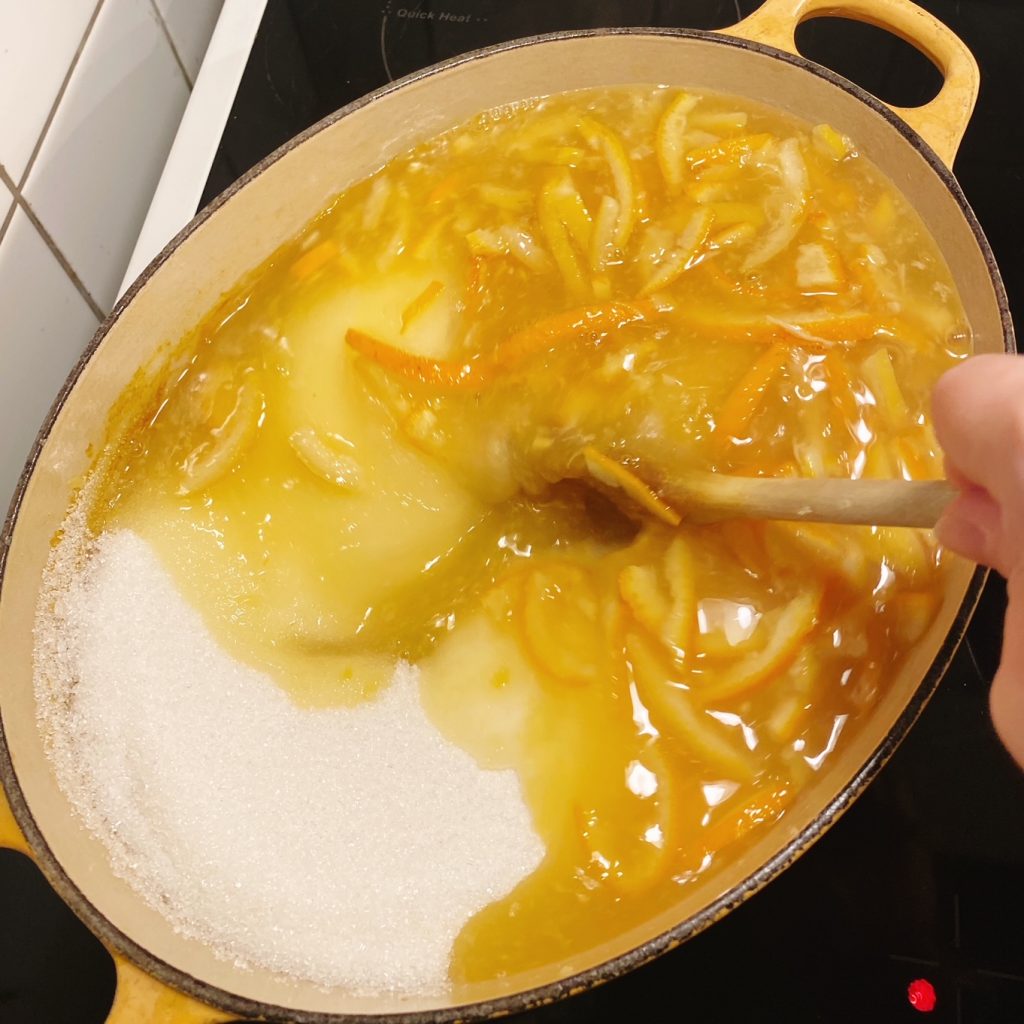
- Pour the sugar into the pot, it will seem like an obscene amount but oranges are very bitter so it is needed I’m afraid. Gently melt the sugar on the lowest setting, take your time. Don’t stir too much, just a few times with a wooden spoon. Once the sugar is completely melted you will notice it doesn’t feel grainy on the bottom of the pot and when you pick the spoon out of the liquid you will not see any sugar crystals. It’s important to melt the sugar on a low temperature before turning the heat up to boil and set the marmalade. Don’t skip this step or your marmalade will come out grainy rather than the desired shiny jelly.
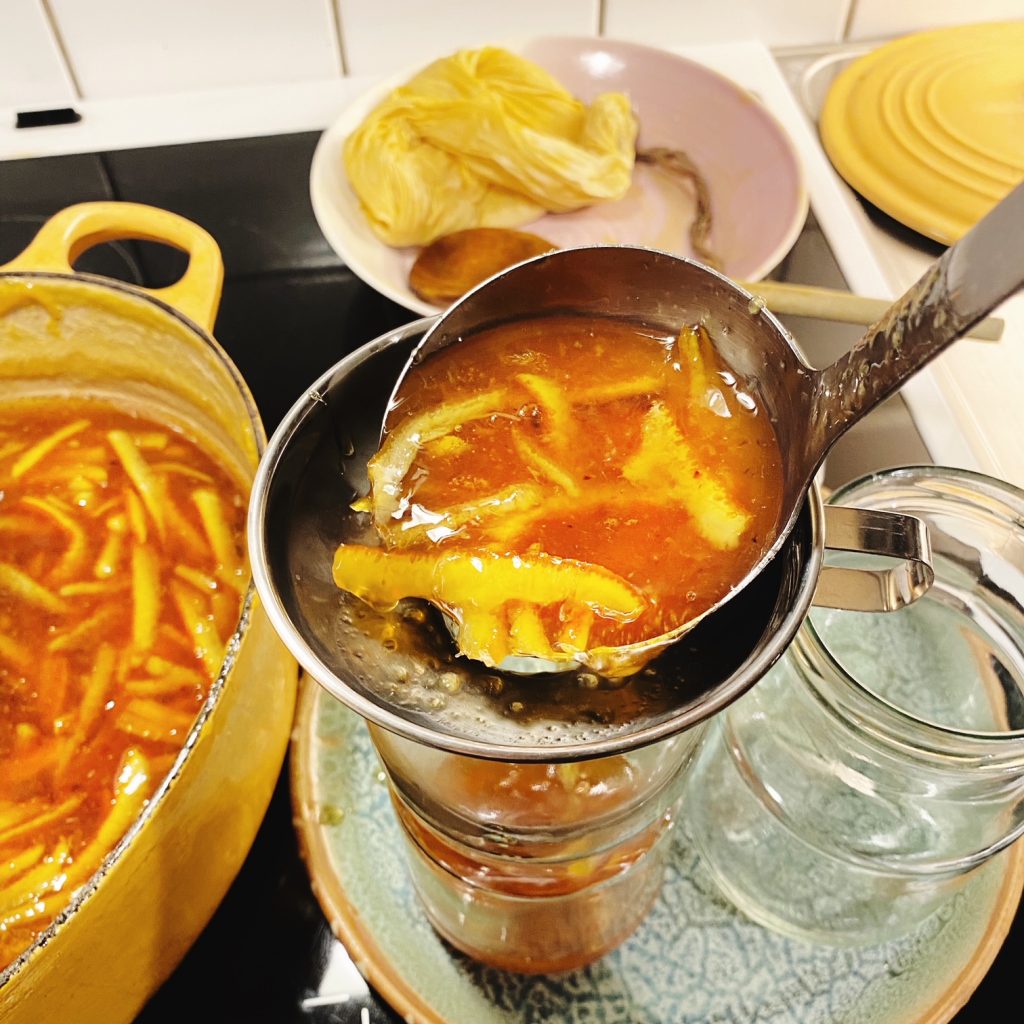
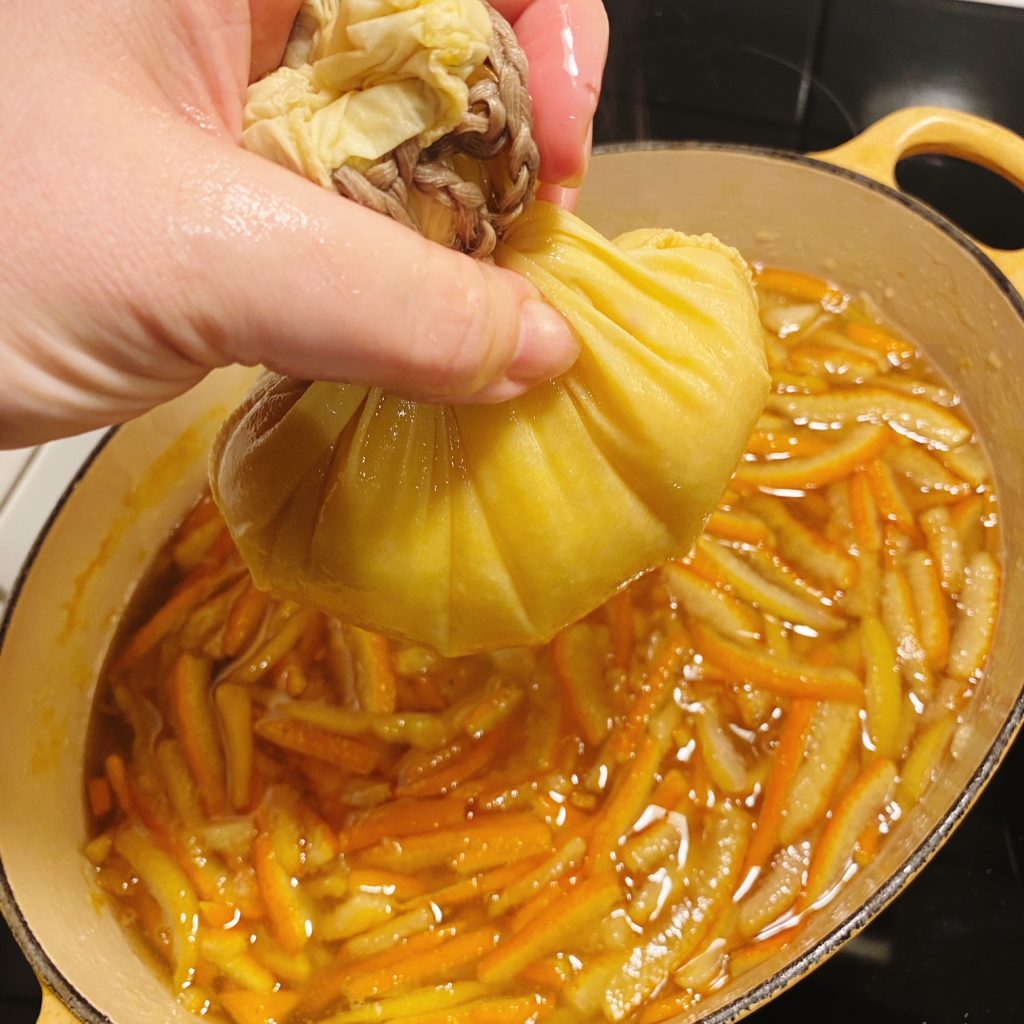
- Your bag should hopefully be cool enough to handle now. Pick it up and squeeze it over the pot. You want to extract as much of the cloudy, gelatinous stuff out through the bag as possible. Use a spatular or the wooden spoon to help scrape off the gel as you squeeze. Then stir it into the marmalade.
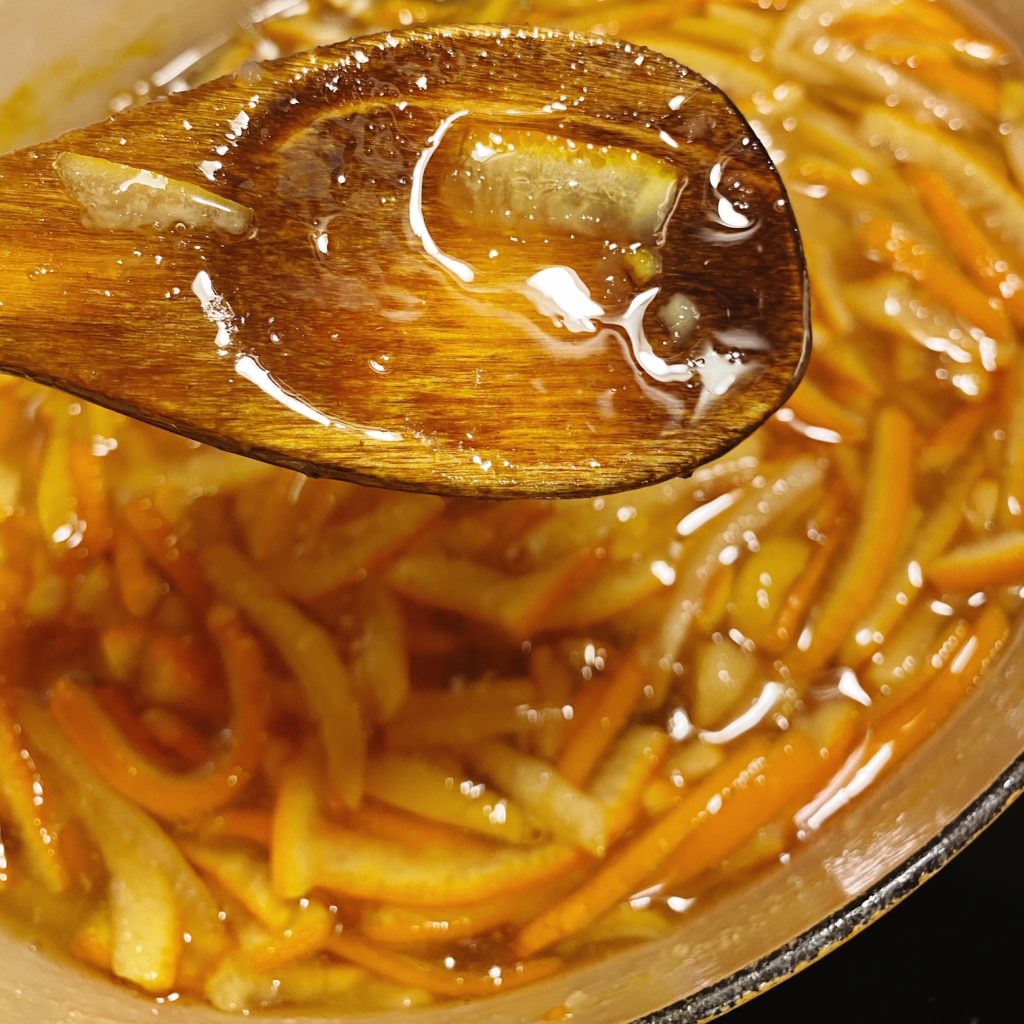
- Turn the heat up and bring the marmalade to a rolling boil. Boil hard for 15 minutes, keep an eye that it doesn’t boil over. Then turn the heat off, give the marmalade a stir and scoop off any unwanted scum that is stubbornly not re-incorporating into the mixture.
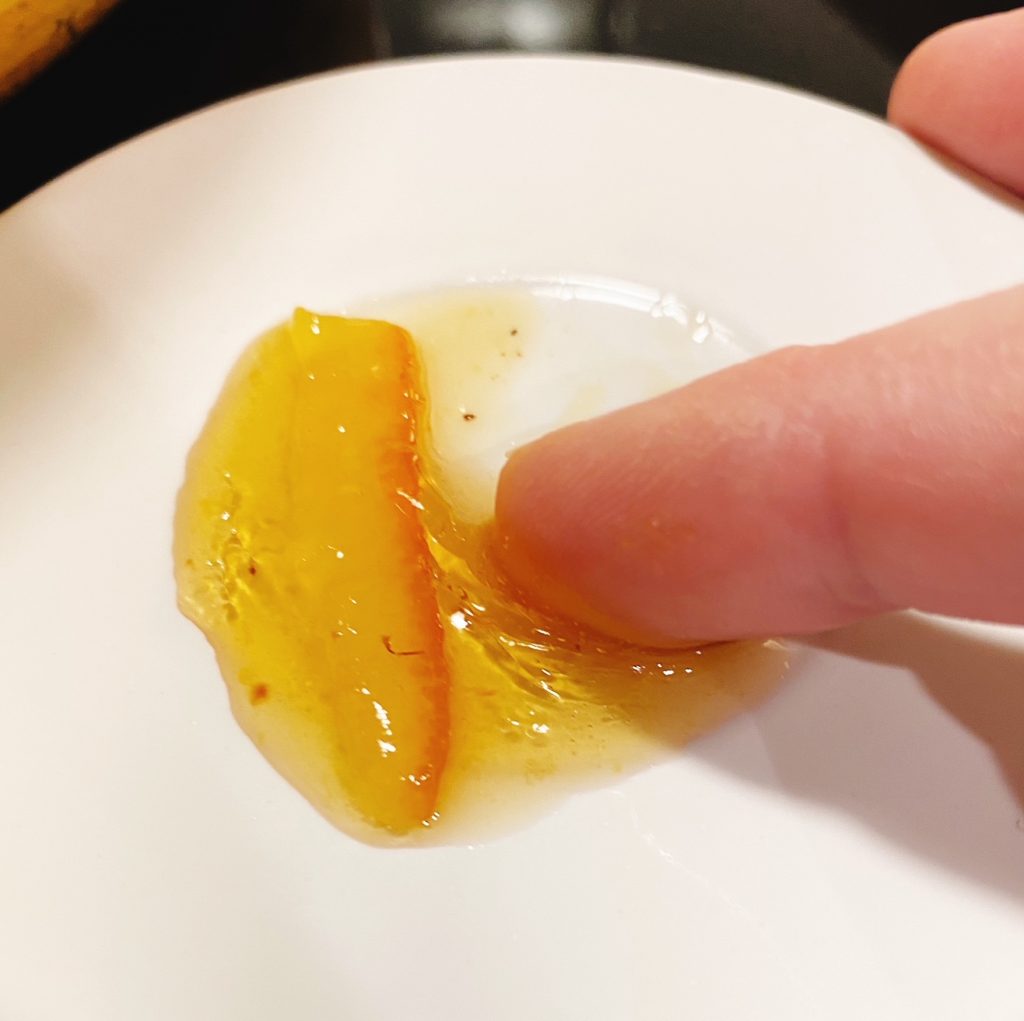
- Take one of the plates out of the freezer and place a spoon of the hot marmalade on it. Put it in the fridge for 3 minutes then do ‘the wrinkle test’. This is where you push your finger slowly through the marmalade to see if it has set. It should feel like jam and look wrinkly. If it has not set yet then return the marmalade to the boil and try again every 5 minutes until you are happy with the set.
- Sterilise your jam funnel, ladle, jars and lids. Then fill the jars with the marmalade whilst it is still hot. Screw the lids on tightly and leave them to cool and seal on your counter top overnight. Then label them with the date and keep in a cool, dark place for up to 12 months. Once opened, keep in the fridge. Enjoy!